Rustyj
-
Posts
2,535 -
Joined
-
Last visited
Content Type
Profiles
Forums
Gallery
Events
Everything posted by Rustyj
-
 Looking nice Ken. Hopefully fairing will be able to "correct" the swerve.
 -
Thanks Chuck. It'll be interesting to say the least.
-
I can't either Jim but there's a first time for everything! Who knows I might get lucky.
- 152 replies
-
- 1
-

-
- medway longboat
- Syren Ship Model Company
- (and 1 more)
-
Thanks Ben. I'm thinking I'll make the sails and see how they come out. If they look ok I'll try to temporarily hang them and see how that goes. I'd like to do it with sails as I only have one other model that I did with sails. Time will tell!
- 152 replies
-
- 1
-
-
- medway longboat
- Syren Ship Model Company
- (and 1 more)
-
Thanks Joe, Between attending the grandkids sporting events winter boredom sets in and I head to the shop.
-
Hi Jeff, It's all smoke and mirrors! All the credit goes to Chuck for an excellently thought out and produced kit. It doesn't hurt I was able to spend over 50 hours in the shop last week! Thanks Chuck. I can't say enough about the job you did on this kit! That's great to hear. I was looking at box, pear and cherry for the masts but it just didn't look right. So, ahem, I'll "patently" await the release of the rigging and masting kit. Also thanks everyone for stopping by and all the likes!
- 152 replies
-
- 3
-
-
- medway longboat
- Syren Ship Model Company
- (and 1 more)
-
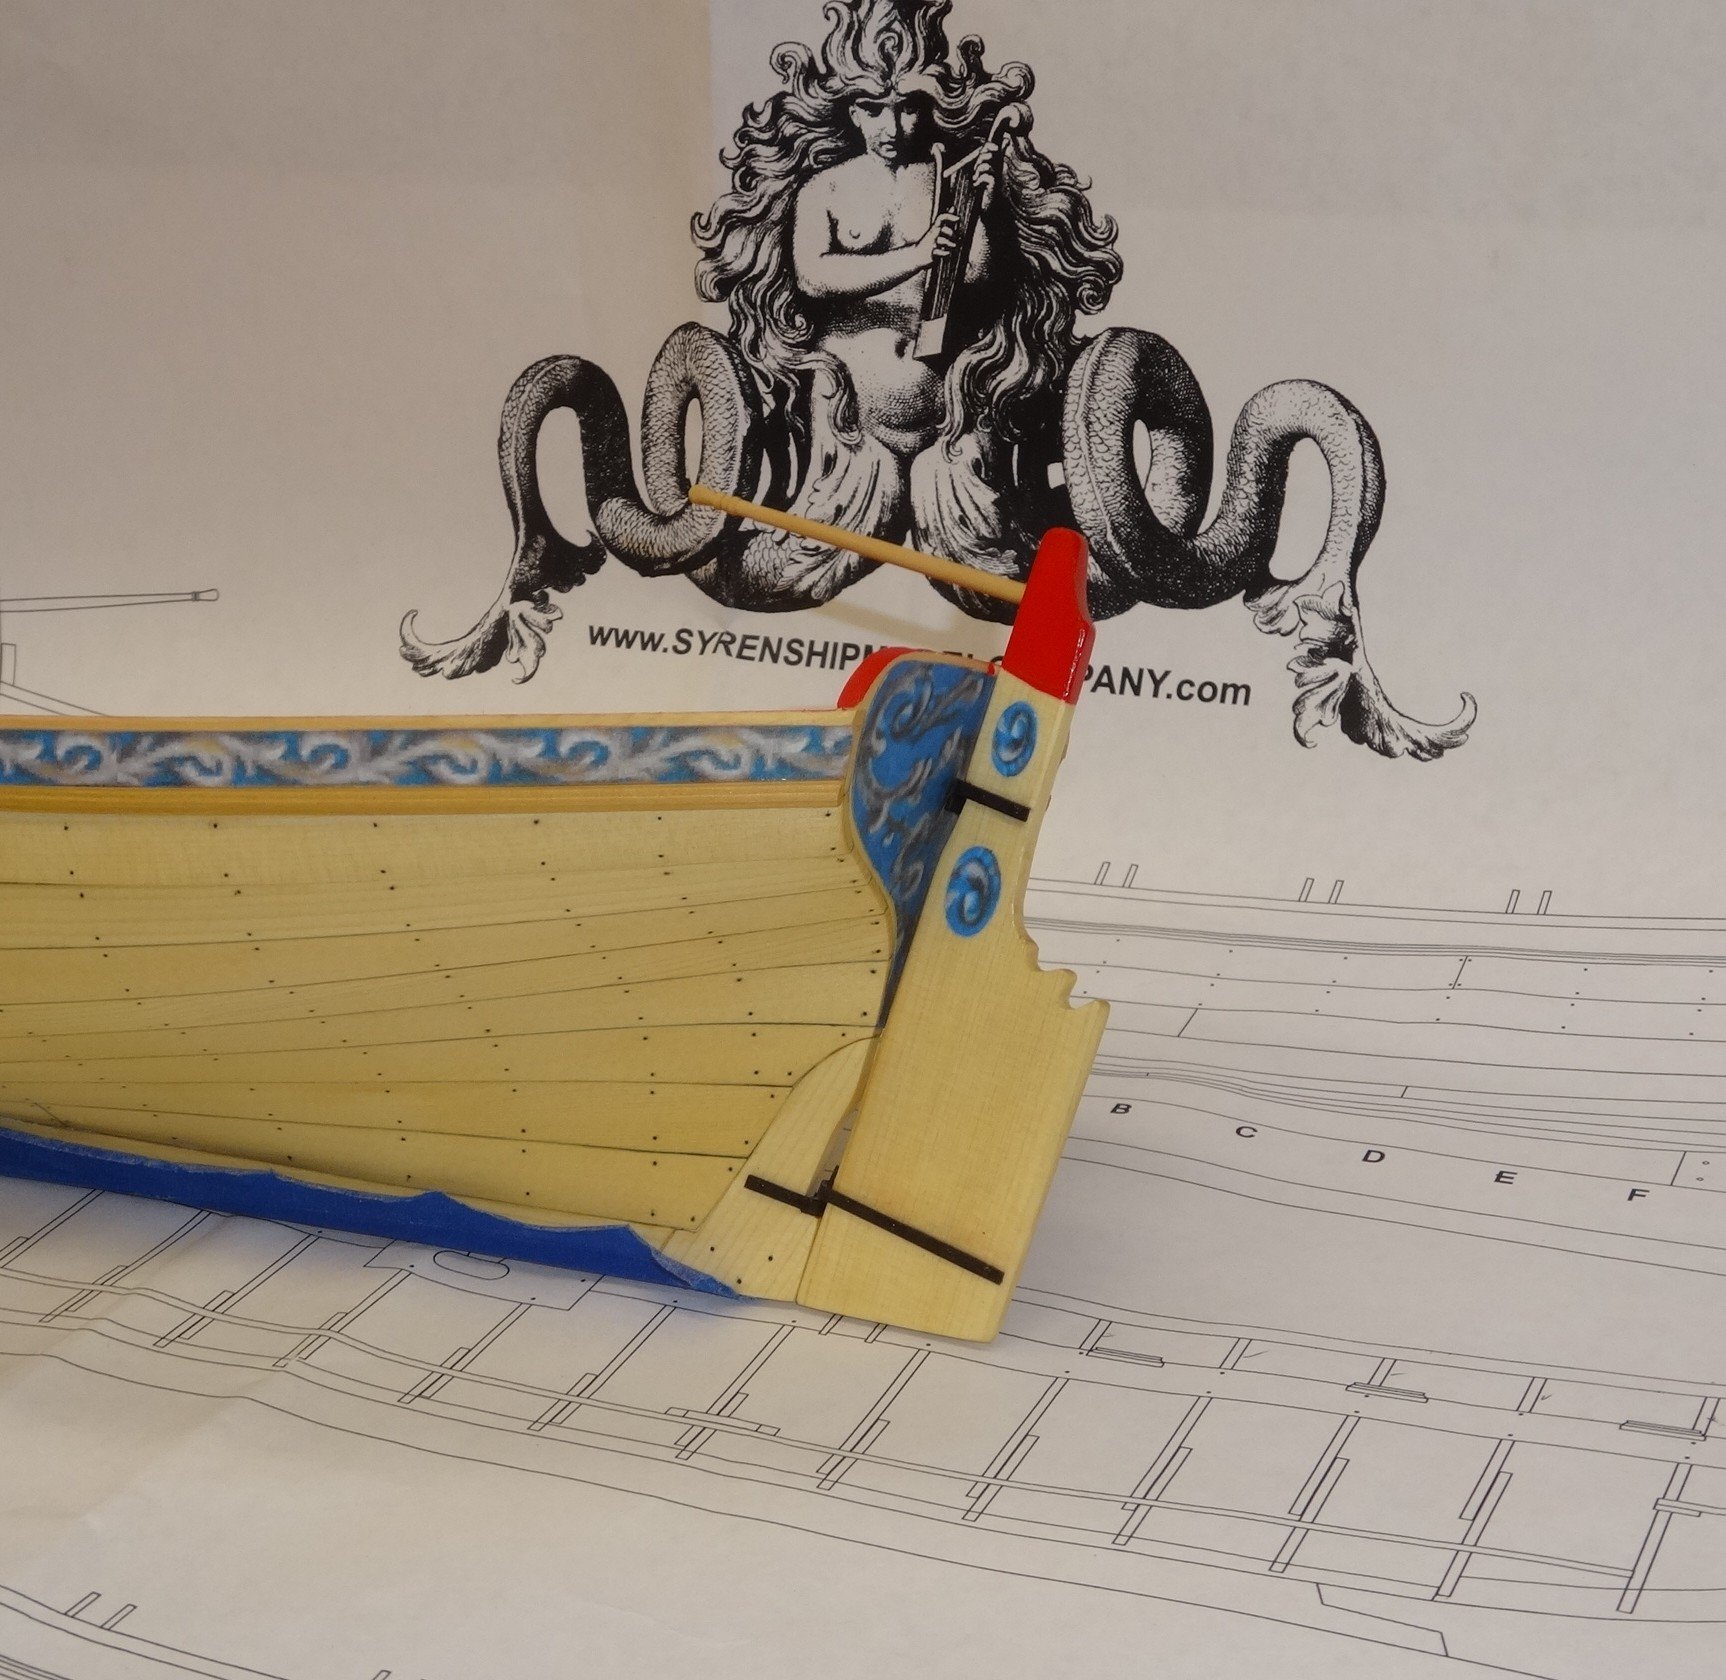
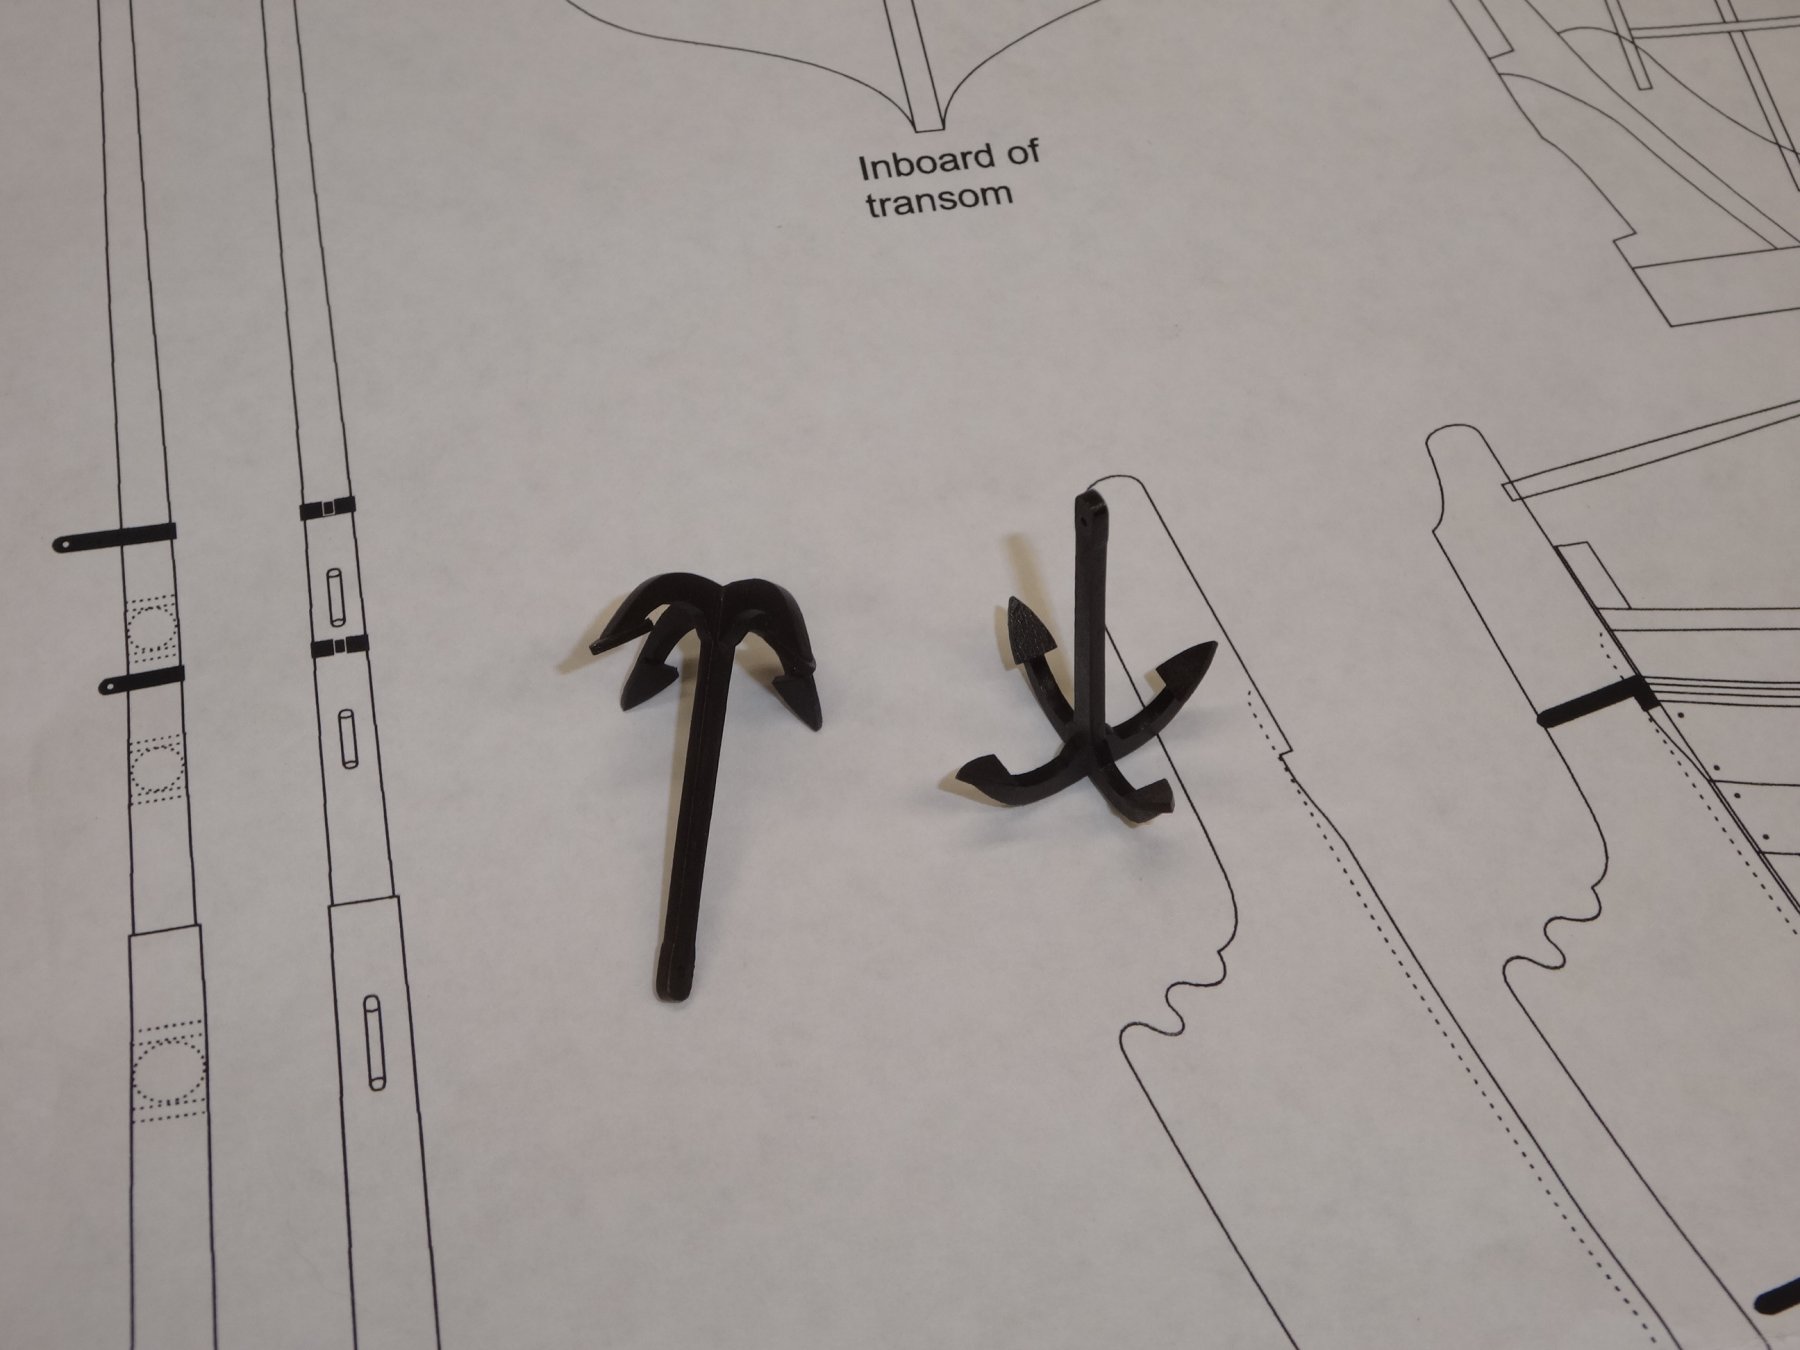
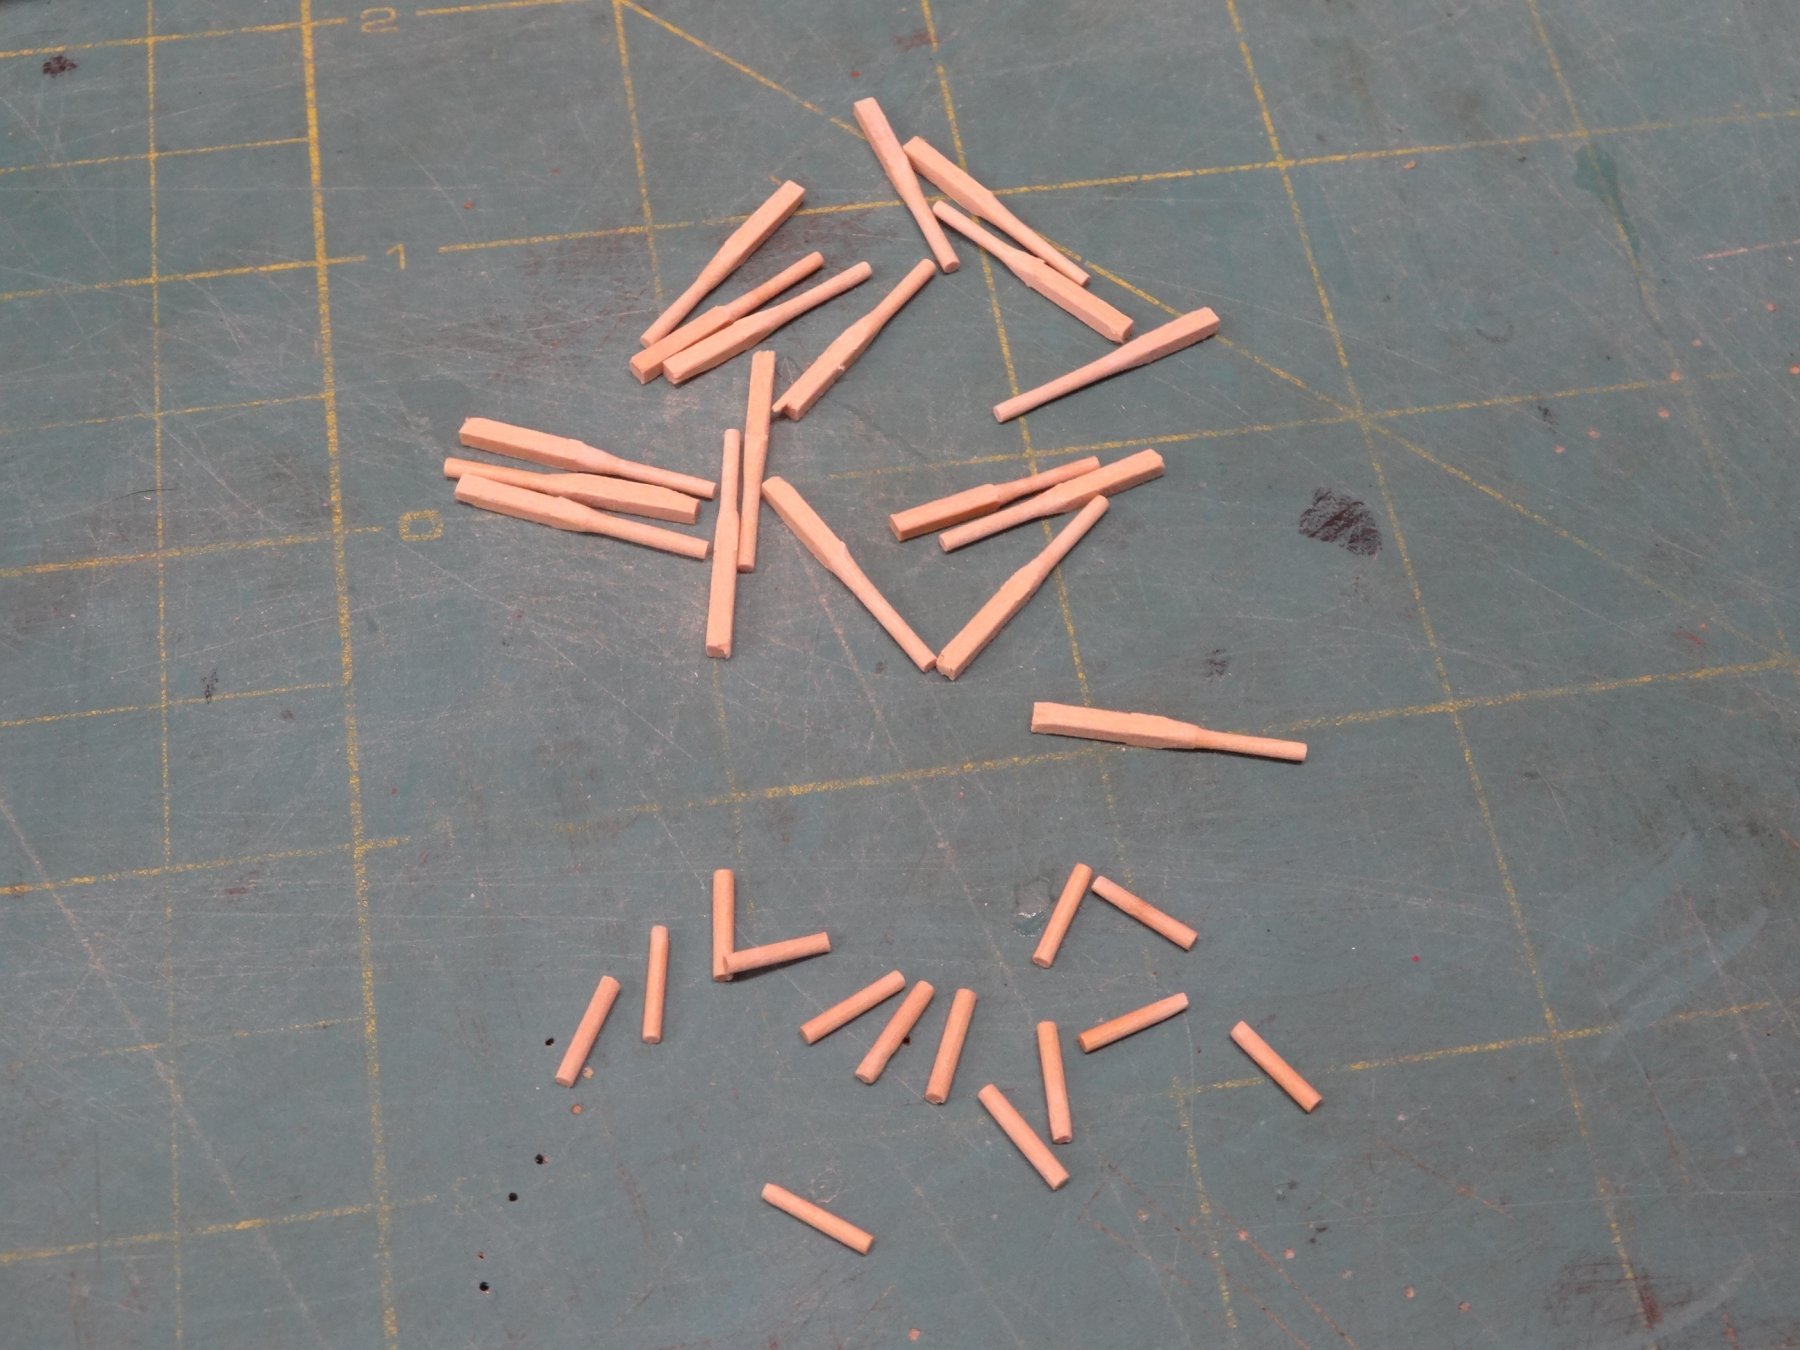
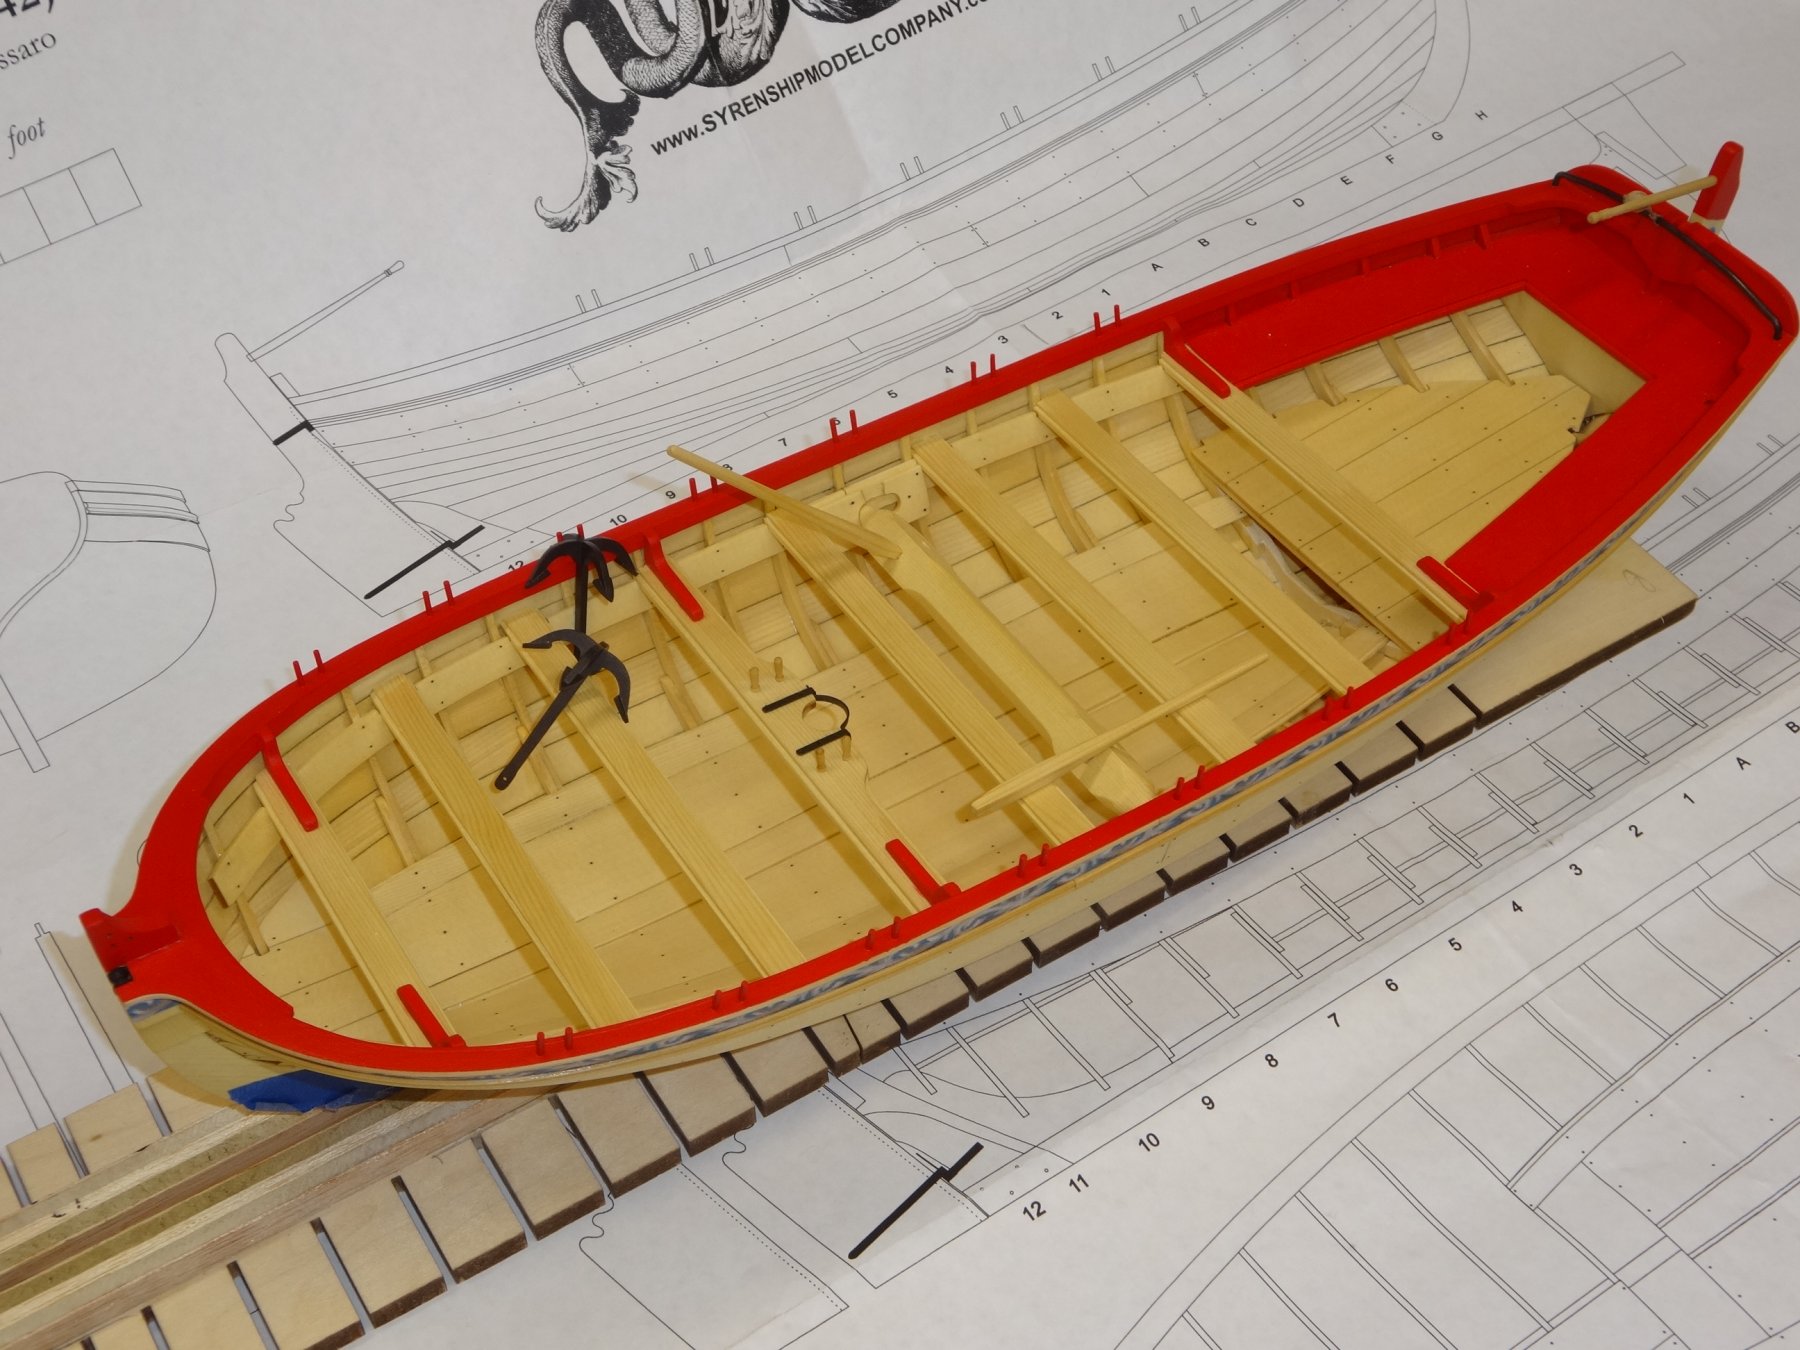
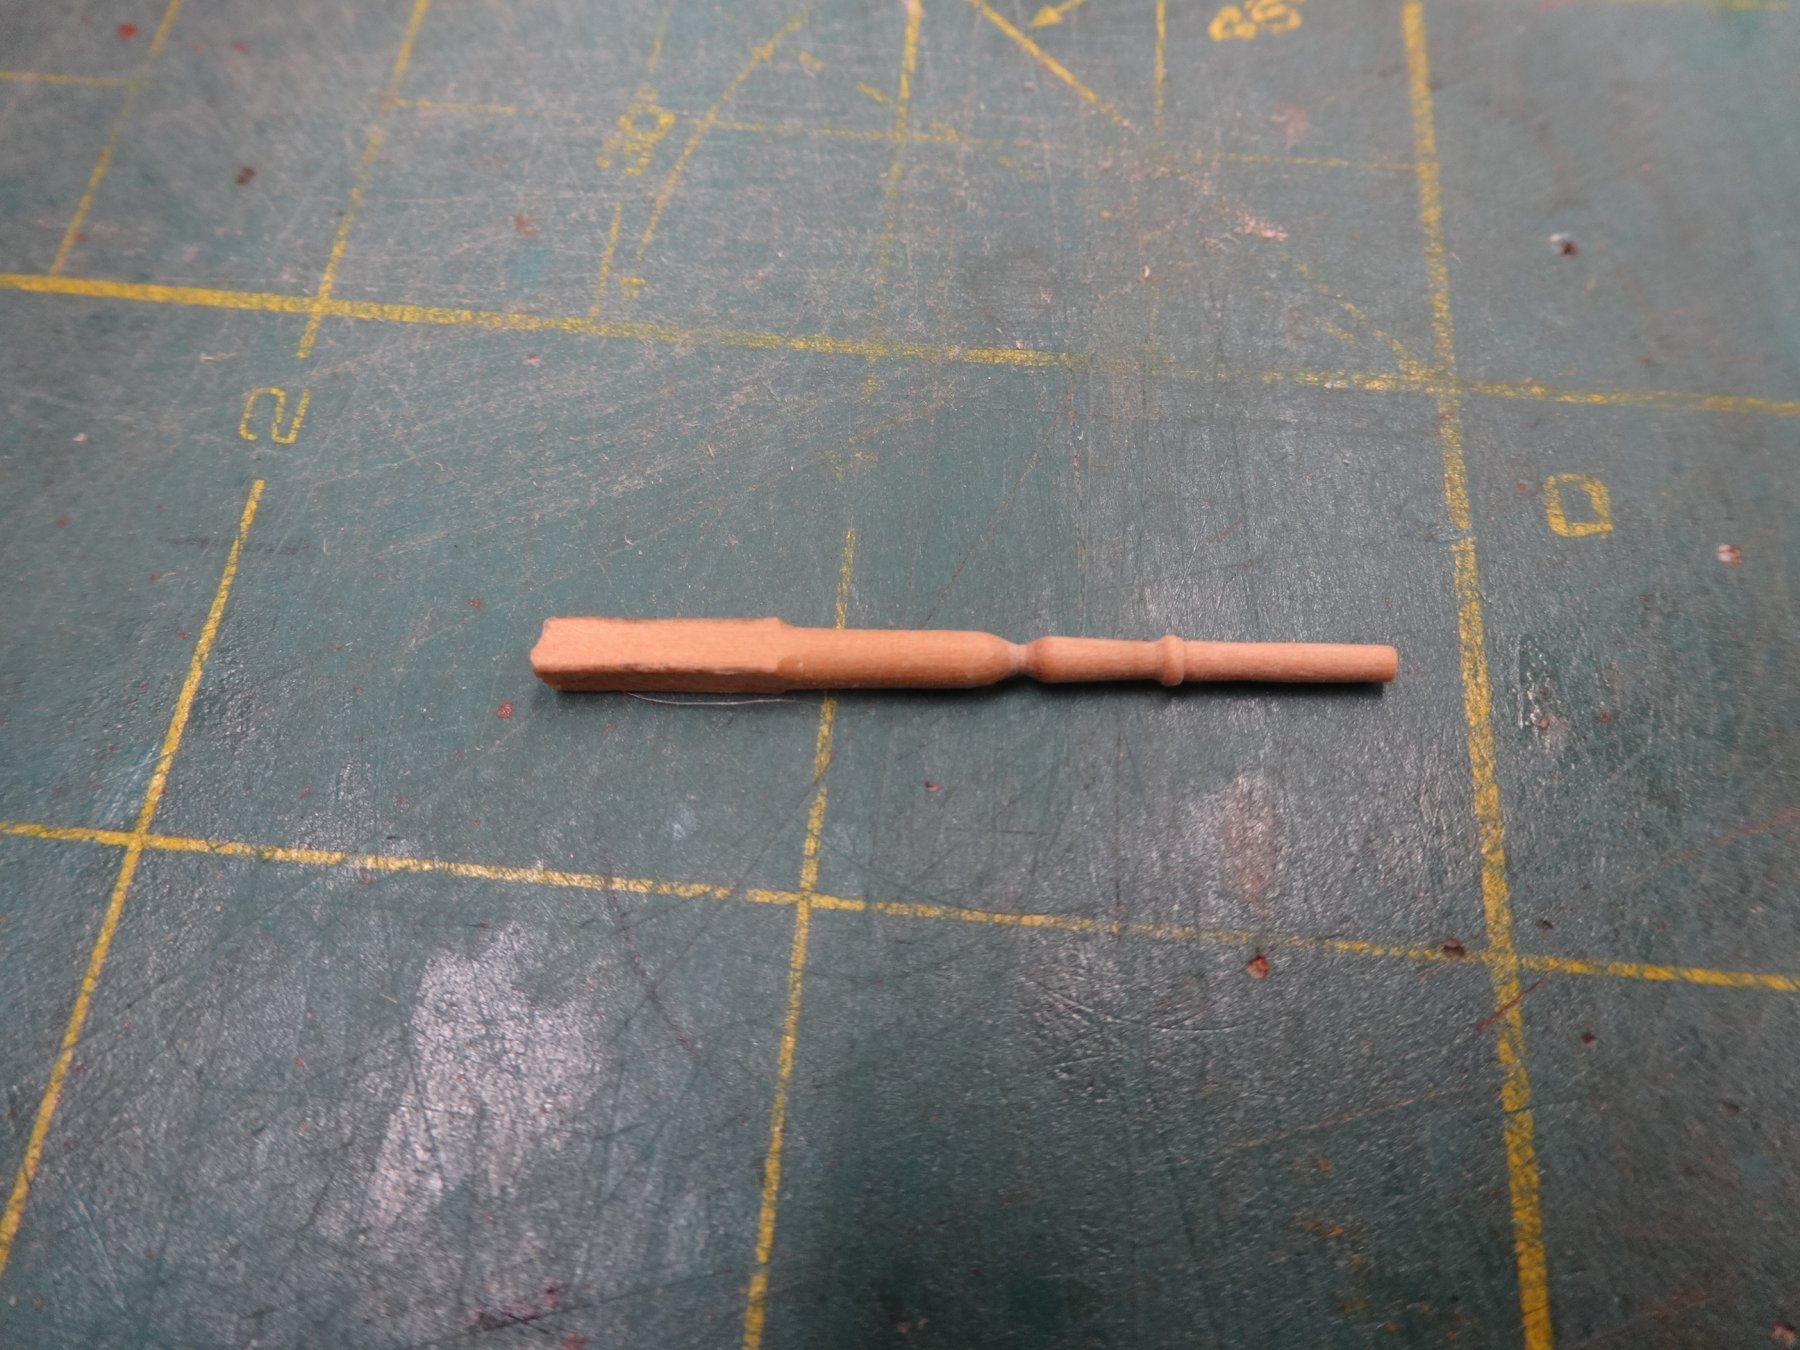
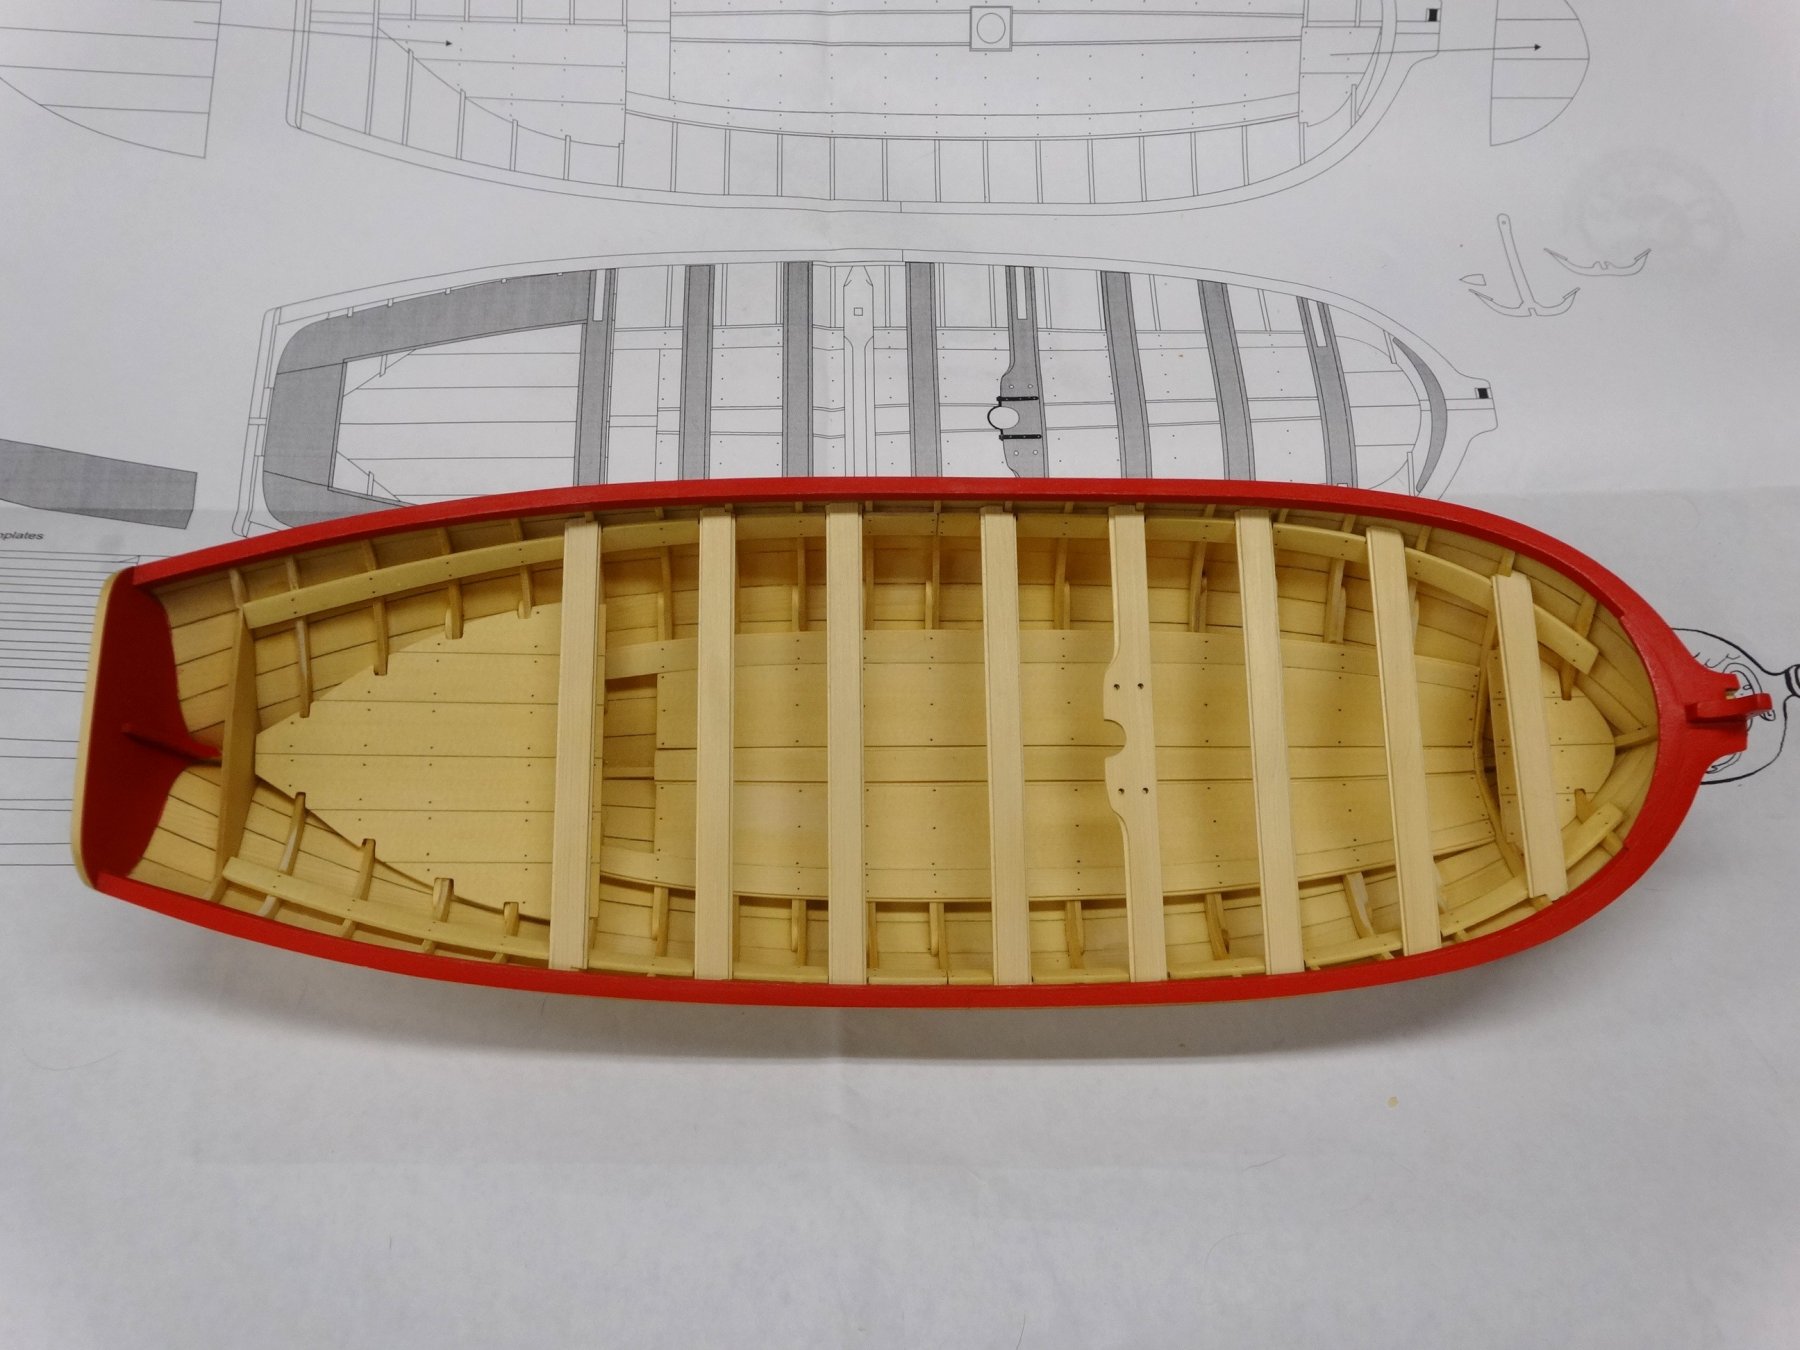
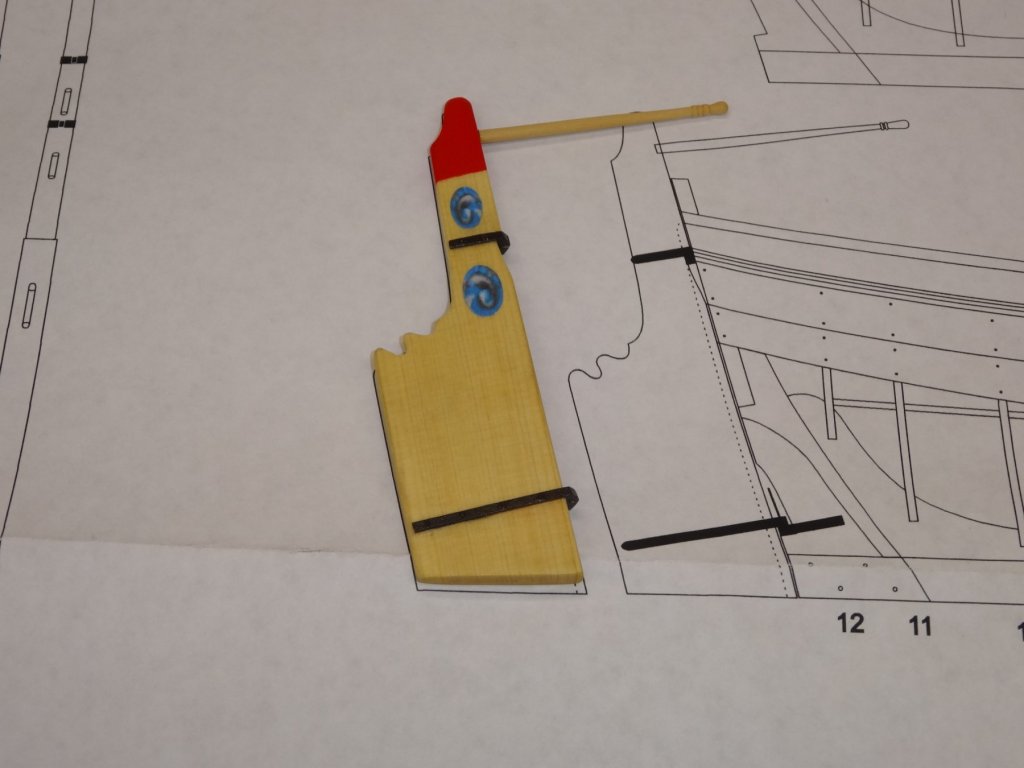
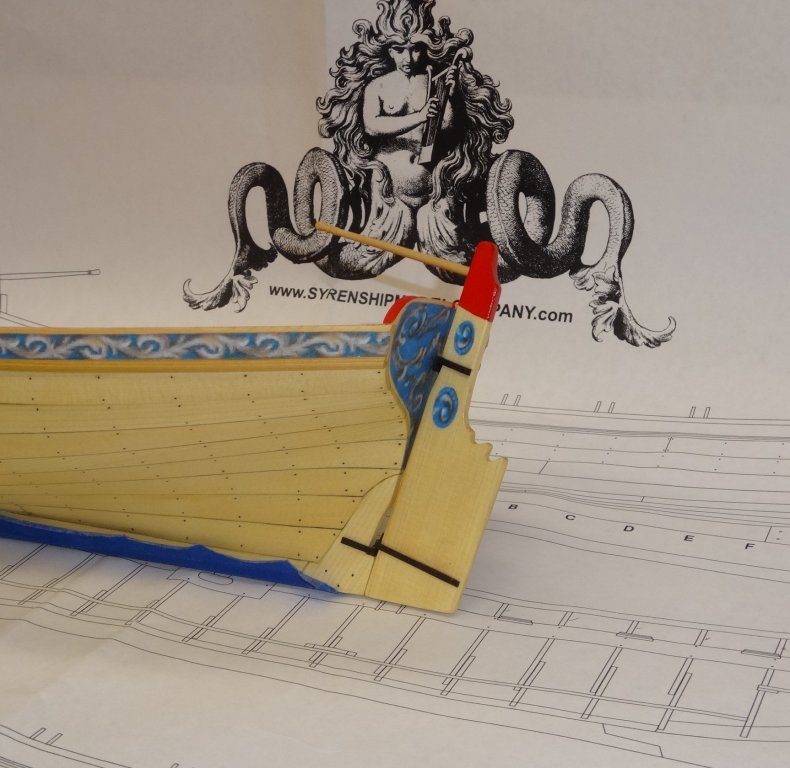
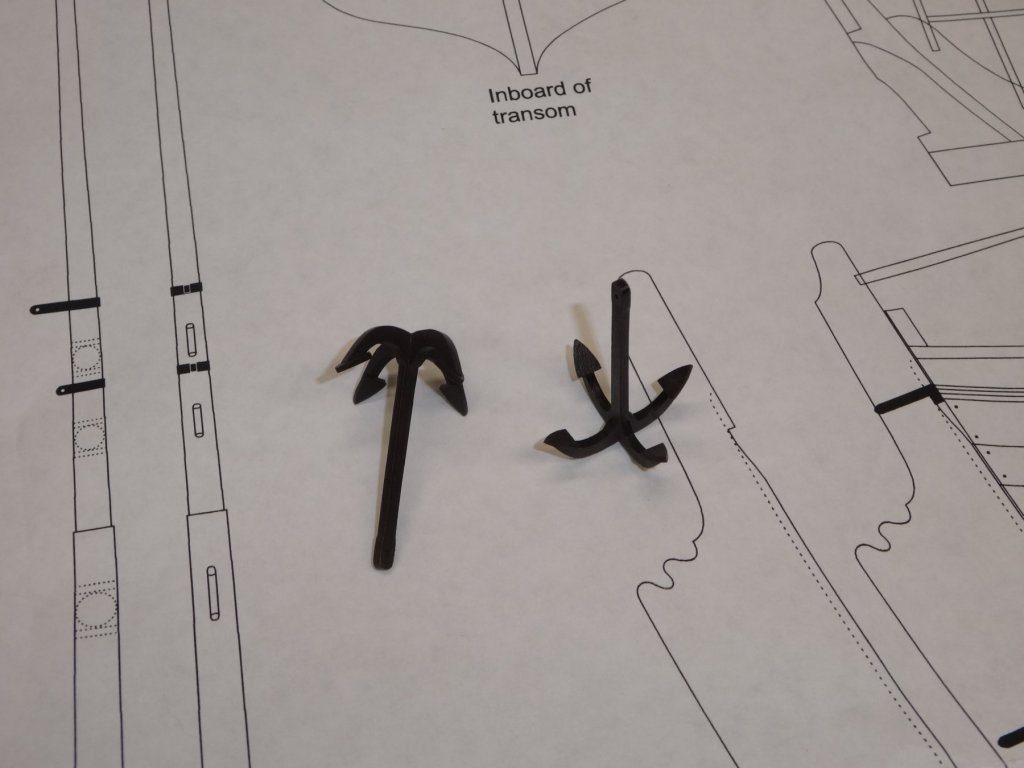
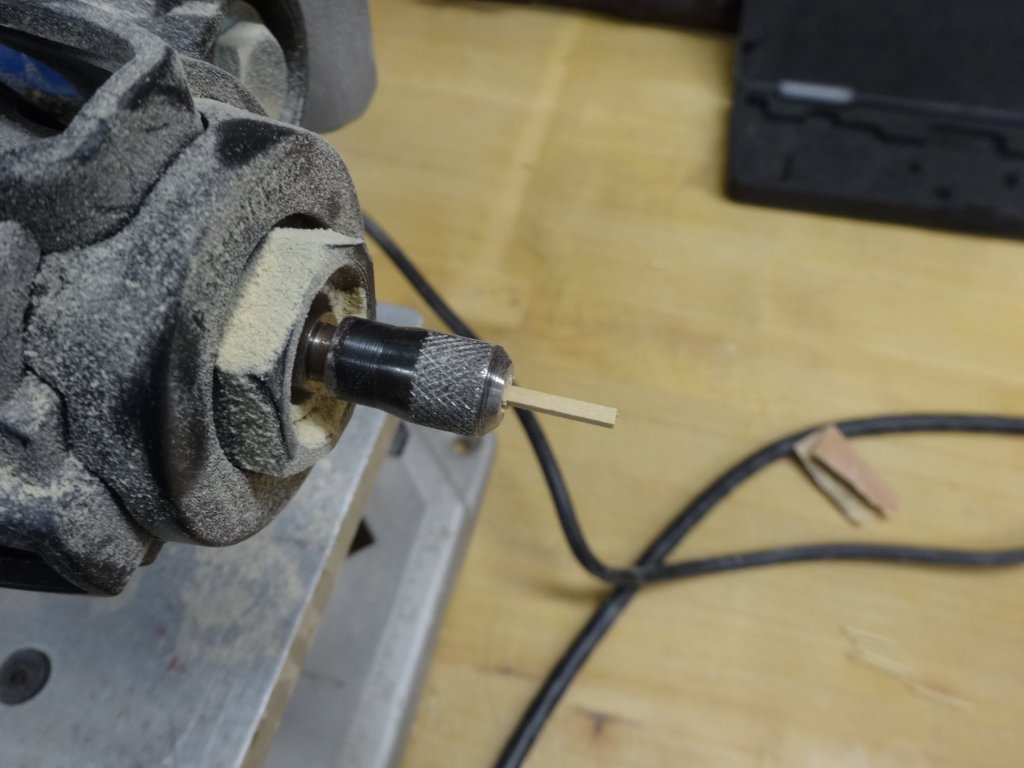
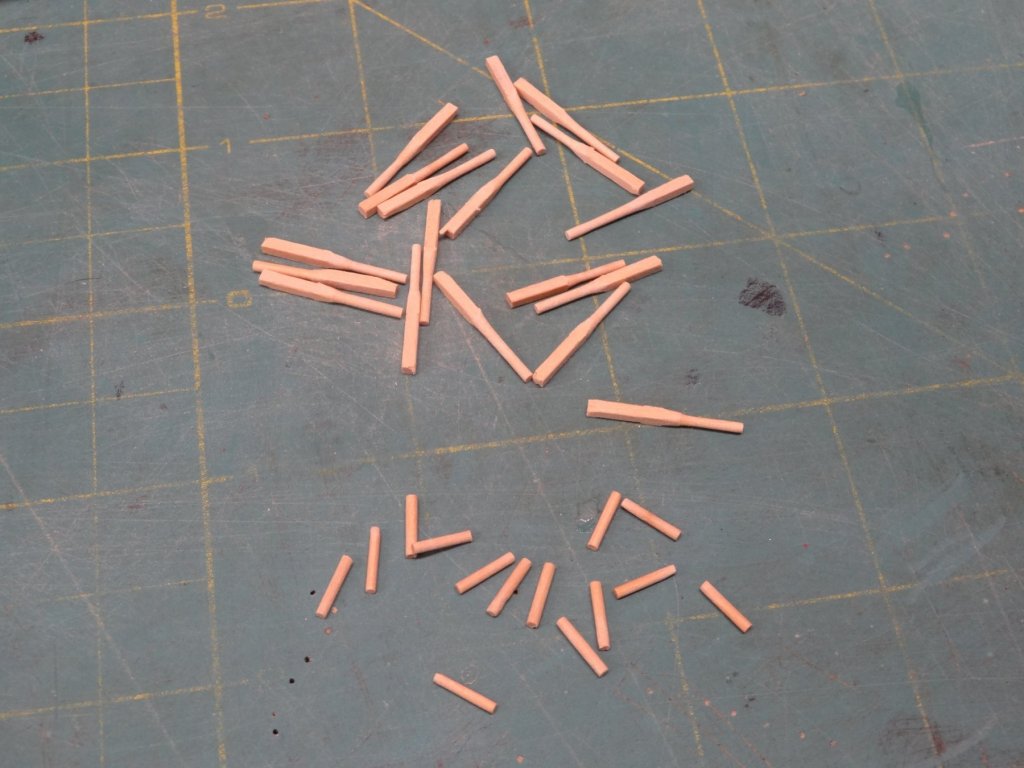
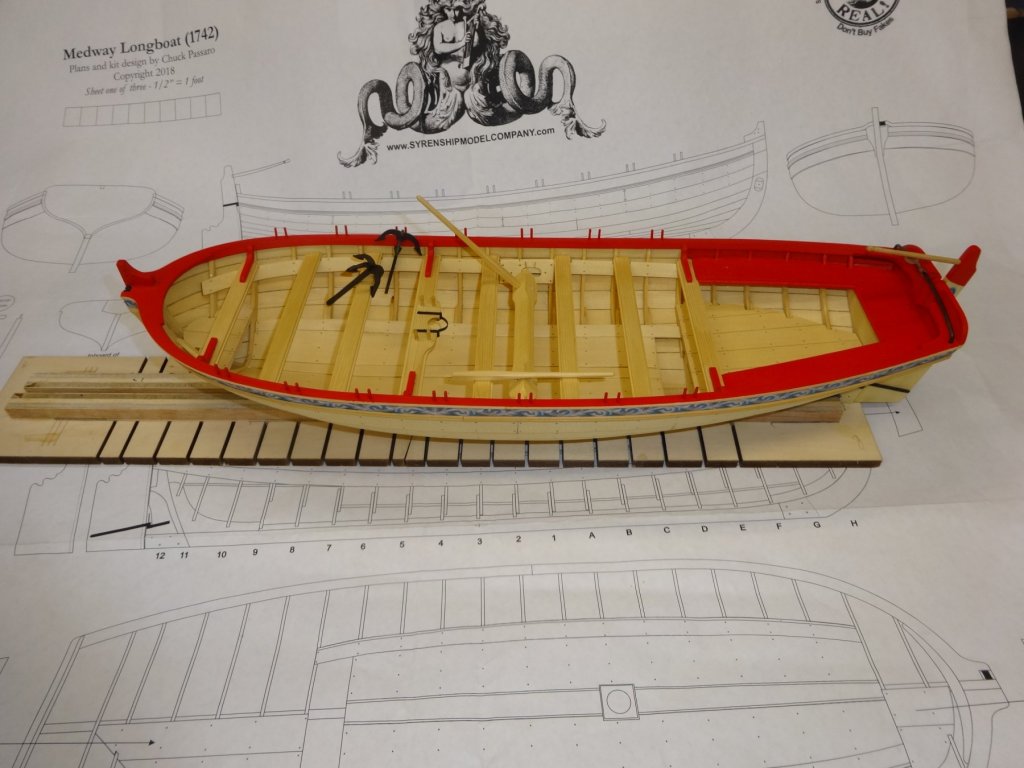
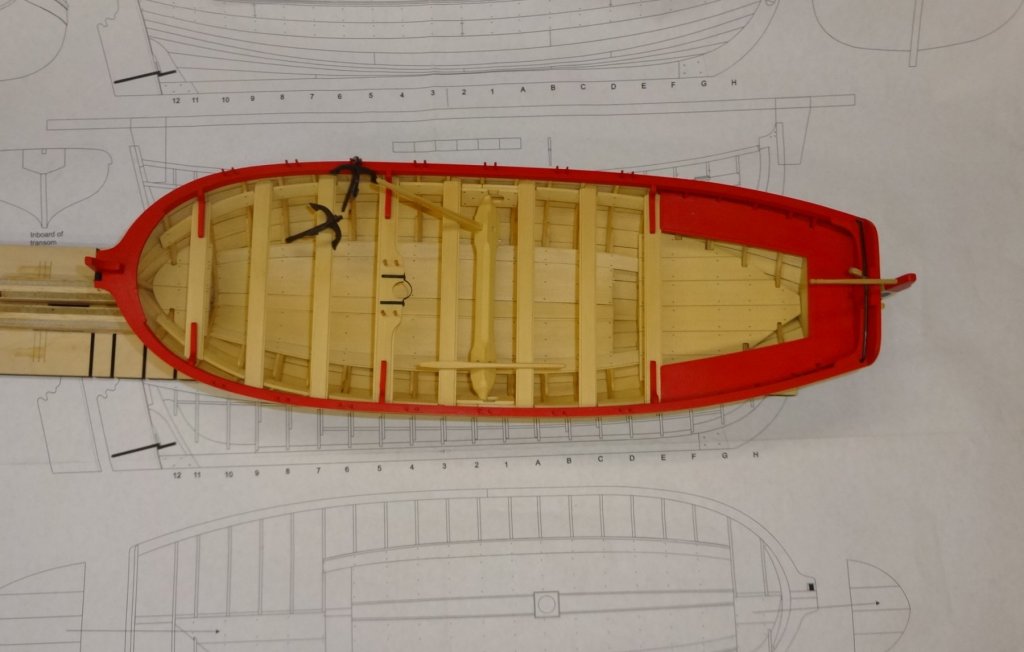
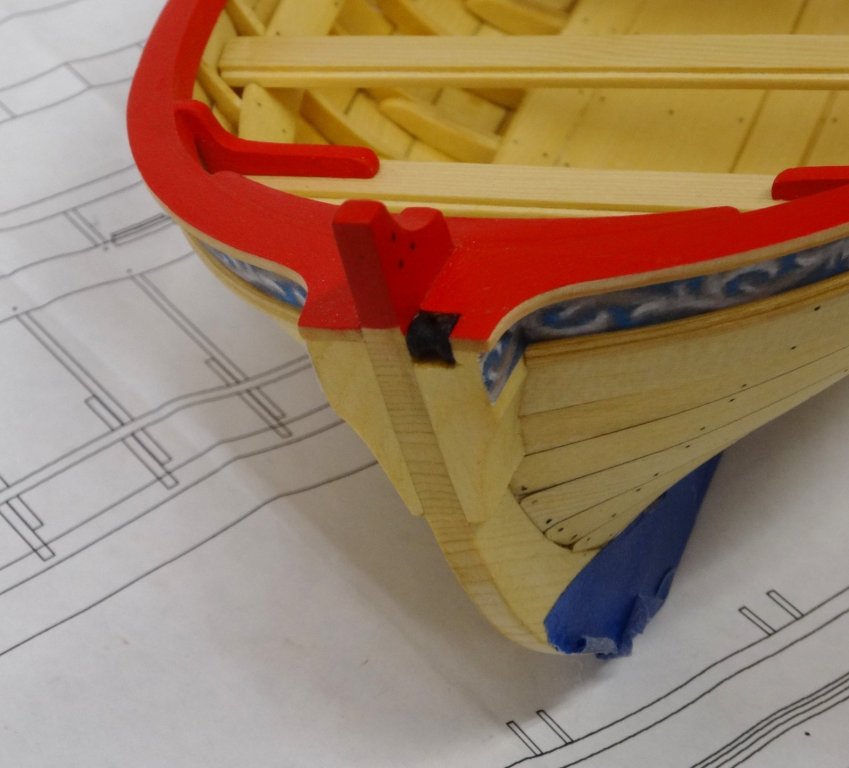
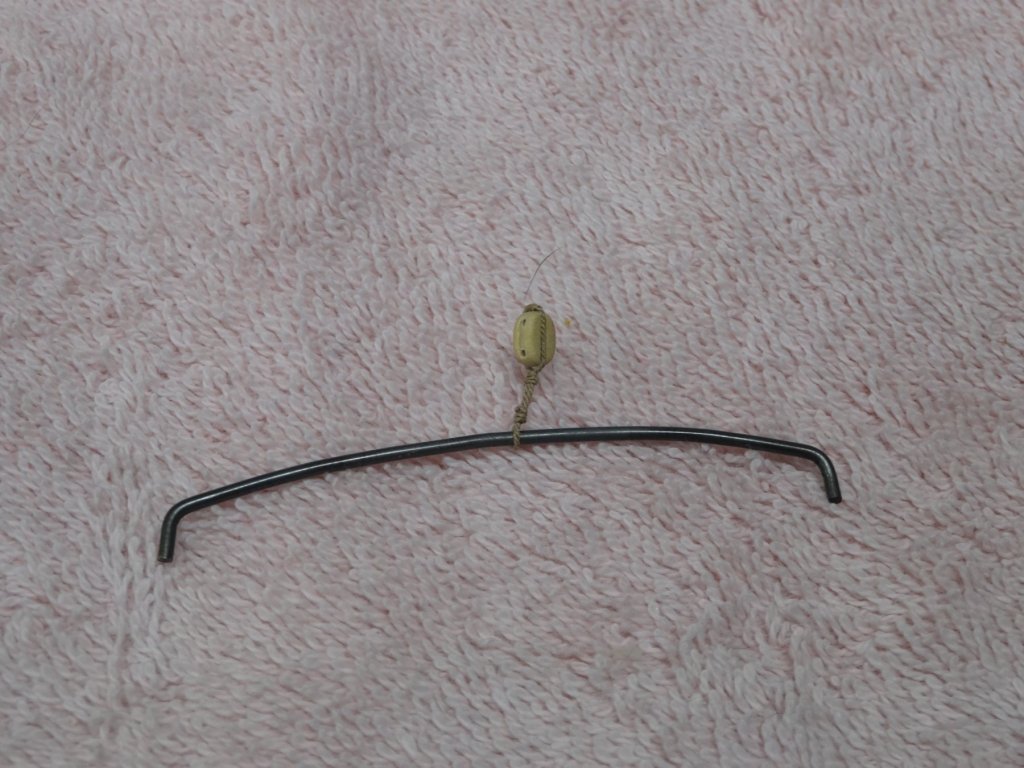
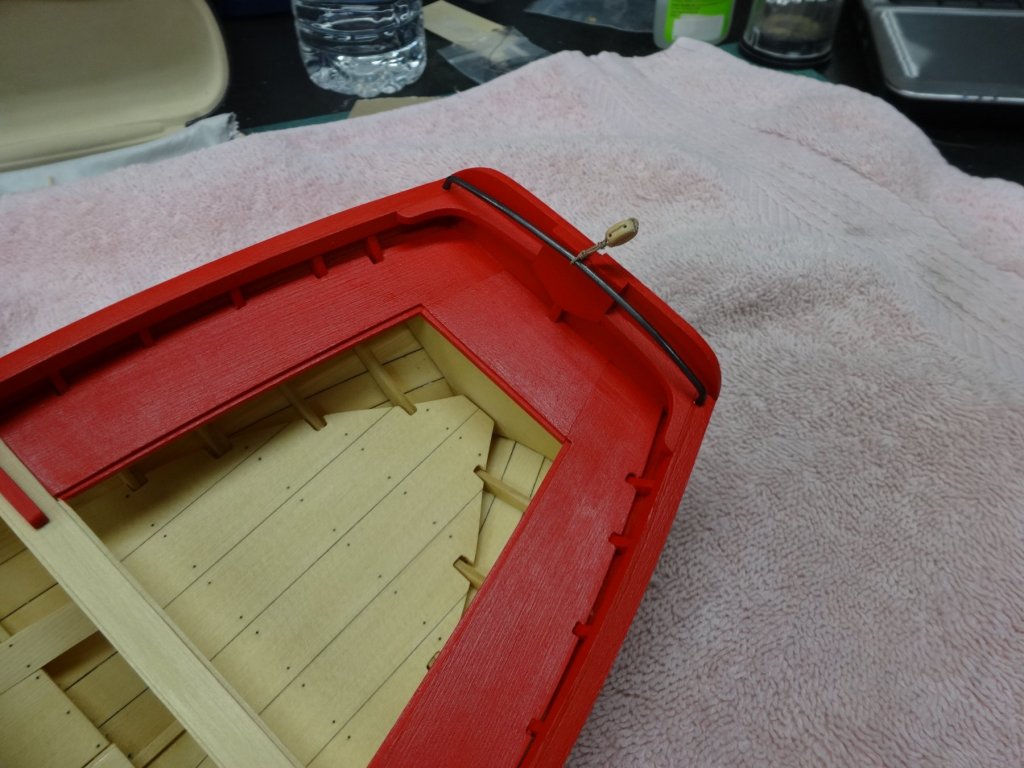
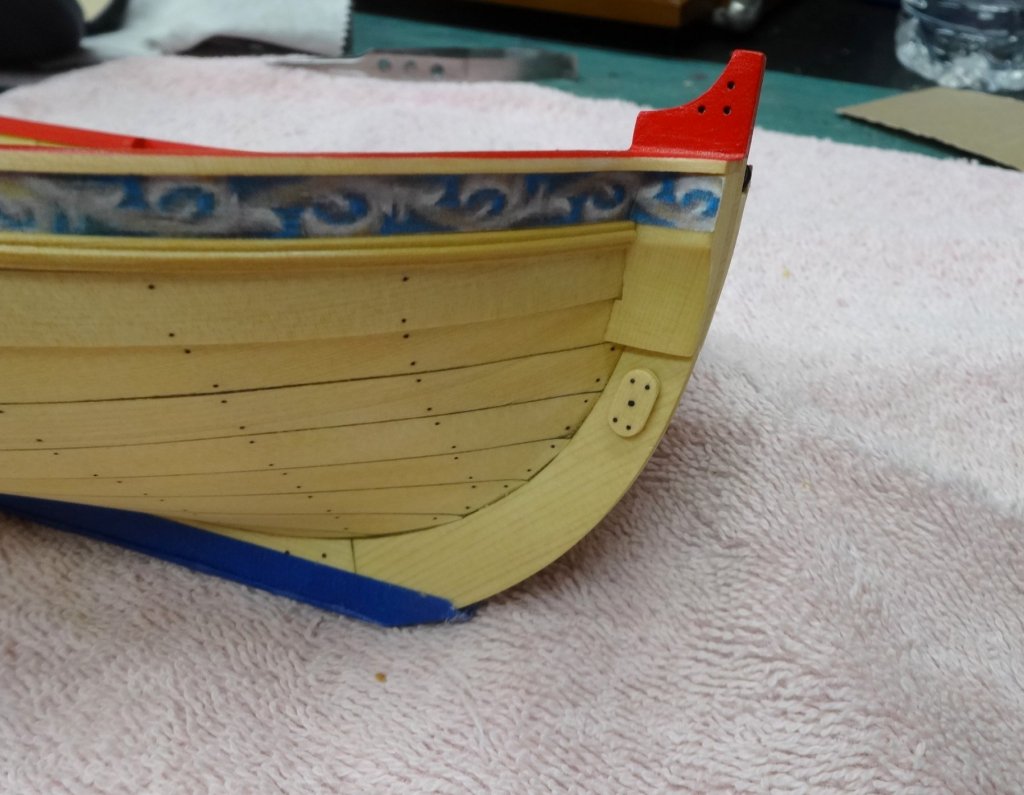
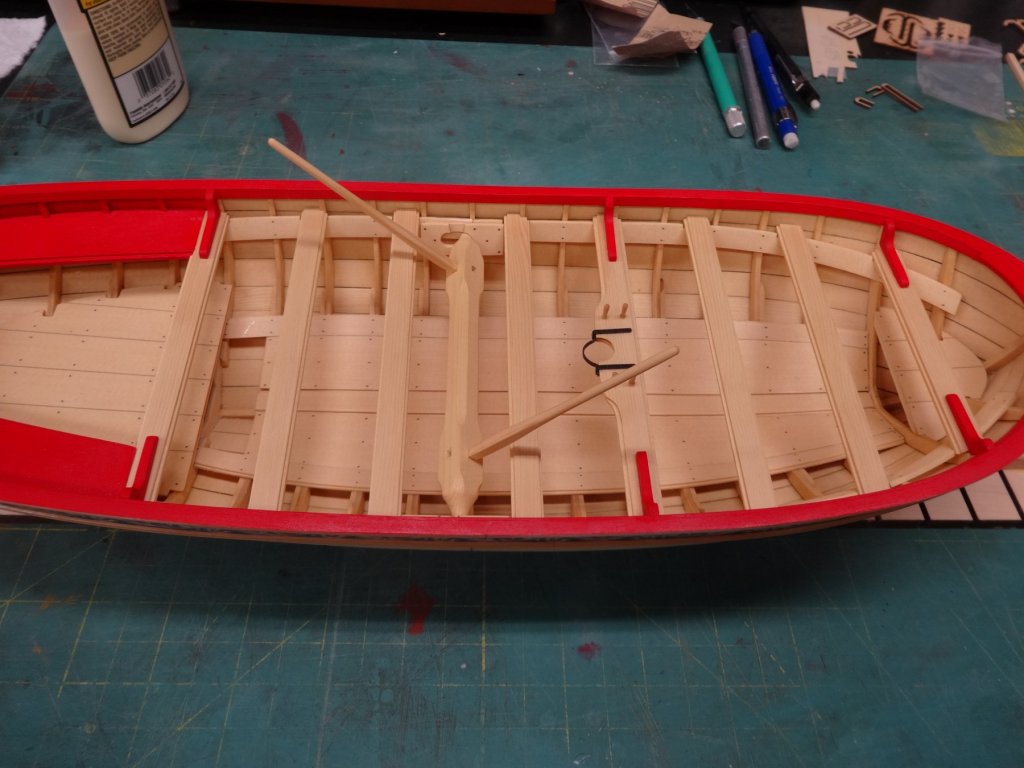
The rudder has been completed and fitted to the hull. Don't worry Jim I can remove it! The grappling hooks have been made. Just have to add the rope. For the thole pins I chucked them in my dremel and used files and sandpaper marked the cap rail, drilled and glued them in place. Once dry they were painted. Other than a little touch up of the paint the hull is now complete.

- 152 replies
-
- 15
-
-
- medway longboat
- Syren Ship Model Company
- (and 1 more)
-
Hi Sam. Sadly I will not be there in February. Unfortunately I have to work that day. Hopefully March will be better.
- 47 replies
-
- 1
-
-
- queen anne barge
- Syren Ship Model Company
- (and 1 more)
-
Great figure head! It's always fun to see everyone's different approach to the same model. Very nice.
- 47 replies
-
- 1
-
-
- queen anne barge
- Syren Ship Model Company
- (and 1 more)
-
Well done Jeff. Always a good idea to clamp.
-
Thanks Jeff. The paint is Winsor & Newton Galeria Acrylic in the tube and the color is Crimson. I just thin it with water. Thanks Jim and for all the likes too.
- 152 replies
-
- 2
-
-
- medway longboat
- Syren Ship Model Company
- (and 1 more)
-
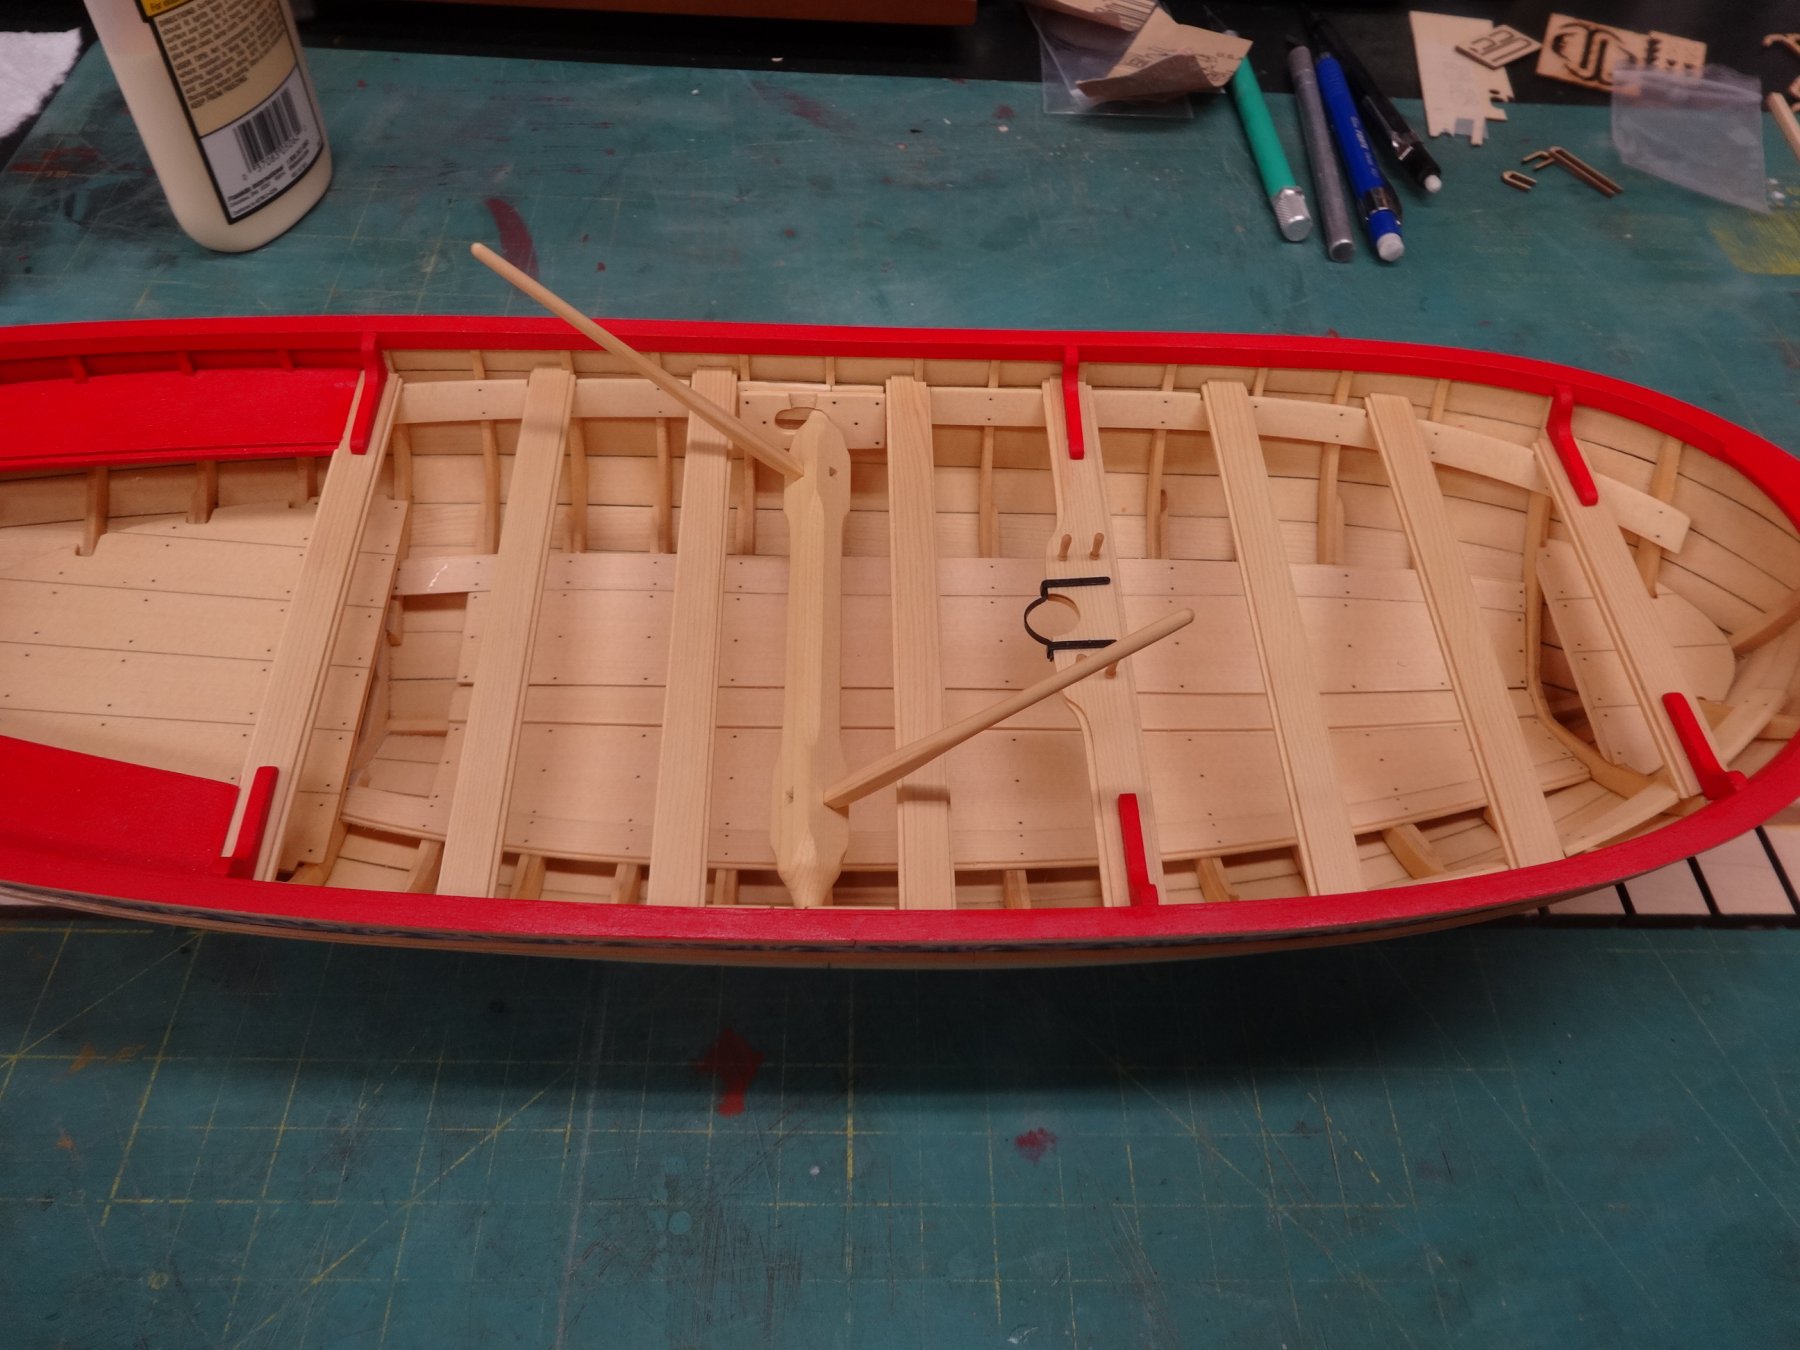
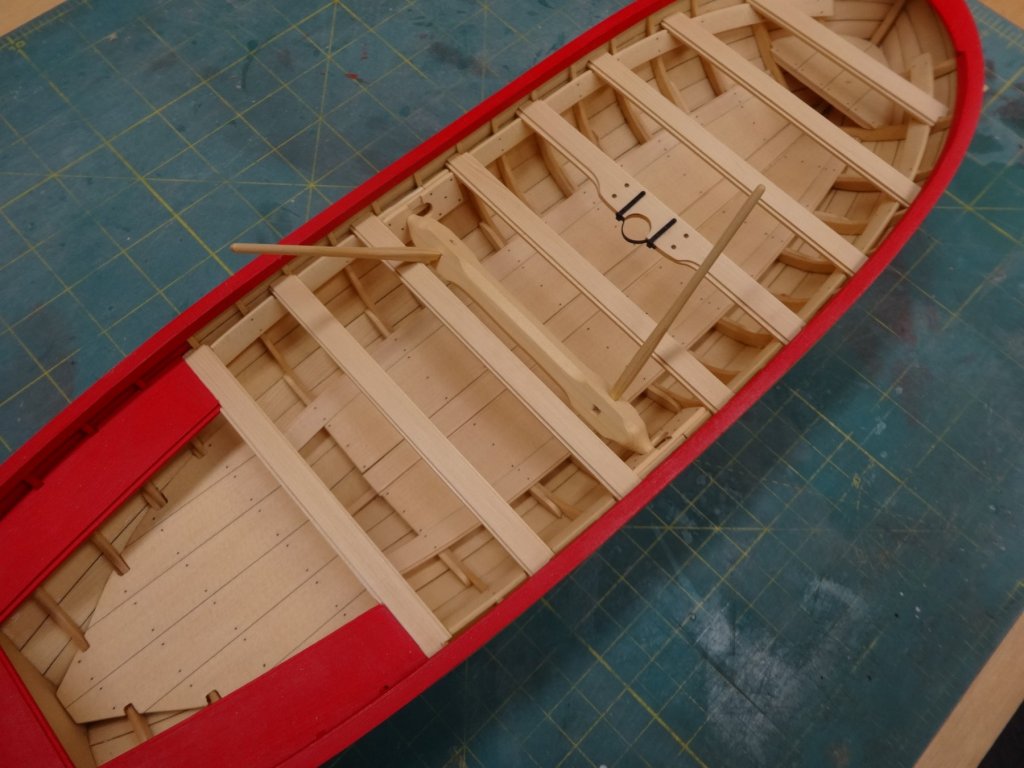
Making progress with some of the small things to finish the hull. The roller and fixed block have been added to bow. The traveler was made from 1/16' brass rod blackened. The traveler and block have been added at the stern. Next I will make the rudder and set it aside as Jim suggested. .
- 152 replies
-
- 12
-
-
- medway longboat
- Syren Ship Model Company
- (and 1 more)
-
Very nice, crisp and sharp. Ah just wait, lots of painting to enjoy on this beauty.
-
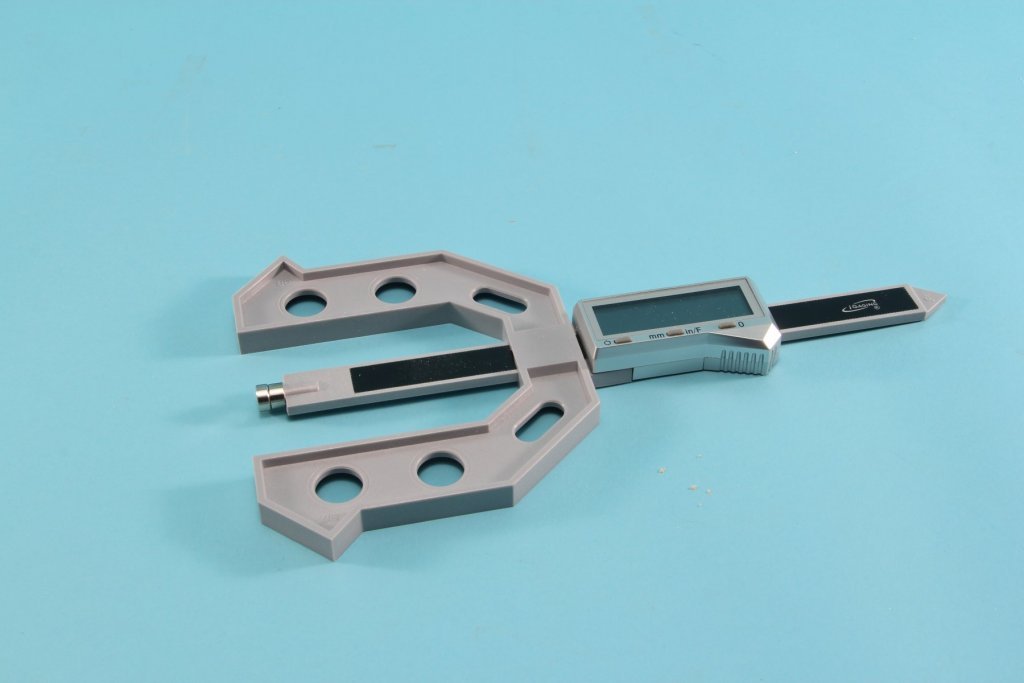
Thanks Trig! It is a combination height, depth & thickness gauge from a company called iGaging (igaging.com).
- 152 replies
-
- 1
-
-
- medway longboat
- Syren Ship Model Company
- (and 1 more)
-
That's great advise Jim, thanks. I've been the "victim" of a broken rudder or two on previous builds and still haven't learned from it!
-
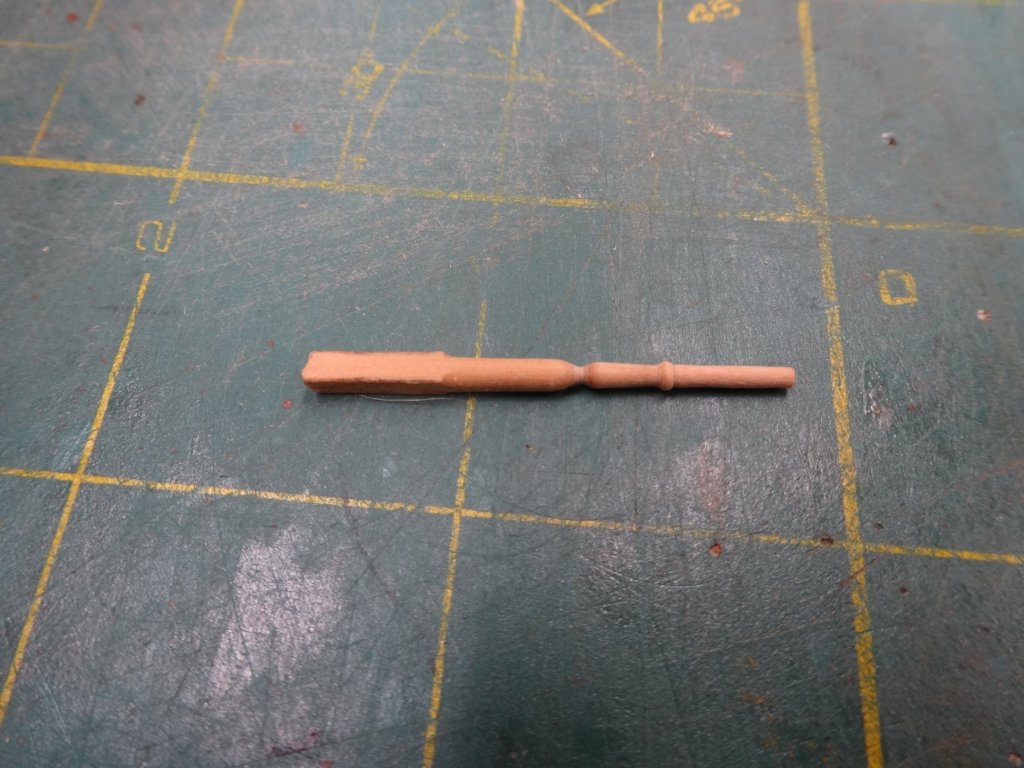
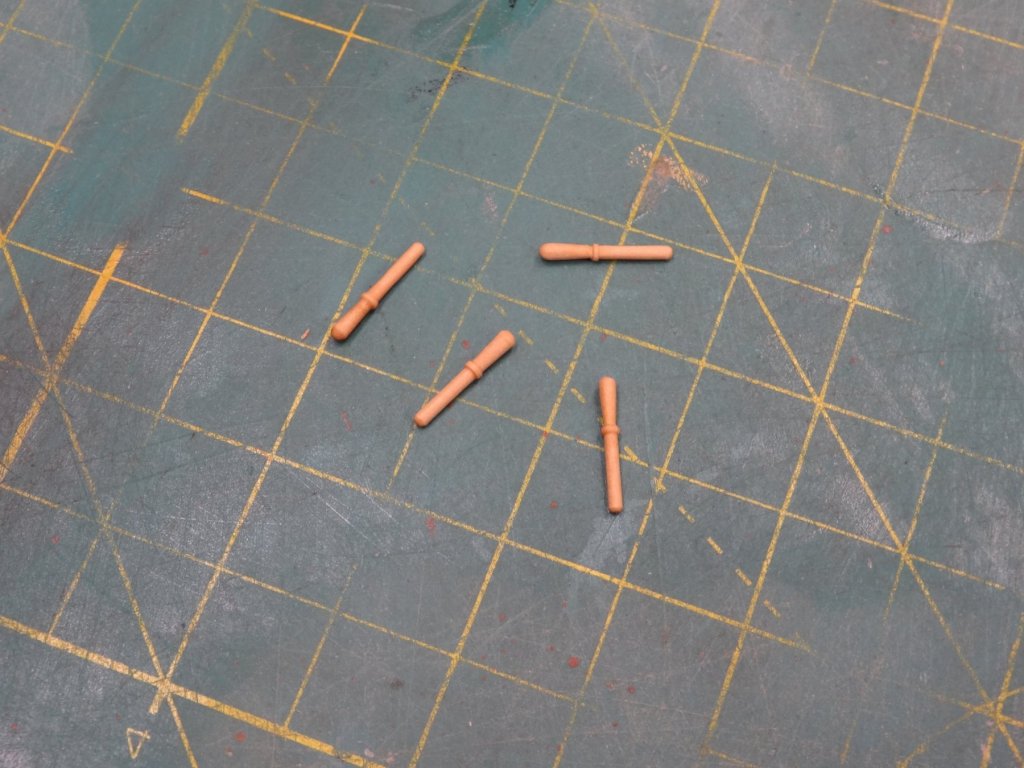
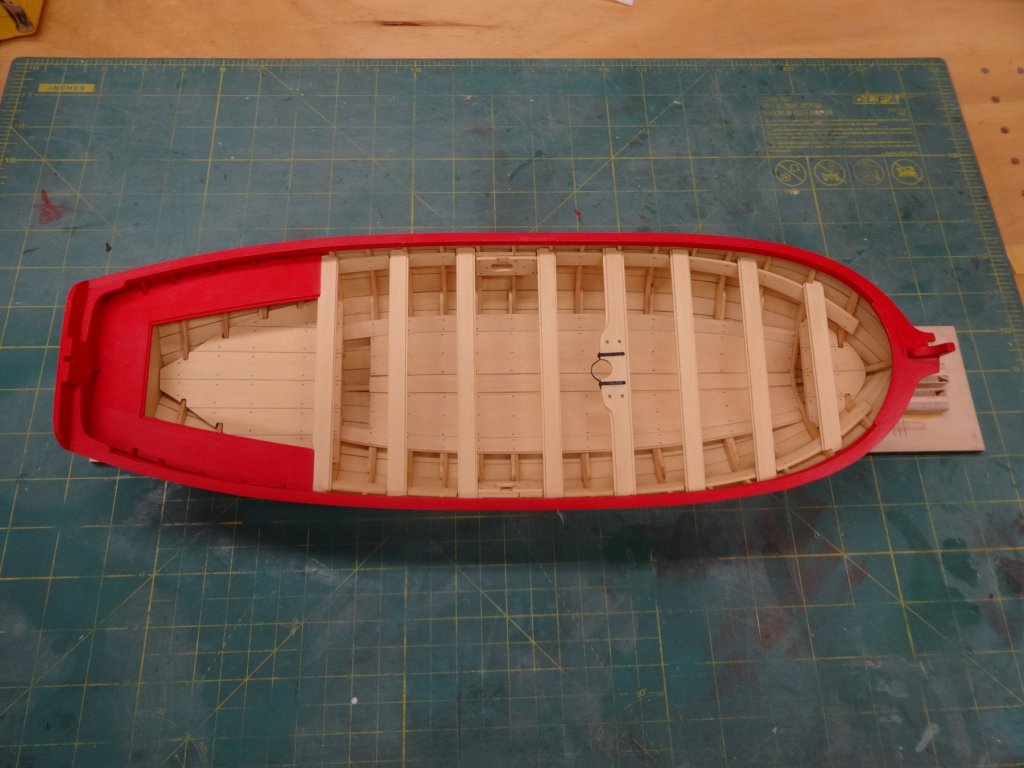
The six knees have been sanded, painted and placed. The two fore knees have some sharp angles and thankfully Chuck supplies extras! Also the belaying pins where shaped and placed in the thwart. I'm on to the rudder, grappling hooks and thole pins!
- 152 replies
-
- 14
-
-
- medway longboat
- Syren Ship Model Company
- (and 1 more)
-
Very nice B.E. Glad it's not a ship of the line!
- 574 replies
-
- 5
-
-
- cheerful
- Syren Ship Model Company
- (and 1 more)
-
Thanks Jim, Also thanks for all the likes!
-
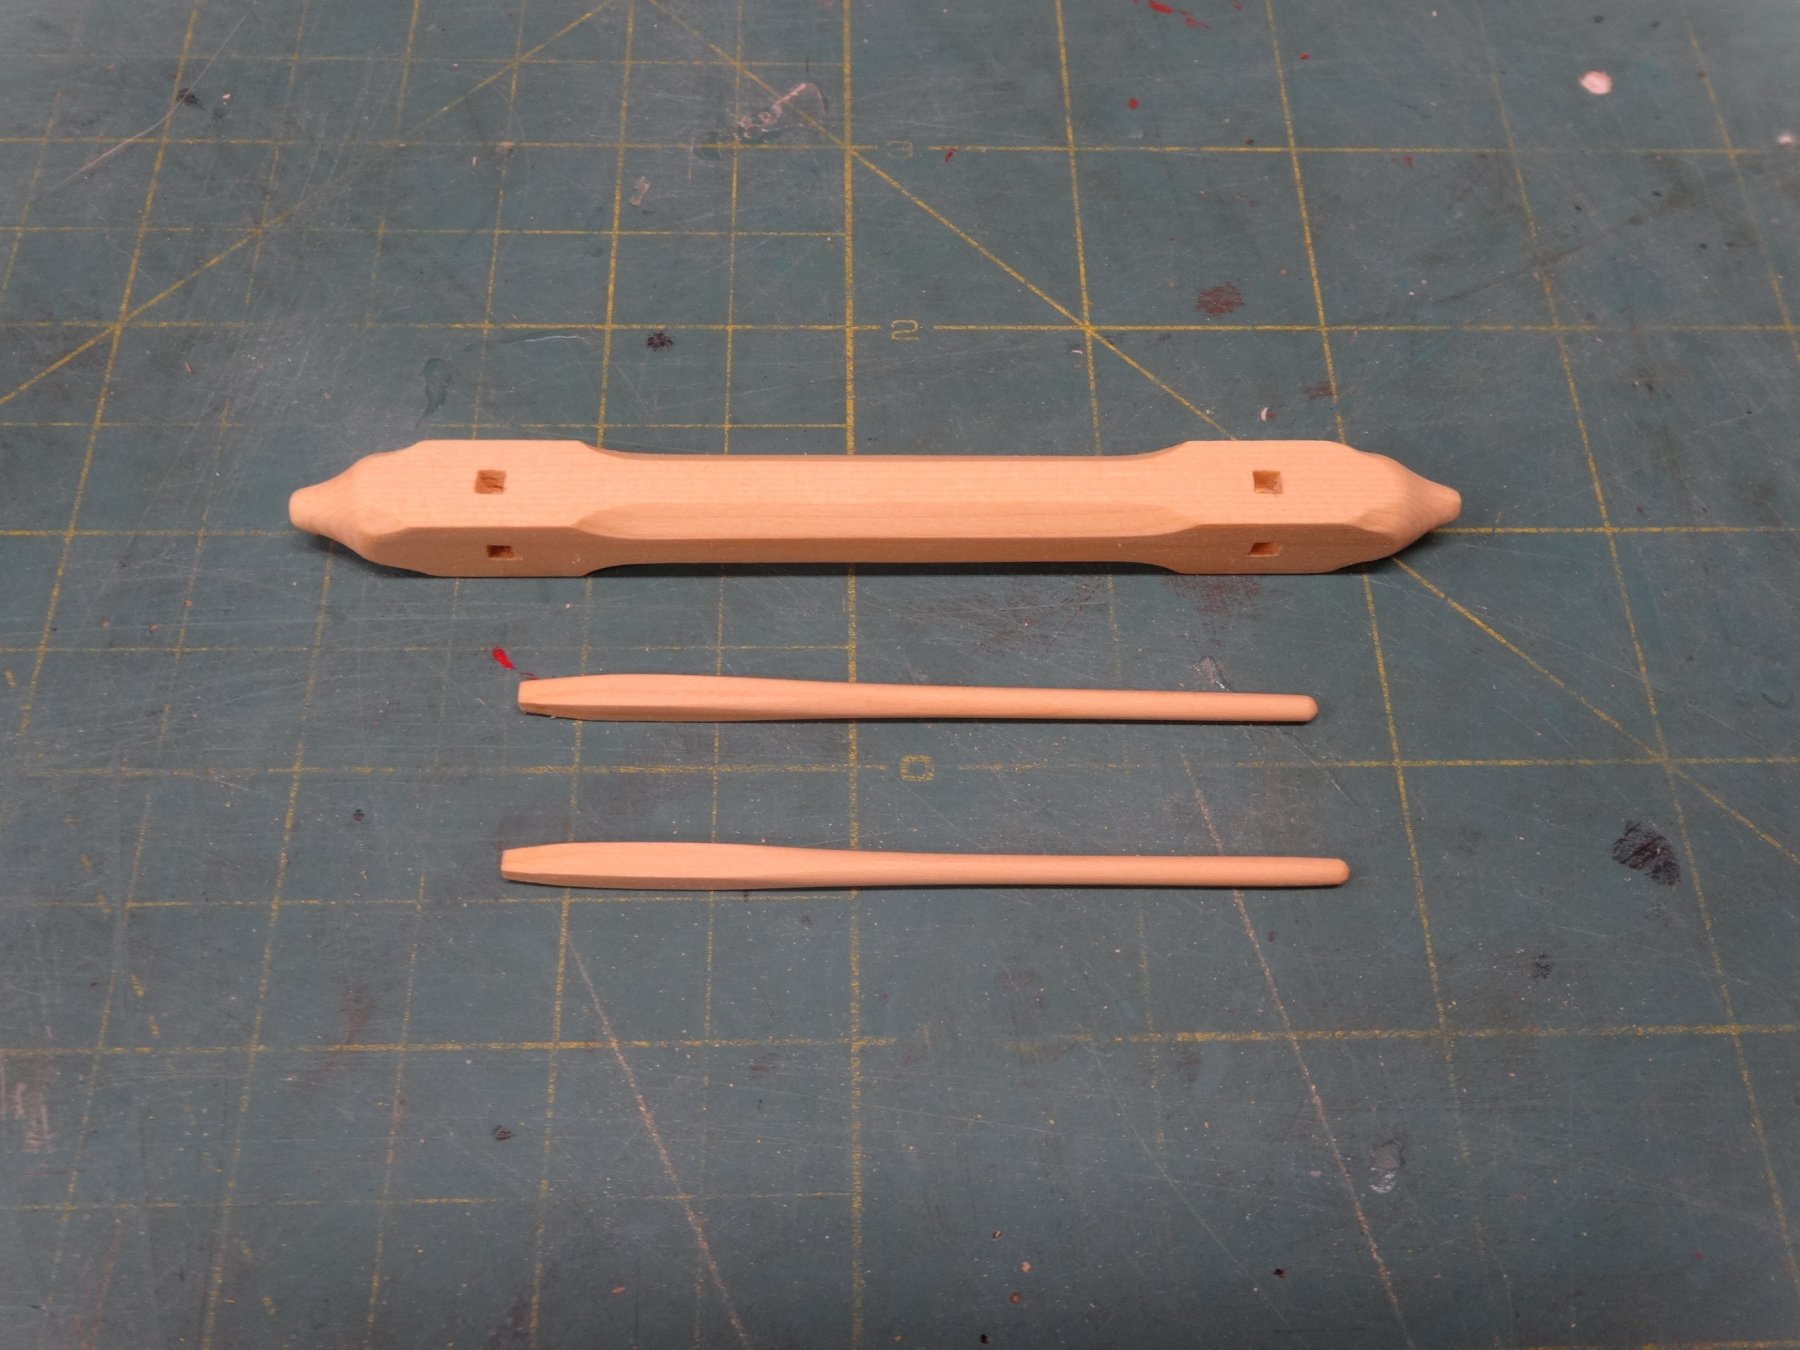
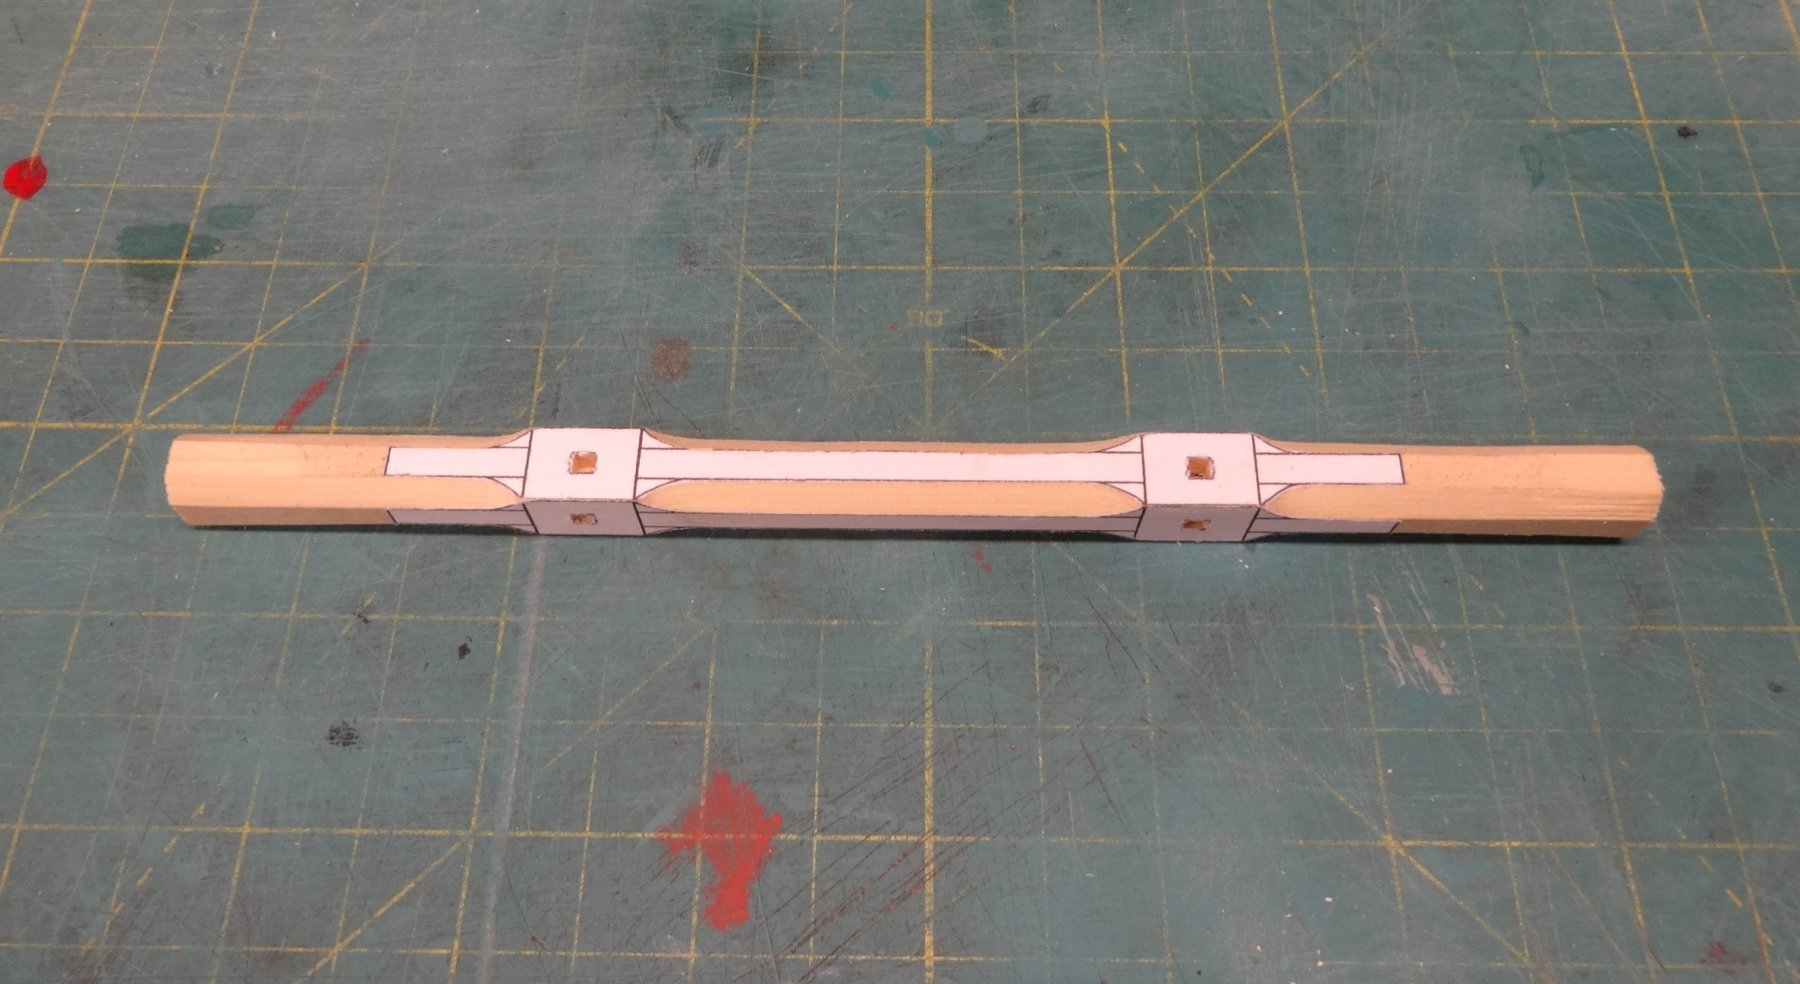
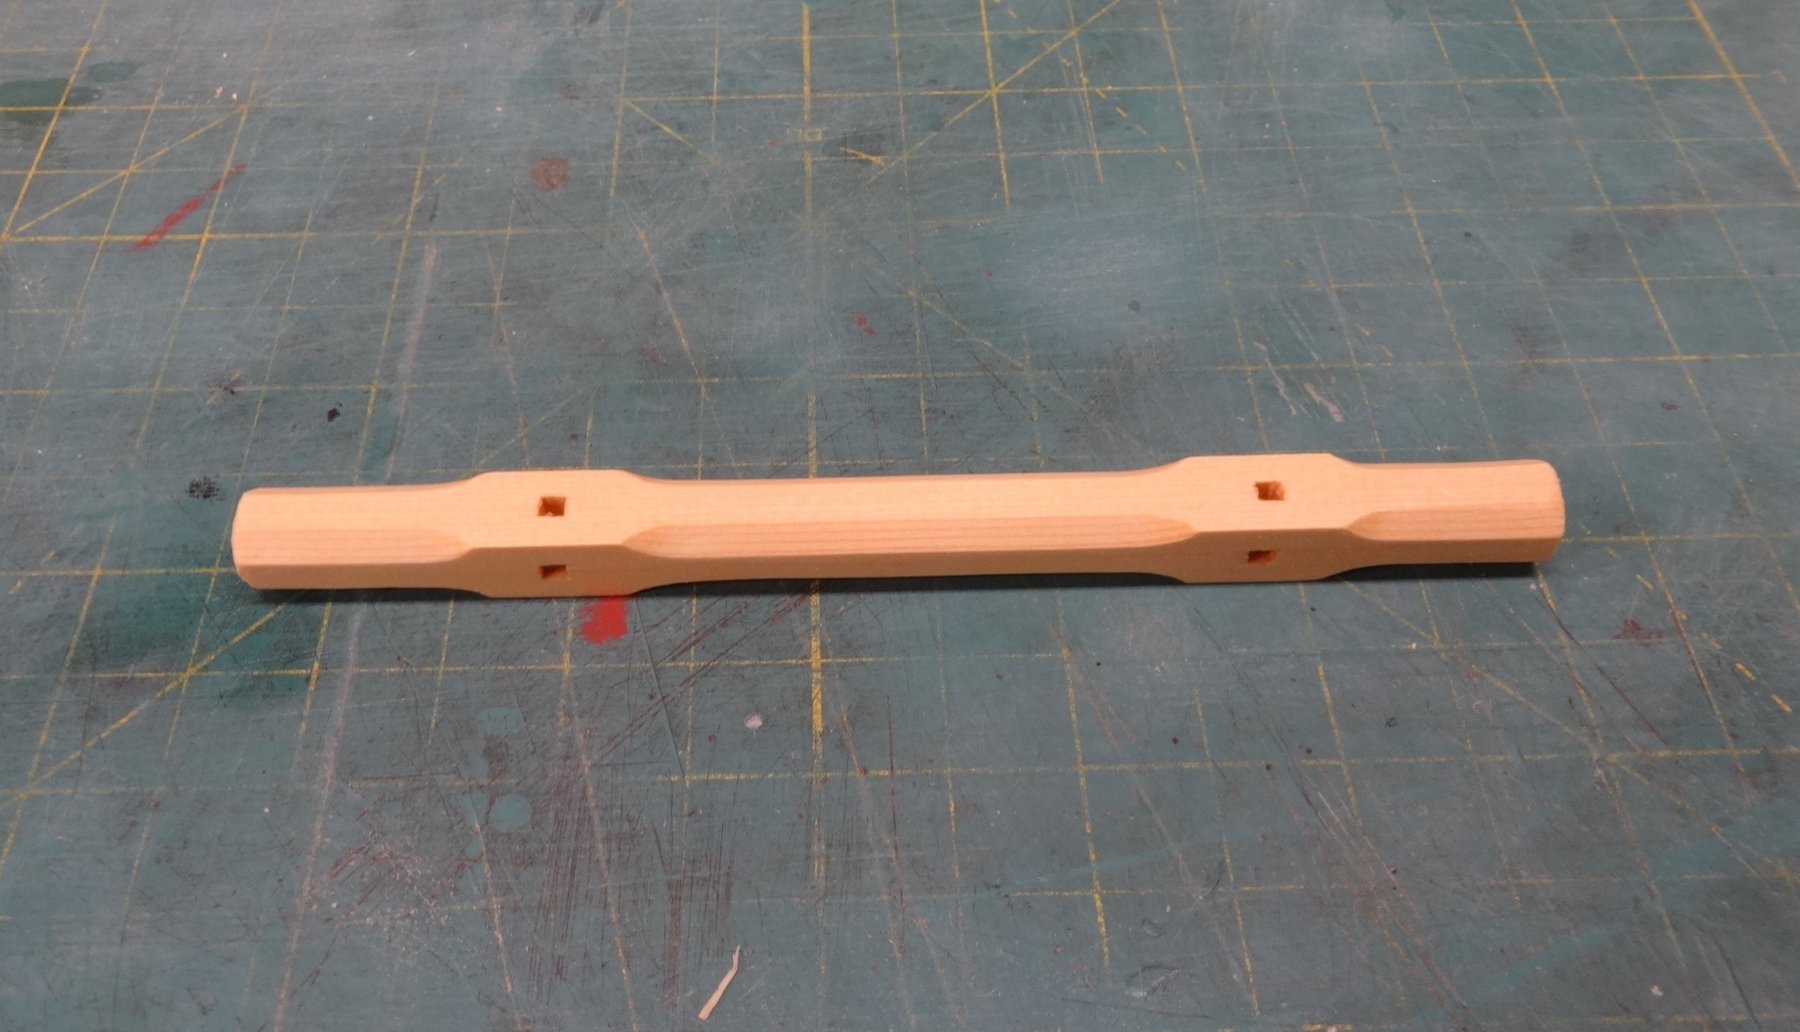
The windlass, supports and bars have been completed and are now in place. I used a x-acto blade and files to complete the bevels. The ends were trimmed and then sanded to shape. A little at a time to keep them equal and a good snug fit.


- 152 replies
-
- 20
-
-
- medway longboat
- Syren Ship Model Company
- (and 1 more)
-
Very nice Jim. It's always fun to others add their own personal touches!
-
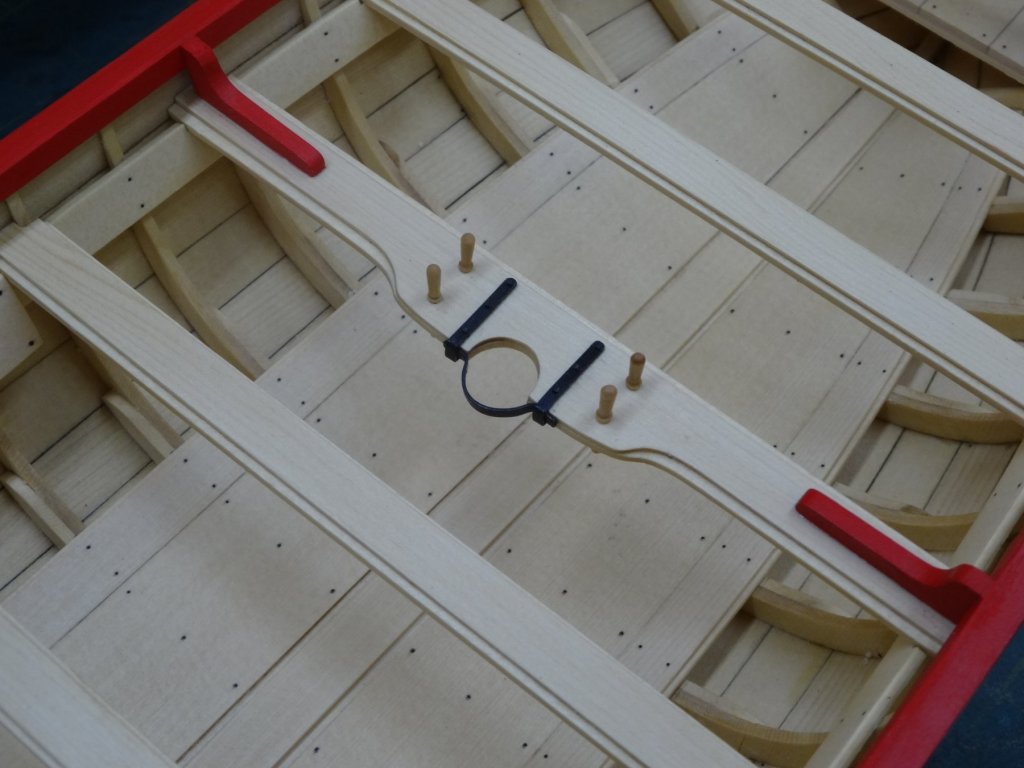
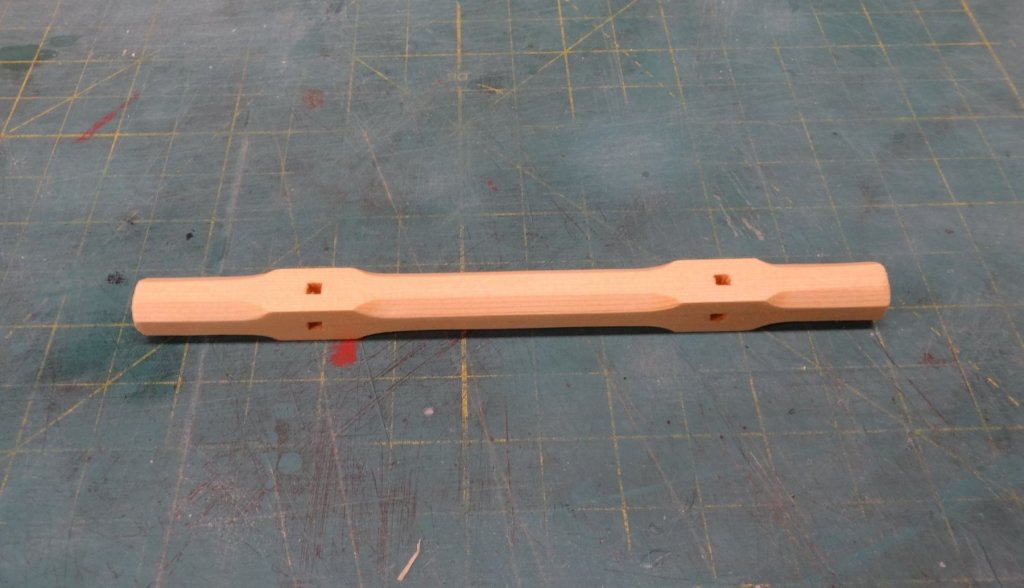
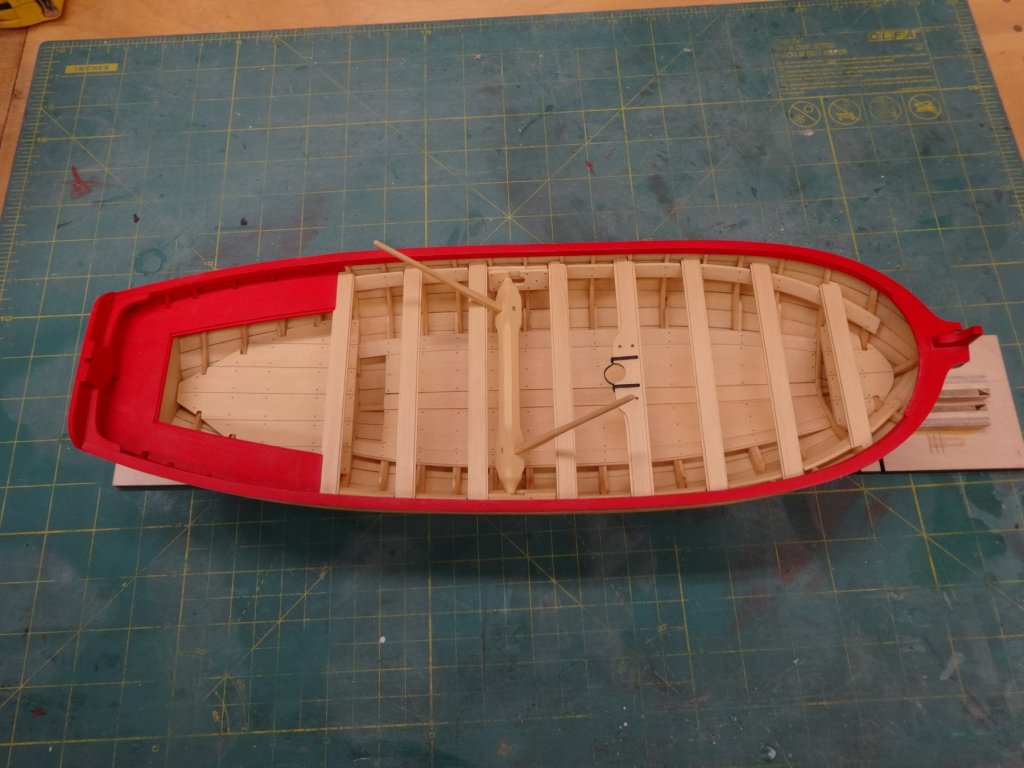
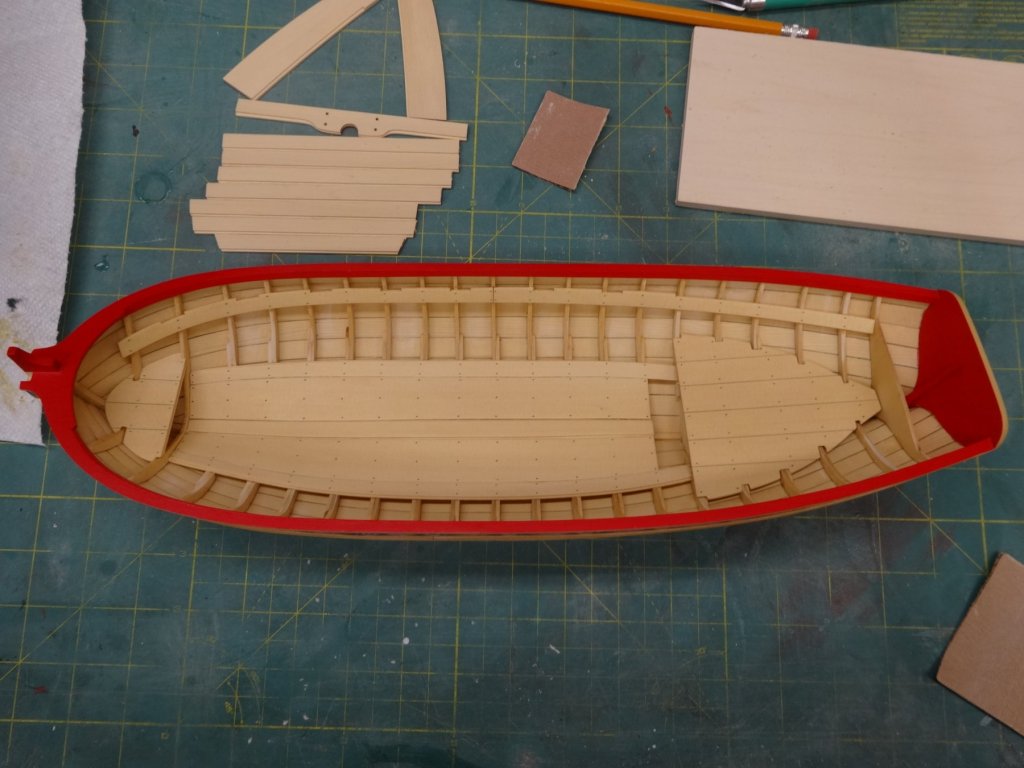
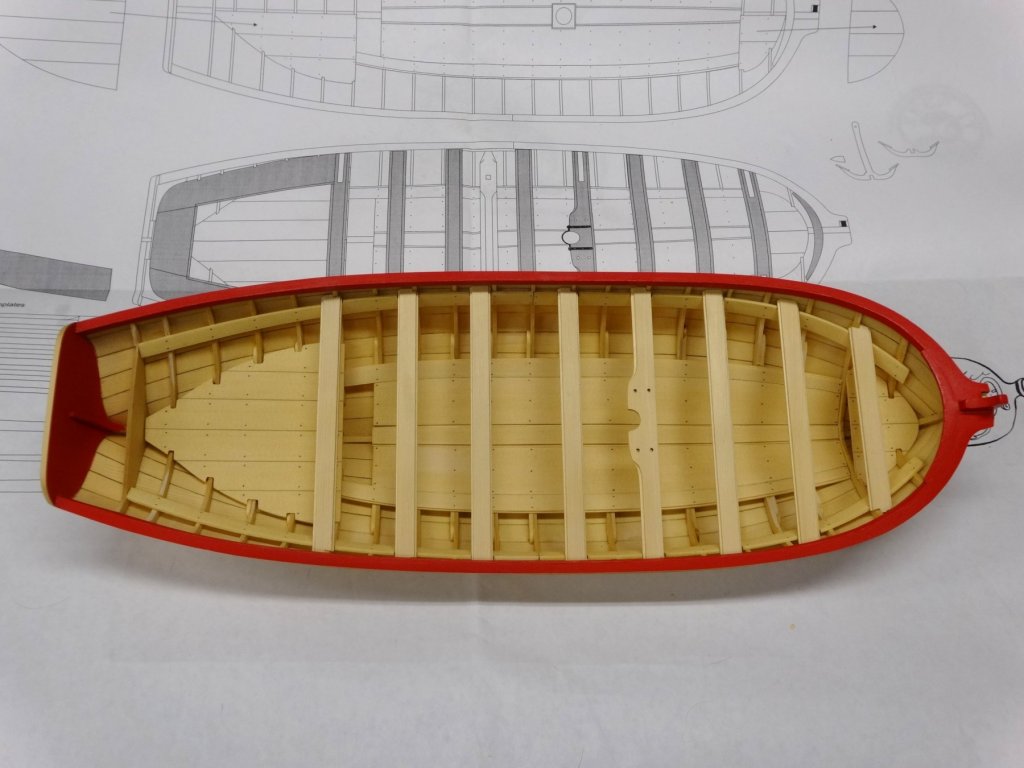
The mast thwart iron work has been completed. Supplied 1/16" x .025 brass strip was used to make the three straps needed to hold the mast. I bent the two straps around scrape wood the same thickness as the thwart. Holes were drilled with a #74 drill bit. The last iron strap was bent around a 3/8" dia. drill bit. All the thwarts have now been glued in place. Next I did the seats in the cockpit. The seats are laser cut in two layers just like the thwarts. The sides needed to have notches sanded in them for the frames just like the floor platforms. I got carried away and forgot to take pictures of that. Here is the finished result with many, many, did I say many coats of paint.

- 152 replies
-
- 17
-
-
- medway longboat
- Syren Ship Model Company
- (and 1 more)
-
Thanks Joe also thanks for all the likes!
-
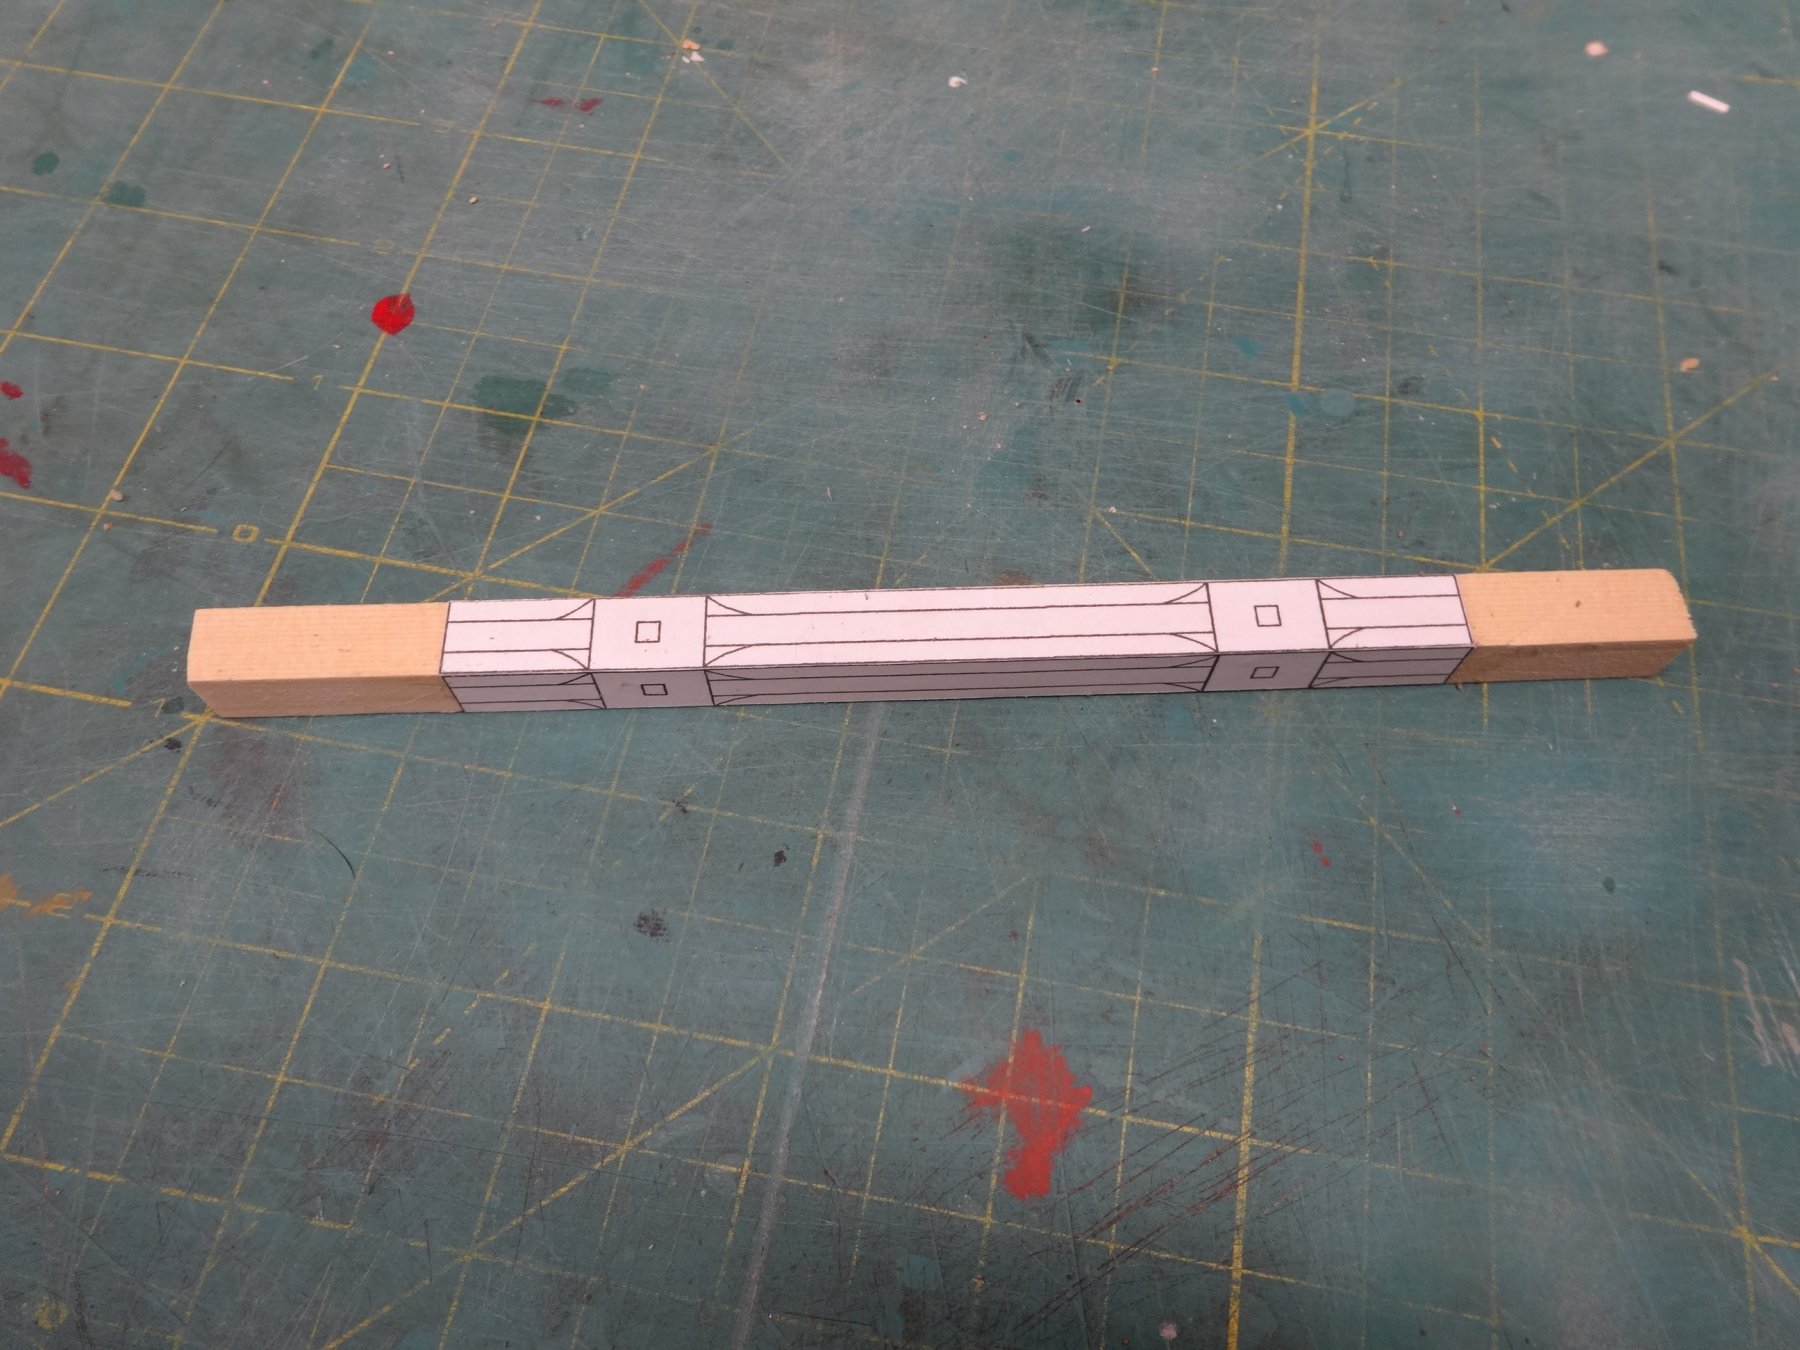
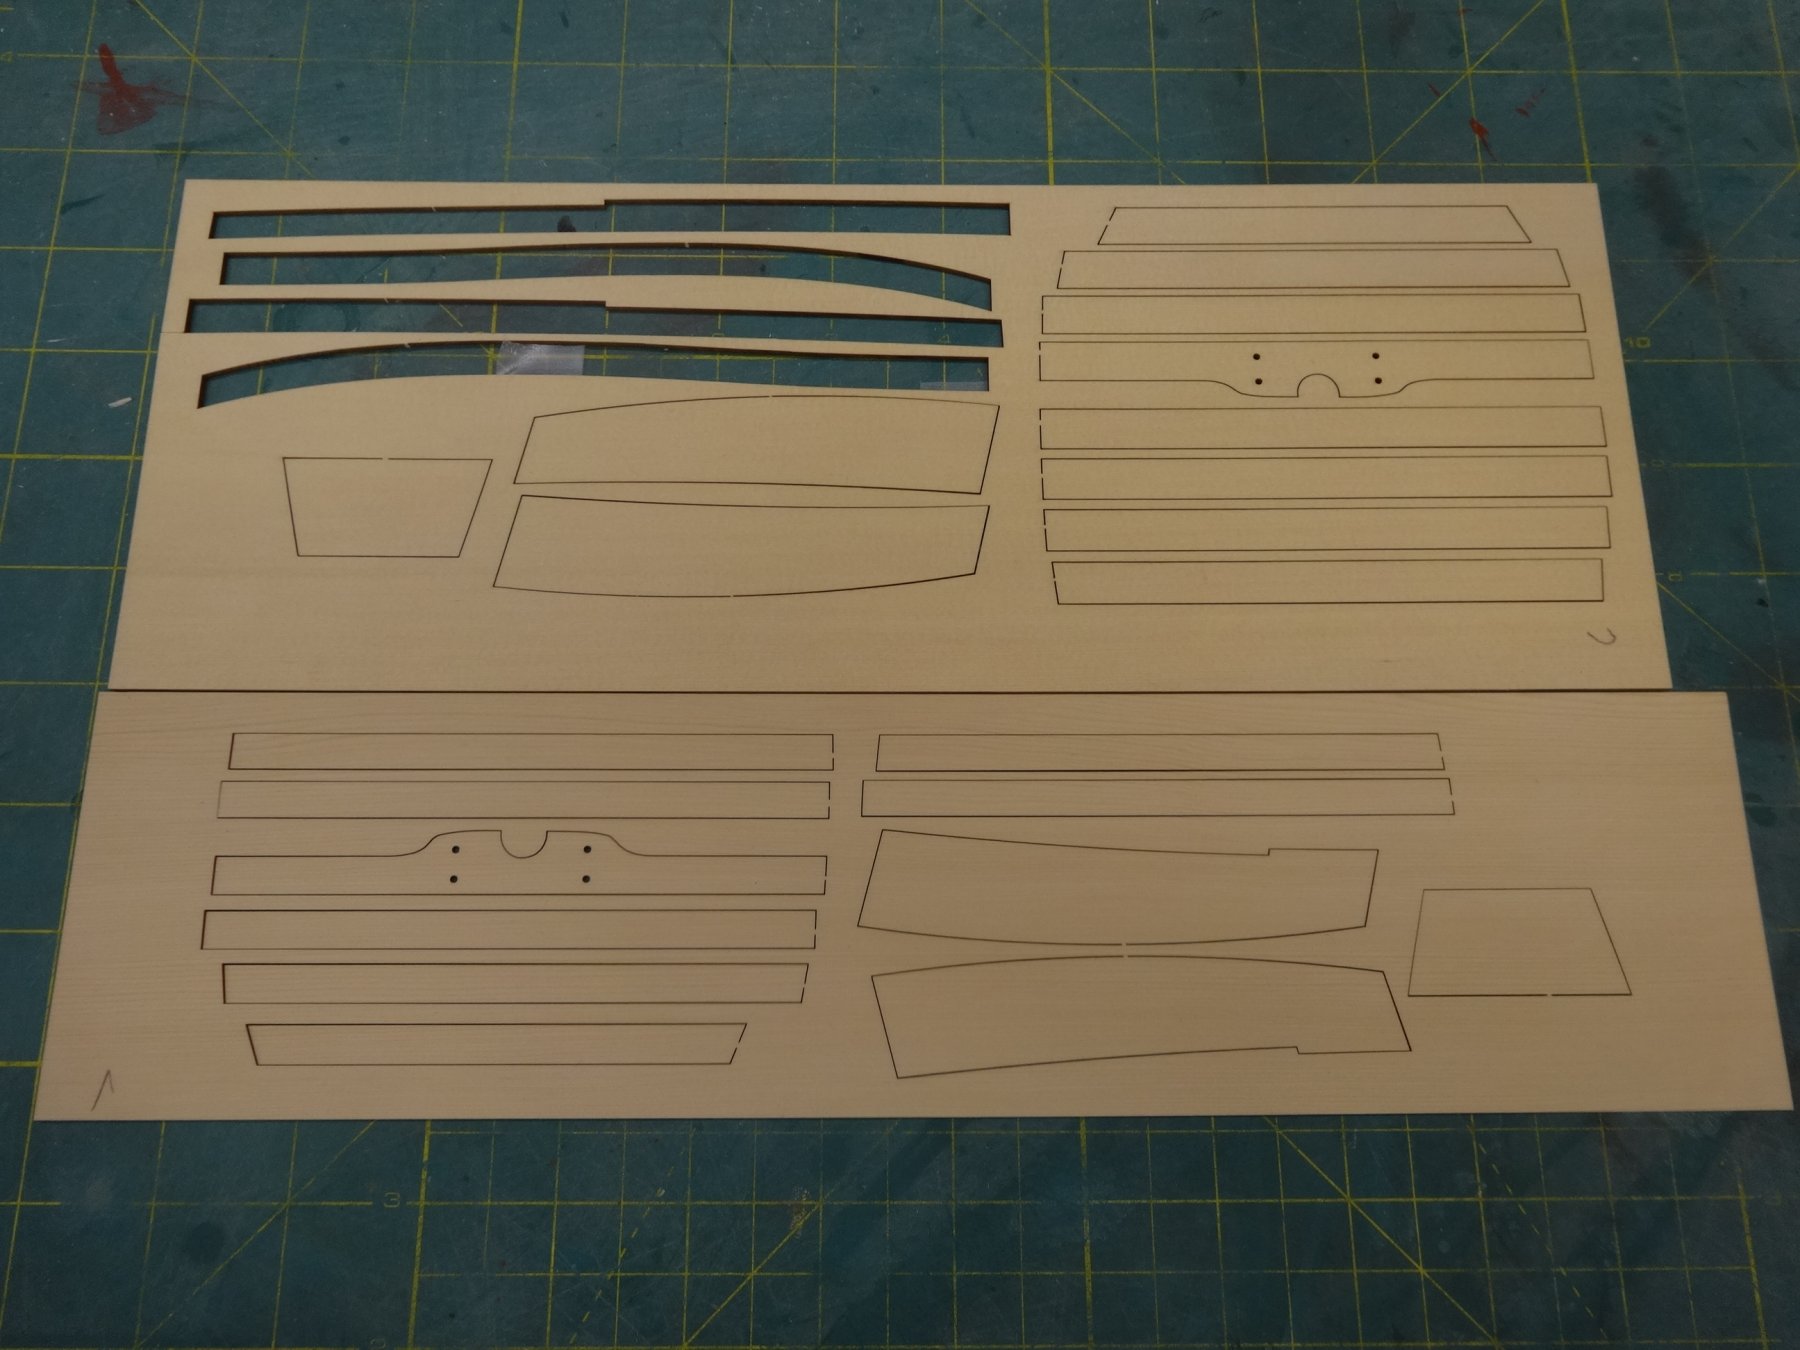
This was a test fit of the risers prior to marking off the bolt locations. The starboard side installed. You can also see the completed thwarts above. They were assembled from two pieces to again give a nice uniformed rabbett. Here they are before being removed from the sheets. And the thwarts sanded to fit but not yet glued in place.


- 152 replies
-
- 19
-
-
- medway longboat
- Syren Ship Model Company
- (and 1 more)
-
Very well done Ken.