Rustyj
-
Posts
2,535 -
Joined
-
Last visited
Content Type
Profiles
Forums
Gallery
Events
Everything posted by Rustyj
-
 I've used Ramelson chisels for years and love them.
 -
Well done Chuck. I hope mine looks half as good!
- 421 replies
-
- 5
-

-
- medway longboat
- Syren Ship Model Company
- (and 1 more)
-
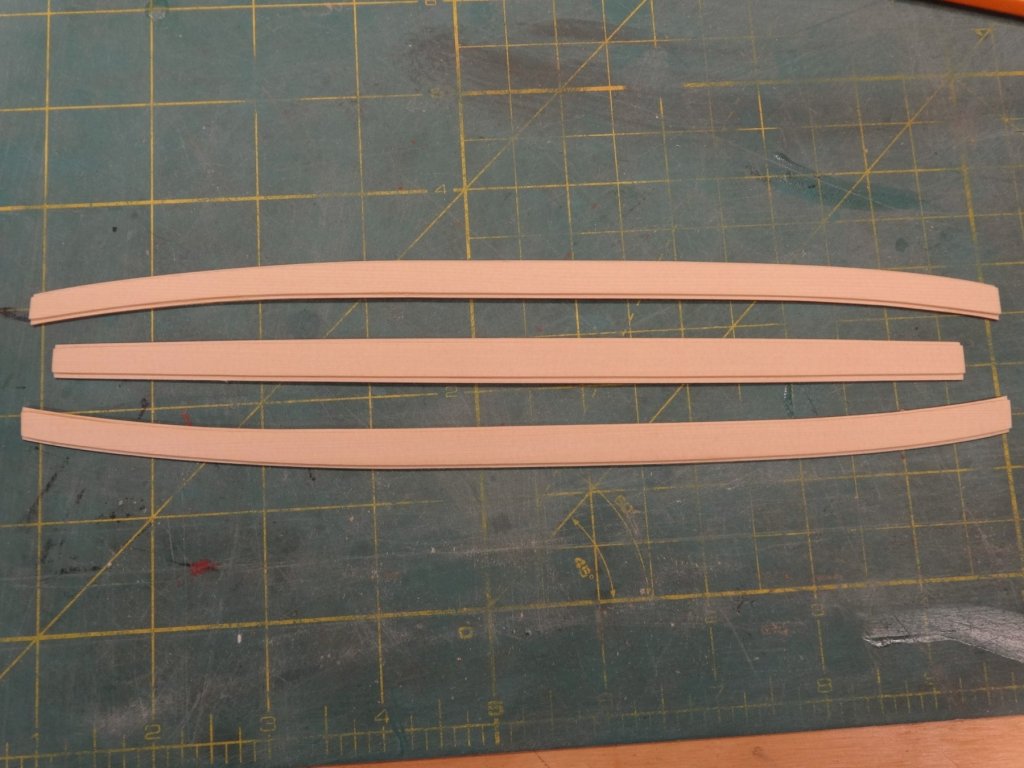
Thanks Chuck, Just heat, bend, check and repeat as necessary. Works like a charm. The platforms were sanded and notches for the frames cut. This required many test fits until I got a fit I was happy with. The risers have been sanded, nails applied and a light coat of poly added. To place these I used the same method from the barge model. A T square was made from scrap and the height was taken from the plans and transferred to each frame.

- 152 replies
-
- 17
-
-
- medway longboat
- Syren Ship Model Company
- (and 1 more)
-
Thanks Jeff and for all the likes!
-
HI Ryland. If your cap rail turns out like mine you won't have an issue. I ended up sanding off about a 1/32" from those transom ears.
- 263 replies
-
- 1
-
-
- Medway Longboat
- Syren Ship Model Company
- (and 1 more)
-
Hi Ryland, Looking real good and it is a good idea to remove the tape as you plank. it gets harder to remove when some of the planking is in place even if you don't glue it accidentally to the frames.
- 263 replies
-
- 1
-
-
- Medway Longboat
- Syren Ship Model Company
- (and 1 more)
-
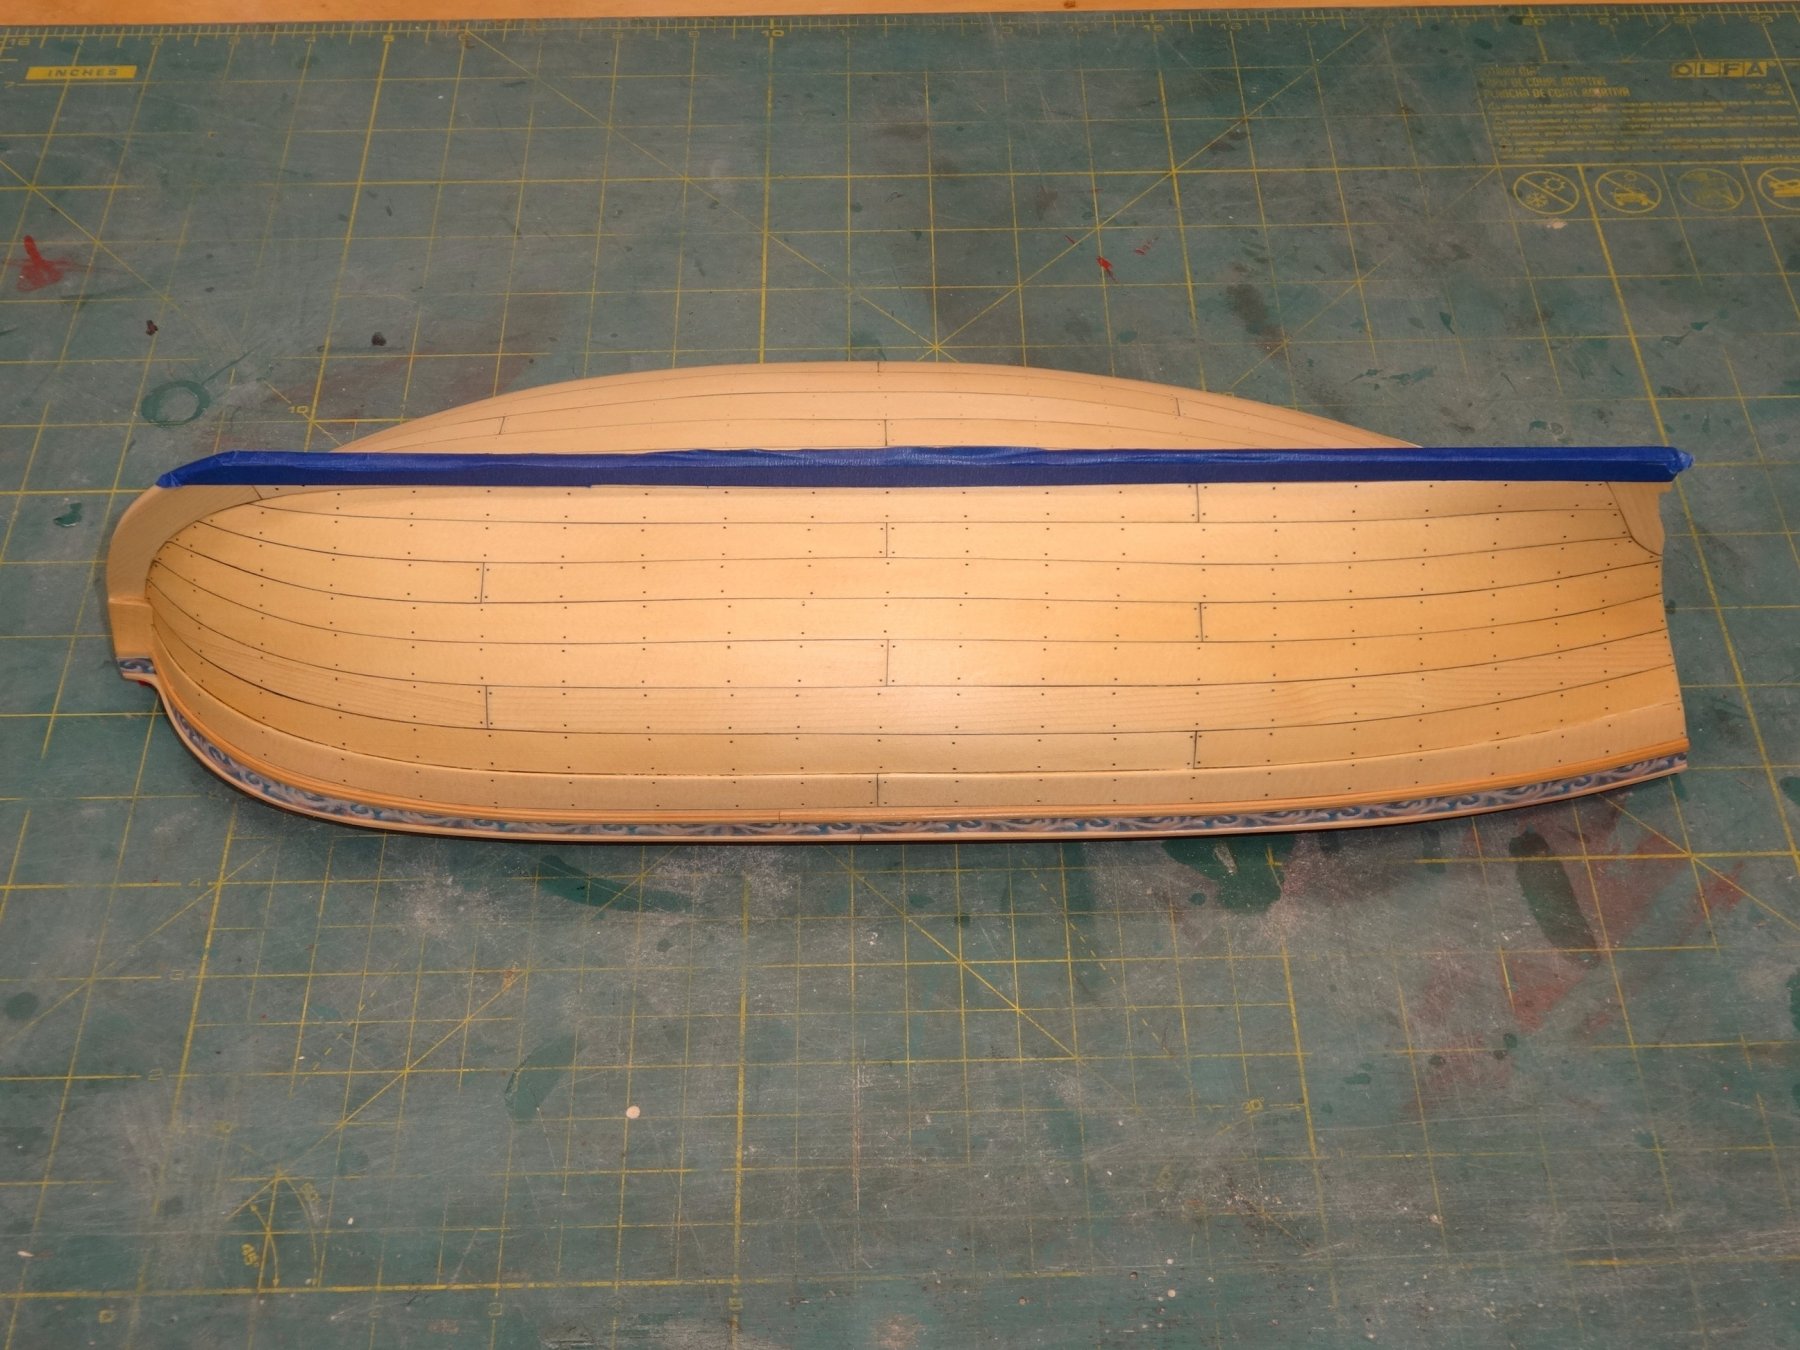
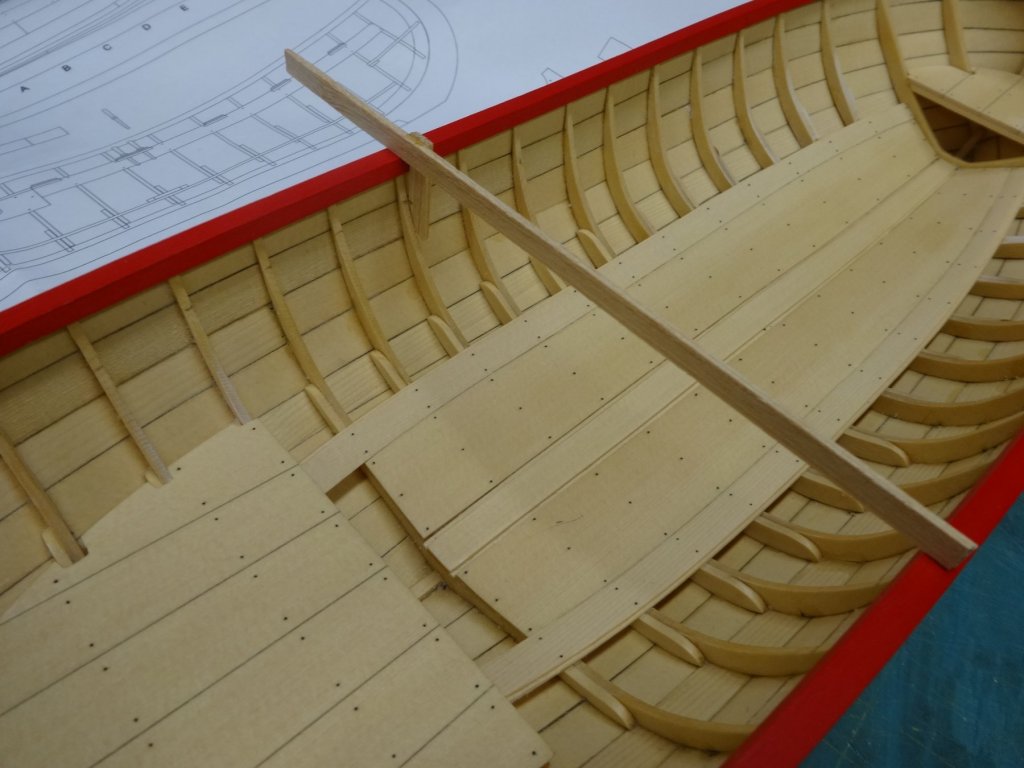
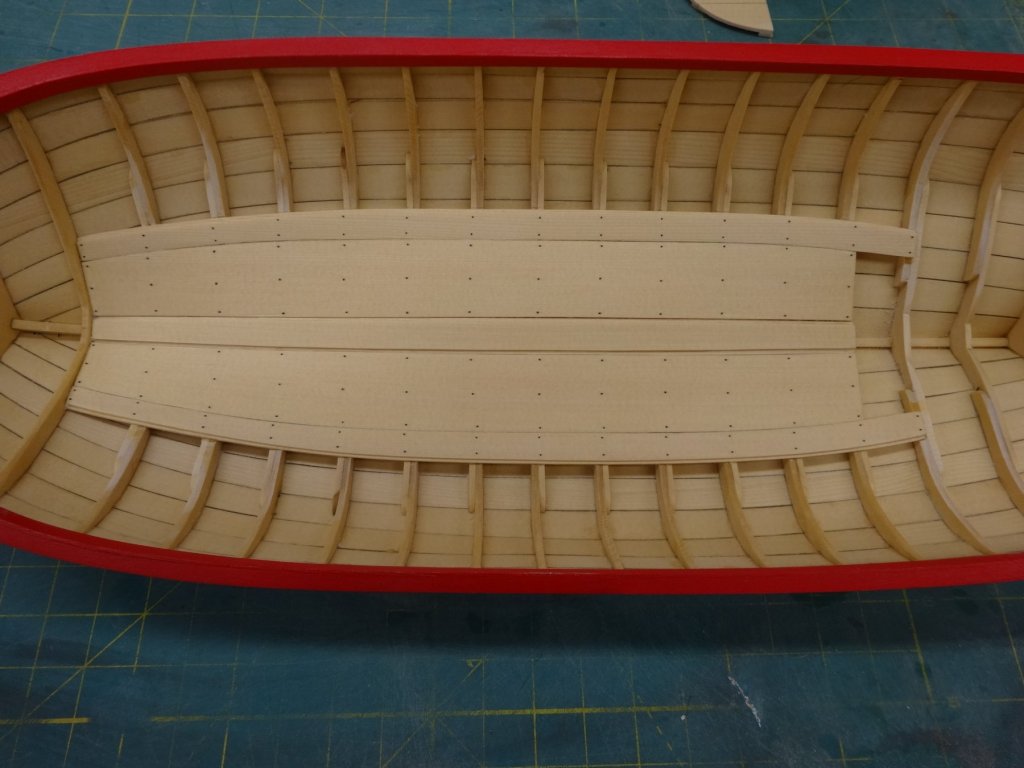
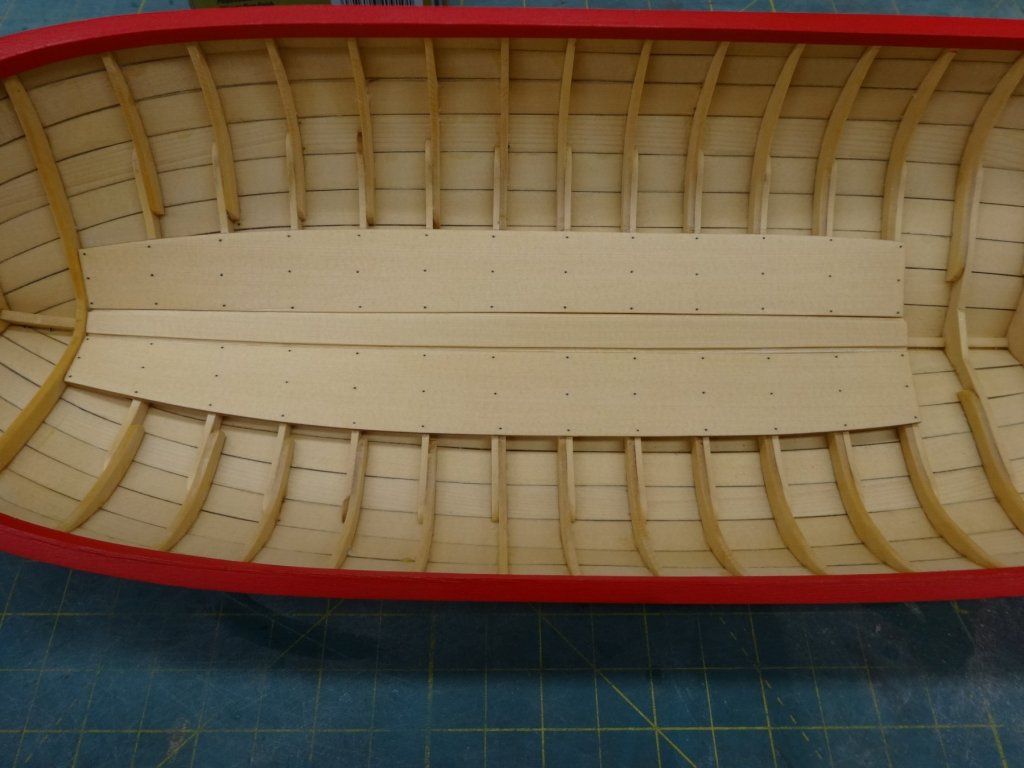
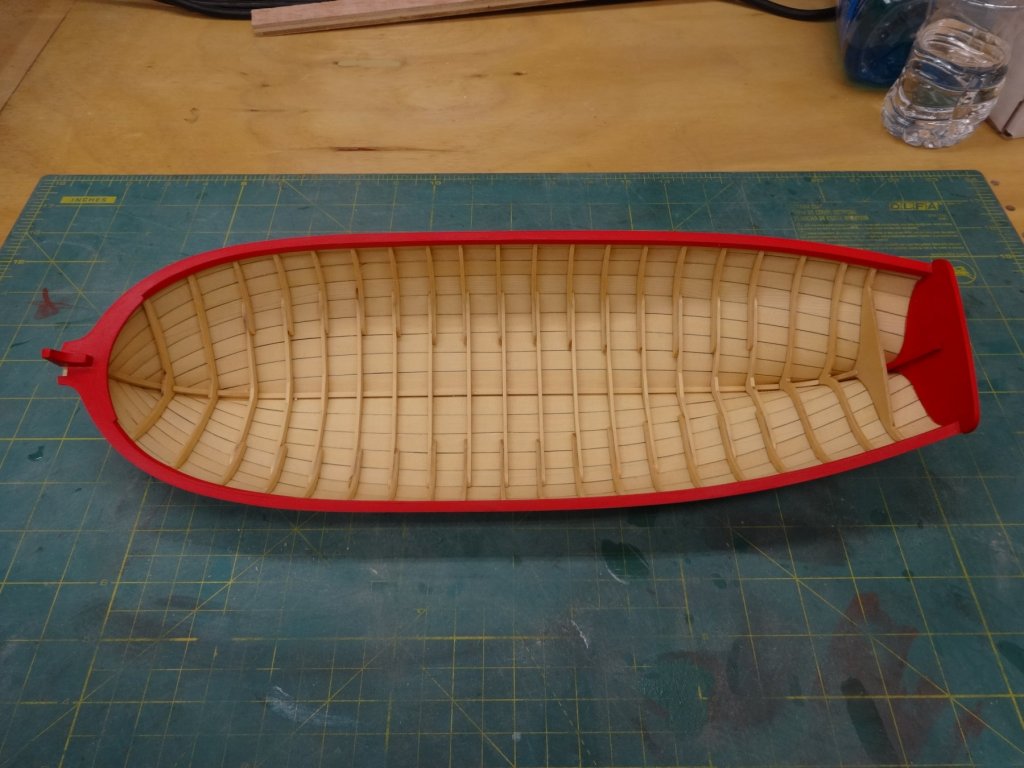
The hull has now been completed, sanded with 320 grit sandpaper and a light coat of wipe on poly applied. I have also added the outermost floorboards.
- 152 replies
-
- 15
-
-
- medway longboat
- Syren Ship Model Company
- (and 1 more)
-
Thanks Steve. I'm lucky to have Christmas to New Years off so I'm taking advantage of it. Thanks Jim. I'm ahead of the instructions and I'm using the plans and Chucks build log for guidance.
- 152 replies
-
- 2
-
-
- medway longboat
- Syren Ship Model Company
- (and 1 more)
-
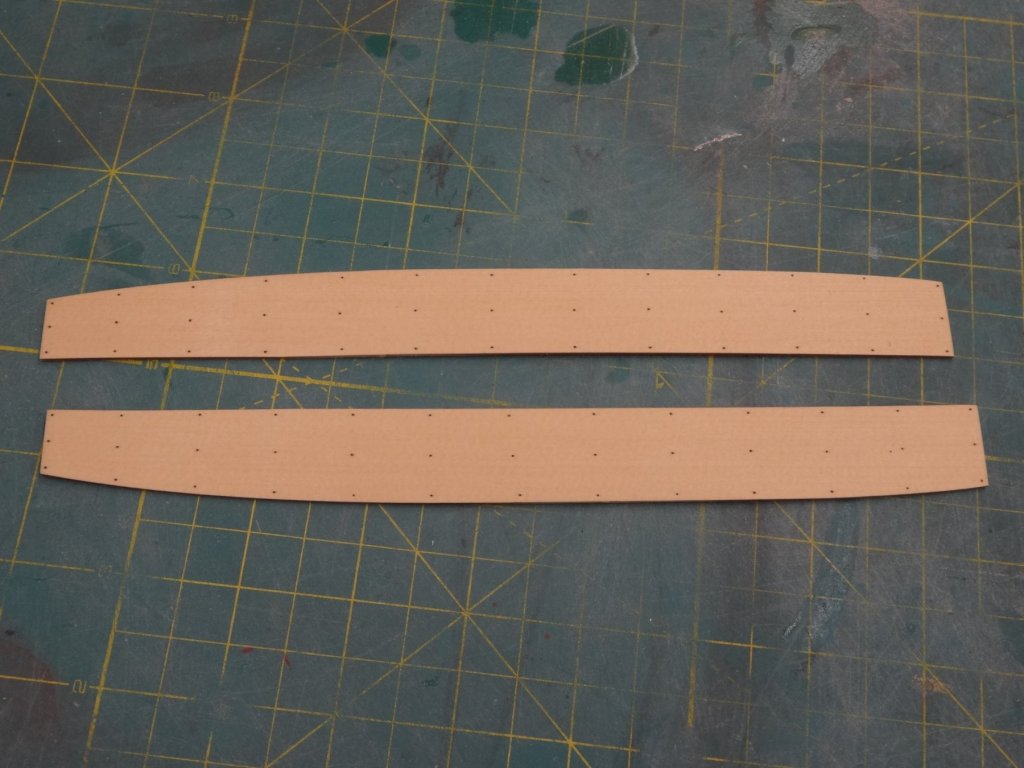
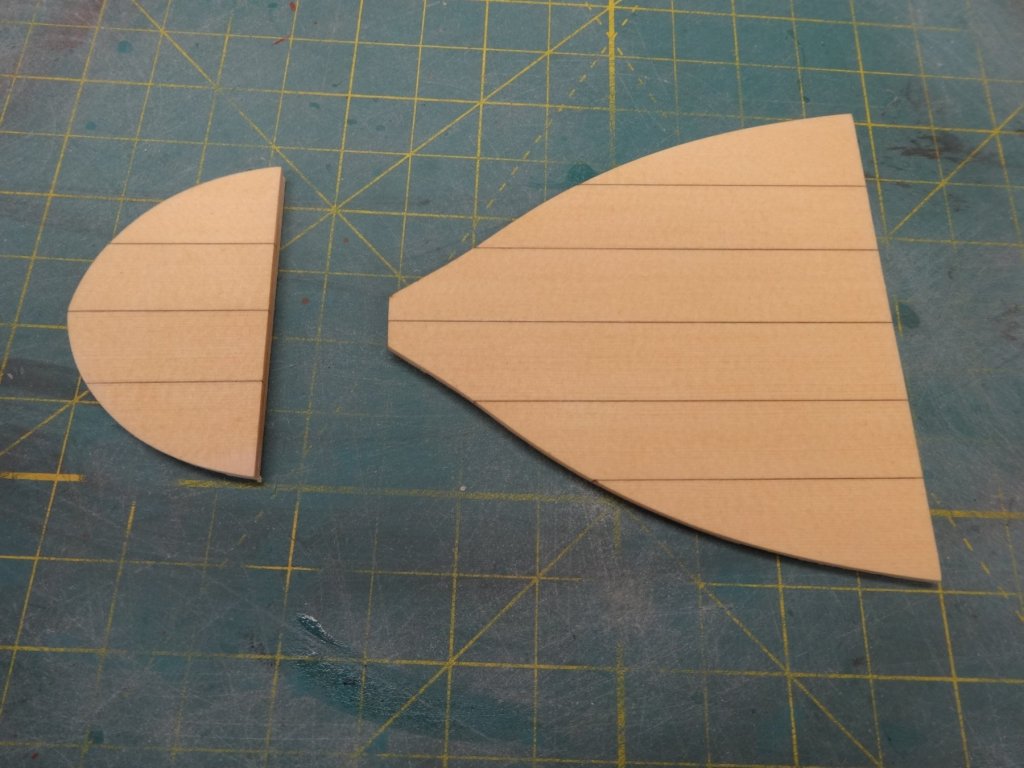
The diversion to the floorboards continues. The large boards seen in the last post were one piece each. The center board and two outside boards have a rabbet along their edges. They were glued together with a rabbet on both sides. The outside planks of the floorboards only have a rabbet on one side so the inboard side needed to be sanded down to fit. I'm back at the rest of the nailing and should be done soon.

- 152 replies
-
- 18
-
-
- medway longboat
- Syren Ship Model Company
- (and 1 more)
-
Thanks Joe, With the light shining I would mark each frame. Once they were all marked I would go back and adjust any mark that was out of line. Thanks for the kind words Steve. The area that was the most problematic was where the butt joints meet on a single frame. Fortunately if I did drill through the plank and miss a frame most were under the floorboards or seats. If I did go through and I thought it might be seen I pulled the monofilament back flush, sanded off any chips and put a tiny spot of paint on the monofilament making is very hard to see. Hi Rich. I wish I could say that the entire hull was free of any light shining through. I still need to get better. I got distracted from doing the hull and switched to the floorboards and platforms for a minor diversion. Well that's all the fun for today. It's off to the family gathering now.
- 152 replies
-
- 9
-
-
- medway longboat
- Syren Ship Model Company
- (and 1 more)
-
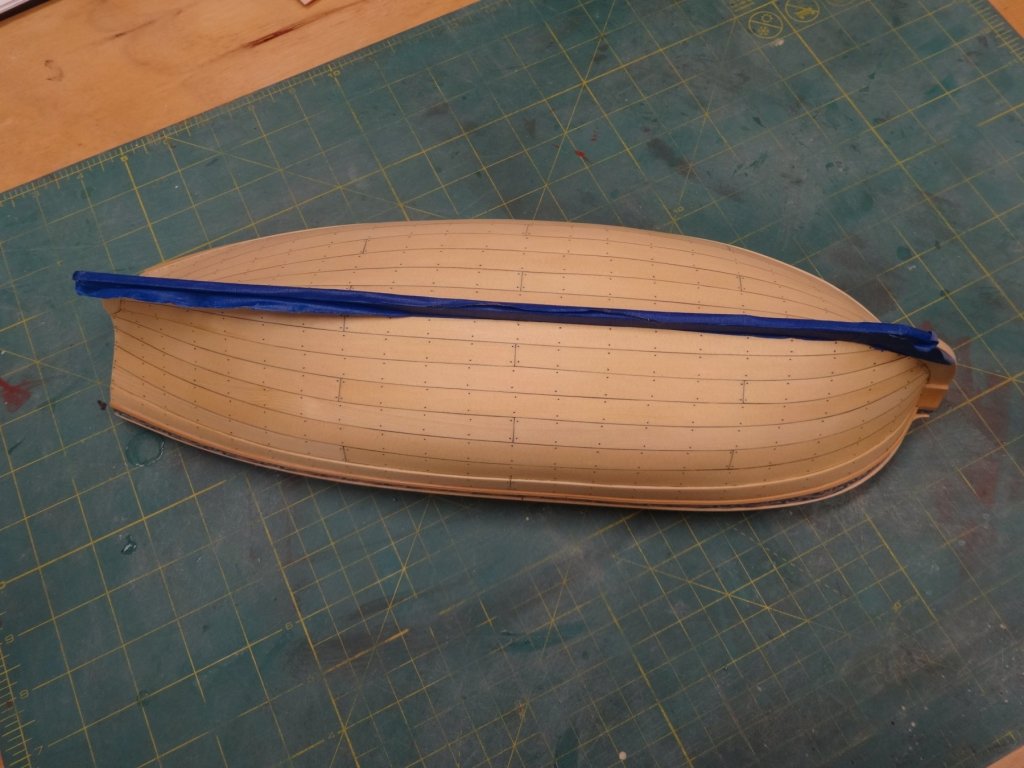
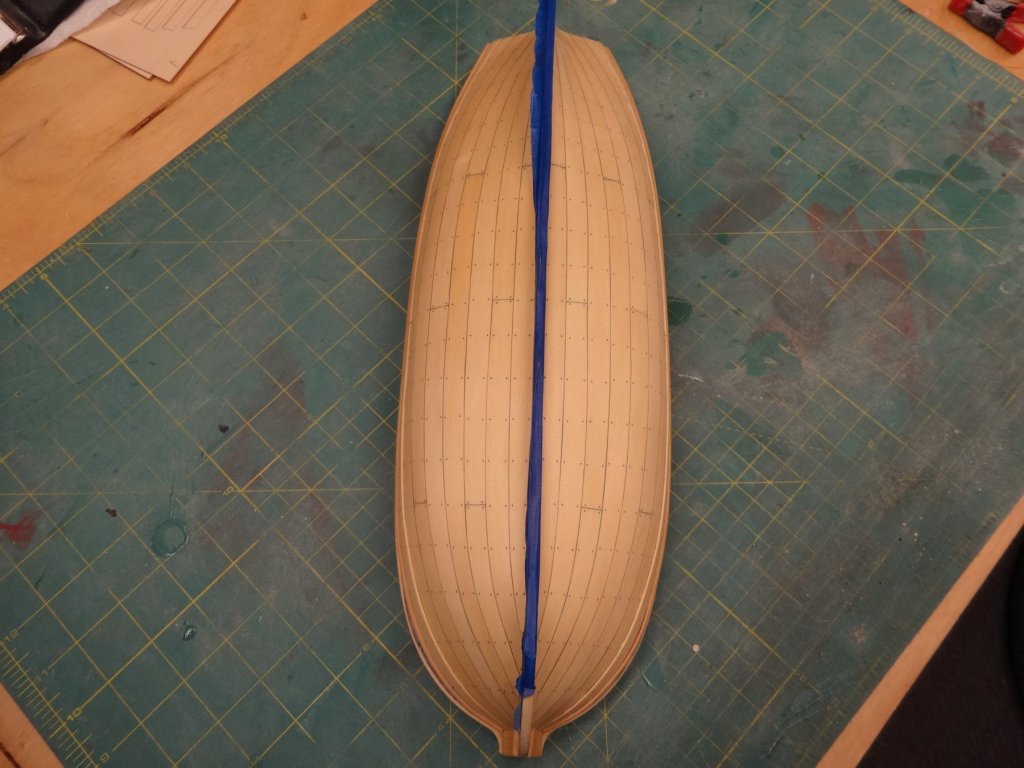
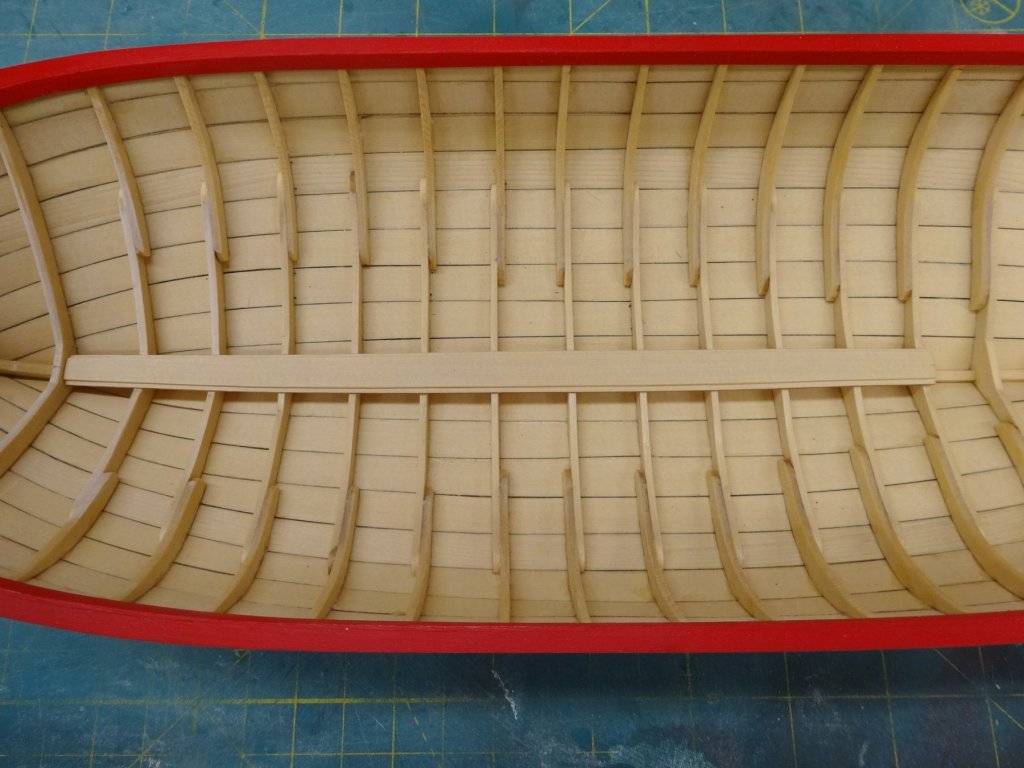
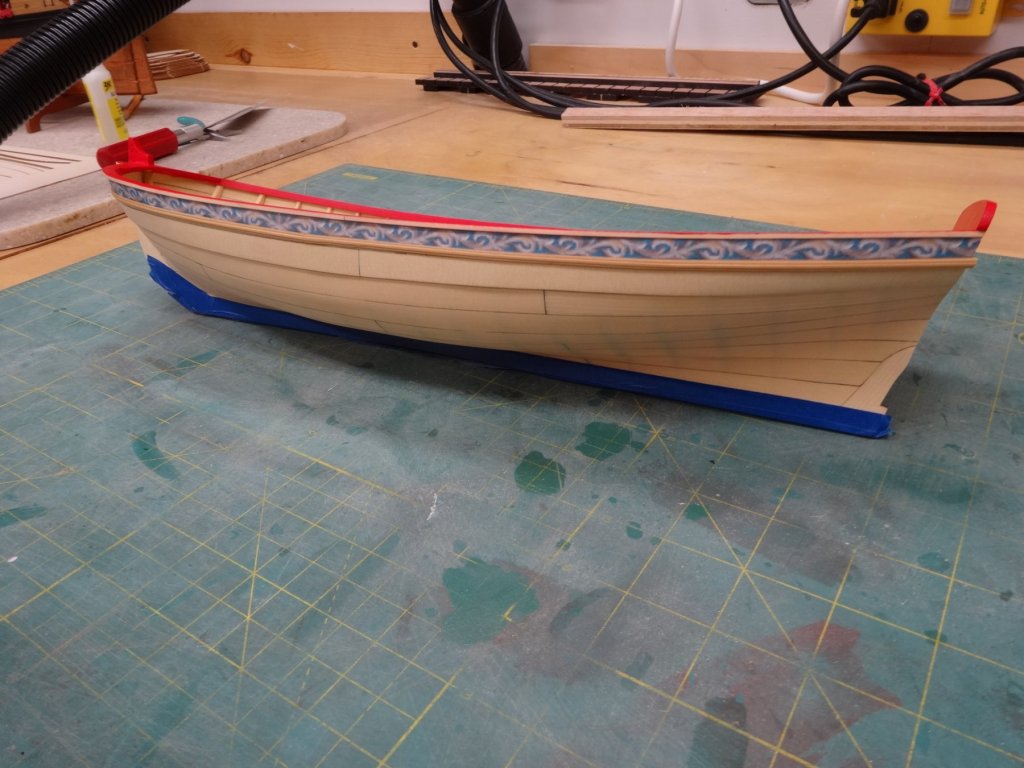
I've started marking off the hull for the nails. With the planks being only 1/32" thick I could put a light on the inboard side and see where the frames are. Here is the start of the monofilament being placed in the holes after dipped in glue. A single edged razor is used to cut them off after the glue has dried. I then sanded the nubs with 320 grit sandpaper and applied a coat of wipe on poly. Here the starboard side has been completed.
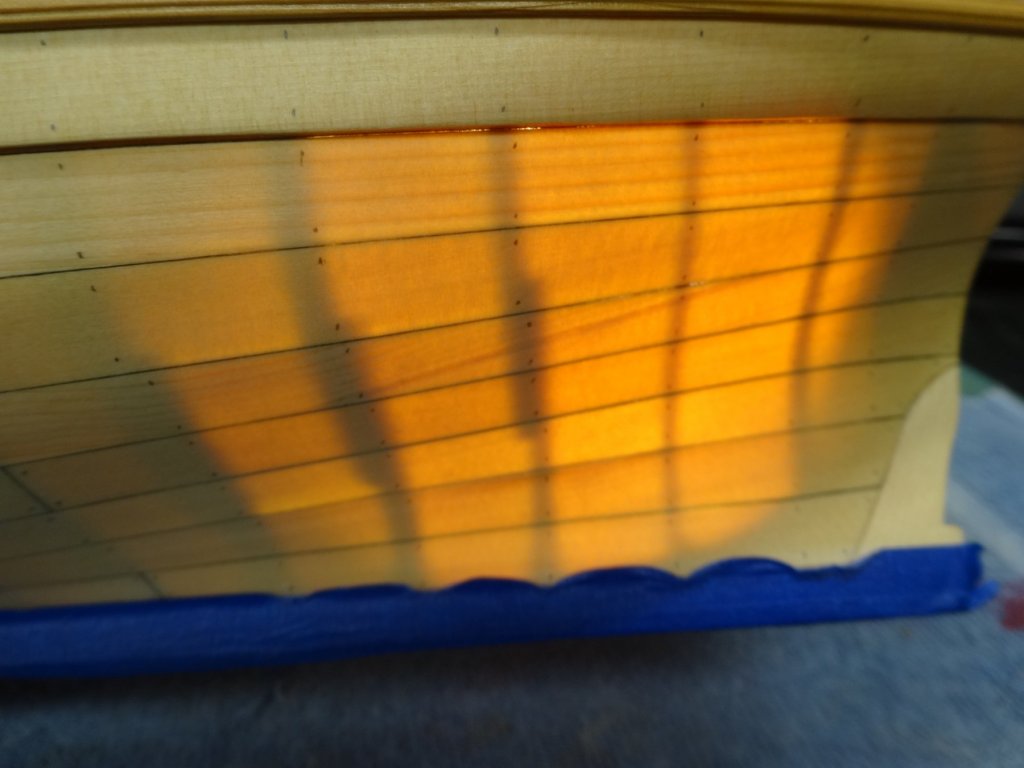

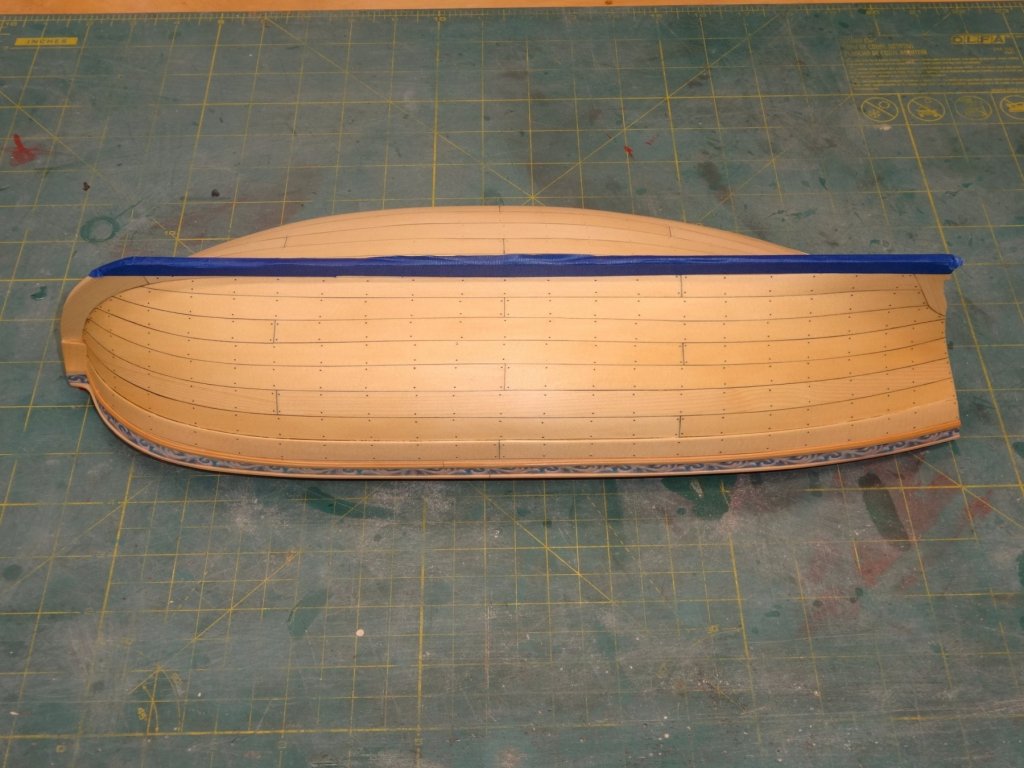
- 152 replies
-
- 17
-
-
- medway longboat
- Syren Ship Model Company
- (and 1 more)
-
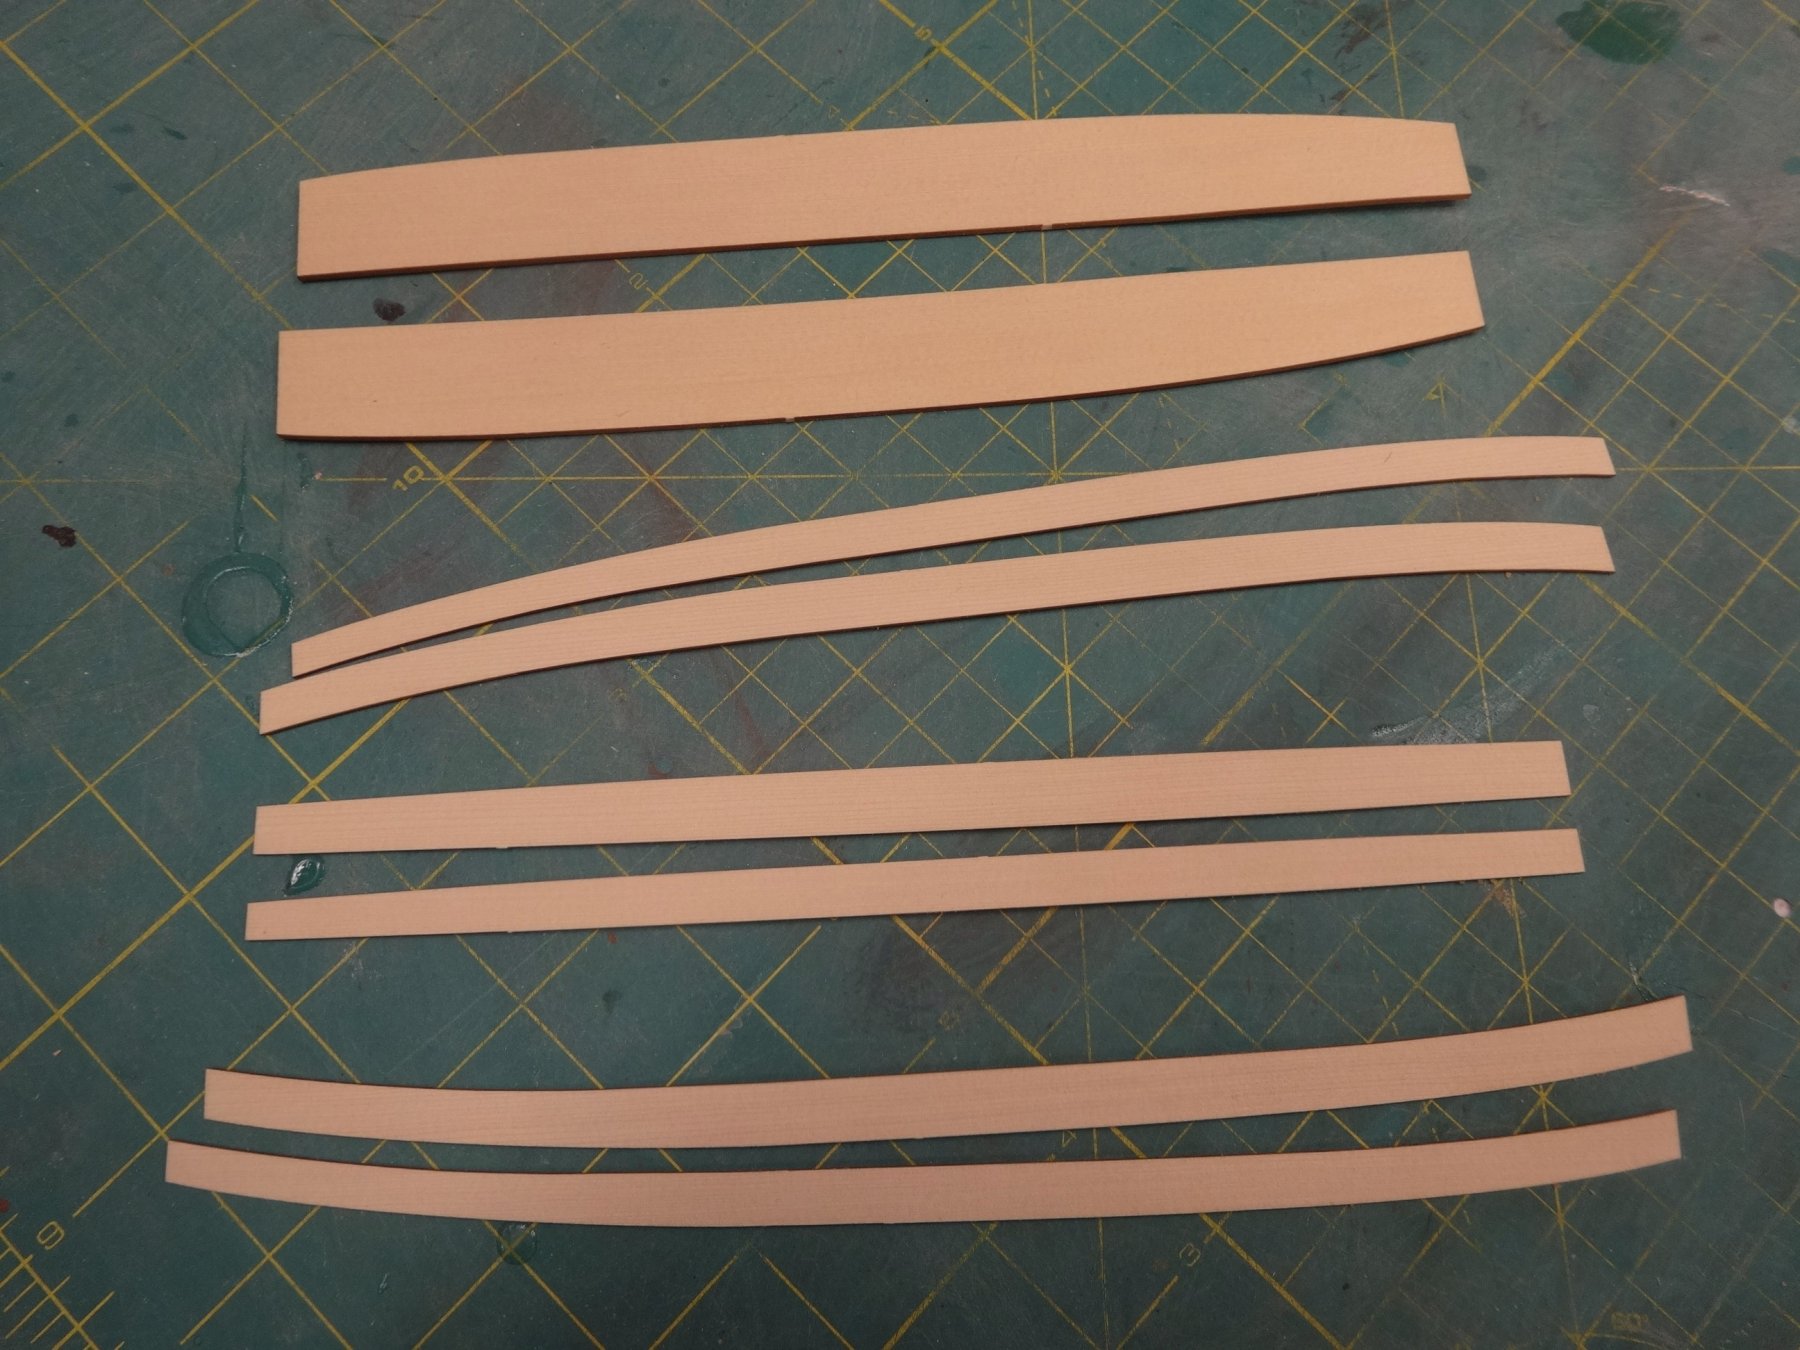
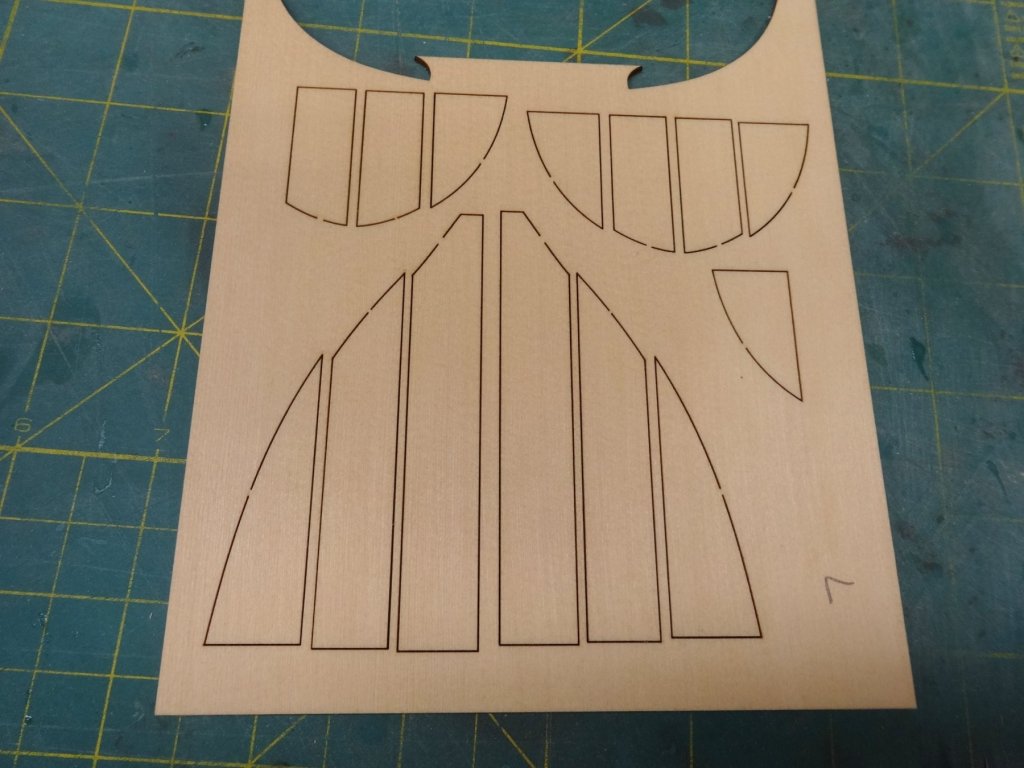
Hi Jeff, Looking good. The small strip should only be needed on the single frames. It wouldn't hurt to put them on all the frames though. I only did the single frames and had no problems when I faired them.
-
Thanks Jeff, Steve, Ben, Joe and all the likes. Really having a lot of fun with this one!
-
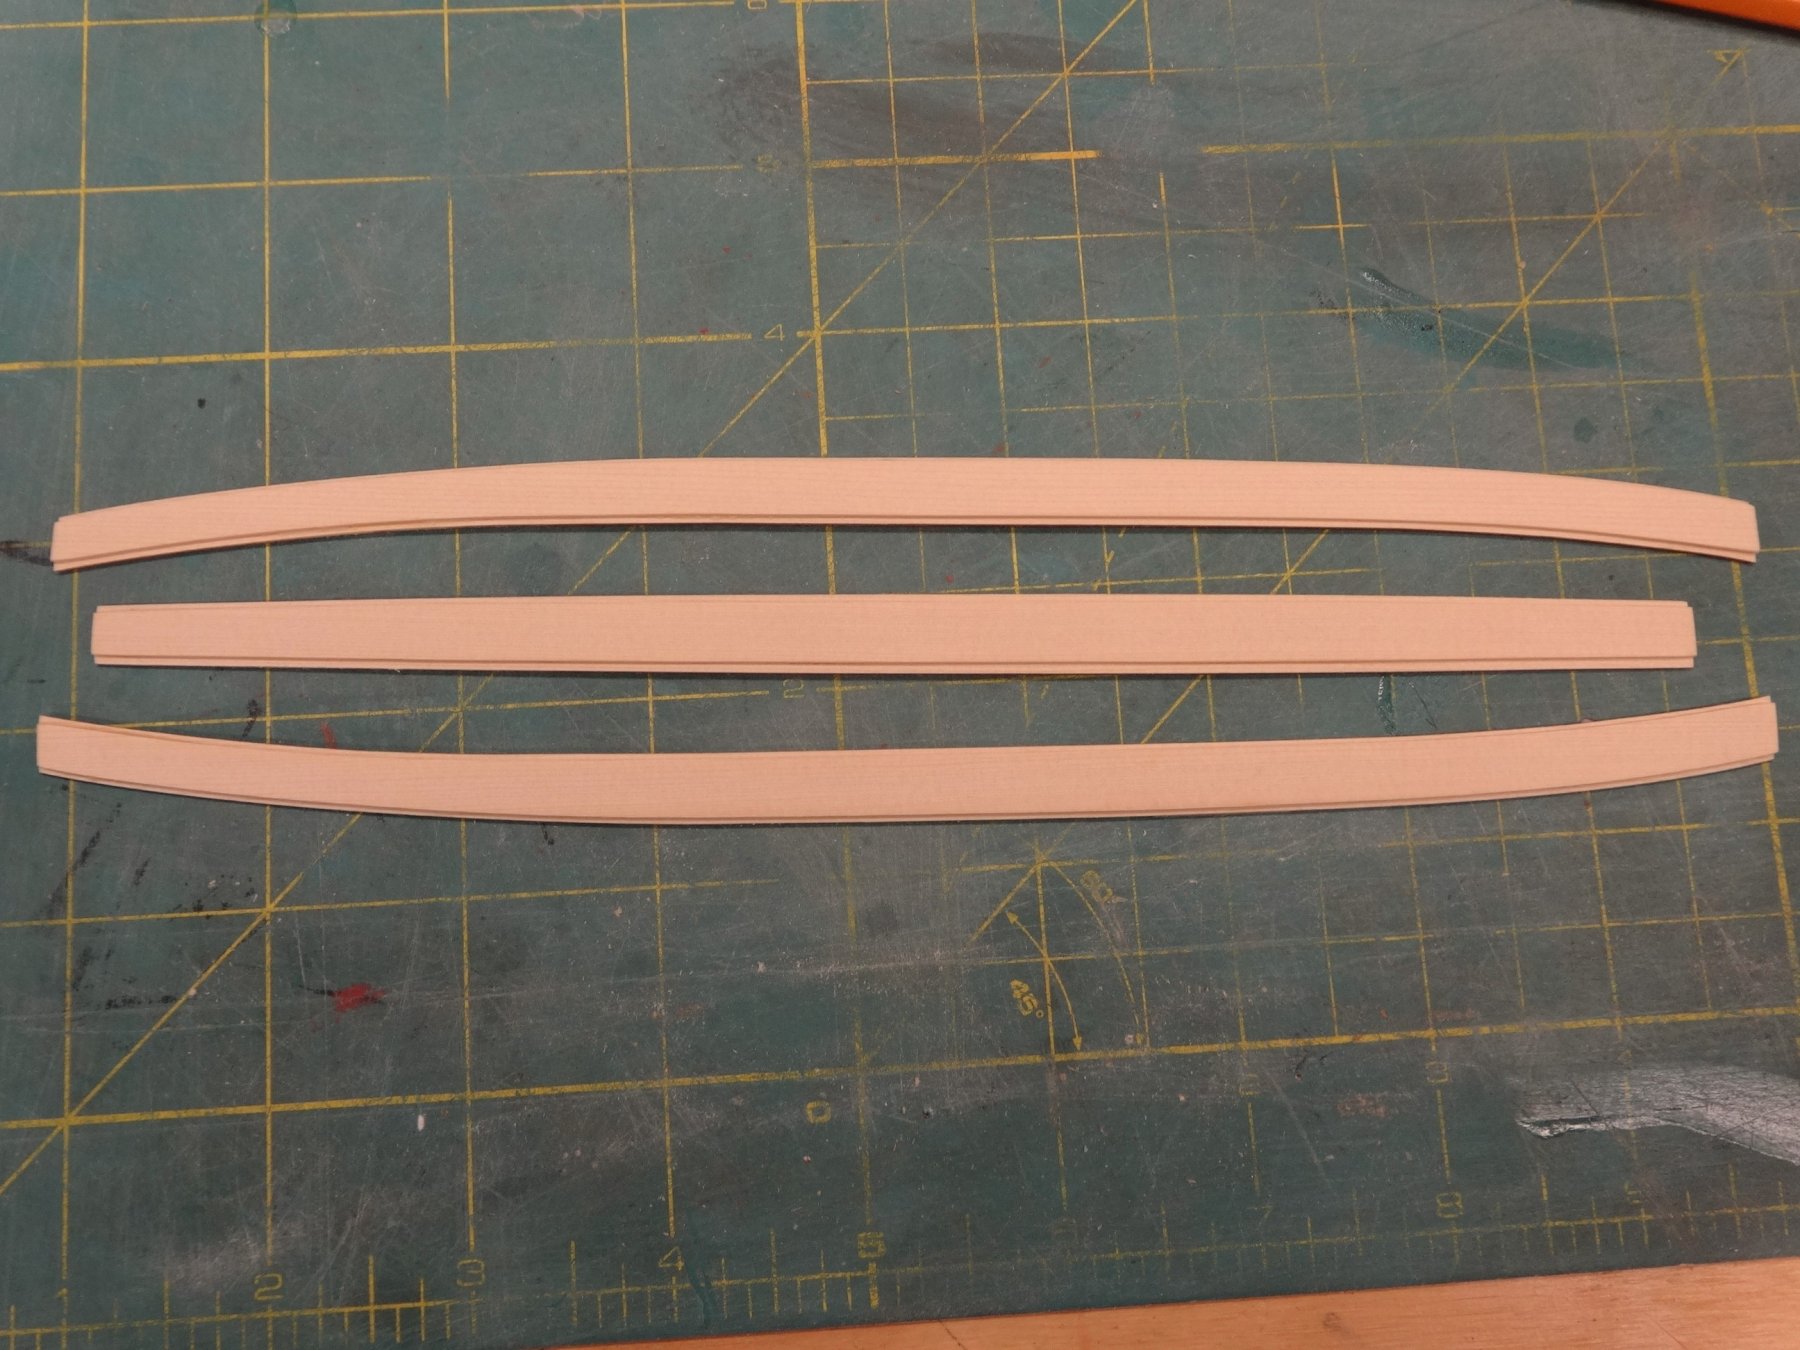
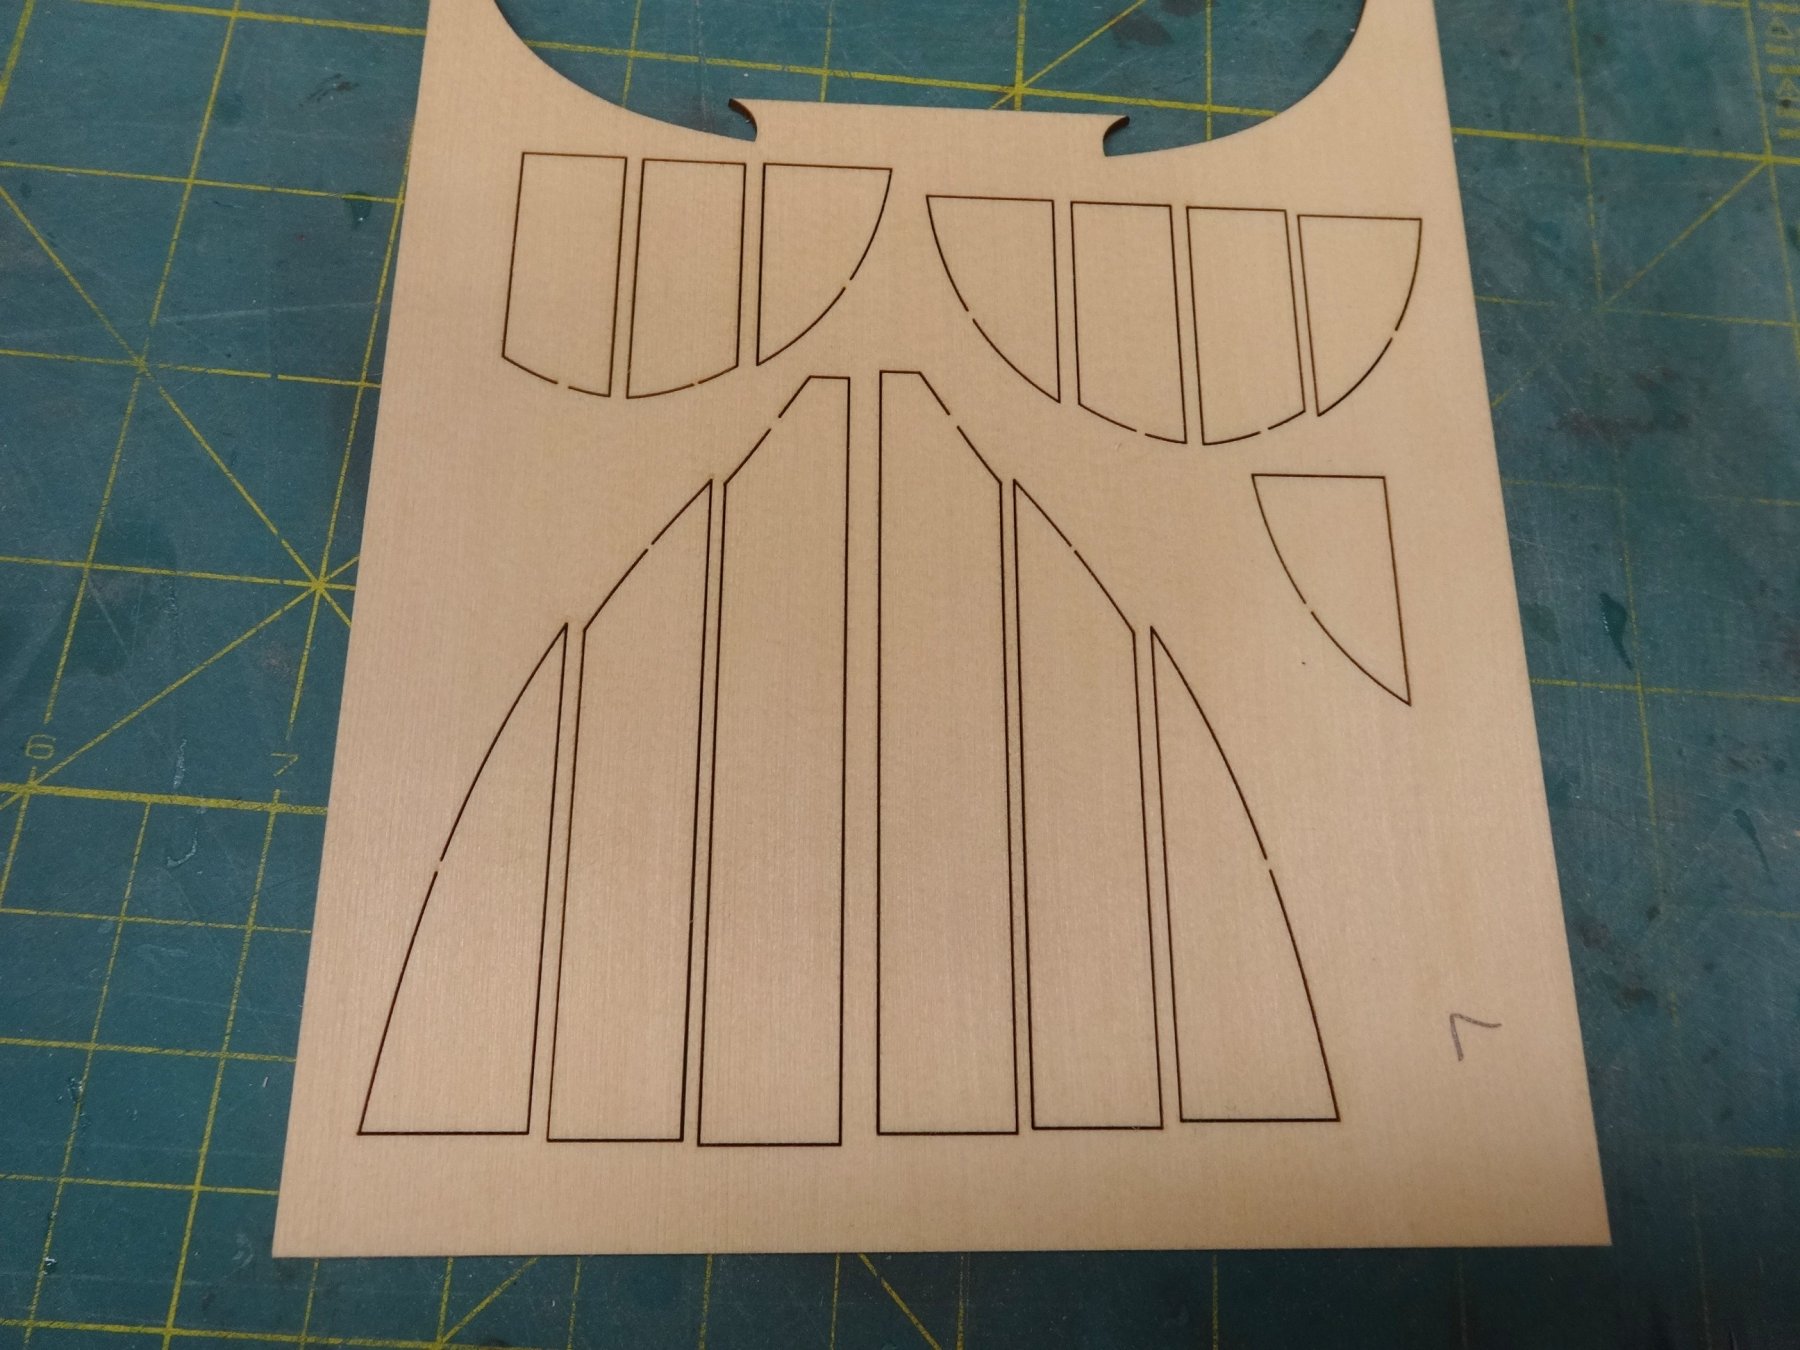
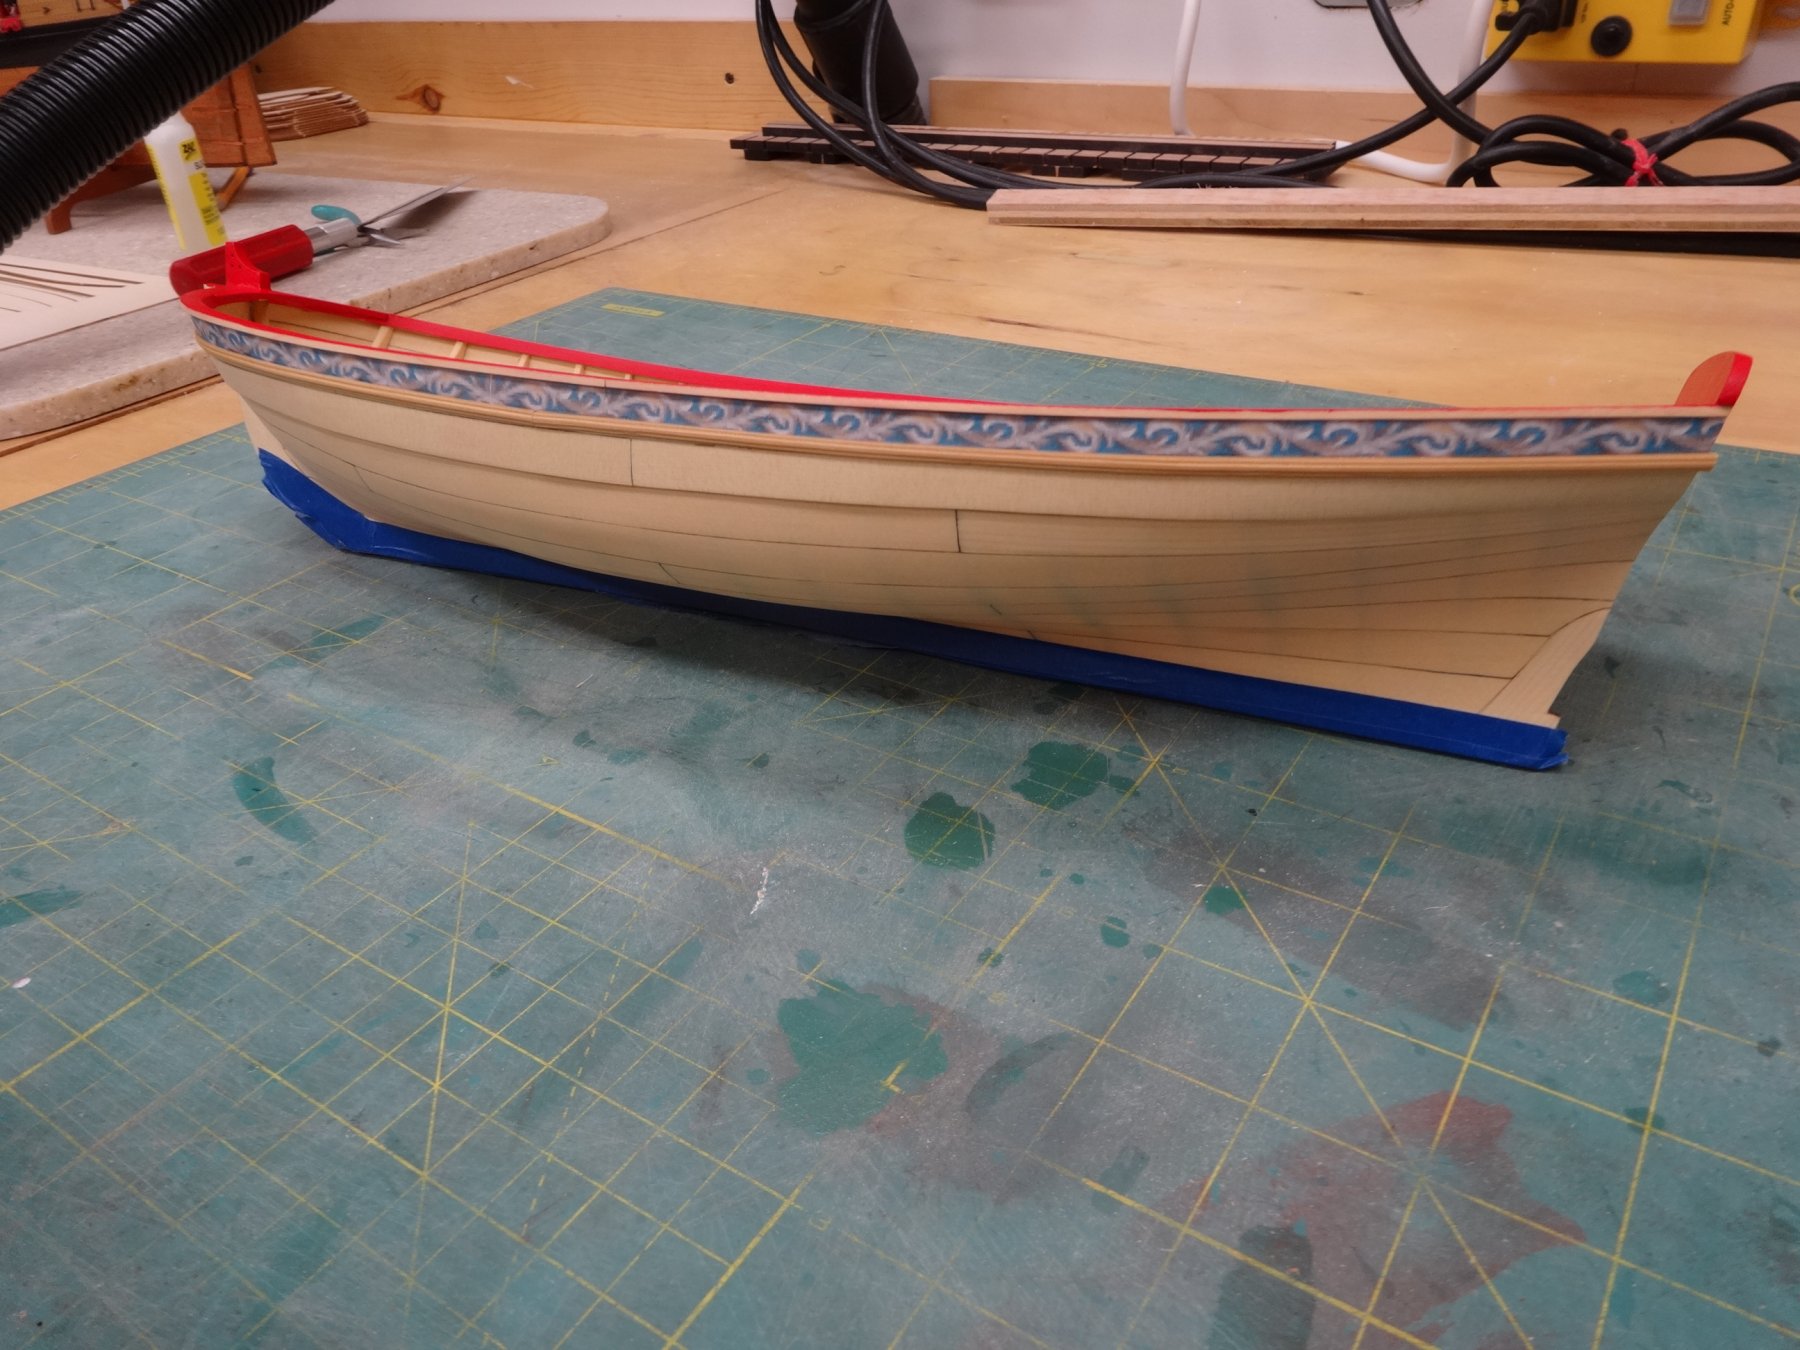
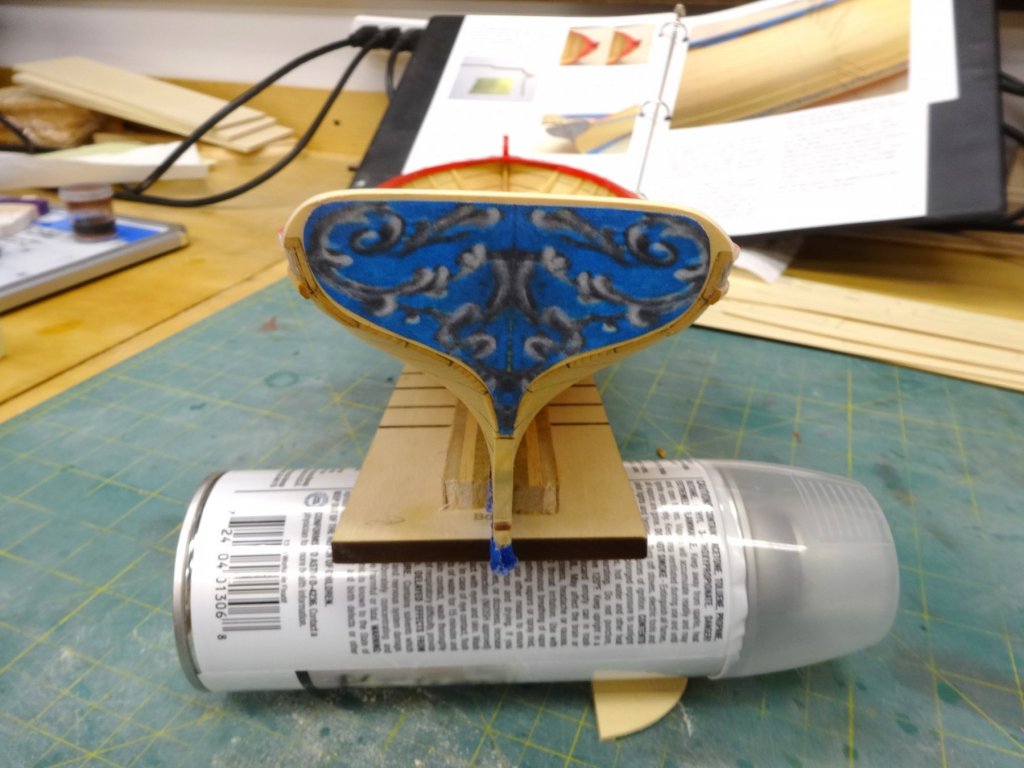
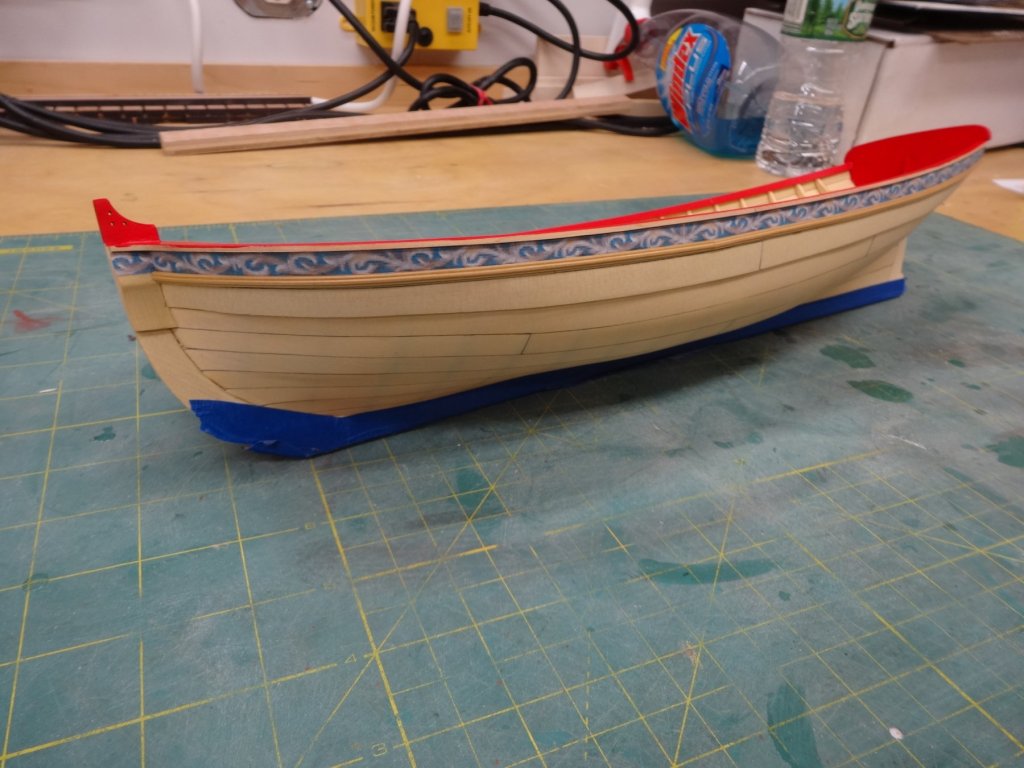
The cap rail has been completed, painted, the friezes added and the molding under the frieze scraped to shape and added. As you can see there is still some paint touch up needed on the cap rail. Once I'm satisfied the paint is done I'll move on to start the simulated nails on the hull planking.
- 152 replies
-
- 17
-
-
- medway longboat
- Syren Ship Model Company
- (and 1 more)
-
Very nice Ben. I might have tried that too if hadn't done that with the barge. Very interested to see how she looks once free from the building board!
- 64 replies
-
- 2
-
-
- medway longboat
- Syren Ship Model Company
- (and 1 more)
-
Slip of the keys. Meant to say nailing. As usual mind and hands not in sync.
-
Great idea Jim. Wish I thought of that.
-
Very nice planking Ken. Once I finished the hull planking I gave it all a good sanding and another coat of wipe on poly. Once we tree nail the hull another coat will be needed too!
-
Very Nice! Always pays to test your cuts before going for the real thing.
-
Looking good Rich.
-
Looks like you nailed it! Well done. Enjoy the warmth and sun.
- 32 replies
-
- 2
-
-
- medway longboat
- Syren Ship Model Company
- (and 1 more)
-
Thanks Jeff and Brian as well as all the likes. That's the plus side of being "semi retired" This is the quiet season for me until mid January!
- 152 replies
-
- 1
-
-
- medway longboat
- Syren Ship Model Company
- (and 1 more)