DONATION DRIVE - SUPPORT MSW - DO YOUR PART TO KEEP THIS GREAT FORUM GOING!
×


Rustyj
-
Posts
2,532 -
Joined
-
Last visited
Content Type
Profiles
Forums
Gallery
Events
Everything posted by Rustyj
-
 Thanks Jim, I'm glad you were able obtain a barge kit. It's really a lot of fun. Well done John, I look forward to seeing your posting of the carving and gold leaf!
- 120 replies
-
- 1
-

-
- queen anne barge
- Syren Ship Model Company
- (and 1 more)
-
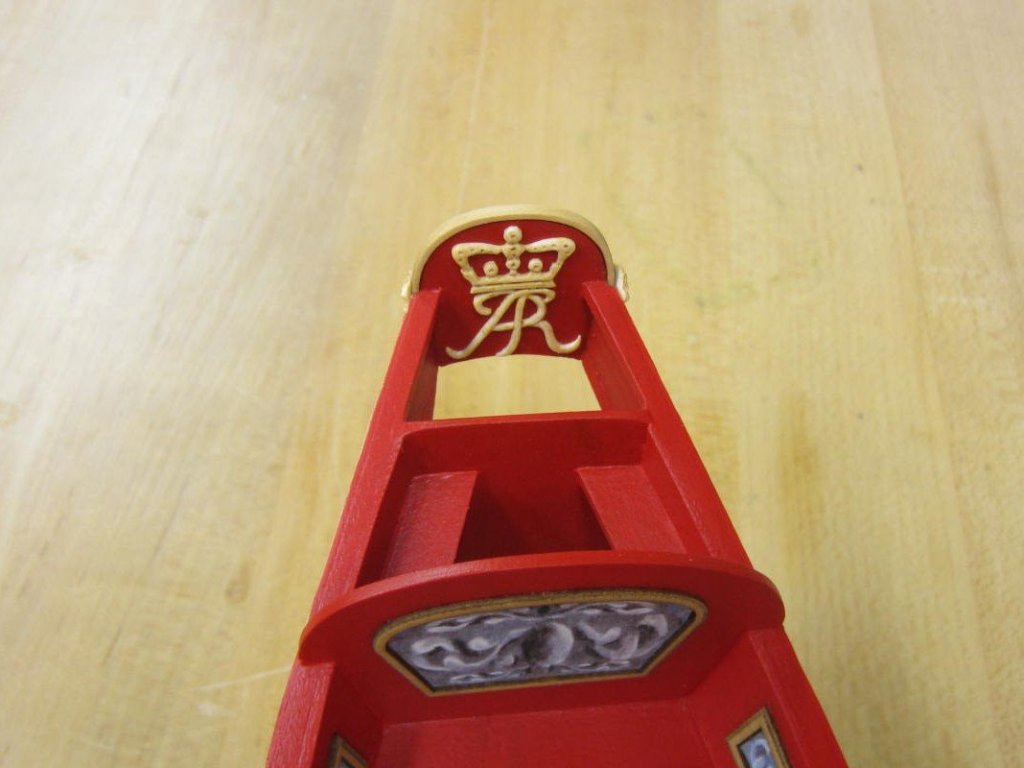
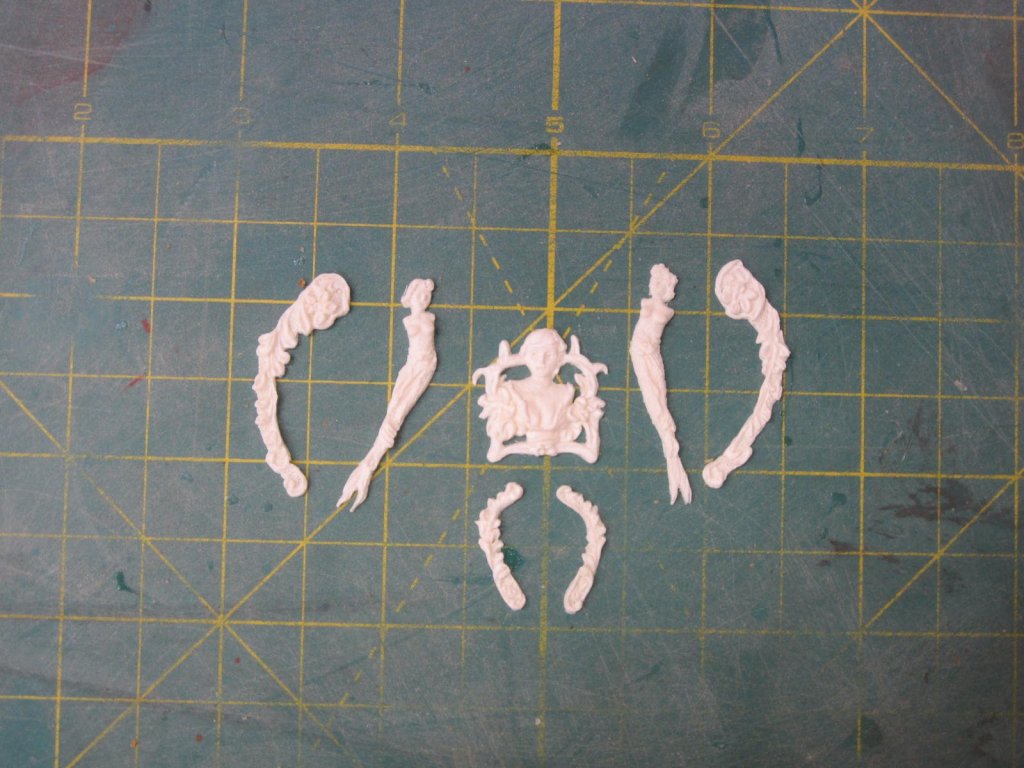
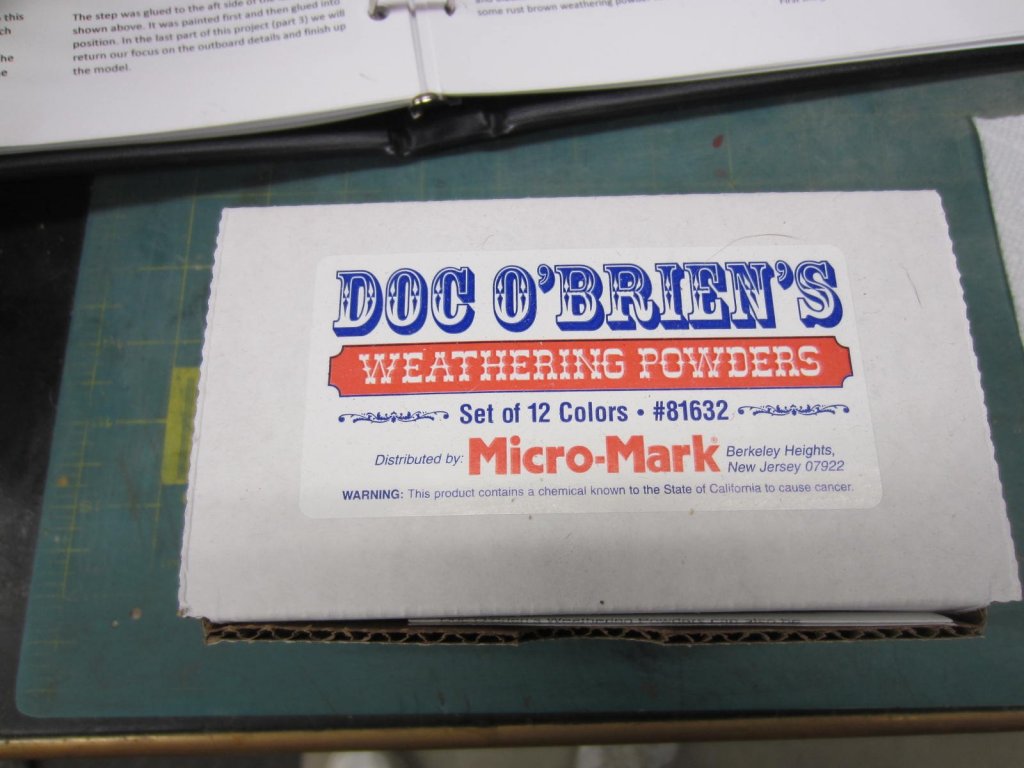
Thank you all for your kind words and likes It's very much appreciated. This is how I did it which fairly closely follows Chucks instructions. After any flash was removed the resin pieces were washed in a mild dish soap and warm water. The first power applied was "gritty yellow". Then "highlight white" followed by "dirty brown". The powders are applied with a clean brush. Small amounts at a time. If I had too much of one color I'd just alternate powders until I was satisfied with the look. Once I was happy with the result the pieces were sprayed with two light coats of Krylon clear fixative. Thanks for stopping by!
- 120 replies
-
- 8
-
-
- queen anne barge
- Syren Ship Model Company
- (and 1 more)
-
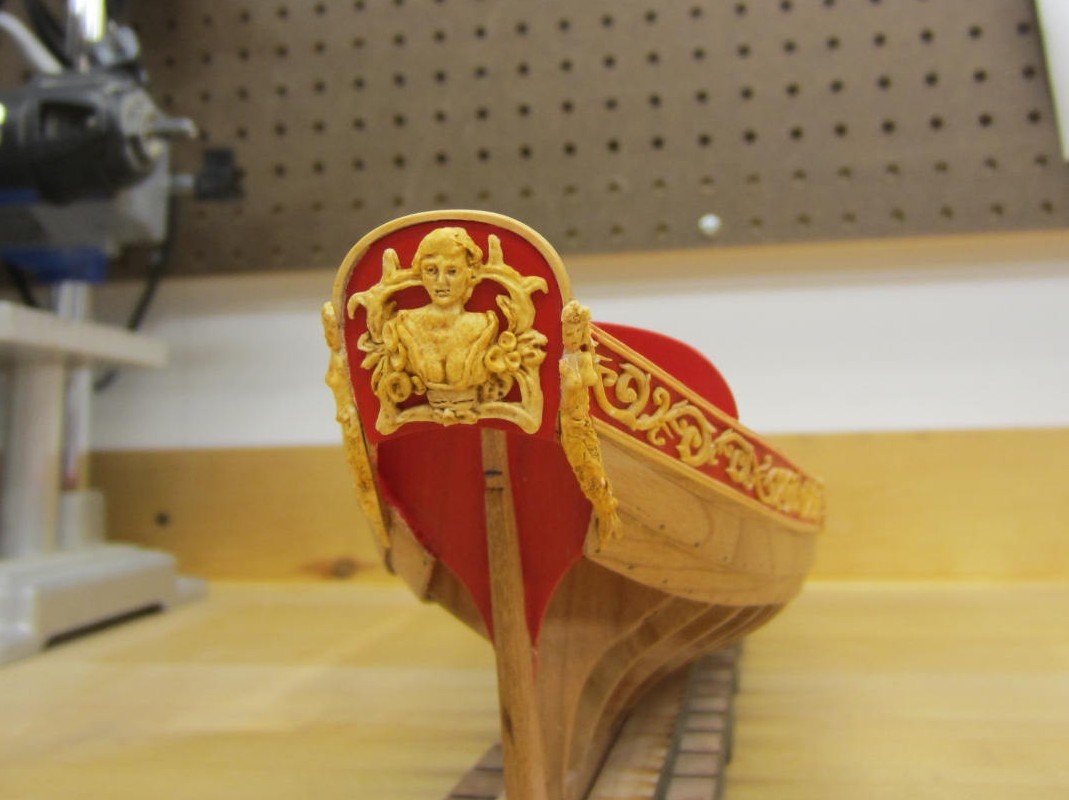
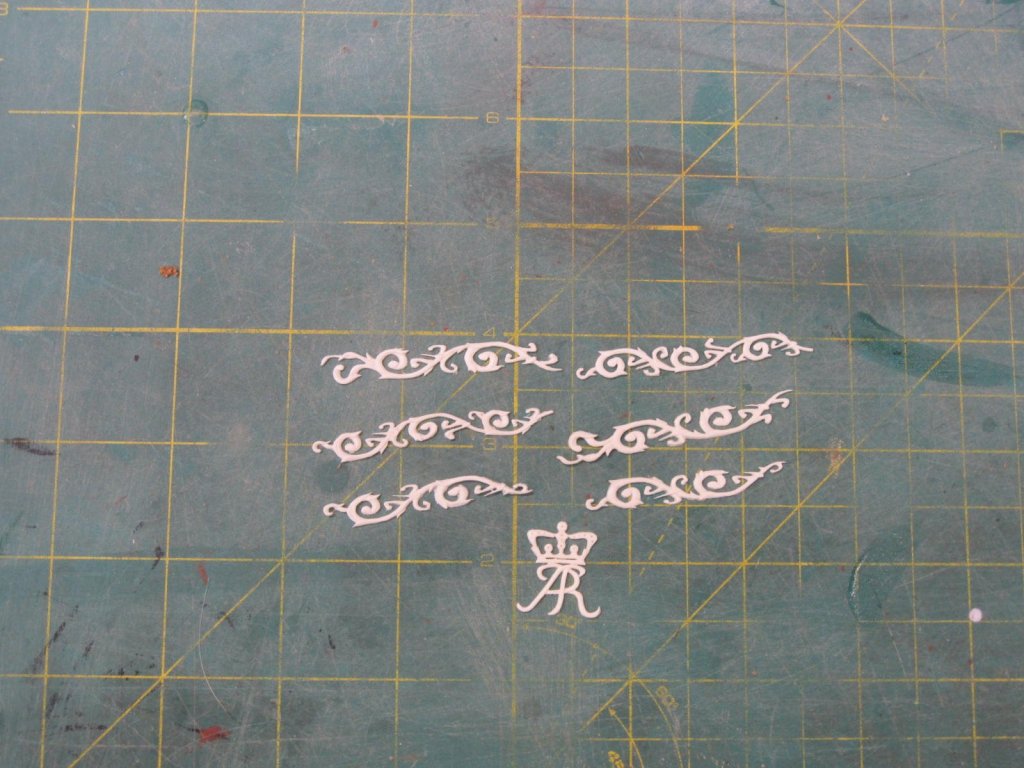
This will not come as any new revelation to anyone but Chuck is a great carver. Me not so much. I've played with the boxwood laser cut carvings and though they are really great I slaughtered them. Soooooo I am using Chucks optional resin castings. They required very little clean up. Chucks used weathering powders and I did the same. You can see the results below. You also can see there's still a lot of clean up and touching up needed.

- 120 replies
-
- 19
-
-
- queen anne barge
- Syren Ship Model Company
- (and 1 more)
-
Very good work Jean-Paul.
-
A larger Deja vu! Looks really nice Mike.
- 607 replies
-
- 3
-
-
- winchelsea
- Syren Ship Model Company
- (and 1 more)
-
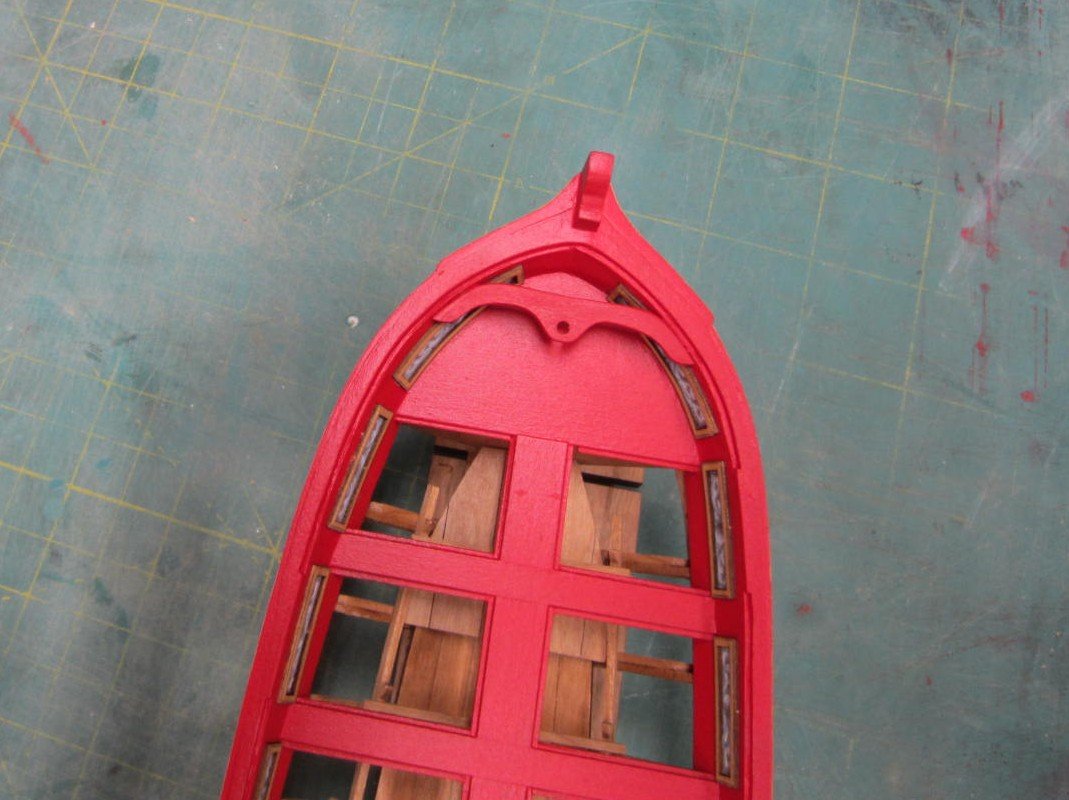
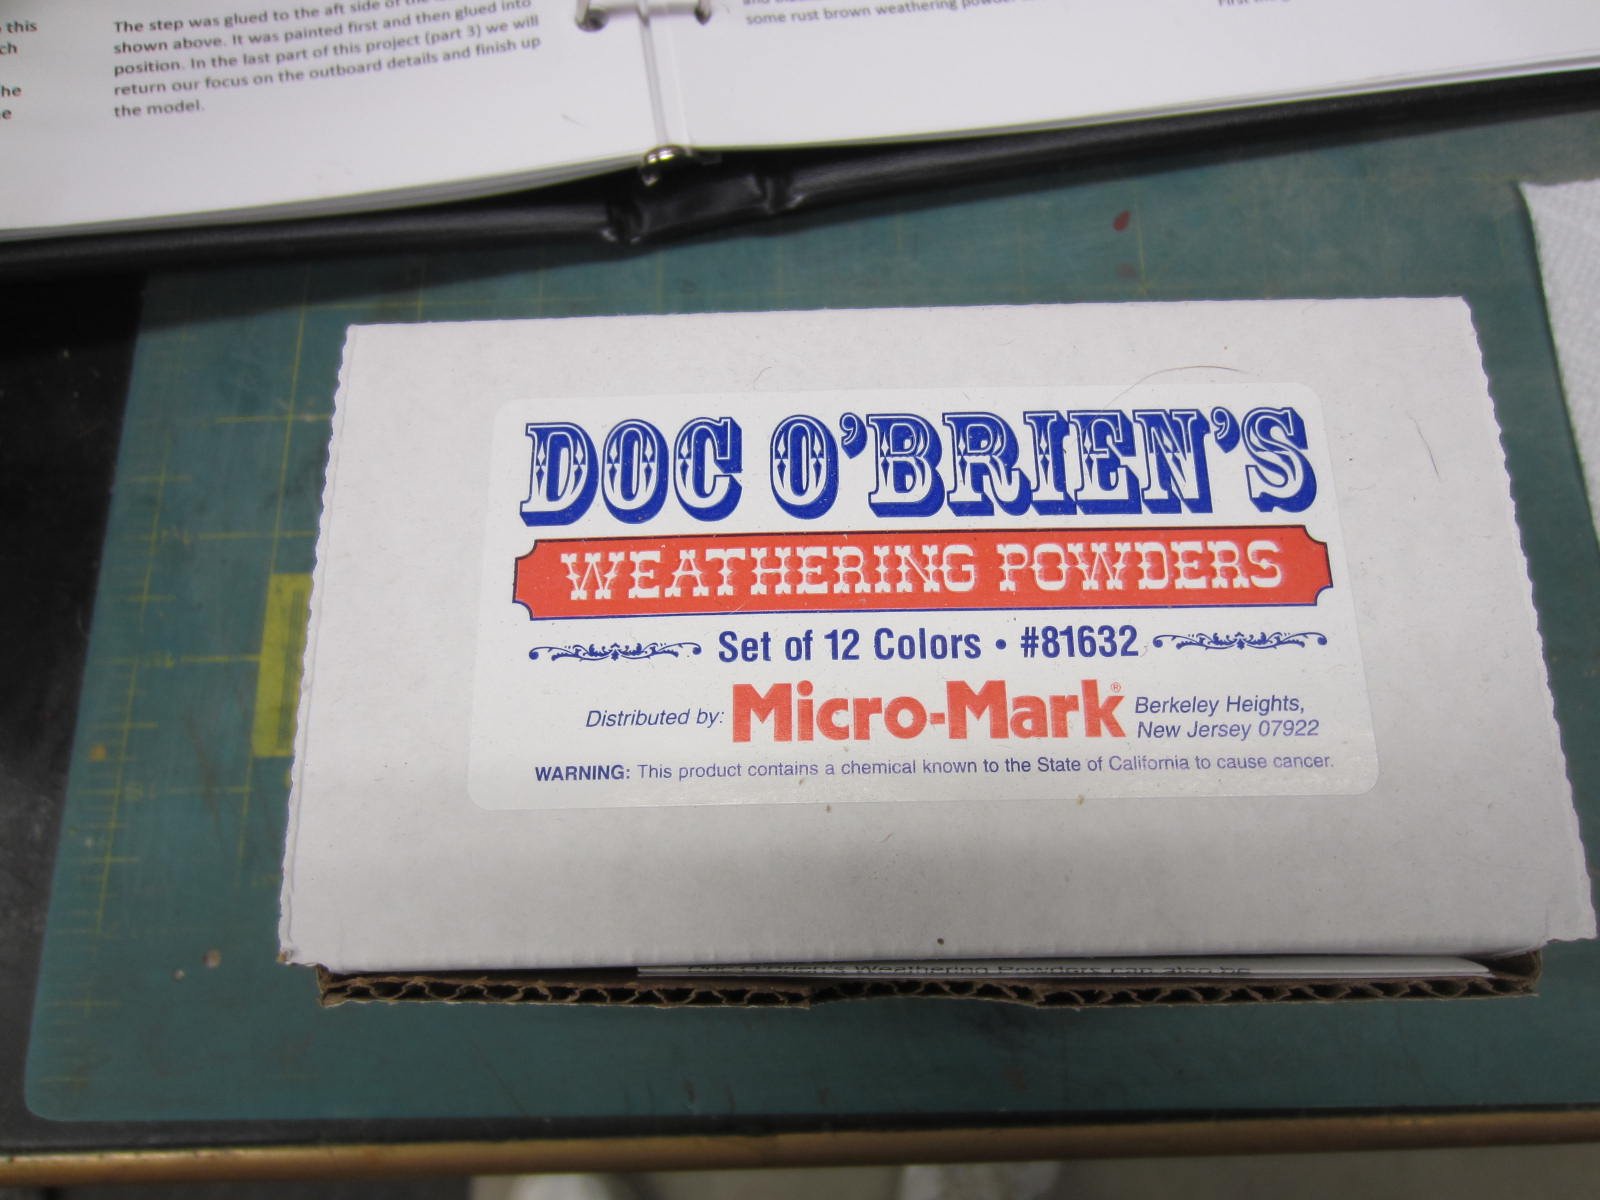
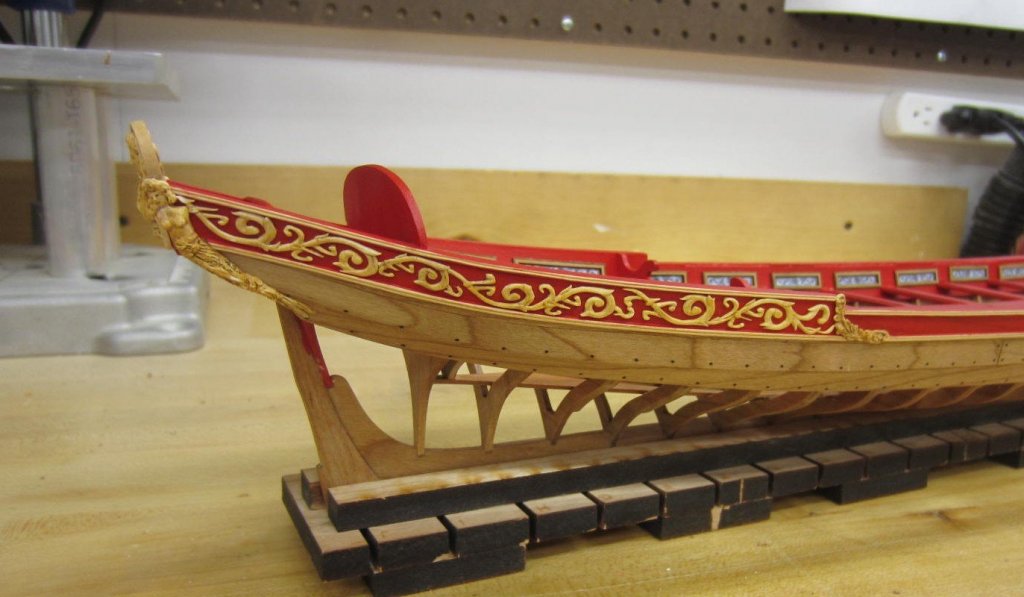
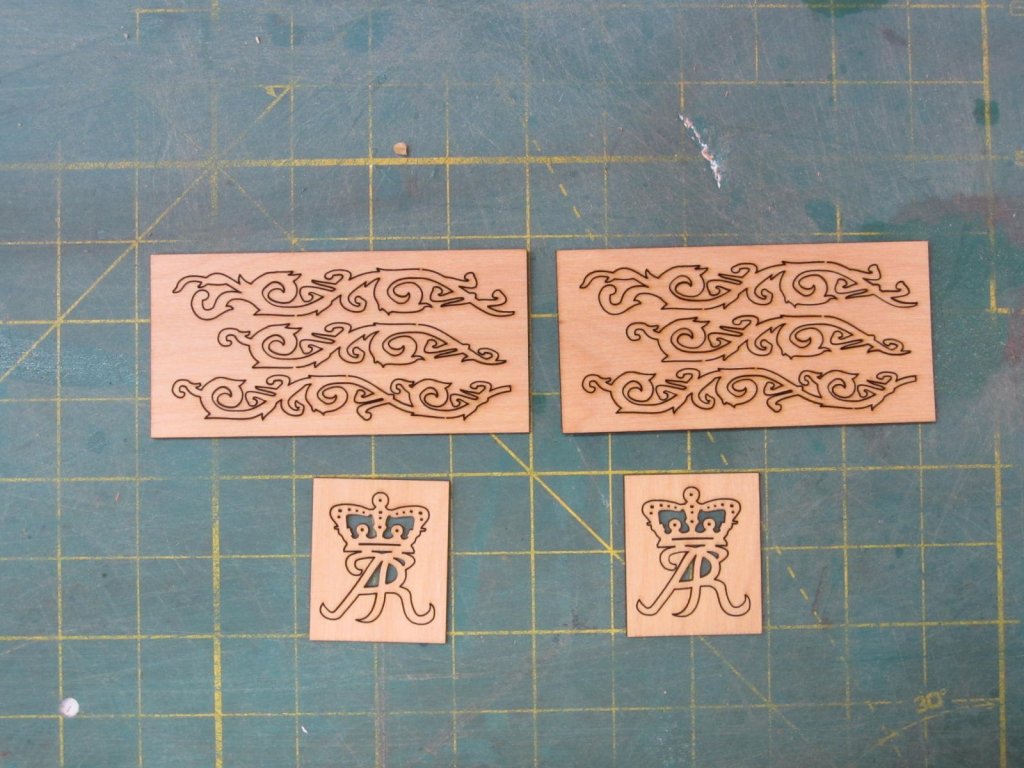
Hi All, I've been MIA for a bit. Vacation, family and good weather have kept me away from the workshop and MSW. Well I've made it back to the shop for a bit of an update. The forward flag support bracket has been added as well as the step. Here are the kit supplied laser wood carvings and the kit supplied resin castings and the optional resin castings and the weathering powers to use on the resin castings. Both the laser cut and resin pieces are great. I did get the additional resin casting just in case I either mess up the carving or get lazy! They look so good it will be hard to duplicate.

- 120 replies
-
- 13
-
-
- queen anne barge
- Syren Ship Model Company
- (and 1 more)
-
Thanks B.E. I'm glad to hear that you've gotten the barge kit too. You'll really like it. By the way I love your work on the Cheerful!
- 120 replies
-
- 3
-
-
- queen anne barge
- Syren Ship Model Company
- (and 1 more)
-
Hi Ben, She's looking really nice. It's really something how well the printed friezes fit.
- 74 replies
-
- 4
-
-
- queen anne barge
- Syren Ship Model Company
- (and 1 more)
-
Wow what a monster! And I mean that in a good way.
- 1,784 replies
-
- 5
-
-
- winchelsea
- Syren Ship Model Company
- (and 1 more)
-
Thanks Jim and Tim and also all the likes. It's really a nice kit and a lot of fun to do.
- 120 replies
-
- 3
-
-
- queen anne barge
- Syren Ship Model Company
- (and 1 more)
-
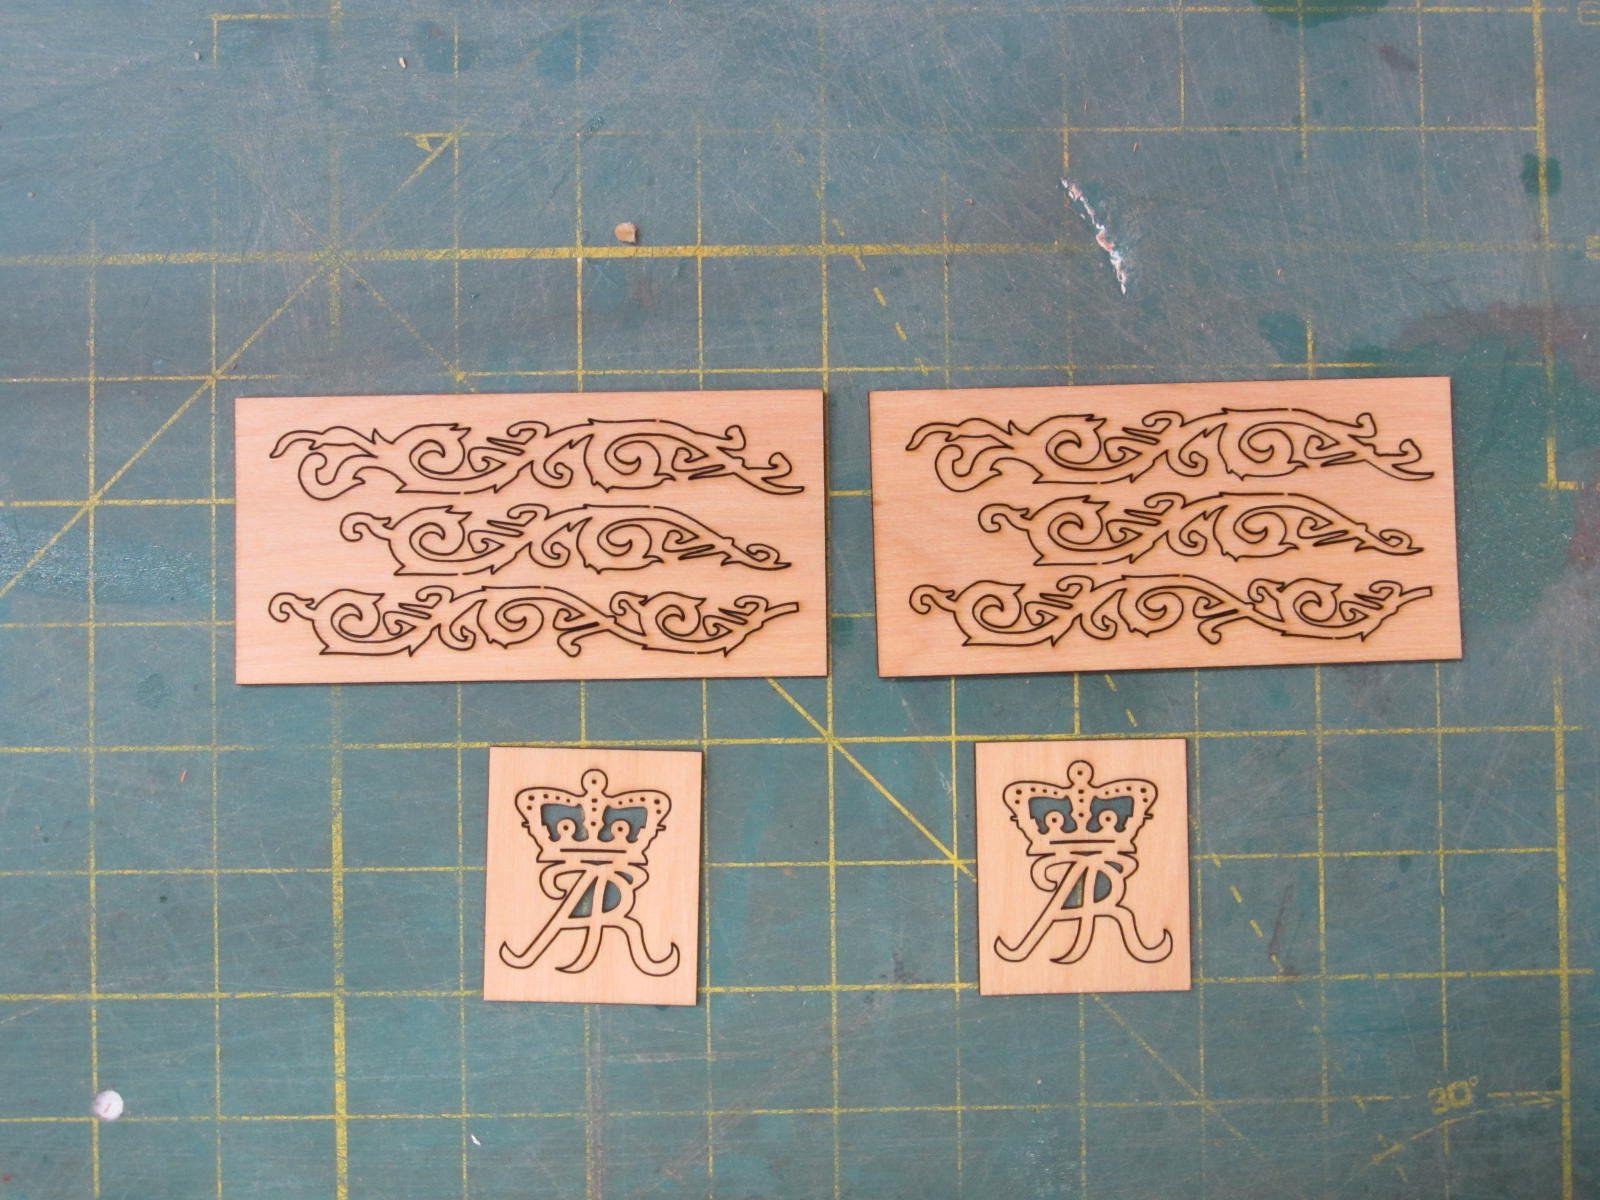
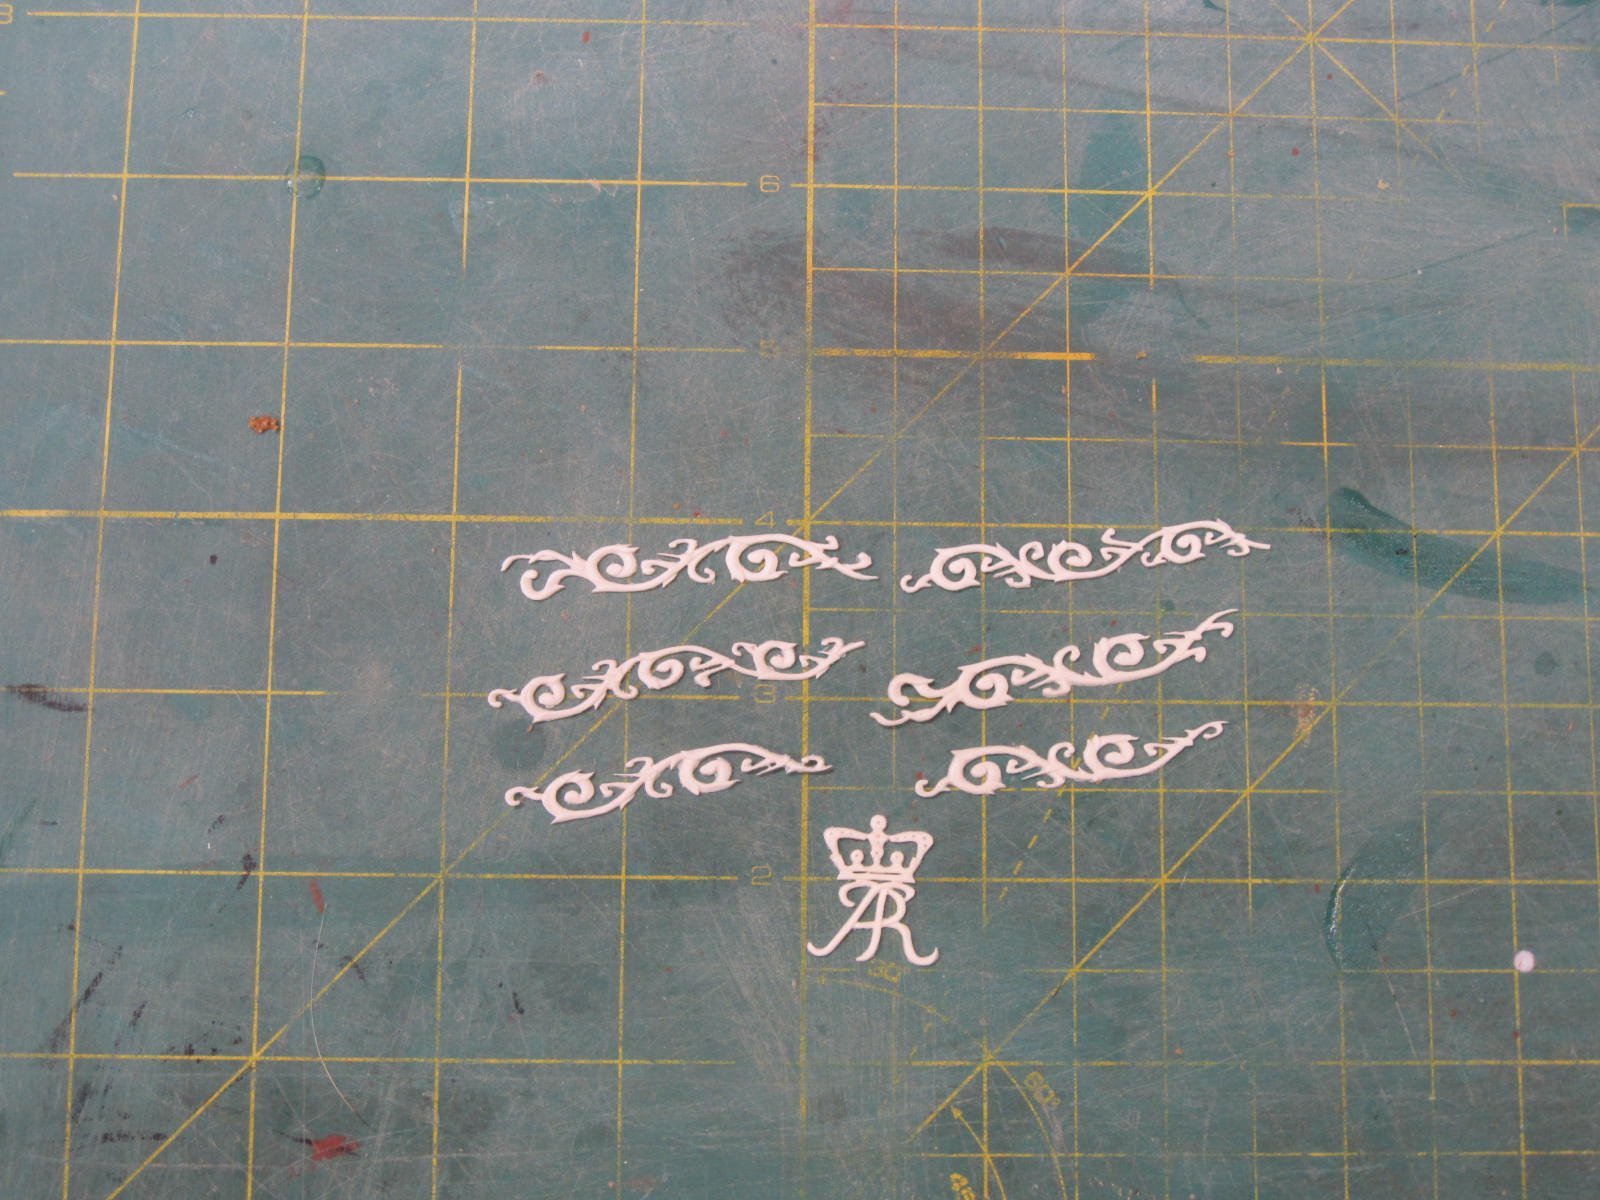
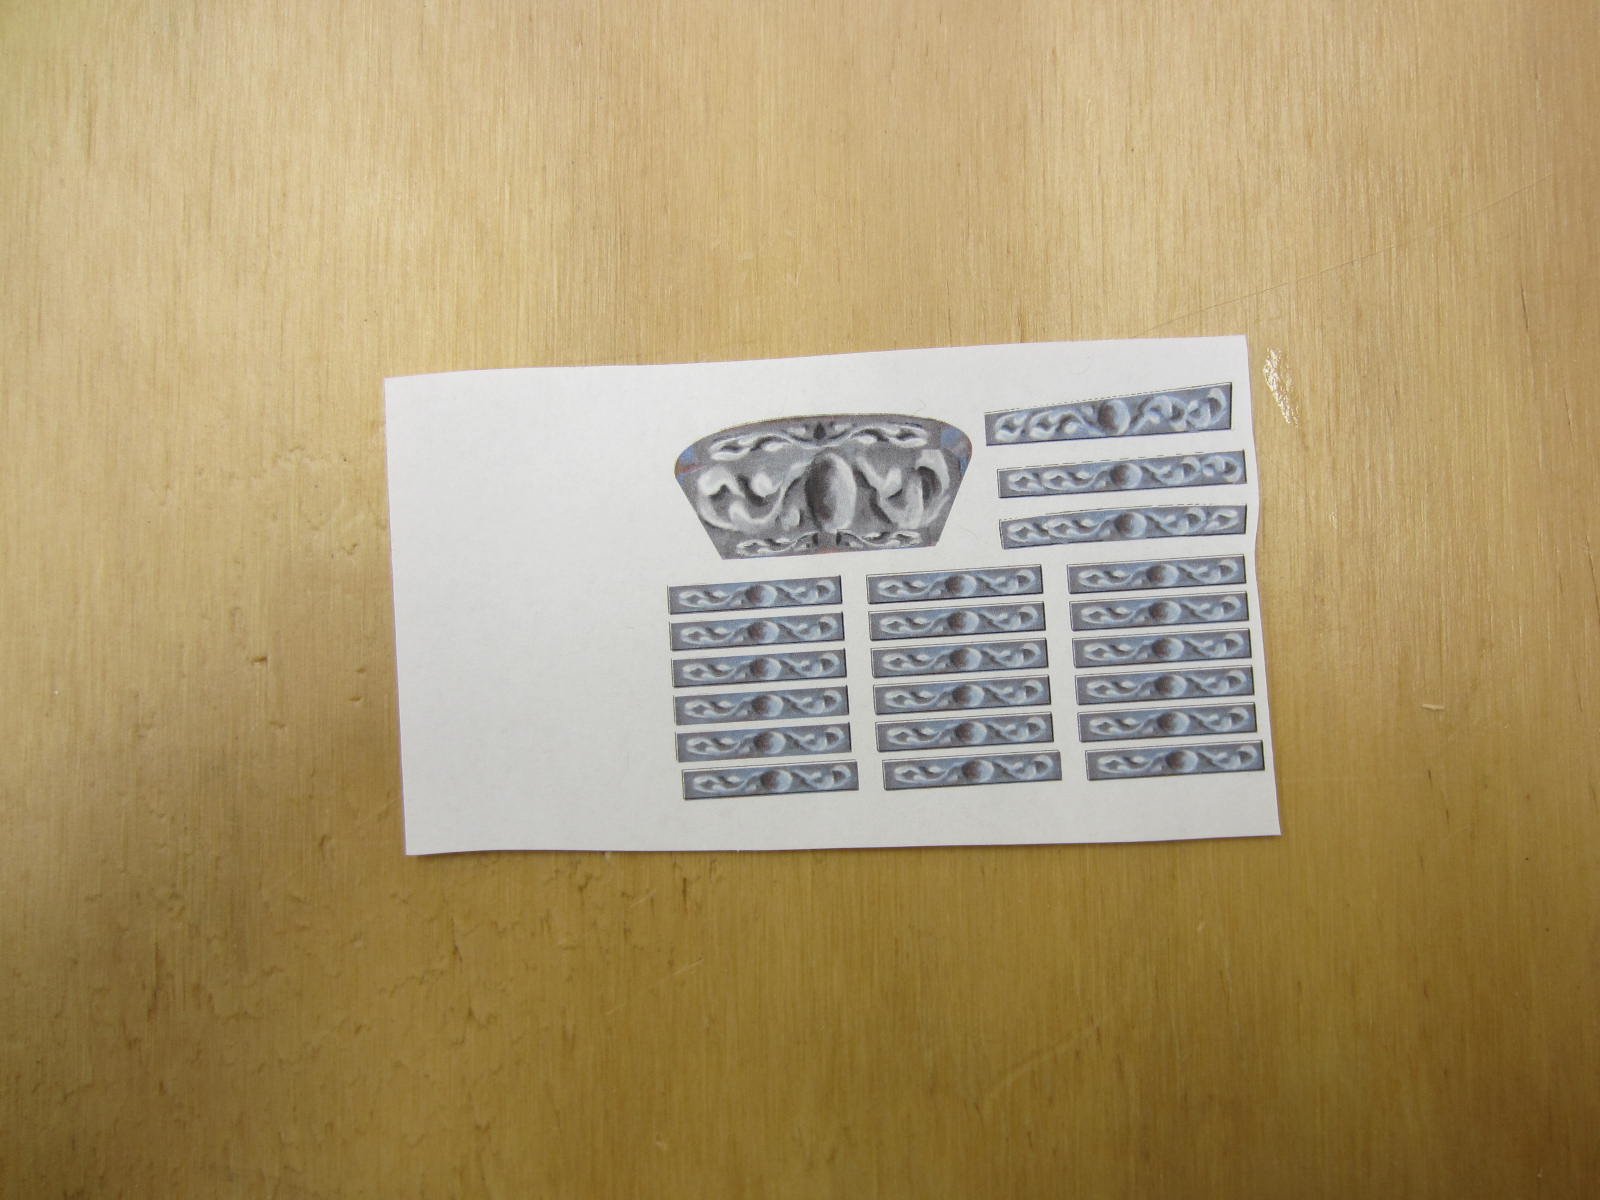
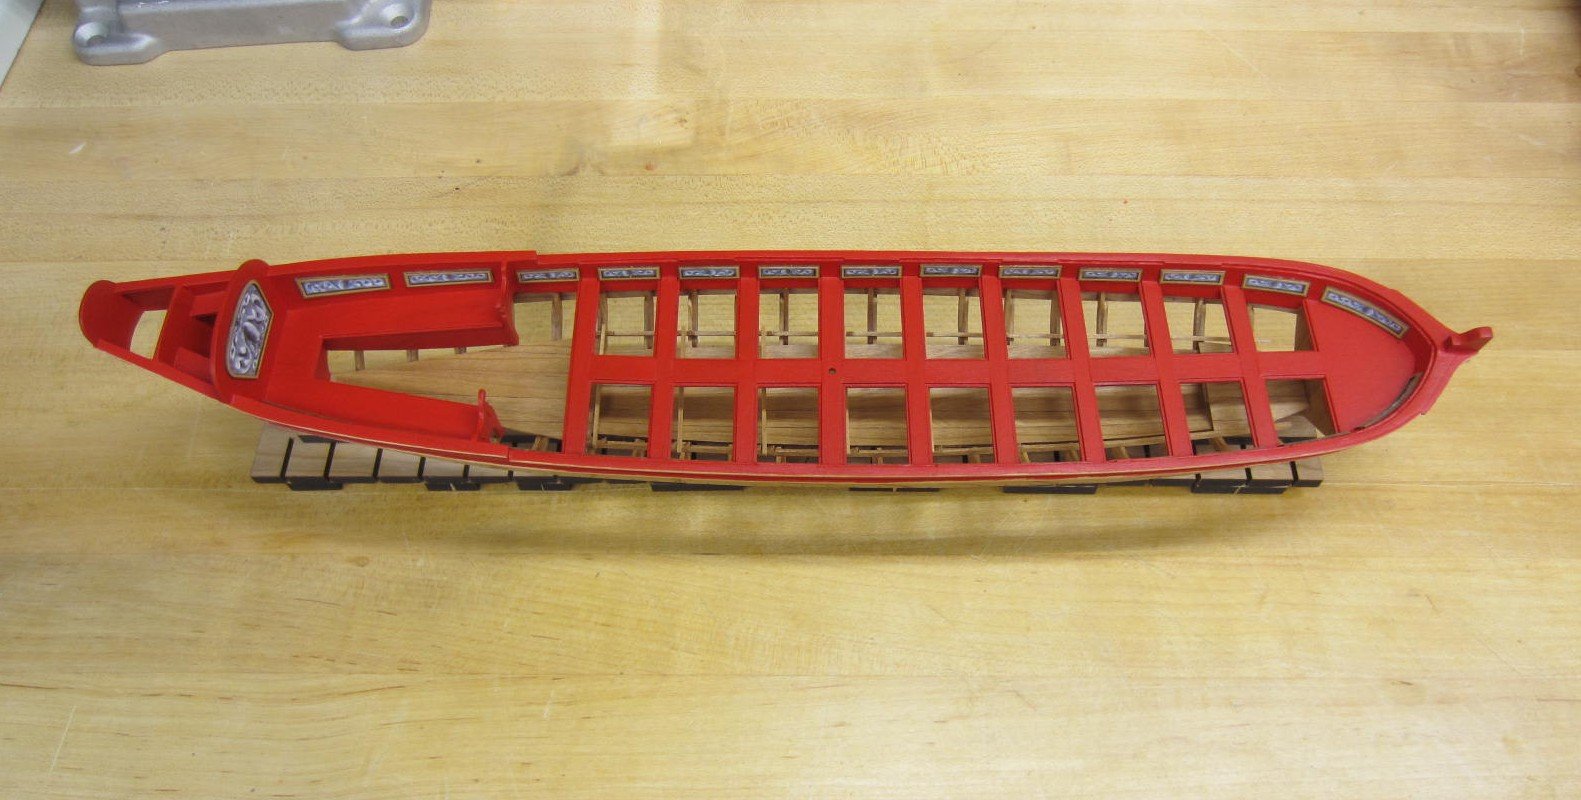
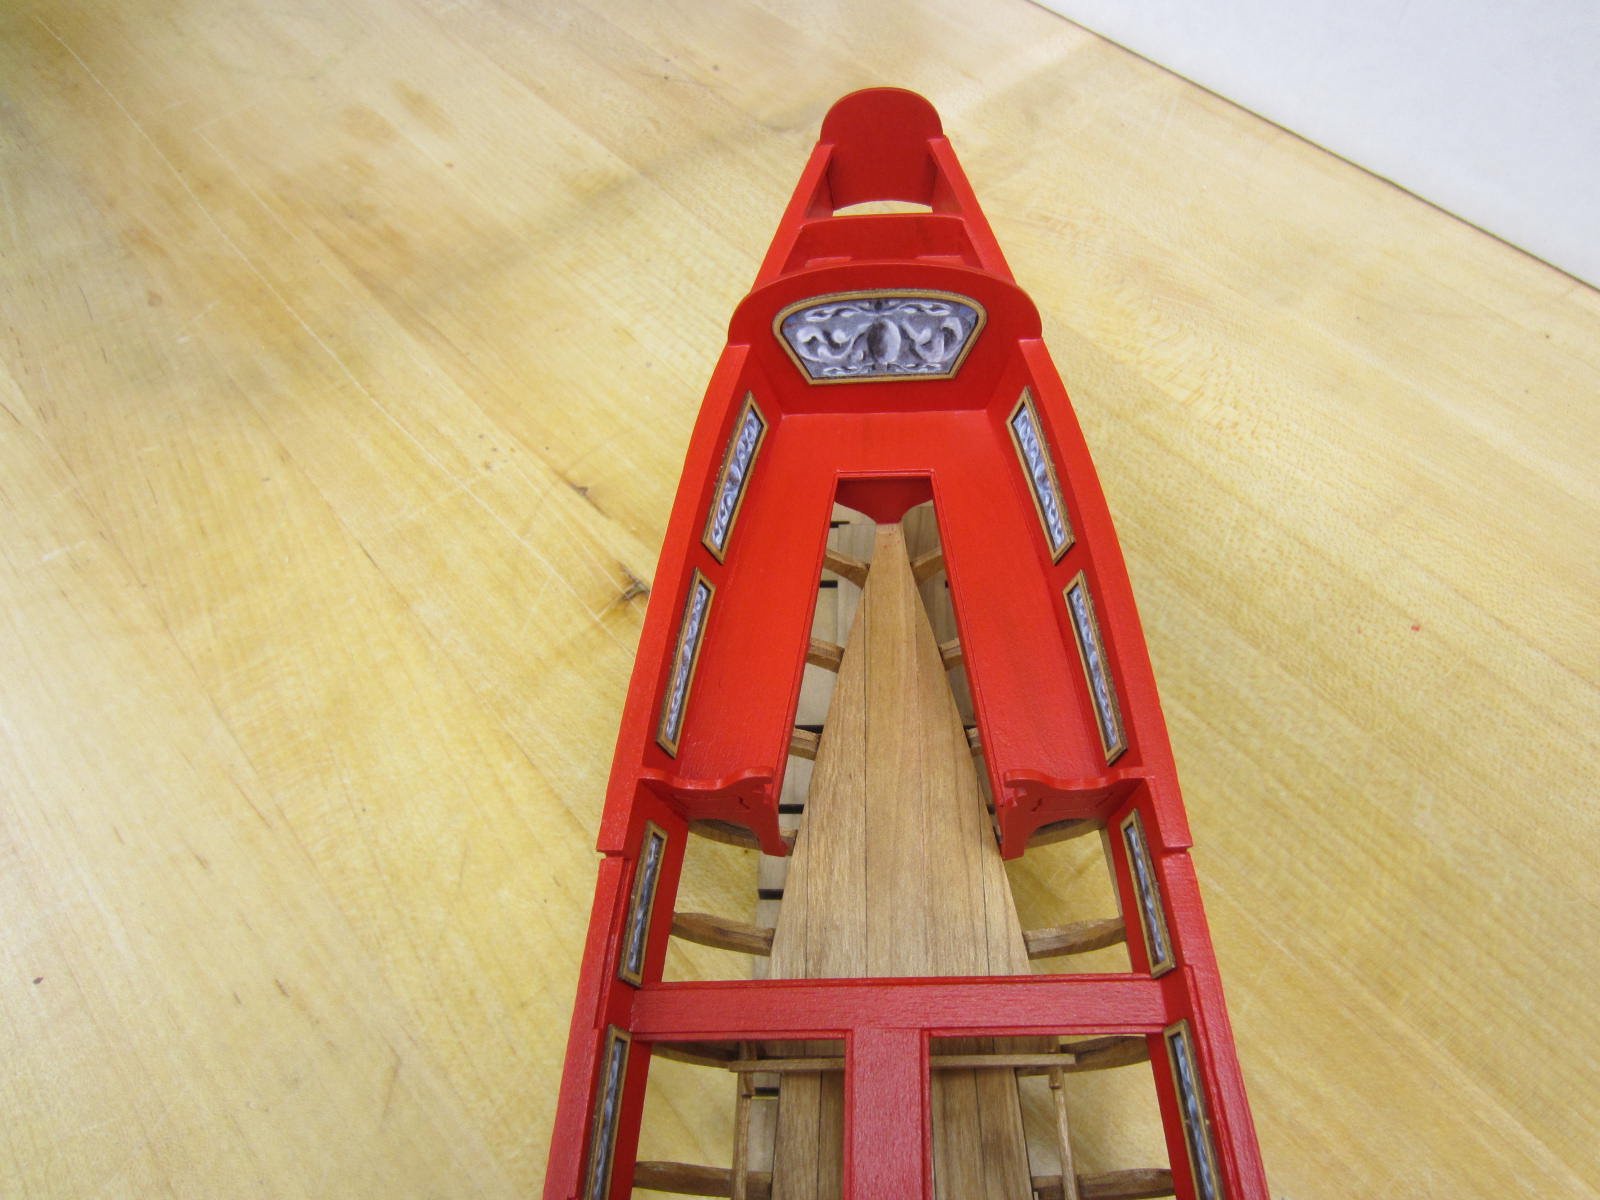
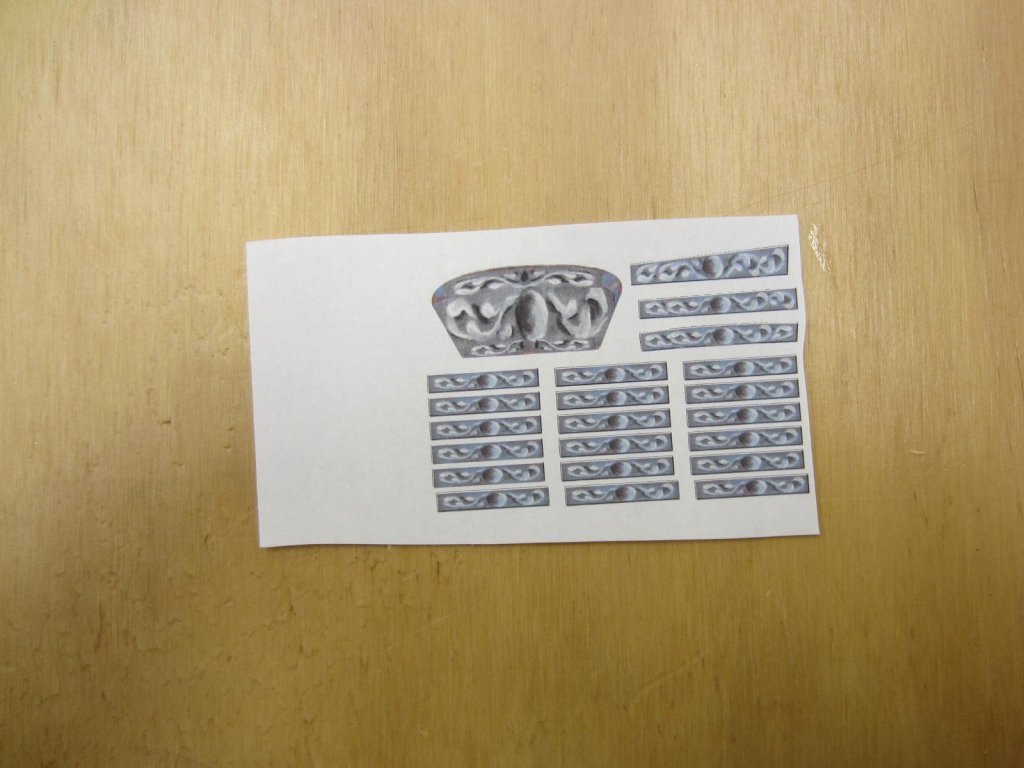
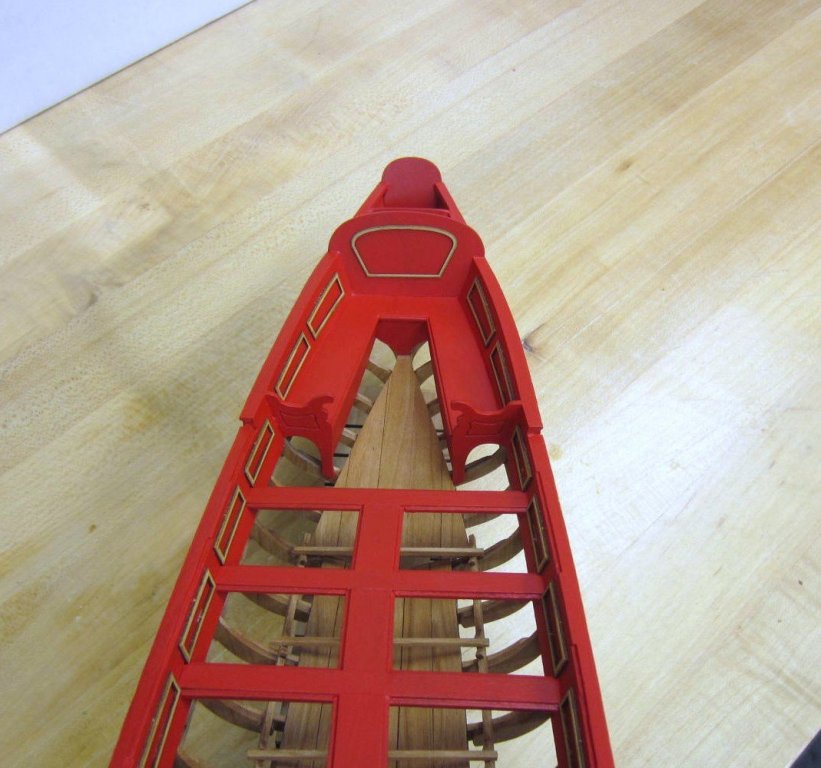
The kit provides the various friezes all sized and ready to be inserted into the panels. Chuck describes using a glue stick to adhere the friezes. As I didn't have a glue stick I diluted some white glue, used a paint brush to apply it to the area inside the panels and then gently press the frieze in place. Next I will paint and install the bow flag support brace and the step.

- 120 replies
-
- 20
-
-
- queen anne barge
- Syren Ship Model Company
- (and 1 more)
-
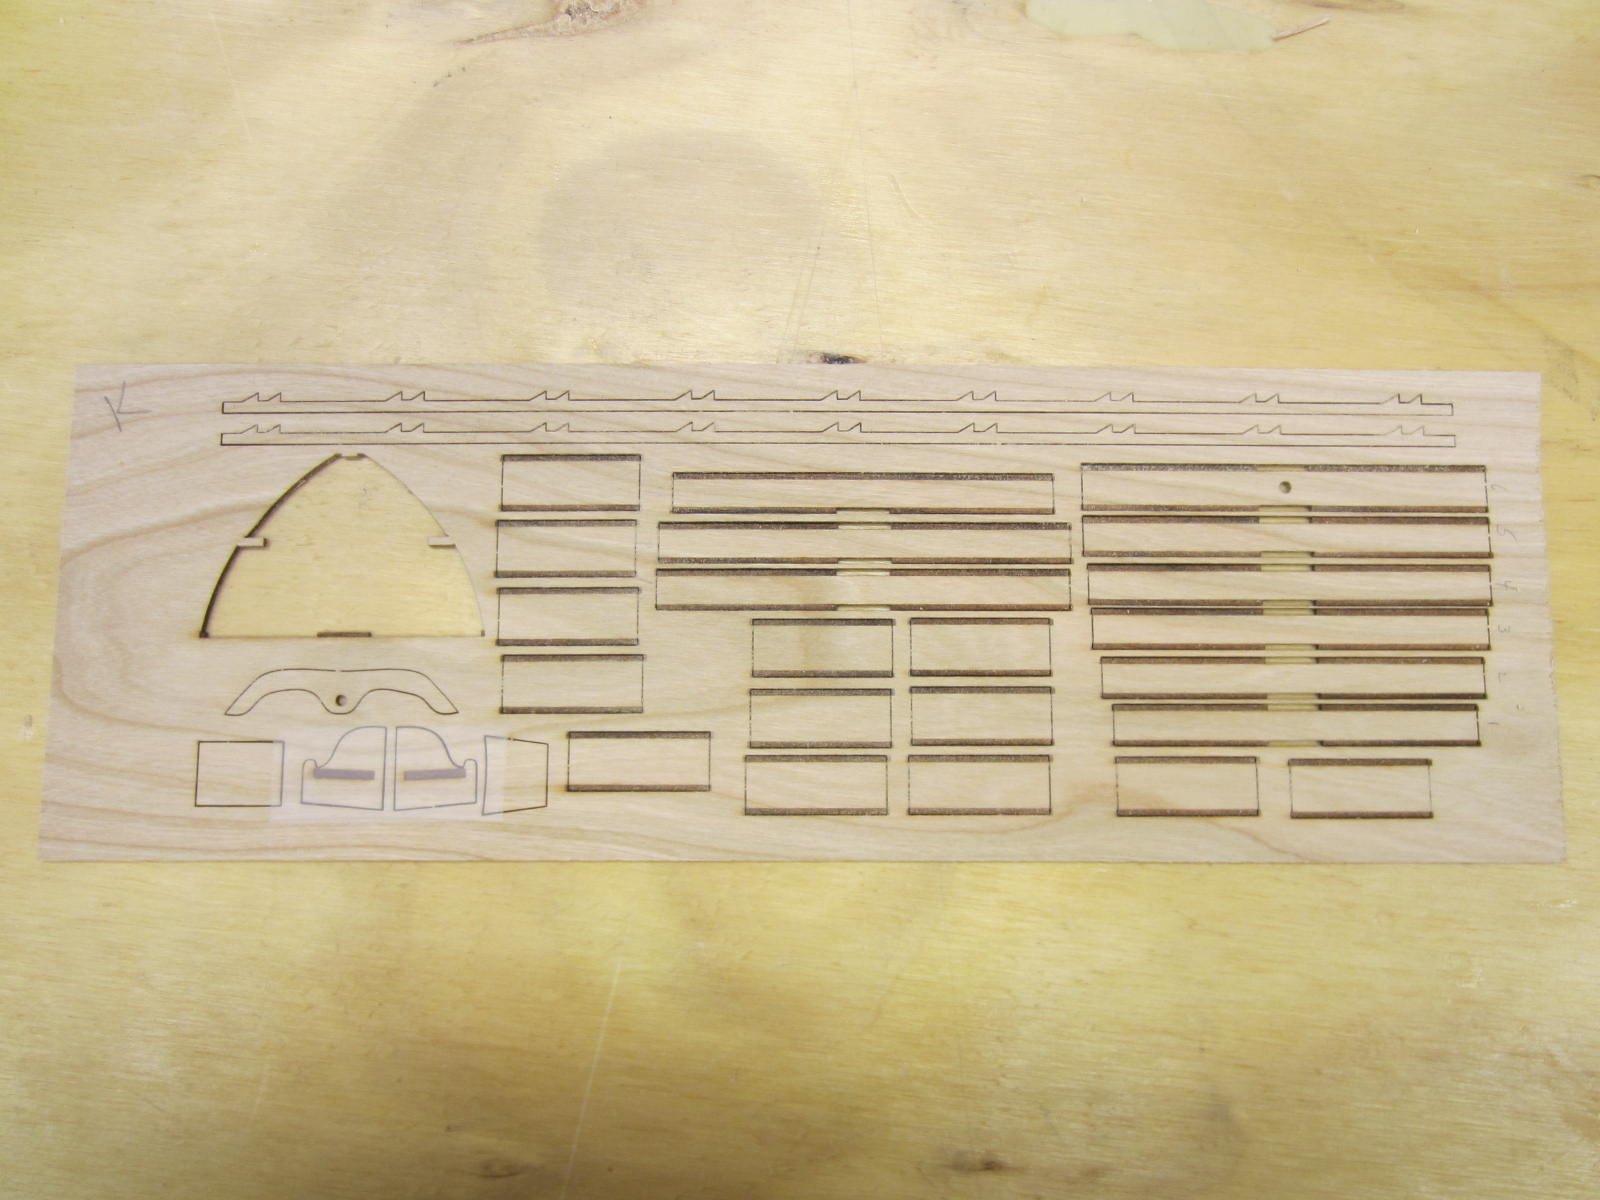
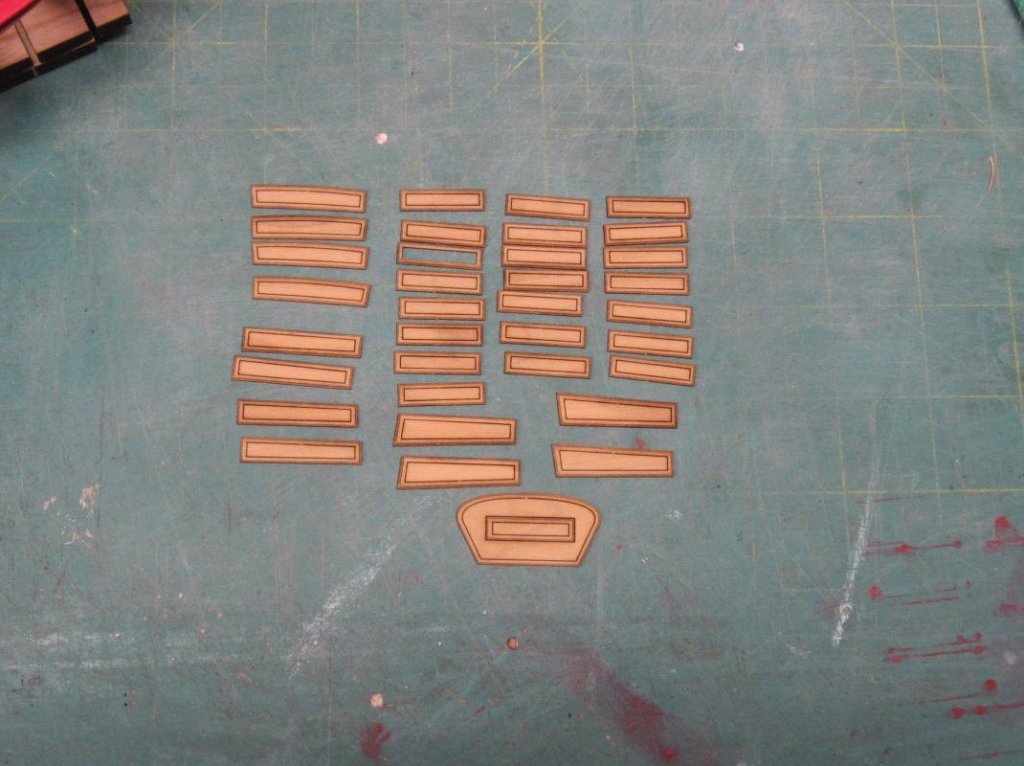
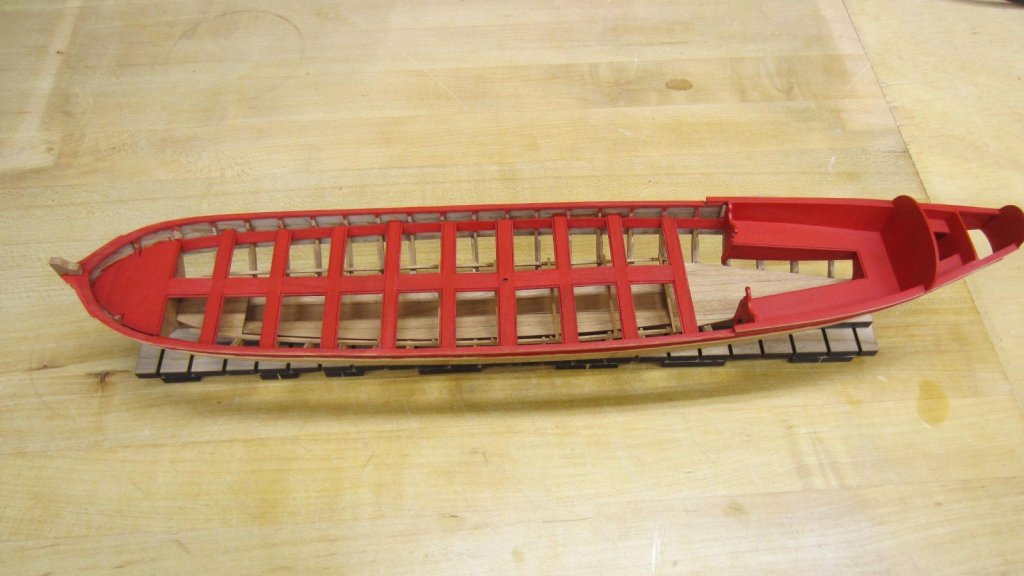
Here are laser cut boxwood panels that need adding. Again Chuck added extras because the are VERY DELICATE. Old hammer hands only broke a couple but it was nice to know there were plenty of spares! The inboard painting is done unless I make a boo boo. Next I'll be cutting out the printed friezes and inserting them in the panels.

- 120 replies
-
- 18
-
-
- queen anne barge
- Syren Ship Model Company
- (and 1 more)
-
Hi Ben. Nope gonna have to add it through the side later. I'll let you know how that turns out!
- 120 replies
-
- 2
-
-
- queen anne barge
- Syren Ship Model Company
- (and 1 more)
-
That sounds great! I've had some time off so I was able to spend more time on the barge. Gotta go back to work tomorrow though.
- 120 replies
-
- 5
-
-
- queen anne barge
- Syren Ship Model Company
- (and 1 more)
-
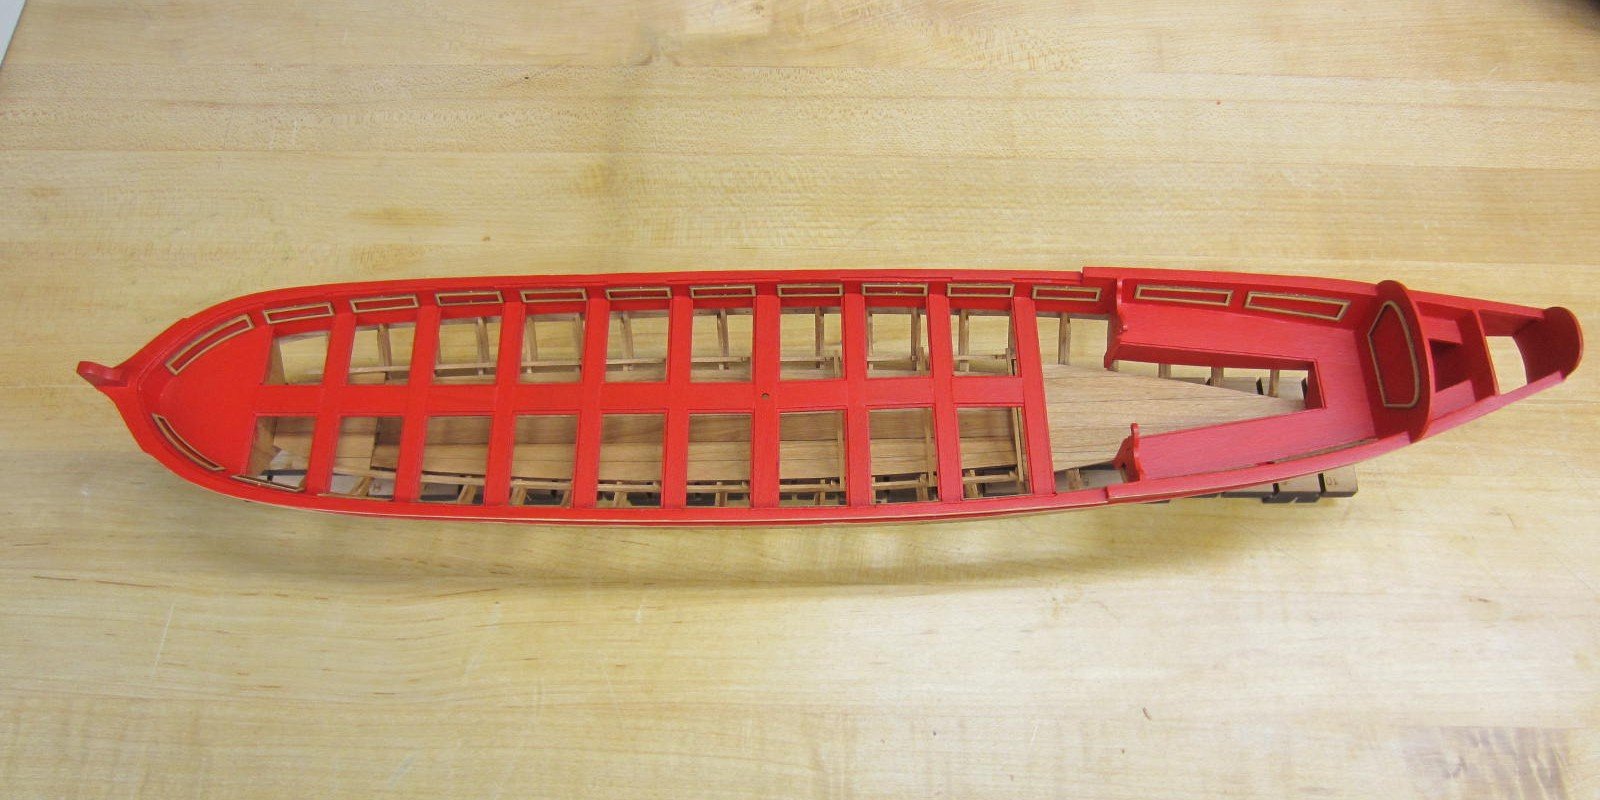
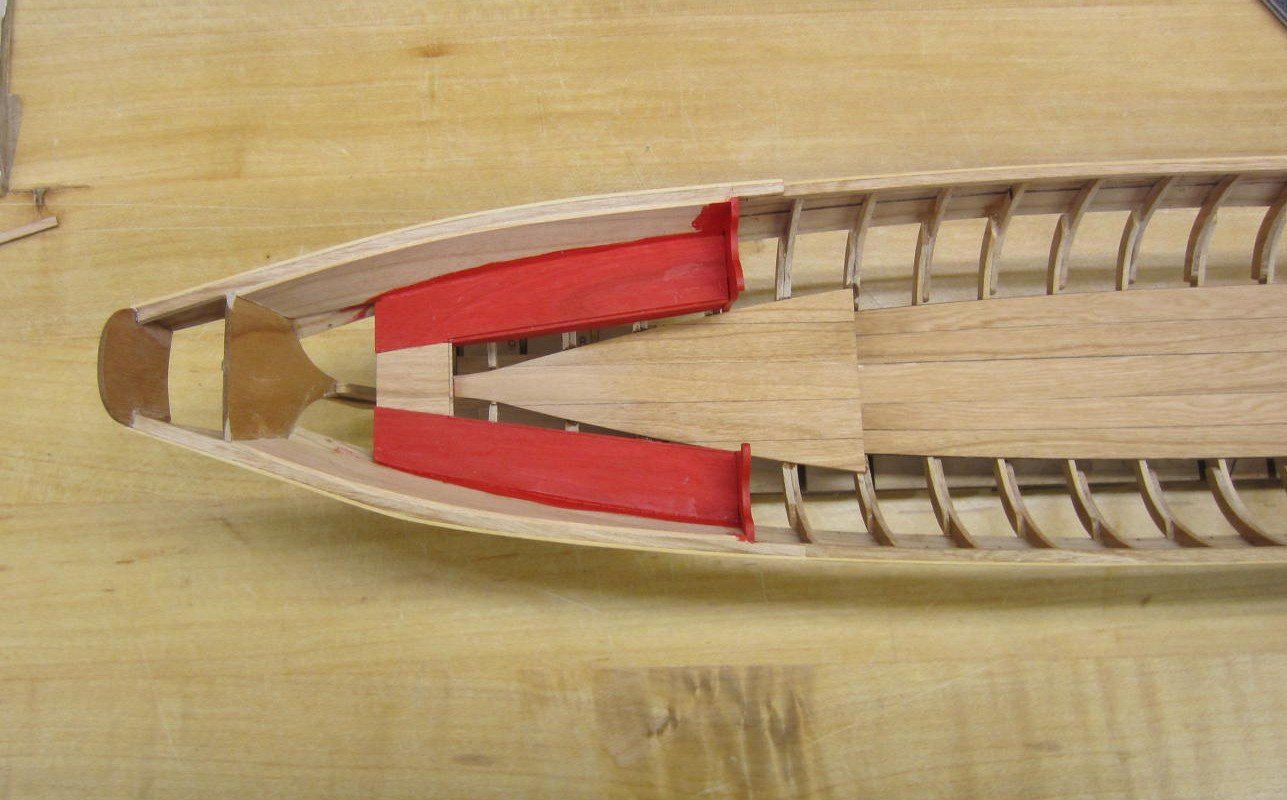
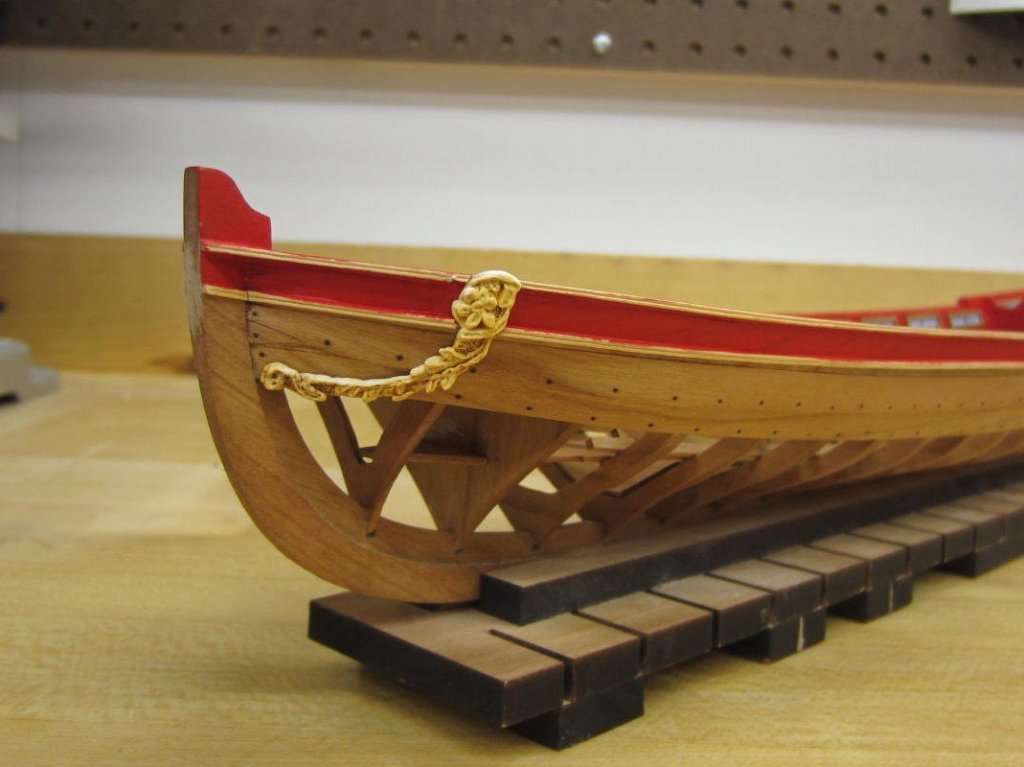
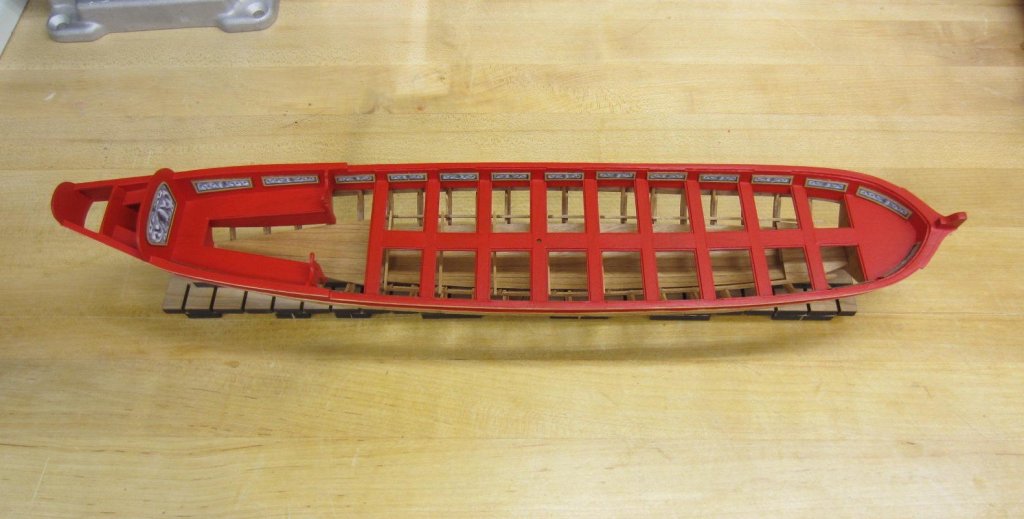
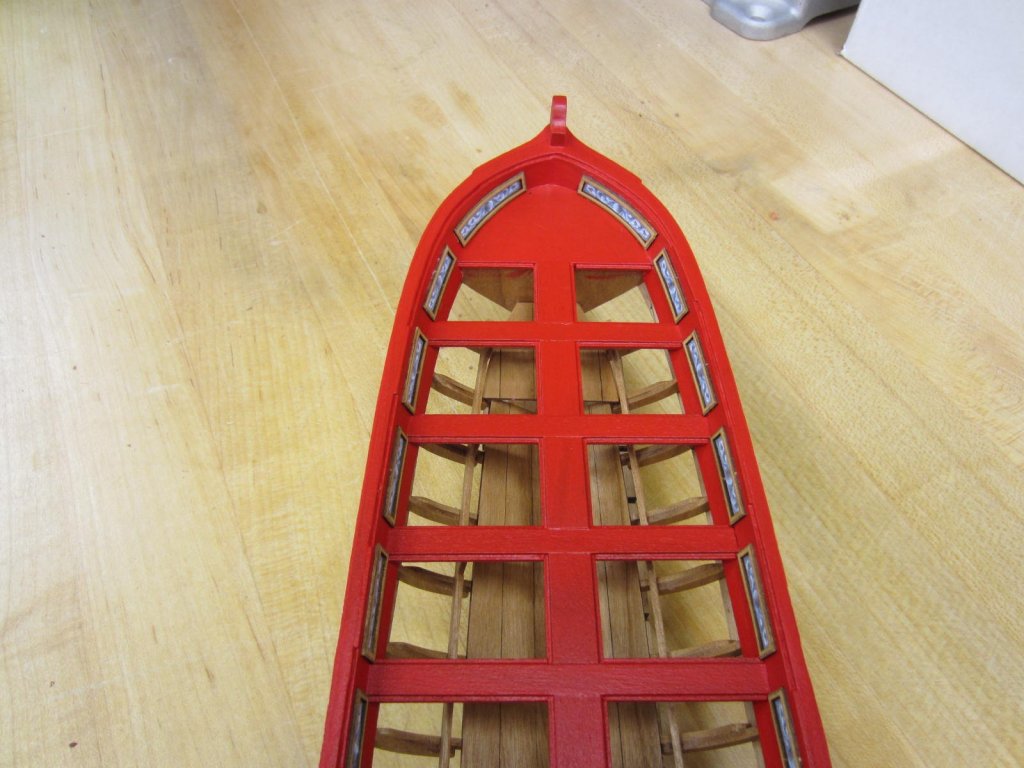
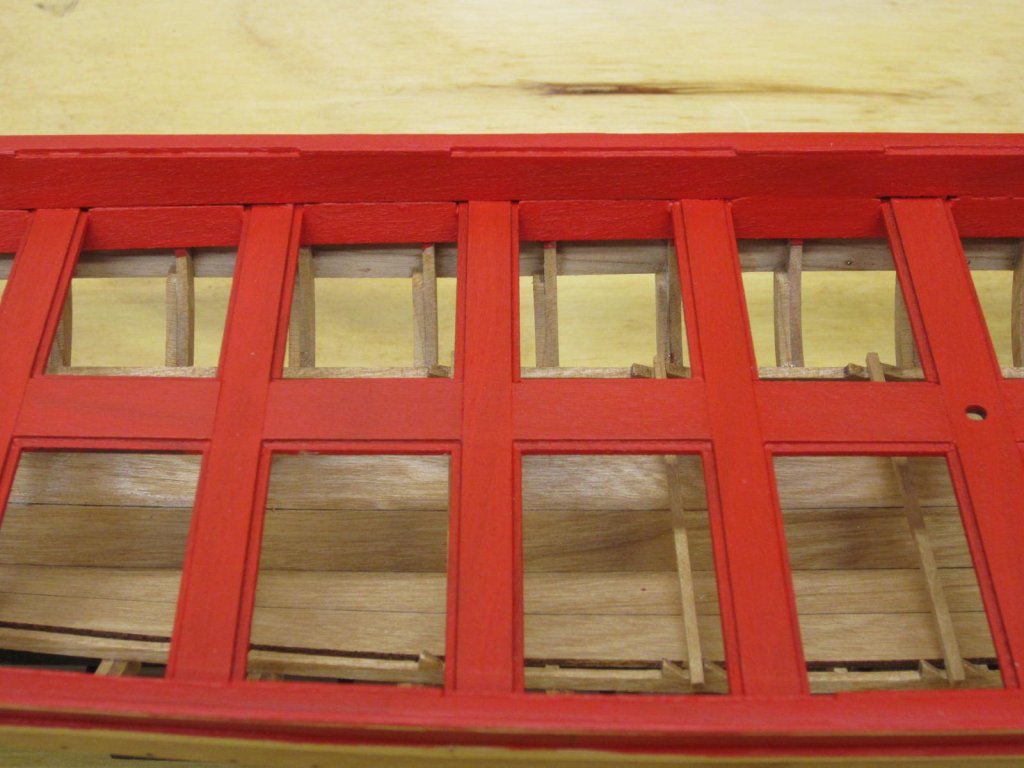
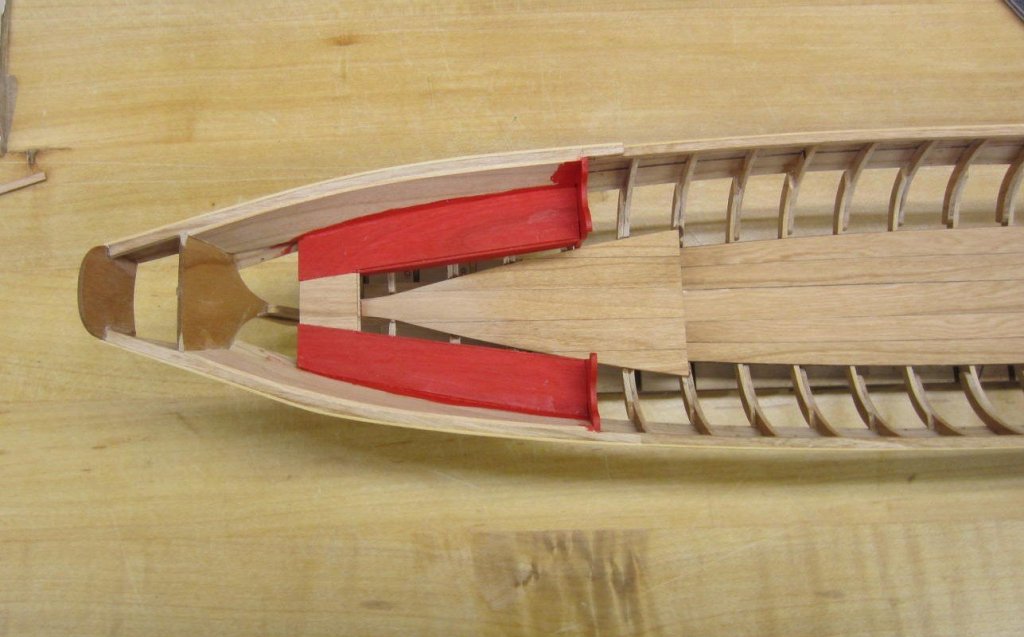
Thank you OrLiN. Welcome aboard. The inboard planking has been completed. Thankfully Chuck had the forethought to supply extra planking pieces at the bow. It is a hefty bend and old hammer hands broke the first plank. You can see the planking is not flush with the cap rail and forms a bit of a rabbet. You also can see pieces added that do go all the way to the cap rail. These form a wider spot for the thole pins. Well it's back to painting, painting, painting.
- 120 replies
-
- 18
-
-
- queen anne barge
- Syren Ship Model Company
- (and 1 more)
-
Holly can deepen a bit when a varnish is applied. I believe it will darken some with time too. Might want to do a small test piece.
- 574 replies
-
- 4
-
-
- cheerful
- Syren Ship Model Company
- (and 1 more)
-
Thanks Tim. My pleasure. Thanks Jim I will spend a bit of time "cleaning up" my goofs once I've finished.
- 120 replies
-
- 2
-
-
- queen anne barge
- Syren Ship Model Company
- (and 1 more)
-
Hi Jim, I do not use an air brush as of yet. I do pre-paint before assembly sometimes but with a brush. The thwarts had three or four coats on them before I assembled them.
- 120 replies
-
- 3
-
-
- queen anne barge
- Syren Ship Model Company
- (and 1 more)
-
Thanks Chuck. That saved me bothering you with another question. Thanks Ben. I've never painted soooooo much. And the end is not is sight yet. Hi B.E. Your gonna love it! Thanks Dirk and all the likes too!
- 120 replies
-
- 2
-
-
- queen anne barge
- Syren Ship Model Company
- (and 1 more)
-
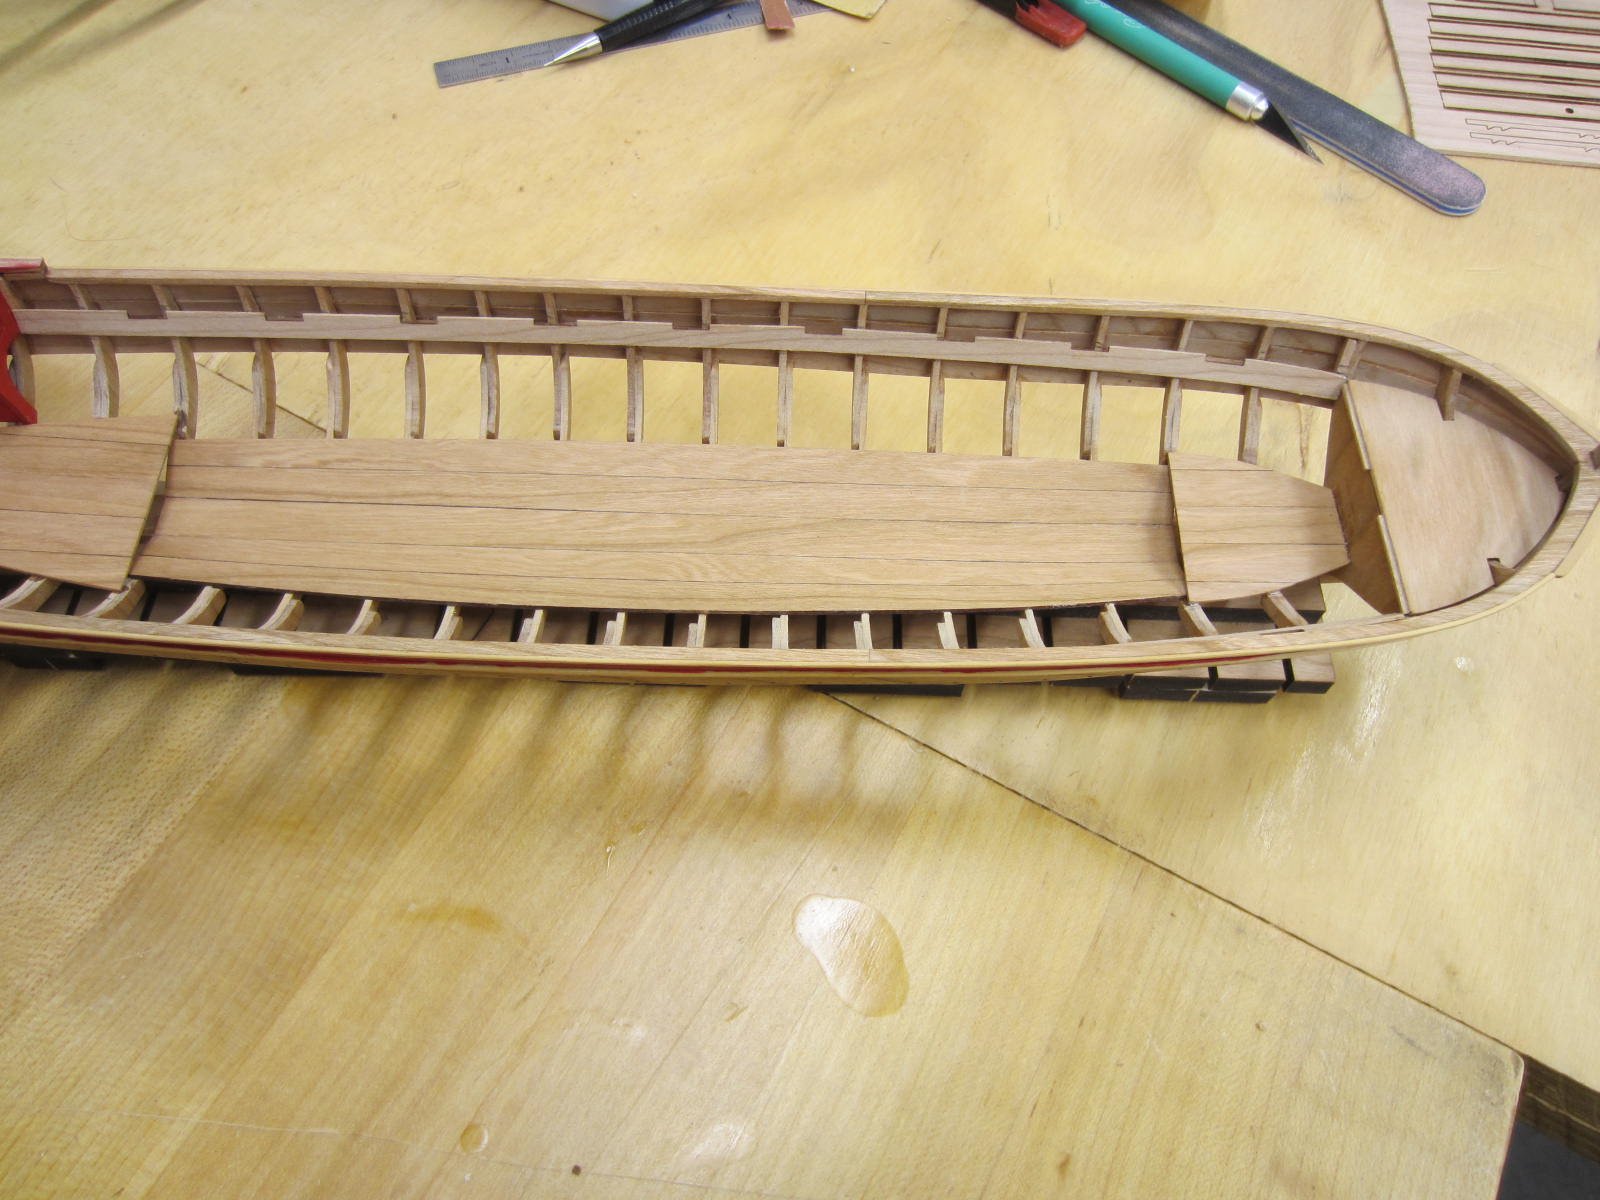
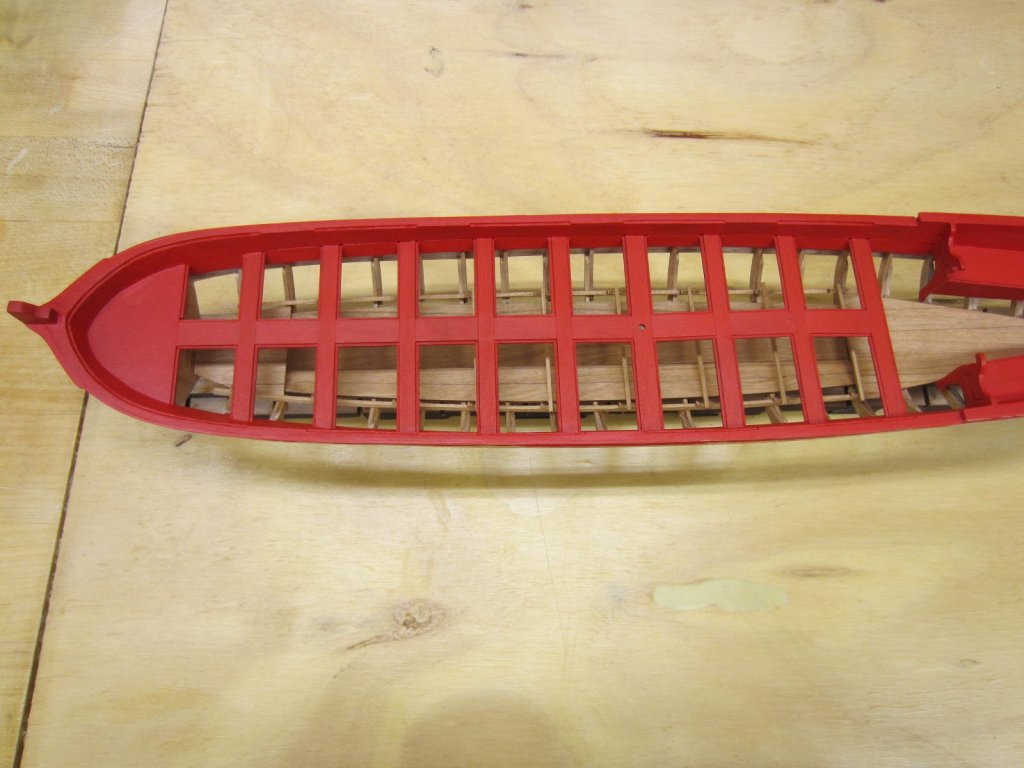
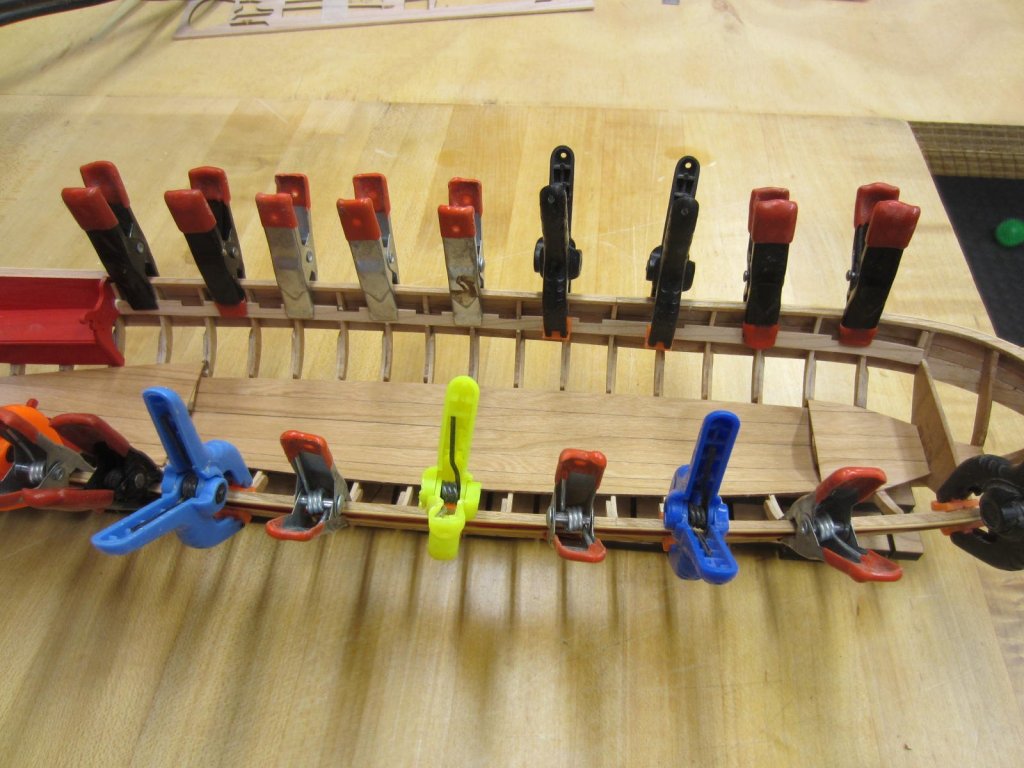
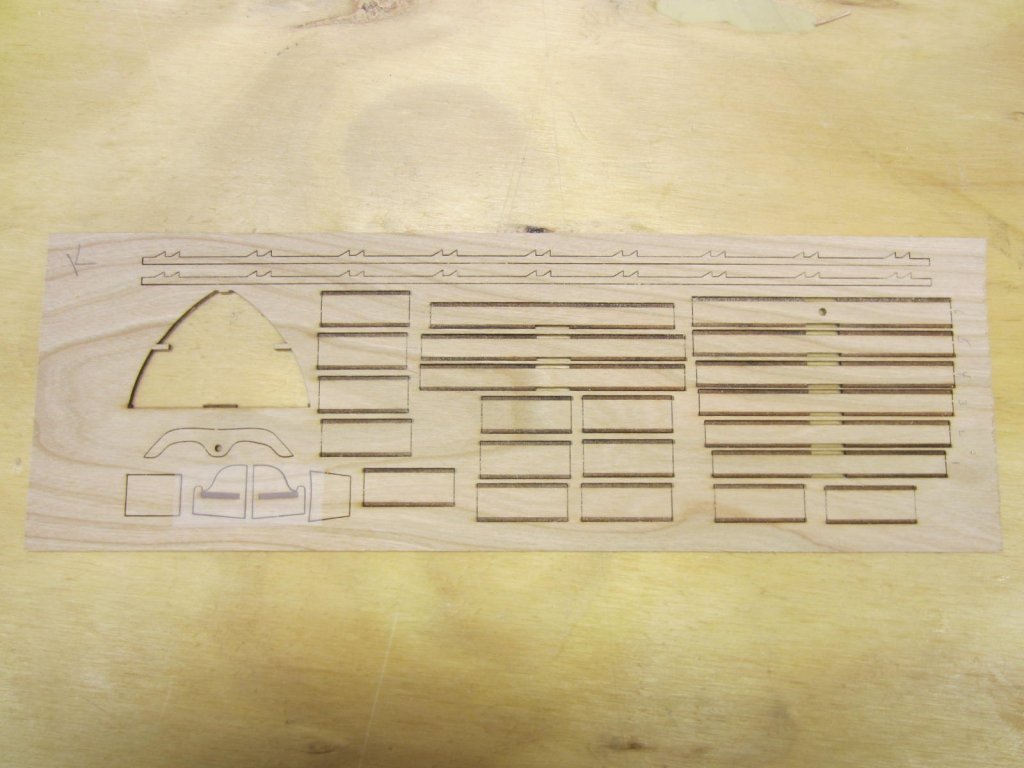
Hi All, I've got some catching up to do here. The risers for the thwarts fitted, clamped and drying. The benches, bench seat back and coxswain seats have been added and the first several coats of paint have been applied with many more to come. Here are the laser cut thwarts and the two long saw tooth looking strips are for the stretchers. I kinda got caught up working and forgot to take pictures. Each cross piece was specifically cut for its position so numbering them and keeping them in order was real important. All pieces were test fitted then taken apart and glued together. After assembling the thwarts I realized I had gotten ahead of myself and forgot to put the stretchers in. Oops followed by a bunch of swearing. Luckily I was able to slide everything in between the framing. No harm no foul. Whew. Many more coats of paint is needed and well as planking above the thwarts.

- 120 replies
-
- 17
-
-
- queen anne barge
- Syren Ship Model Company
- (and 1 more)
-
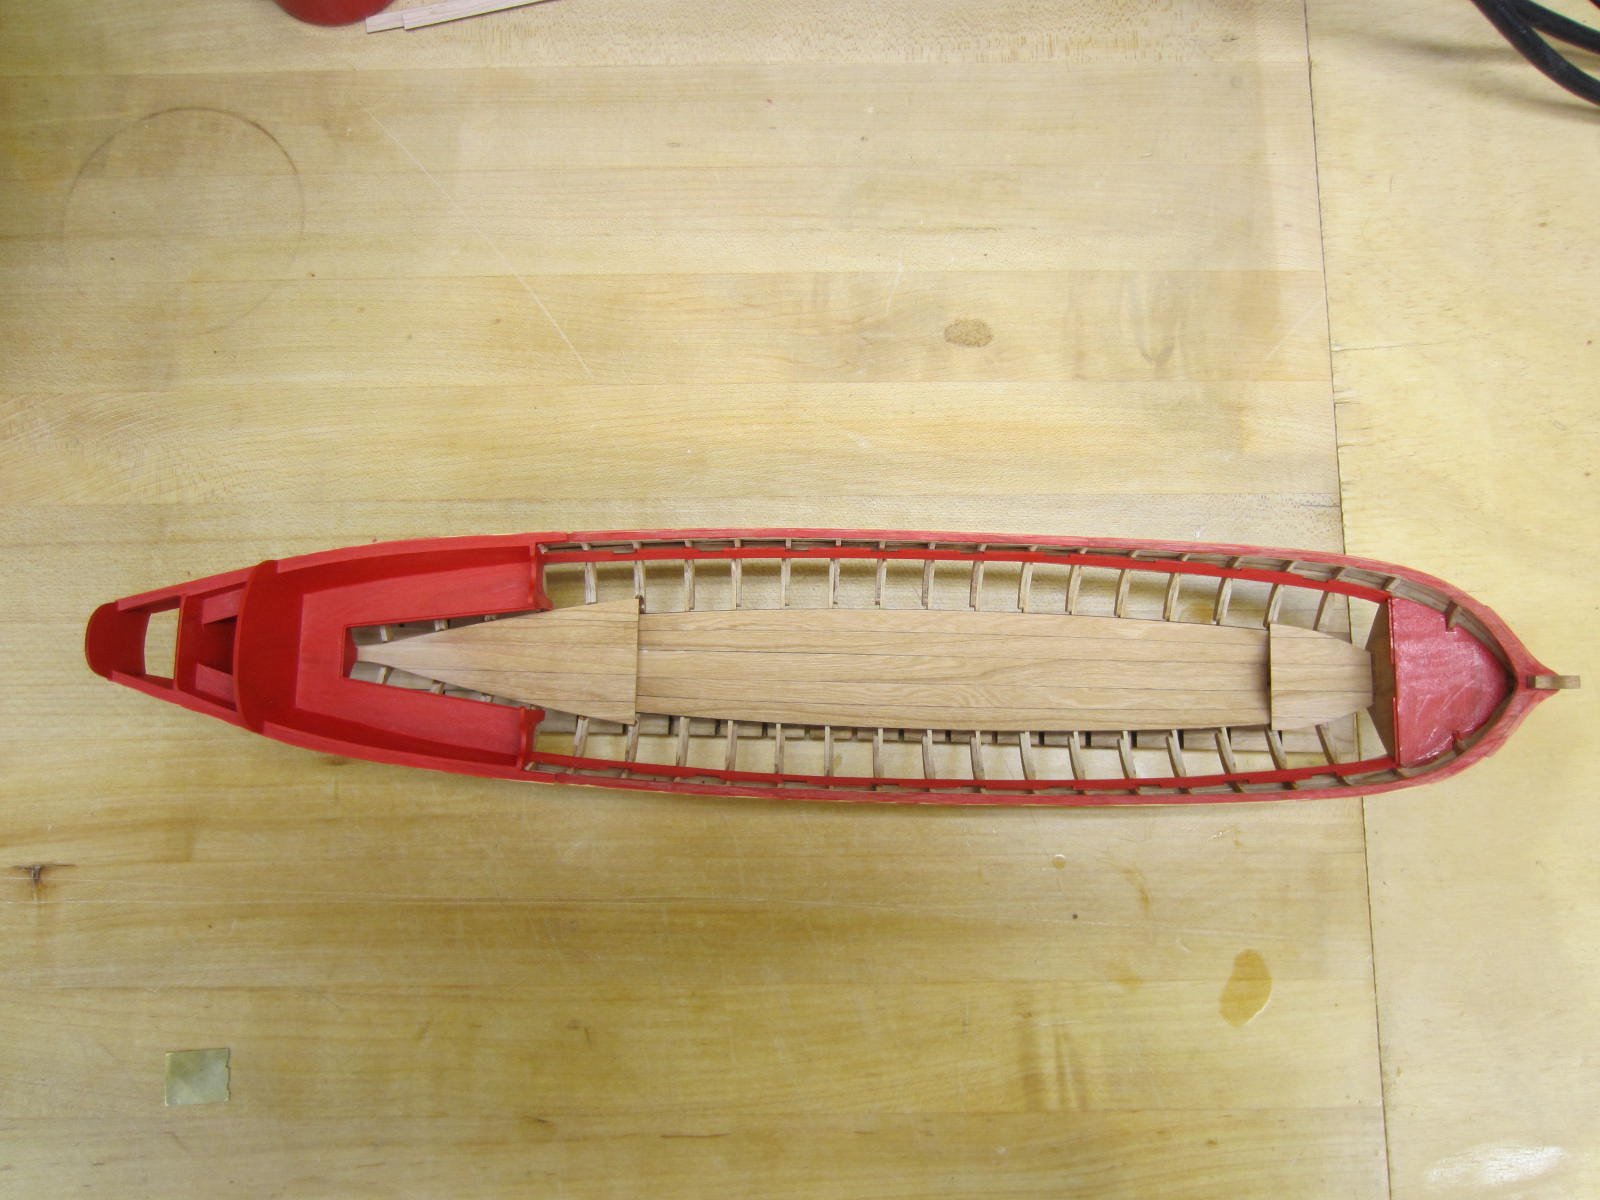
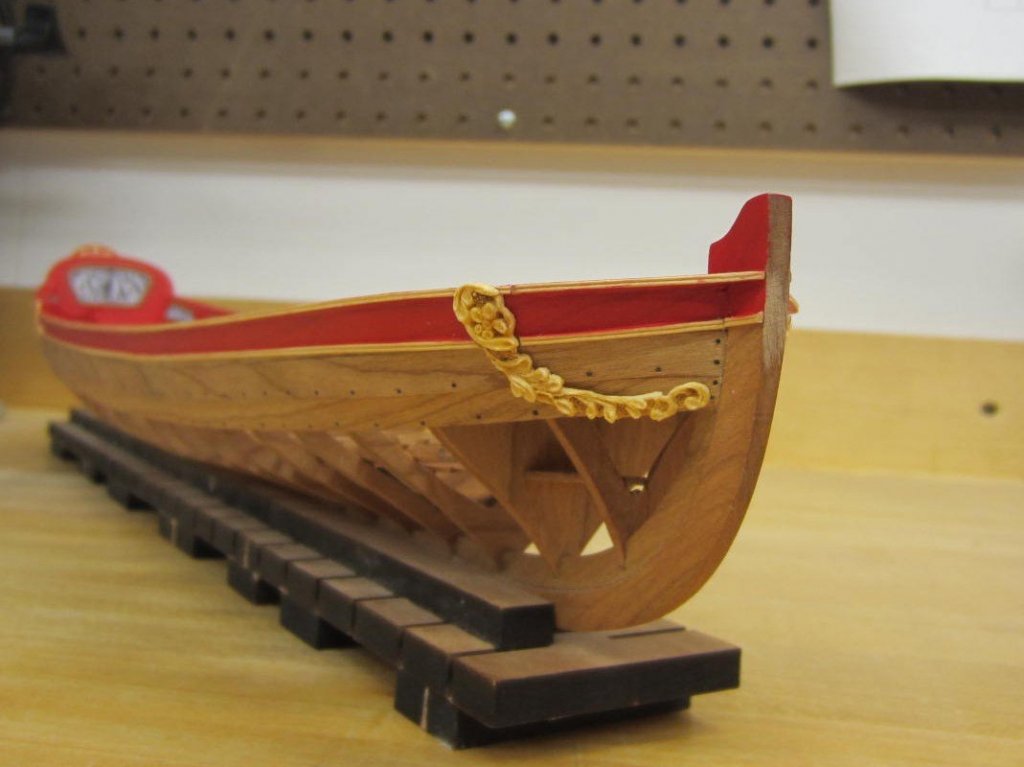
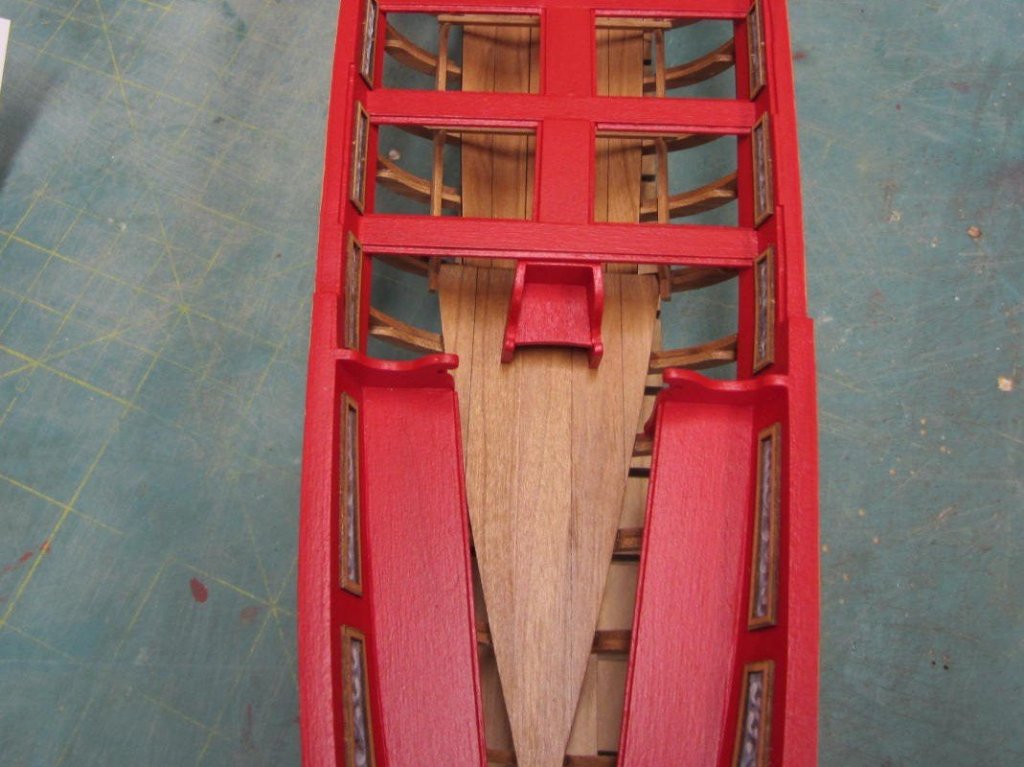
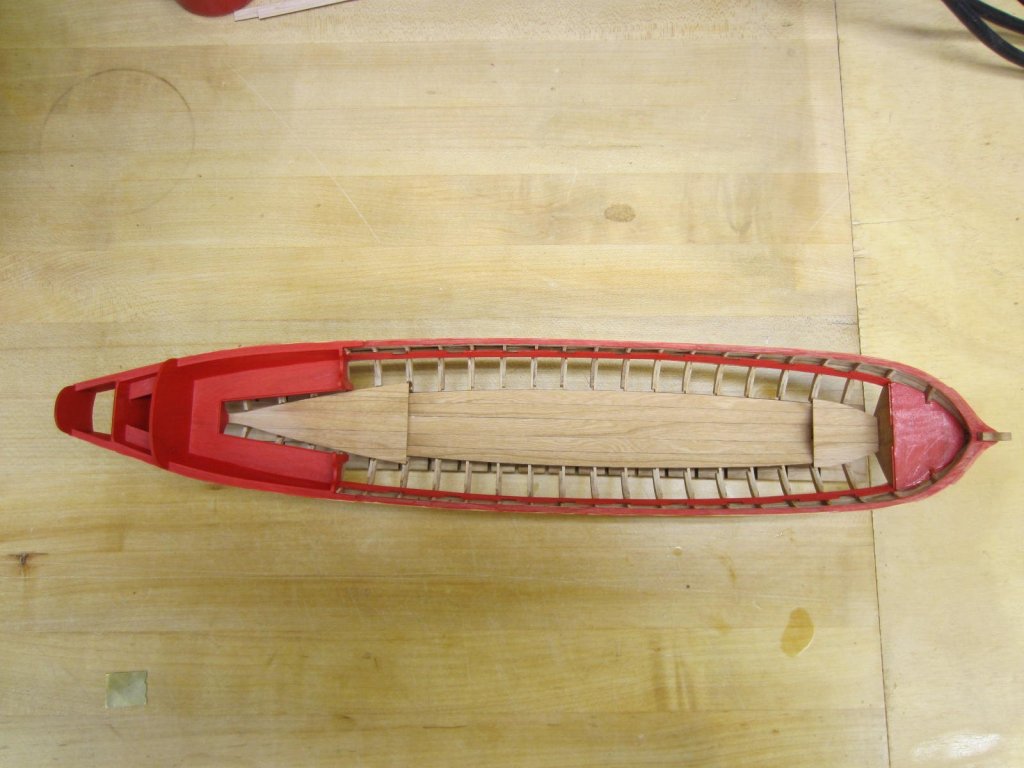
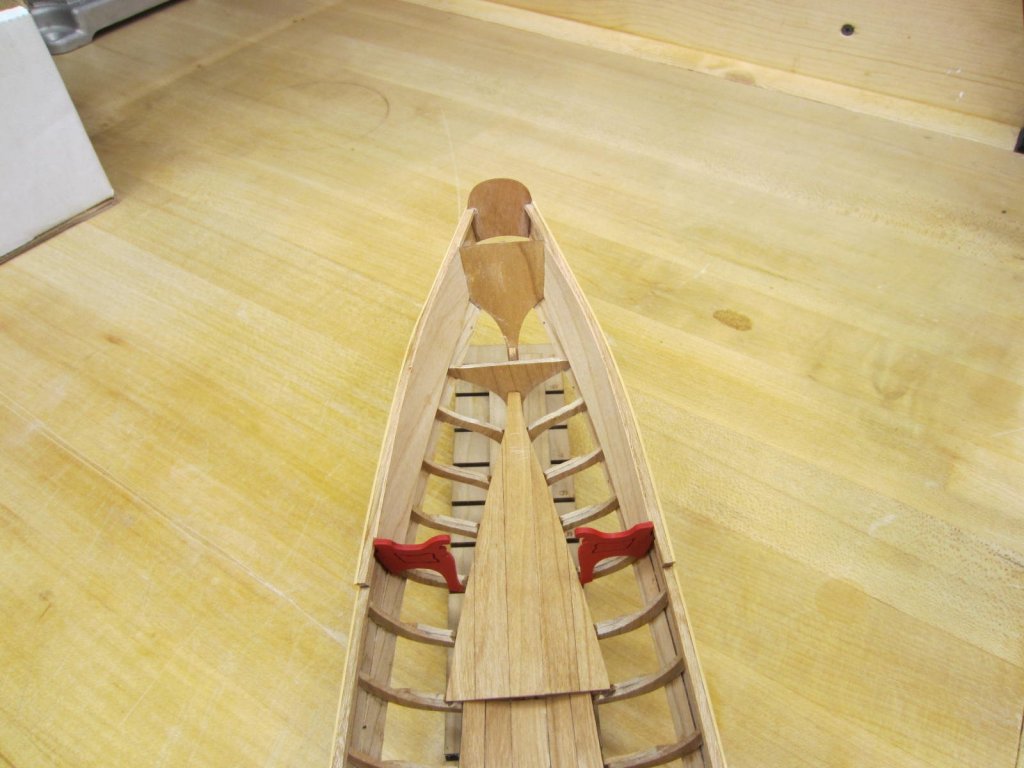
Well the admiral is a bit under the weather so I've stayed home from work to in case she needed anything. It did afford me some extra time to get some "work" done on the barge. I painted the bench arm rests and glued them in place. Then the upper portion aft of the arm rests was planked. Then the seat base and seat tops were added. You can see I painted a small portion testing the consistency of the thinned paint and checking the seams at the planking for a nice tight fit. I've found that if there is a bad joint it will show up when paint is applied. The paint I'm using is Winsor & Newton Galeria Acrylic Crimson.

- 120 replies
-
- 19
-
-
- queen anne barge
- Syren Ship Model Company
- (and 1 more)
-
Very good B.E.The work to do all of the tick strips and marks will pay off when planking the belts.
- 574 replies
-
- 6
-
-
- cheerful
- Syren Ship Model Company
- (and 1 more)
-
Ah you went and did it. Good for you. It will be great to see her built at 1/4"
- 1,784 replies
-
- 4
-
-
- winchelsea
- Syren Ship Model Company
- (and 1 more)