Rustyj
-
Posts
2,535 -
Joined
-
Last visited
Content Type
Profiles
Forums
Gallery
Events
Everything posted by Rustyj
-

USF Confederacy by Rustyj - FINISHED
Rustyj replied to Rustyj's topic in - Build logs for subjects built 1751 - 1800
Your Welcome Sinan, Here is some more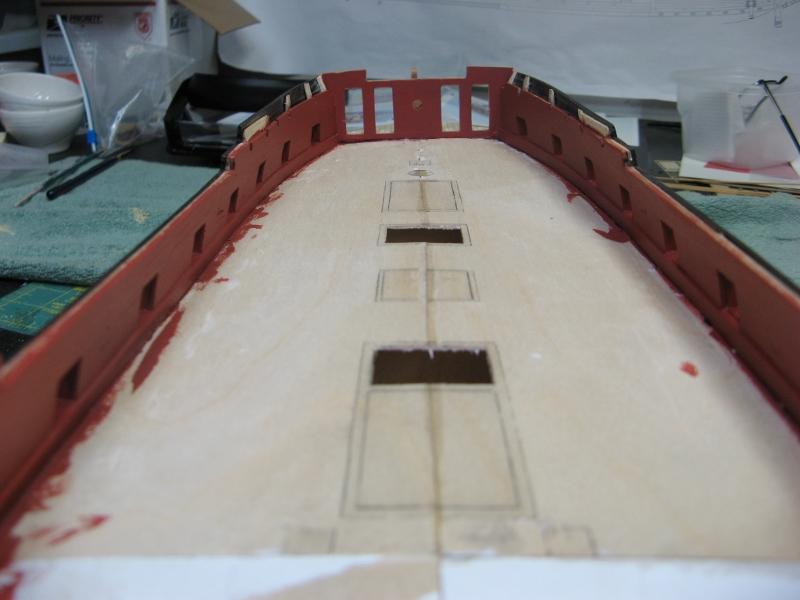
- 149 replies
-
- 3
-

-
- confederacy
- frigate
- (and 1 more)
-
Well done Augie, I know what a bugger they can be and you nailed it!
-
Byrnes table saw accessories
Rustyj replied to Neill's topic in Modeling tools and Workshop Equipment
Hi Neill, IMHO the accessories you will need the most are the Extended Rip Fence, Miter Extension and Zero-Clearance Inserts. How many inserts depends on how many types of blades you will be using. I have one insert for each type. Other accessories are nice but these are the ones I use the most. I hope this helps. -
USF Confederacy by Rustyj - FINISHED
Rustyj replied to Rustyj's topic in - Build logs for subjects built 1751 - 1800
and some more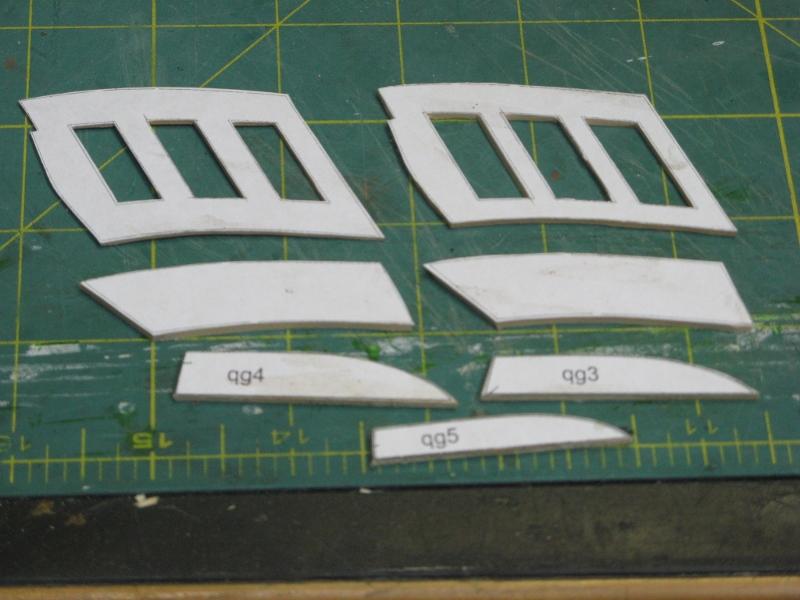

- 149 replies
-
- 3
-
-
- confederacy
- frigate
- (and 1 more)
-
USF Confederacy by Rustyj - FINISHED
Rustyj replied to Rustyj's topic in - Build logs for subjects built 1751 - 1800
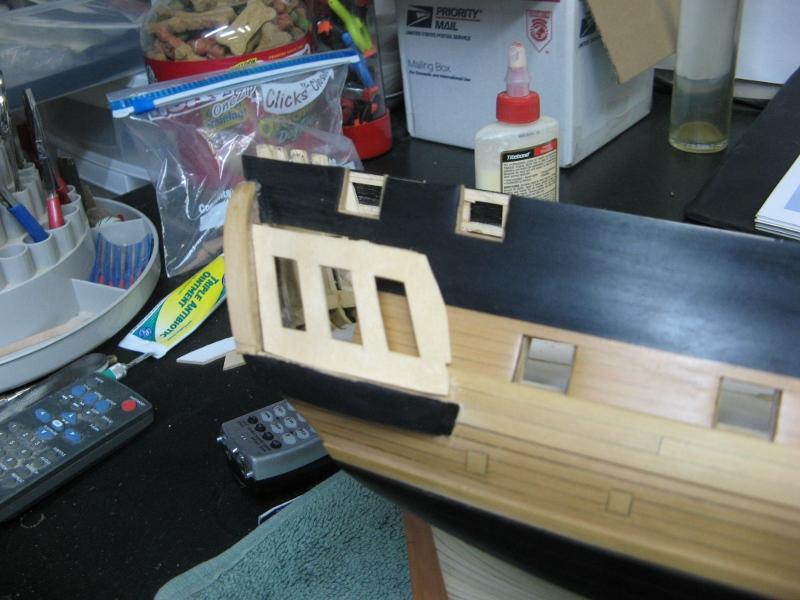
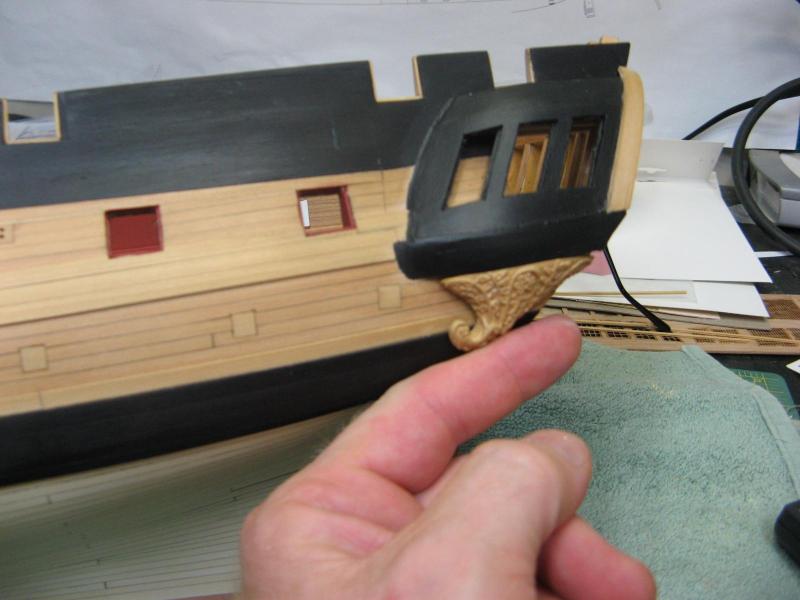
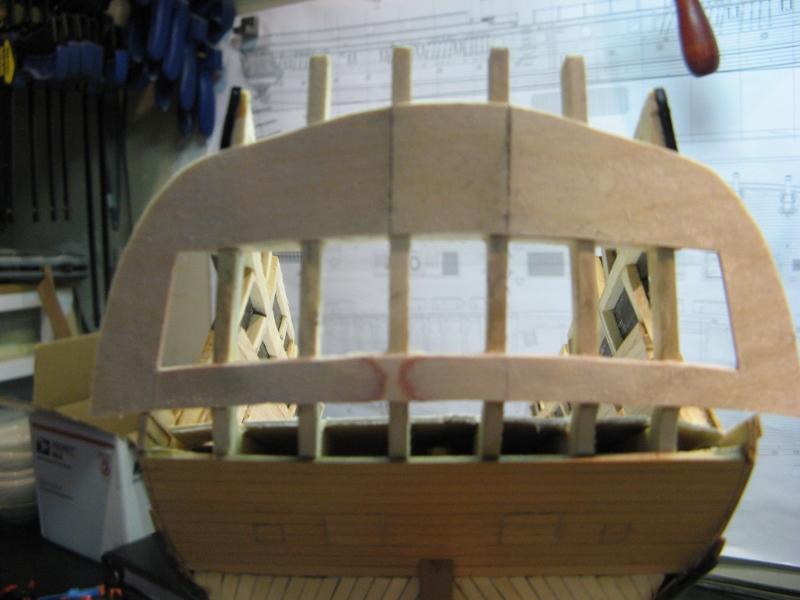
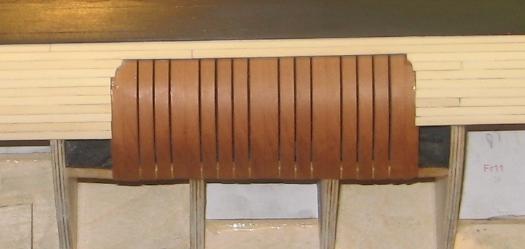
Hi Ben, I have to give you a big “ummmm not sure why”. I would guess it was because I was thinking lets plank the interior before putting the window frames is so I don’t put a plank through them or just cause I wanted to do the planking then and not later. What ever reason it was it was not really important. Just me being me as they say.
- 149 replies
-
- 5
-
-
- confederacy
- frigate
- (and 1 more)
-
Hi 42rocker, Lucky for me I had already gotten well underway with the Triton Cross Section before finding the Bomb Vessel plans on MSB or I too may have wandered the path you are about to take. Good luck and it will be fun and interesting watching this build.
-
Thank you very much. I'm glad you enjoyed her again. Just think if we could build that fast!
-
US Brig Syren by Gahm - Model Shipways
Rustyj replied to Gahm's topic in - Kit build logs for subjects built from 1801 - 1850
Hi Thomas, That is a fantastic job you are doing on your Syren. I'll enjoy following along. -
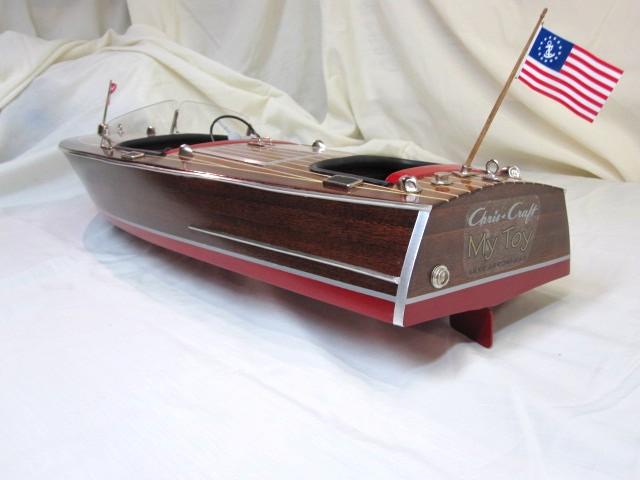
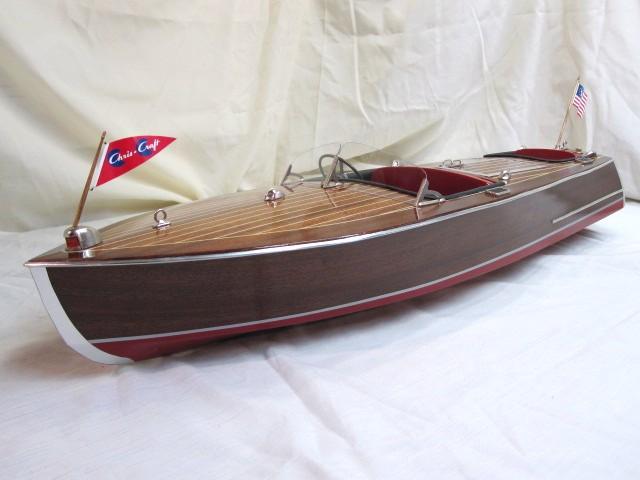
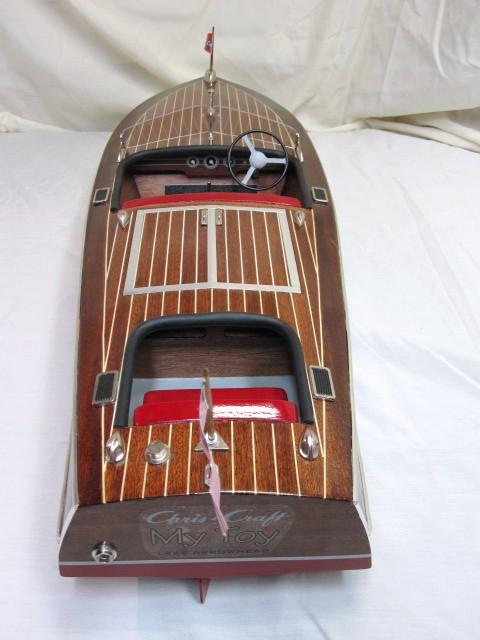
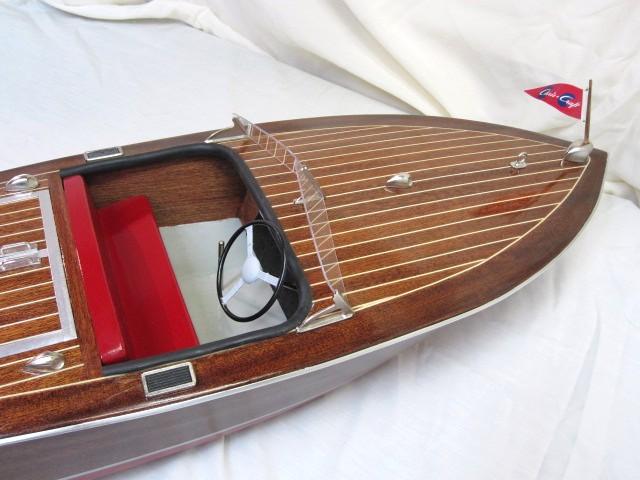
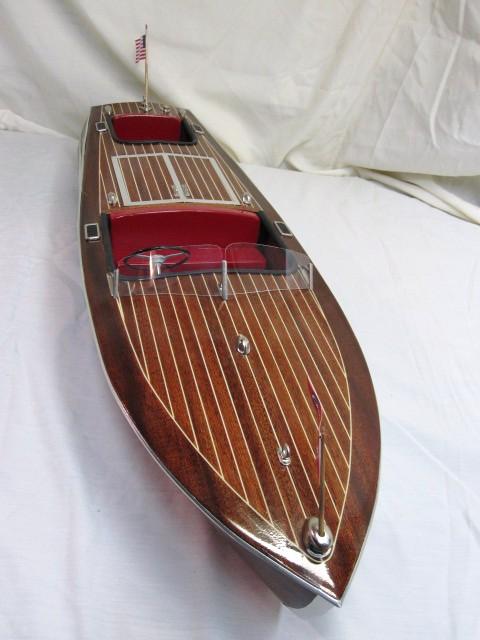
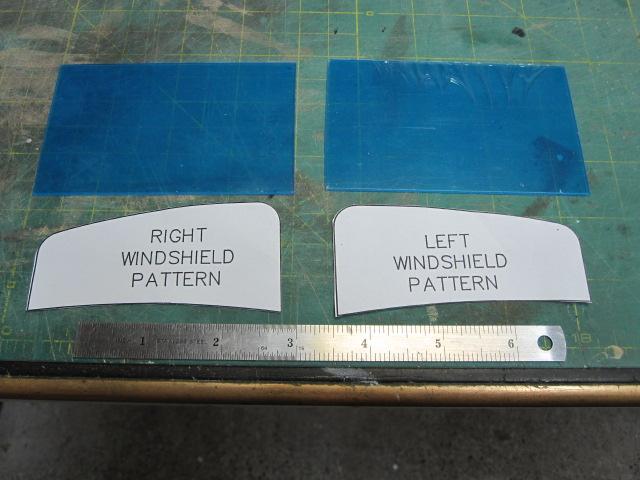
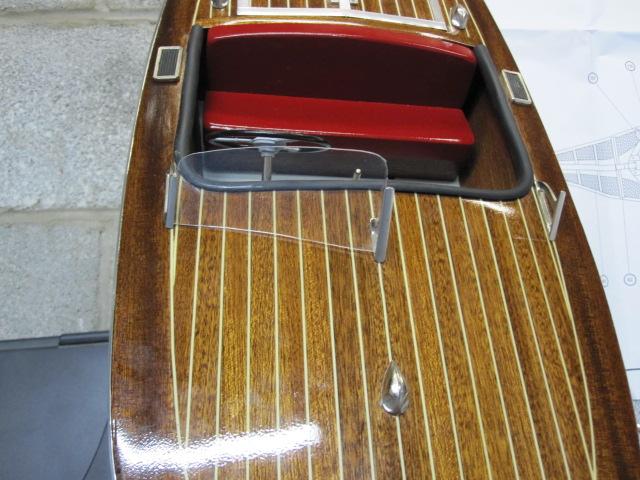
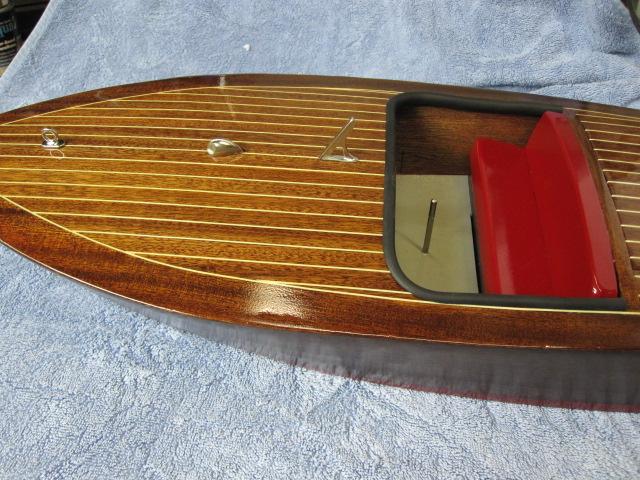
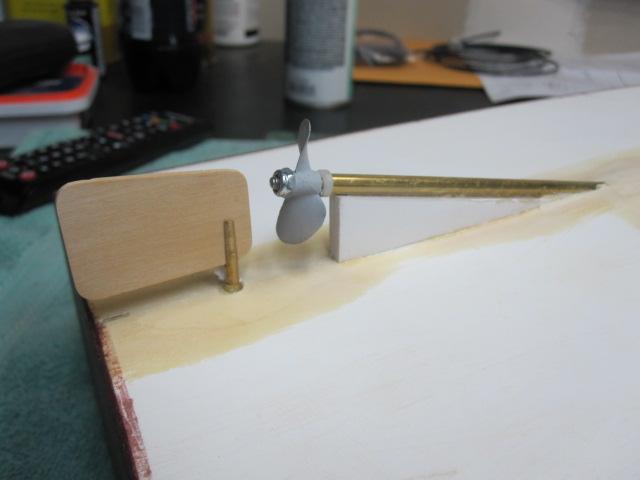
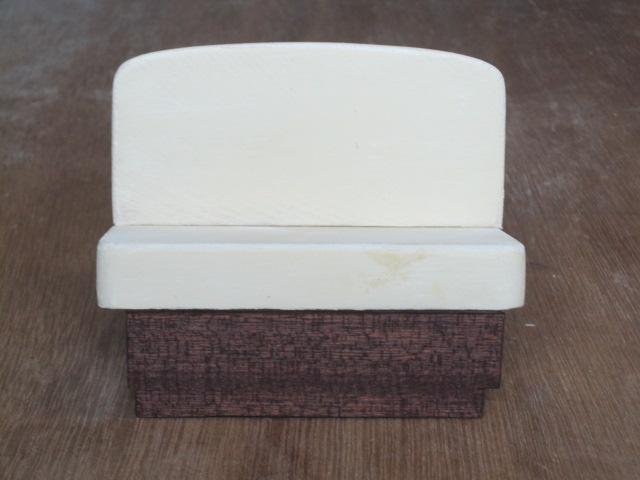
and the flags and windshield instalation.

-
And some more....

-
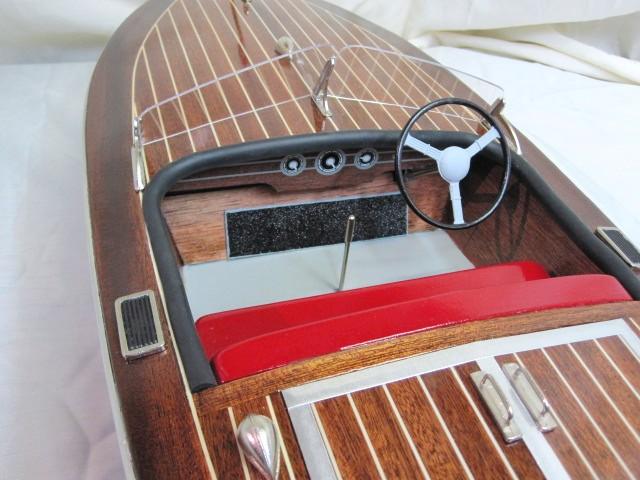
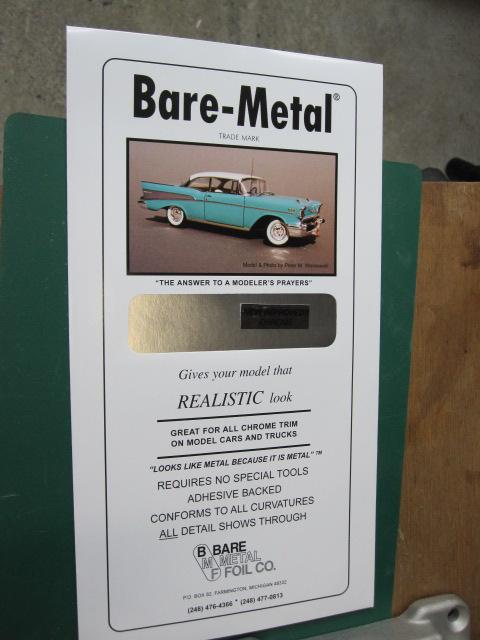
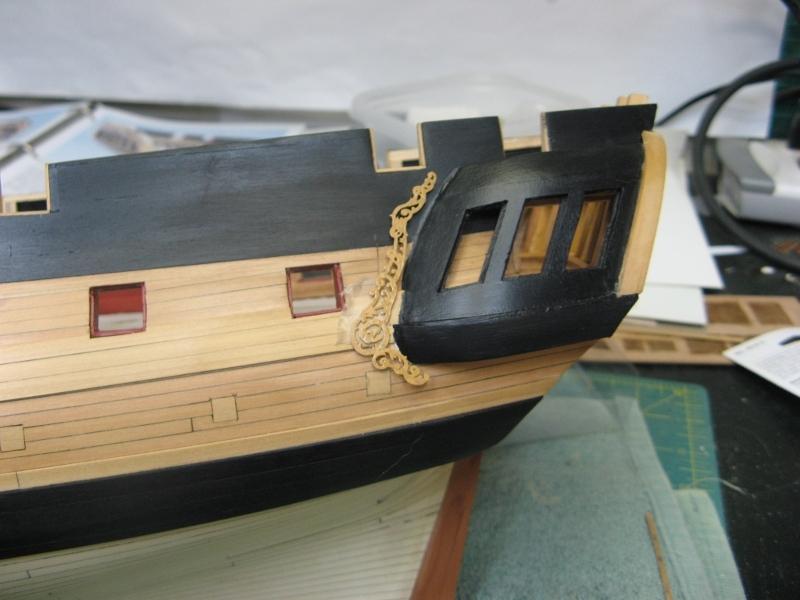
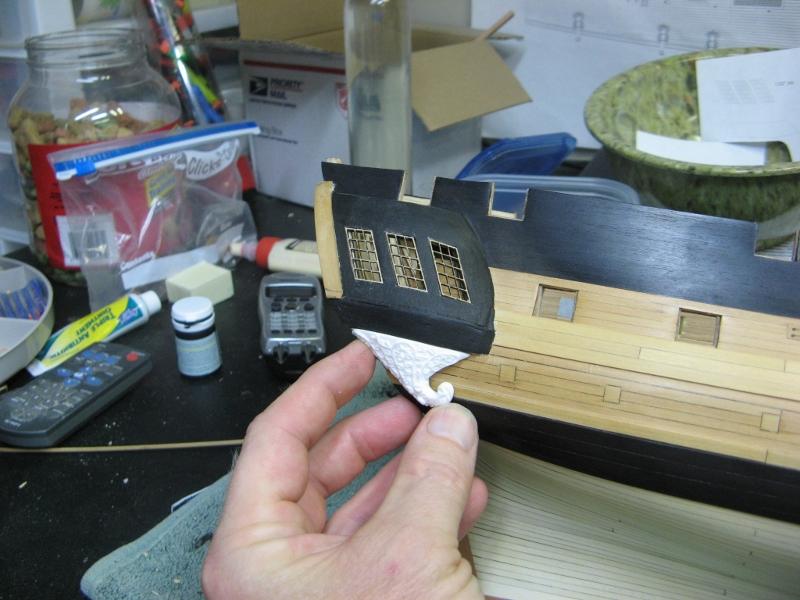
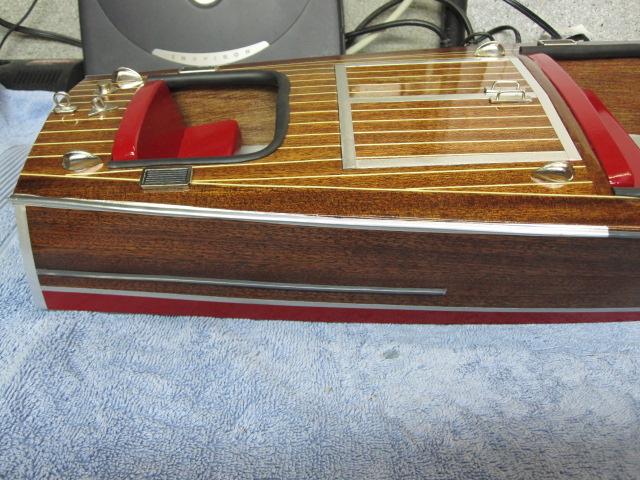
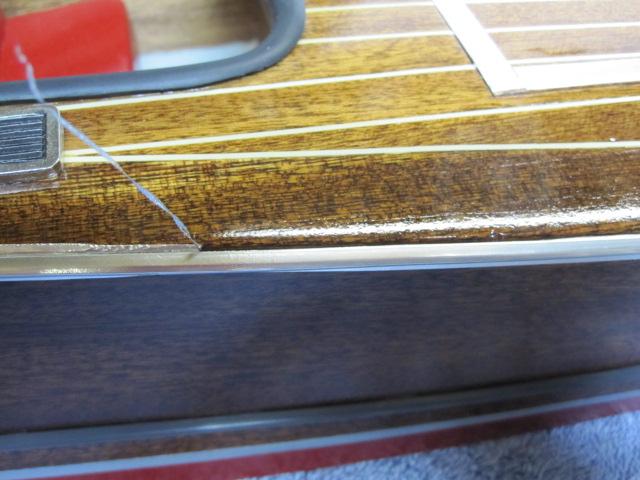
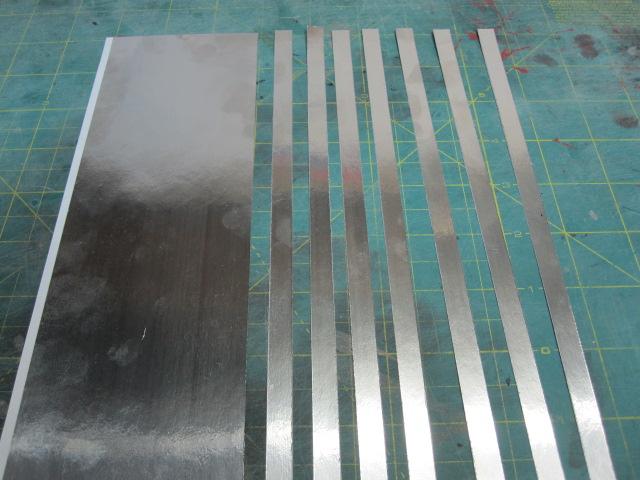
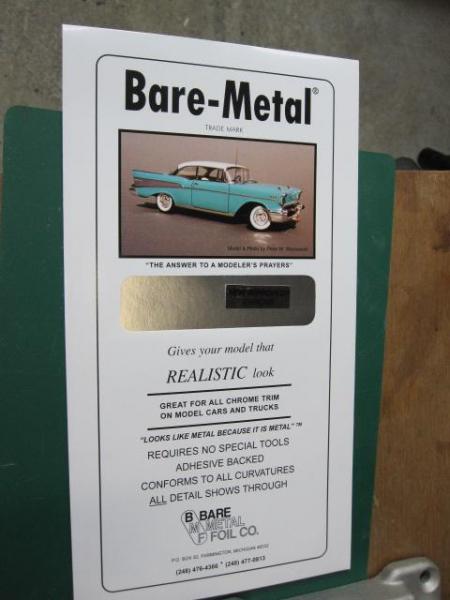
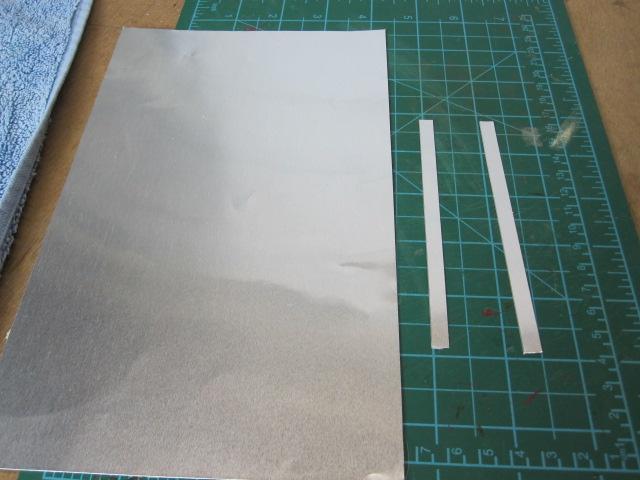
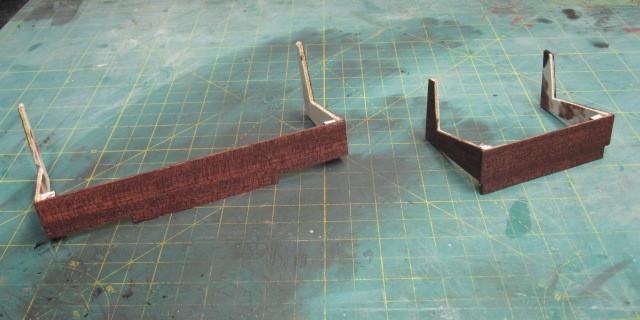
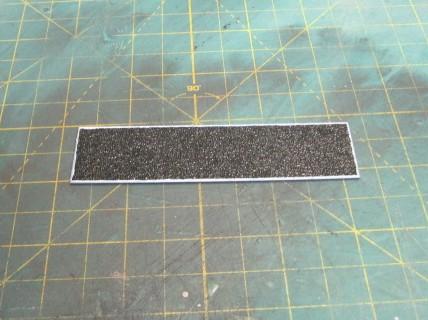
Hi Pat, I just have to find a free space to put it! Here I'm adding the trim that was cut from some bare metal foil.


-
USF Confederacy by Rustyj - FINISHED
Rustyj replied to Rustyj's topic in - Build logs for subjects built 1751 - 1800
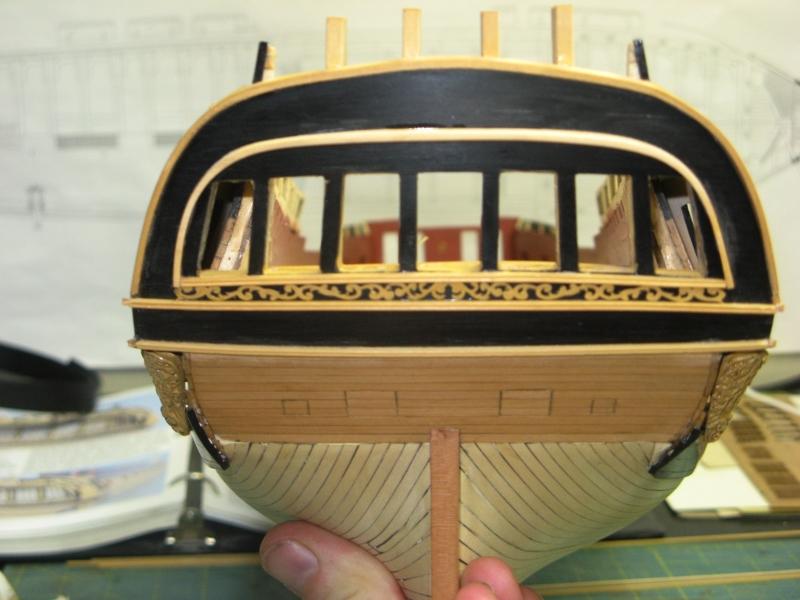
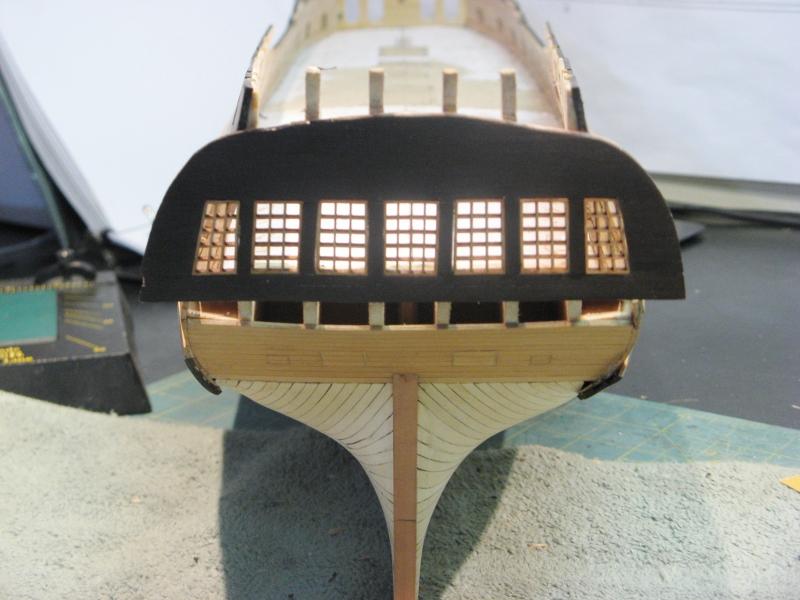
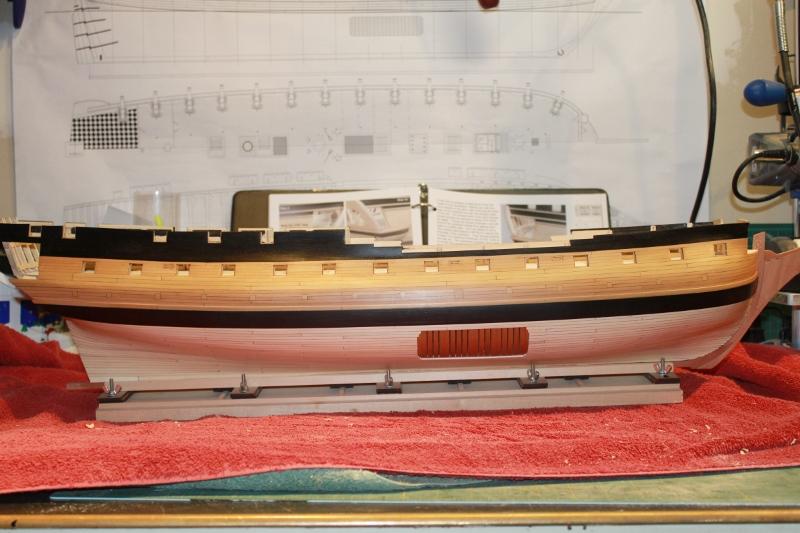
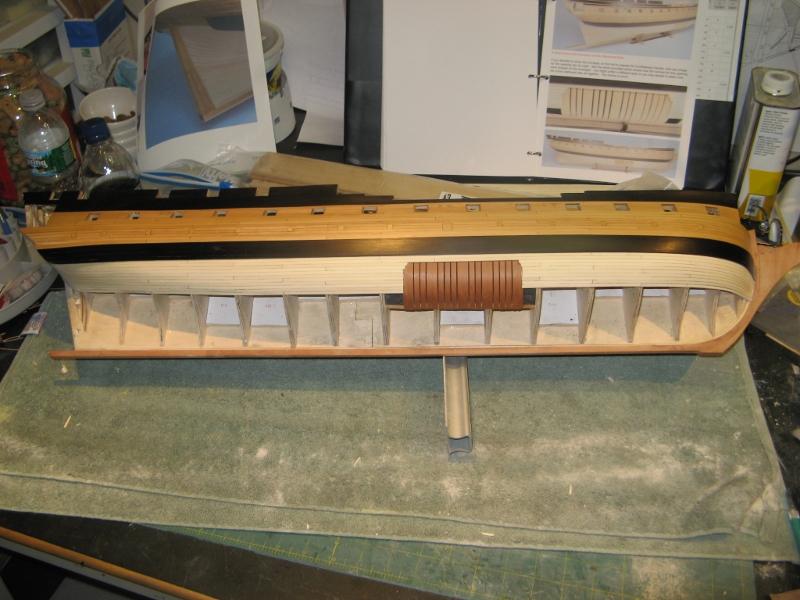
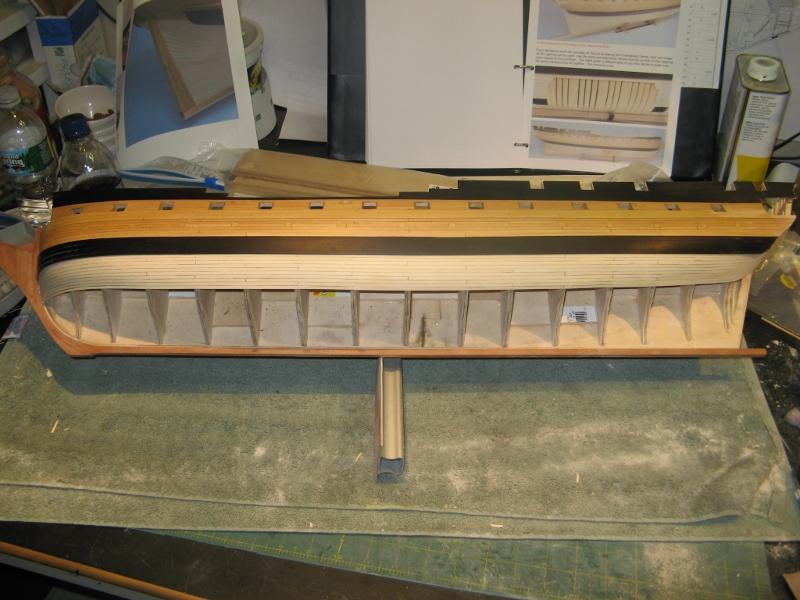
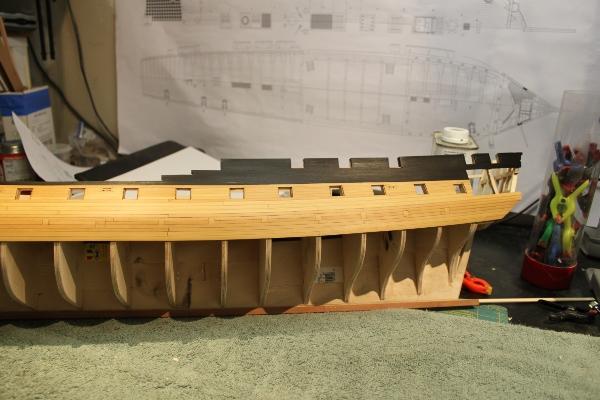
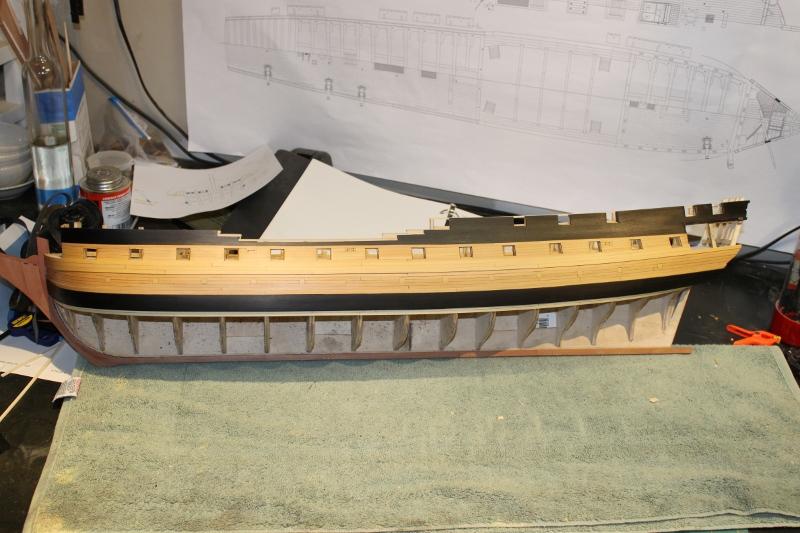
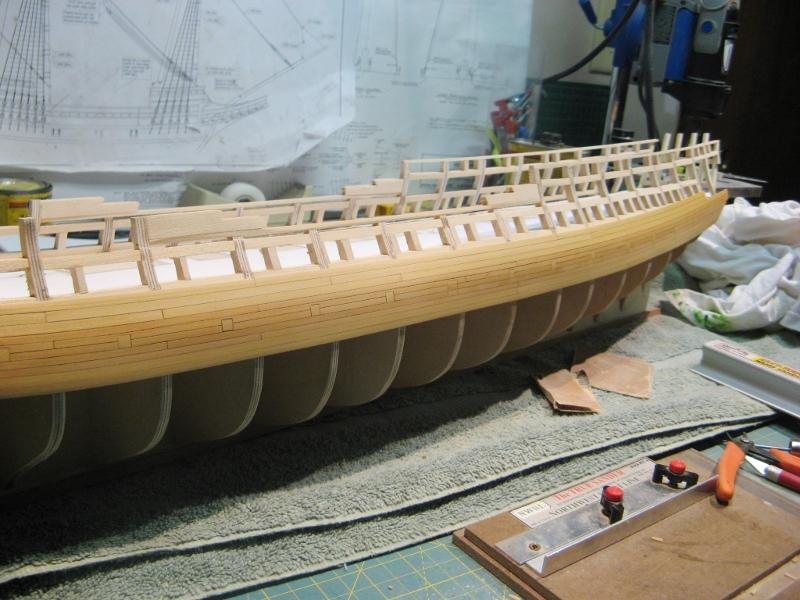
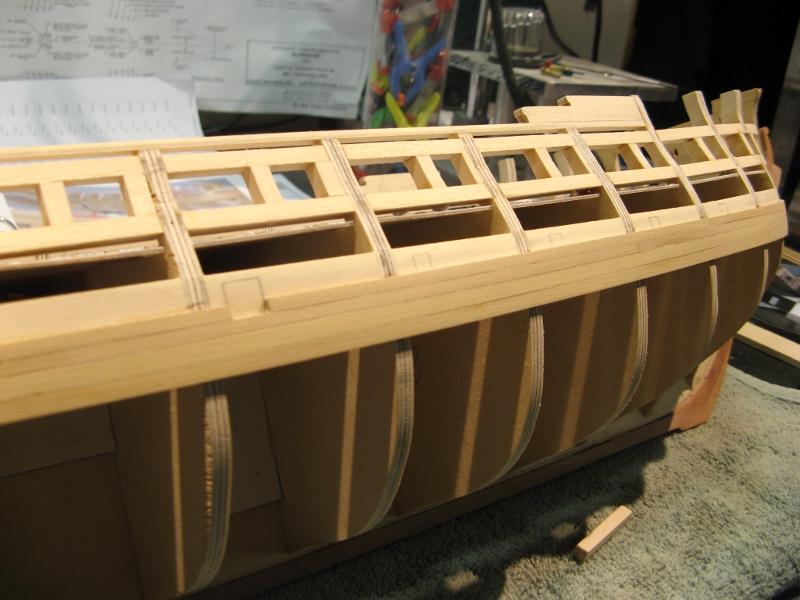
Hull is planked with Holly and the simulated frames are swiss pear. The bulwark planking is boxwood.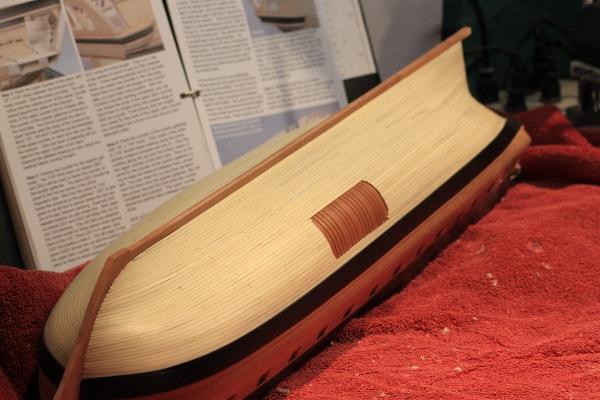

- 149 replies
-
- 4
-
-
- confederacy
- frigate
- (and 1 more)
-
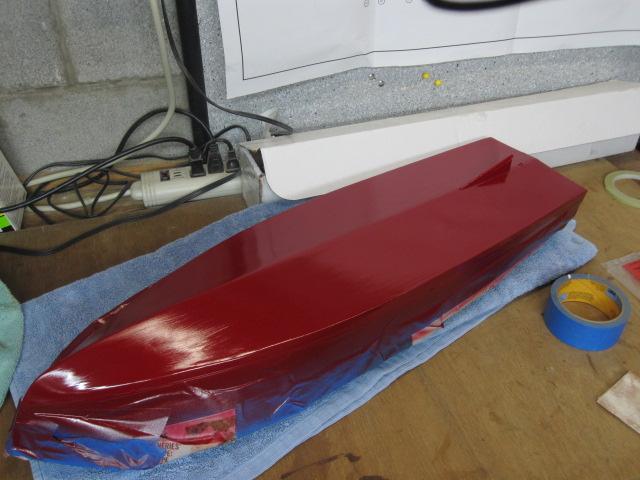
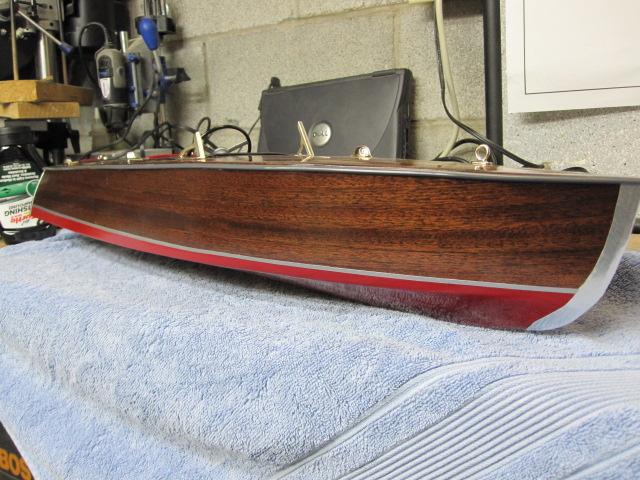
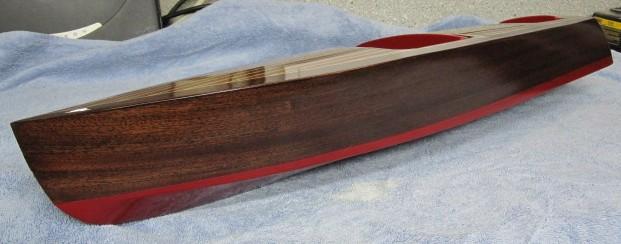
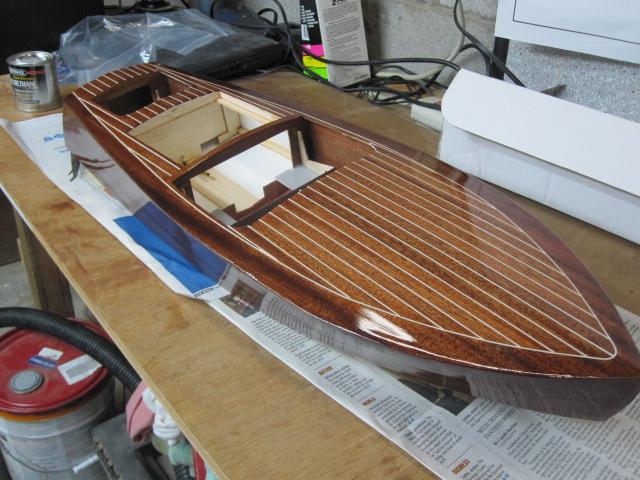
Thanks Augie. Not really a fan of gloss finishes but it goes really well on these kind of models.
-
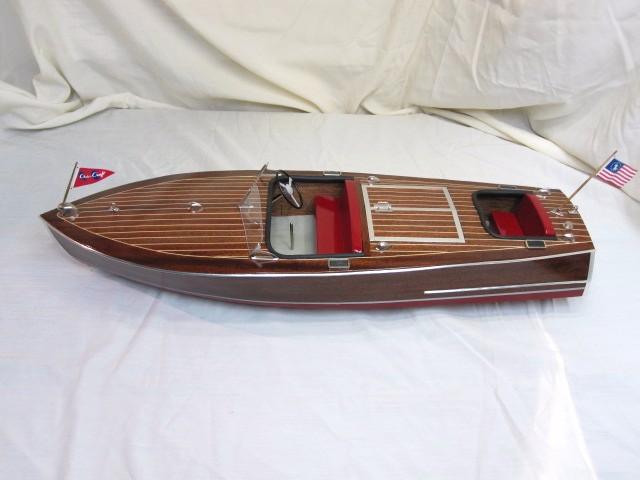
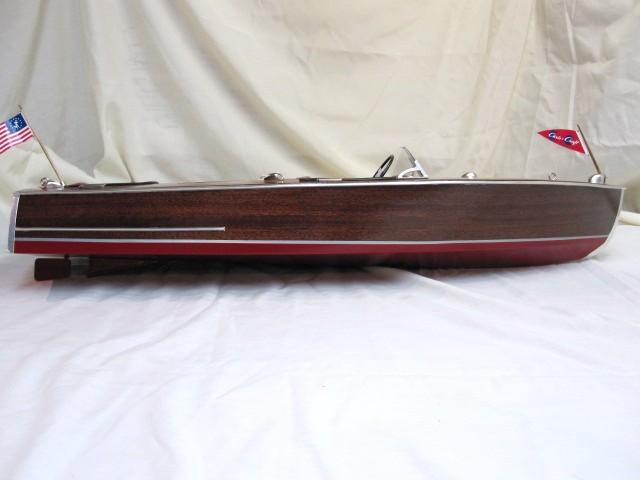
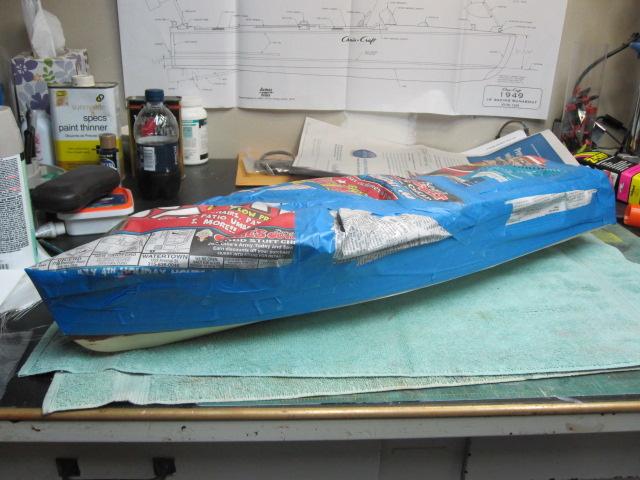
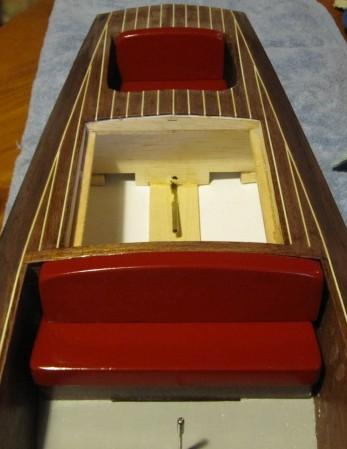
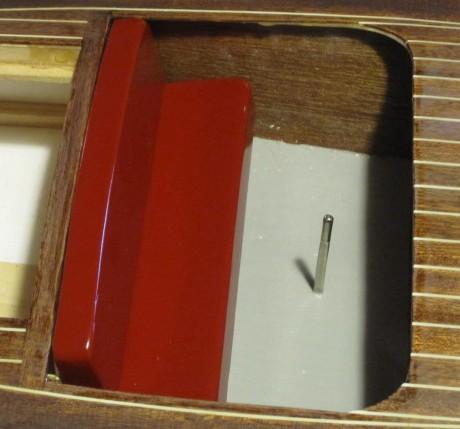
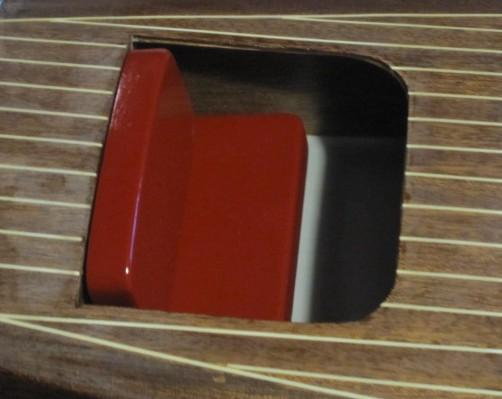
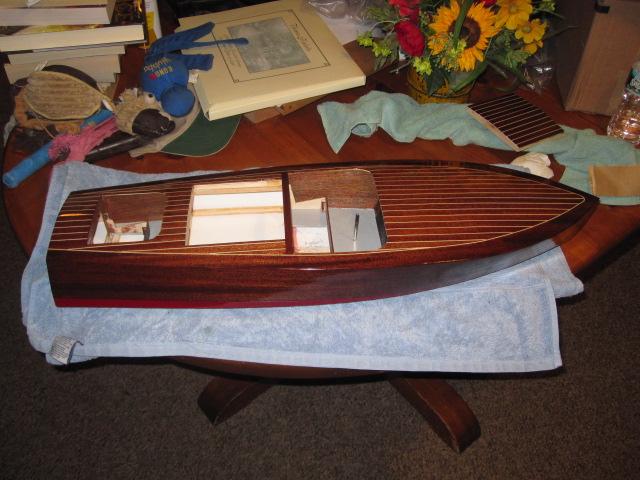
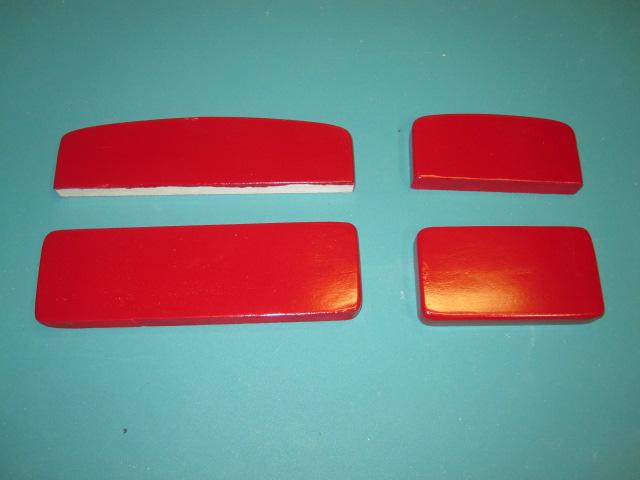
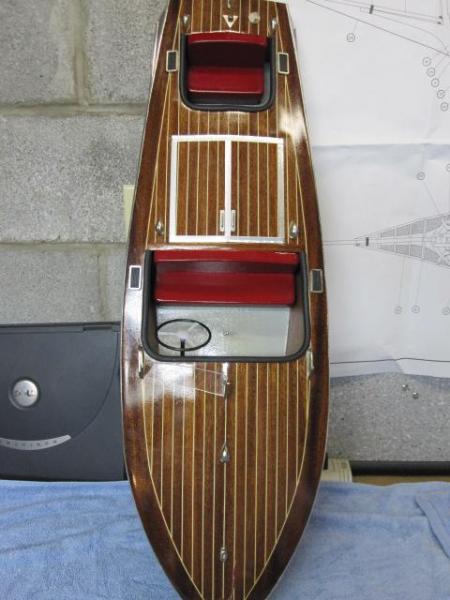
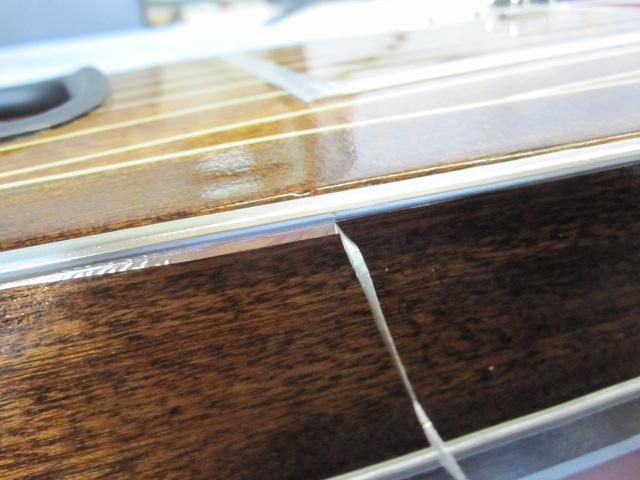
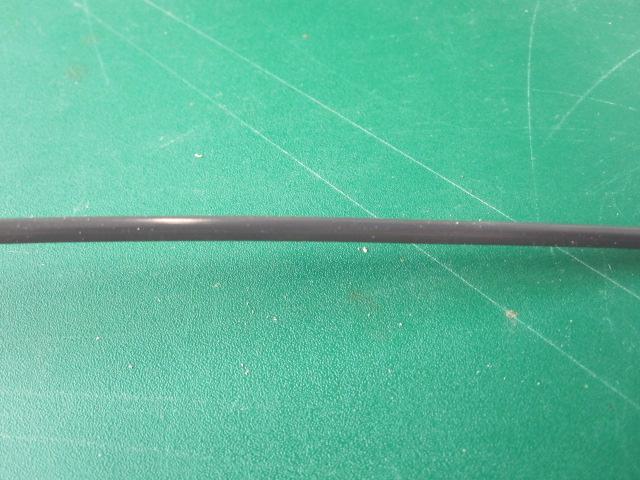
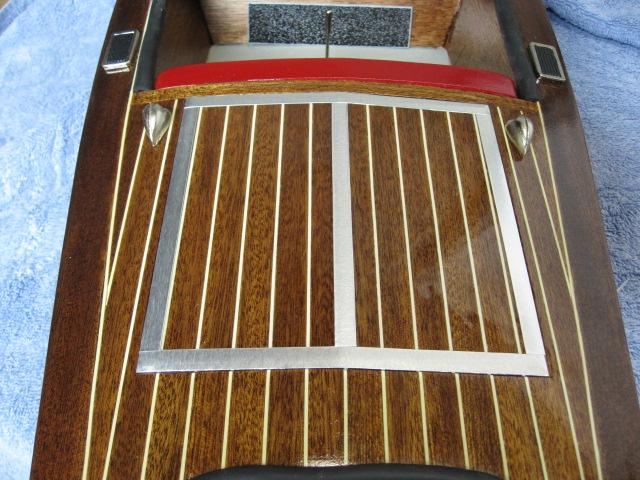
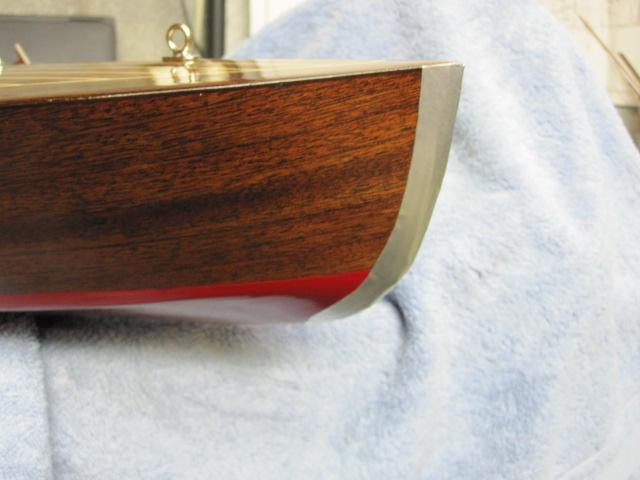
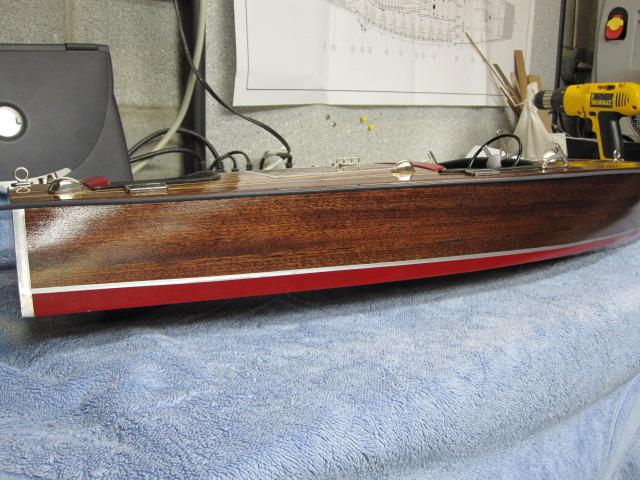
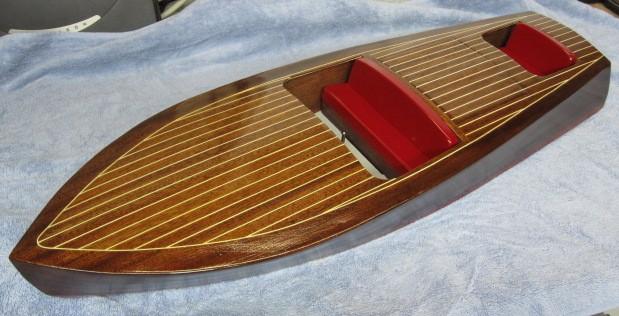
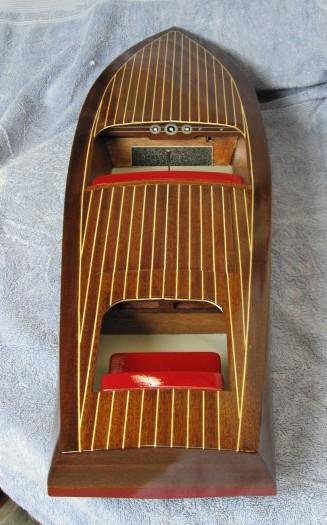
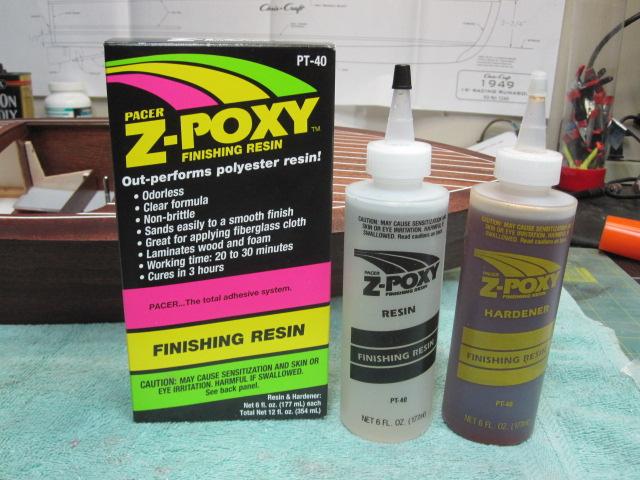
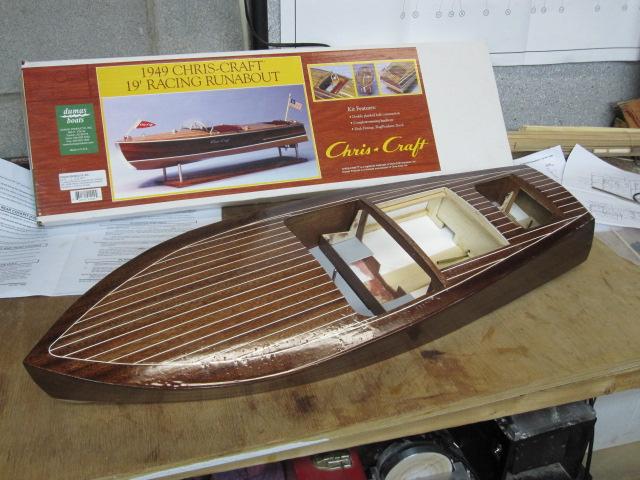
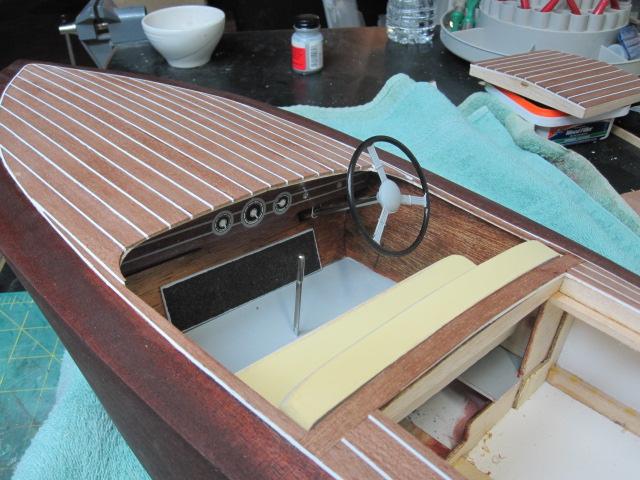
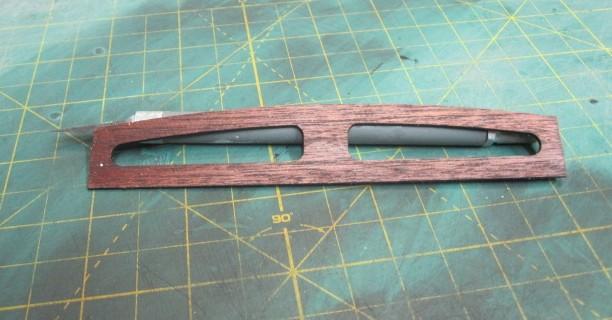
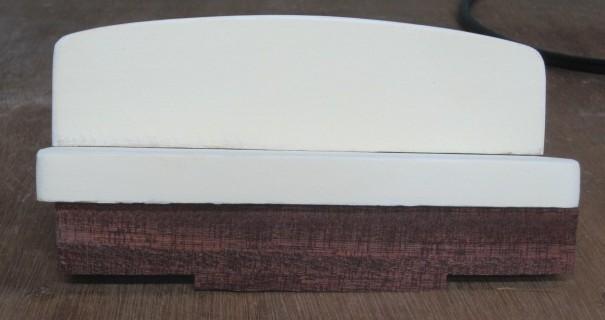
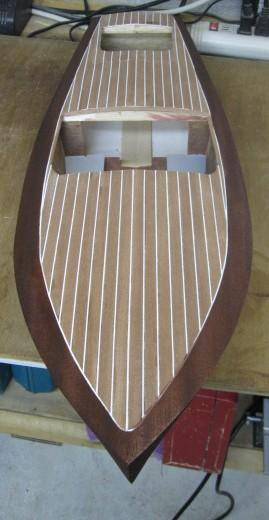
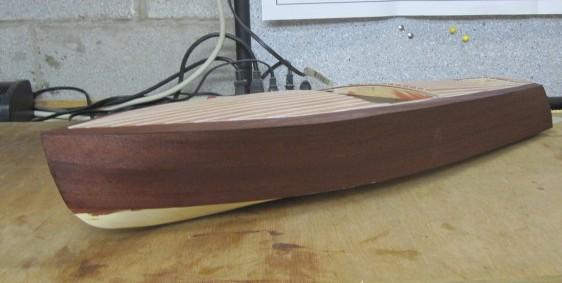
Three coats of gloss poly was apllied to the finishing resin to finish the outer hull. Then the coping was added to the cockpits and various pieces like step pads, lights, windshield brackets etc were also added.

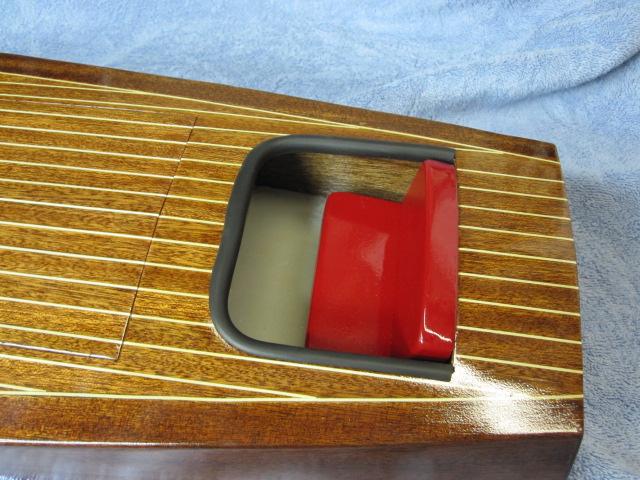
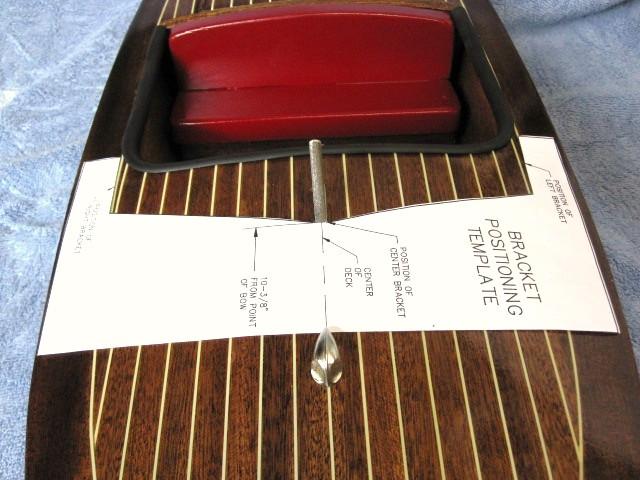
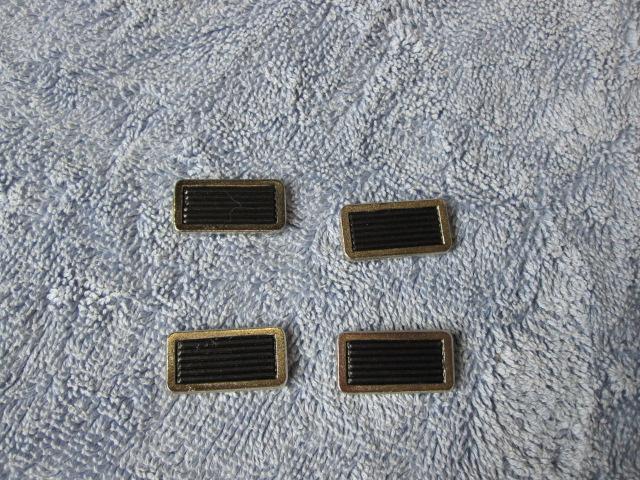
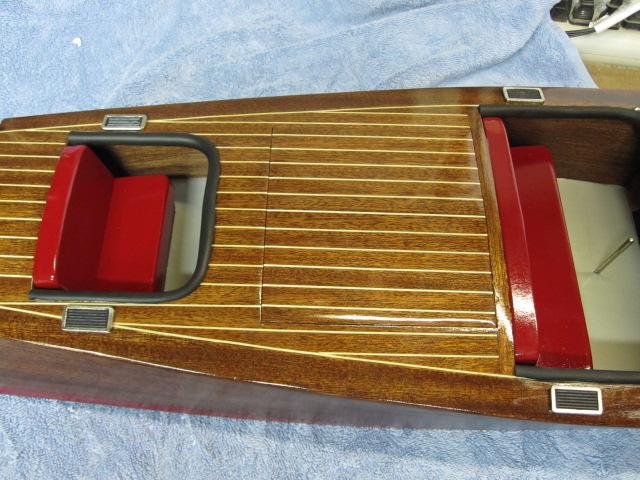
-
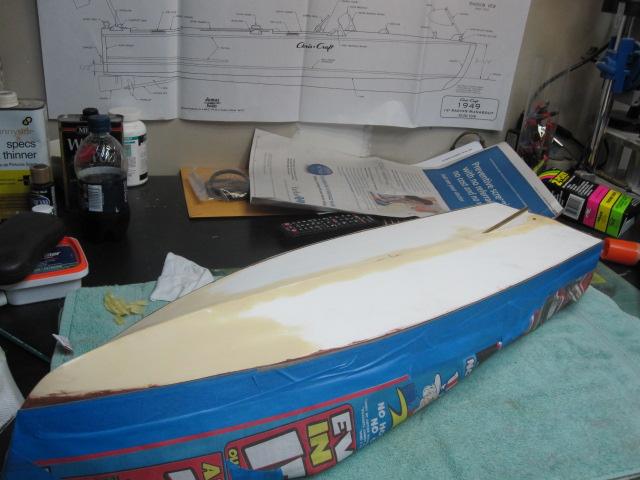
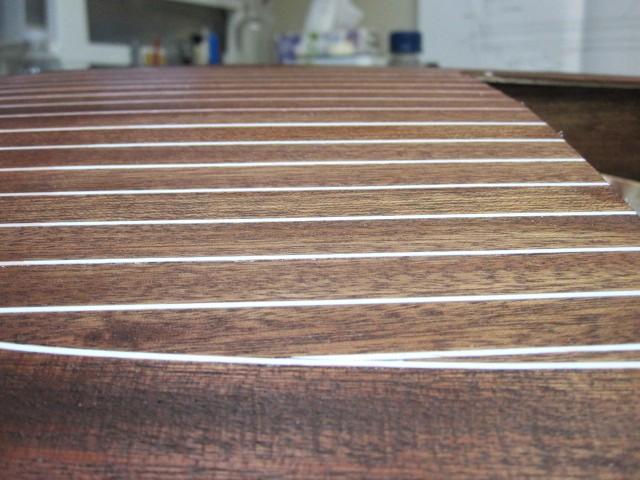
Here's the finished stain and the start of applying the finishing resin. The resin is applied and then sanded between coats. It was really hard to put the sand paper to it but you've gotta do what you've gotta do.


-
USF Confederacy by Rustyj - FINISHED
Rustyj replied to Rustyj's topic in - Build logs for subjects built 1751 - 1800
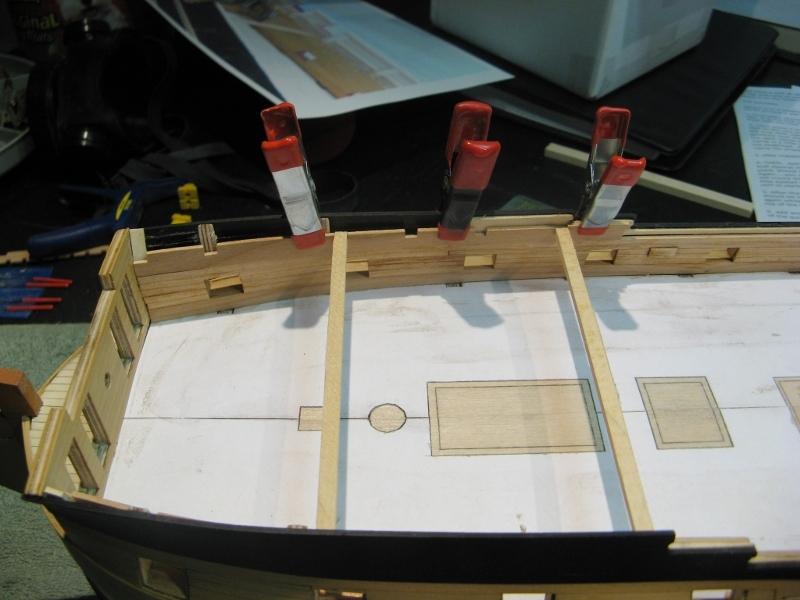
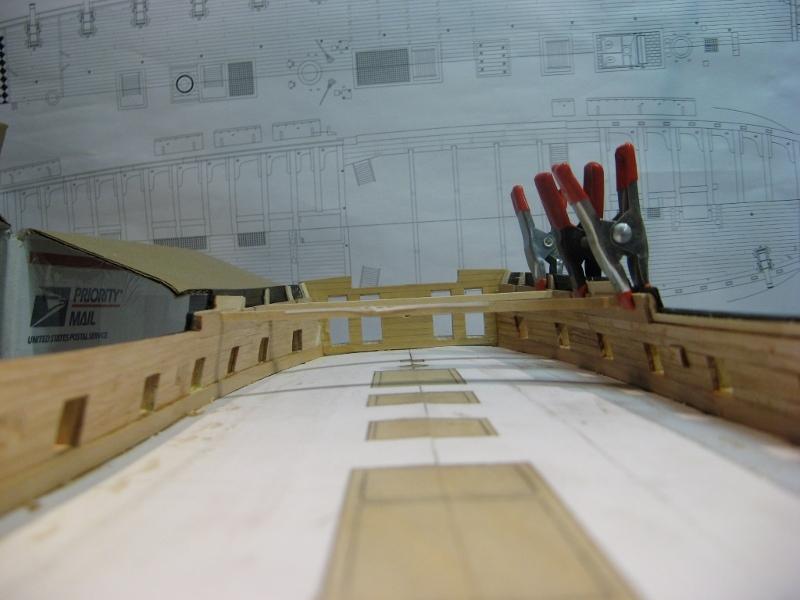
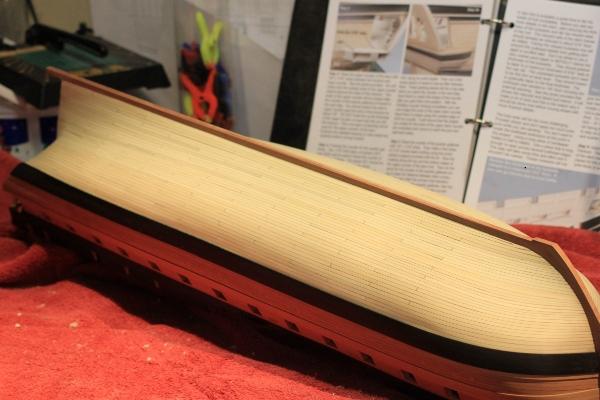
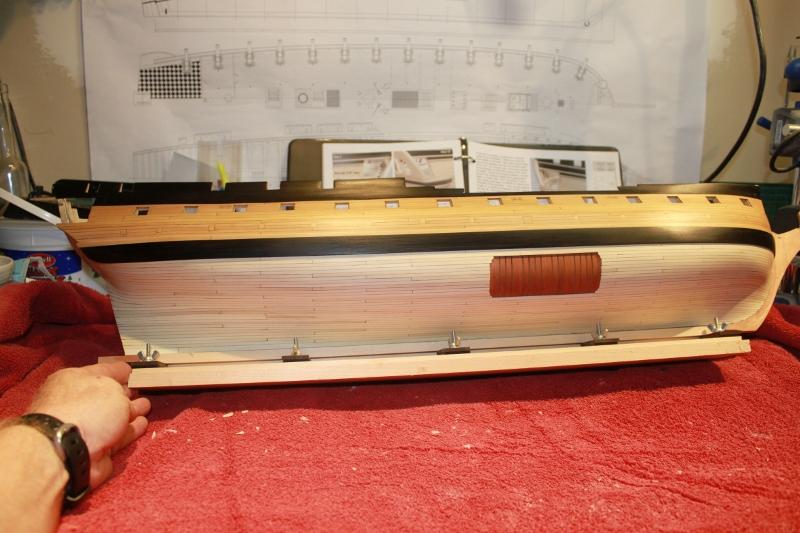
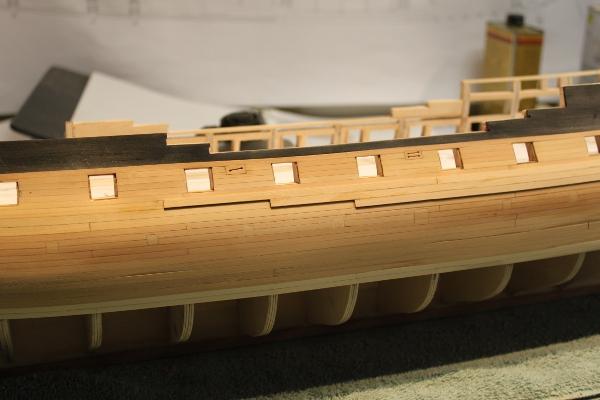
More planking
- 149 replies
-
- 6
-
-
- confederacy
- frigate
- (and 1 more)
-
USF Confederacy by Rustyj - FINISHED
Rustyj replied to Rustyj's topic in - Build logs for subjects built 1751 - 1800
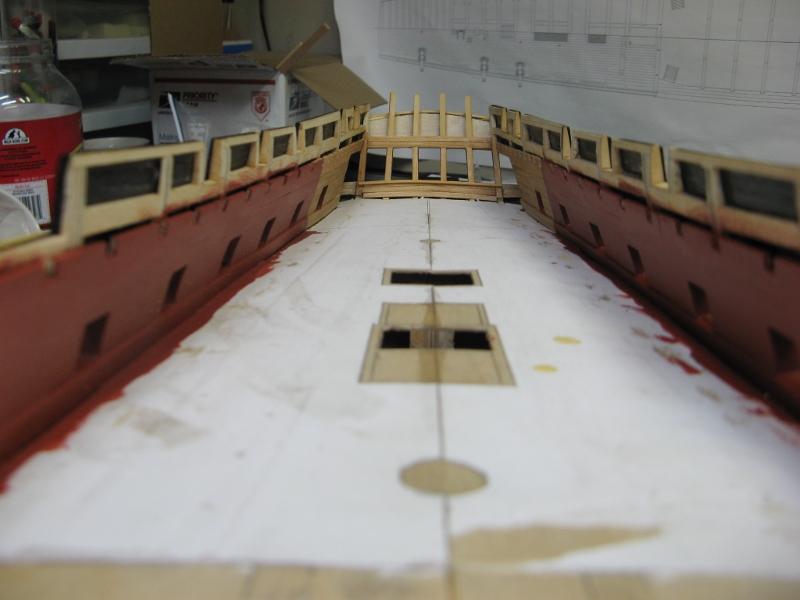
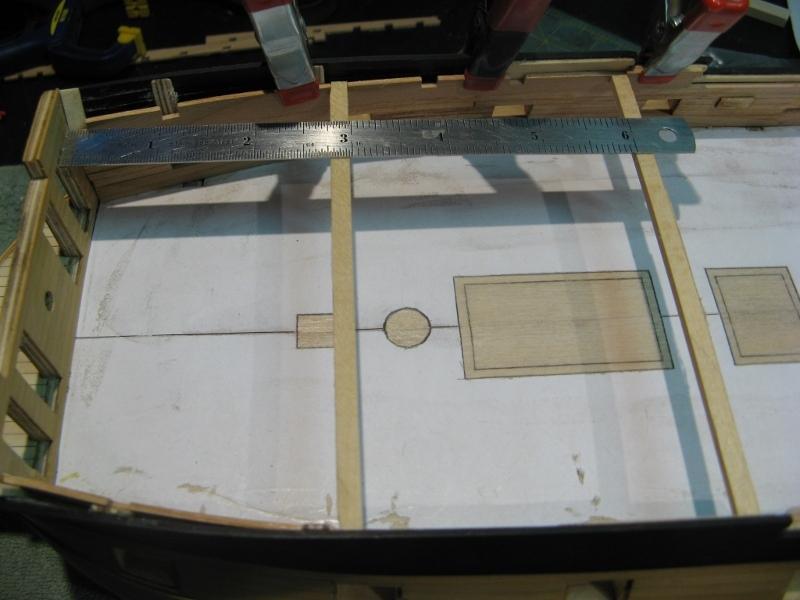
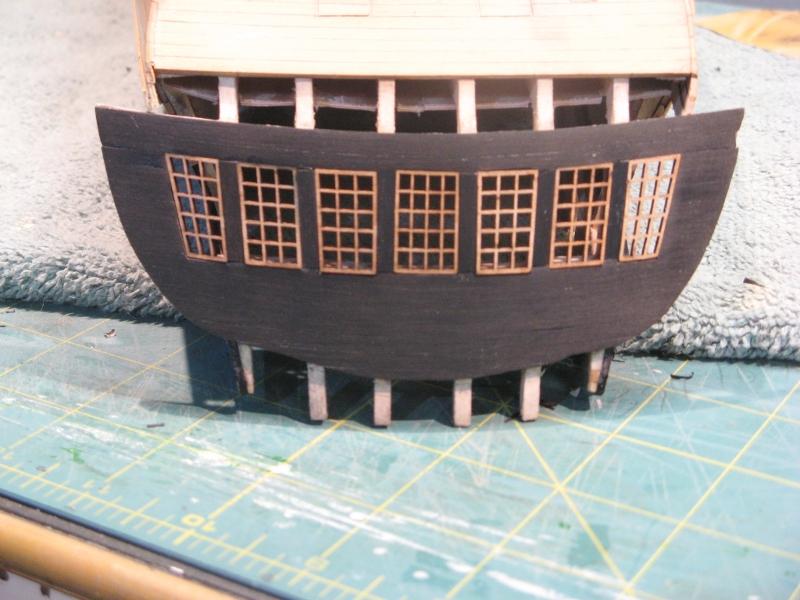
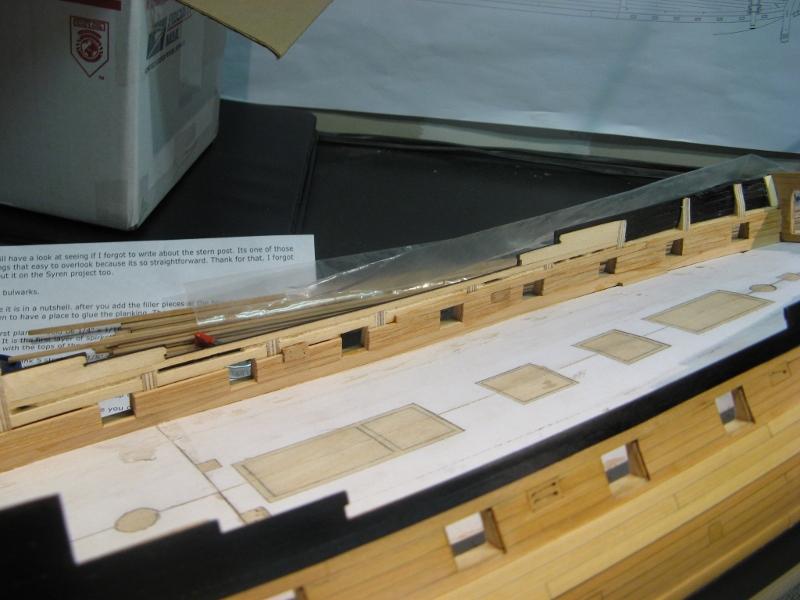
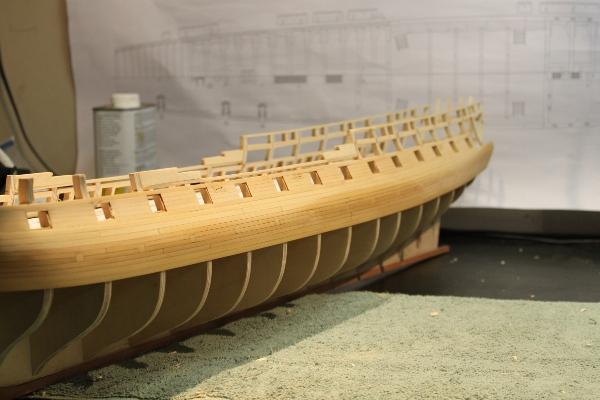
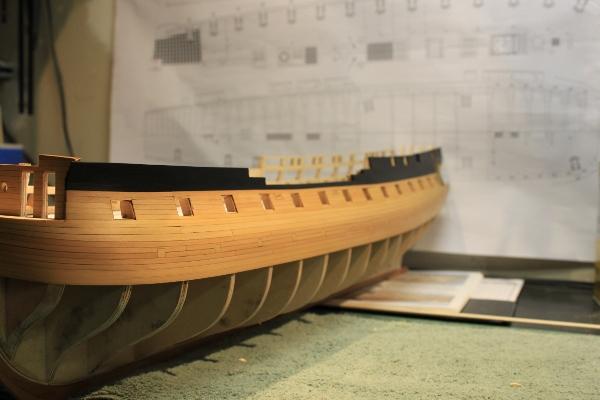
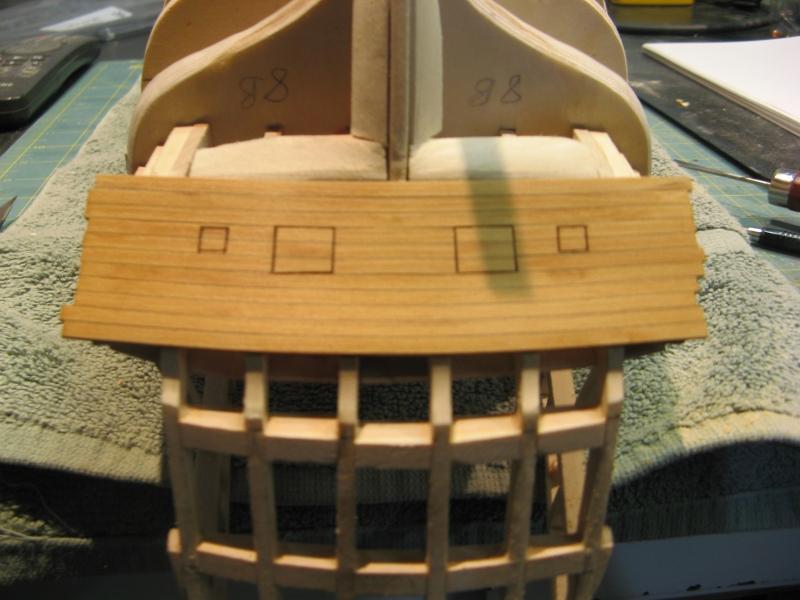
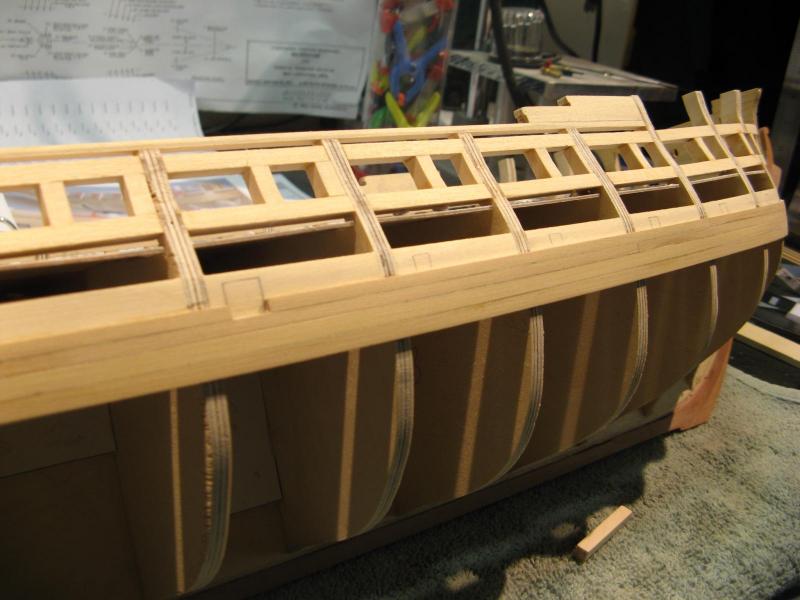
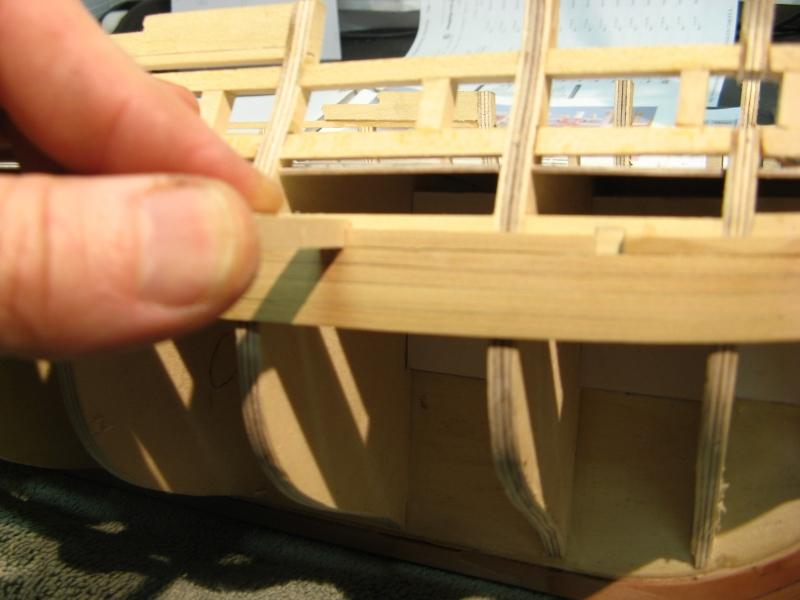
Counter Planking and start of bulwarks planking.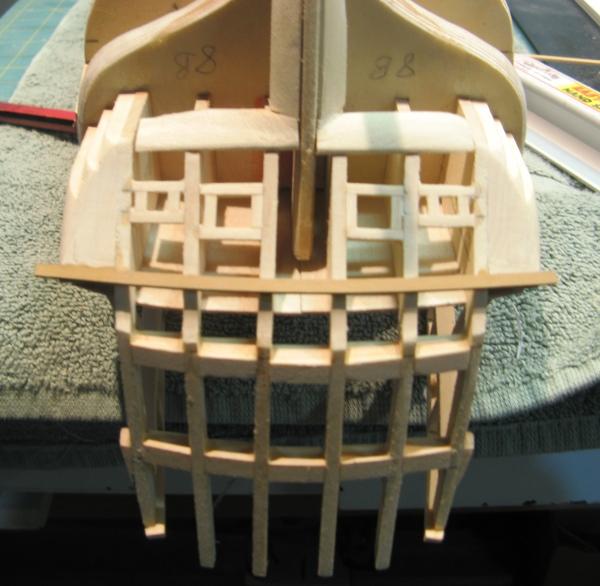

- 149 replies
-
- 5
-
-
- confederacy
- frigate
- (and 1 more)
-
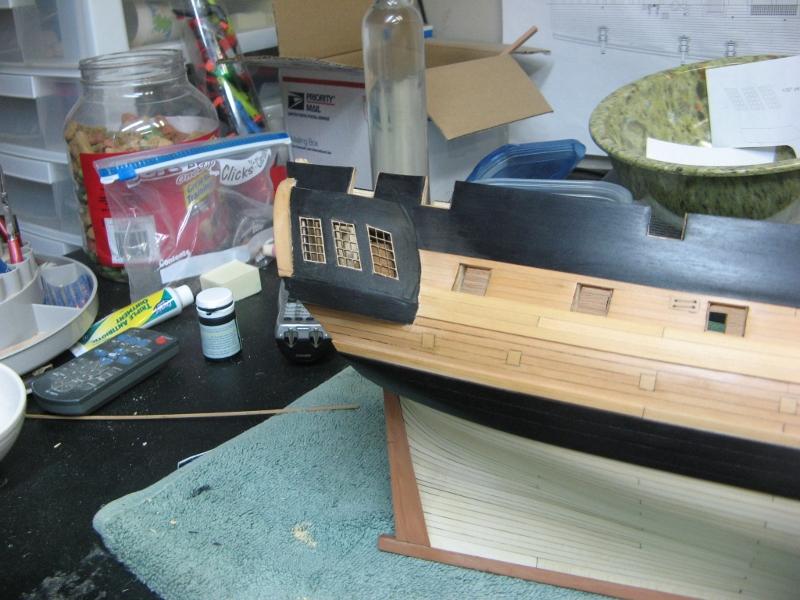
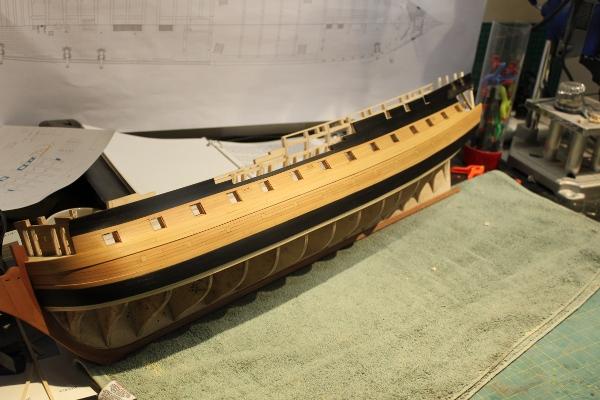
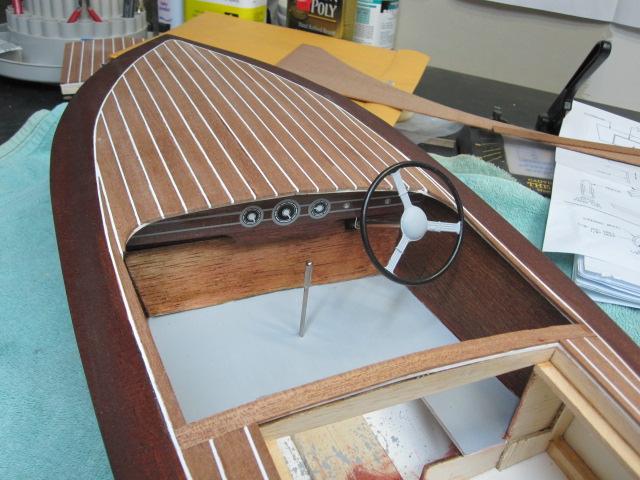
And some more.

-
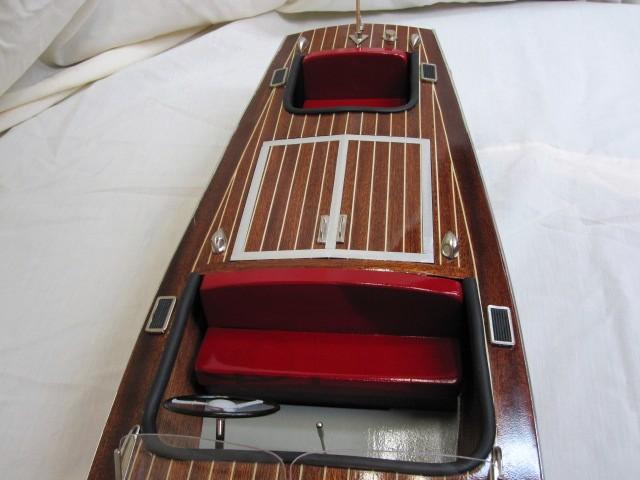
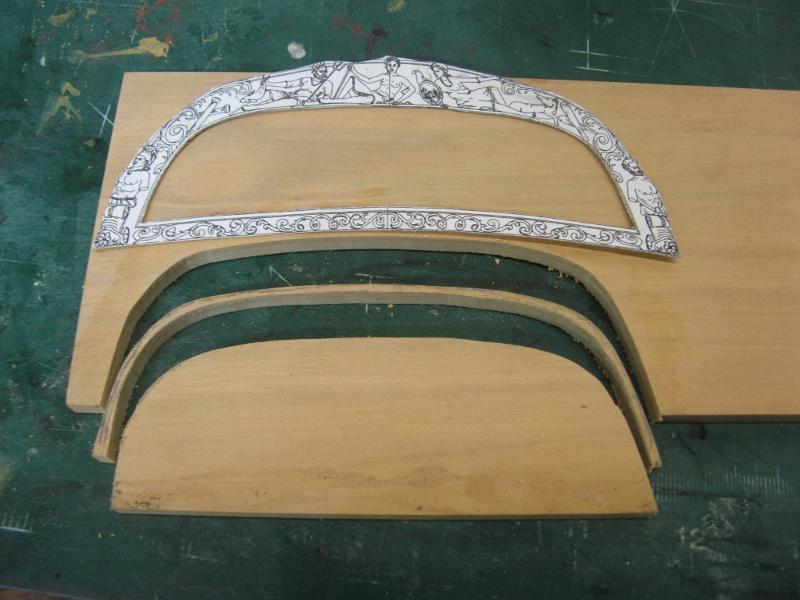
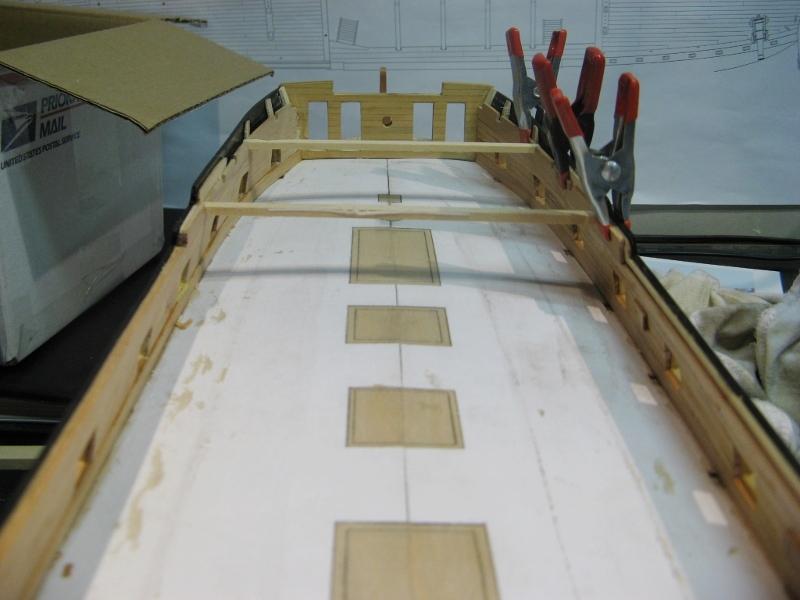
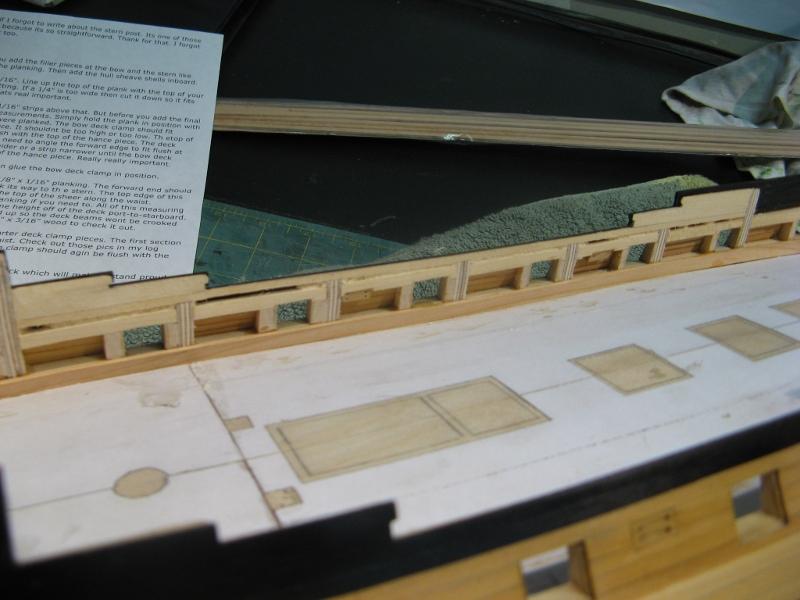
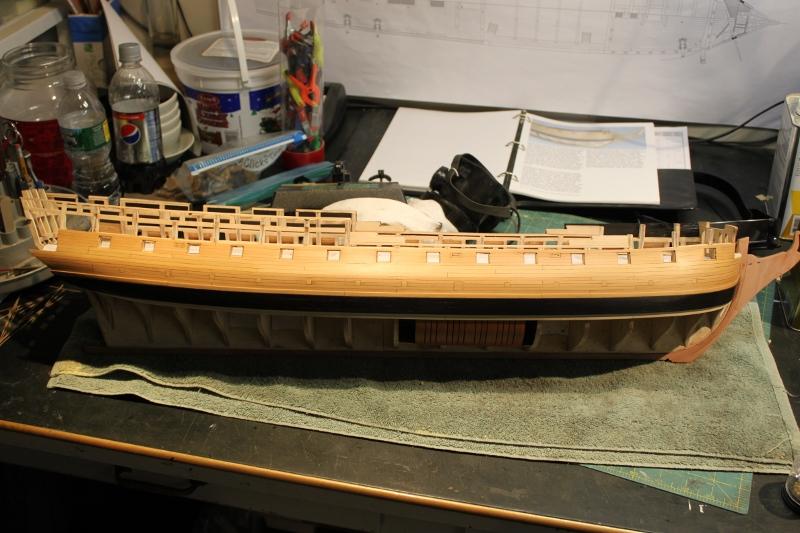
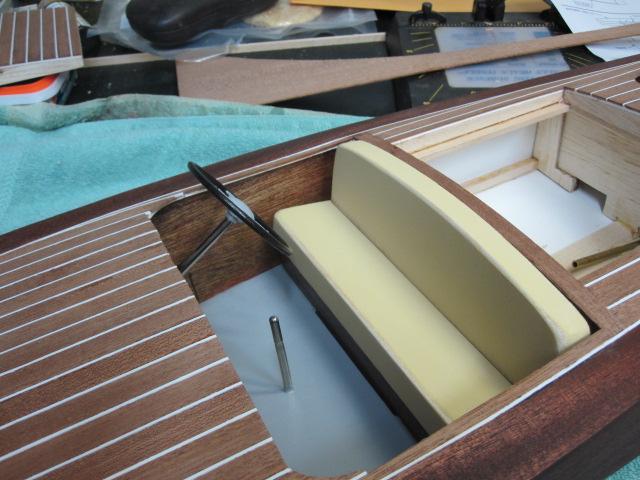
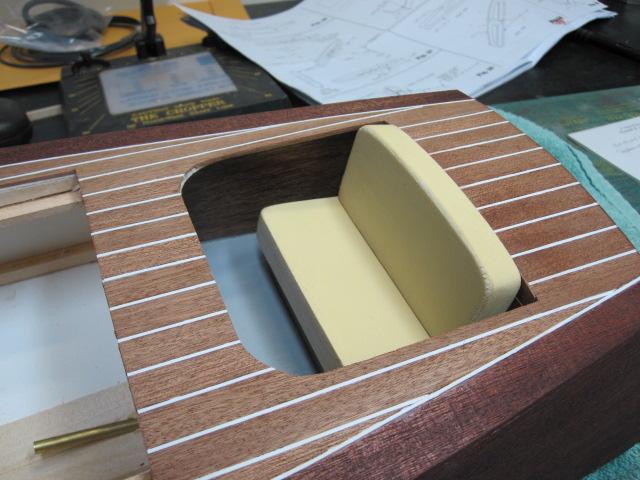
And here is the start of the interior construction and installation.


-
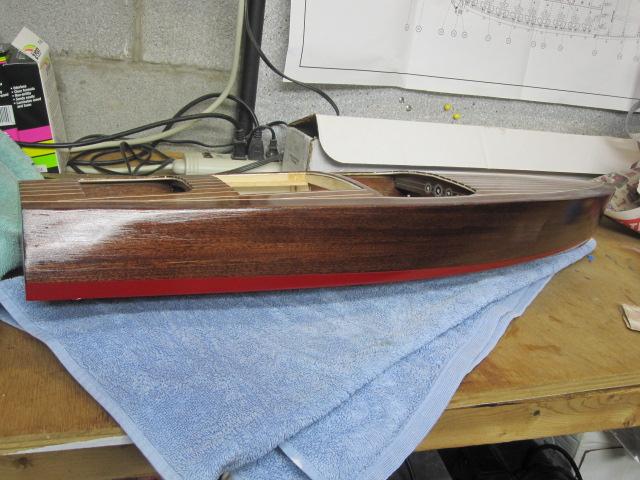
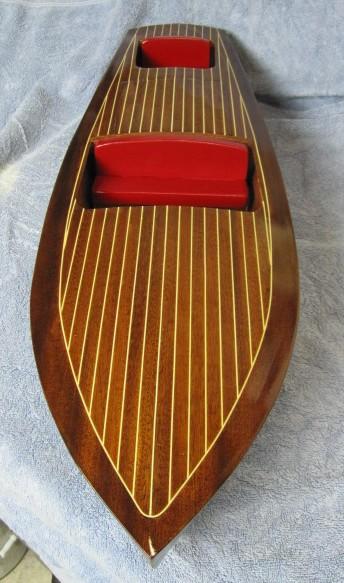
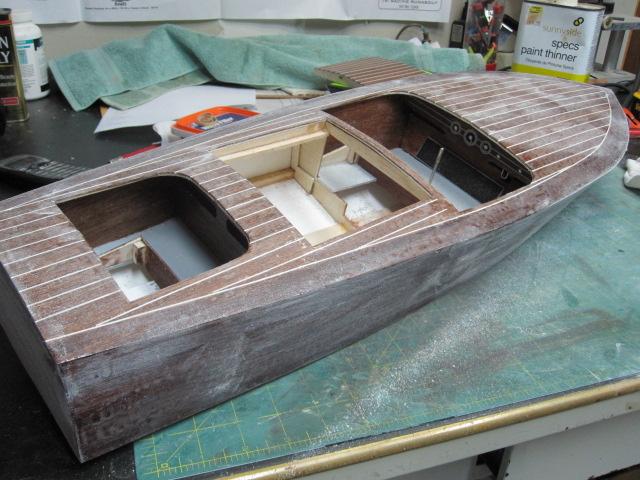
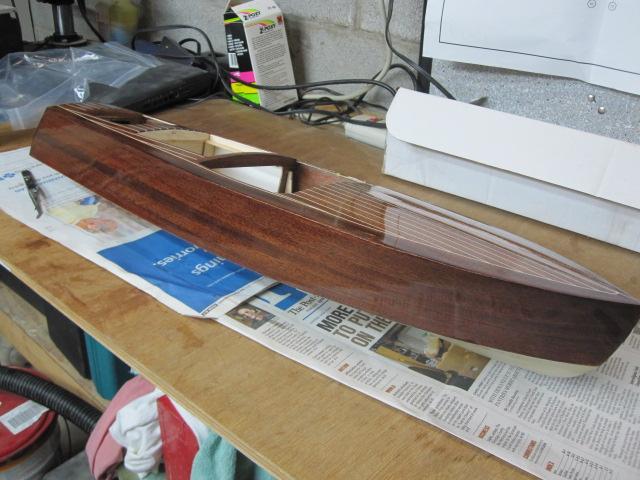
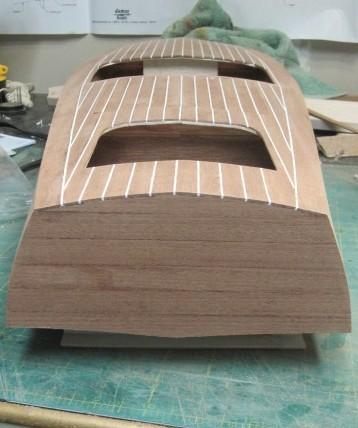
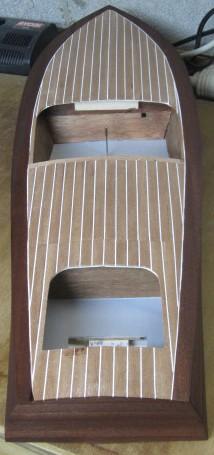
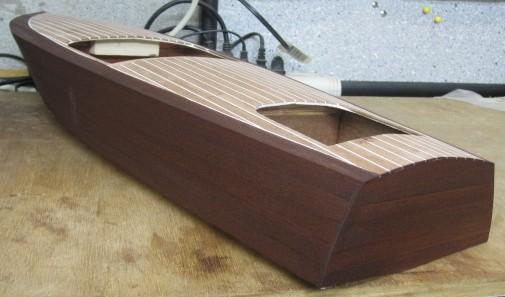
Thanks Sjors, I think it’s because 2.0 is better! Thanks Bedford, Grant and Jarero. Here is the start of the staining. I used a red mahogany stain that I had instead of the supplied stain. No real reason just liked the color.

-
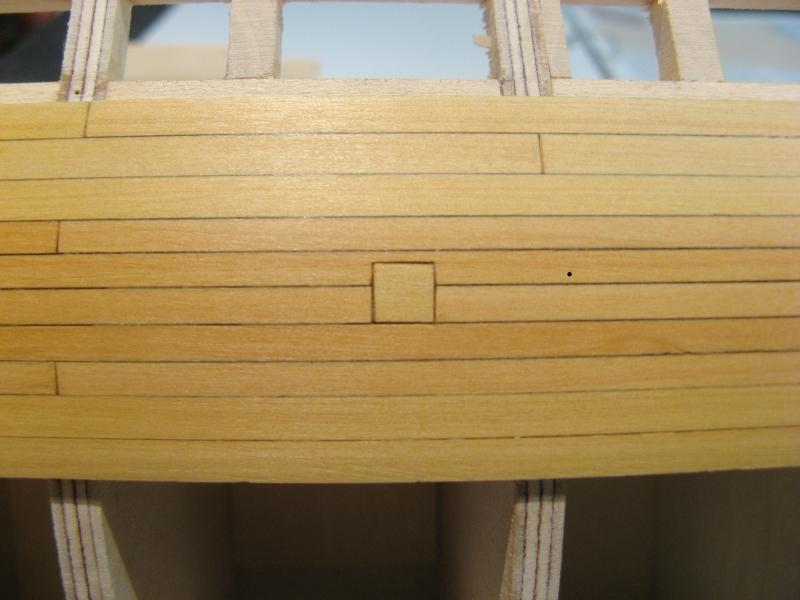
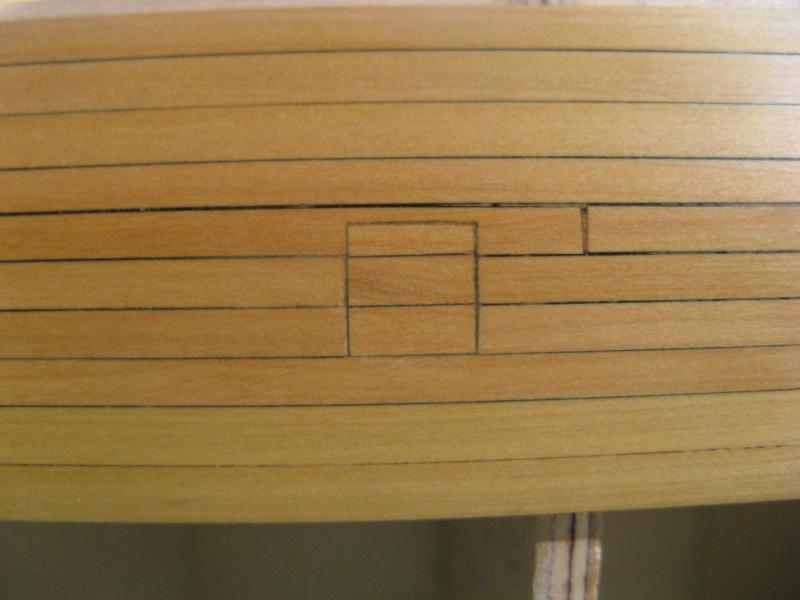
Thanks Mark, Bob, Ron and Larry. Daniel, whatever wood I’m using to make my treenails out of I cut to 1/32”x1/32” and then run it through the Byrnes draw plate down to the size I want. I went down to # 26 for these treenails. The Caulking is blackconstruction paper edge glued to each plank prior to placing the on the frames. I want to try the method of leaving a gap and using colored fill to make the caulk sometime. The frames have two very light coats of wipe on poly applied prior to attaching them to the keel. When I sanded to fair the frames it removed the poly from the surfaces where planking would be placed and allowed for good adhesion. Ben, I had the pleasure of meeting Jeff once at a show and he’s every bit as nice as you would think he is. You're so close you could just drive over and pick you wood out!
-
US Brig Syren by roger
Rustyj replied to roger's topic in - Build logs for subjects built 1801 - 1850
Hi Roger.It's great to see you're able to post some of your pictures. Your build was fantastic. -
Very nice work there. you're moving right along!