HOLIDAY DONATION DRIVE - SUPPORT MSW - DO YOUR PART TO KEEP THIS GREAT FORUM GOING! (89 donations so far out of 49,000 members - C'mon guys!)
×


chris watton
-
Posts
2,328 -
Joined
-
Last visited
Content Type
Profiles
Forums
Gallery
Events
Everything posted by chris watton
-
 I have been told that Harpy printed materials should be with me by the end of next week. I have just put a deposit down on a second large laser machine, which has more power (100w) and larger bed size, with my very first little 40w machine as part exchange, as this is redundant now. Quite an investment, but I believe is necessary for the future growth of VM.
 -
Well, Surprise isn't exactly 'Just around the corner', this will be a latter half of 2025 release.
-
Thanks, Brian! Still ill, dammit, but not too bad
-
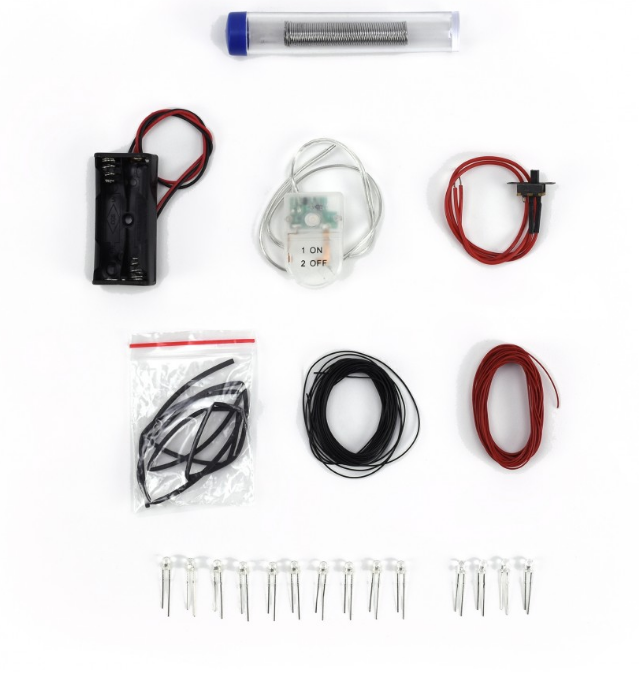
We now have LED lighting sets for peiod ships kits in stock This lighting set is adaptable to most model ships, and is highly recommended for our HMS Sphinx and HMS Indefatigable, amongst others. Each set includes: 10 yellow candle-effect LEDs 4 yellow continuous LEDs Battery holder (for two AAA cells) Button cell battery holder Power switch 8 metres of red and black wire 0.5m of heat-shrink sleeve 1m of tin solder: LED Lighting Set – VANGUARD MODELS
-
Thank you, Glenn, I hope you enjoy the build!
-
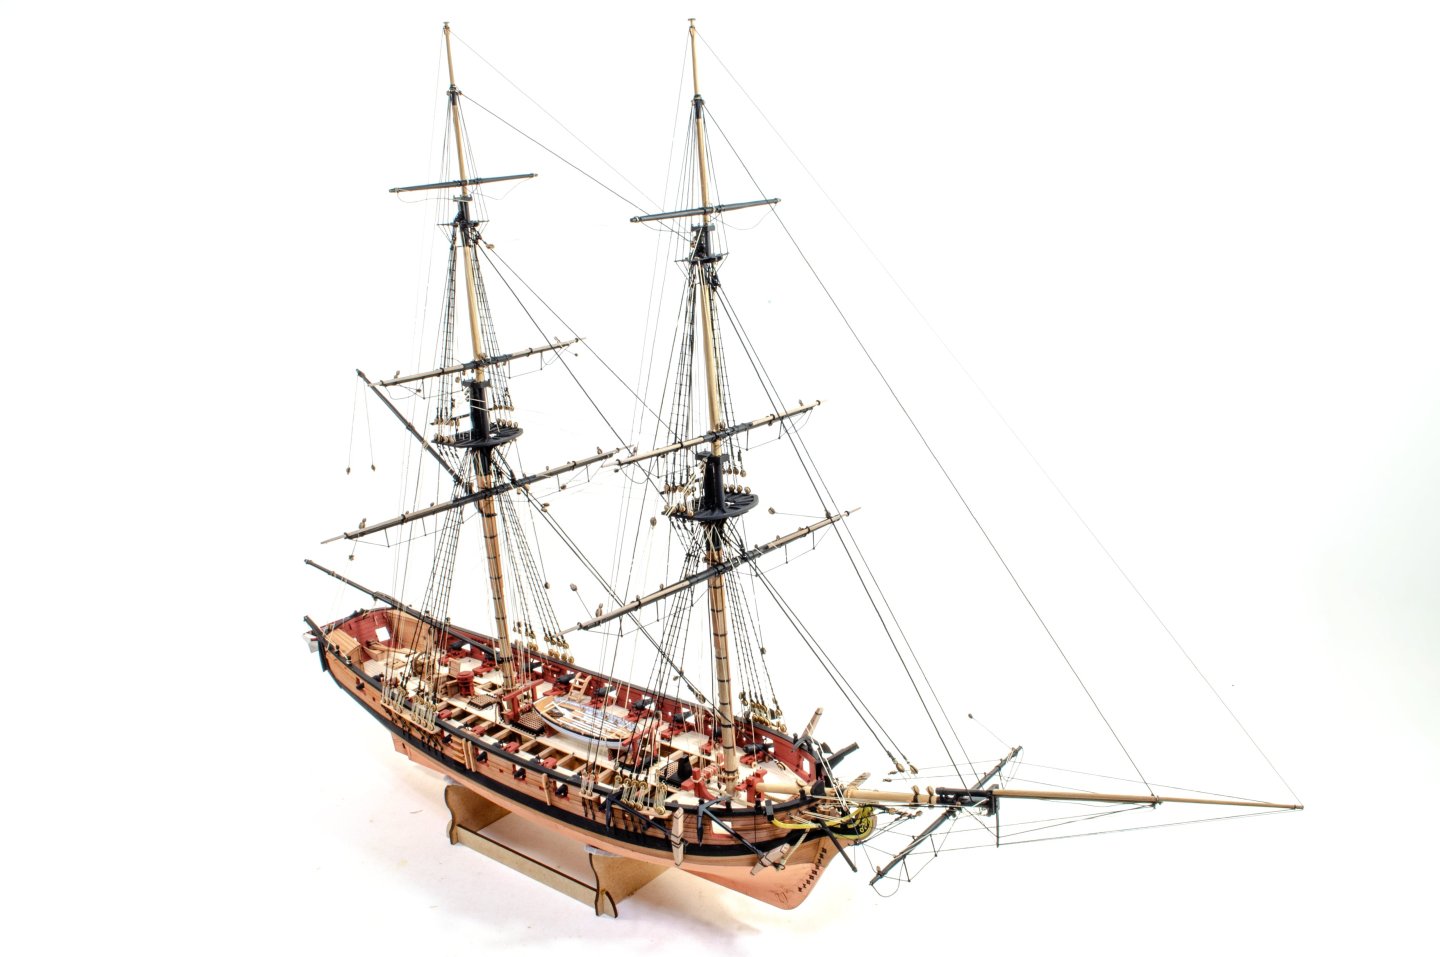
OK, plans, box label and manual now sent to printers. Harpy product page is live and is now open for pre order: HM Brig Harpy – 1796 – VANGUARD MODELS

-
OK, I just got word from Jim (Hatch) that the model for Harpy is now complete! This means I can now complete the manual and finalise box art, and then send the files off to the printers early next week. At that point, it will be open for pre orders. Thank you, Jim, another wonderful job! To recap the details for the kit: VM/17 HM Brig Harpy (November release) £425 VM/17/XL HM Brig Harpy (PE copper and machined blocks) £490 Scale - 1:64th Hull Length only - 551mm Overall Length (with boom and bowsprit) - 845mm Overall Height - 580mm Overall Width (Main Yard and booms) - 277mm 16 A0 sized plans, with 6 sheets dedicated to fully mast and rig the model, including all sheets, tacks, clews, bowlines etc. 100 page full colour construction manual. The 2 x 3-d printed boats are inluded (18 and 22' cutter) And lots of laser cut and engraved parts!


-
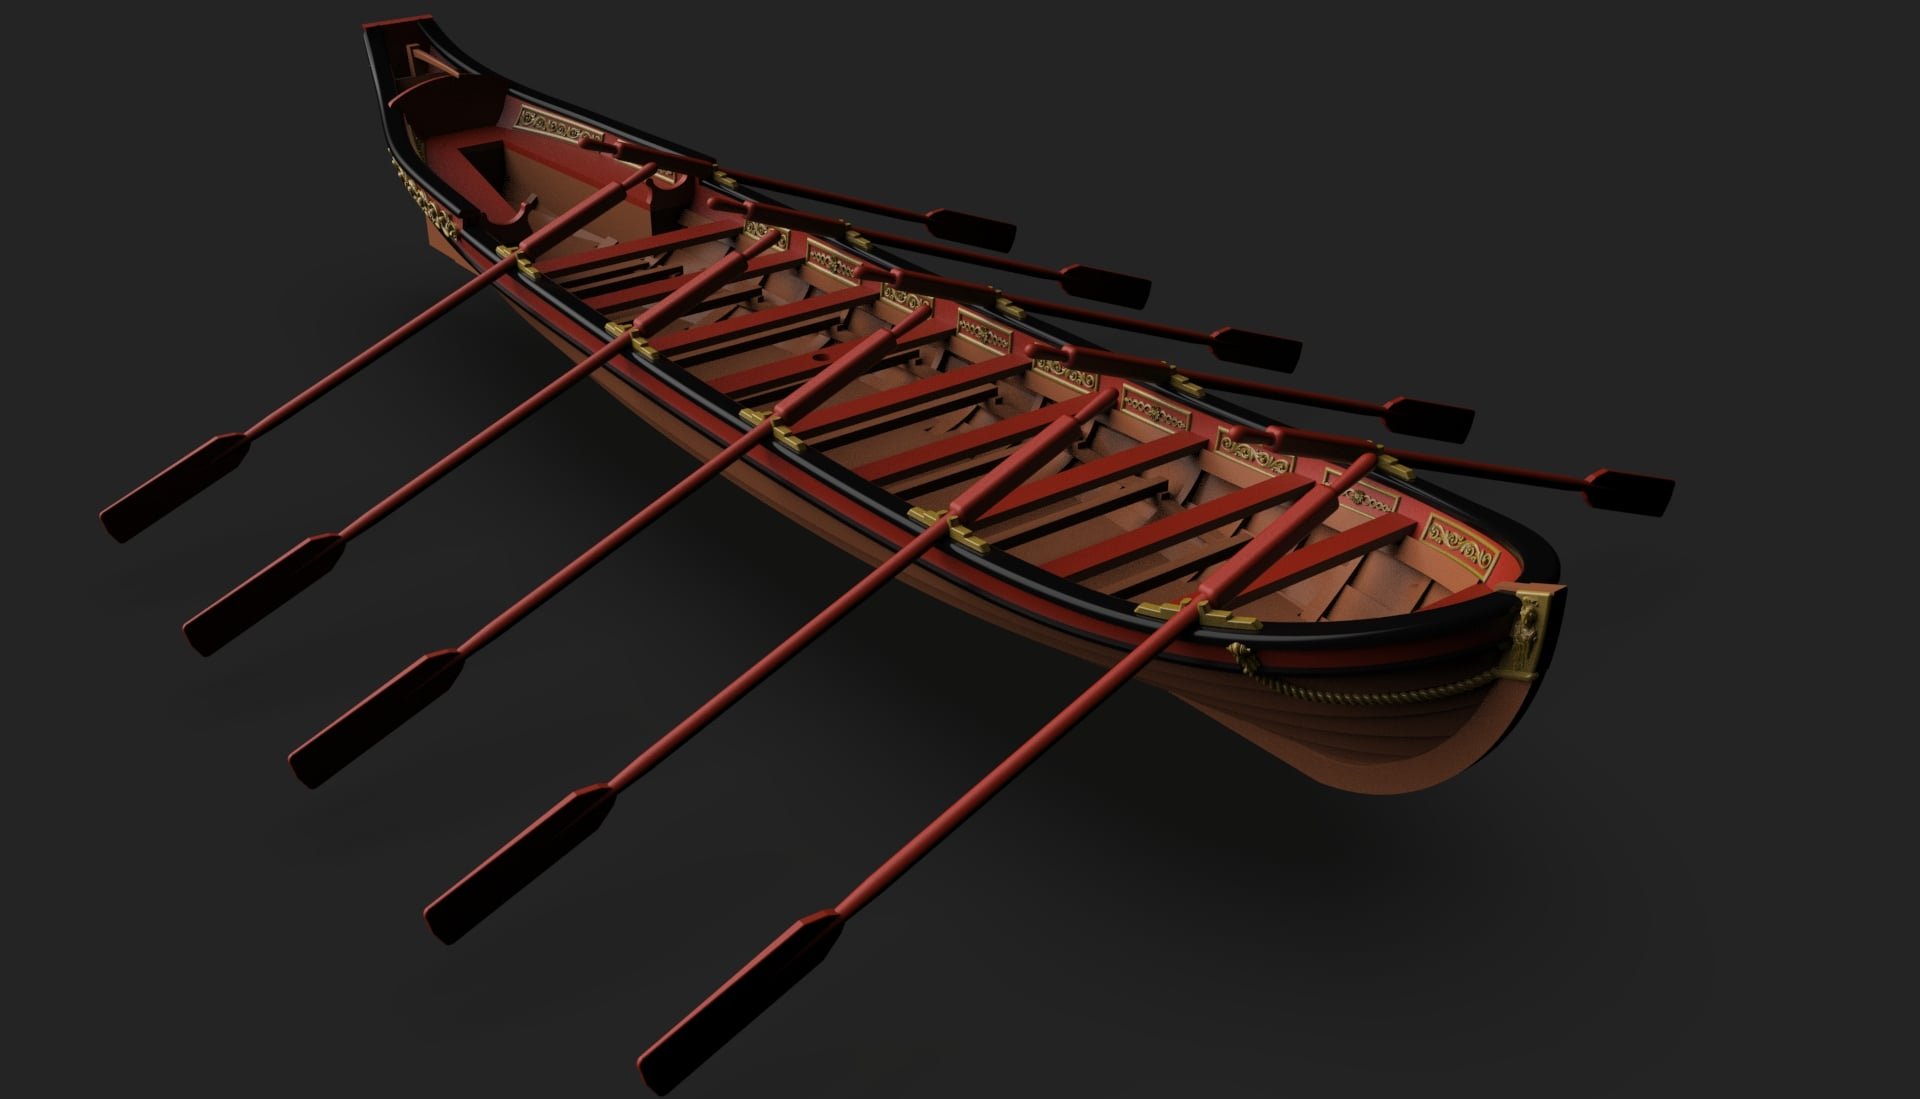
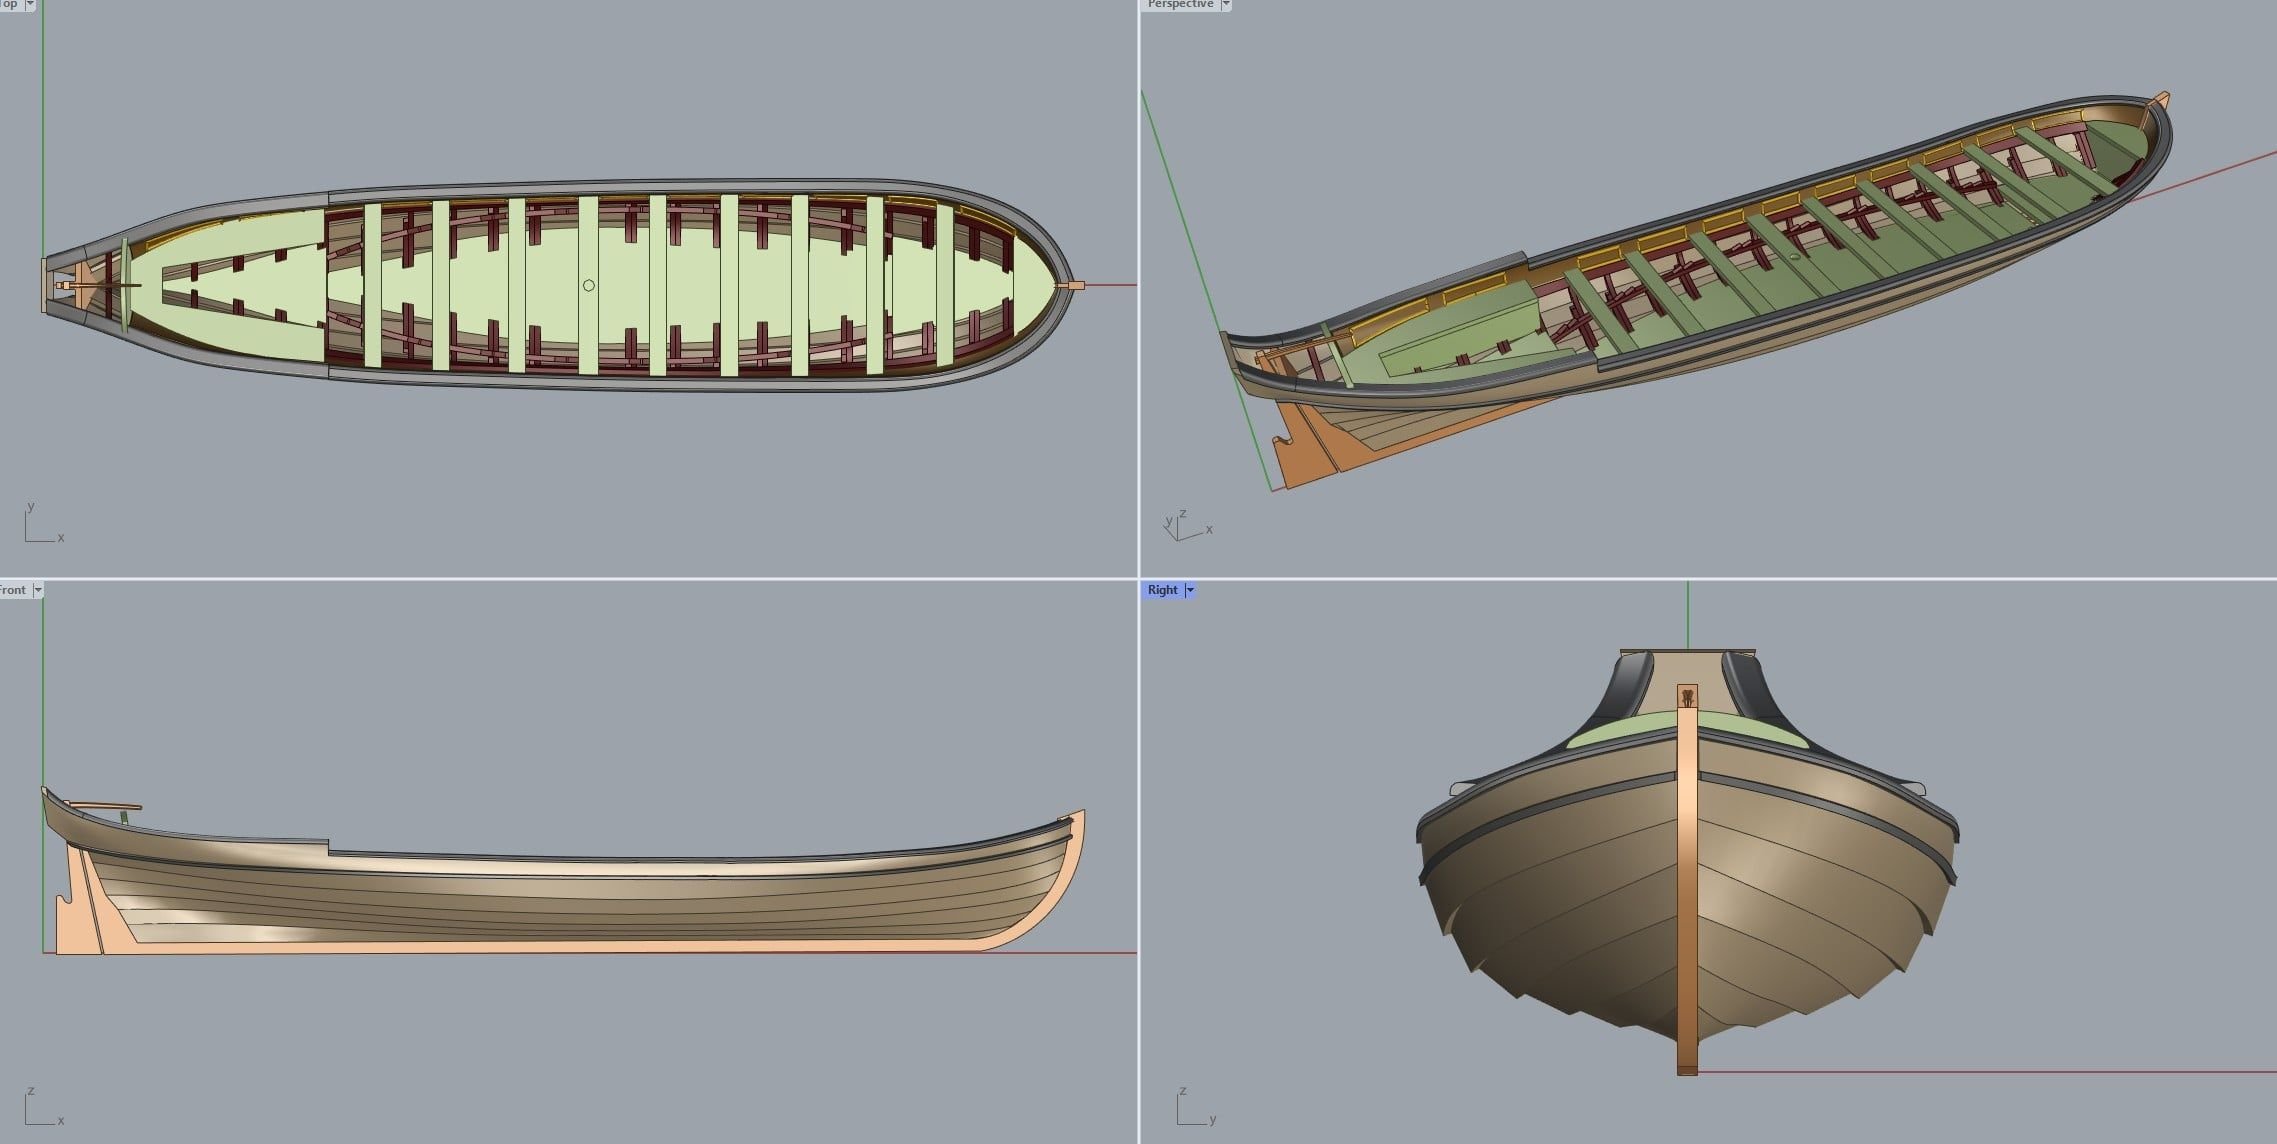
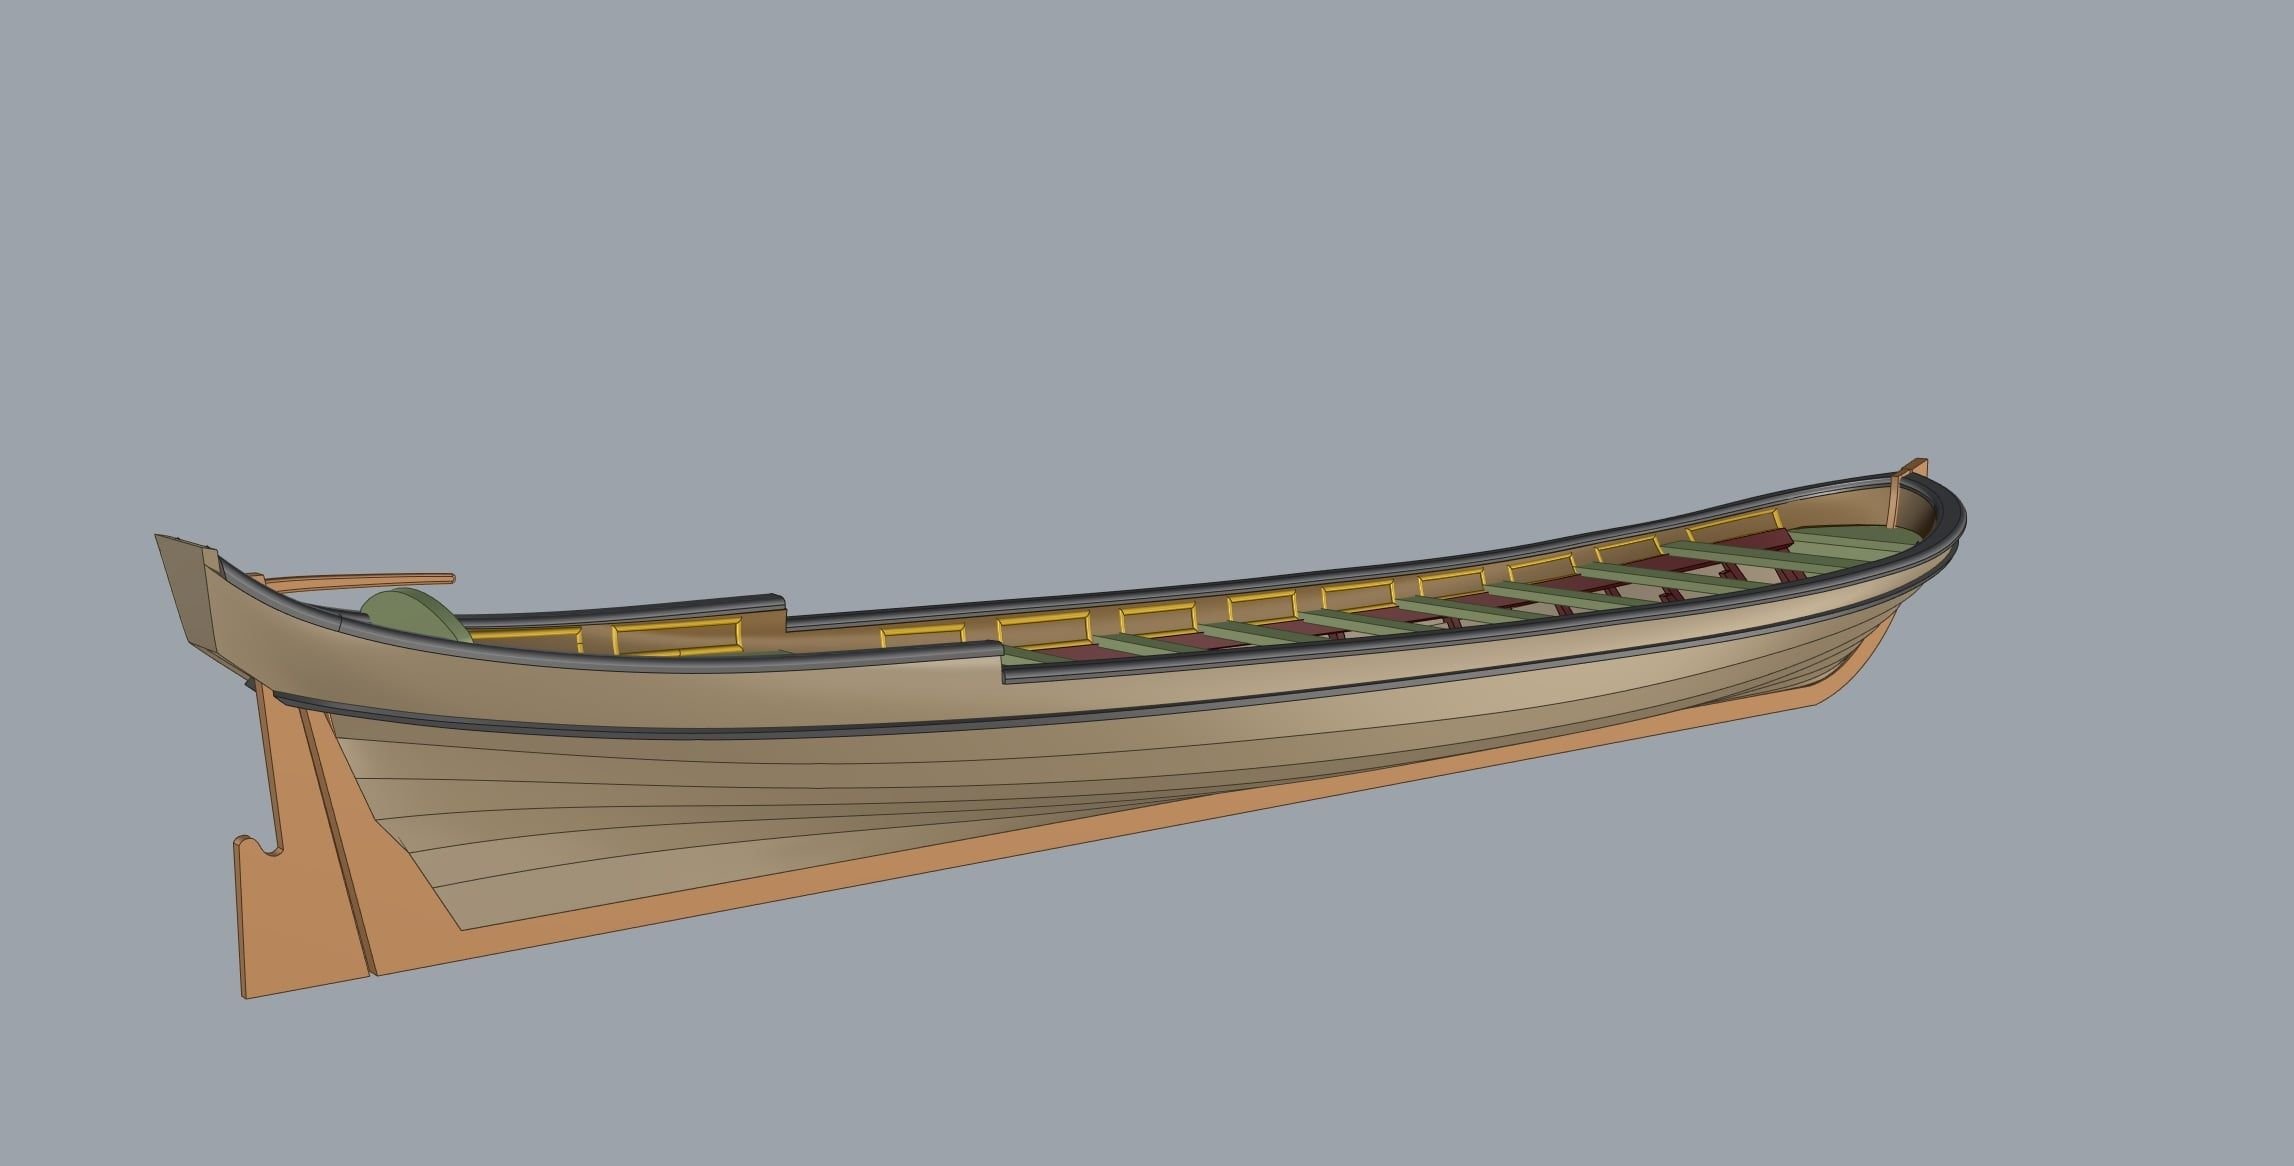
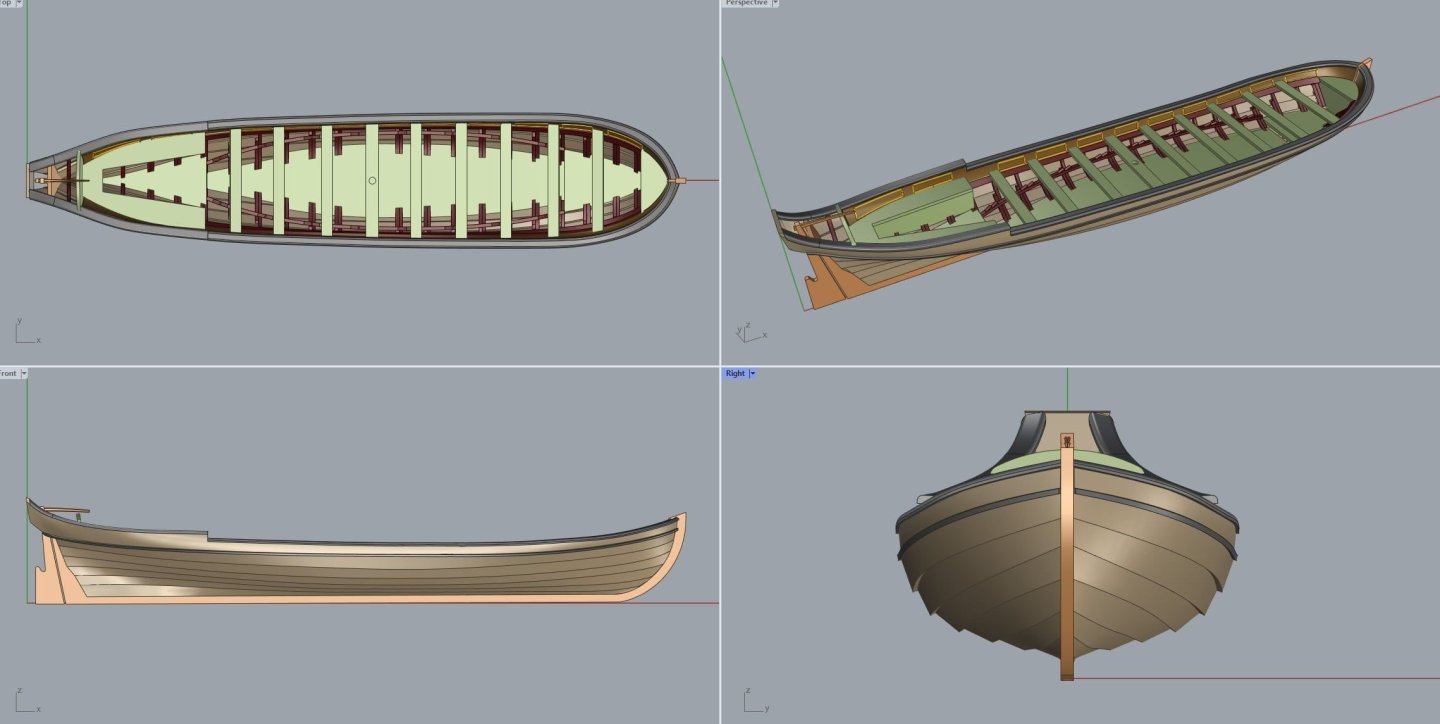
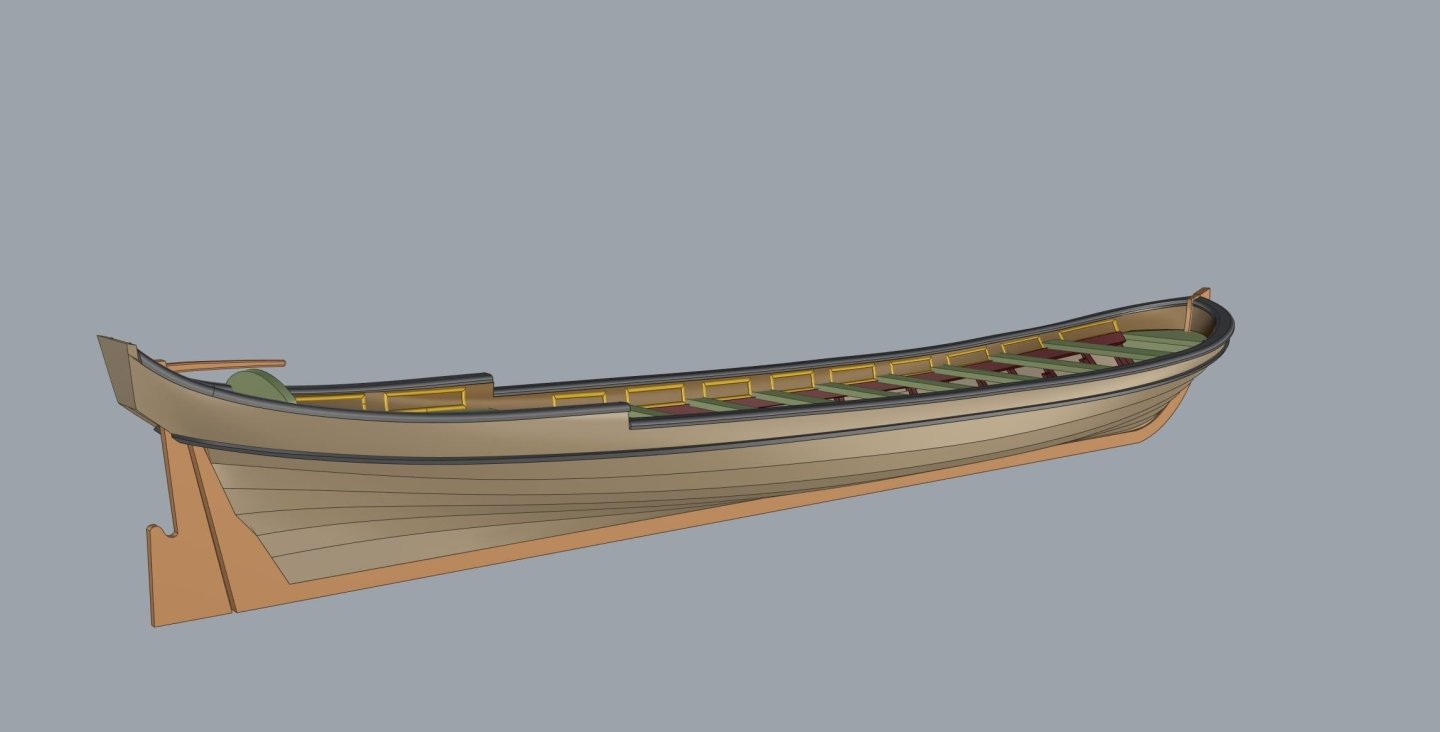
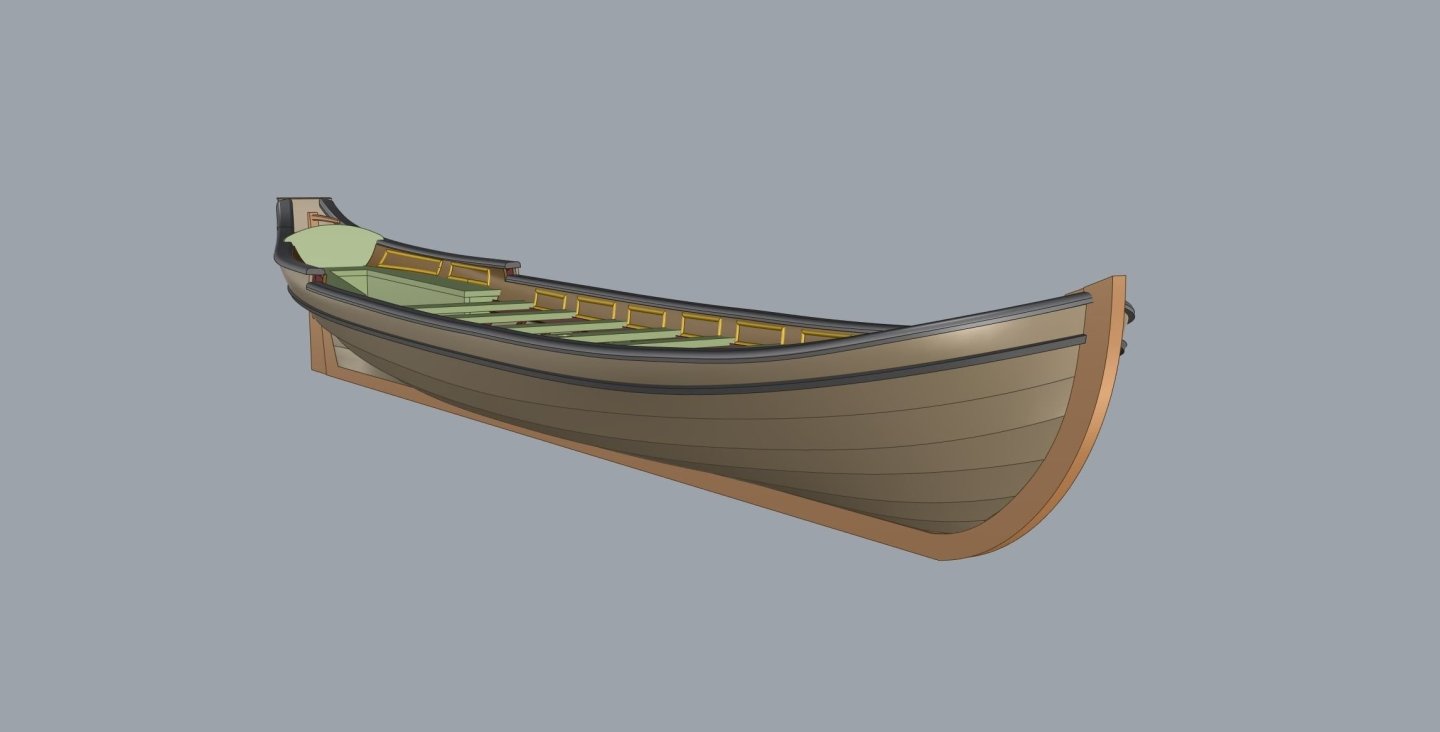
...And talking of boats, I have just had a couple of new renders for my 32 foot 'Shallop'. Looks like the laser and 3-d print files will be ready to send to me soon! This would suit modellers who only wish to display one boat on their model, I think.


-
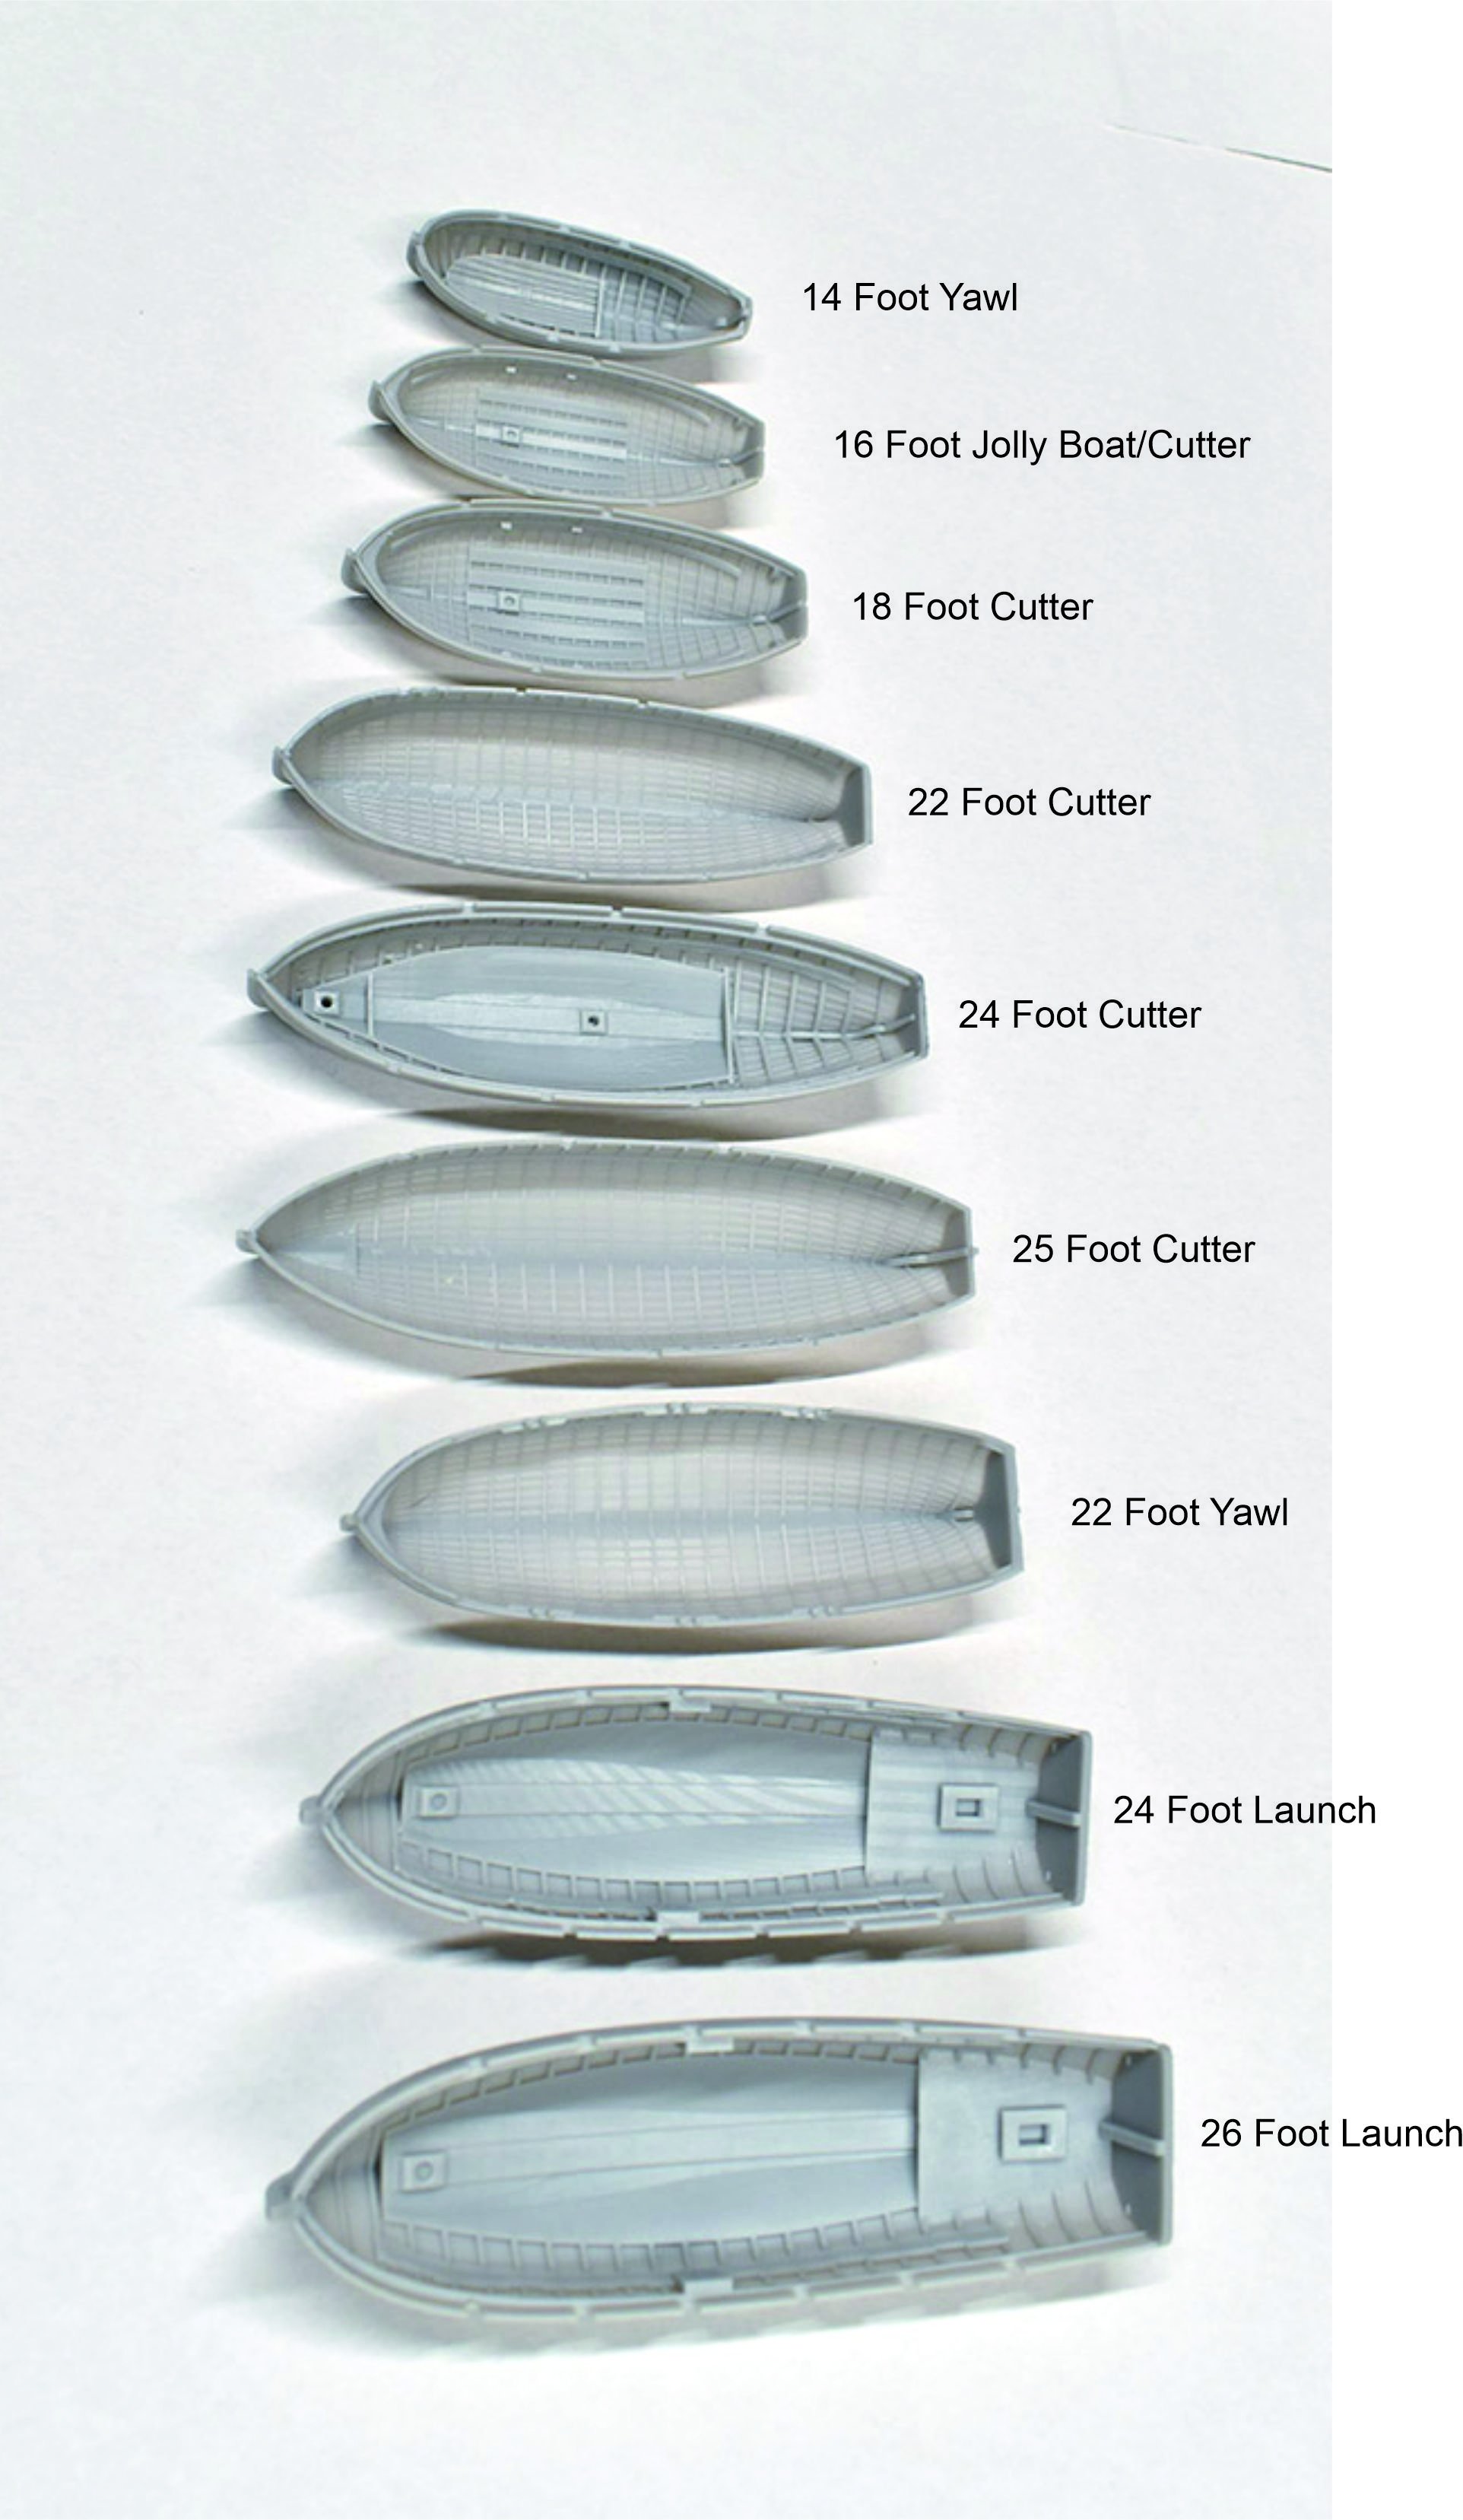
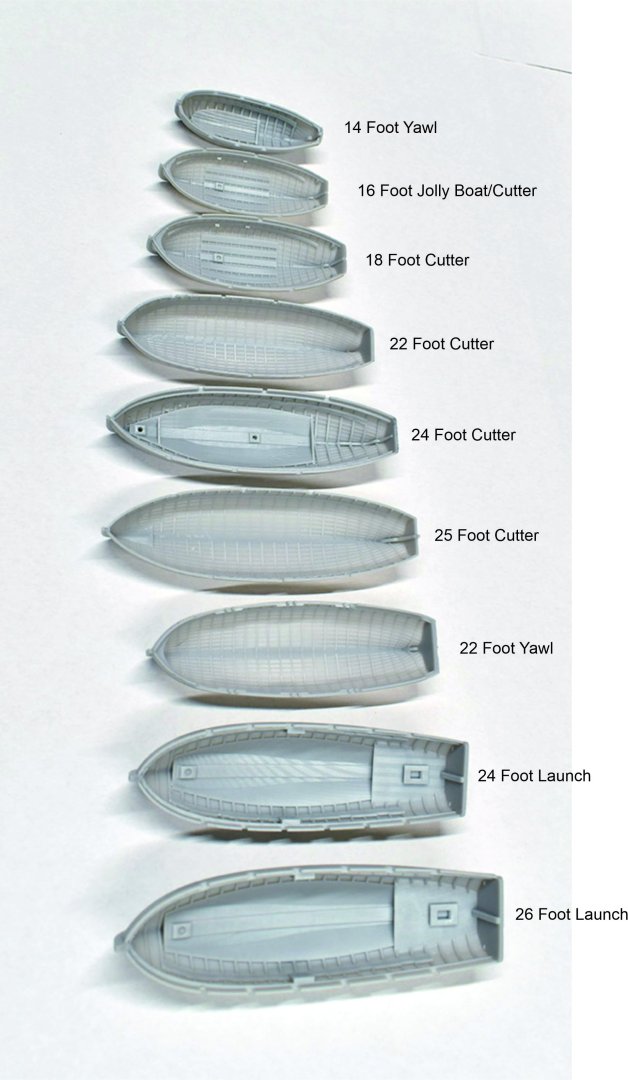
Still ill, won't go away, cannot get rid of this damned cough... OK, for Sphinx, once I have my pinnaces ready, I shall be offering a full set for both Sphinx and Indy. Sphinx has the 22 foot yawl, 24 foot launch and 28 foot pinnace, and Indy has an 18 foot cutter, 2 x 24 foot cutters, 26 foot launch and 32 foot pinnace. I should have the pinnaces within the next week or so. For Alert, a 14 foot yawl or 16 foot cutter would suit. Those two would be fine for any of the smaller kits. I will still always offer the laser cut plank on bulkhead boat kits, I just wanted there to be a choice with a pre made hull, as most of the boat hulls, apart from the launches and pinnaces are clinker.
-
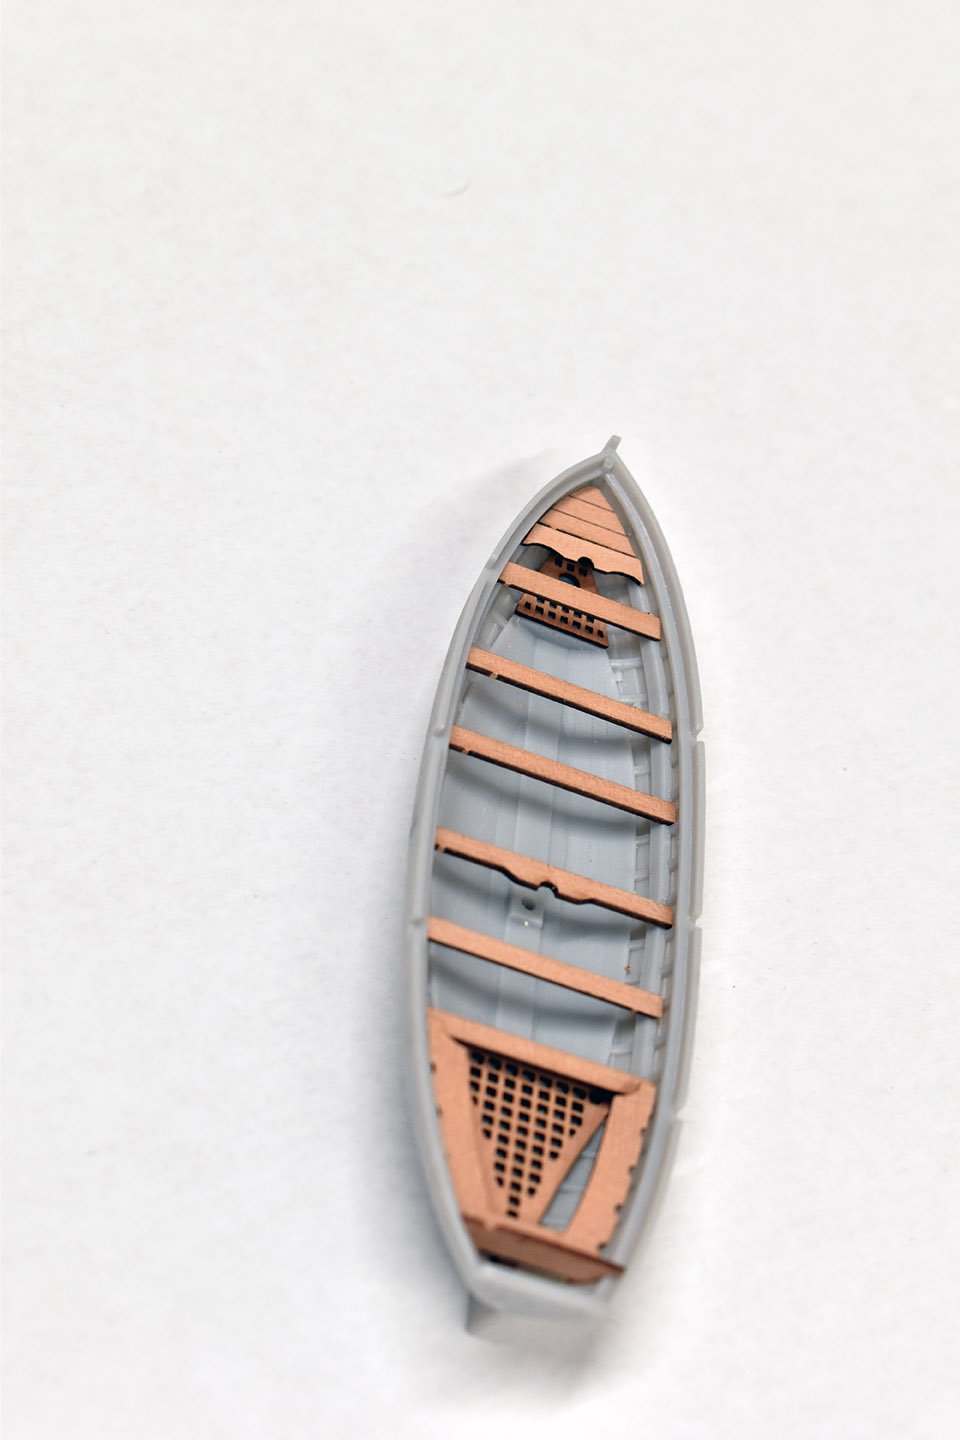
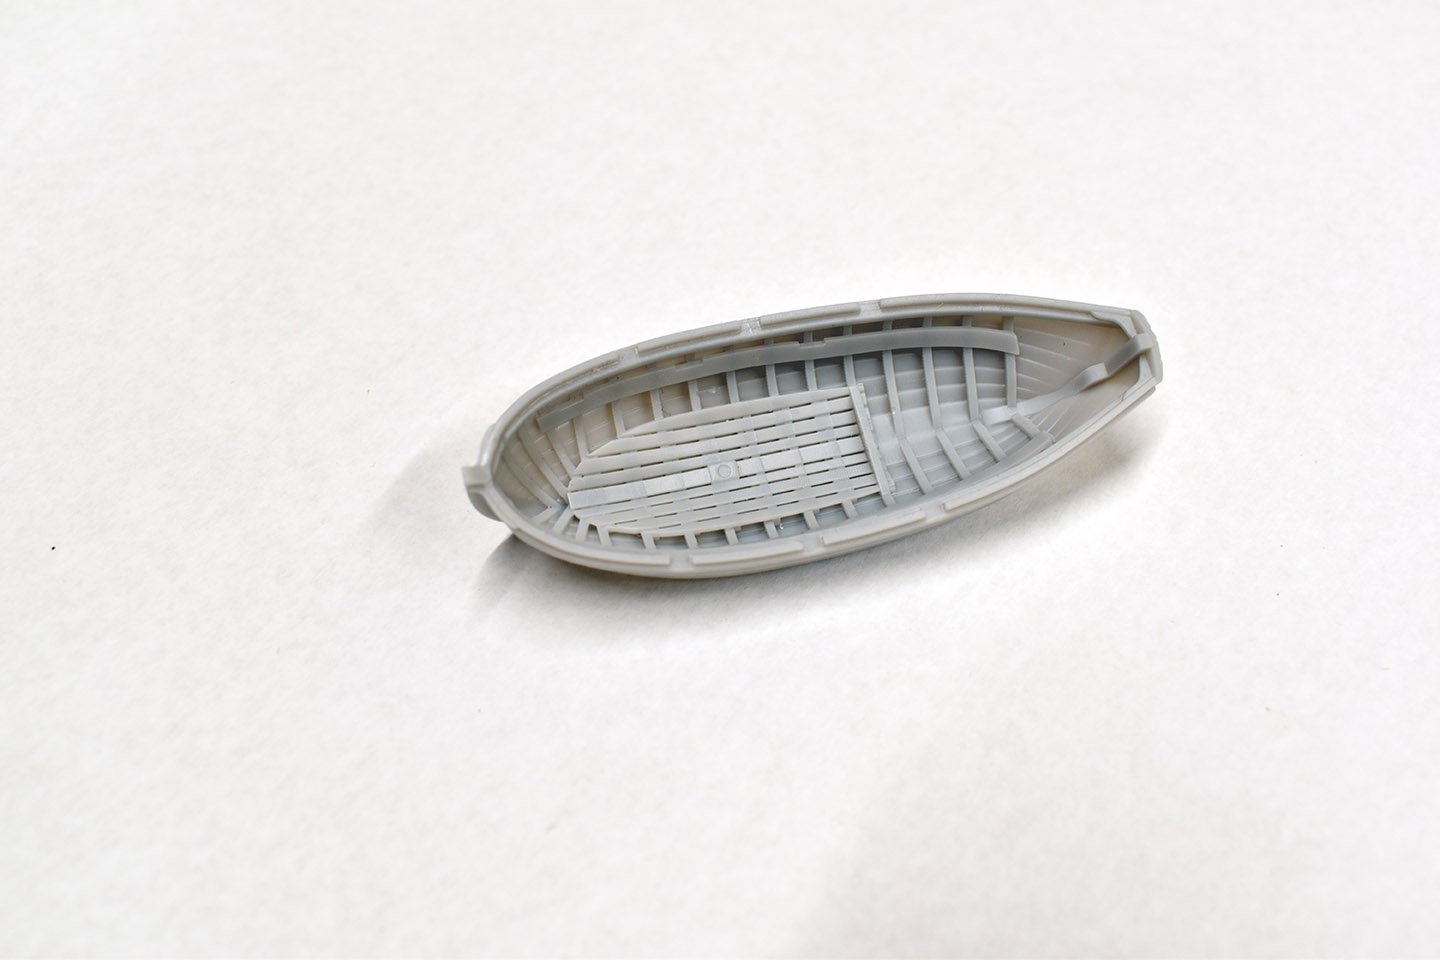
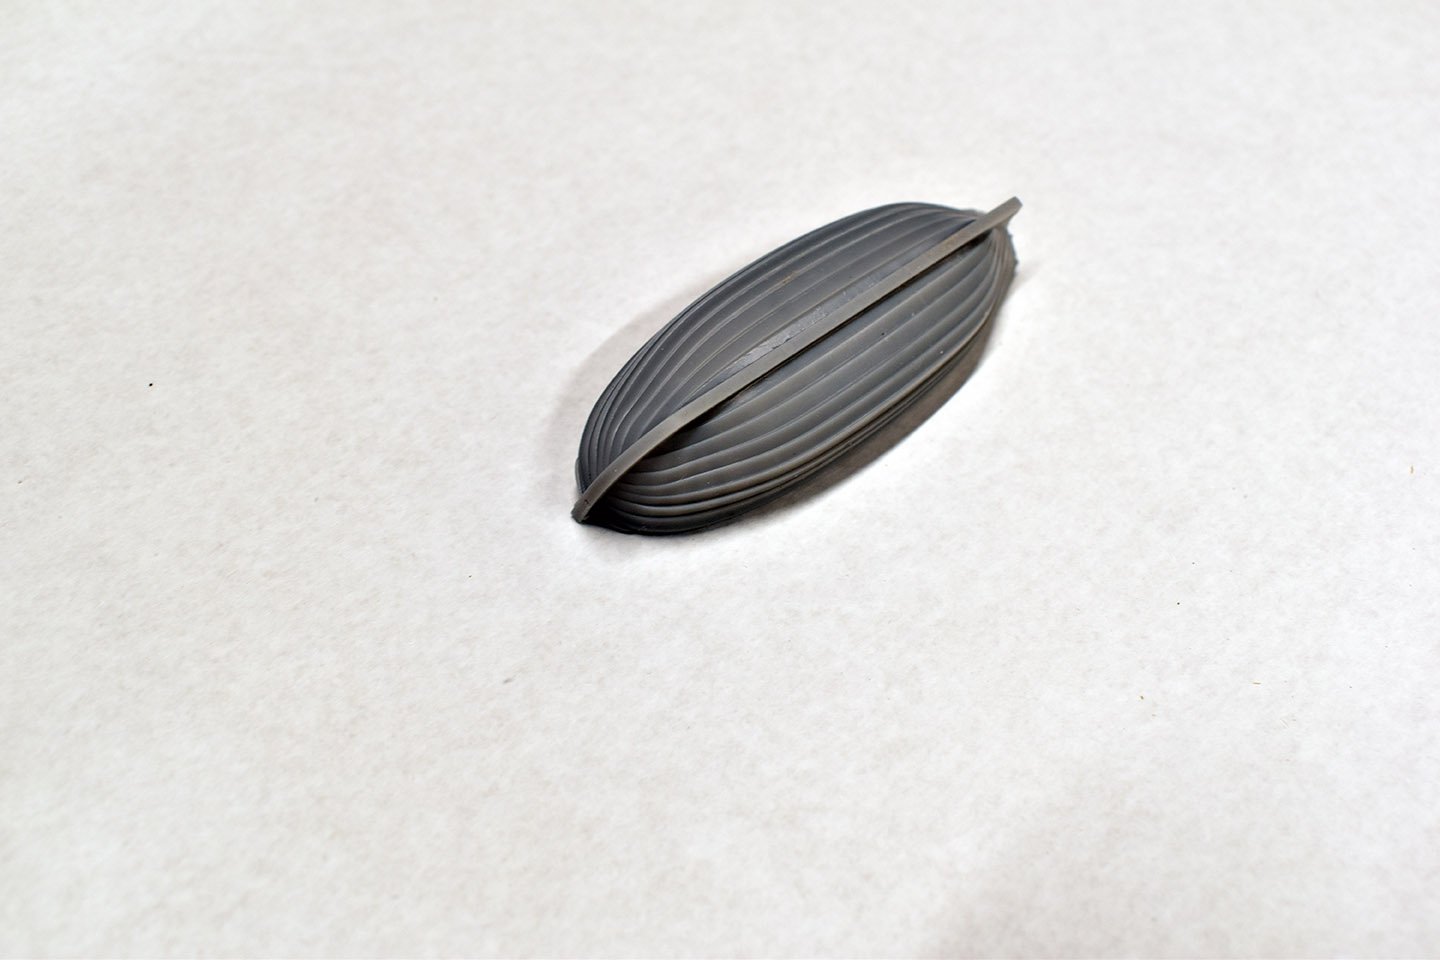
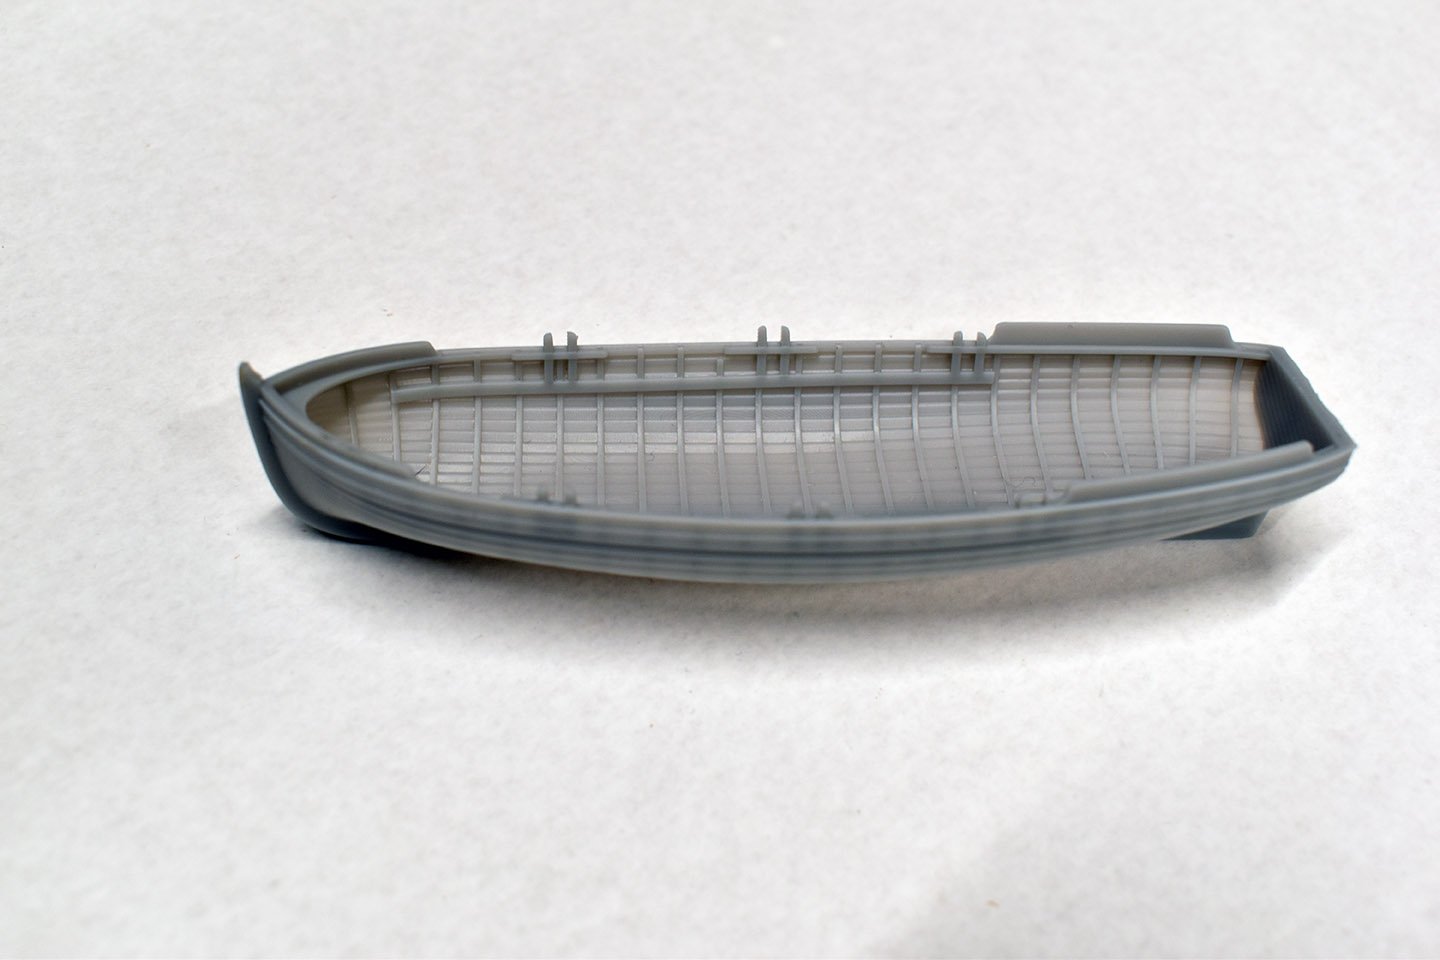
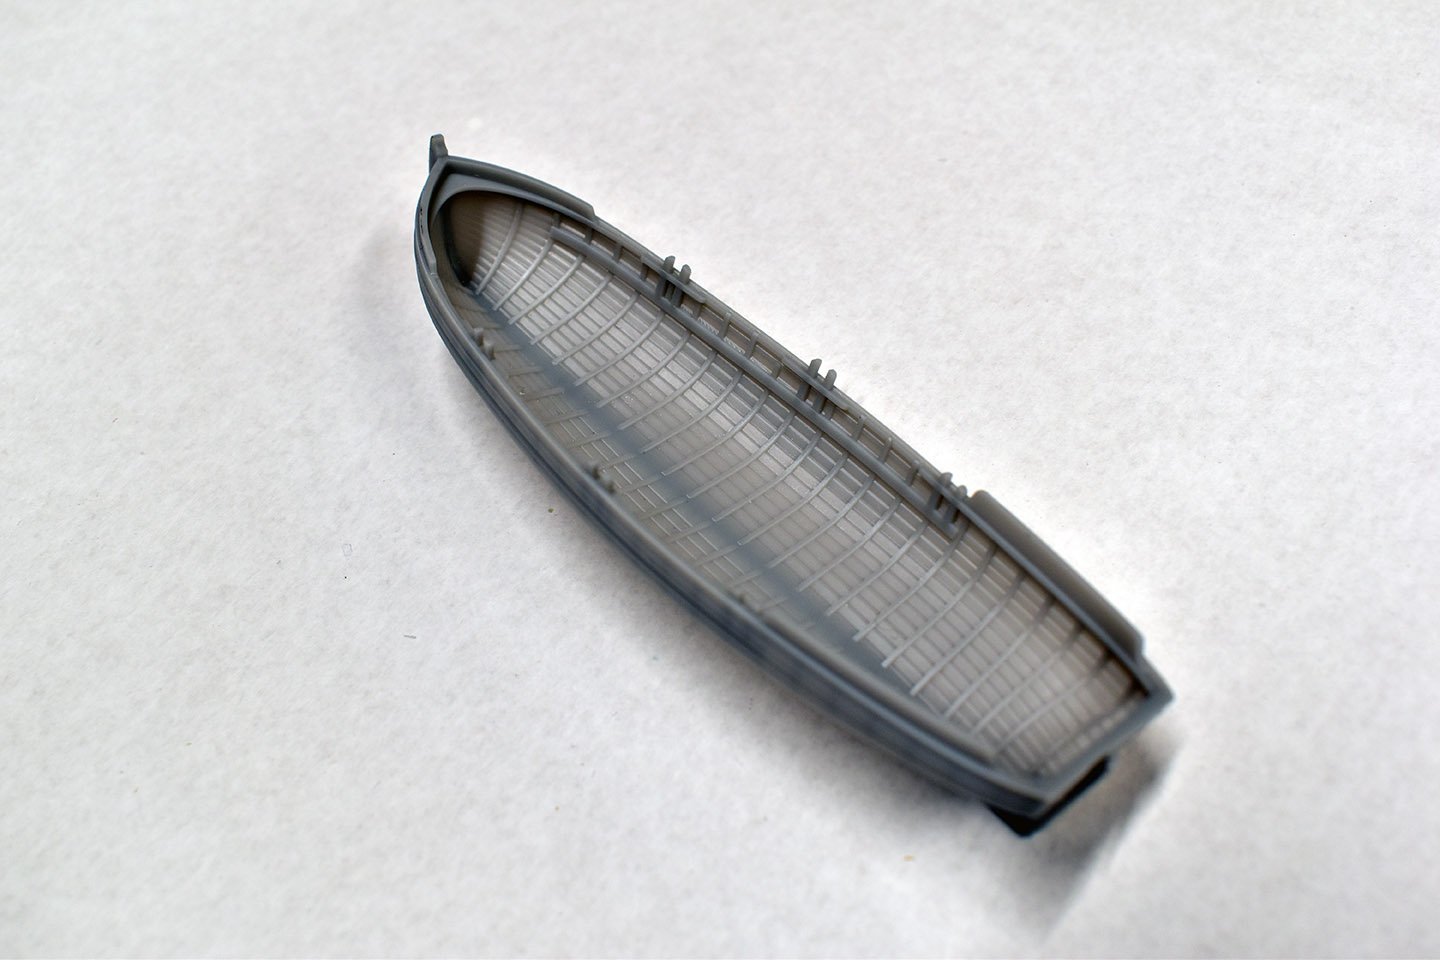
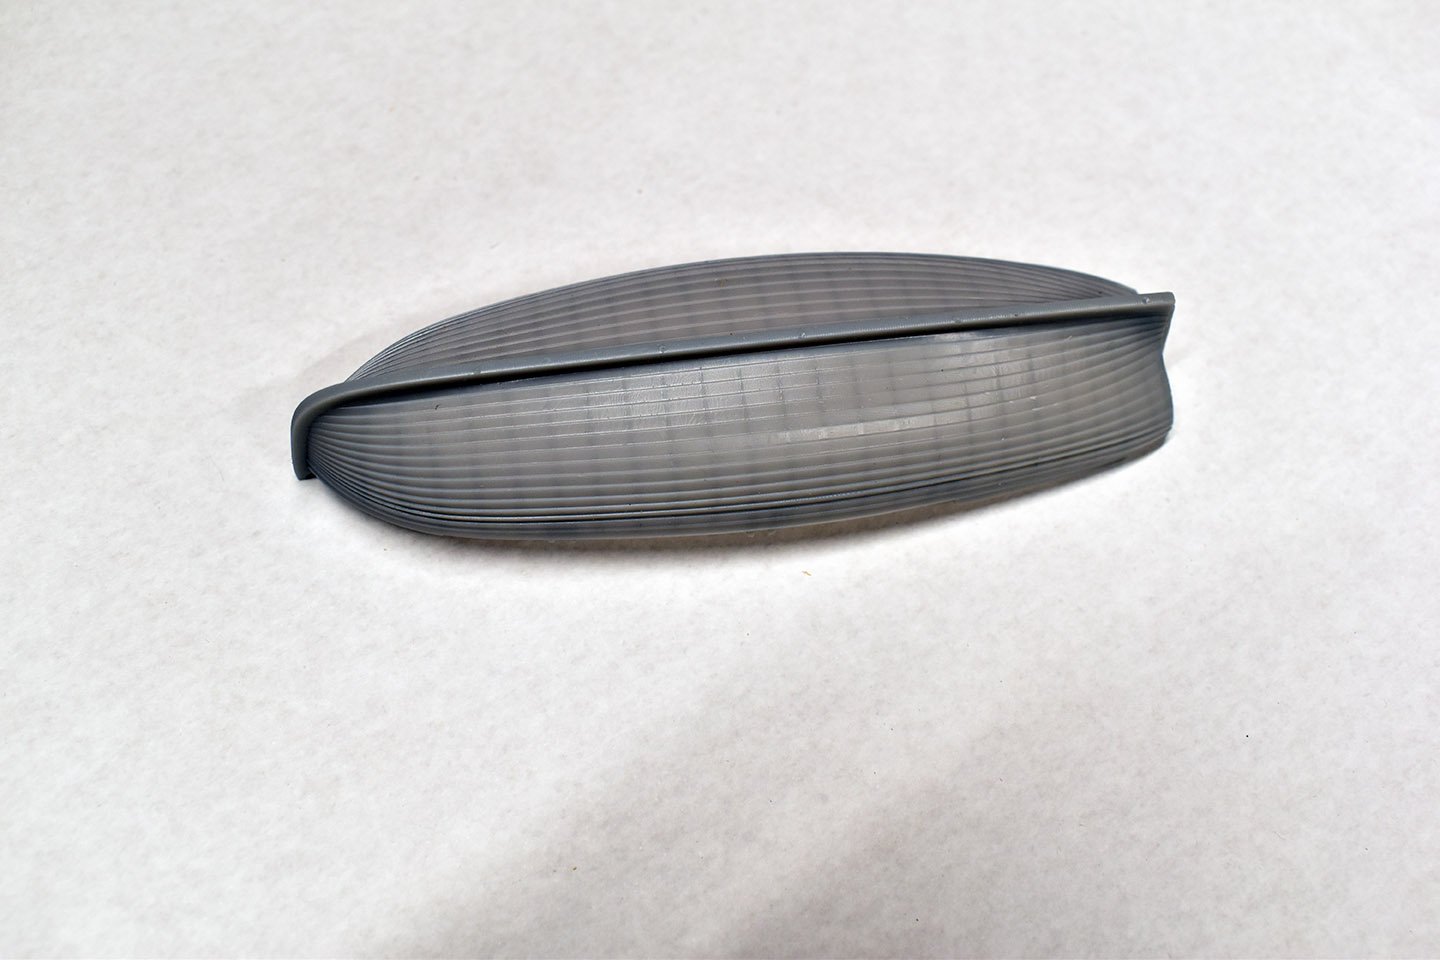
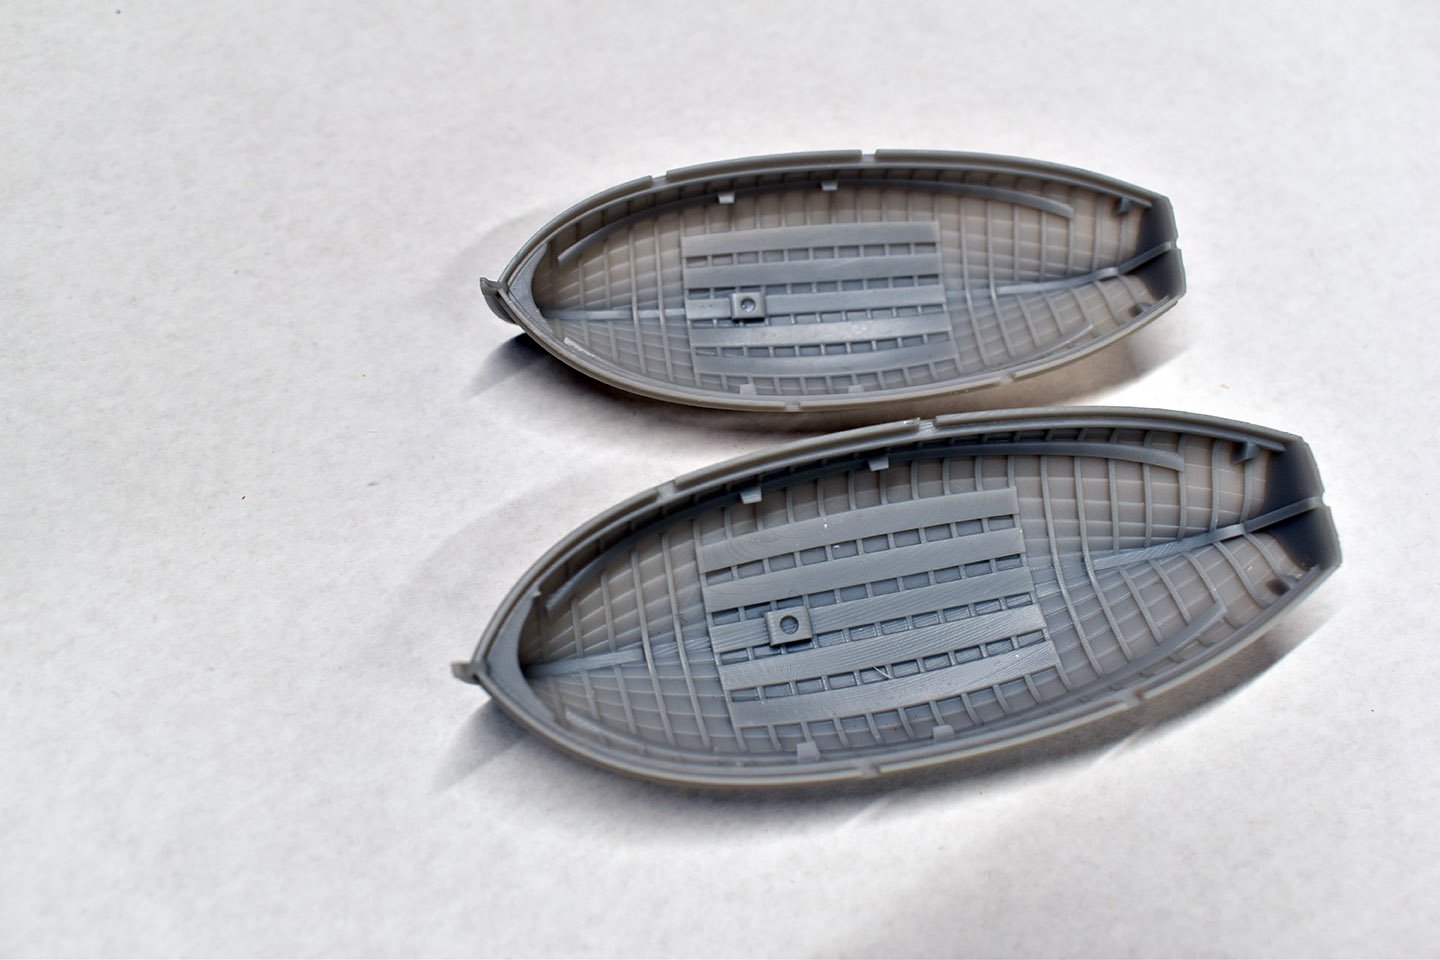
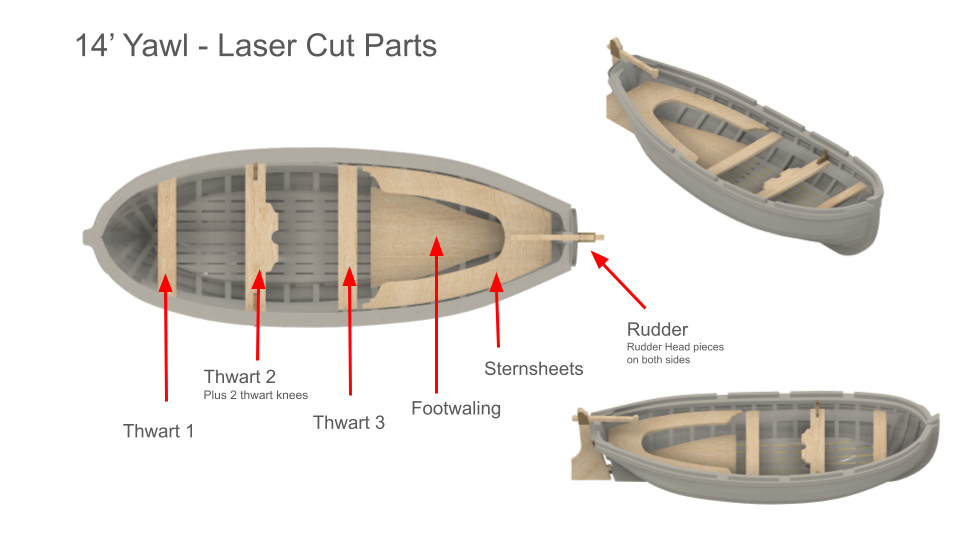
I have just finished printing the 9 boats I have, I do have another 3 coming soon (28 and 32 foot pinnaces and 32 foot barge barge, making 12 different boats in 64th) I am just laser cutting the wood parts for each and all will be online soon (A pic shows the 24 foot cutter with main laser parts dry fitted) The yawl is quite tiny, just over 68mm long!


-
There is no centre bench shown on the drawings used for this one. Also, if a centre bench is added, this means that the grain would be going the wrong way for the thwarts, making the whole part very fragile.
-
I have some progress renders of a replacement for my old Admiral's Barge, a 32 foot 'Shallop', which I have had commissioned. This will be a 3-d printed hull and laser cut pear parts. Also having a 28 and 32 foot pinnace done, which are almost ready, I am told - I will then be able to offer full sets for both Indy and Sphinx
-
For those that have been asking for a smaller boat, I listened, and have this little cutie almost ready to produce, a 14 foot yawl! Am yet to print the first one, but the STL file looks good, so don't envisage any problems with it. Would suit smaller vessels like cutters or something like Endeavour.
-
You can never ever please everyone, so there's no point in trying, it is futile. I have been designing for over 30 years now, and it was/is/will be always the same. All I can do is ensure all fundamentals of the actual vessels are as correct as they can be. The modeller can then do whatever they want and fit it out however they want - and paint it however they want. From my own personal perspective, I think the paint shade arguments are mad, as surely this is dependent on the mix of the paint and then add to that, weathering when out at sea! I haven't done much designing over the past few weeks, I have been ill (3 weeks now, dammit)! and all my time and energy has been taken up producing kit parts, as orders have been quite healthy! I have put Indy out of stock for a while, as I need to re stock on the laser cut parts. These do take an age to produce. However, all Harpy production is complete, and I am now just waiting for Jim to complete the prototype. I am just about to complete another run of Sherbourne laser cut parts, and after this, I need to re stock Indy laser cut parts. With so many kits now, I need to really stay on top of stock!
-
I have never added lights to any of my models, but I will assume they need to be installed as you build the model.
-
There will a light set as an option for Surprise, and soon for Indy and Sphinx: I already have these is stock, not yet added to site yet, though. The set includes 10 candle-effect LED lights, 4 continuous lighting LED lights, a battery holder for two AAA batteries and another one for a button cell, a switch, 8 meters of red and black cable, half a meter of heat-shrink sleeve and one meter of tin.
-
Greetings from a clueless Patrick O'Brian fan
chris watton replied to Galkar's topic in New member Introductions
The Speedy has actually been updated a lot since Vane's version, making it a little easier to build - but you are quite correct in looking for something simpler before building this. -
Very cool model, well done, AL! Love the way the gun ports are framed, very unique....
-
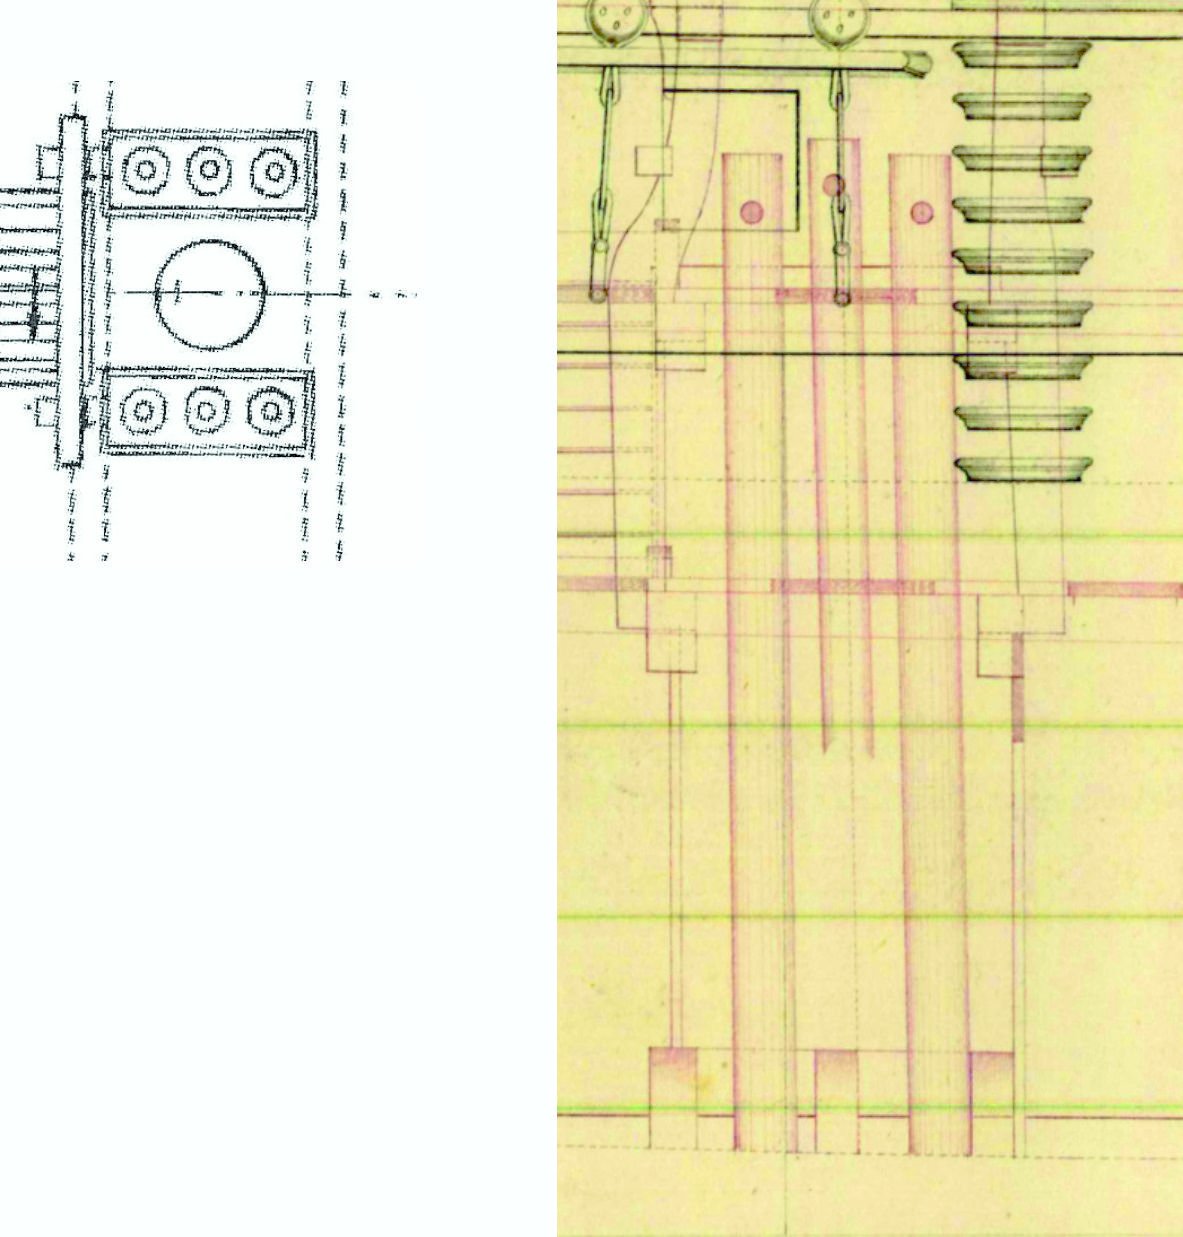
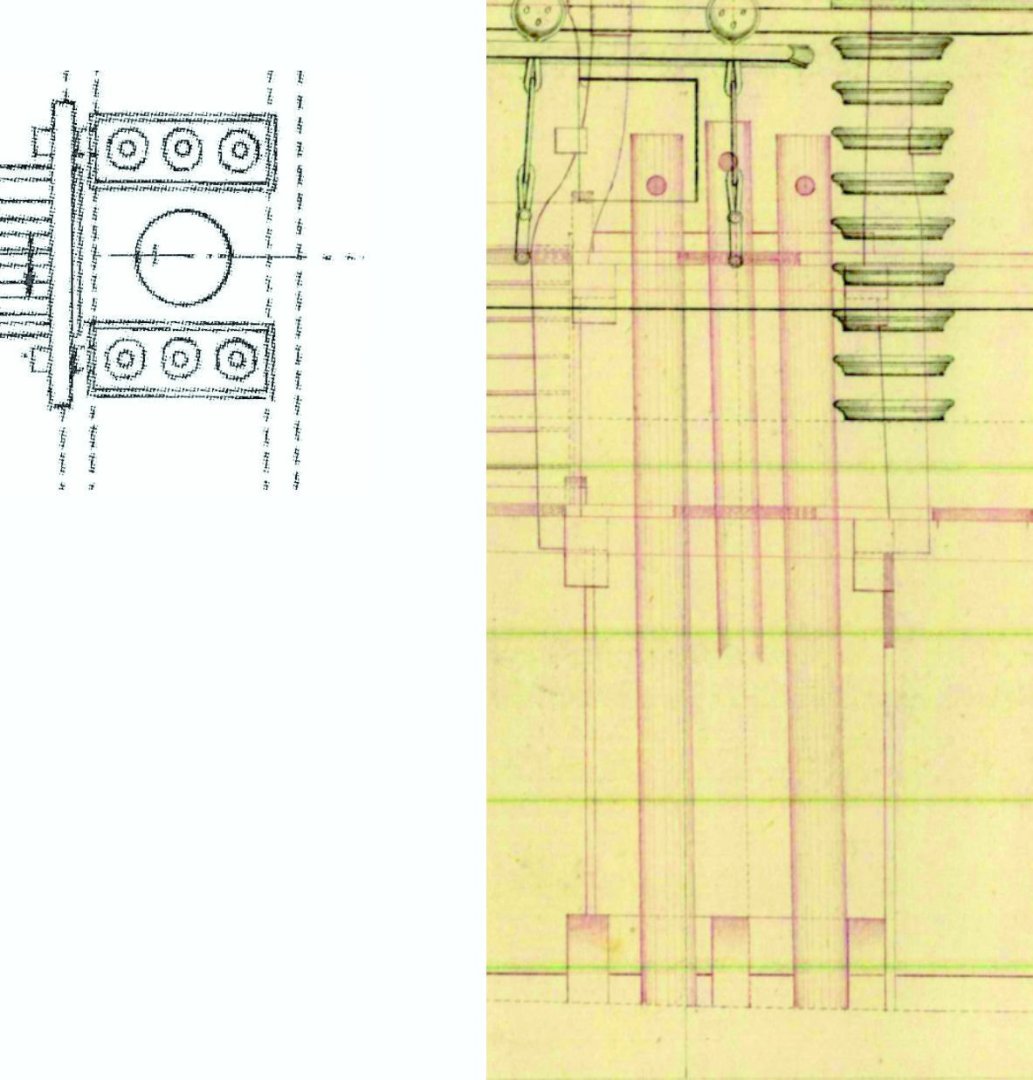
Chain pump housings it is, as this will be Aubrey's Surprise (as I am assuming this is what the majority would like to model her as...) After all, who really wants a carronade frigate...
-
Plans I have show her after conversion, as the capstans have been changed and moved.
-
I seem to always pick the ones with odd pump arrangements. For Surprise, should I go with a typical chain pump and housing config, or, as seems to be the case with the original plans, 3 hand pumps per side? Anyone got any better diagrams for this?
-
Hopefully in a couple of weeks, once we have time to sort through the pallet.
-
It will be Vanguard Models' 18th kit, so hopefully by this time next year, it would have already been released
-
Very neat planking!
-
That does look really nice! I shall tell you a secret about the stove chimney - After I received the photo etched sheets for Sherbourne, I realised to my horror that I had forgot to add the chimney to the sheet, too late to change it, as I already ordered the production parts. So I had to design one for 3-d printing instead, but in the end, it worked out fine....
- 177 replies
-
- 7
-

-
- Sherbourne
- vanguard models
- (and 3 more)