


Auger
-
Posts
247 -
Joined
-
Last visited
Content Type
Profiles
Forums
Gallery
Events
Posts posted by Auger
-
-
Superbe build! I’ve been eyeballing this kit for some time, I believe you’ve nudged me into the purchase. 😉
-
-
-
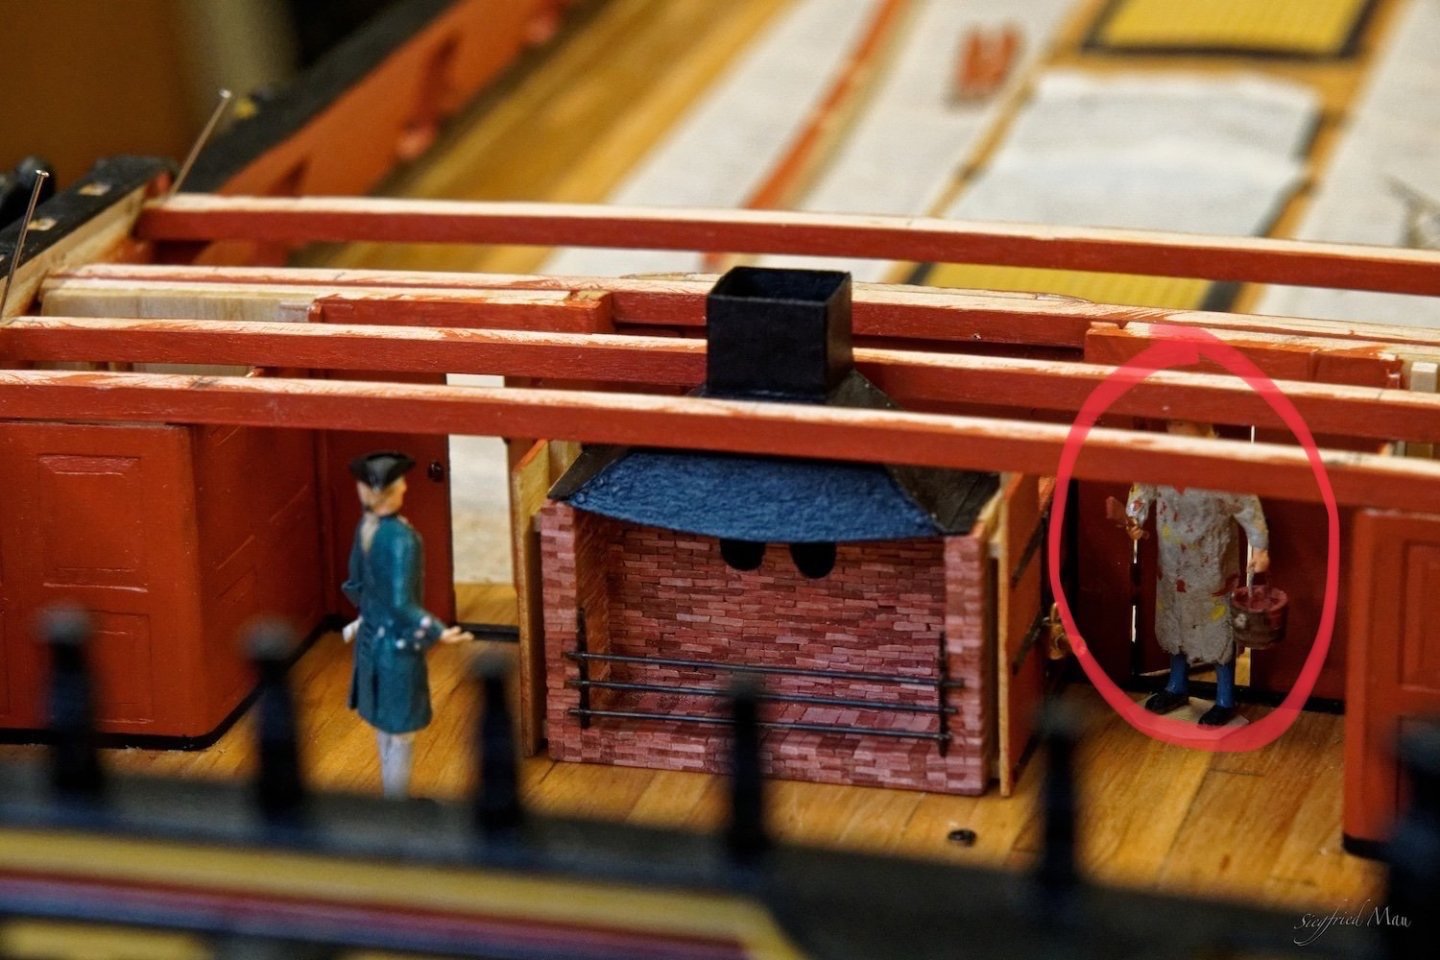
Just curious as to how many of you have had something move with time passage. I’m referring to our models in regards to the building processes used; lessons learned.
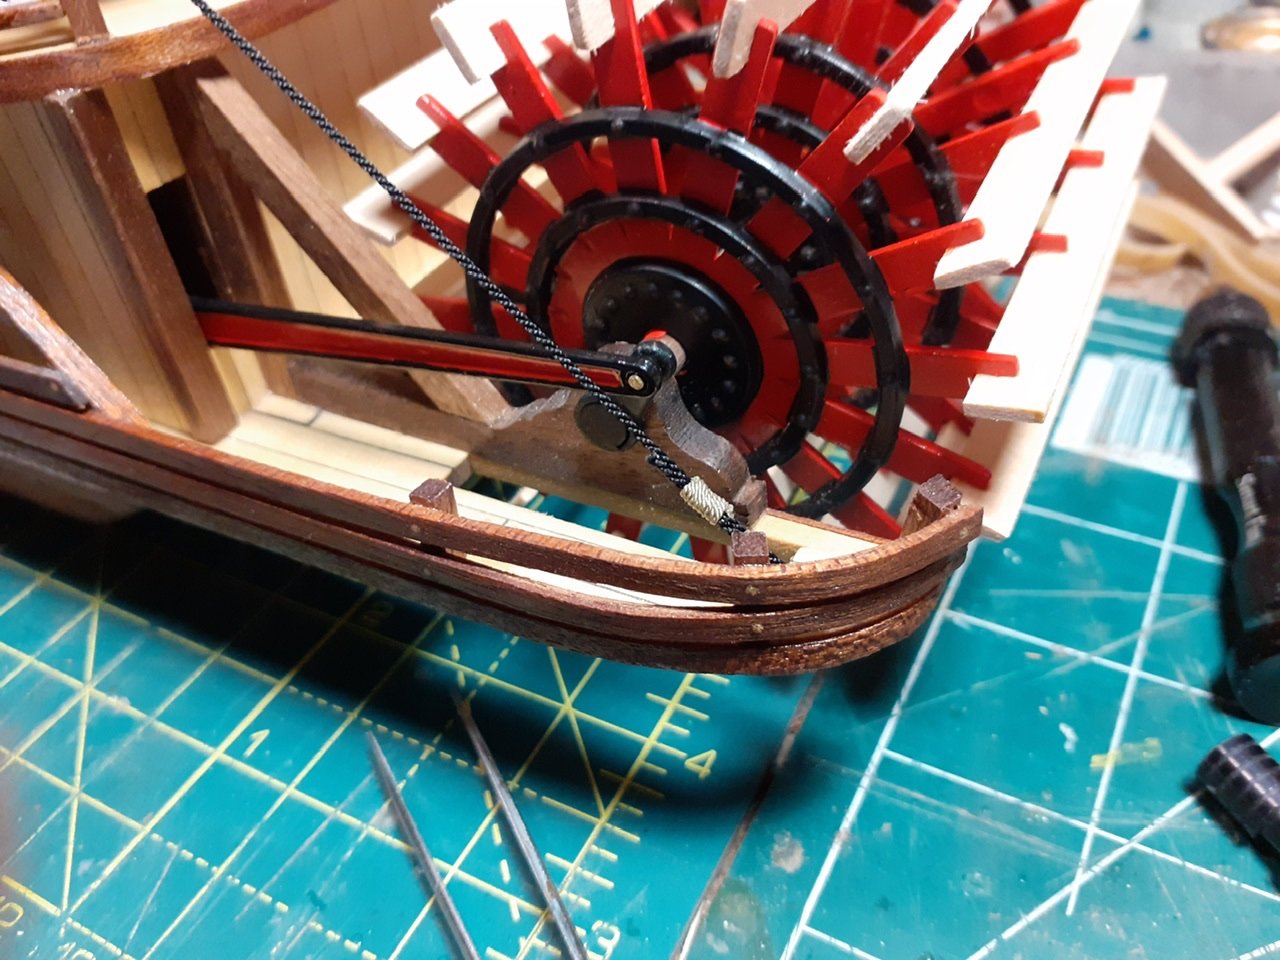
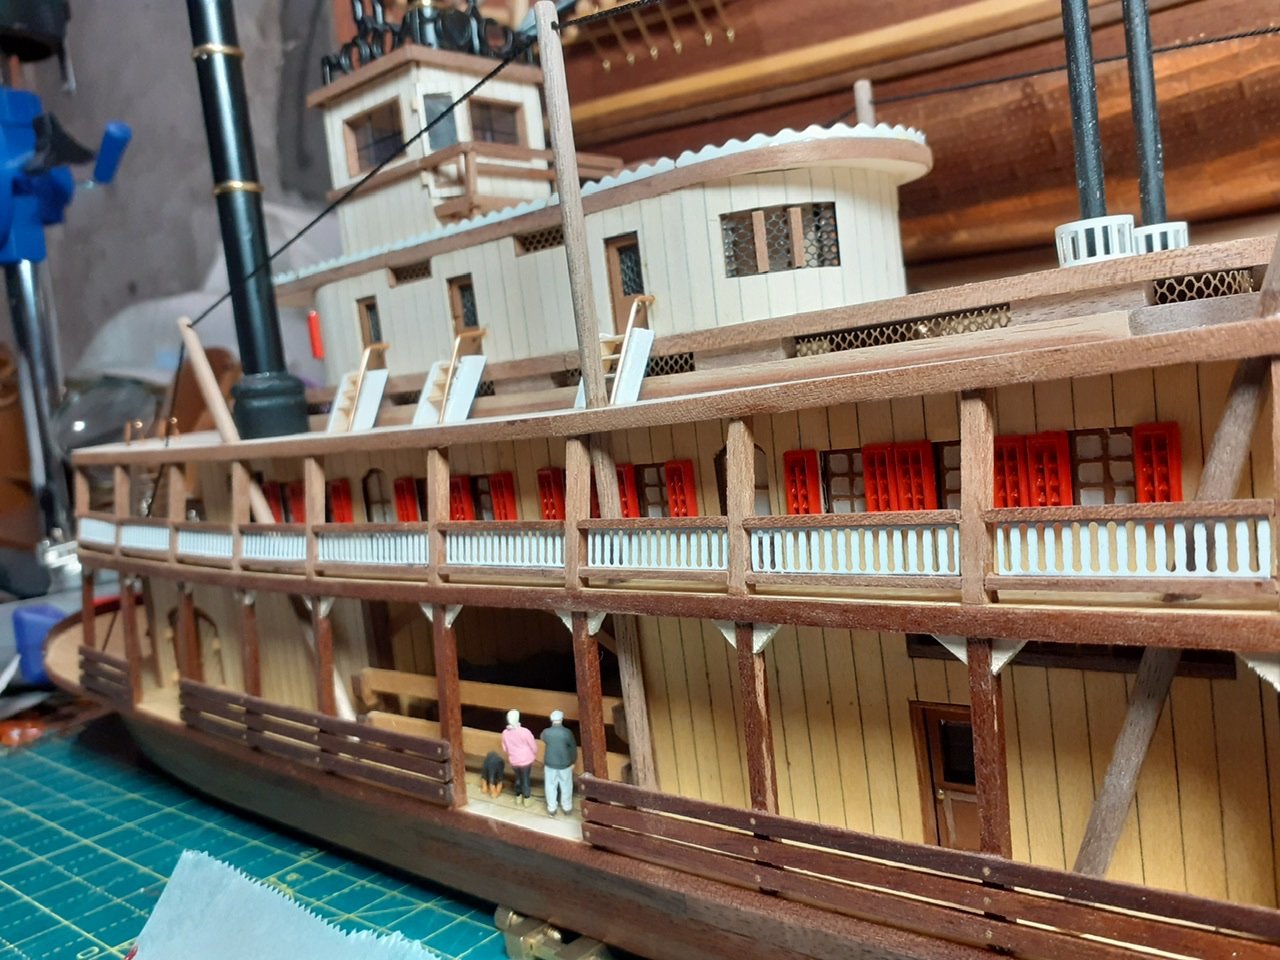
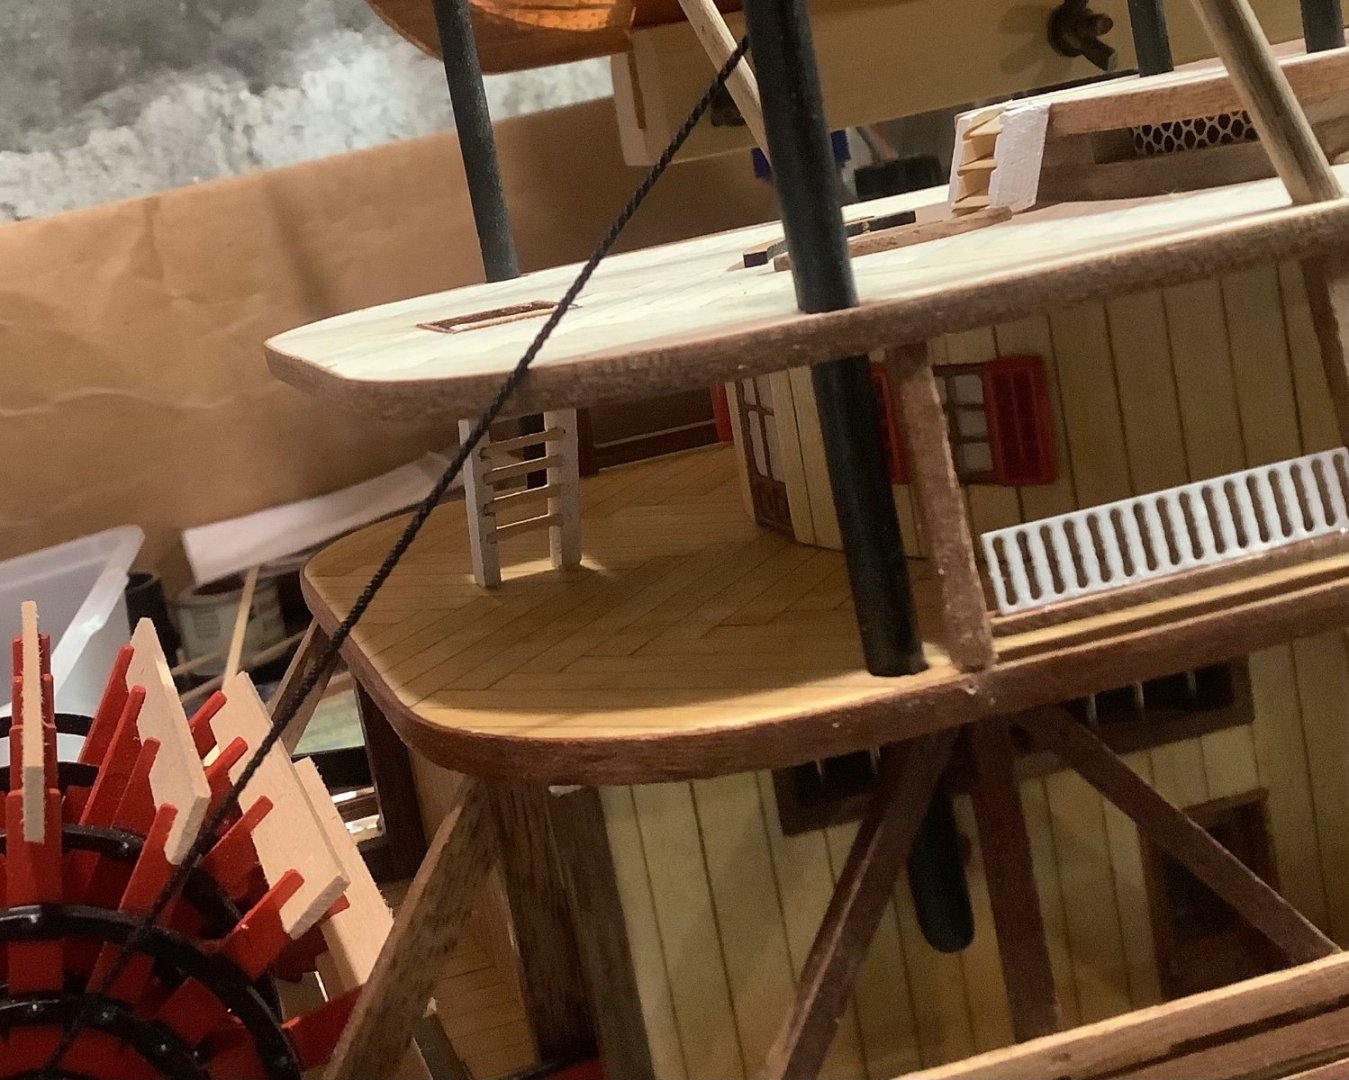
Here’s my latest: Support beam fatigue. I had installed it with a support treenail but the part still fell-out causing the rails to warp. Maybe the drill hole was a bit too large, or the treenail bent with glue moisture? Too thin of a diameter? I don’t know. But like I said in my build log, we’ll just chalk it up to navigational error. I fear trying to force things back into place will only make matters worse. So, I’ve resigned to just reinforcing the fallen beam with some epoxy in the right places. I try to take into account the extreme temperature differentials within my garage workroom when building through the seasons, but sometimes I get stung. This took place over the course of a year or so. Maybe the top rail had too much tension after drying, unseen builders error? Maybe I could have bent the rail a bit more, but it laid in well when building and I don’t force things. If I have to force it, it isn’t ready to go yet, or I need to do it over.
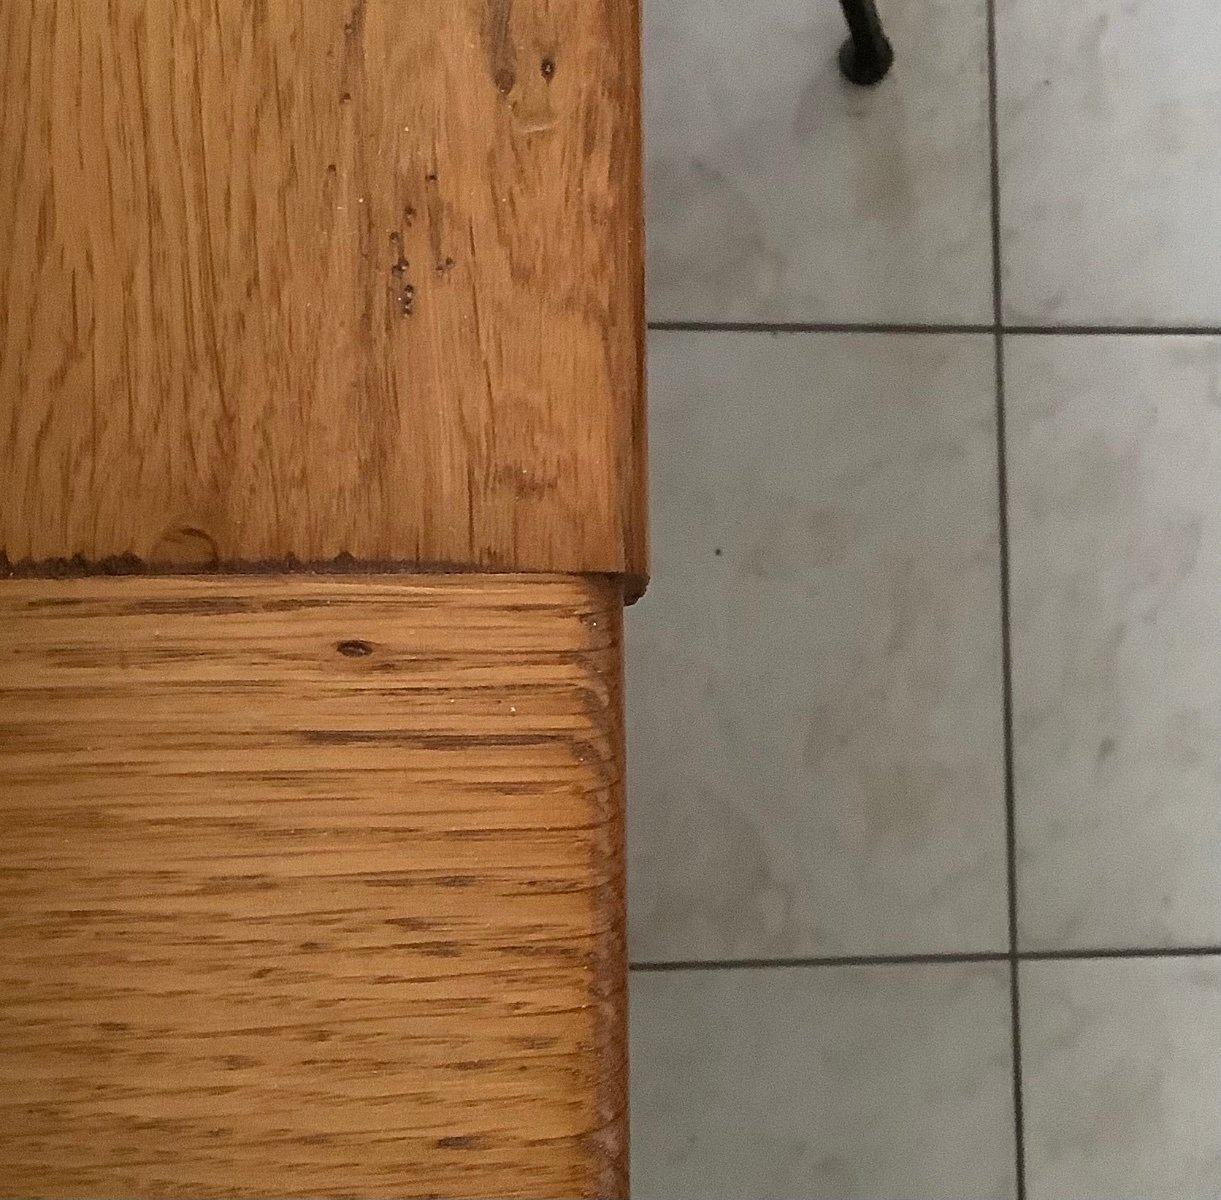
Anyway, I’m keen to see what you all have experienced. Wood moves in permanence, we all know. I have a superb oak table in my salon which never ceases to amaze me at how much it’s planks move.
- Keith Black, thibaultron, mtaylor and 1 other
-
 4
4
-
Well, we’ll just call it a navigational error.
Not really sure what happened here, something obviously moved. For the time being everything is solid so, it is what it is. Looks like that support beam closest to the paddle wheel fell-out a bit. I’m just going to reinforce it because I fear forcing things will just put myself into a worse situation.
Anyone else ever have something move after time passage?
-
You were smart to build it up before adding any of the railing support beams. It’s looking good!
-
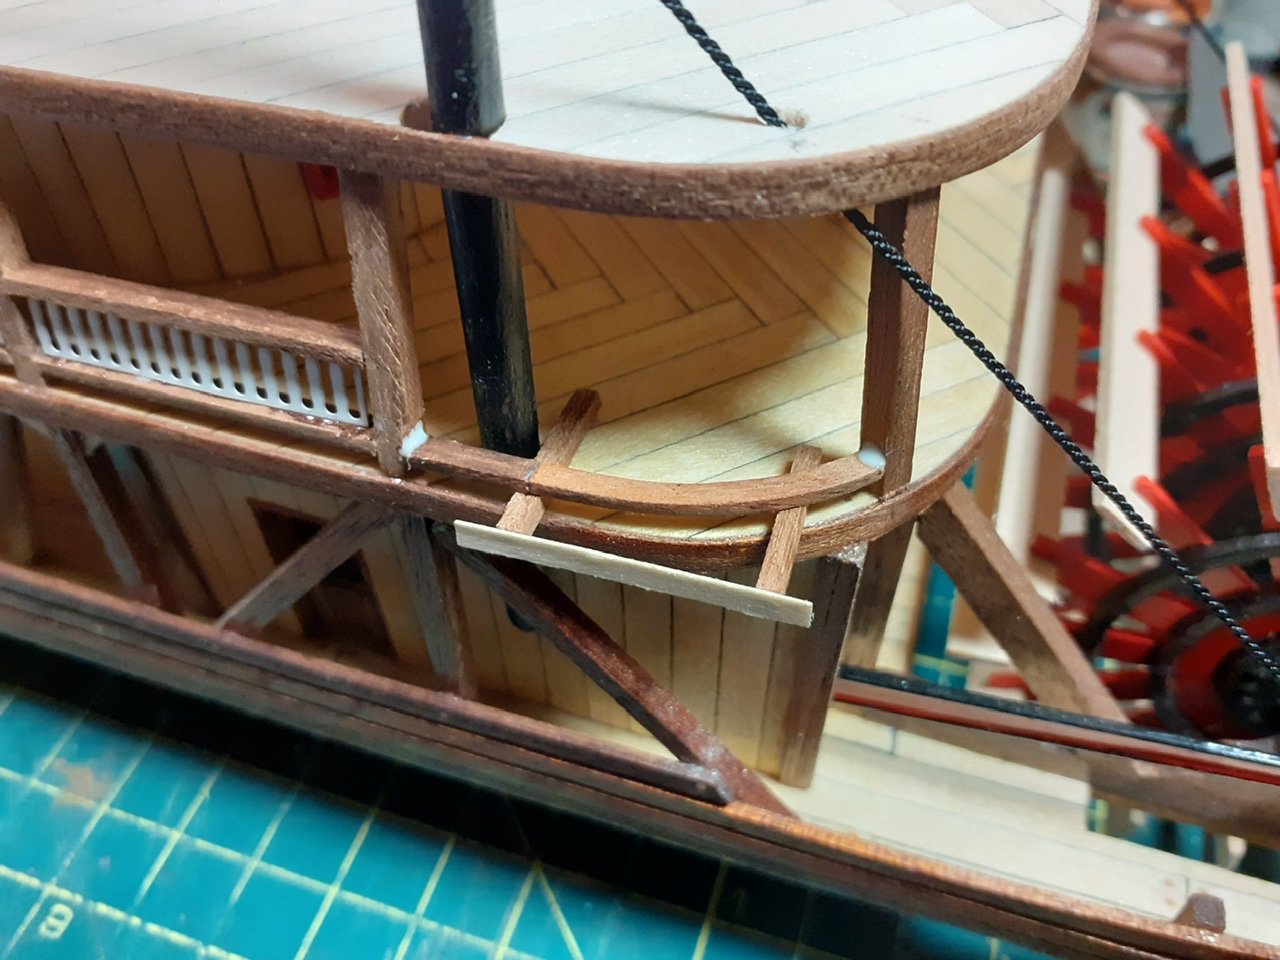
Gettin’ jiggy with it.
Already presented this jig but sometimes something super simple helps enormously.
By the way, this is one of the laser cut parts I had to rework.
- Knocklouder, Cathead, Ryland Craze and 1 other
-
 4
4
-
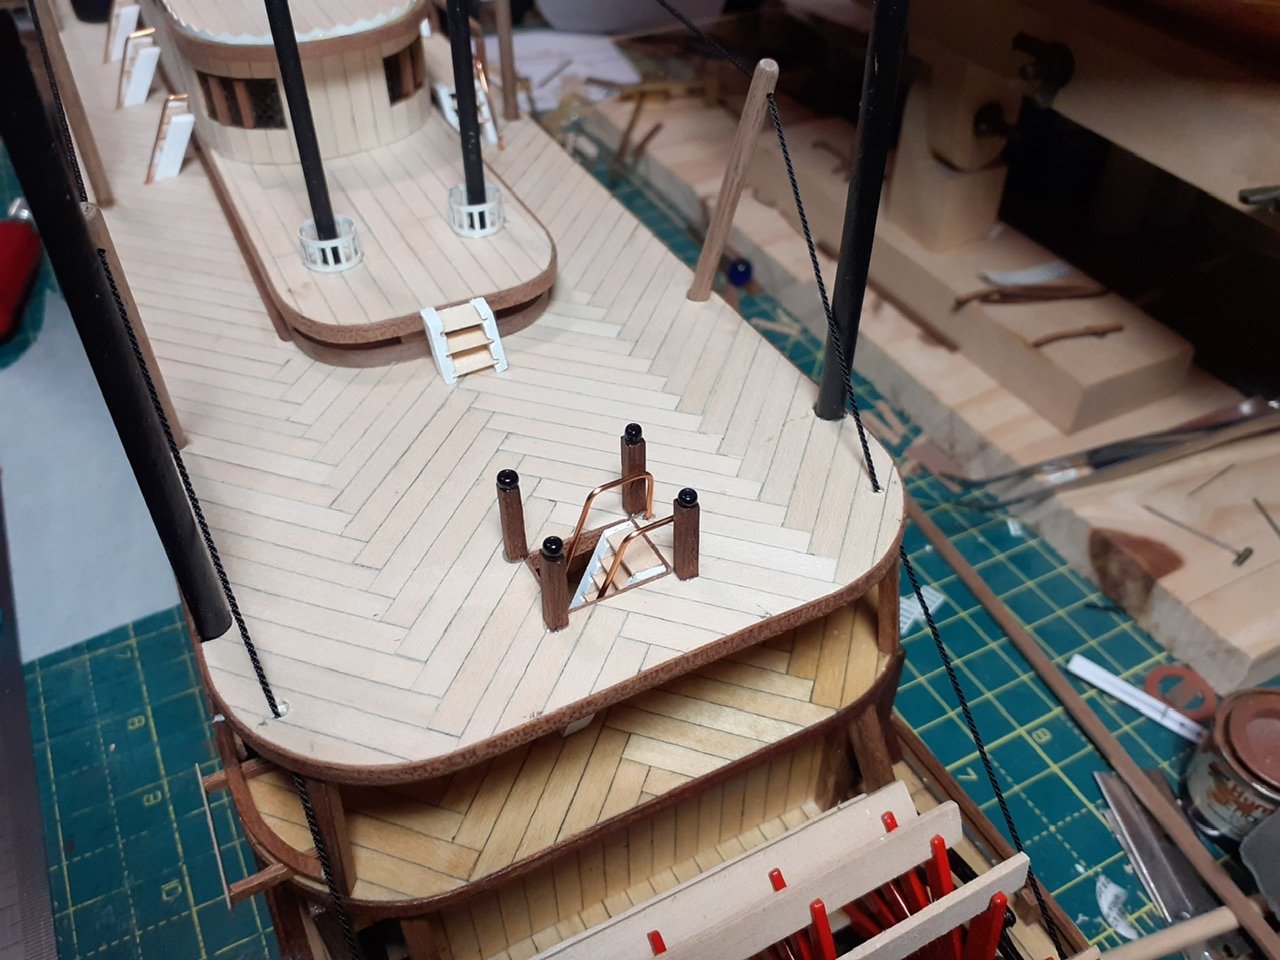
A little Sunday afternoon work before I go back to work.
- Ryland Craze and Cathead
-
2
-
9 hours ago, Bob Fraser said:
Looking nice and neat!
6 hours ago, Cleat said:I hope mine turns out as nice as yours.
Thanks for the kind words, Bob and Cleat.
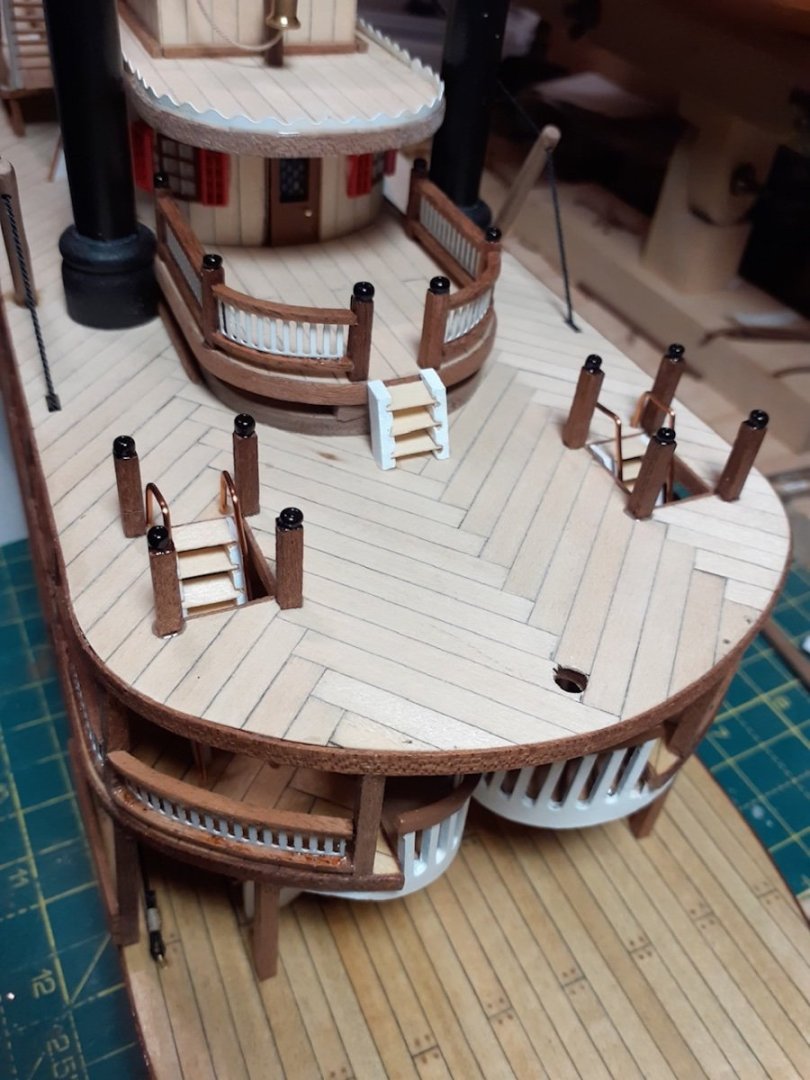
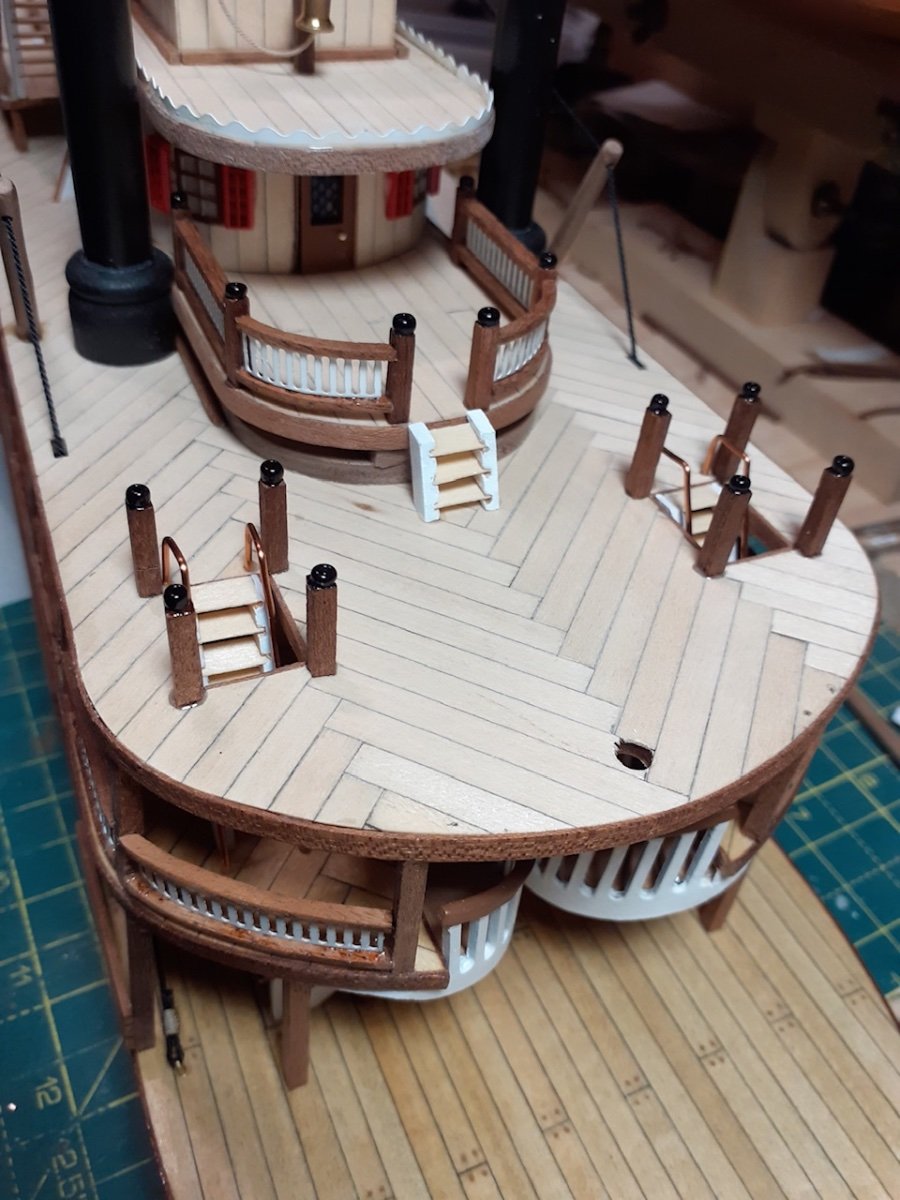
I think one thing I’ve taken away from this build is that the directions will lead you astray if you follow the book down to the part. Skip the rail beams and once the second deck rooms have been installed, start looking ahead and thinking about the third deck, stairways, masts, steam stacks and rigging locations. I made the mistake of installing the first deck railing support beams by using the side-view plans because the book showed them being installed, and then worked them bottom-up. But now all of my support beams are a bit off which is causing me to have to get creative with the laser cut railings. I should have waited until the third deck was laid before adding any rail support beams and then moving from the top-down using the deck plan for their placements. And even then, build everything from the inside out before adding them or else the rails will block certain operations like filing out some of the pre-cut holes in the deck or passing rigging. In hindsight, I should have done them last.
Oh, well. Next time…
- Cleat, Cathead, Ryland Craze and 1 other
-
4
-
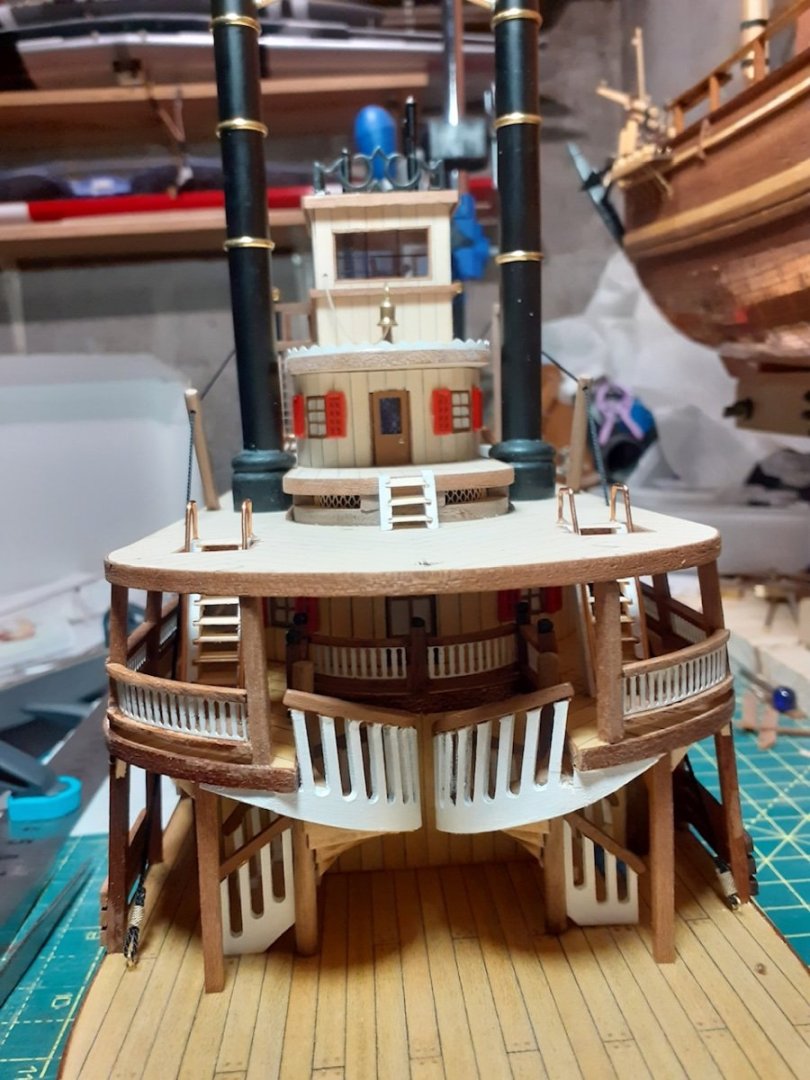
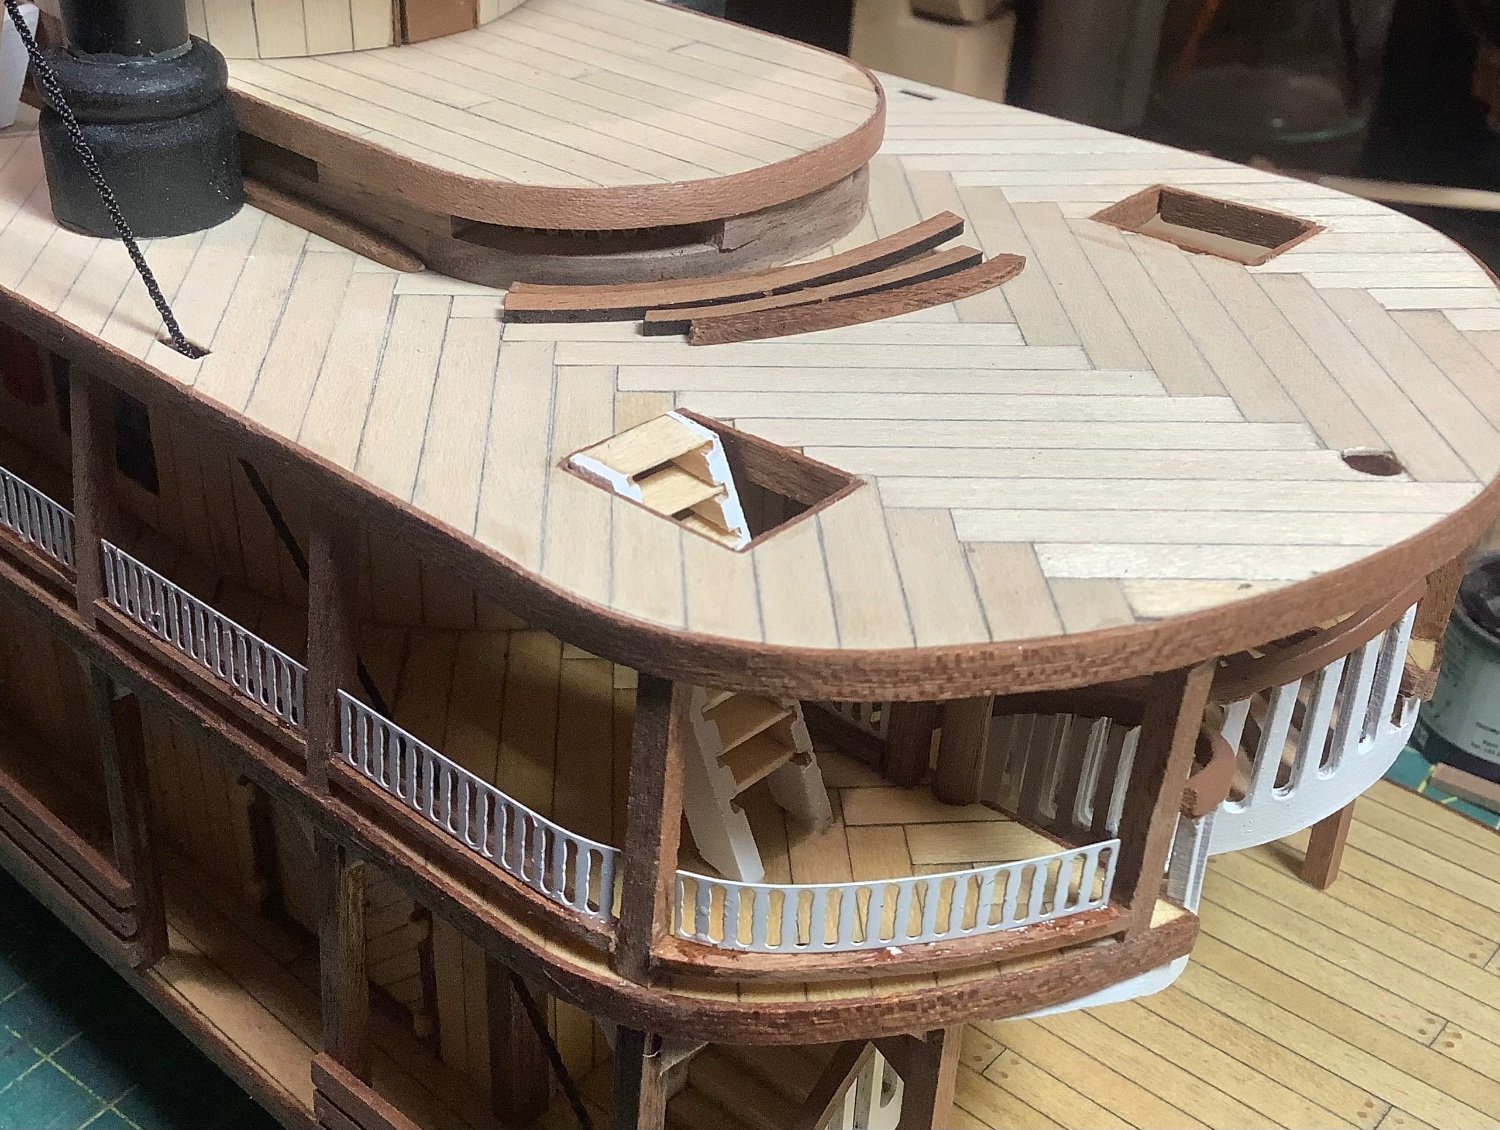
Added some railing to the upper deck today:
- Ryland Craze, Bob Fraser, Cleat and 1 other
-
4
-
-
-
Some more railings. Still some sanding to do.
- Cleat, Cathead and Bob Fraser
-
3
-
-
-
-
On 4/27/2023 at 5:37 PM, Javelin said:
Thanks Auger, your opinion is much appreciated as I, myself, am also still undecided. The hub is heavy, and does draw a lot of attention away from the model. I might go the middle road, keeping the stand, but leaving off the hub.
I'll perhaps put the model's details (vessel name and scale) on the front of the stand later on. In any case I'll attempt to complete the hub.
Totally do what you’ve set out to do. If you don’t like the hub in the end, just take it off!
- Keith Black, Canute and mtaylor
-
3
-
3 hours ago, Cleat said:
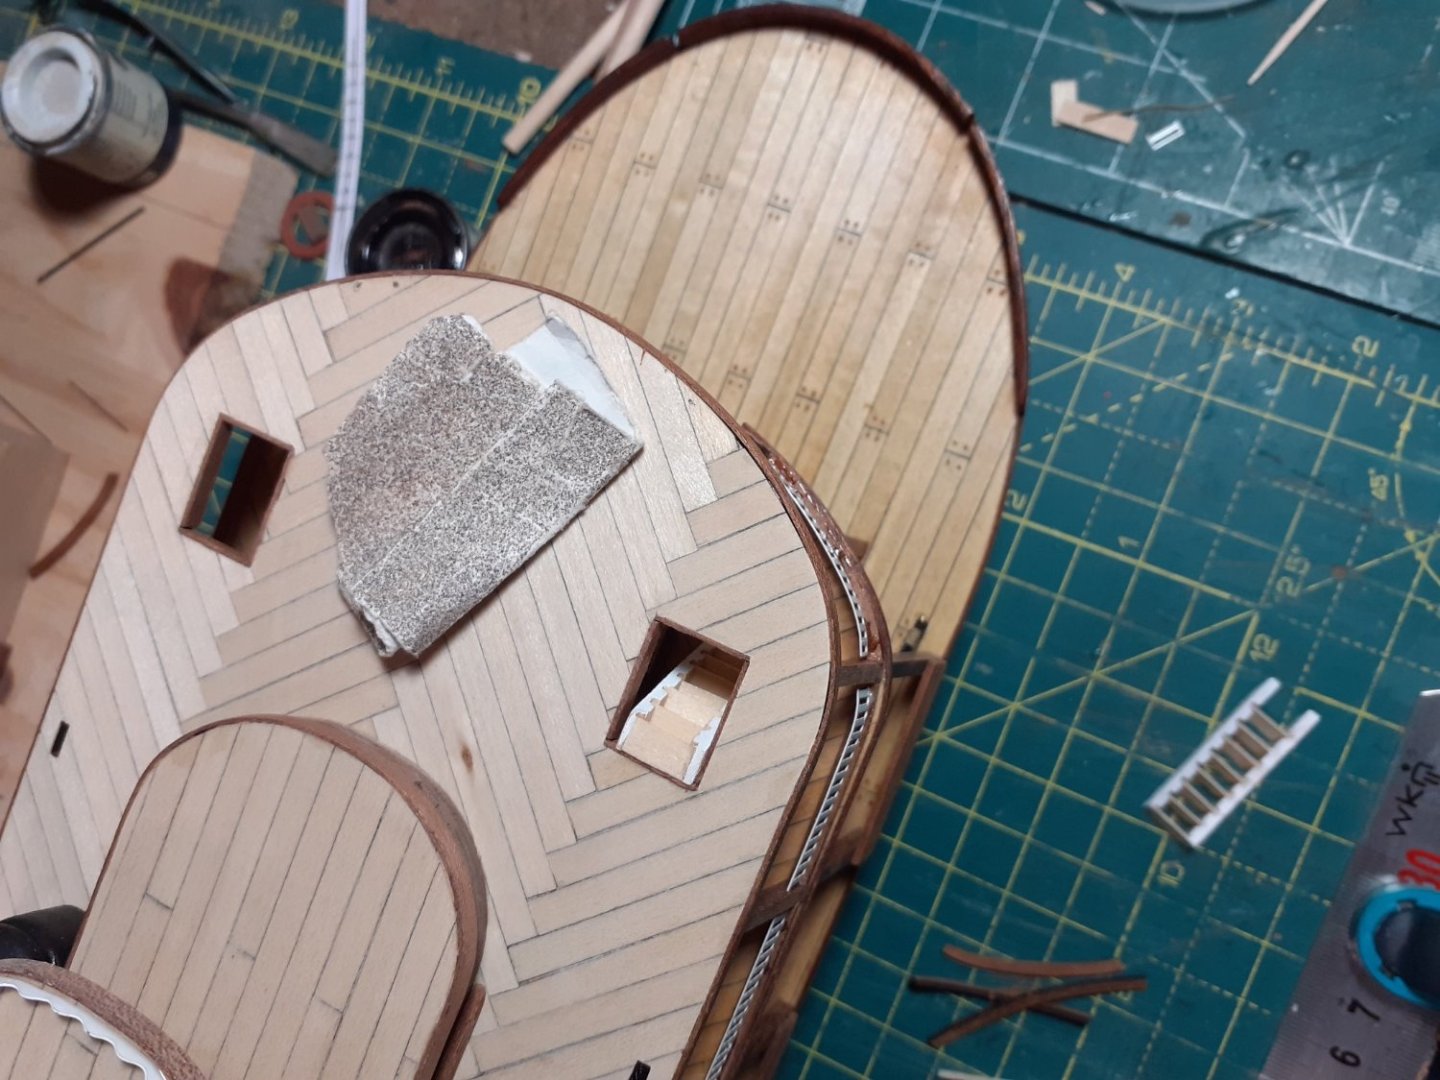
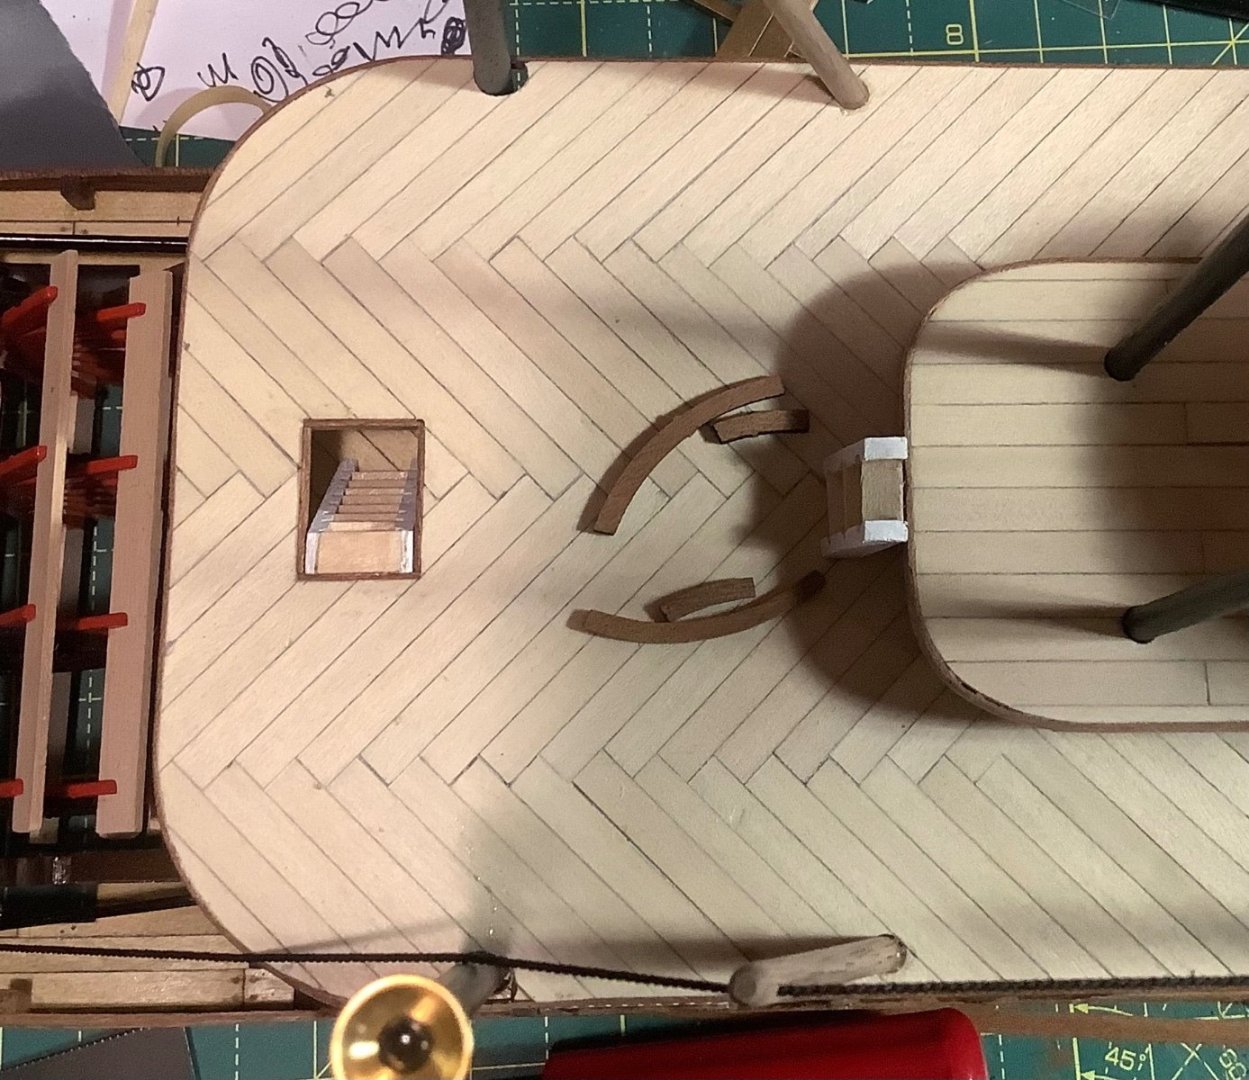
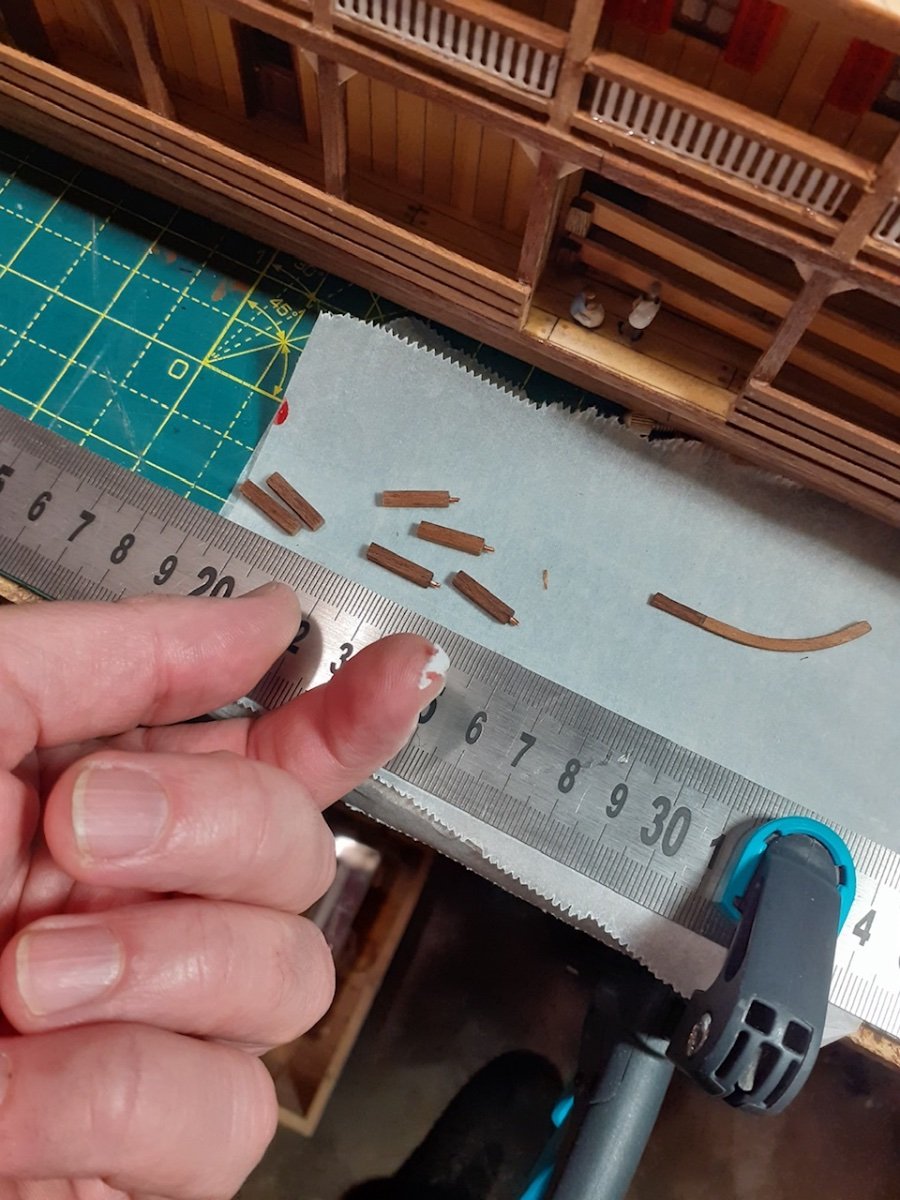
The ladders are tricky for me and I only made the short ones so far. I ran short of the step material so I need to find more. I like the dark wood trim detail around the stairway opening.
I think they shorted me the step material as well and gave me an over abundance of light veneer for the bulkheads, so I’ve been using the veneer for the steps. Doesn’t look so bad.
-
-
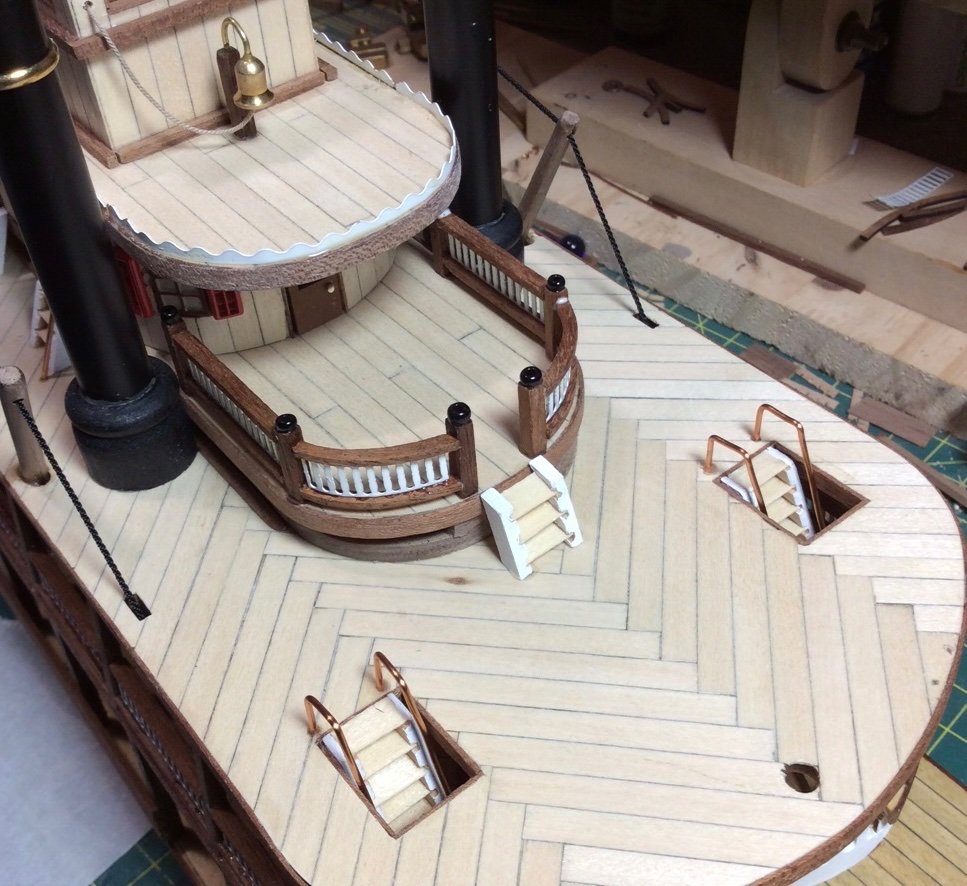
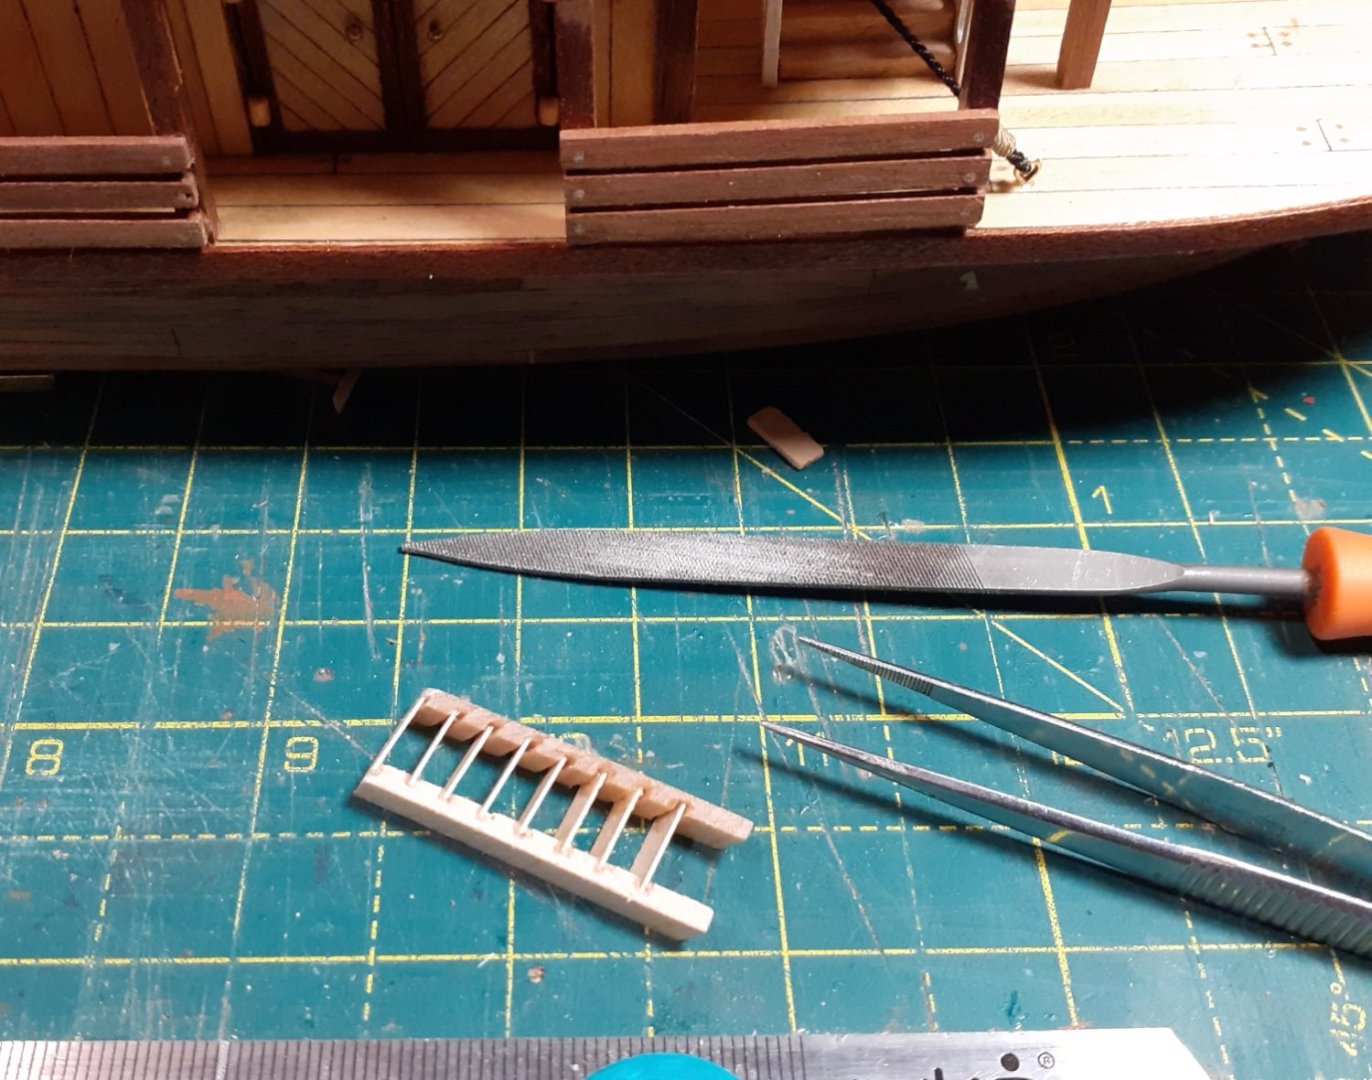
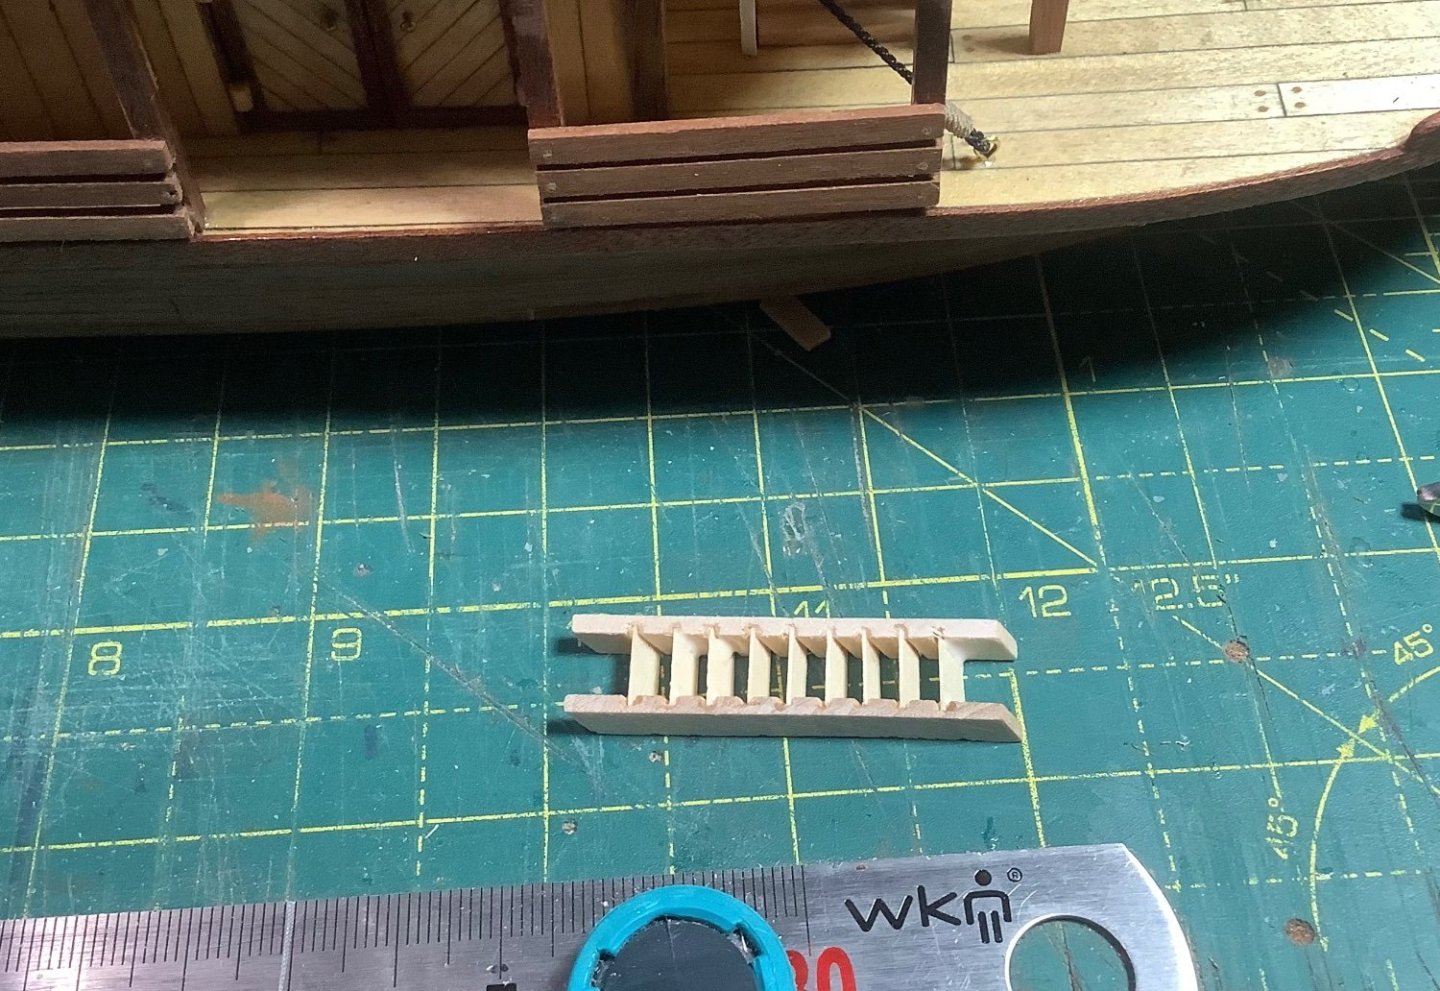
Another ladder, more sanding and painting…
- Cathead, Knocklouder, Bob Fraser and 1 other
-
4
-
Building ladders. For some reason not my favourite task. Again, some sanding to do…

- Bob Fraser and Cathead
-
2
-
For those who read this log, install the ladder stairs between the 2nd and 3rd decks before beginning the railings. Work the model from the inside-out.
-
-
1 hour ago, Cleat said:
Your build is looking great. What kind of glue did you use for the white railing installation. I like the brass railing on the short stairs, it is a nice addition. It looks like you pinned the 1st deck railings; I've been debating if I want 2 or 3 horizontal railings (yours looks good).
Thank you very much.
For the white railings I used my model rocket fin approach. I use epoxy on either bottom-end of the rails (tiny bit added with a toothpick) then a dab of CA to the bottom center. I place the white rail onto the wood support below with tweezers then hold it with my finger for about 15 seconds or so till the CA holds the railing in place, at the angle I want. When the epoxy sets, they’re quite strong. Just need to go back and sand a little to knock down the epoxy shine. Works well.For the first deck wood railings, you are correct, I used trenails. I did so for added strength because when I manipulate the model I don’t have to worry about popping one of the rails off. They’re way stronger with the trenails.


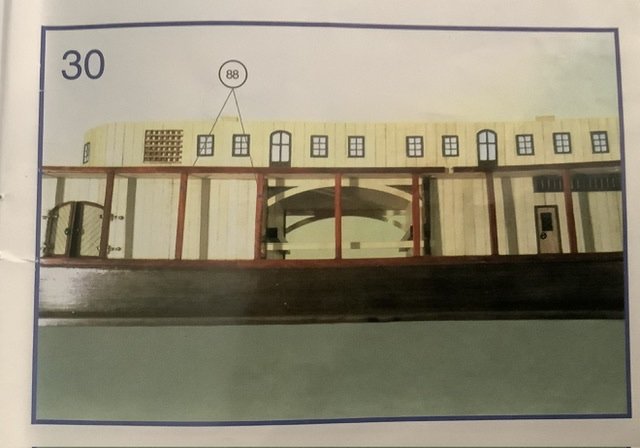
King of the Mississippi by Auger - Artesania Latina - 1/80
in - Kit build logs for subjects built from 1851 - 1900
Posted · Edited by Auger
Apparently the support beam for the side railings there closest to the paddle wheel sagged, causing the top side railing to warp, or straighten up a bit. Maybe the garage workshop got too hot this summer.