turangi
-
Posts
272 -
Joined
-
Last visited
Content Type
Profiles
Forums
Gallery
Events
Everything posted by turangi
-
 Thanks for the replies! I actually tried Tamyia fine primer today on wood and it worked great under Acrylic paint even though listed for plastic and metal. No grain raising and didn’t obscure details.
 -
Exactly my thought but I see it recommended here often as a sealer compatible with almost any finish material.
-
I recently sealed some wood with Shellac as a sealer prior to brushing Tamyia acrylic paint as the top coat. While brushing on the paint the whole finish turned into a sludgy mess. I had let the Shellac dry for several days but wonder if that since the Shellac and Tamyia paint both contain Alcohol as a solvent that the Alcohol in the paint caused the Shellac to re-emulsify? Has anyone else encountered this problem?
-
Model Expo did post notice recently they were moving. I have never found them anything but completely responsive, delays during their move is certainly understandable to me.
-
Looking for a good "starter" pin vise set
turangi replied to Capella's topic in Modeling tools and Workshop Equipment
Unfortunately my Dremel chuck was unusable and noticeably off center, luck of the draw apparently. It seems most of the products mentioned here are actually available on Amazon with free shipping and return if you are a Prime member. Try whichever you want and return it if not suitable. As far as the Rolex comparison, $12 for Dremel and approximately $24 for a Starrett, not quite a $5,000 step-up from a $50 Timex and it was well worth it to me in terms of frustration decrease. Good tools are a blessing and make the hobby much more enjoyable to me. -
Looking for a good "starter" pin vise set
turangi replied to Capella's topic in Modeling tools and Workshop Equipment
Certainly not to be argumentative but I have three low cost pin vises that were fine for hand drilling when the jaws actually held. But, if I mounted them in a drill to make multiple holes they wobbled like a hula dancer. I purchased two Staretts that cover 0-1/8 inch and they run true as a judge. I like the rubber coated ones so they don't roll off my bench and certainly not anywhere near $120. They are reasonably priced and well worth the price! An example: https://www.amazon.com/Starrett-166C-Insulated-Octagonal-Handle/dp/B00375DEPI/ref=sr_1_3?crid=2AZX2RQPW3PSQ&keywords=starrett+pin+vise+166a&qid=1643428419&sprefix=starrett+pin+vise+166a%2Caps%2C74&sr=8-3 -
Looking for a good "starter" pin vise set
turangi replied to Capella's topic in Modeling tools and Workshop Equipment
I had a few cheap ones then bought a couple of Starretts, a great upgrade! No sets with bits but they can be purchased separately. -
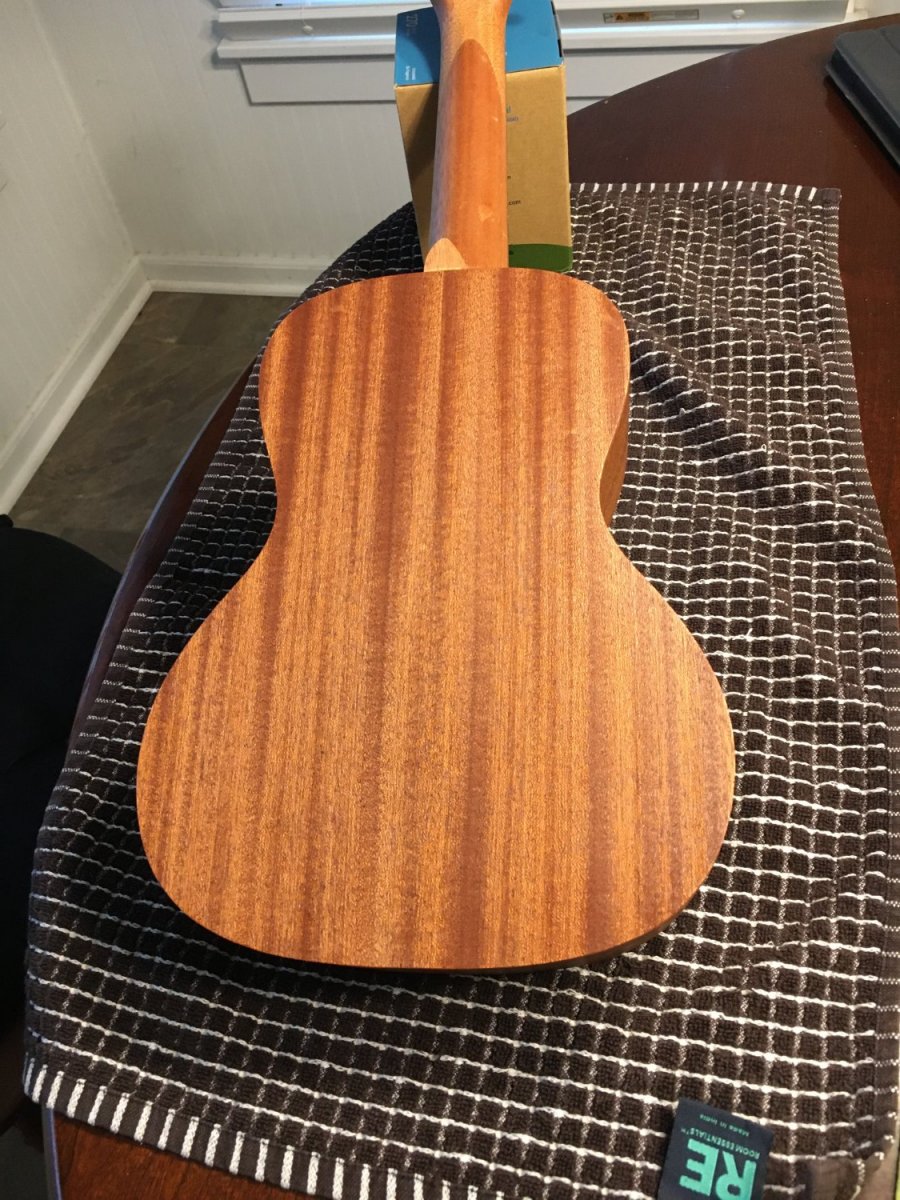
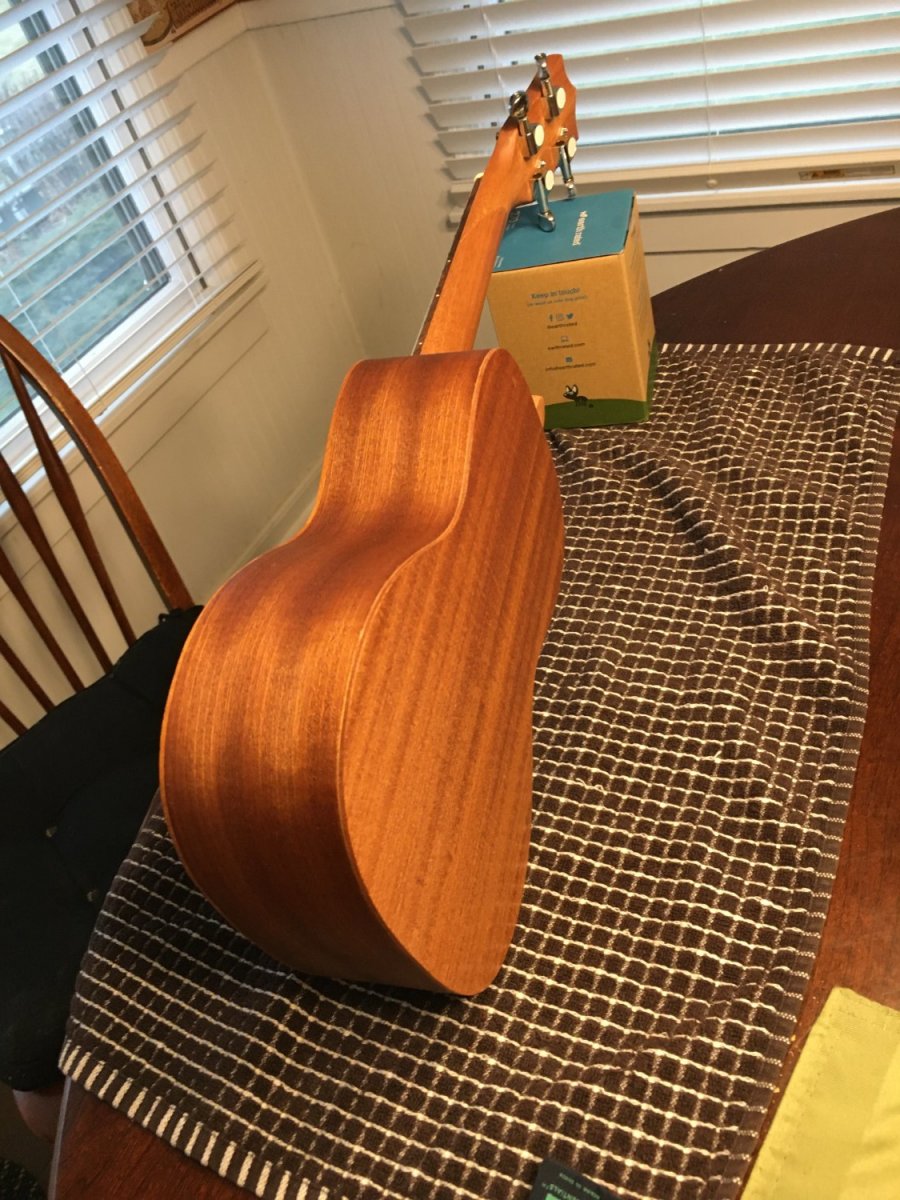
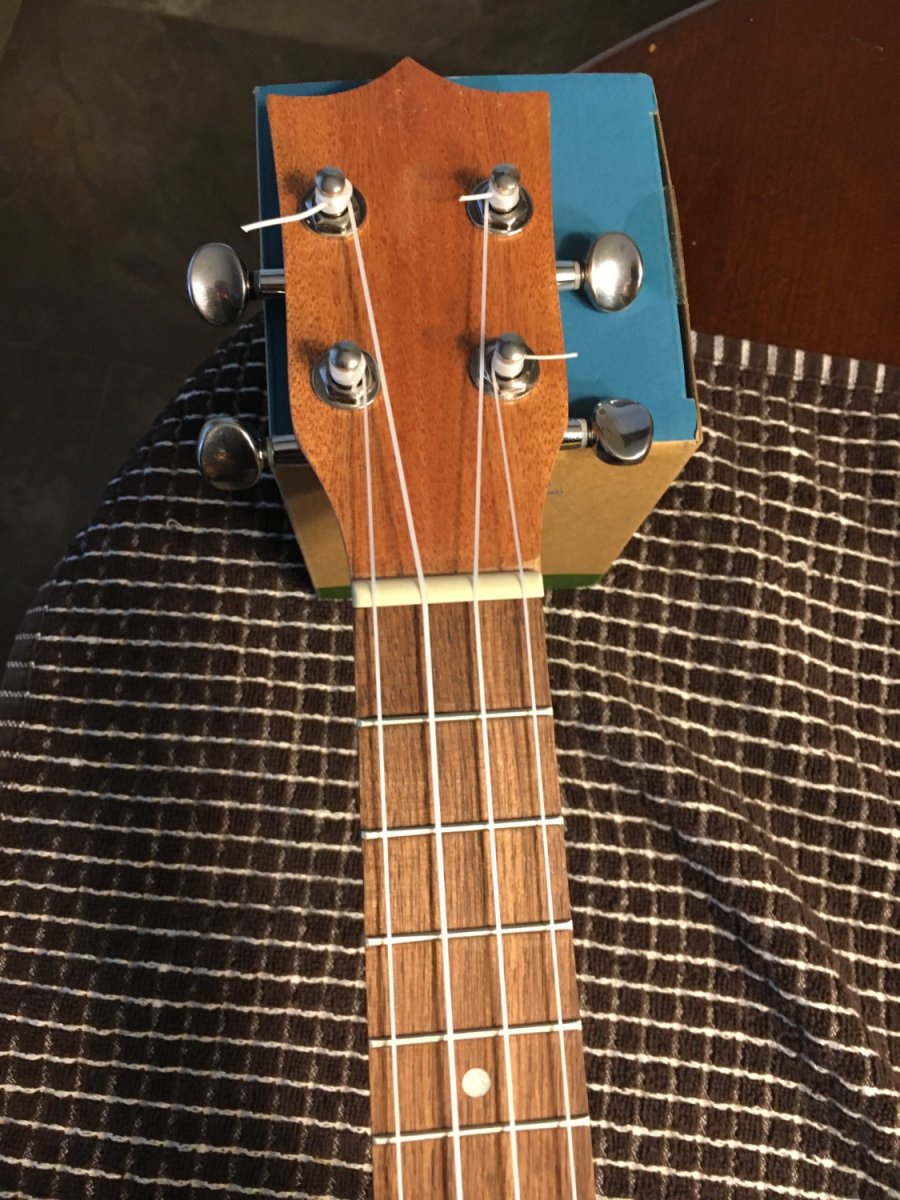
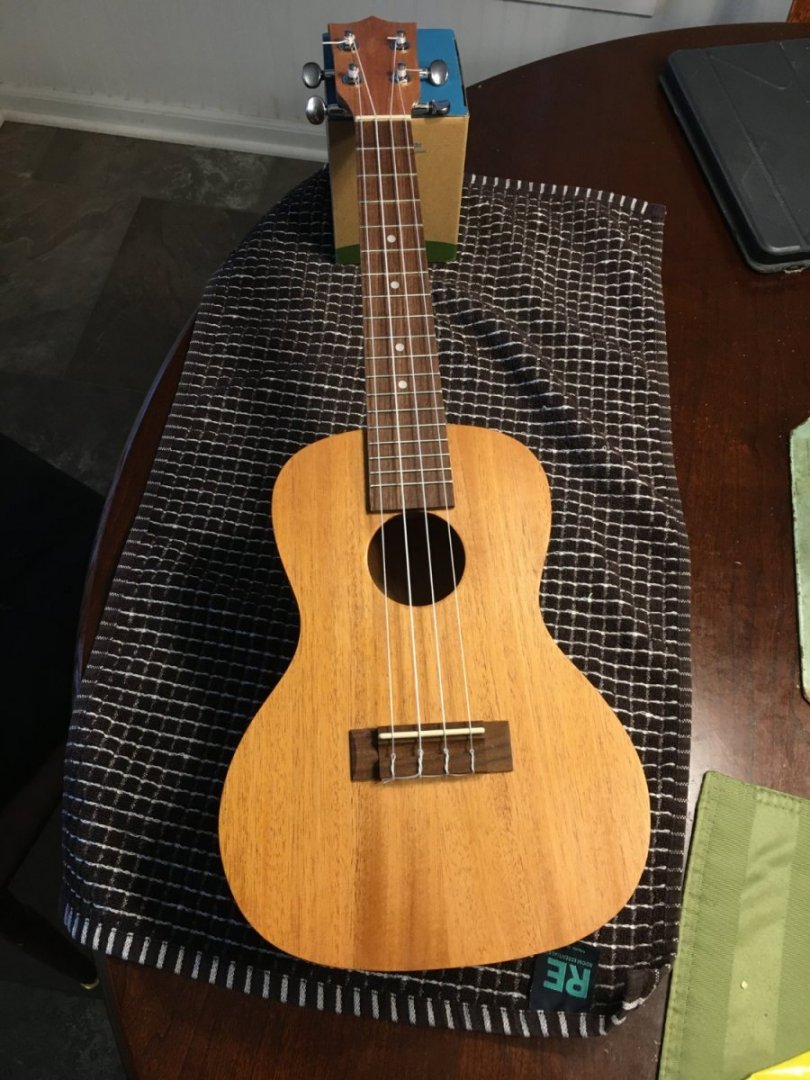
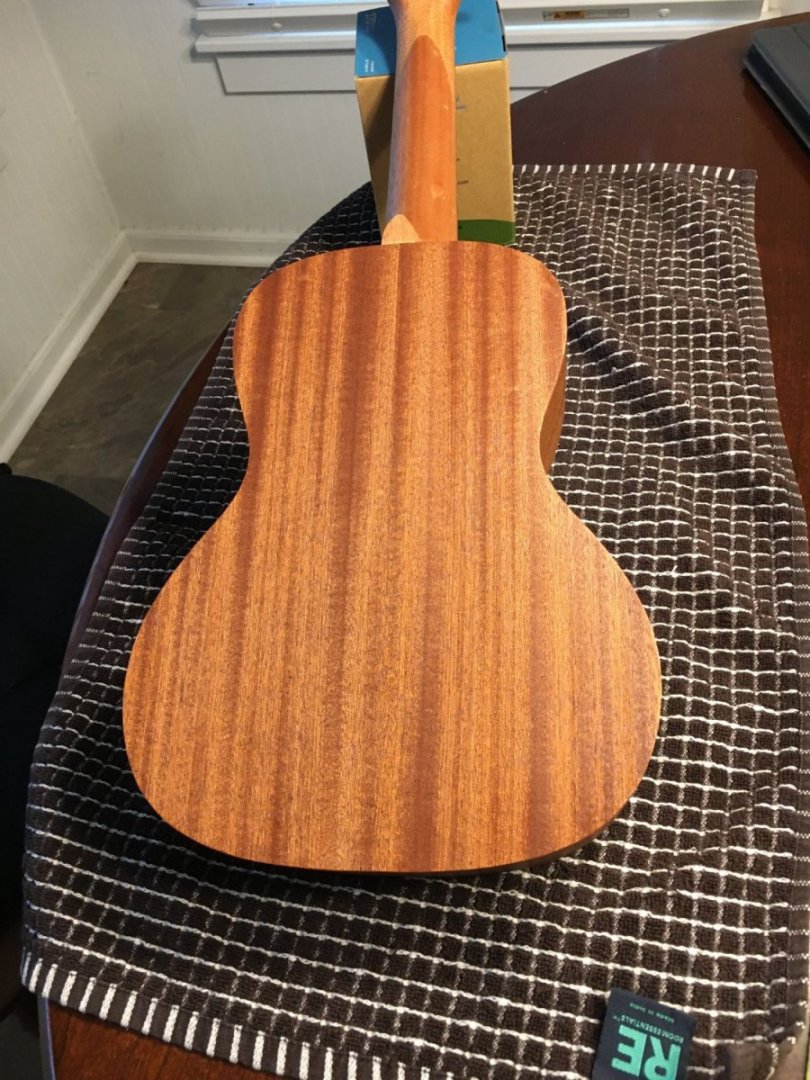
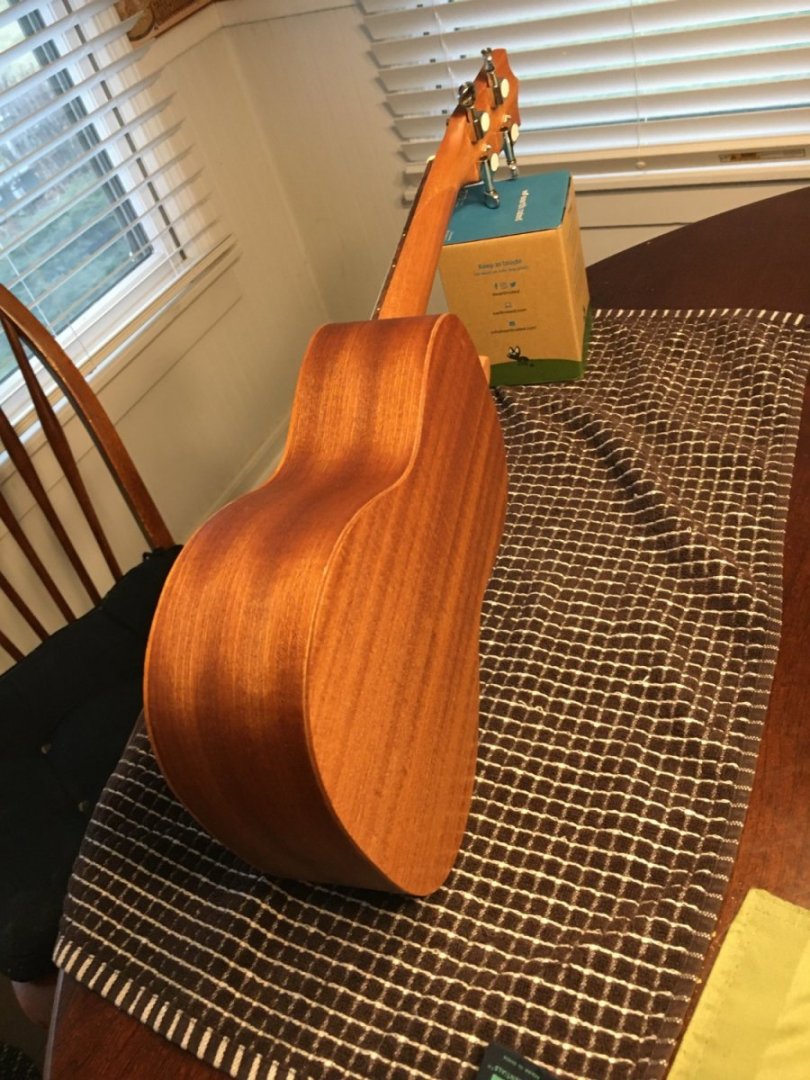
I highly recommend the MS New Bedford Whaleboat, my first build that got me hooked. I posted about it here. I took the opposite approach, after the ECB I wanted something a bit less challenging so I built a Ukulele. It was a fun project that only took about 2-3 weeks and actually sounds musical to my tin ears.

- 161 replies
-
- 4
-

-

-
- Model Shipways
- Emma C Berry
- (and 1 more)
-
Outstanding! A wonderful rendition.
-
Looks wonderful, great job!
-
So sorry to hear that. The only fault with most pets is that their lives are too short😟
-
Paper plates on the lap would work fine! No table needed.
-
Keep on keeping on Will! Interesting, my daughter -in-law is a forensic EE, fire and arson investigator. As a retired Firefighter we have some great conversations.
-
Looking great, I look forward to future posts!
-
Looking great Will! Good recovery from a bit of an error. I sometimes find solutions come to me overnight also.
-
Hopefully a transfusion will not be needed!
-
Model looks very nice! Good job.
-
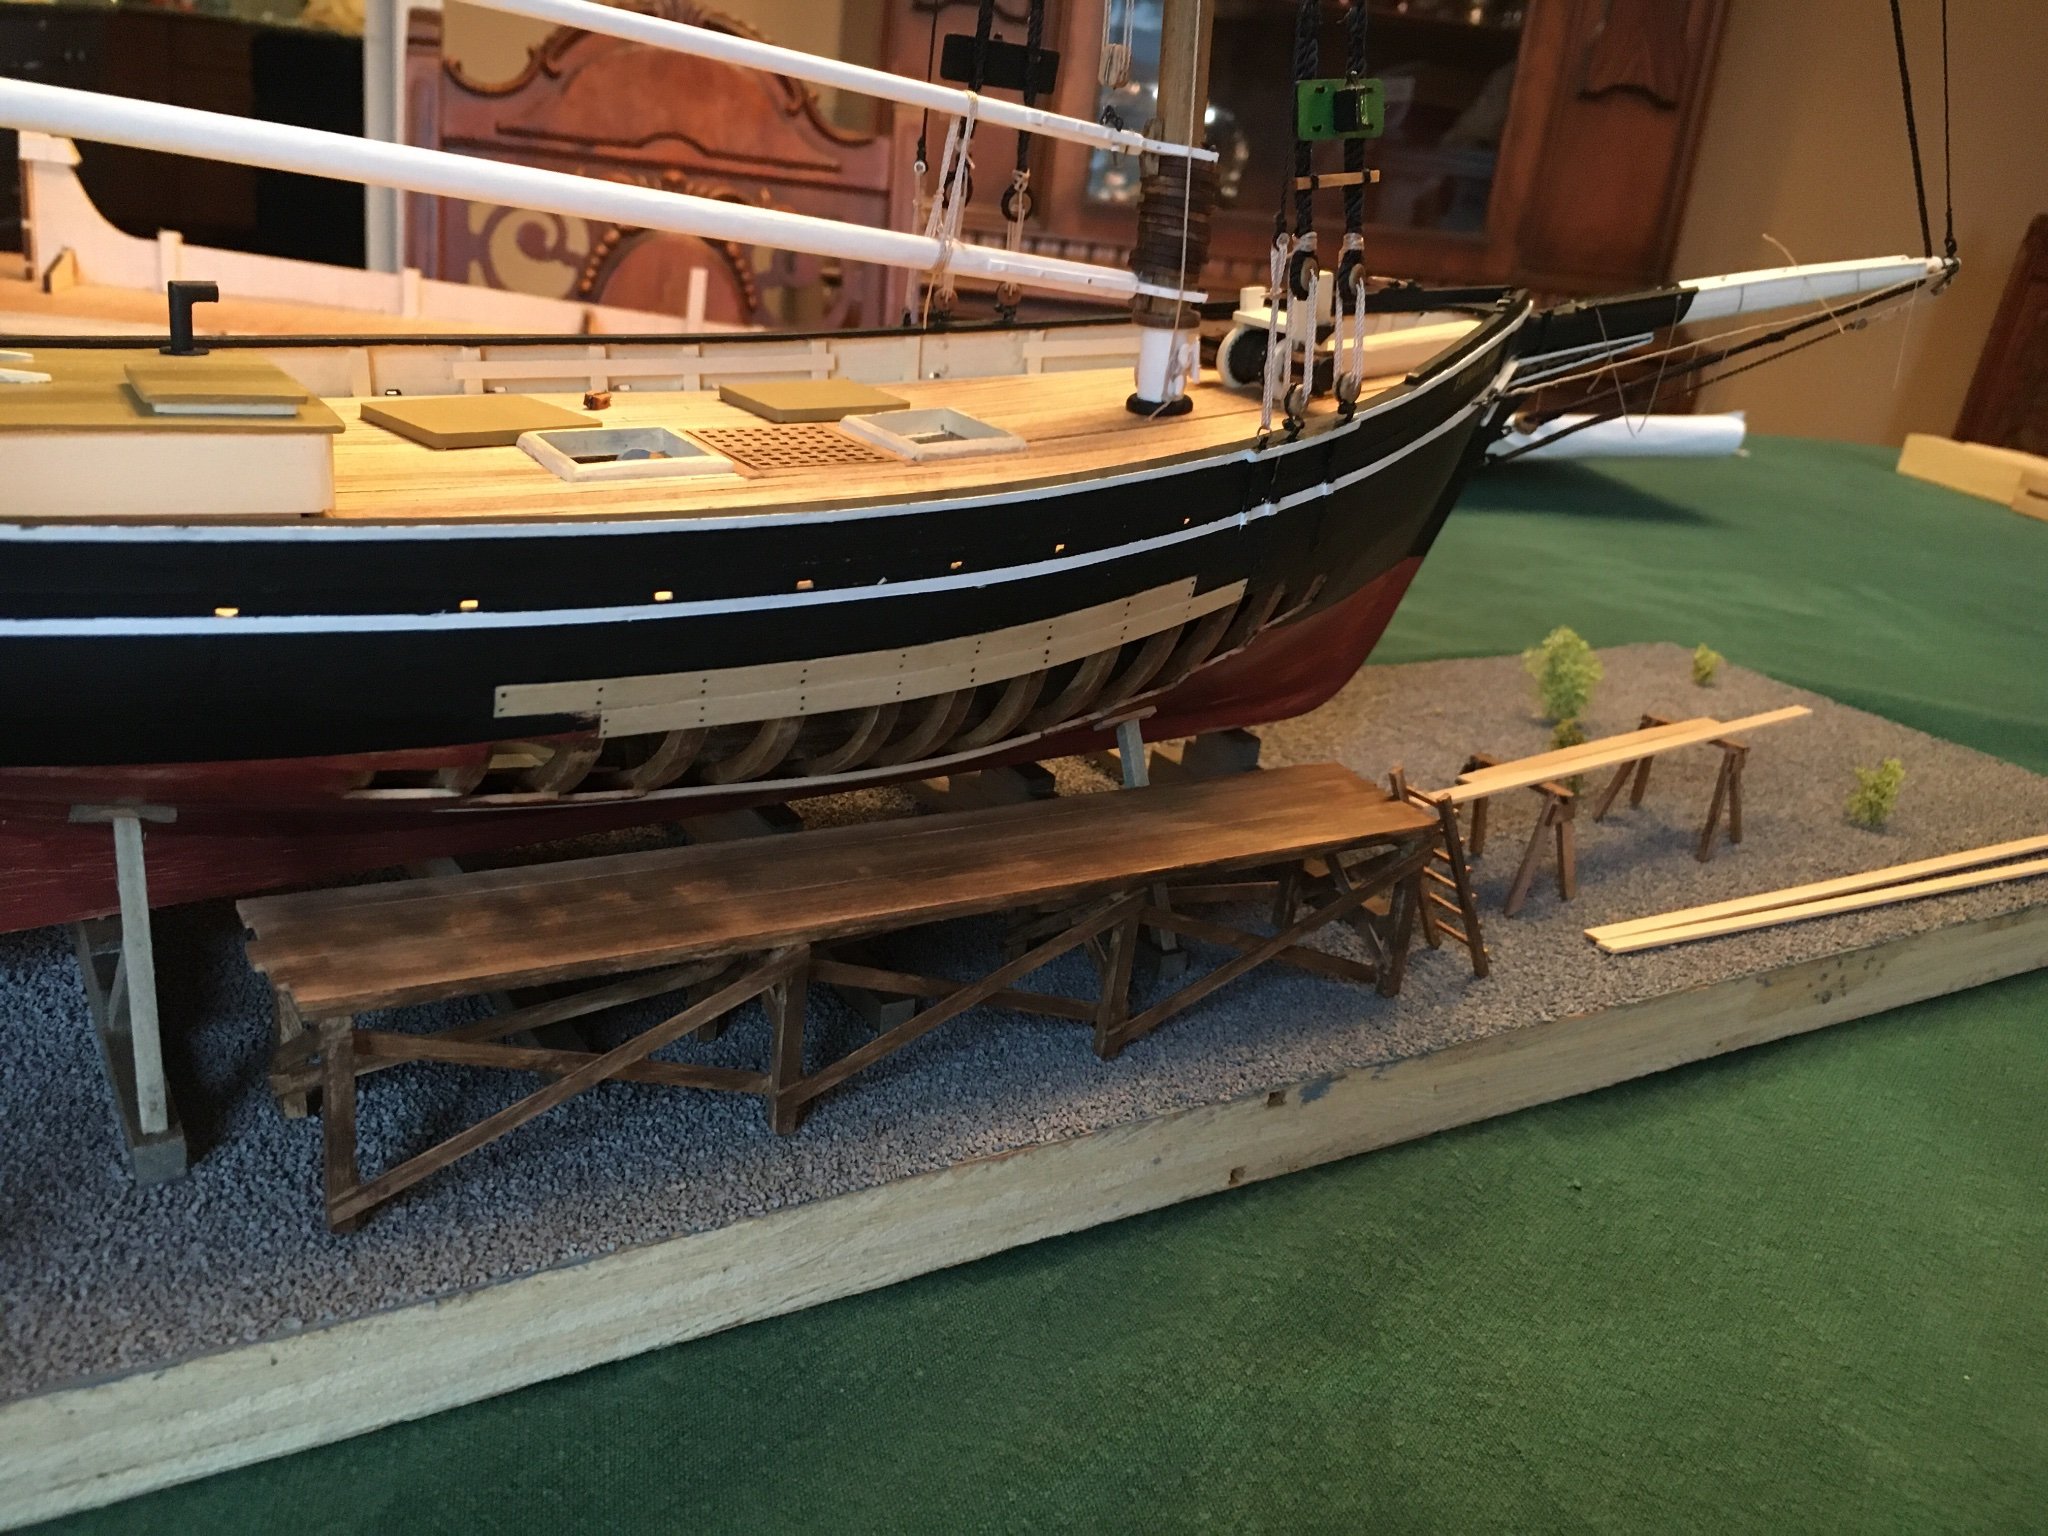
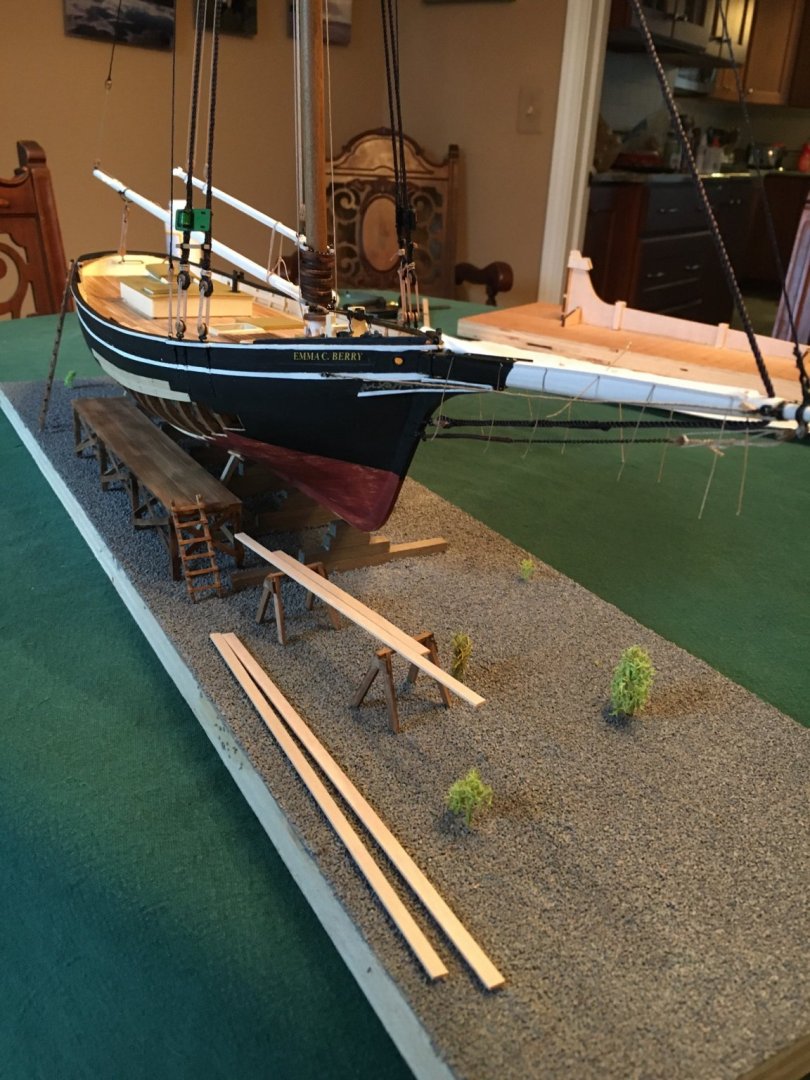
Thanks yvesvidal for kind comments. I actually cut some 4x4 bits already and was waiting for the weathering to dry so didn’t include them in the photos, too impatient sometimes!
-
Posting Problems
turangi replied to turangi's topic in How to use the MSW forum - **NO MODELING CONTENT**
Thanks! An update: I posted the text and photos in separate posts and it worked. -
Pictures, for some reason they wouldn't load into the previous post.


-
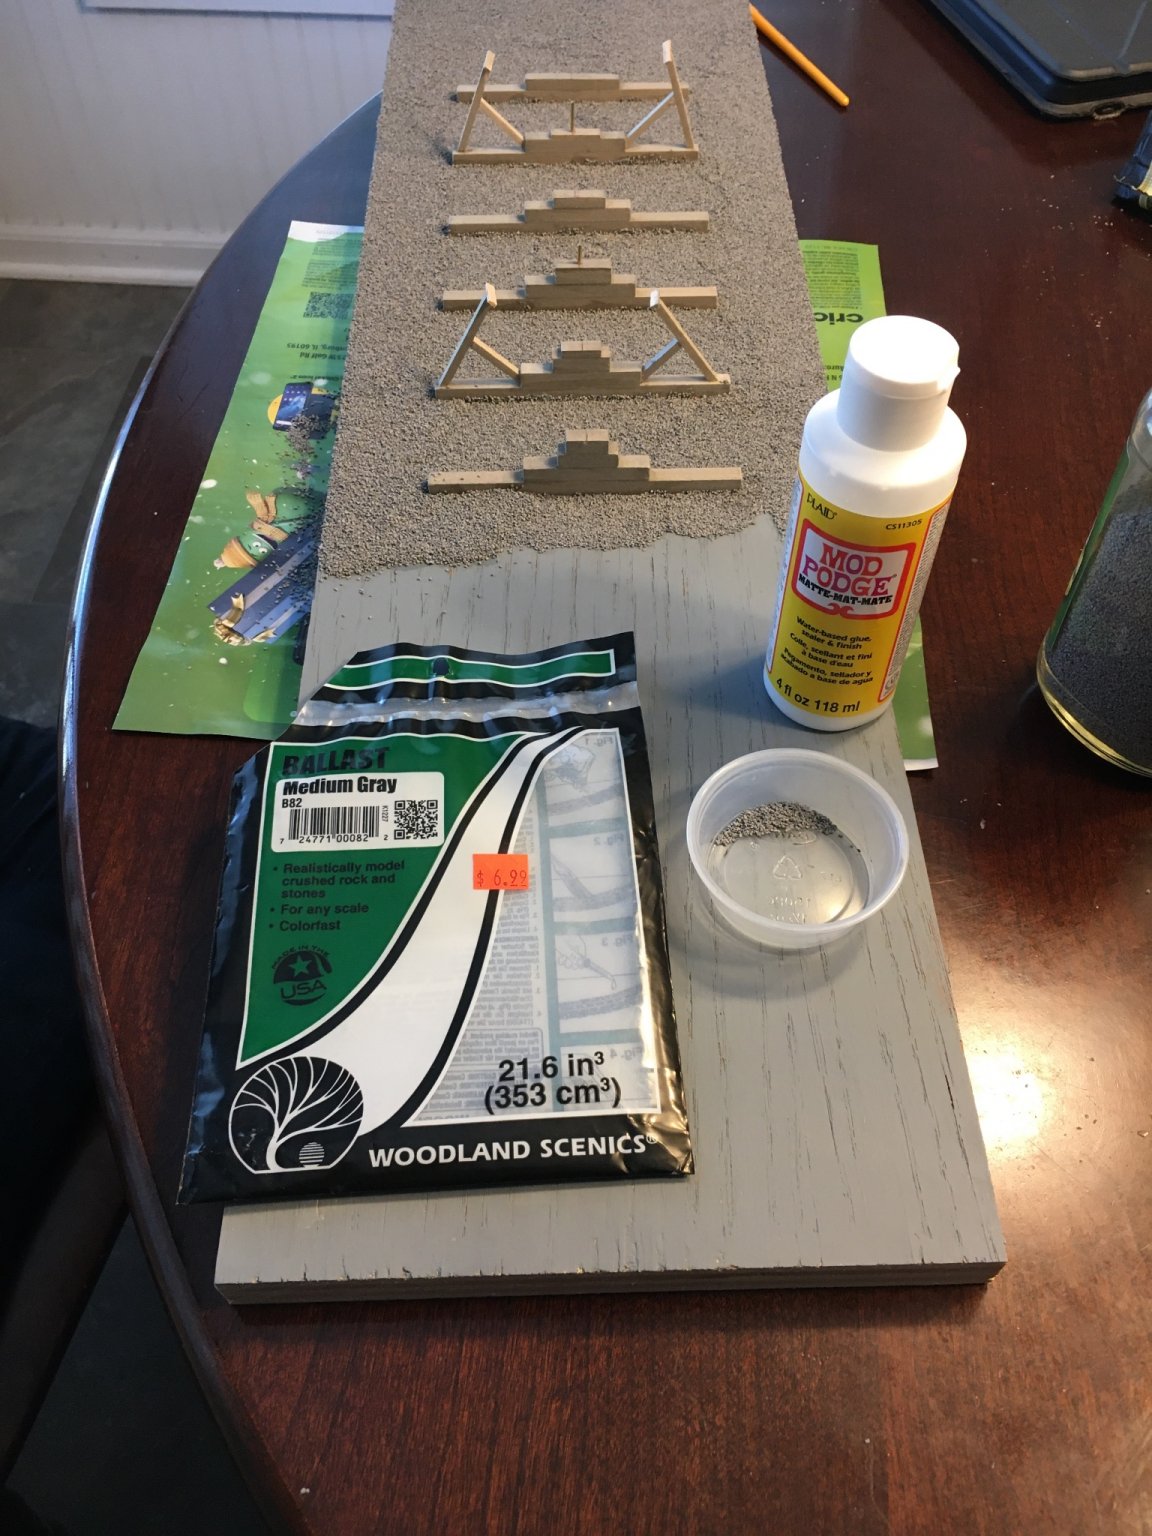
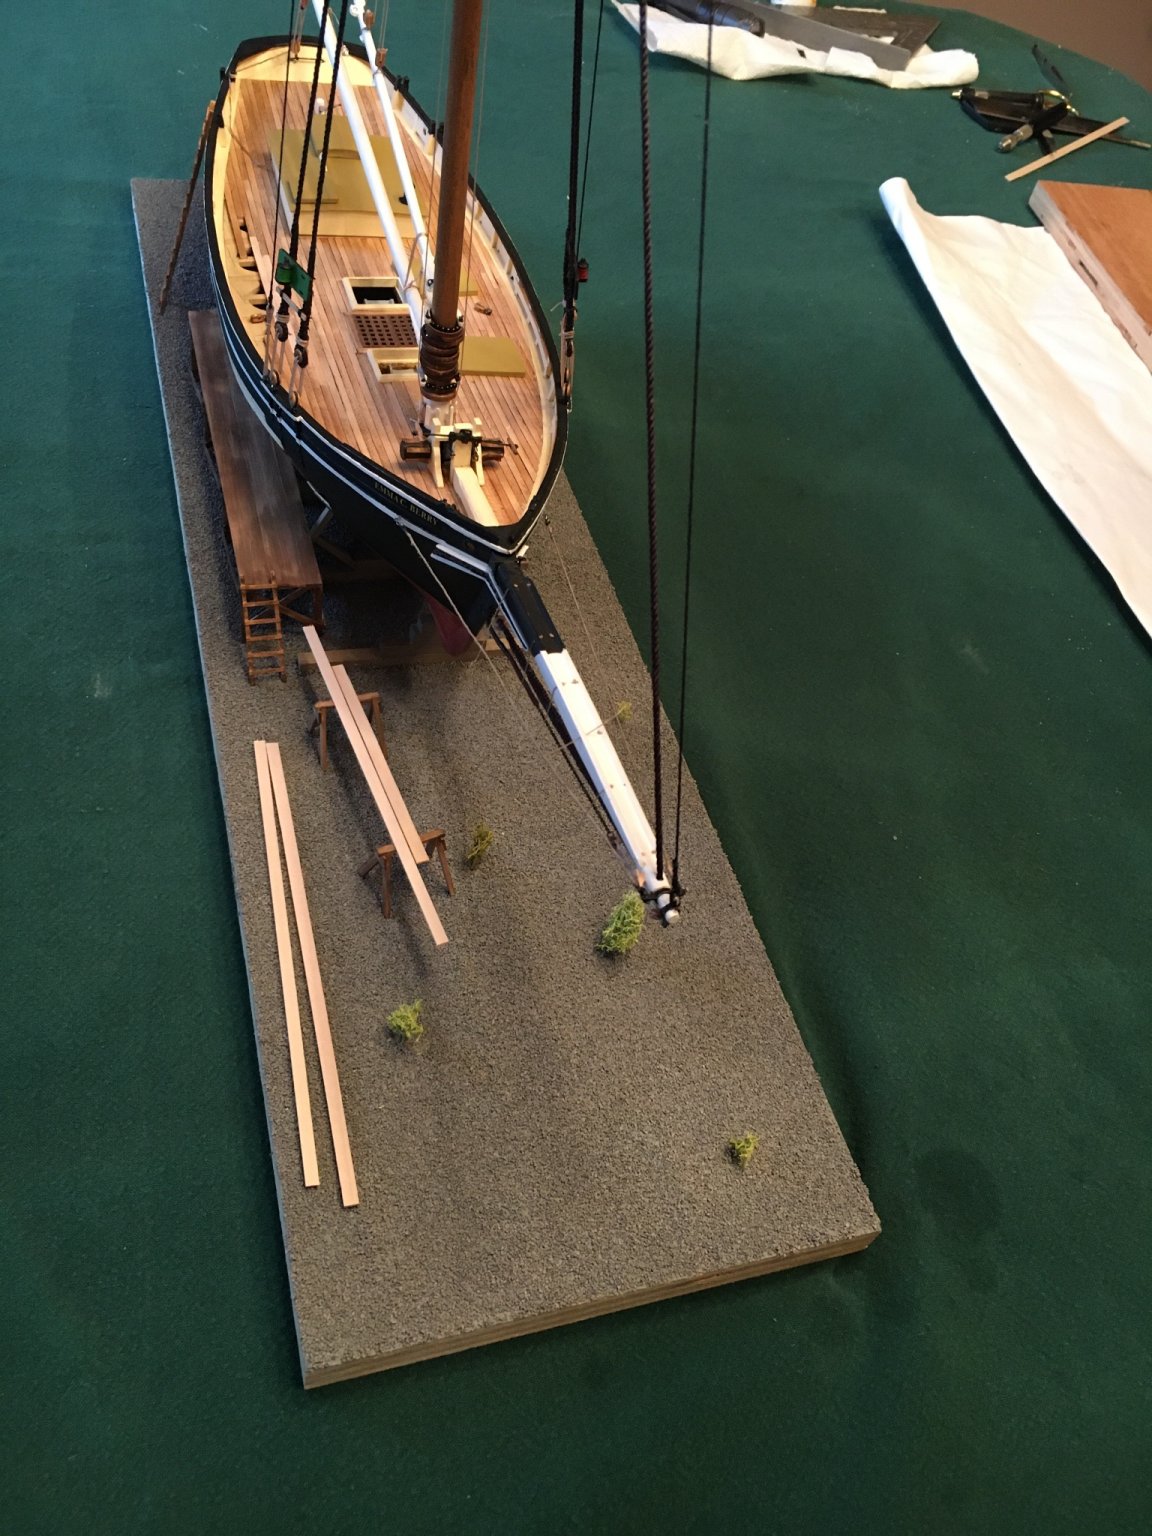
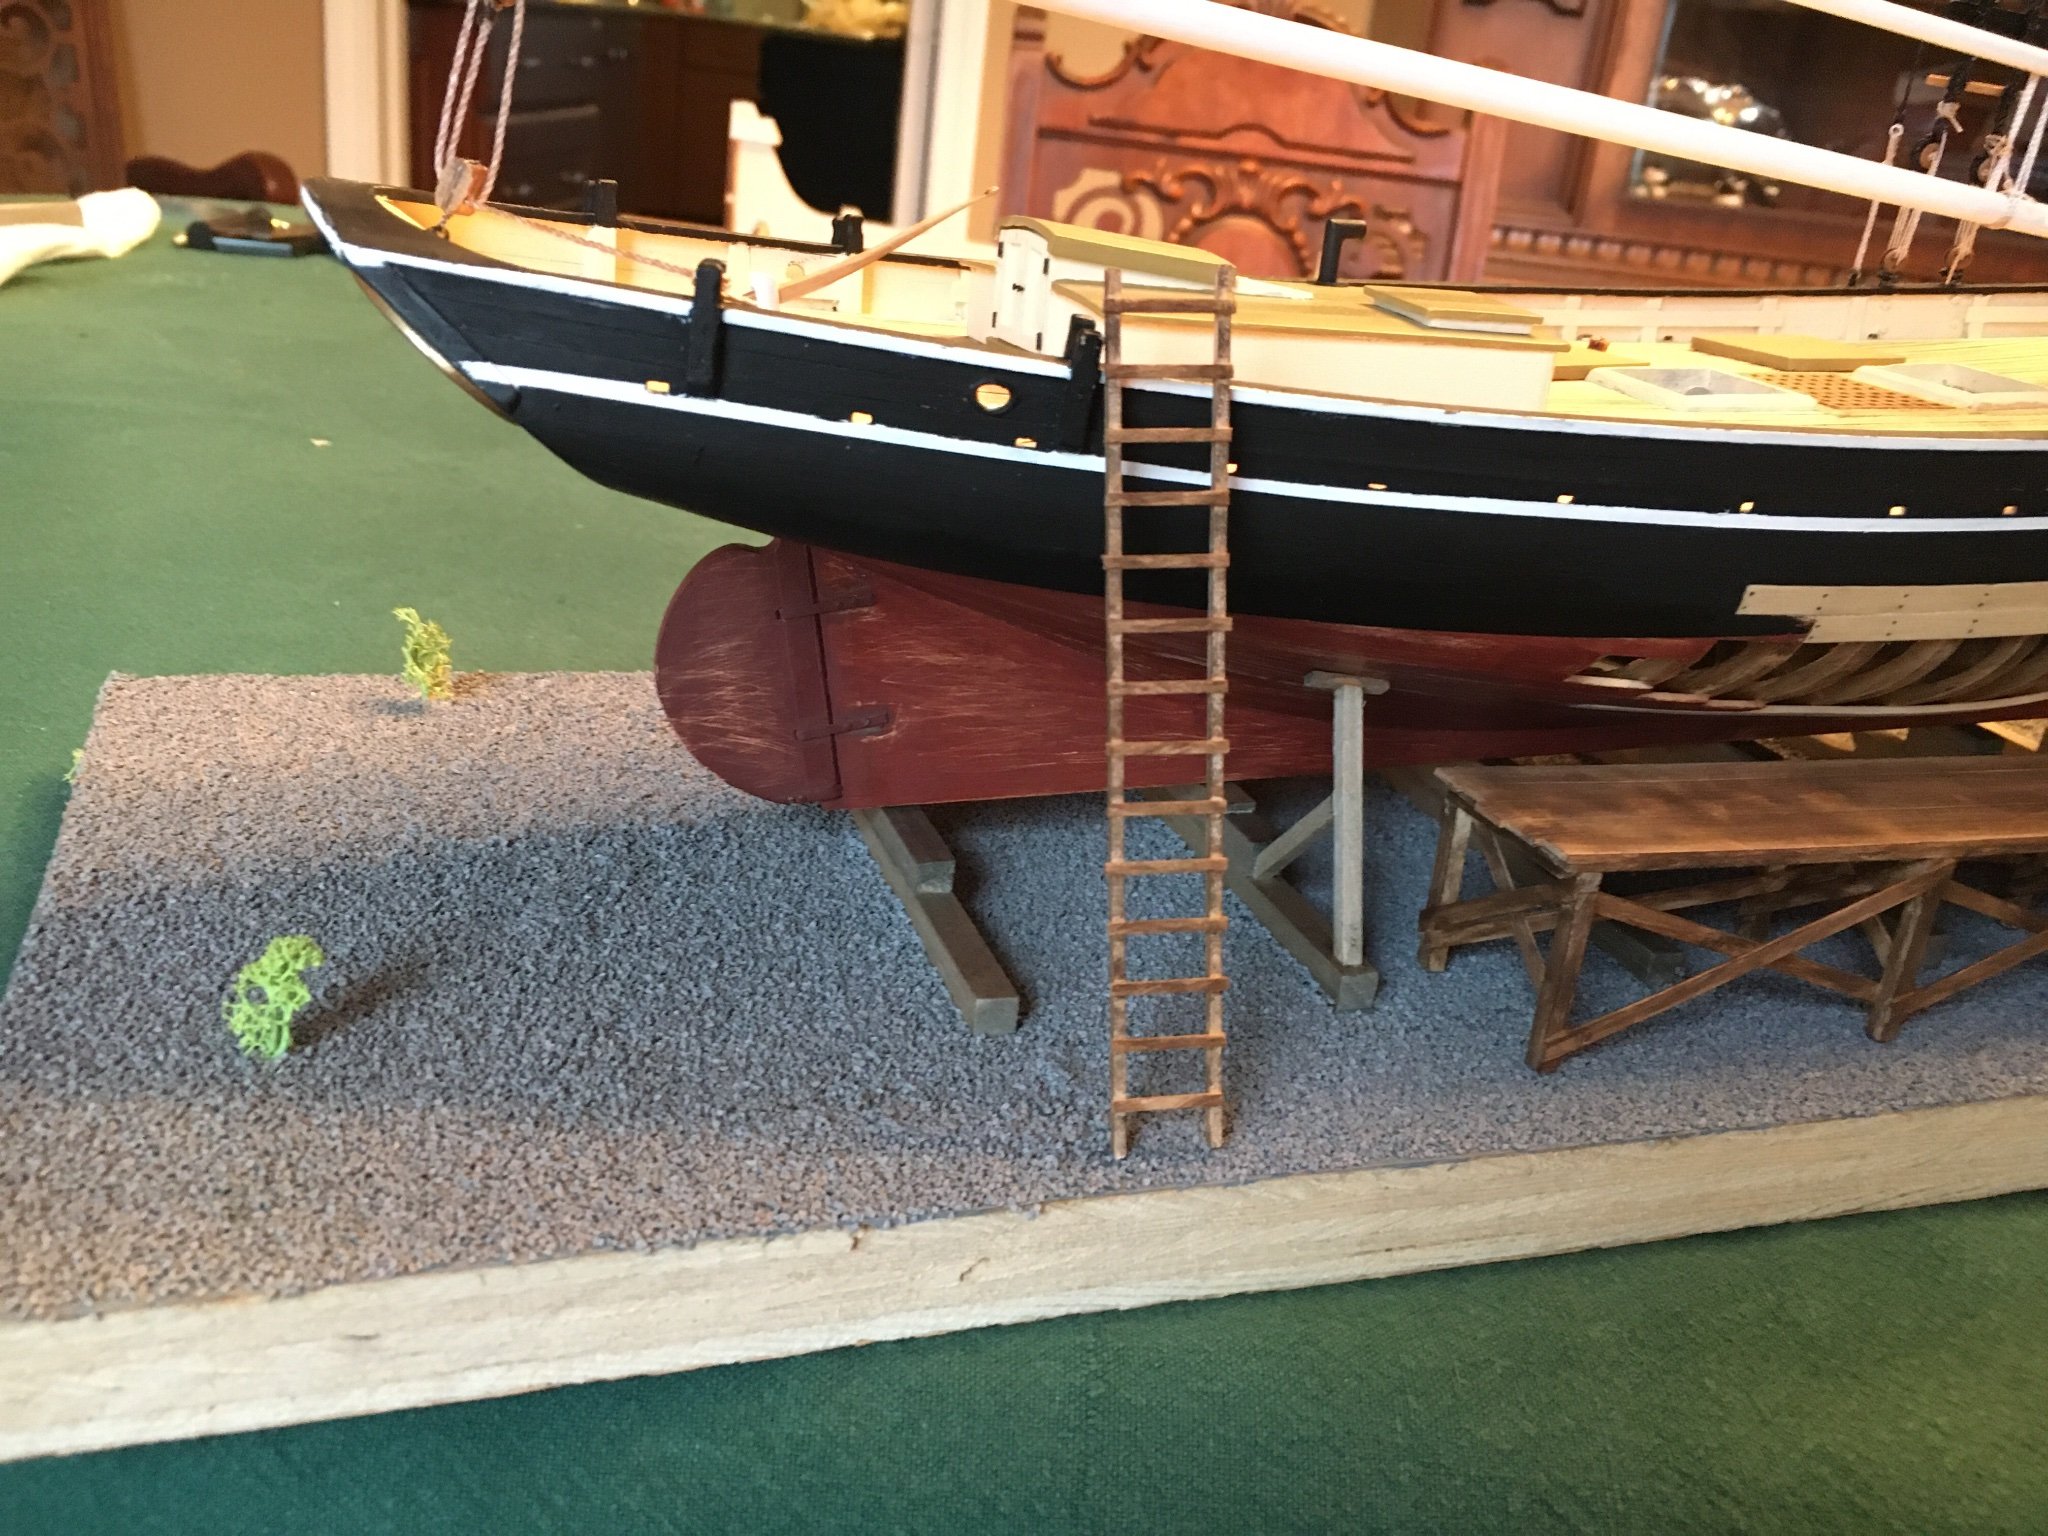
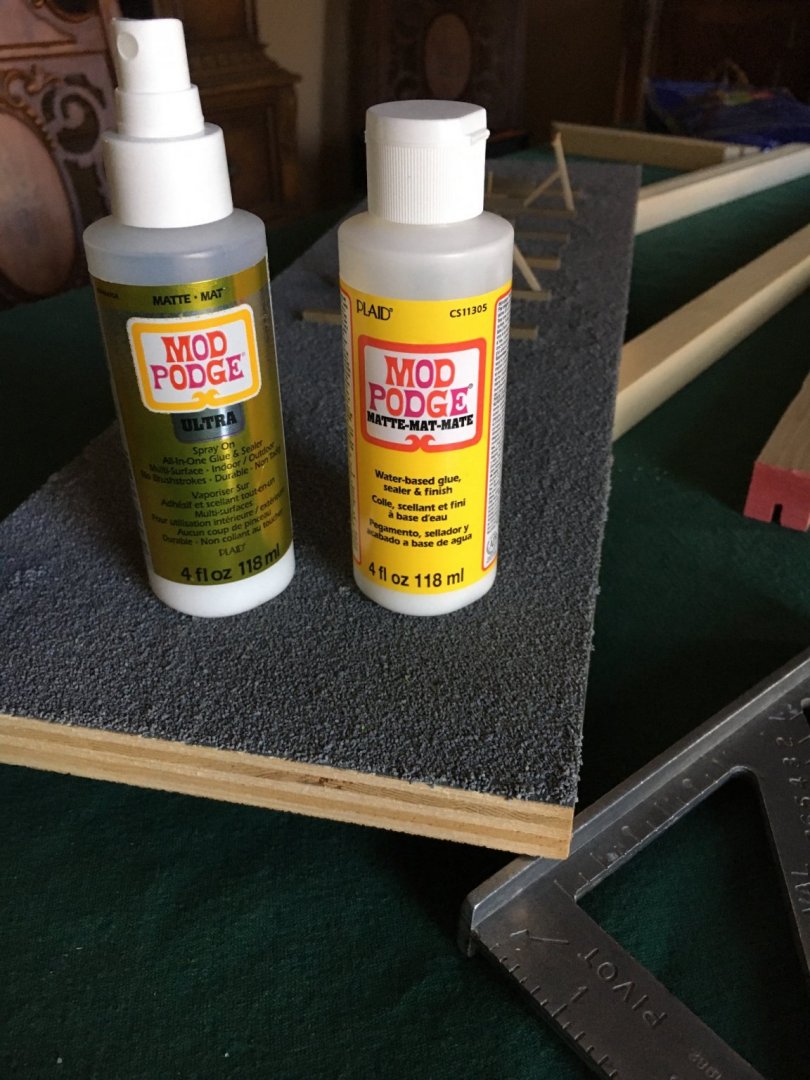
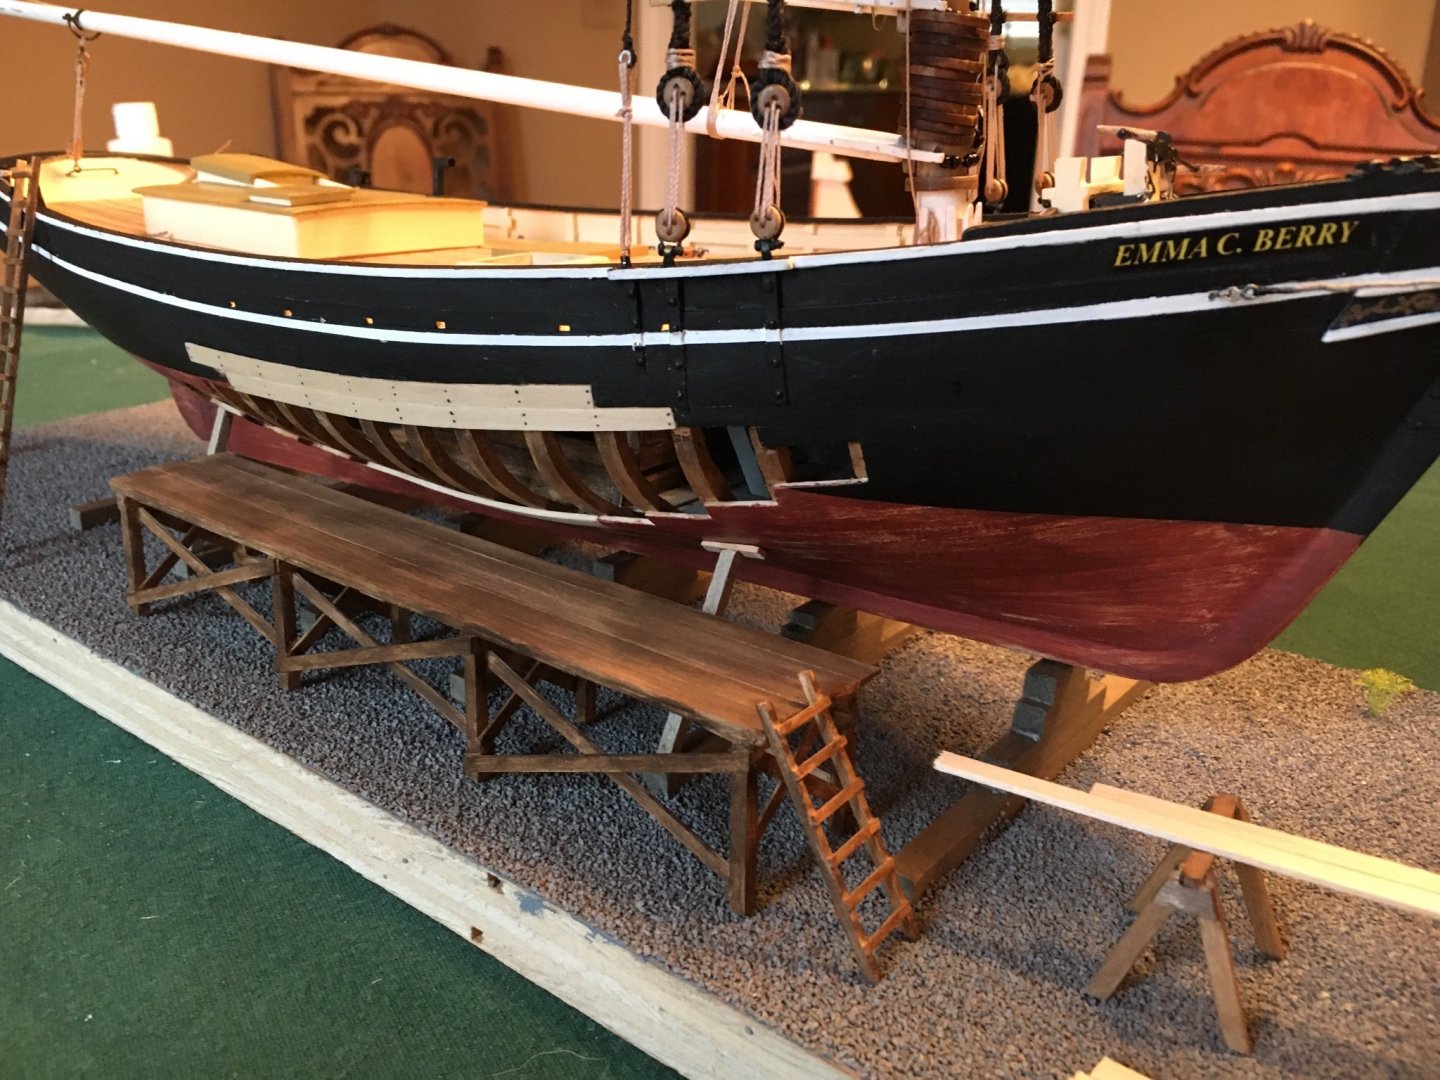
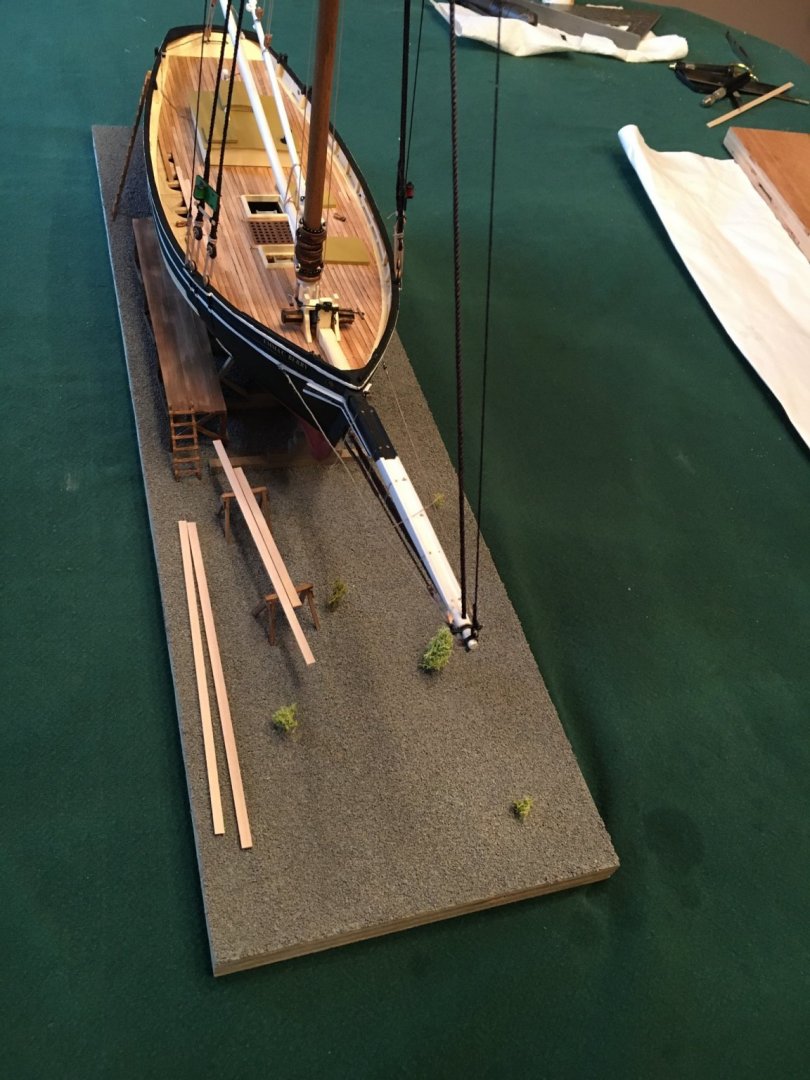
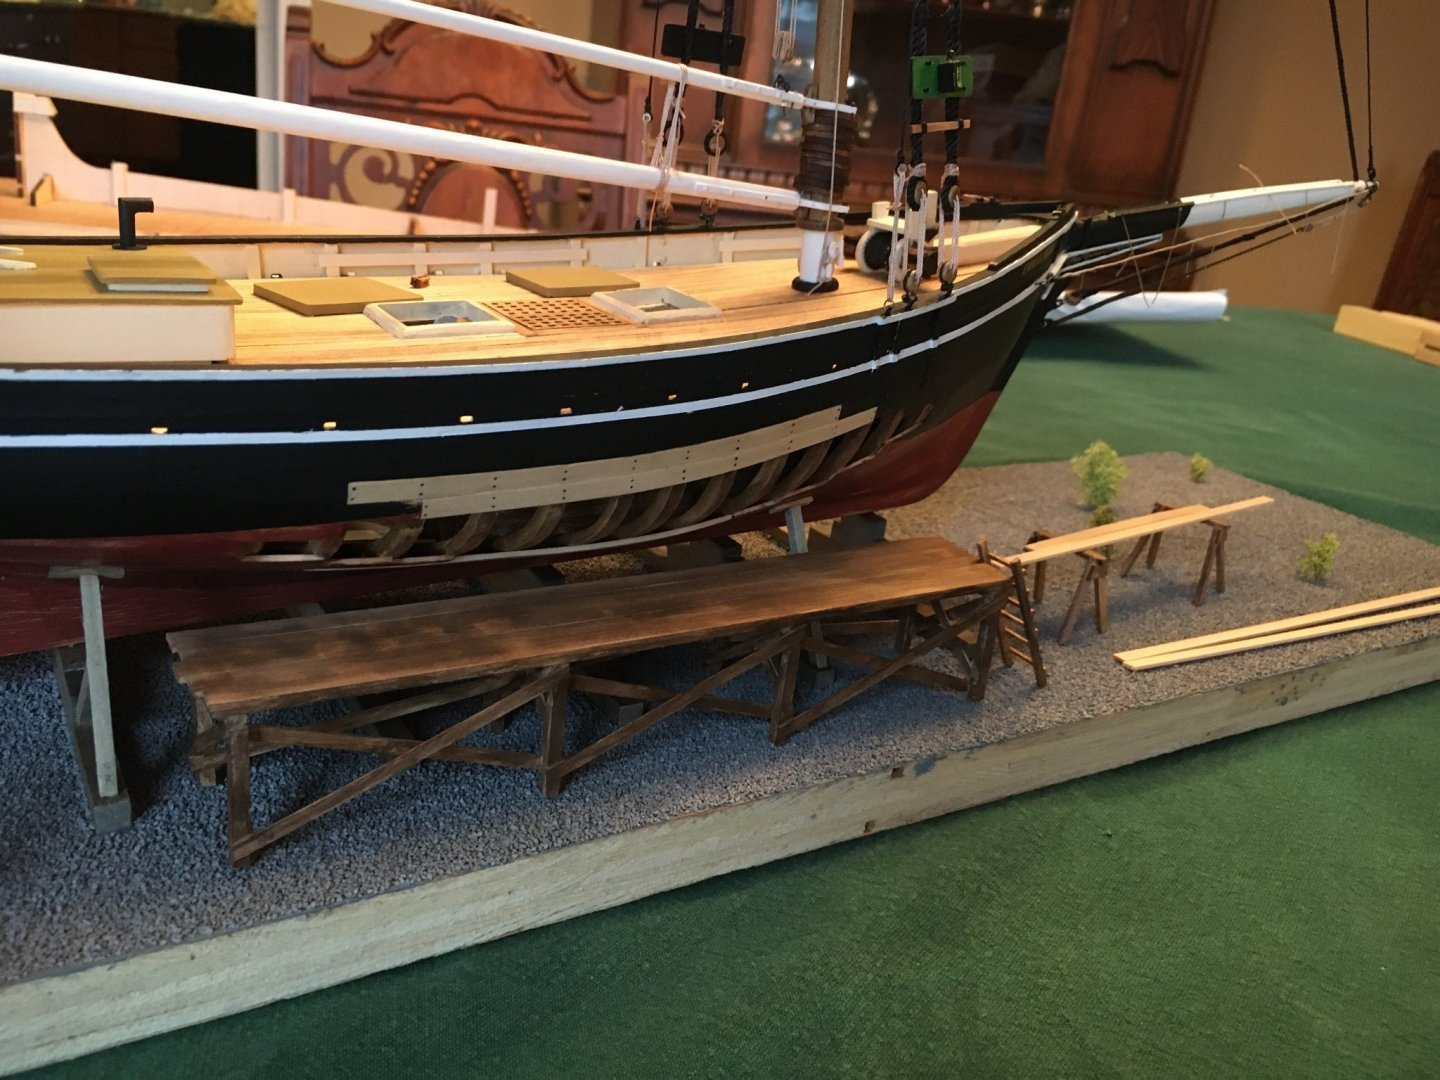
Another update. I was essentially done with hull construction to turned my attention to building a permanent base. I cut a piece of plywood, built the ways as stacked timbers I chemically aged to to look weathered, added two brass pins that insert into the hull and made some hull supports. I am very pleased as it seems very stable and strong. Next I wanted to lay down a simulated gravel base and used model railroad ballast material. I made a small test area and found a few problems. I initially used a product called "Tacky Glue" spread on the wood base and found that any open area in the gravel showed as raw wood, the glue is so thick it was almost impossible to spread and it dried very glossy. So I painted the base grey, found a product called "Mod Podge" that is available in either glossy or matte when dry and very easy to spread. I spread an area, applied the gravel, let it sit a while and then tipped the board to dump any excess. If a bare spot was found I applied a bit more adhesive with a small brush and sprinkled a bit more gravel. Worked like a champ! Mod Podge also offers a spray bottle of the adhesive in matte or gloss so I applied a couple of coats to lock the gravel in place. I then drilled a few holes to insert simulated foliage made from Moss, very satisfied. Now the bad news. I intended to build a case to closely fit around the base and while taking the included pictures noticed the boom extends beyond the base! Didn't see the forest for the trees☹️. So some base extension work is in my future.
-
I have attempted to post a couple of times and receive this message. Any help appreciated! Access Denied - Sucuri Website Firewall If you are the site owner (or you manage this site), please whitelist your IP or if you think this block is an error please open a support ticket and make sure to include the block details (displayed in the box below), so we can assist you in troubleshooting the issue. Block details: Your IP: 73.211.250.84 URL: modelshipworld.com/topic/25110-emma-c-berry-by-turangi-model-shipways-132/page/4/?failedReply=1 Your Browser: Mozilla/5.0 (Windows NT 10.0; Win64; x64) AppleWebKit/537.36 (KHTML, like Gecko) Chrome/96.0.4664.45 Safari/537.36 Block ID: SQLi17 Block reason: SQL injection was detected and blocked. Time: 2021-12-01 20:49:09 Server ID: 20006