Der Alte Rentner
-
Posts
1,025 -
Joined
-
Last visited
Content Type
Profiles
Forums
Gallery
Events
Everything posted by Der Alte Rentner
-

USS Constitution by mtbediz - 1:76
Der Alte Rentner replied to mtbediz's topic in - Build logs for subjects built 1751 - 1800
I couldn't have said it better myself, Gregg. Yes Mustafa, it looks like a simple Ogee bit would get you the result you're aiming for. The question is can you get one in that size? I assume that you have a router table with a fence.. -
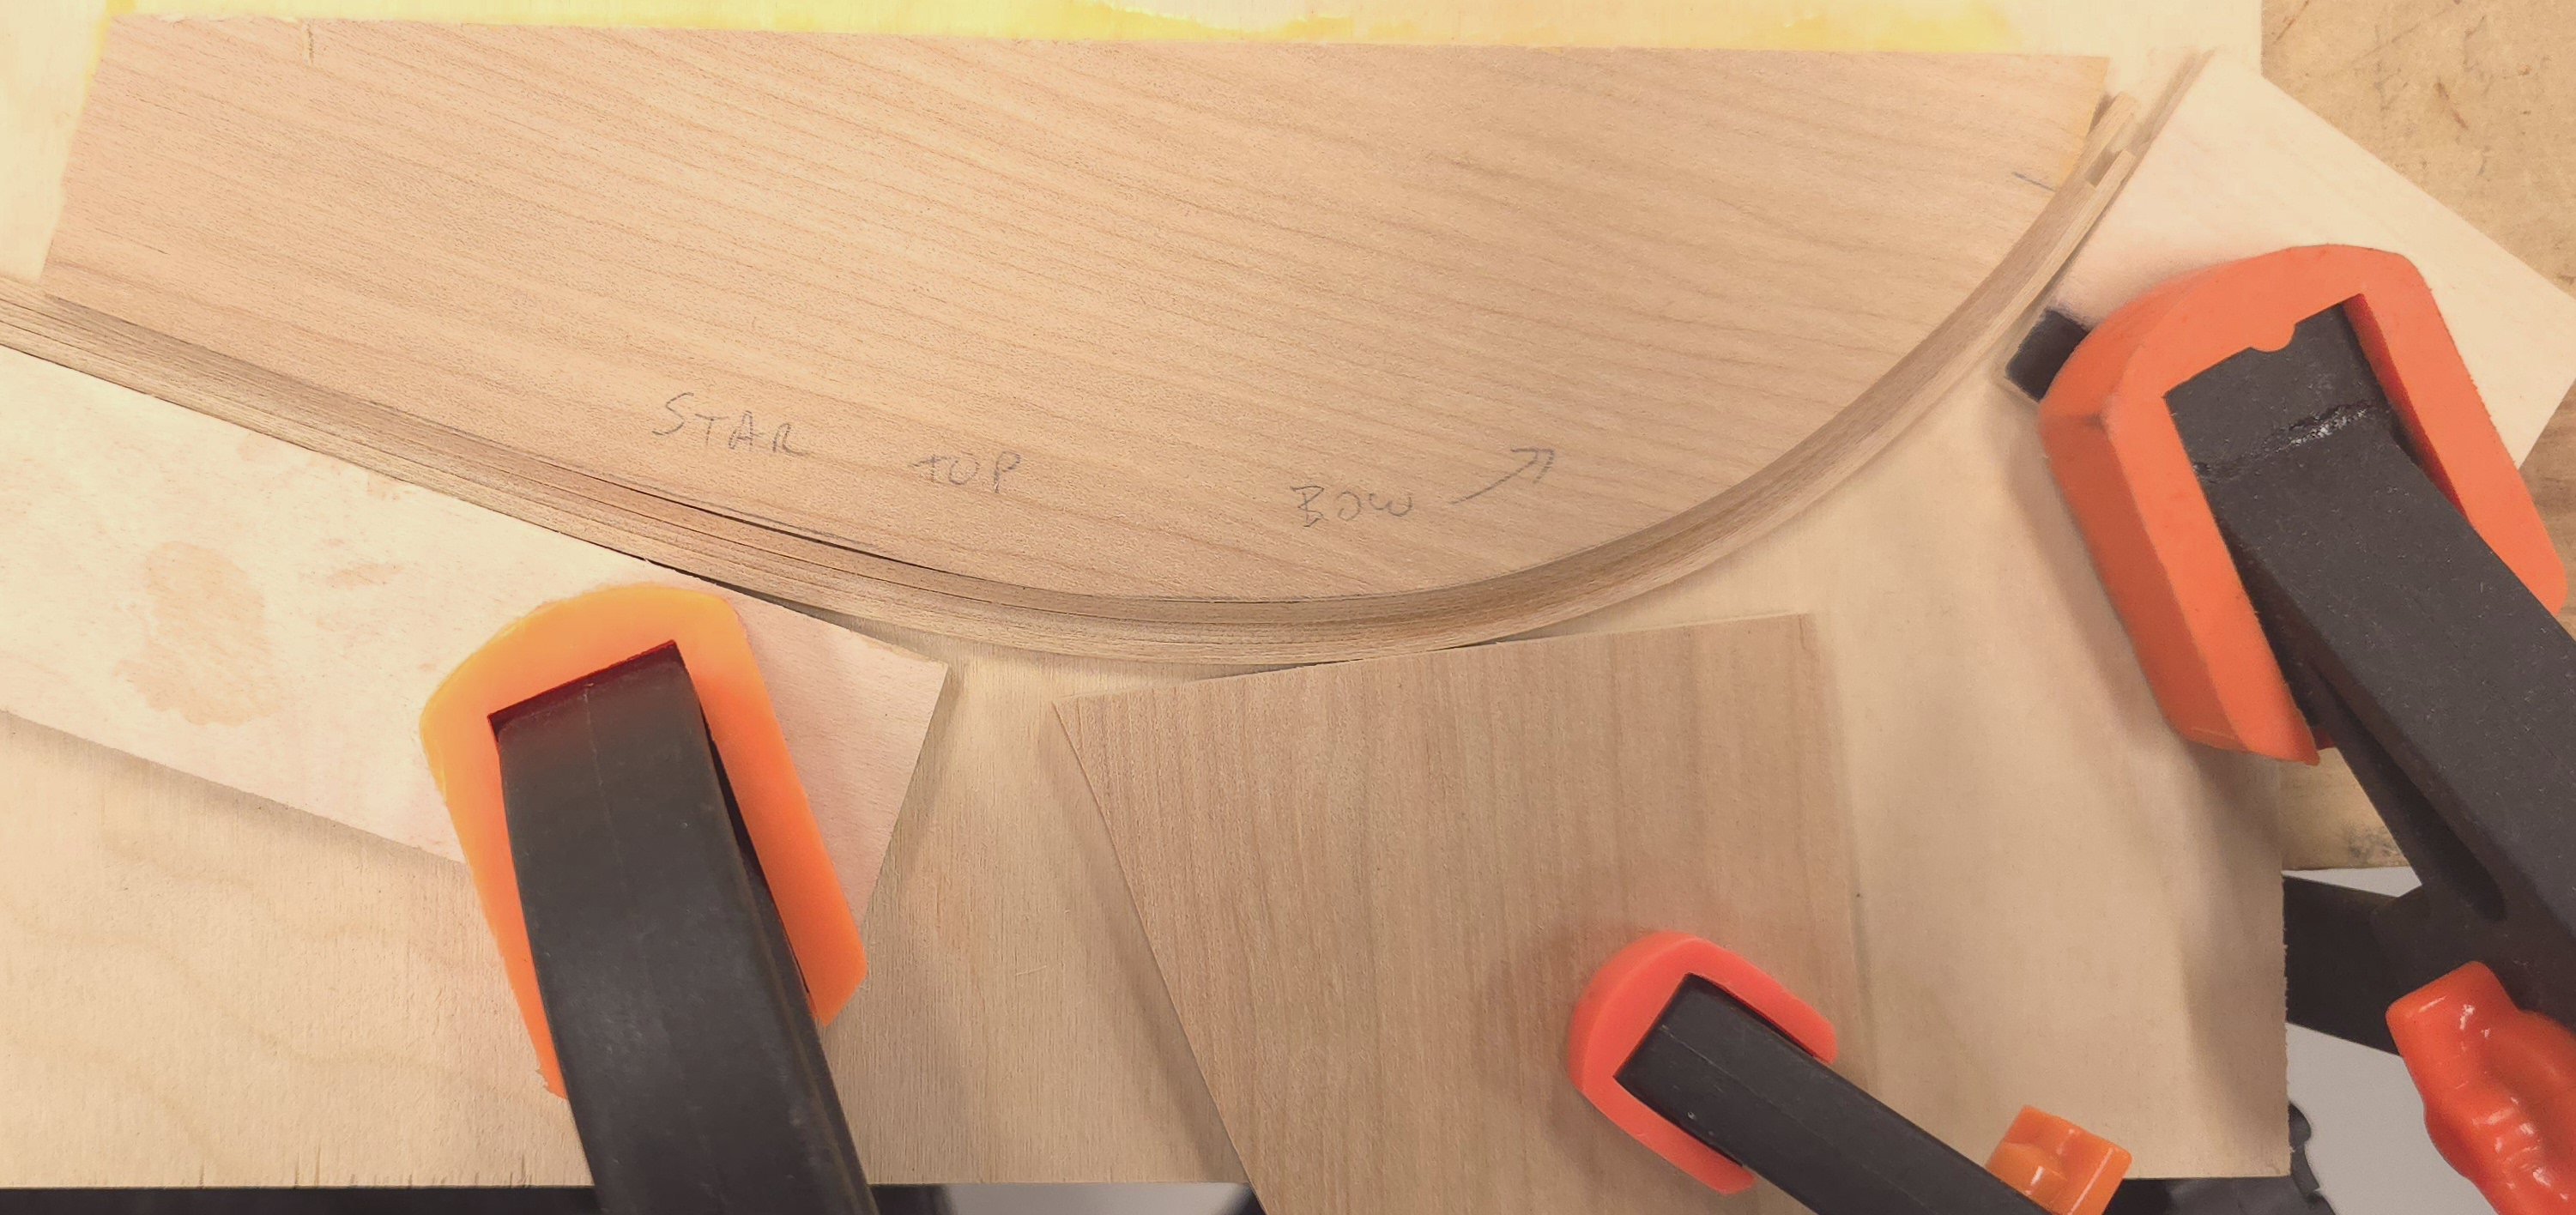
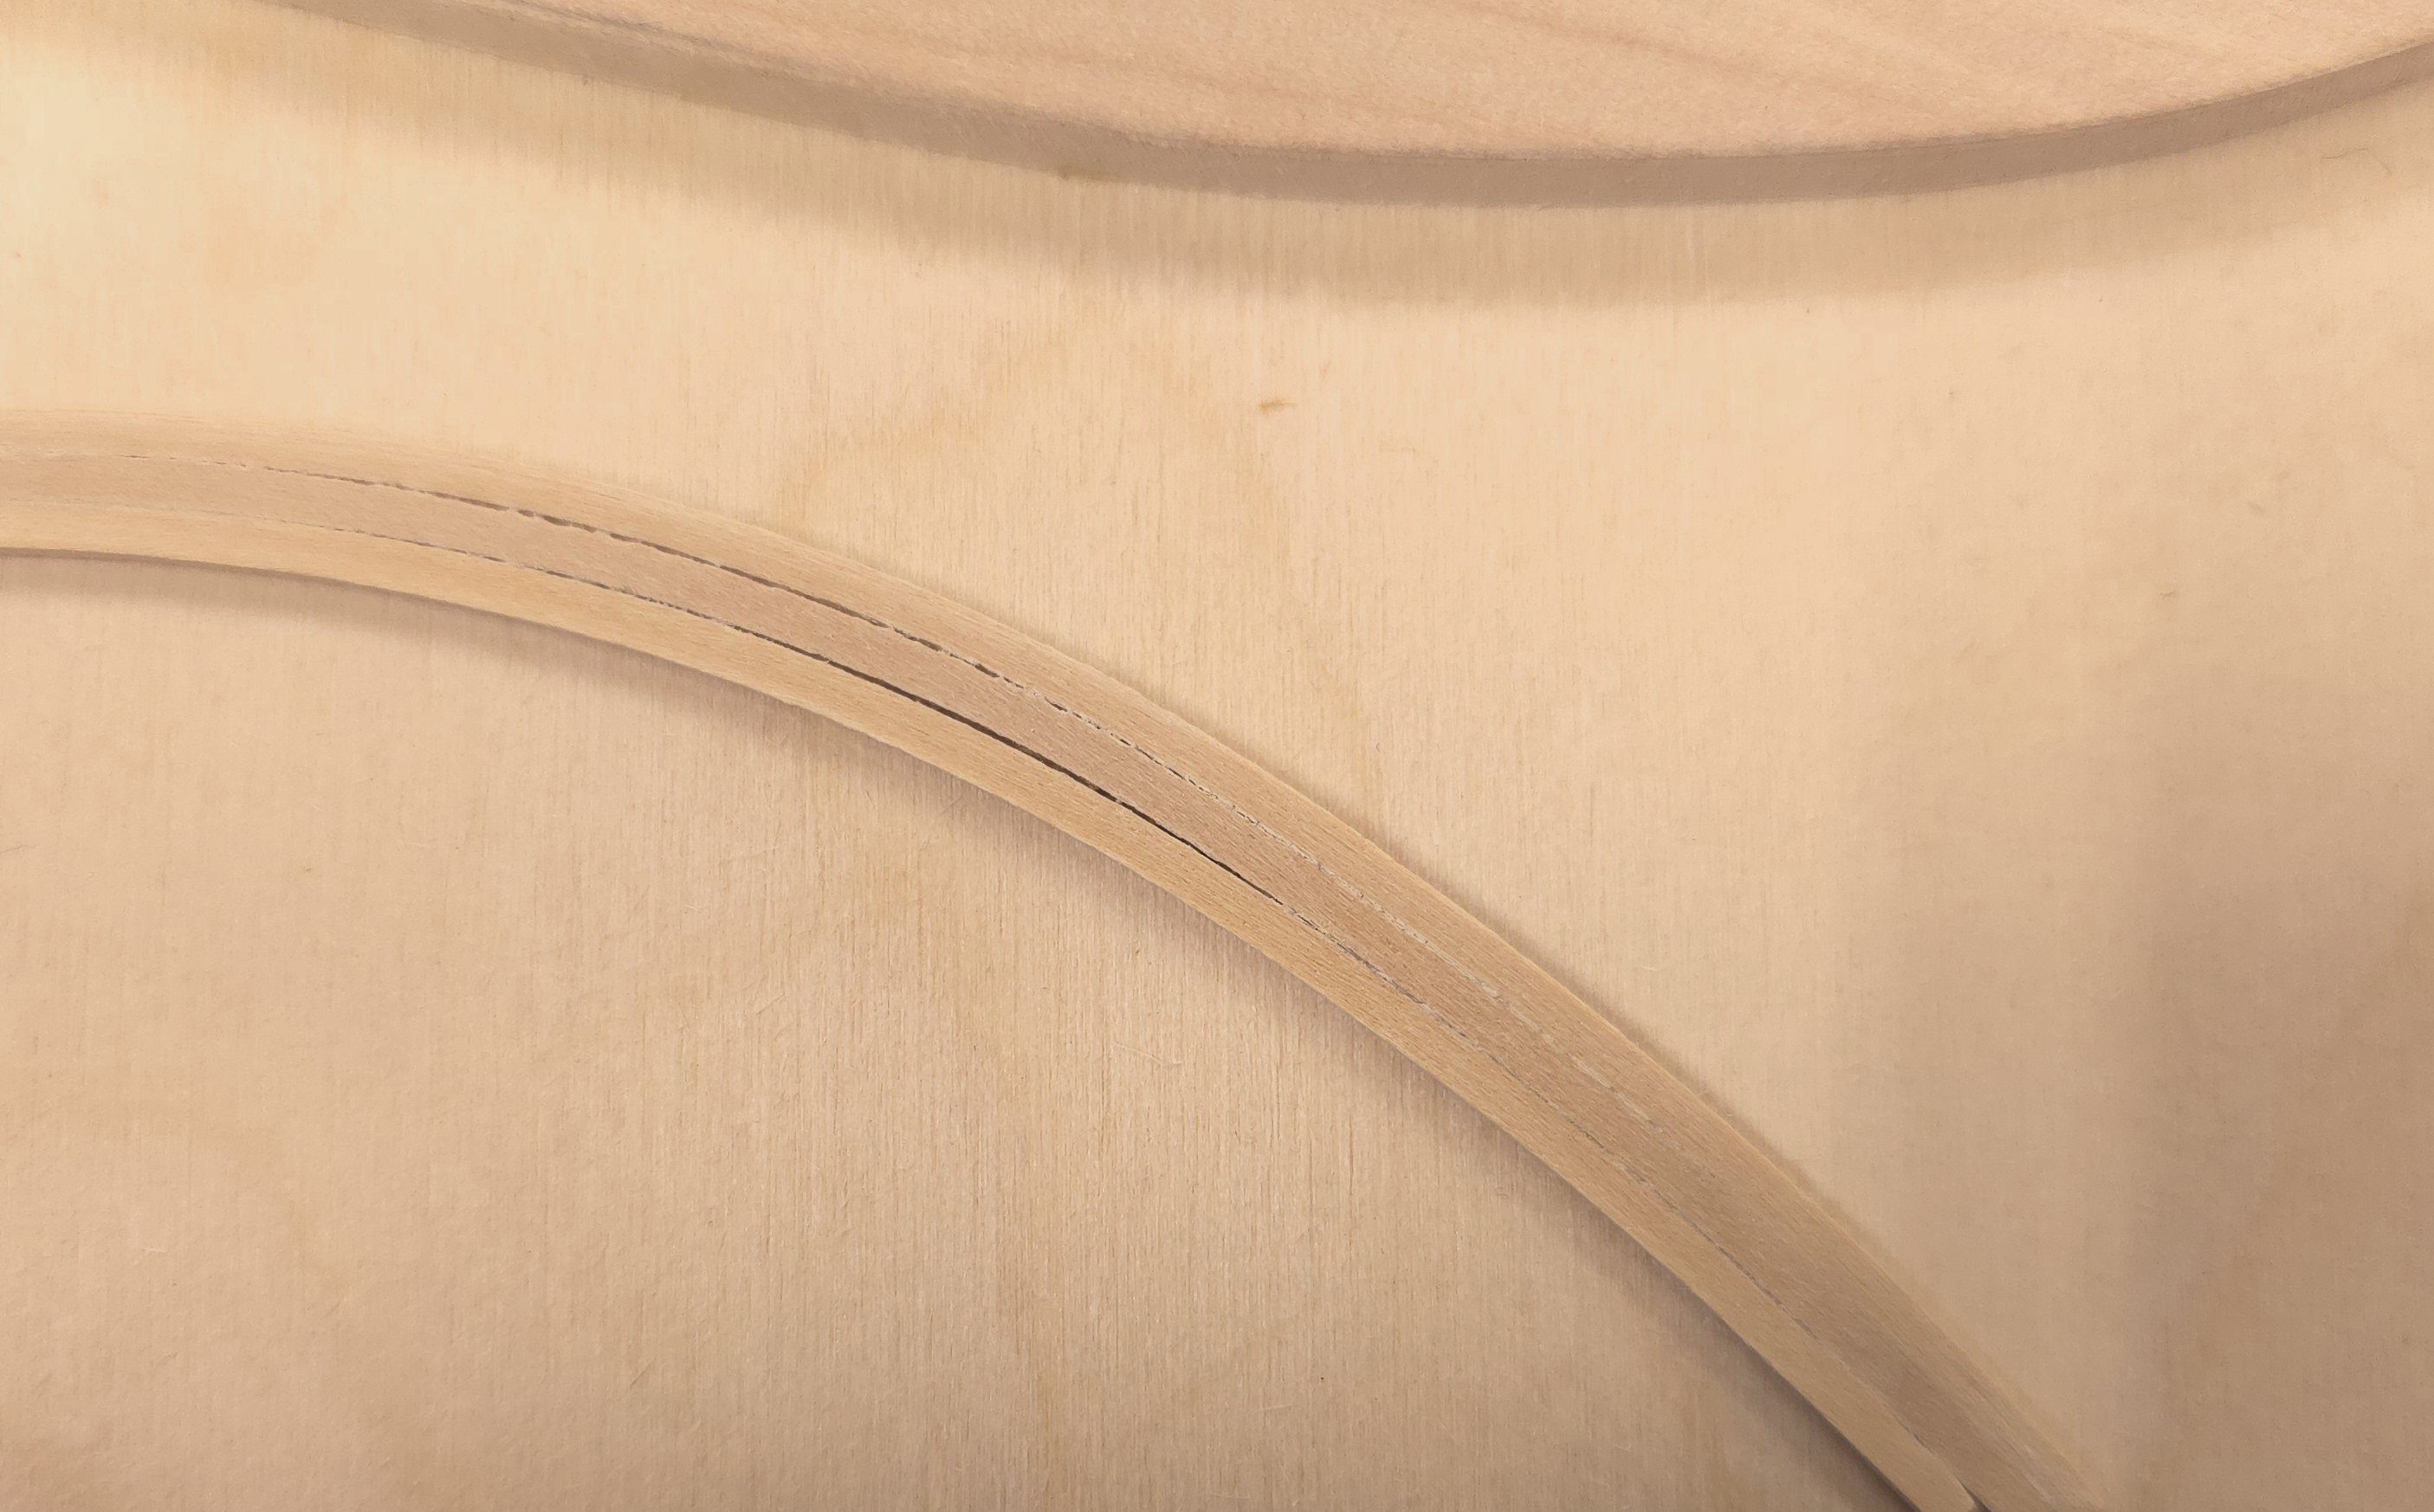
My orthopedic surgeon would disagree, but he hasn't yet seen the model.. 😁 I did not have much success with mustafa's lamination technique. If I were painting, this would not be a problem because I could fill the gaps with putty, sand, and hide the offending areas. I might go back to just making wider panels and cutting the shapes, per the Hunt Practicum.
-
Wow! Very ingenious. And it looks like it'll work.
-
USS Constitution by mtbediz - 1:76
Der Alte Rentner replied to mtbediz's topic in - Build logs for subjects built 1751 - 1800
Now, that is an interesting approach to shaping the gun carriages. I assume that you did not have a router bit with the appropriate shape and size.. -
No worries Haiko, that's what these forms are for, the sharing of information. Here's a nugget of information I'm going to share today. I installed the two knees at the transom that I failed to do in the initial round of top rail planking. Amazing how such little task can take so many hours..
-
USS Constitution by mtbediz - 1:76
Der Alte Rentner replied to mtbediz's topic in - Build logs for subjects built 1751 - 1800
When I last looked at my Constitution, I was bemoaning the fact that I had forgotten that step when I finished the main and top rails. The glue between two pieces of boxwood is curing as I type these words, and I will be attempting to retrofit those knees myself tomorrow or Tuesday. -
I cannot stress enough the value of a thickness drum sander for situations like this. You can get fairly close with a saw, then run the parts through the thickness drum sander for final dimensioning. It's a shame that the Byrnes company no longer makes theirs. I've had my Jet drum sander for about 15 years for my woodworking hobby and with proper setup, I can dimension with amazing precision.
-
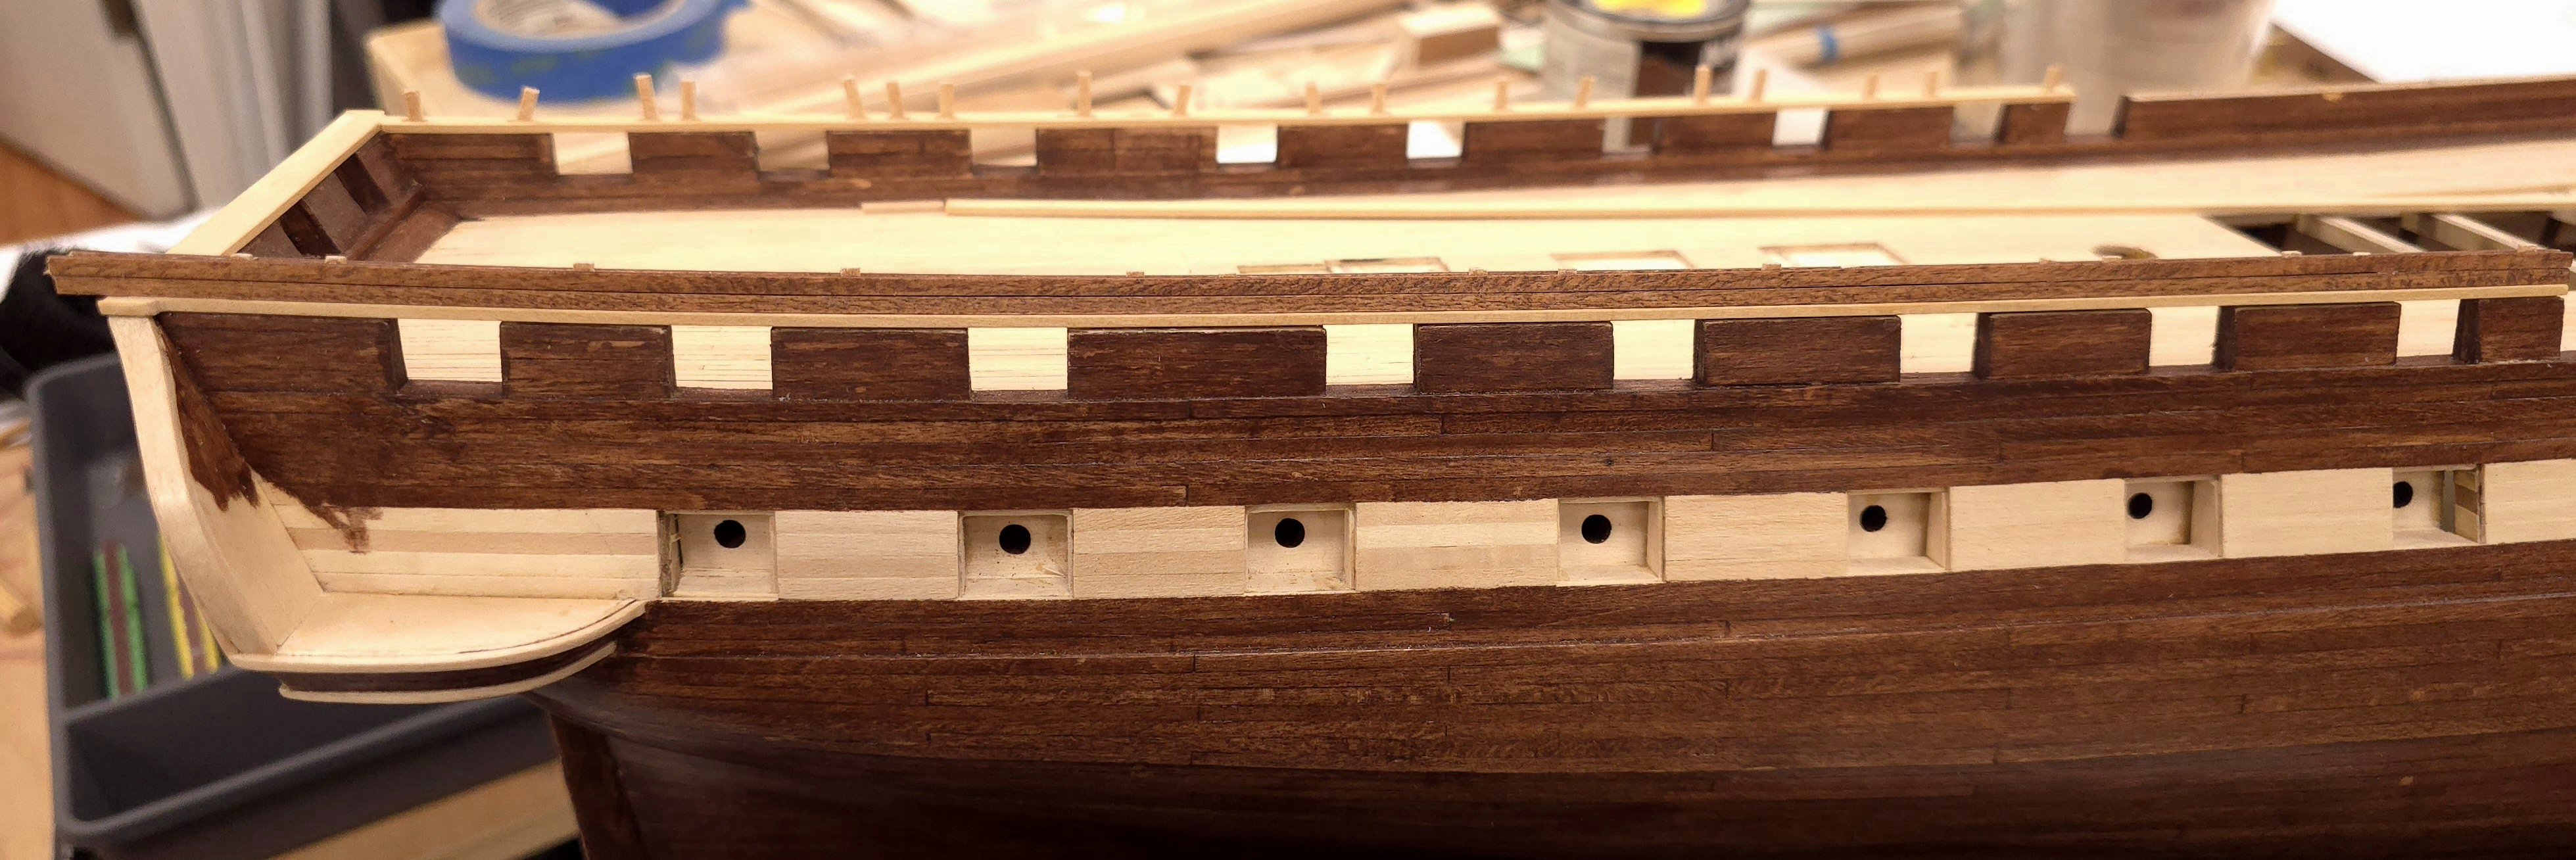
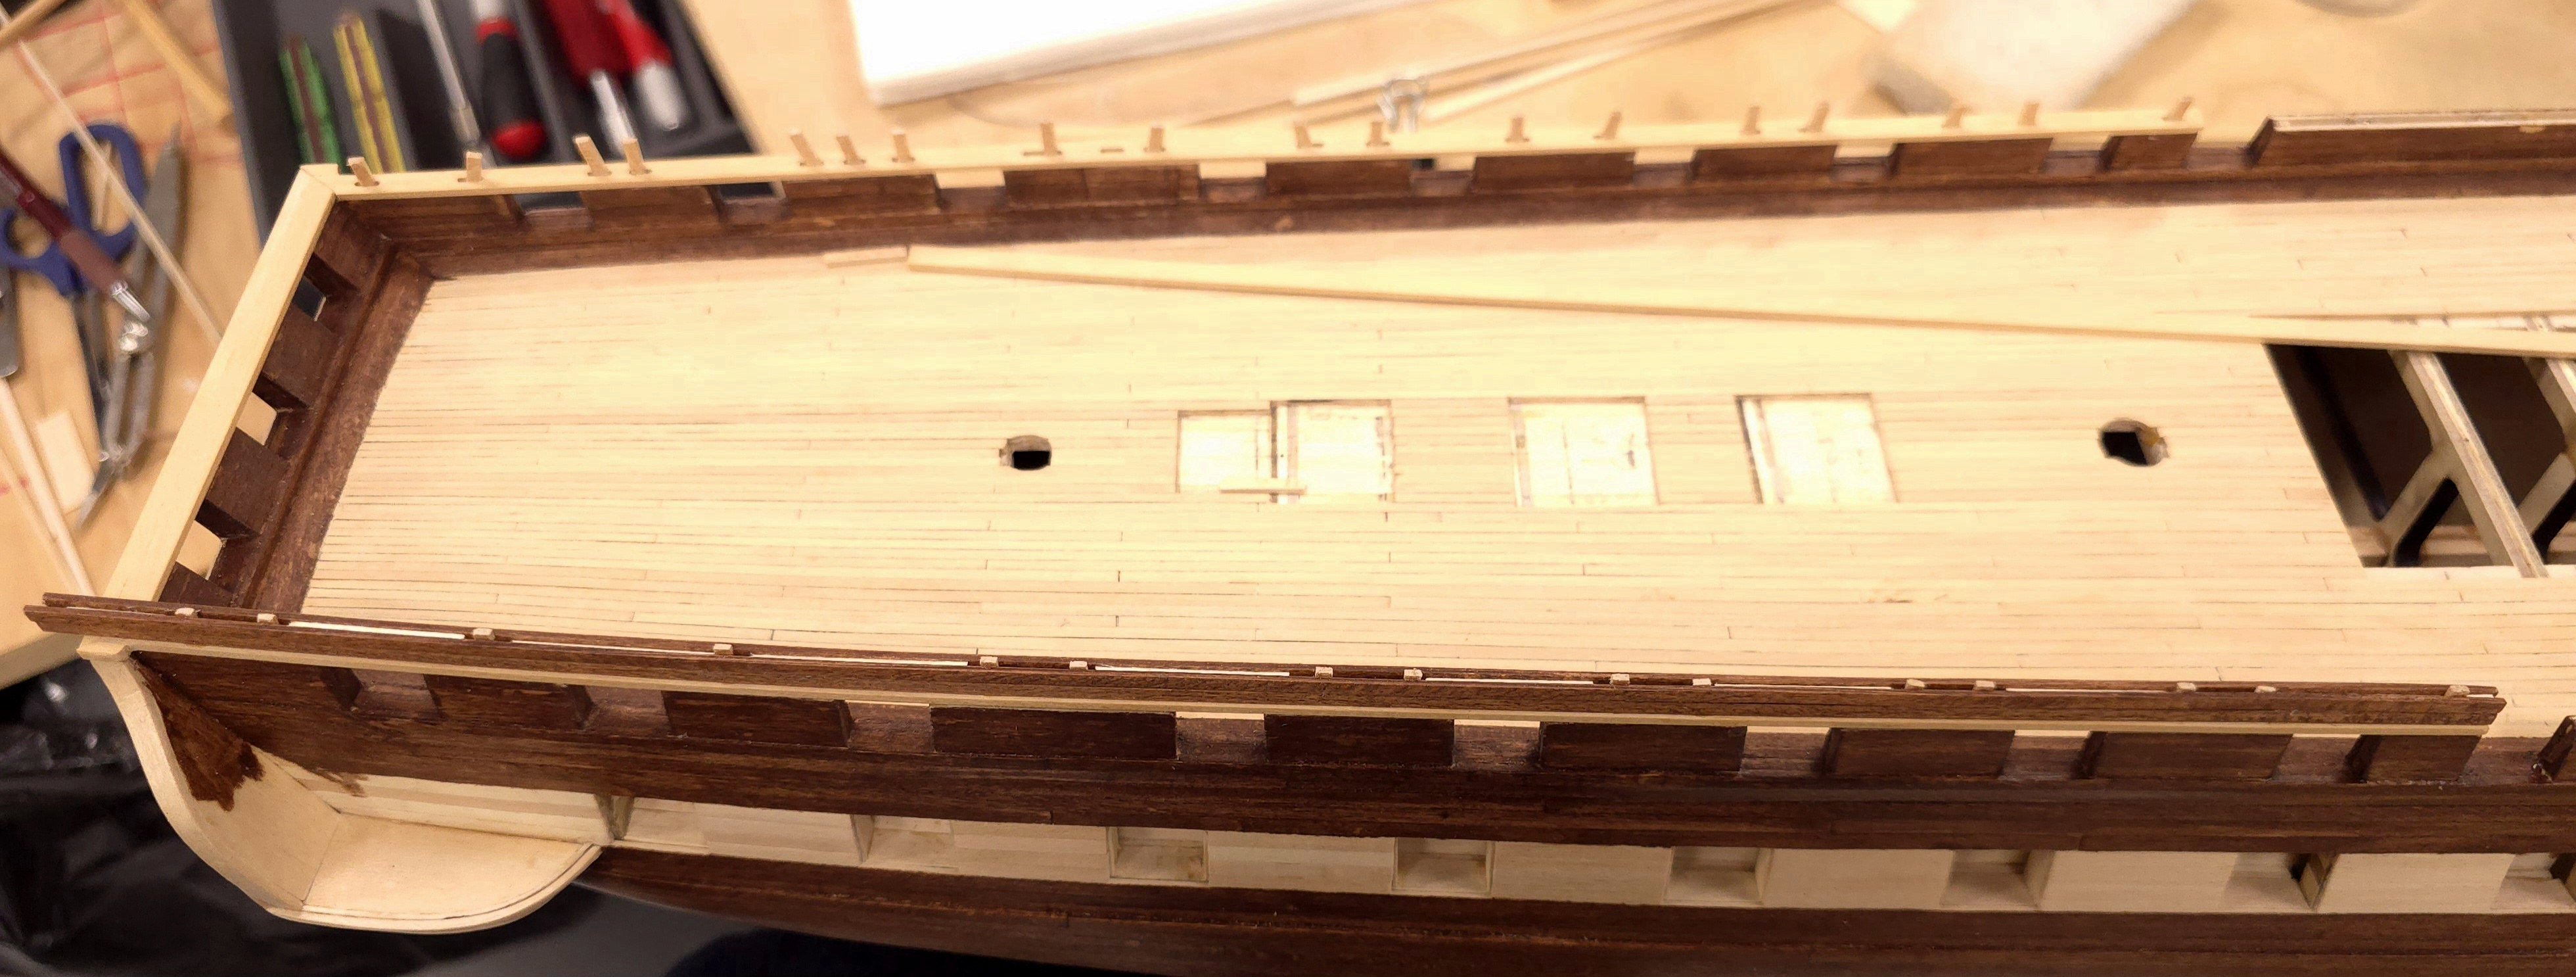
I've never seen that spelling for gunwale before, but turns out it's a legit alternative spelling. You're referring to the planking at the top of the hull, working your way down toward the wale. I haven't seen anyone at MSW put any visible caulking between these planks. Oddly enough however, for the deck planking people do attempt to simulate caulking. In reality I'm guessing there must be caulking between the planks on the hull to keep water out. No? I would think that since most people sand, apply putty, then send some more, and then paint the hull black, no one is concerning themselves with this issue. In my experience, I glued the edges of all the hull planking. As carefully as I prepared the planks, there was still much trimming with a chisel and some finish sanding. In the end I couldn't see any glue seams. I don't think I'd worry about it if I were you. By the way, you are working away a quite the pace there. At this rate you'll be done by the end of the year.. Kudos on what you accomplished so far.
- 233 replies
-
- 1
-

-
- Model Shipways
- constitution
- (and 5 more)
-
As you may know from following my build log, gregg, I used boxwood. I wish I'd bought it when I started building Connie and use it for everything, but better late than never.
-
If I were a betting man, and I am, you'll be hearing from Jon soon. 😁
-
To all, I just spent a few minutes consulting the Practicum. Hunt doesn't address the "top rail" until Chapter 12. A lot of stuff happens between where I am in the build now and the point where Hunt finally adds this rail. I'm wondering. Is there any practical reason to wait until then? In the Chapter 5 Hunt explains why he held off on adding the top rail, "We will not install the topgallant railing at this time. When it is installed, the head rails must also be installed. I fear that installing them now might cause us problems later when we plank the lower hull as they are delicate and could get damaged with the model turned over on its side. We will come back to those rails once the outer planking is complete." But, since I've already completed the hull and deck planking, I don't see the reason to wait until all the deck furniture is addressed. Do any of you? For what it's worth, I'm considering skipping the copper plating..
-
USS Constitution by mtbediz - 1:76
Der Alte Rentner replied to mtbediz's topic in - Build logs for subjects built 1751 - 1800
aha! It was not so much that I forgot the post, but I didn't fully appreciate what you meant by "different".. I just spent a few minutes consulting the Practicum. Hunt doesn't address the "top rail" until Chapter 12. A lot of stuff happens between where I am in the build now and the point where Hunt finally adds this rail. I'm wondering. Is there any practical reason to wait until then? In the Chapter 5 Hunt explains why he held off on adding the top rail. "We will not install the topgallant railing at this time. When it is installed, the head rails must also be installed. I fear that installing them now might cause us problems later when we plank the lower hull as they are delicate and could get damaged with the model turned over on its side. We will come back to those rails once the outer planking is complete." But, since I've already completed the hull and deck planking, I don't see the reason to wait until all the deck furniture is addressed. Do you? -
USS Constitution by mtbediz - 1:76
Der Alte Rentner replied to mtbediz's topic in - Build logs for subjects built 1751 - 1800
Probably more a case of I forgot that I saw the post. 😁 -
USS Constitution by mtbediz - 1:76
Der Alte Rentner replied to mtbediz's topic in - Build logs for subjects built 1751 - 1800
Hmm, I hadn't thought of that - a lapse in my research, I guess. Had the notion come to me days earlier, I might have skipped it as well. I must admit though, that I do like the way they look. Thank you. -
Amen to that! (I wonder if he still peruses these pages..)
-
USS Constitution by mtbediz - 1:76
Der Alte Rentner replied to mtbediz's topic in - Build logs for subjects built 1751 - 1800
will you be adding topgallant rails? -
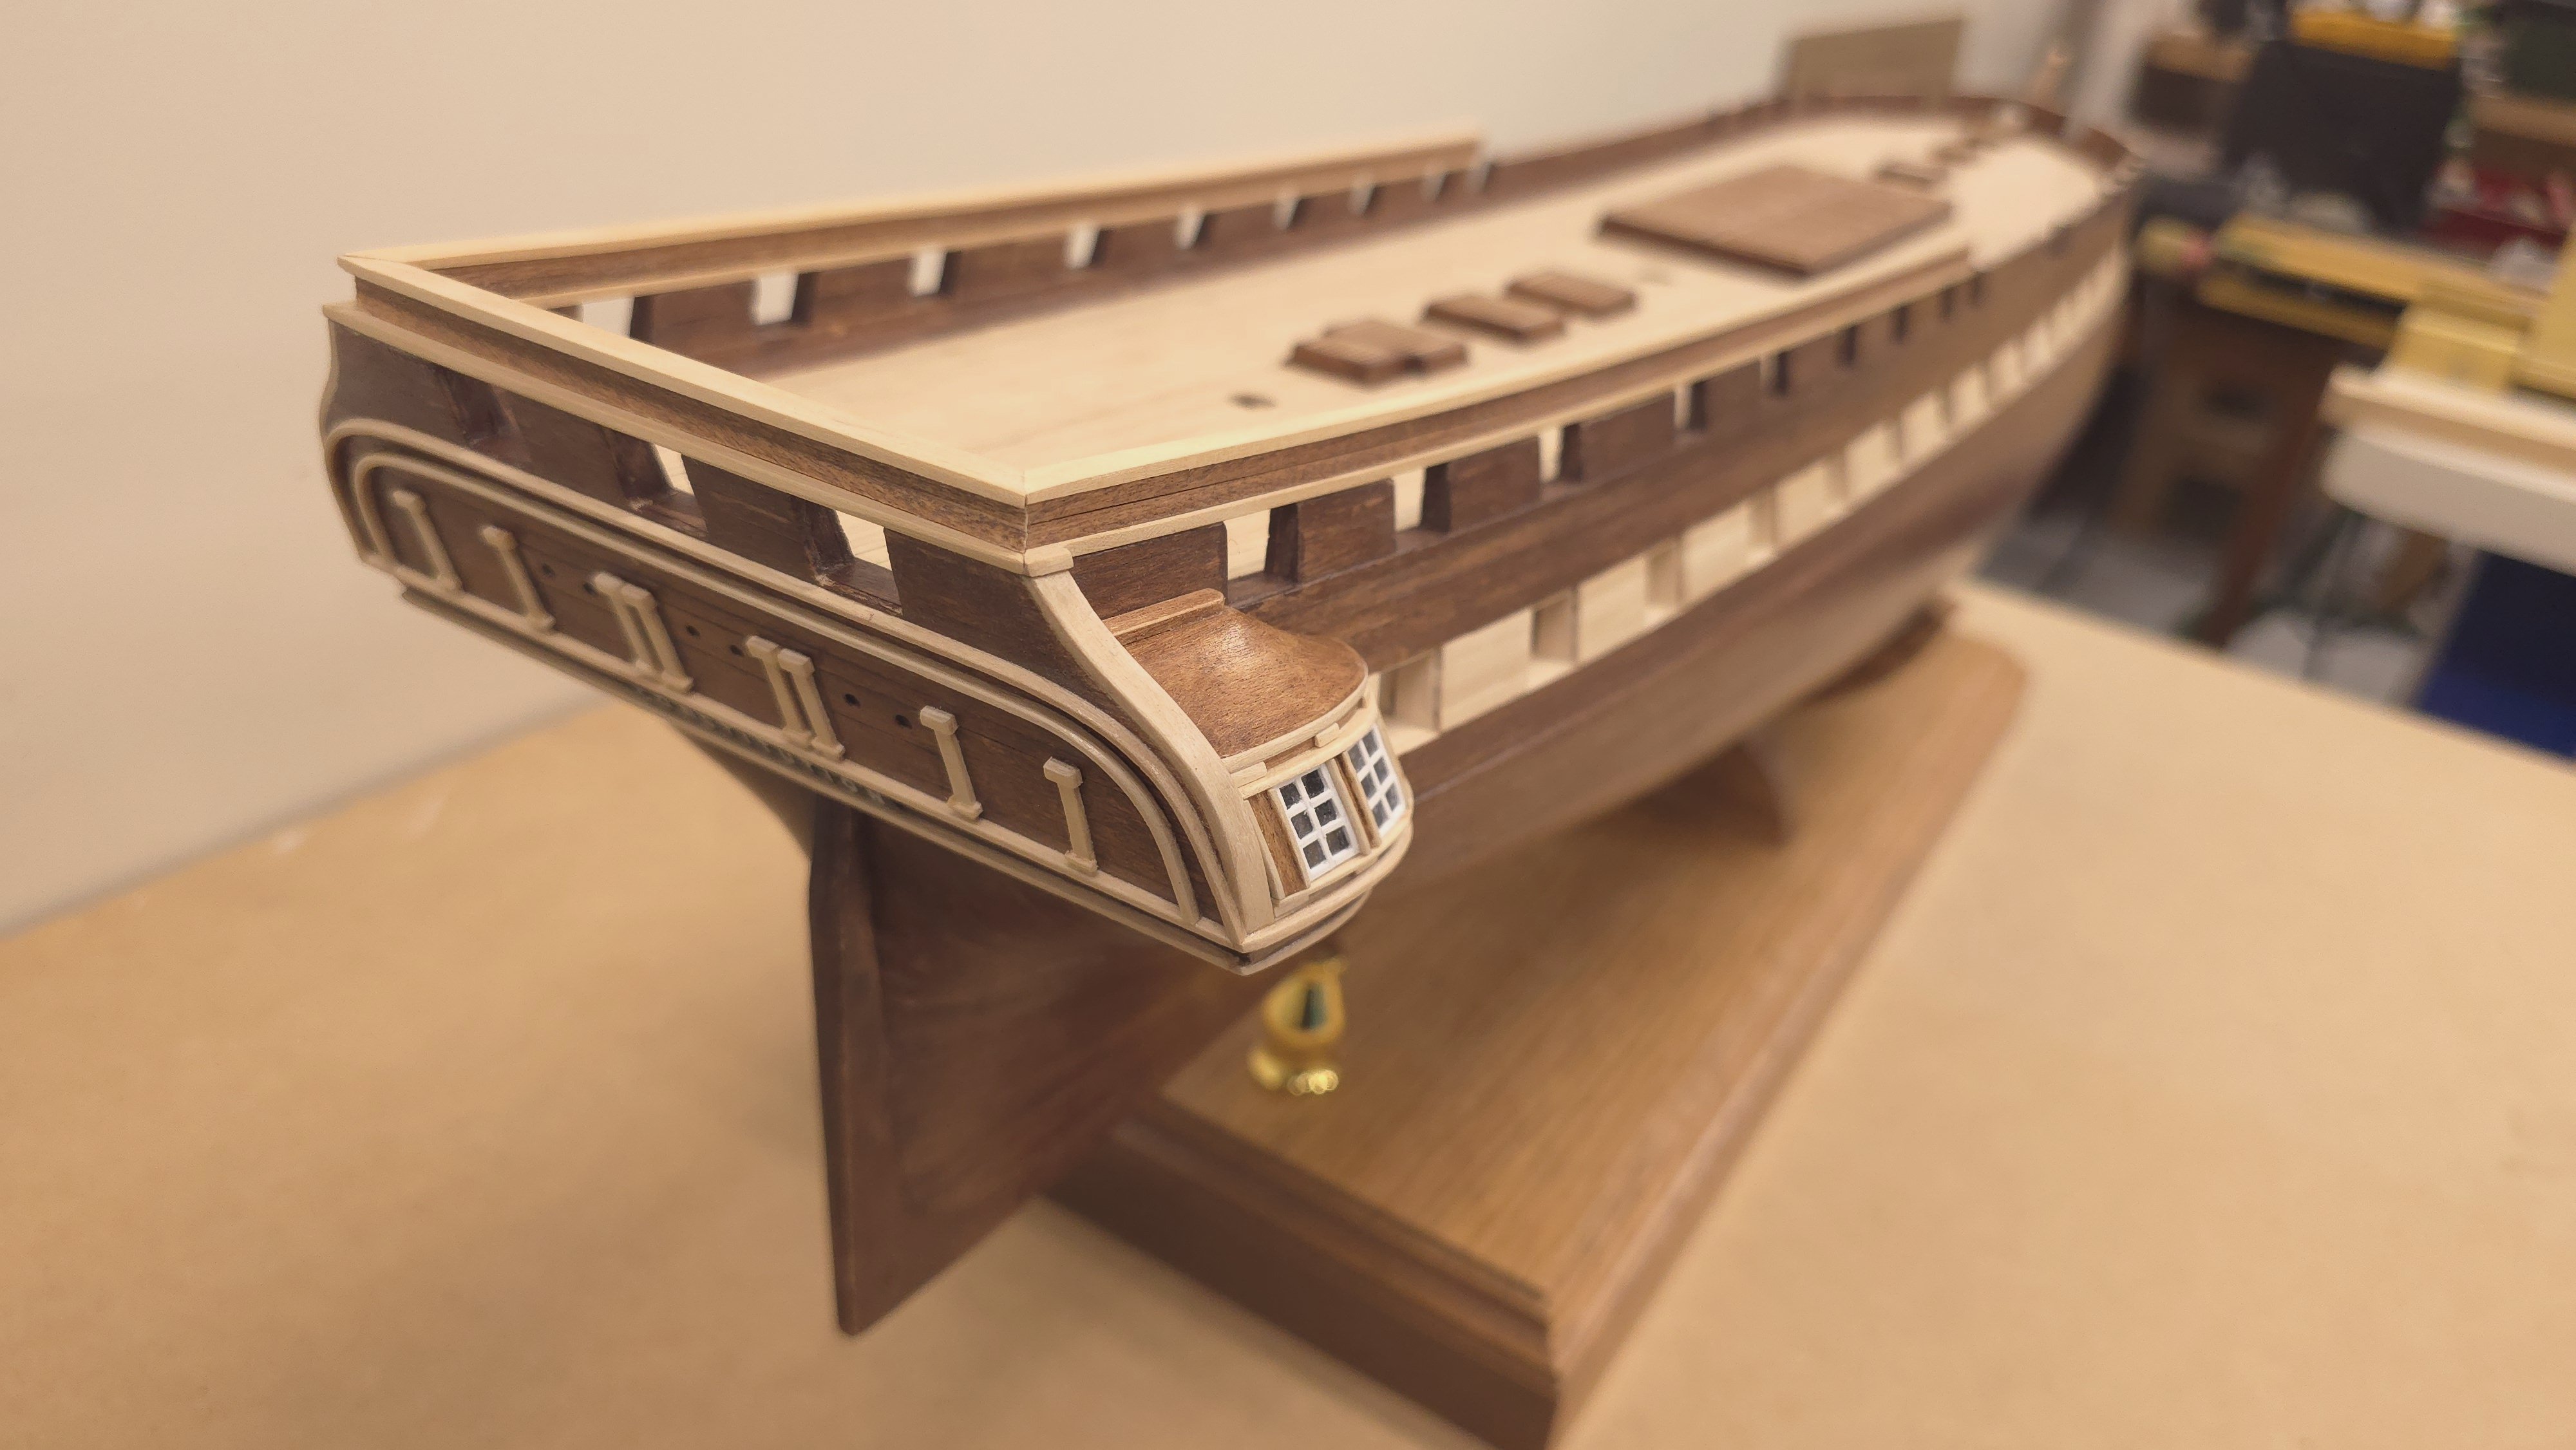
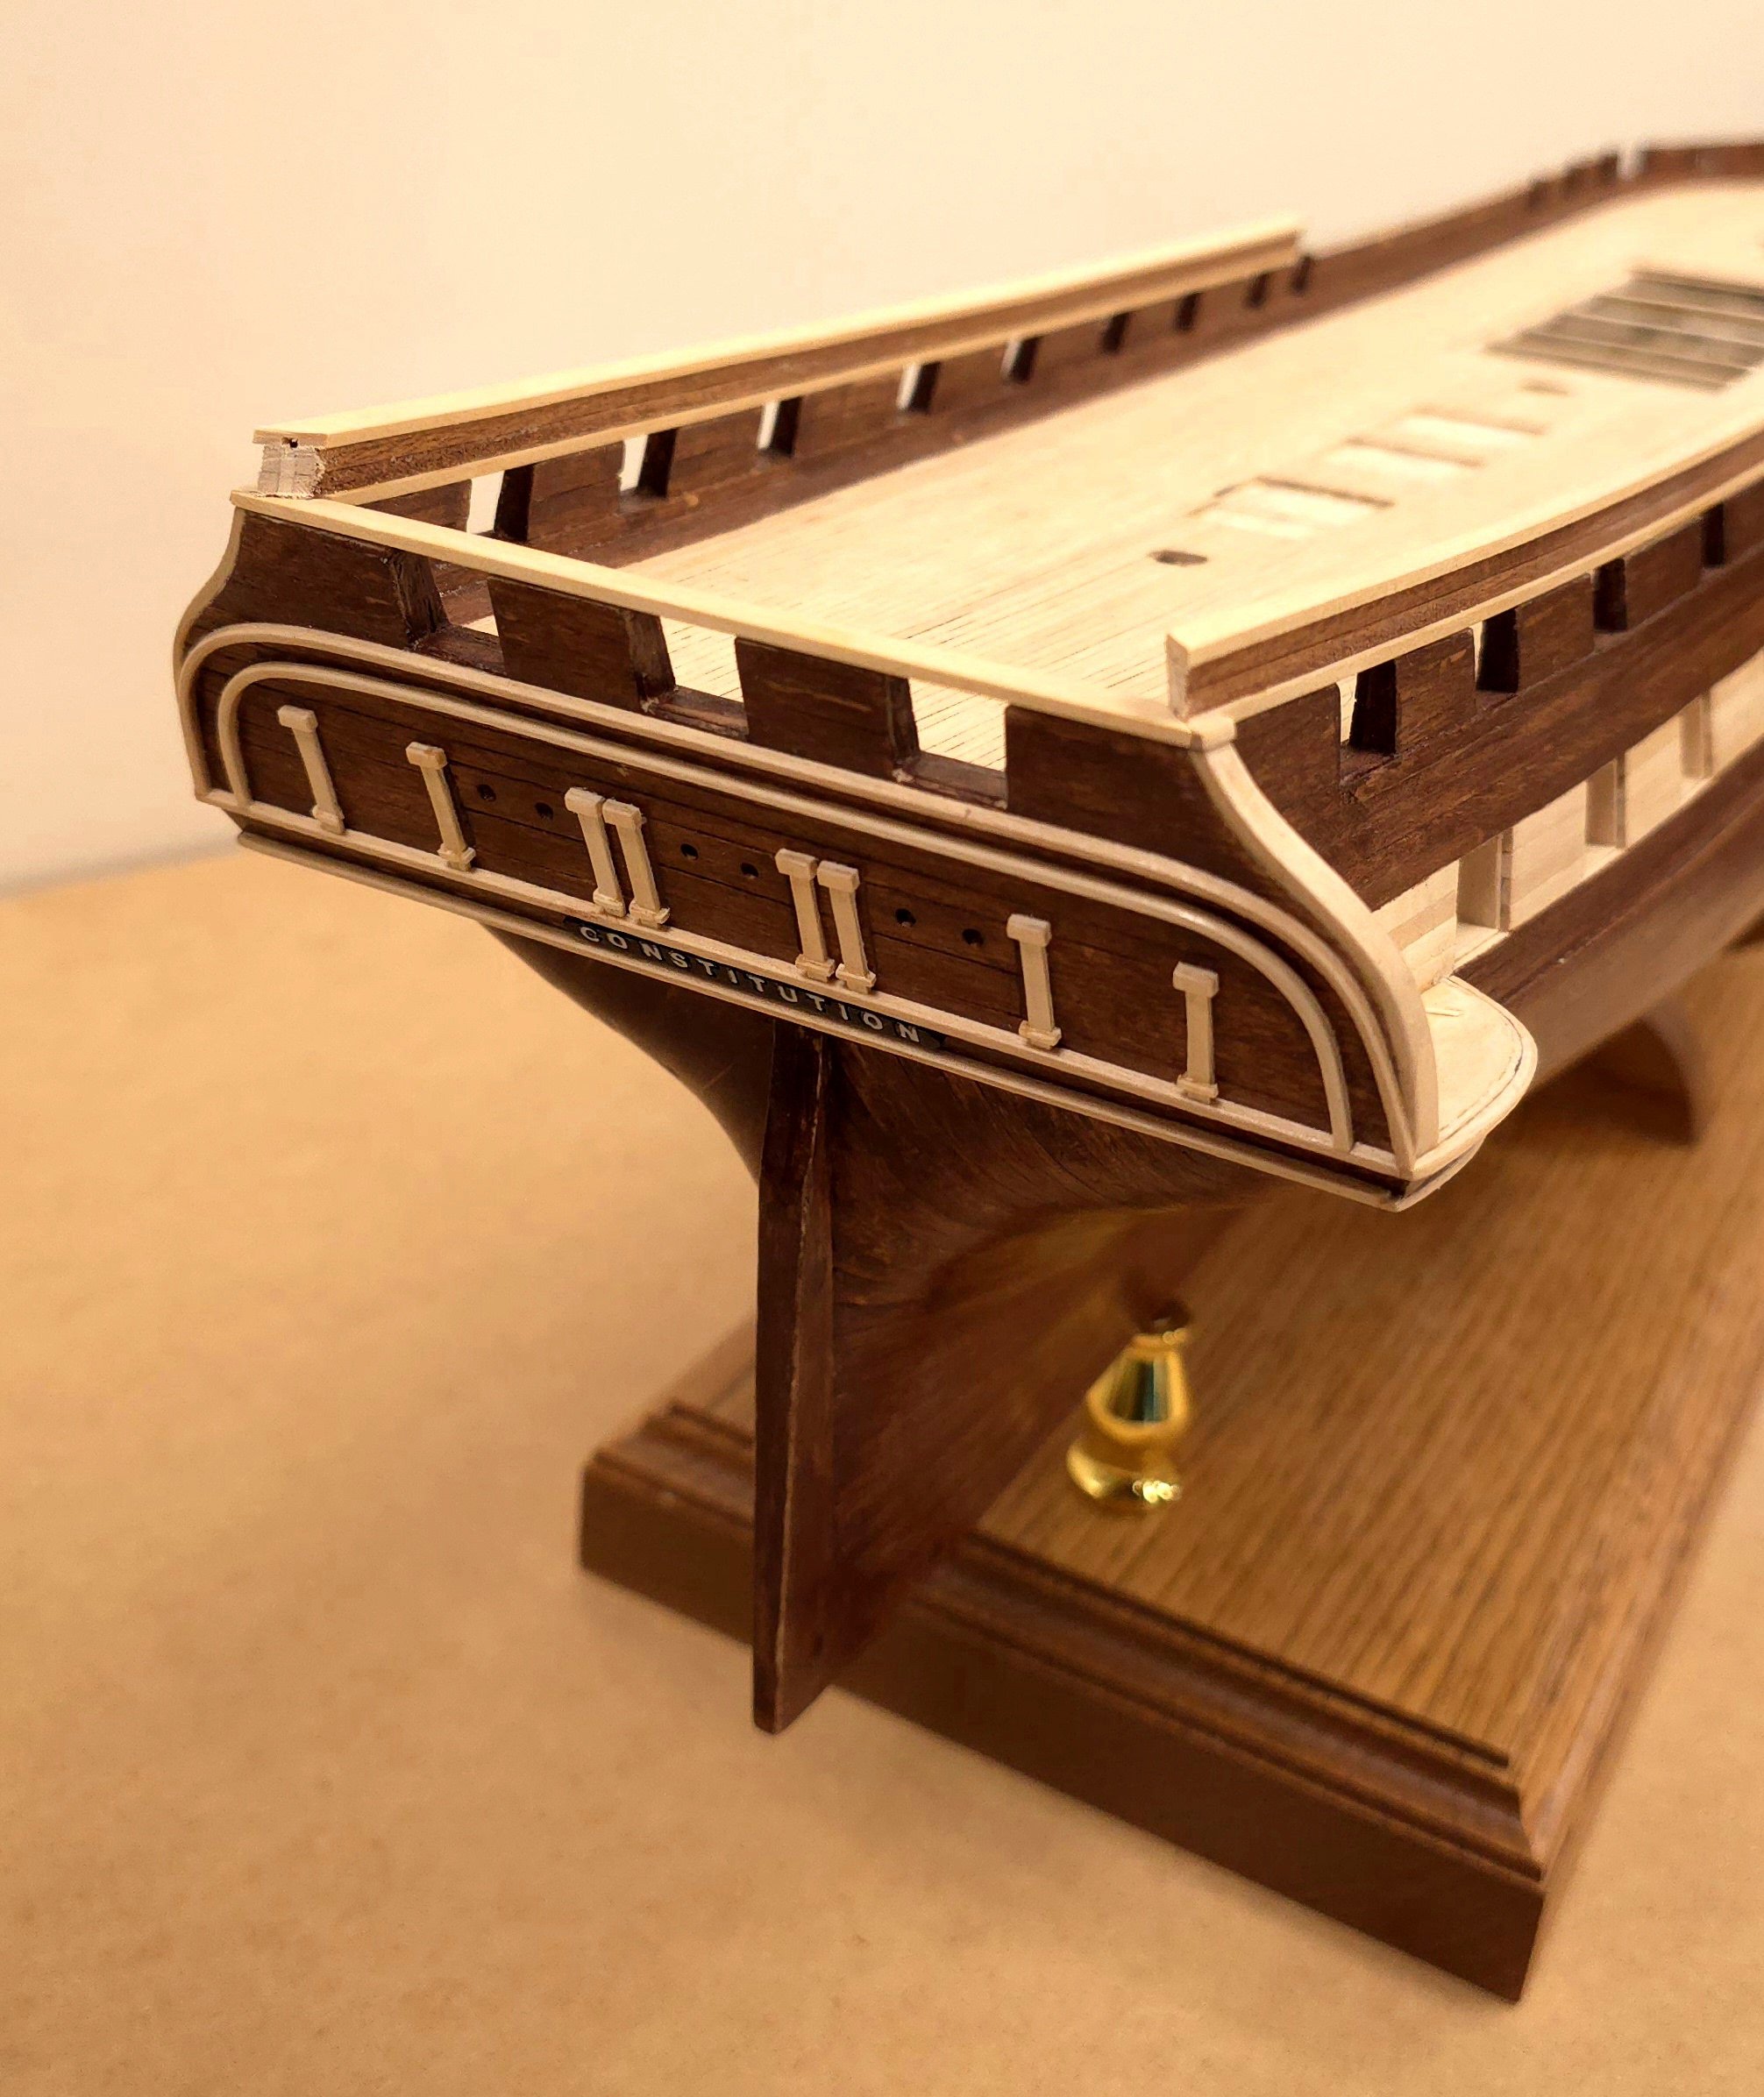
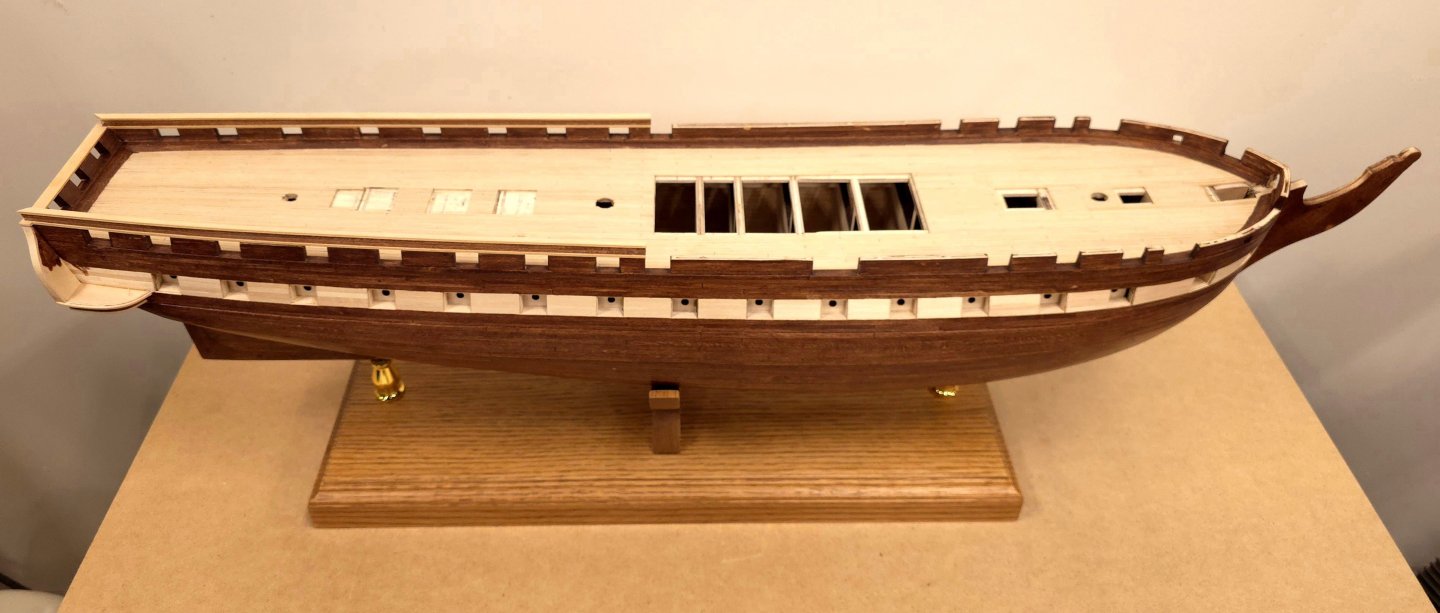
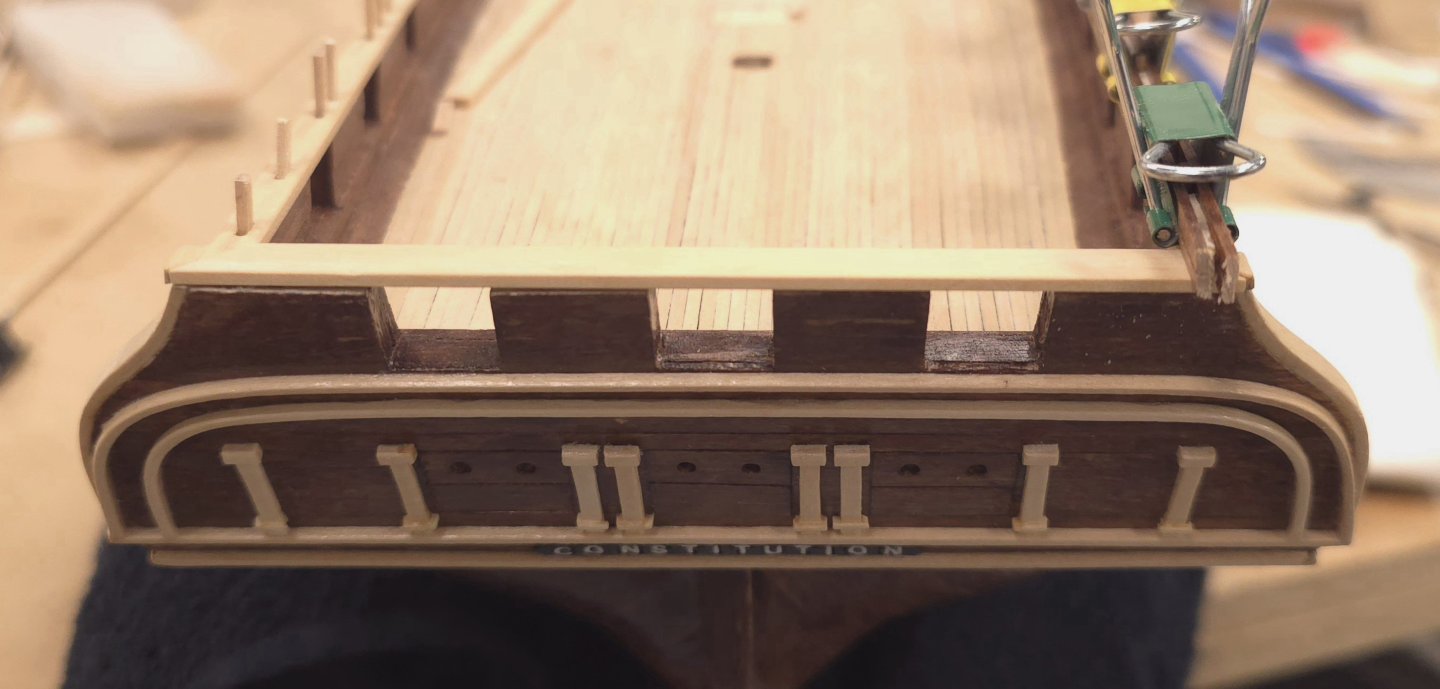
I only had 40 minutes at the shop today, but I managed to finish the stern rails.


-
I will be revisiting these pages relatively soon and benefiting from your example and expertise. Very well done! The detail explanations are very welcome as well.
-
USS Constitution by mtbediz - 1:76
Der Alte Rentner replied to mtbediz's topic in - Build logs for subjects built 1751 - 1800
Man, you do impressive work. Beautifully done. -
Es tut mir leid, dass Sie in den sauren Apfel beißen müssen, aber ich bin sicher, dass Sie dieses Chaos in den Griff bekommen und das Kit besiegen werden.
-
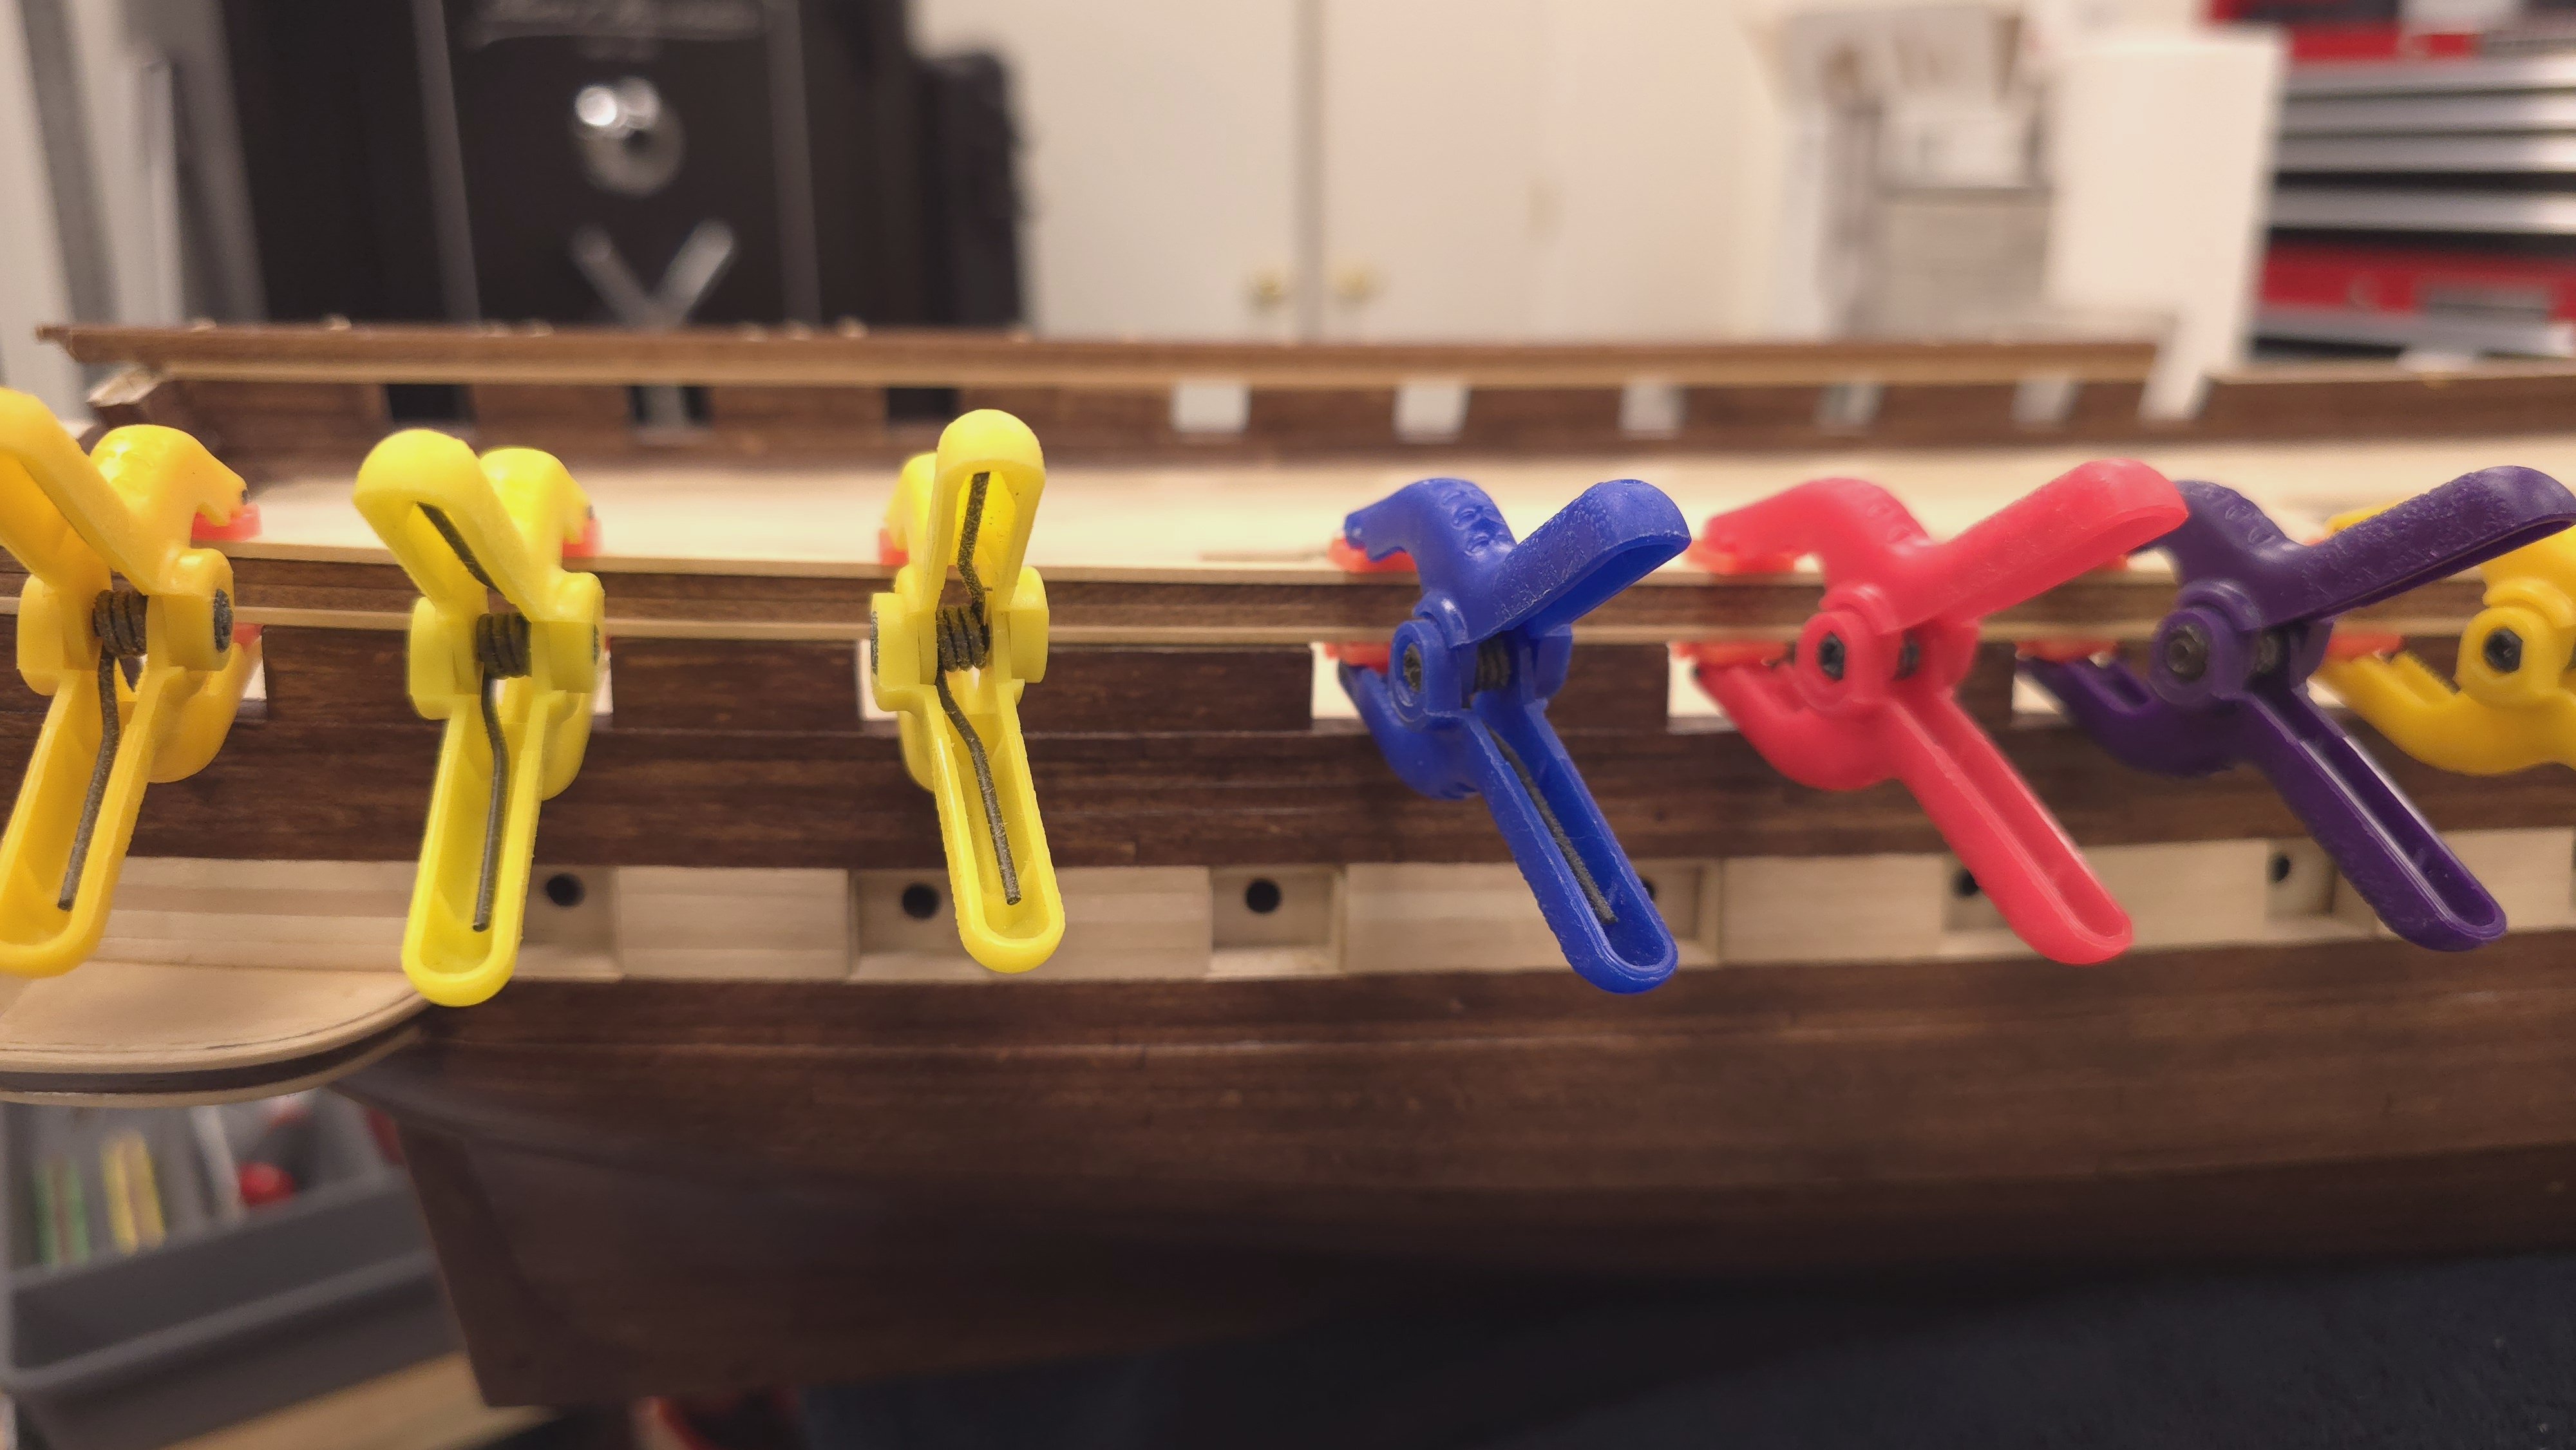
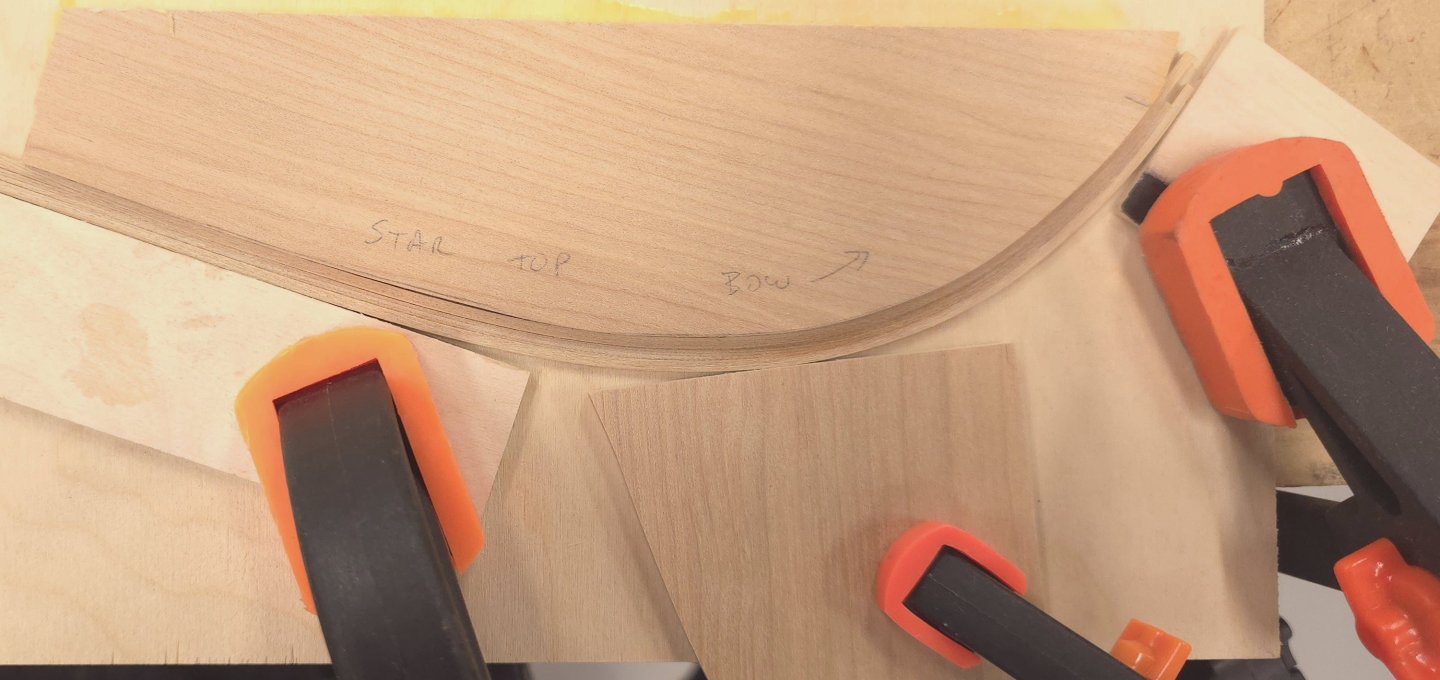
Thanks again Gregg. Because I forgot to take photos of the bottom of the topgallant rails - and in case it wasn't obvious, I thought I'd mention that I used the same setup as shown in the first photo of post 406 above to carve out the grooves along the entire length of these. I raised the bit on the mill so that it only cut about halfway into the rail. I had to reposition vice and the rail after each two inch cut - because the vice is only about two inches wide.. As I type these words, it dawn on me that I won't be able to do that on the curved sections at the bow, unless I cut them first and then TRY to bend them to fit afterwards. Wait, wait.. What if I use Mustafa's method of forming these as laminate but in such a way that the center piece of the laminate is recessed?!? I spent several hours yesterday making the combination main rail, bulwark, topgallant rail section for the transom. That was much more involved than I expected it to be, and in retrospect, I should have used the same technique I used for the port and starboard sections. I'm heading back to the shop in a few hours to fit that piece and will add photos to this post then - and I definitely want to try Mustafa's lamination technique! In the mean time, work on the 2025 calendar continues and I'm counting the hours to Manhattan Club. I earned it this week.. Back soon..
-
Hi Gregg, der Alte Rentner here. I only found the link to this build today but henceforth will be checking in periodically along with rest of your fans and followers. Reading through your blog, a memory surfaced from the deep. The first model ship I ever built was the Santa Maria. It was a very small scale plastic kit that I attempted at around age 12. This prompted a search through the photo archive, where I found an old photo of her on the mantle piece in the living room of the apartment we lived in at the time. Now that I think of it, I also featured it in a Columbus Day diorama in grade school. (Geez, that seems like a lifetime ago..) Until today, I had thought the Blue Nose might be my next project. However, I may now be having a change of heart. I'm delighted that you are providing such detailed posts, so that if I do attempt this kit later, I'll have the benefit of your experience and expert analysis to draw from. Have fun, and good luck.
- 58 replies
-
- 1
-
-
- Santa Maria
- Ships of Pavel Nikitin
- (and 1 more)
-
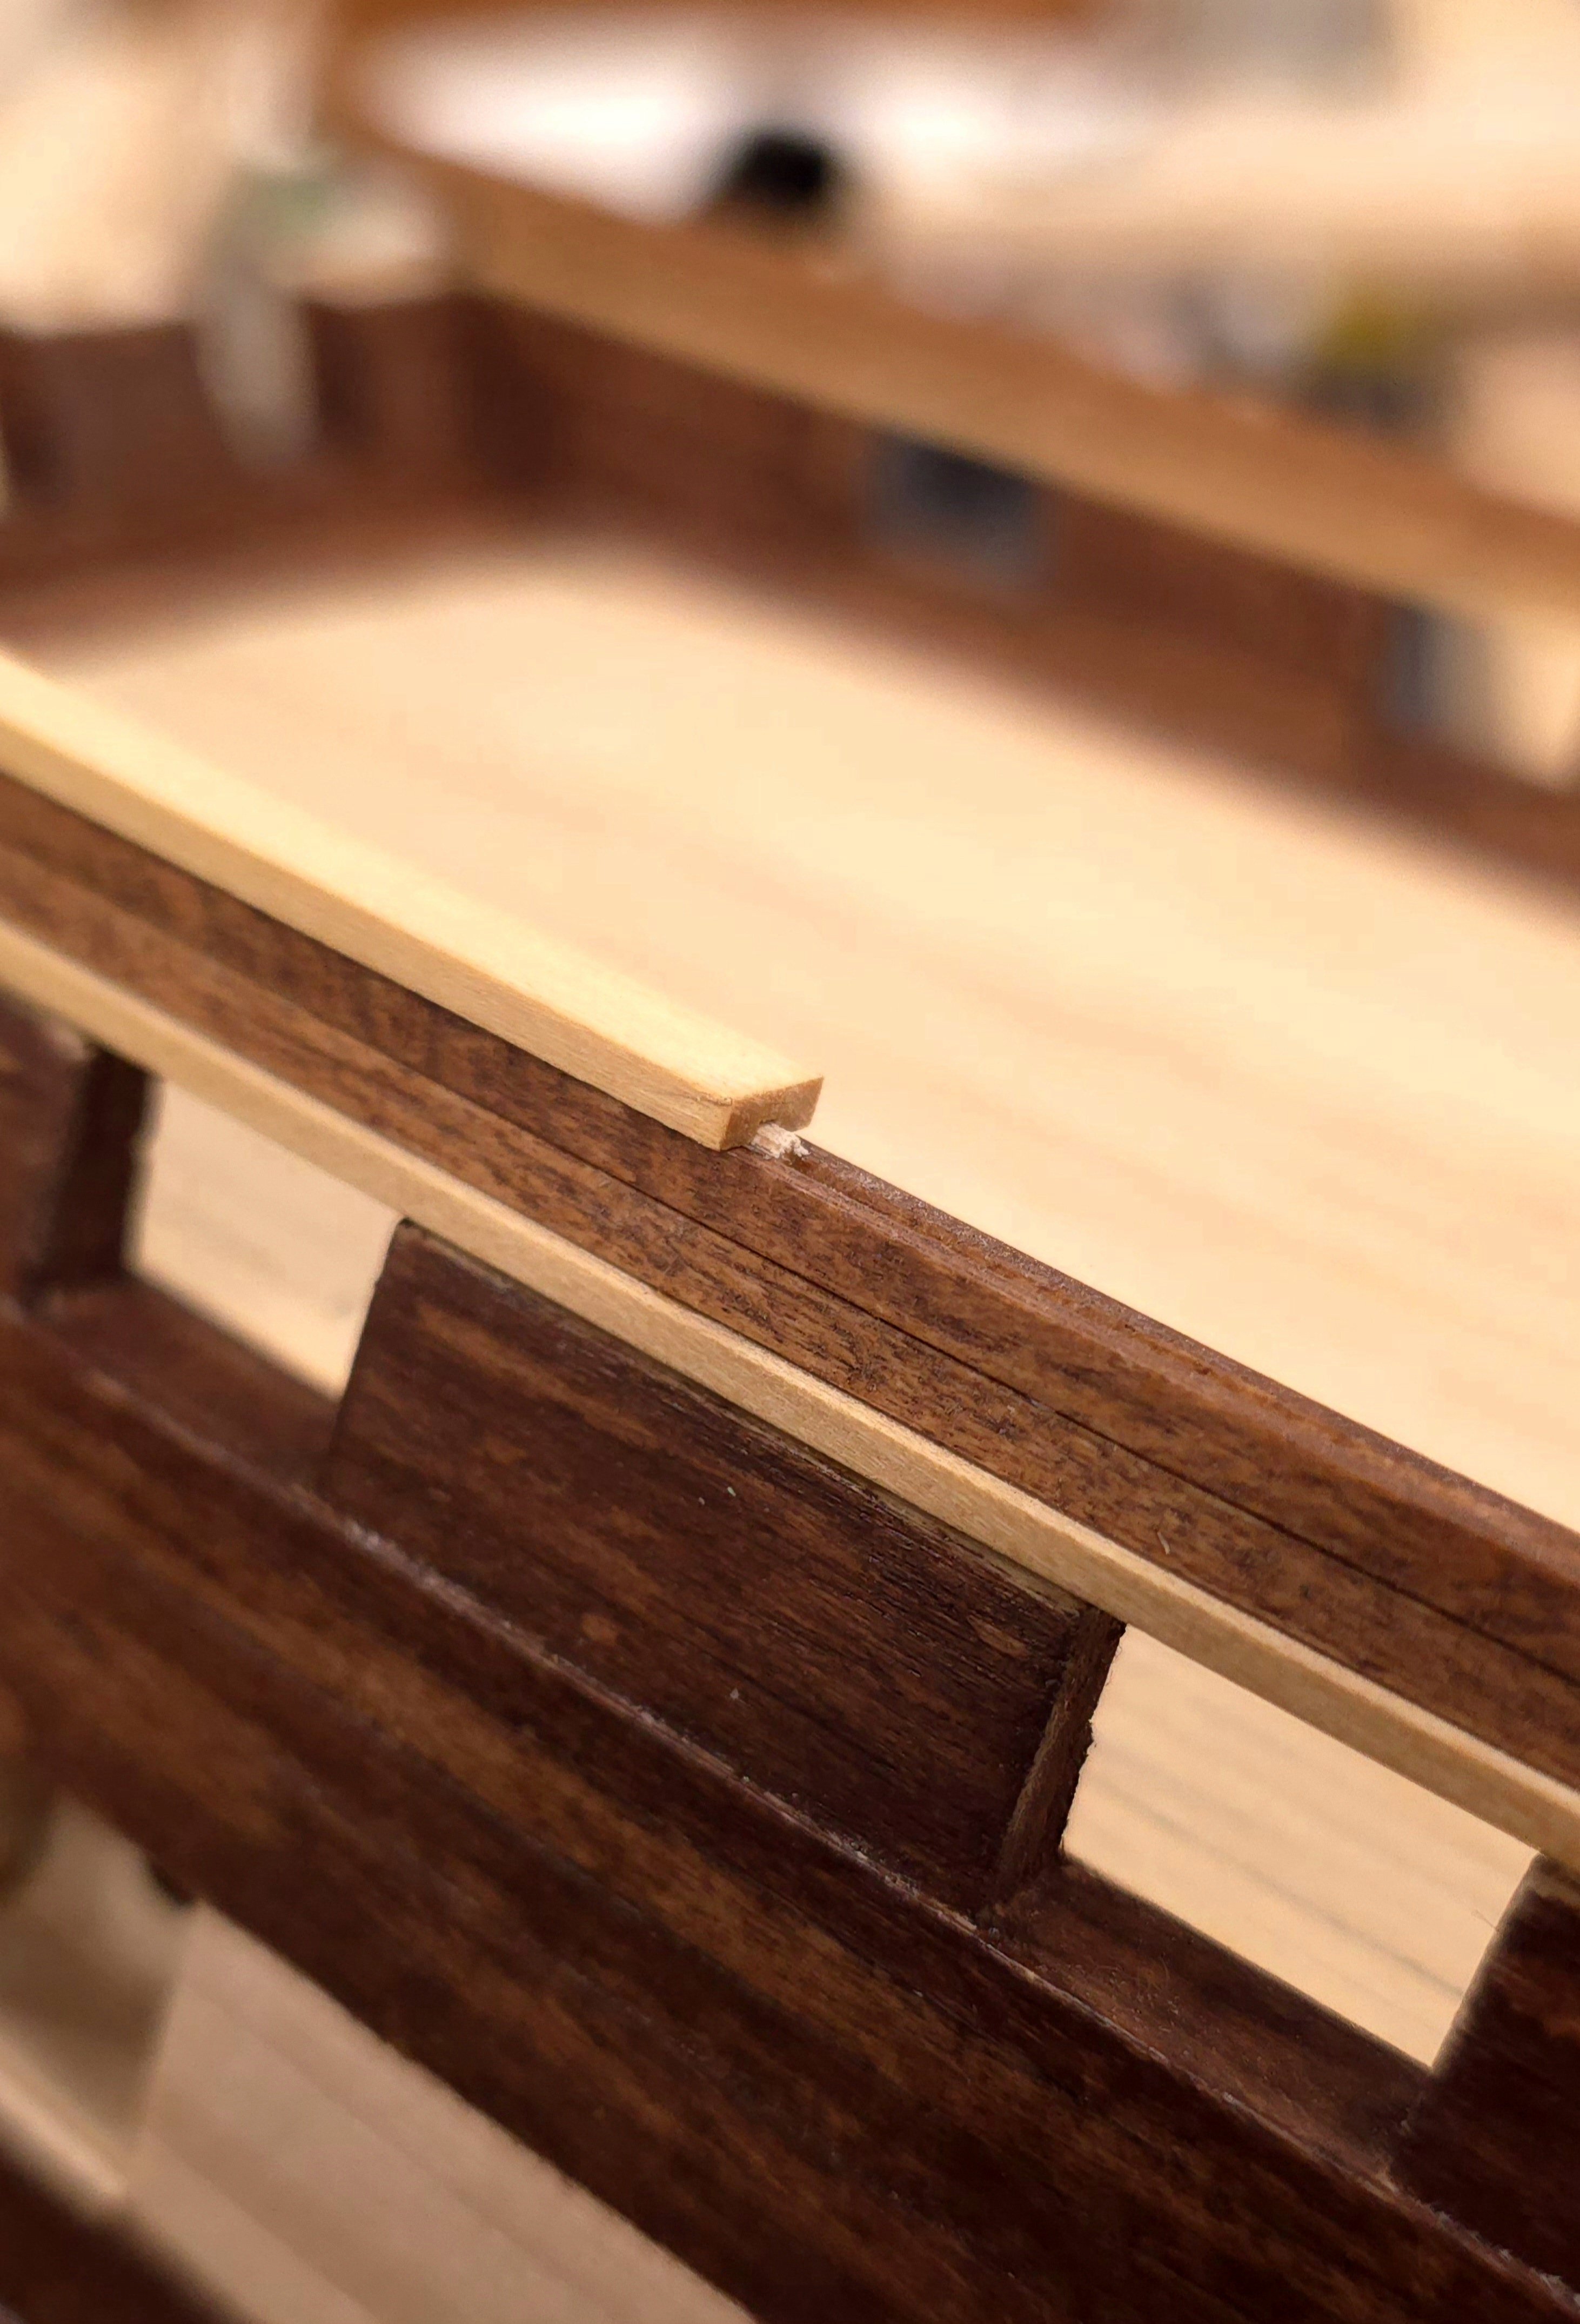
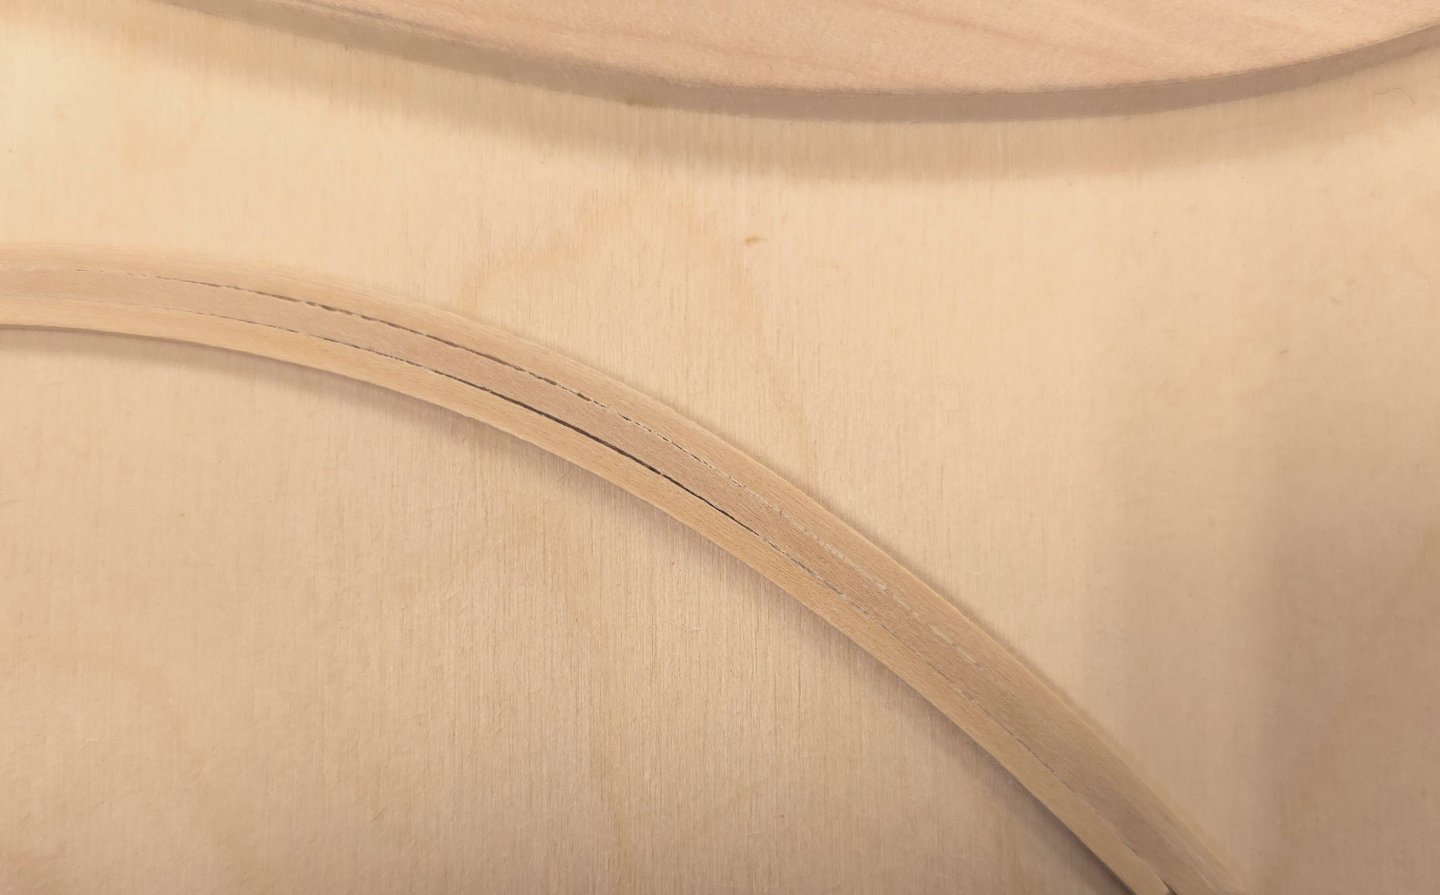
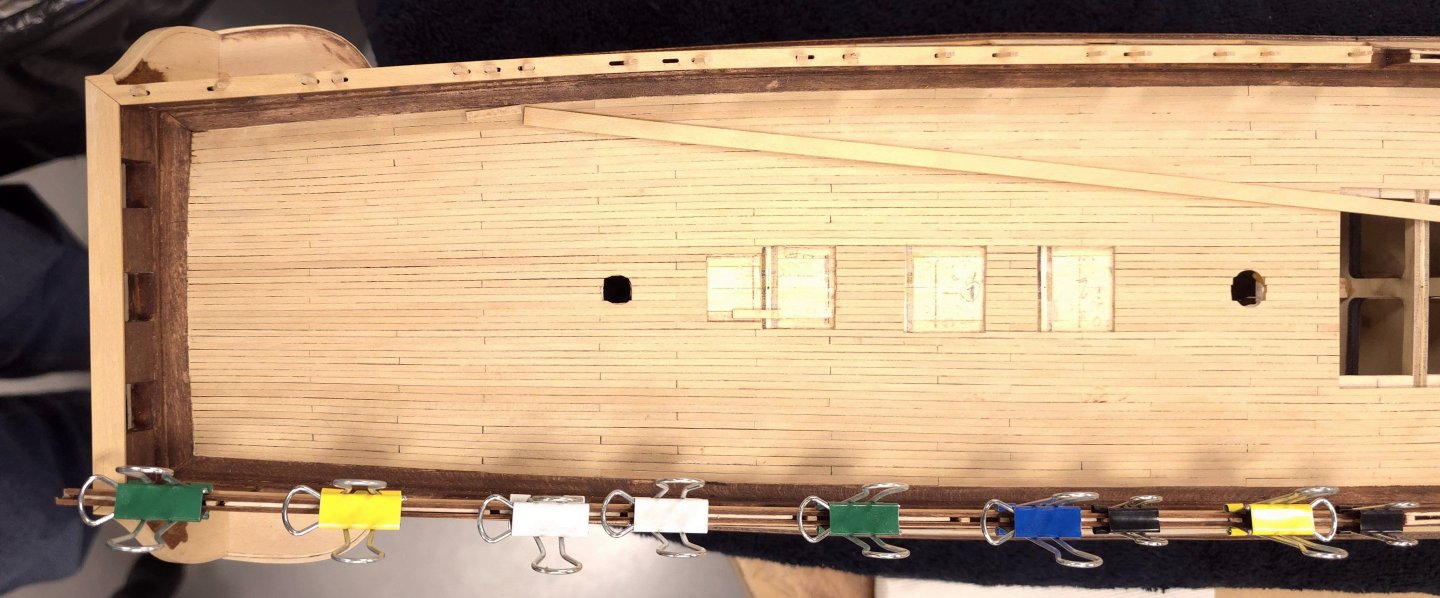
Some whittling at the stern yet to come, but getting there with the rails.. The grooves on the bottom of the top gallant rails work great to center them. Rough cuts on the miters. Tomorrow I'll fine tune and build the joining section.


-
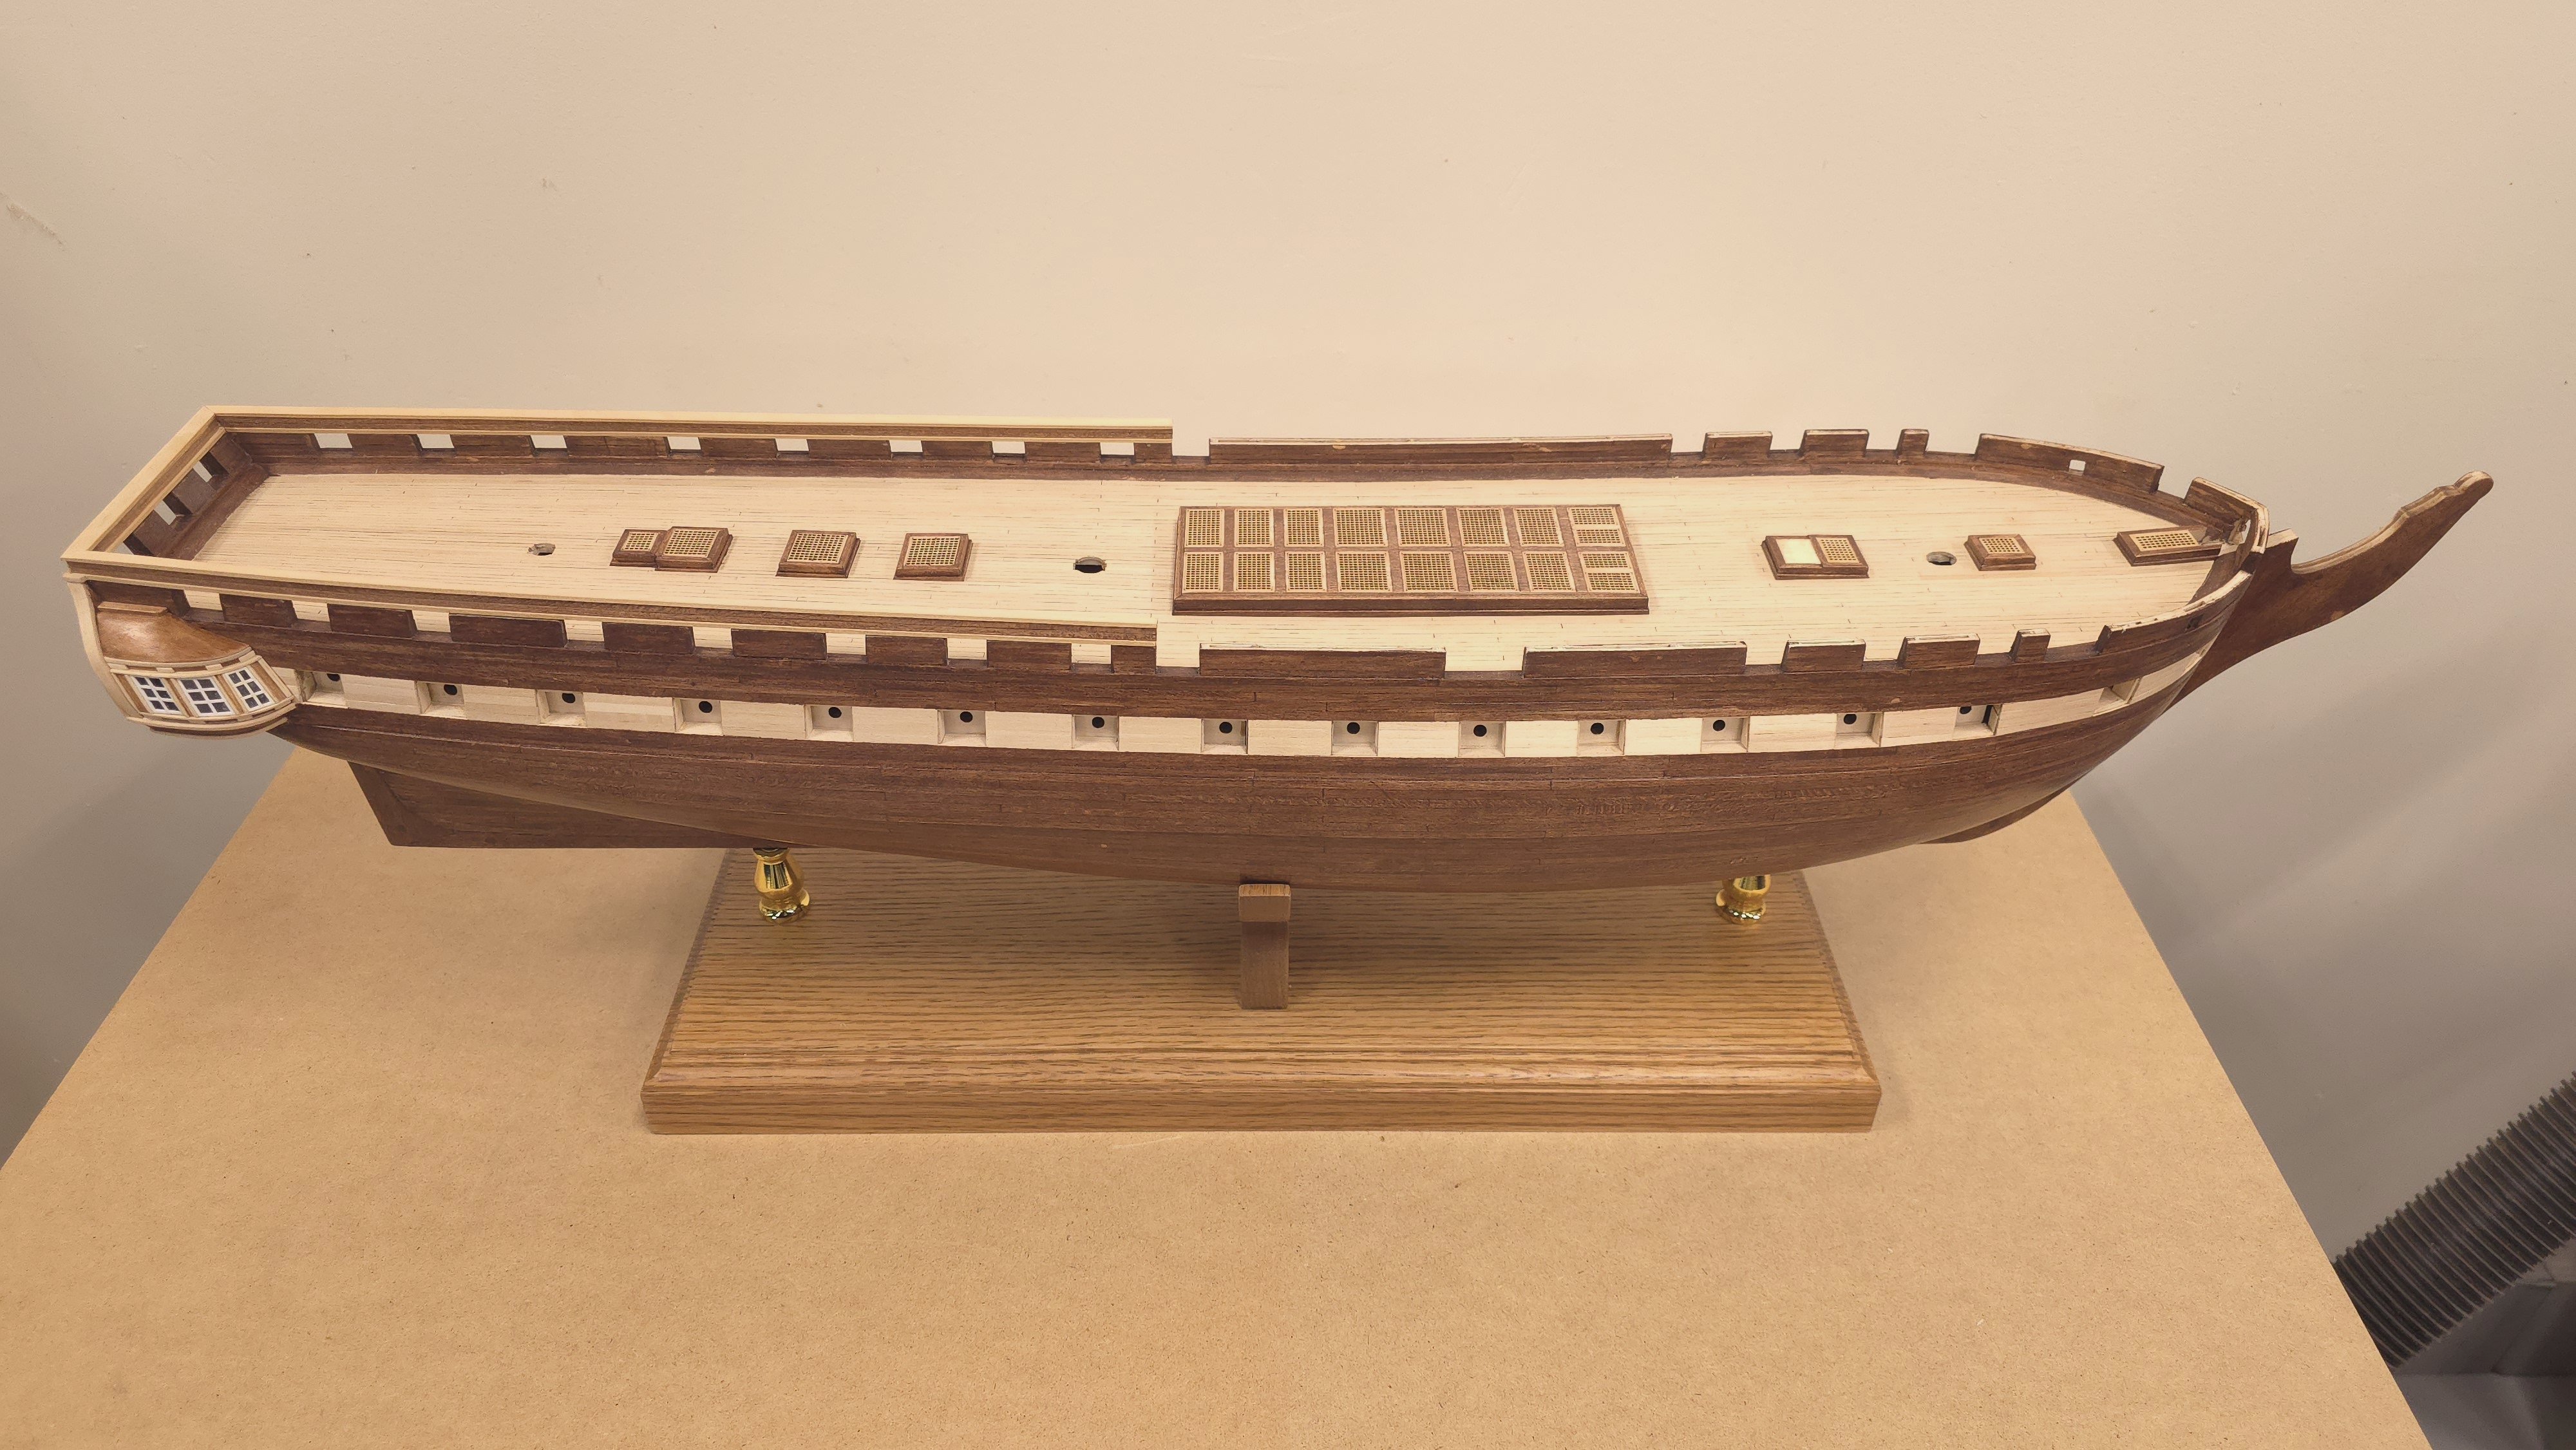
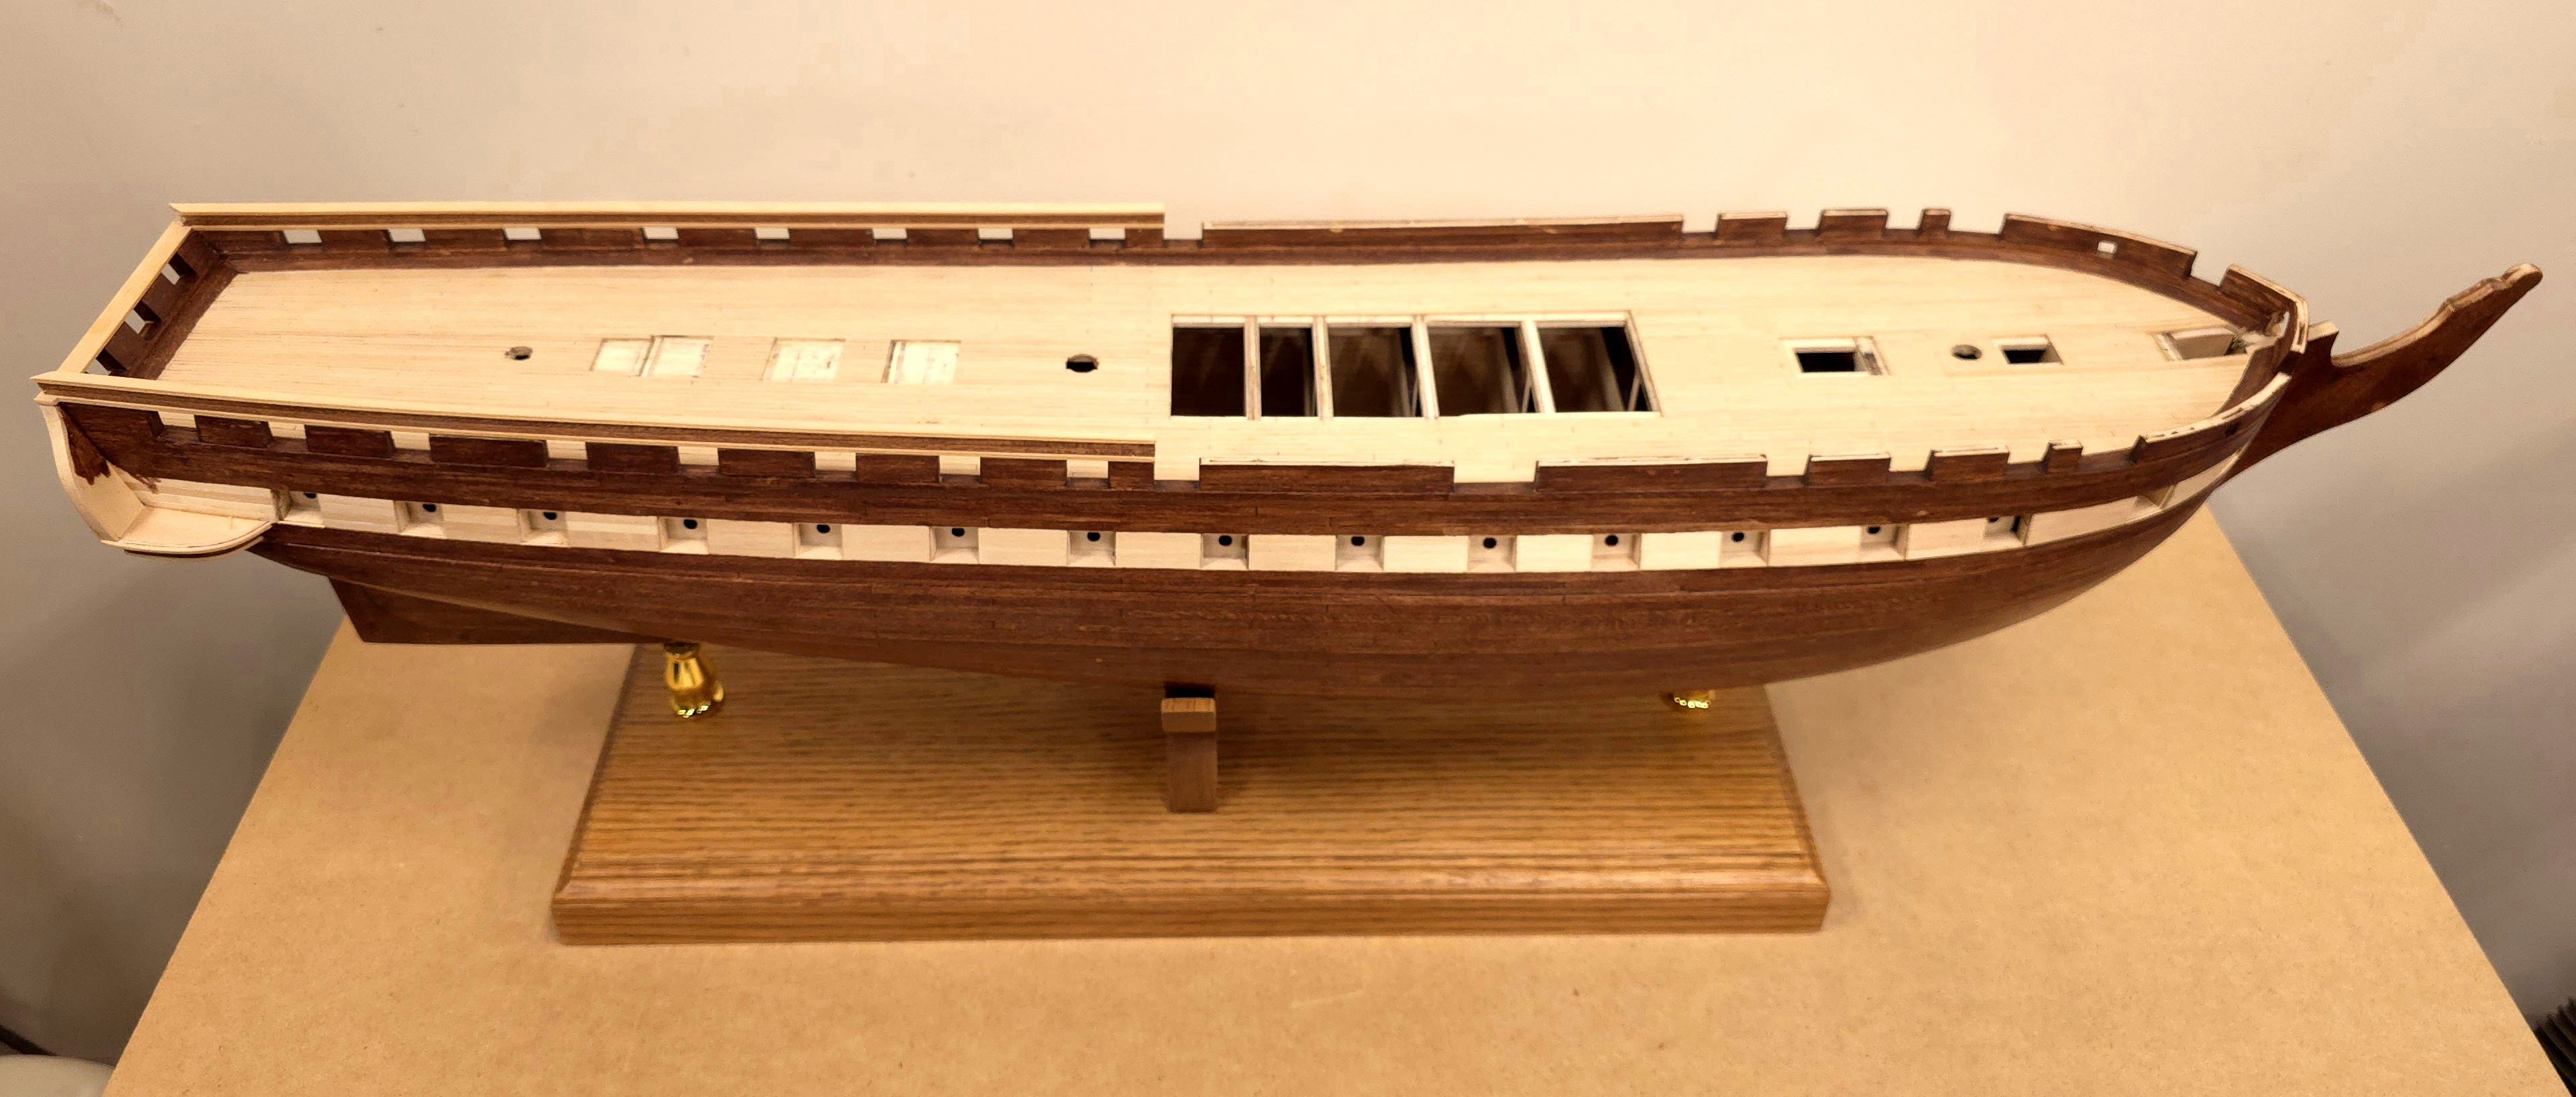
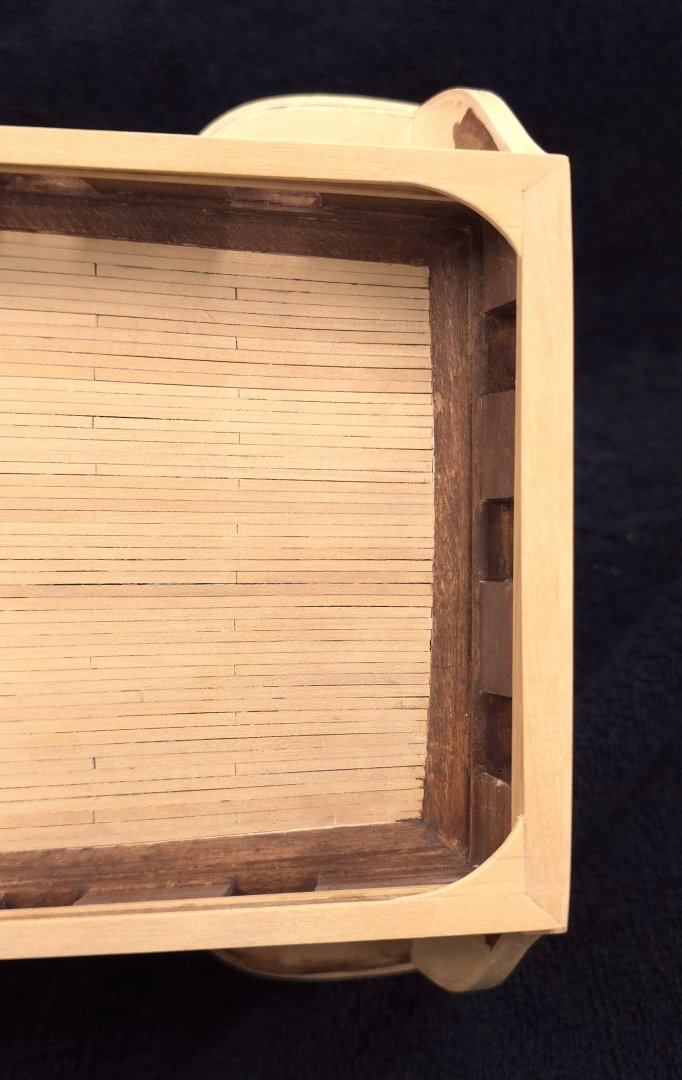
Sadly, with year end projects like our 2025 family calendar, Christmas card, and honey do list items, I have had to squeeze in the rare few minutes to get anything done at the shipyard. Continuing on with the main rail and the planking between that and the top Gallant rail.. Once again, Mr Filler Block has been busy. These provide more surface area to glue the planks to and add strength for future add-ons like cleats, etc.
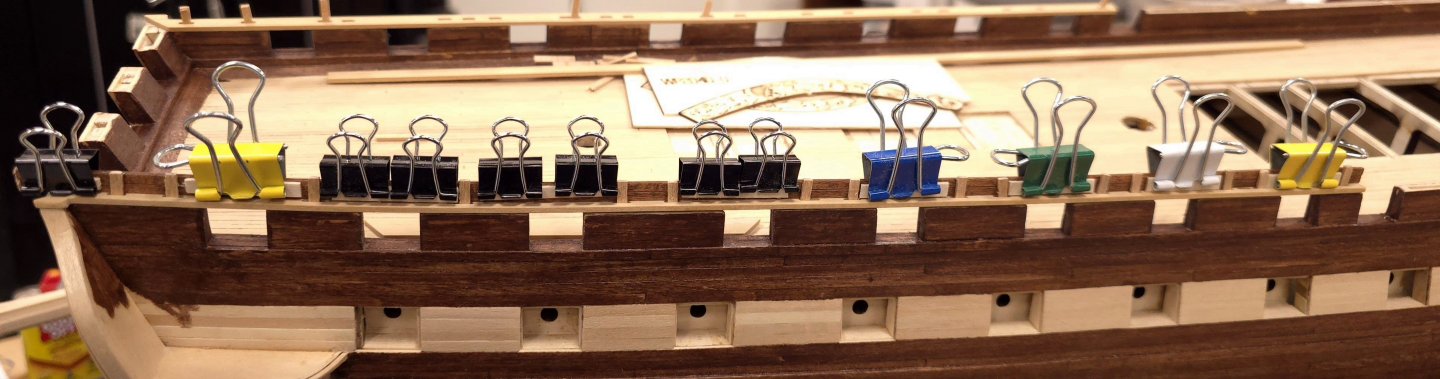


-
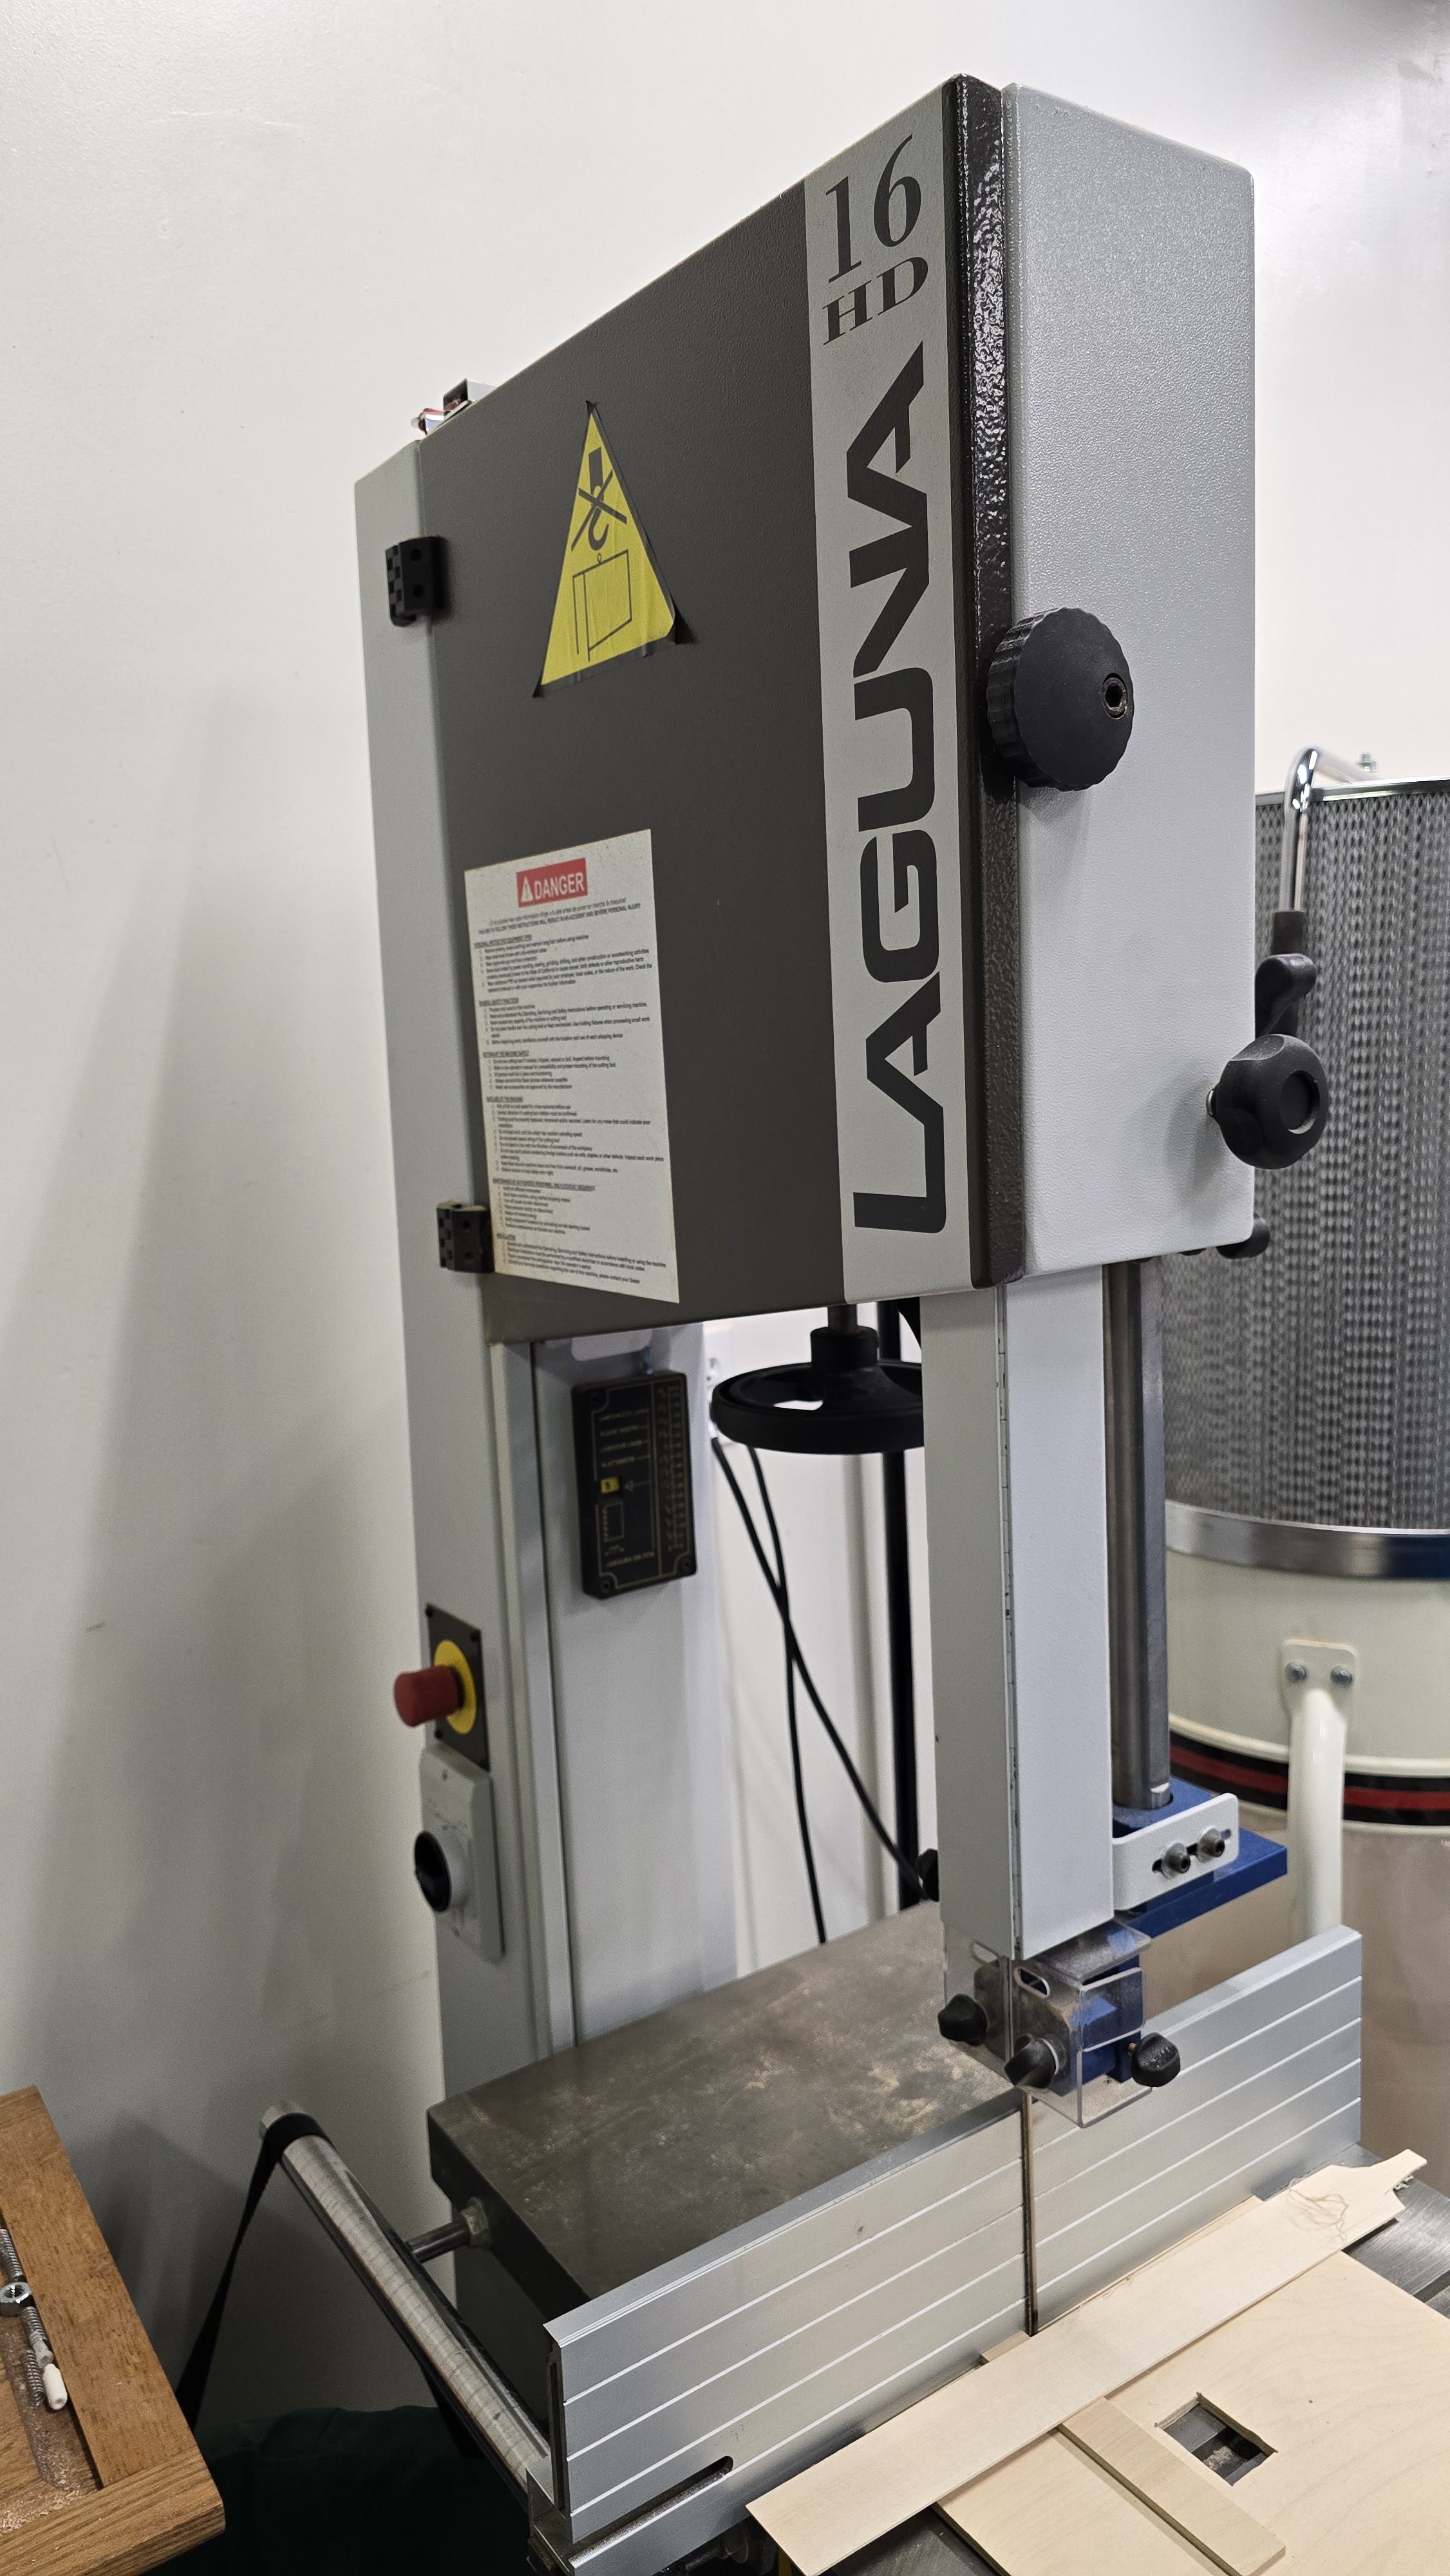
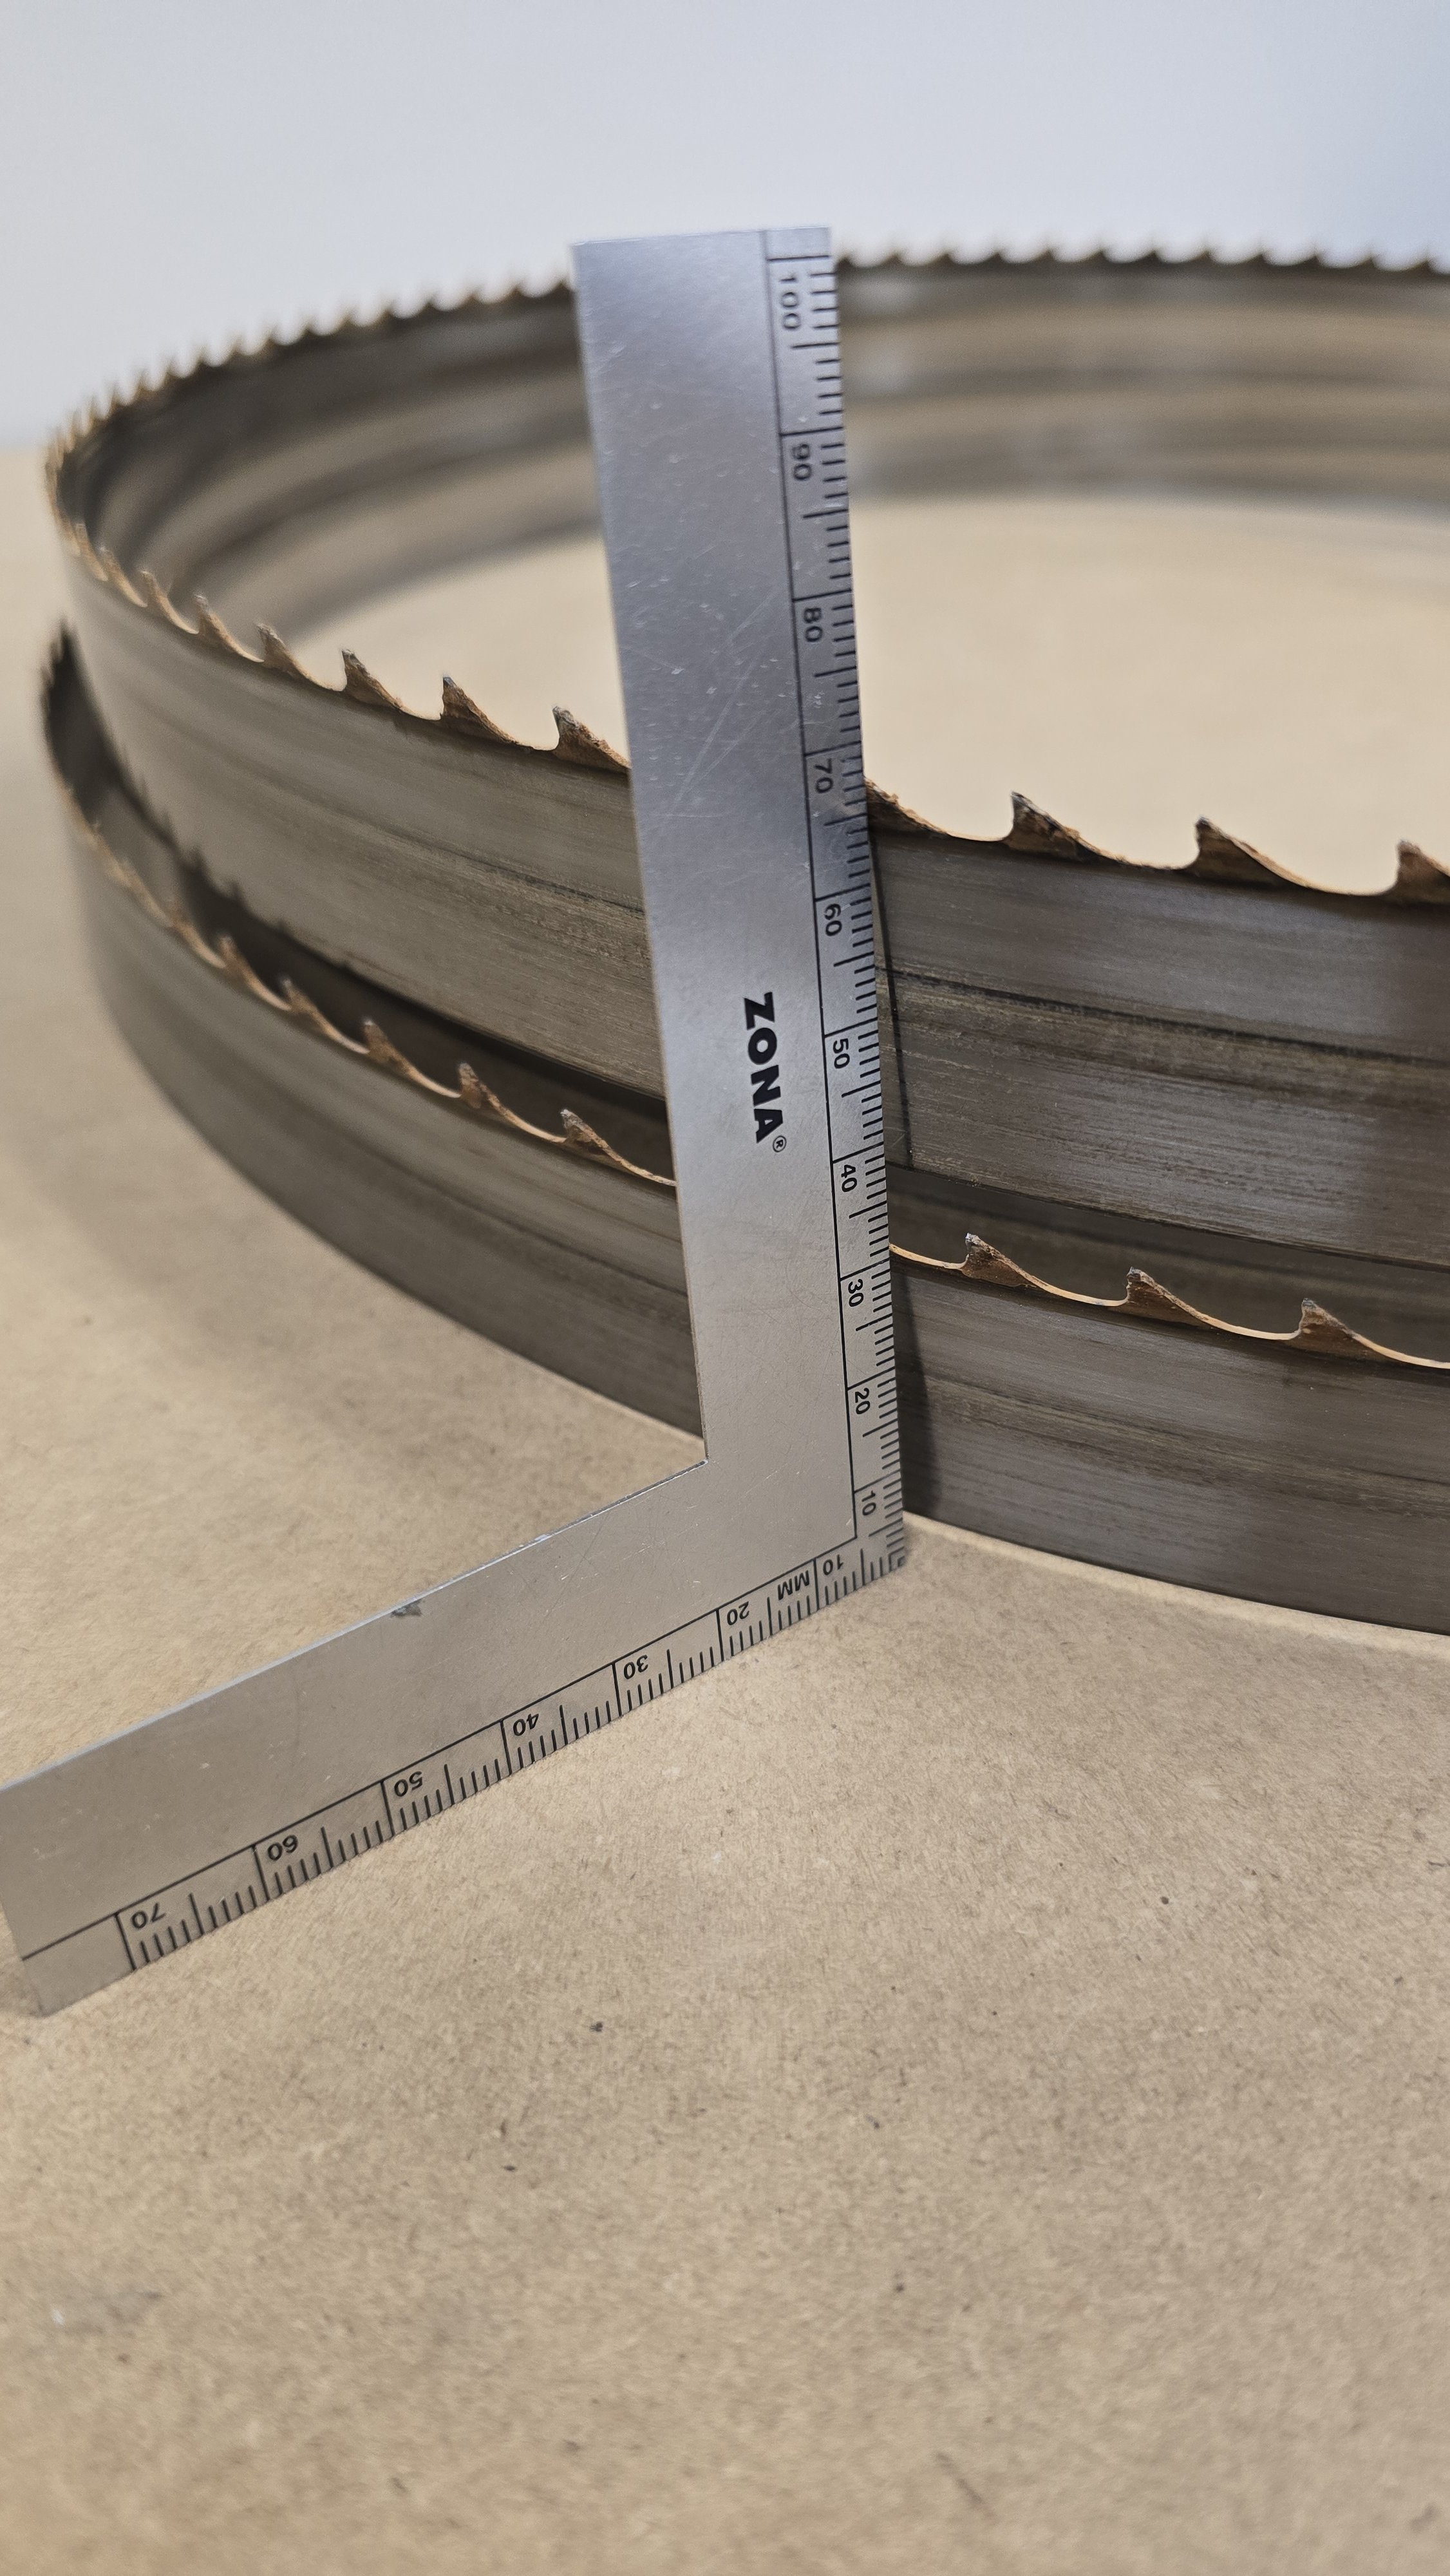
It's a one and a quarter inch resaw blade, with three teeth per inch. I bought it when I bought my Laguna bandsaw nearly 20 years ago. Geez, time flies! If you have cleanly sanded or planed faces, you can shave wood almost paper thin. It's a fantastic tool. That resaw blade is not presently on the bandsaw, in case you're wondering about the photos below. I needed a thinner blade for the tricky work on the bow and stern filler blocks.