-
Posts
90 -
Joined
-
Last visited
Content Type
Profiles
Forums
Gallery
Events
Everything posted by Richard50
-
Hi Augie, I don't mind where I sit, as long as I have a good view. Look forward to following the build.
- 2,191 replies
-
- confederacy
- Model Shipways
-
(and 1 more)
Tagged with:
-
Hi George, Welcome to MSW where you will be able to get any help you need with your very impressive build. I look forward to viewing the rest of the build. Richard (Jimbob)
- 83 replies
-
- agamemnon
- caldercraft
-
(and 1 more)
Tagged with:
-
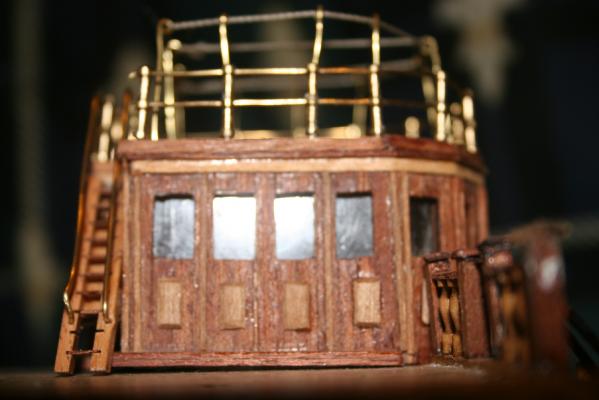
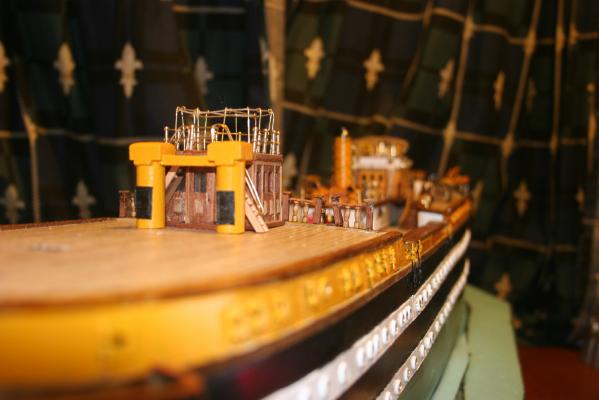
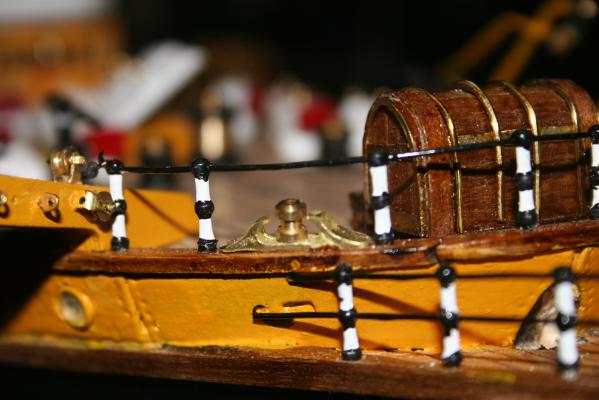
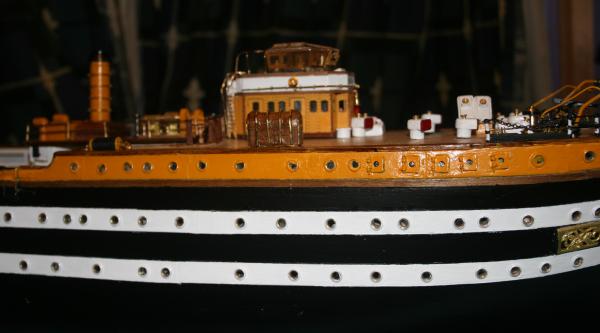
Thanks everyone for your birthday wishes. I will soon be adding more photos from my library. A few weeks back I decided the work I'd done so far was not as I wanted it to be. I removed everything from the deck, stripped back the varnish and re-sprayed the hull. I'm now rebuilding and replacing all the fittings. Most of the larger parts, the wheelhouse etc. needed some minor repairs, but I'm now much happier with the ship. I will continue to post photos of the build up until June of this year, then those of the re-built ship.
-
Hi Nick, (I hope I have the name correct) It is so good to see your attention to detail and the commitment you have to your project. I watch out for your postings each day, and find them very interesting; your photography is very good, which helps bring the model to life for us onlookers. Well done. Richard.
-
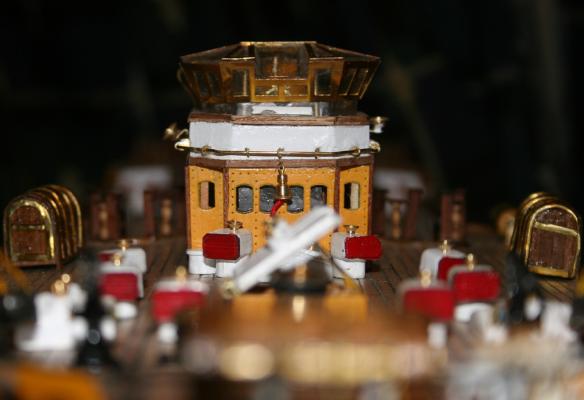
Hi Laps, I have been looking through your build log of Amerigo Vespucci with great interest. I have a long way to go before mine model will be finished. I only recently found Model Ship World, and wished I’d found it about a year ago. Up until this time I have been struggling with the very limited instructions, and the conflicts between them and the full size plans have caused problems. I purchased the kit in parts rather than all at once; a bit more expensive, but spreads the load a little. I was disappointed to find that not all the plans are included with the kit sections and had to purchase the plan pack to be sure of getting them all. Having looked at the work both you and Schiffebastler (Joachim) have presented, and noticing so many imperfection on my build, I have removed everything from the deck, repaired or re-built parts, scraped the deck back, and re-varnished. The hull is now masked ready for touch up to the paintwork, and then I will begin placing all the components back on the deck. I find it interesting to see the variation of colour and detail on peoples models; having access to so many photographs since it was launched makes it difficult to select a particular period of time to choose. I’m not sure if I’m brave enough to solder the conning tower as you have done! How much of a pain in the *** was it? How did you manage to maintain the correct angles? There are so many Ideas you and Joachim have show that I hope you both won’t mind if I adopt some of them. Thank you both for the time you have spent loading all this information on to the web site for fairly new modellers to learn from.
-
I have enjoyed looking through your build, and what an excellent build it is. I'm a little way behind you on my build of Amerigo Vespucci but having a great time in building her. The lifeboats on my model differ from yours, and I wonder if you can tell me where I could obtain the plan; they look as if they might be the original style from 1931. Like your, there are no propellers supplied with the kit, I too will be including them as a result of seeing what you have done. Thanks for the pleasure of seeing your photos, I will be including more to my build log soon. Best wishes.
-
Hi Edwin, firstly, my apologies for not responding to your comments earlier, ill health sometimes make it difficult for me to be at my computer as much as I would like. Thanks for the tip about the apron, I tried fastening one to the desk with bulldog clips, but it didn’t work to well for the reasons you mentioned; fortunately no harm to any models, just pride. You will enjoy building the Amerigo Vespucci I’m sure, but don’t rely on much help from the manuals. They vary from the main plans, have very little detailed information, and when research on the internet, you will come acoss many versions of the build. I think this happens because the ship, which is still sailing has been seen in its own changes which have been documented since the launch in 1931. I have many more photographs of my build to place on Model Ship World which might be of some help, even if it is to avoid many of the errors I have made and corrected (I hope). Good luck with the build Jimbob (Richard)
-
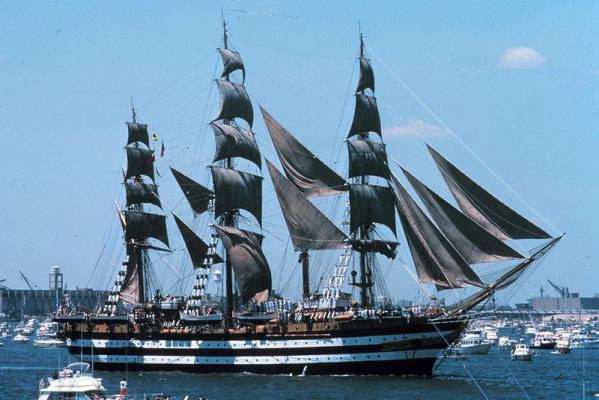
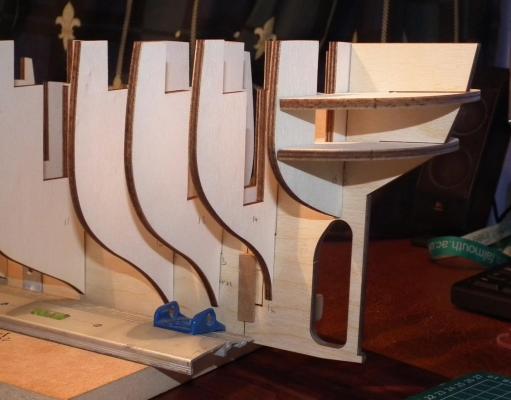
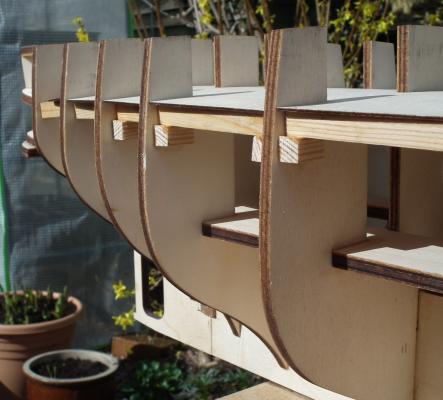
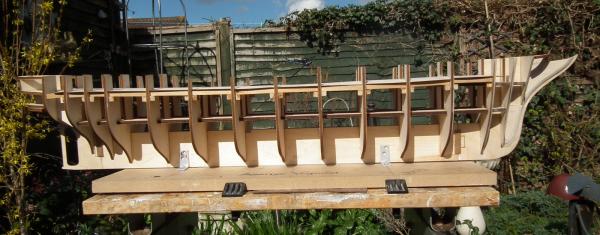
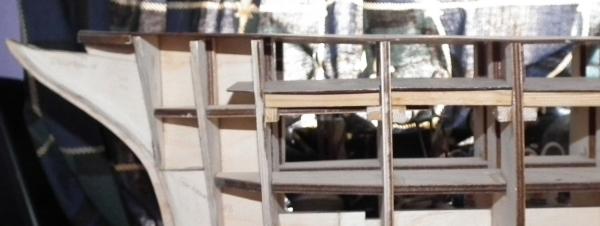
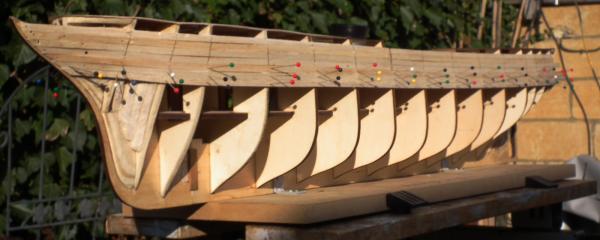
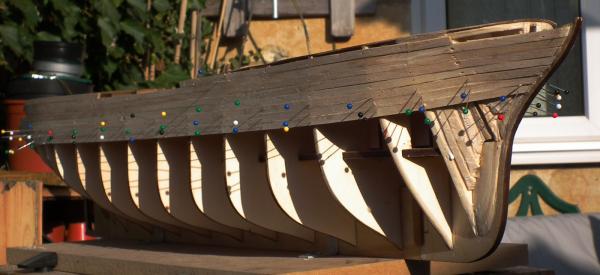
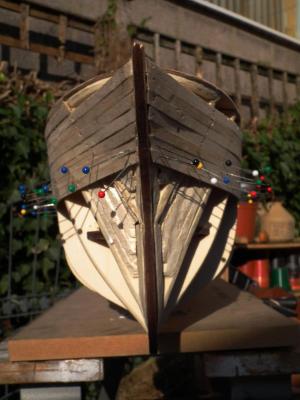
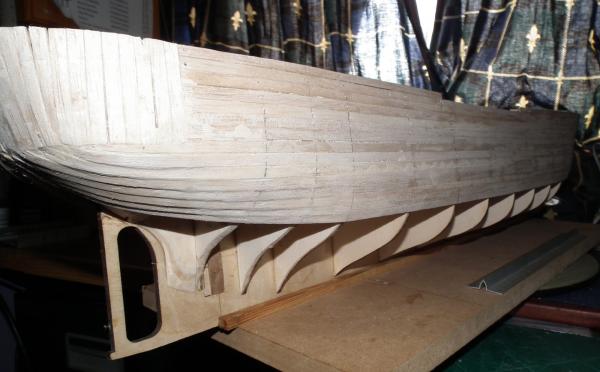
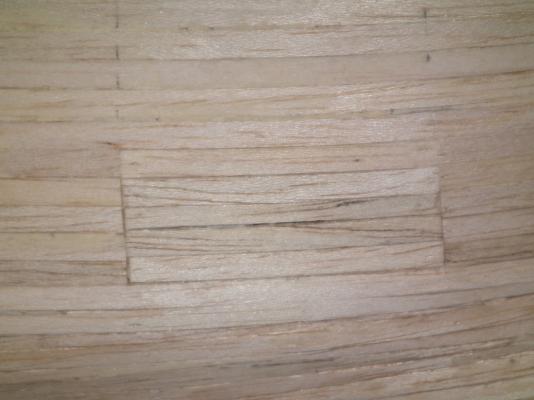
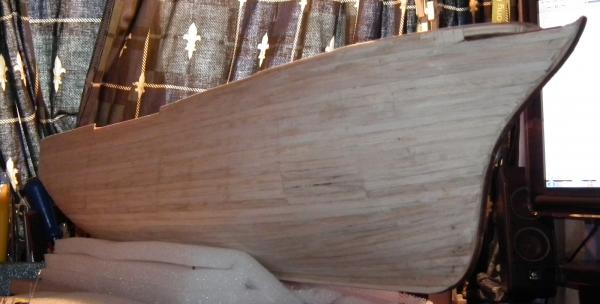
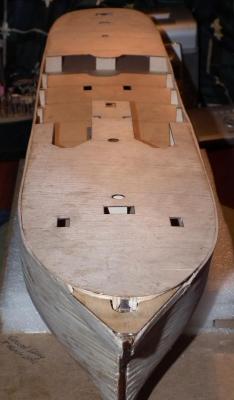
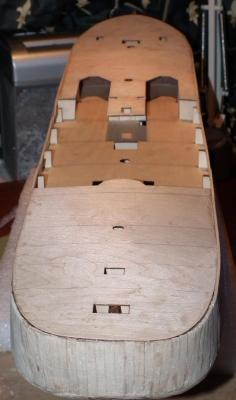
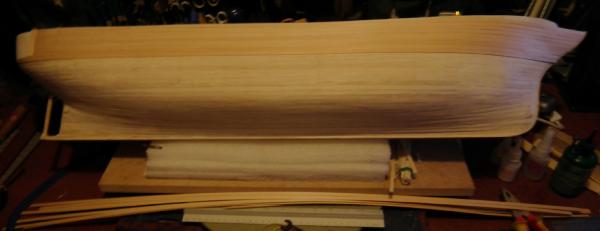
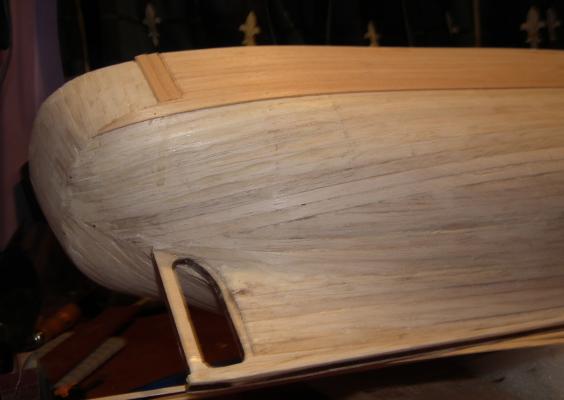
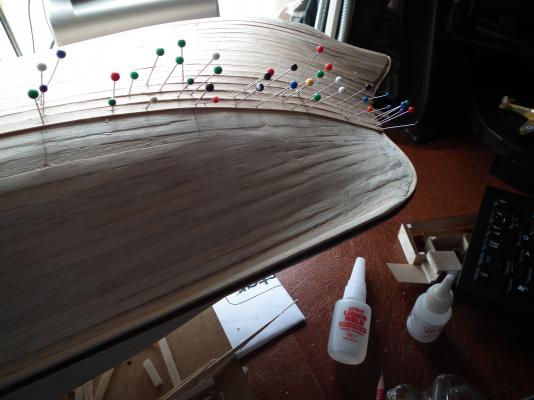
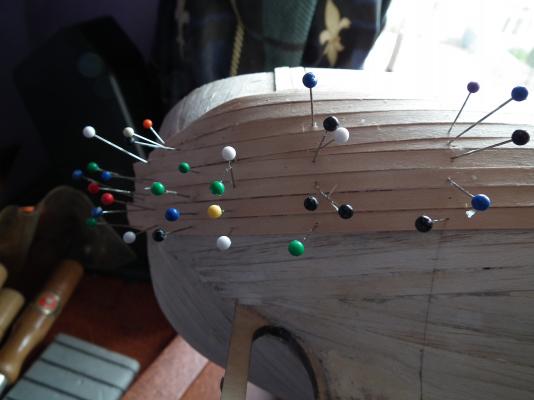
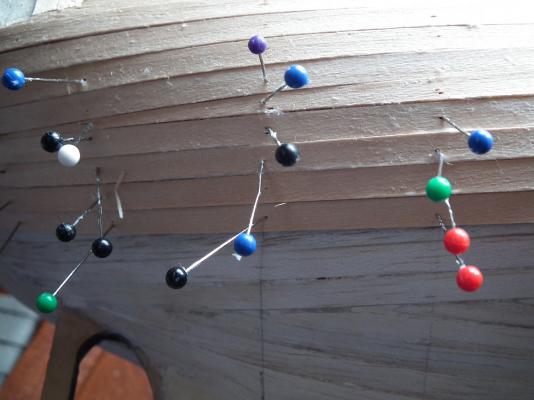
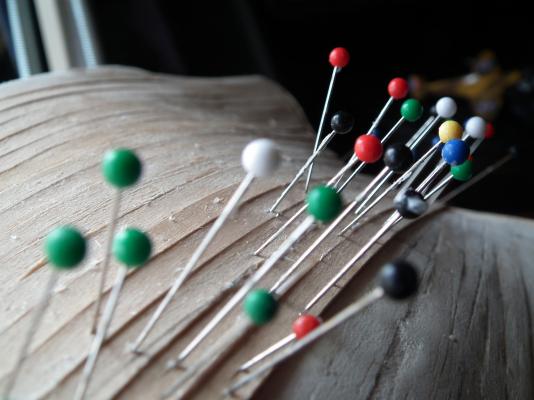
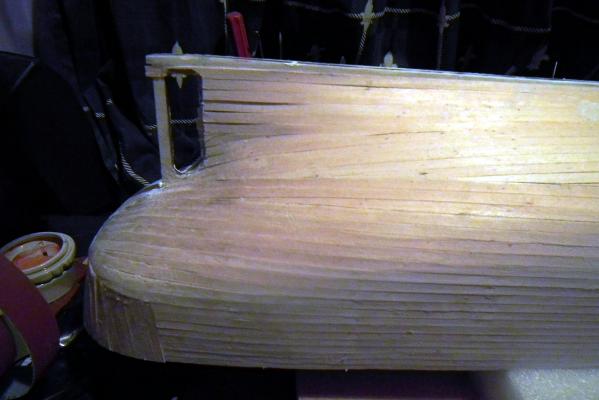
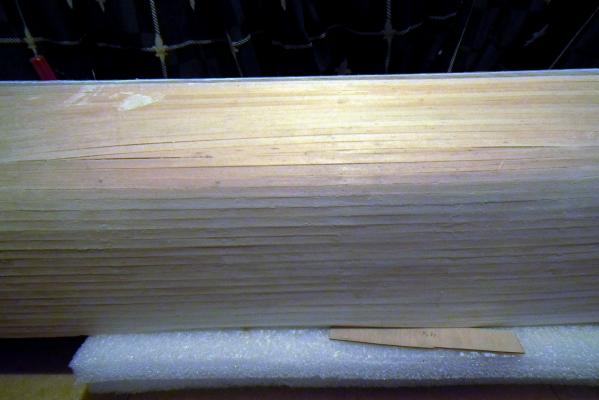
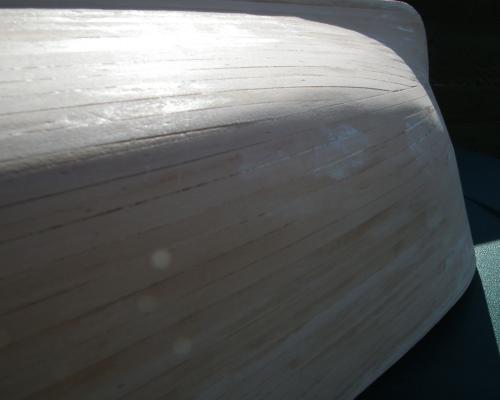
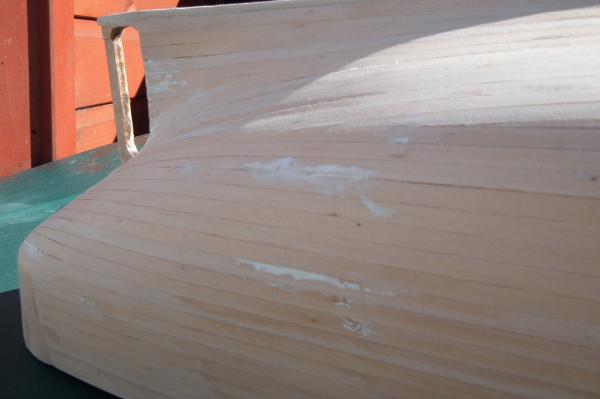
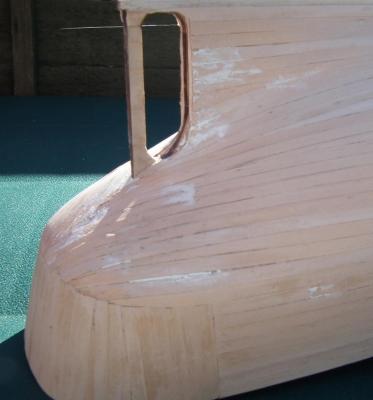
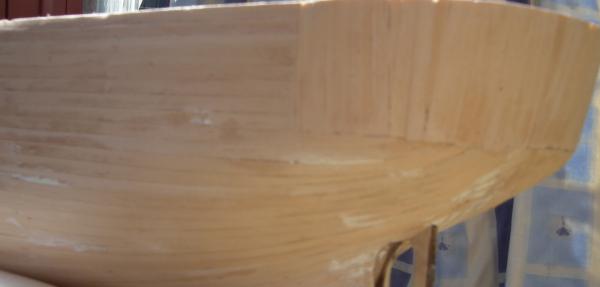
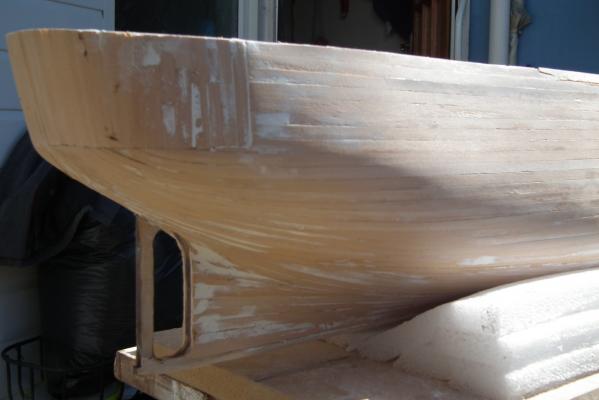
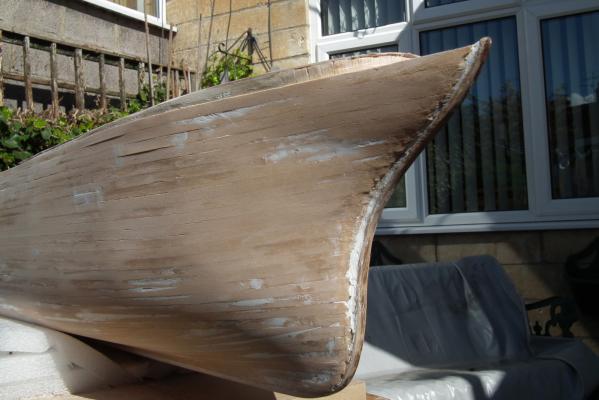
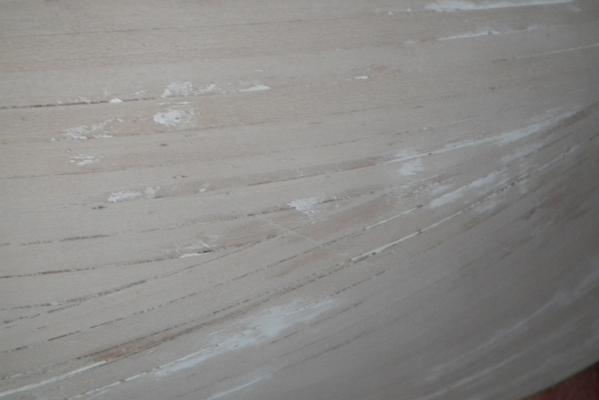
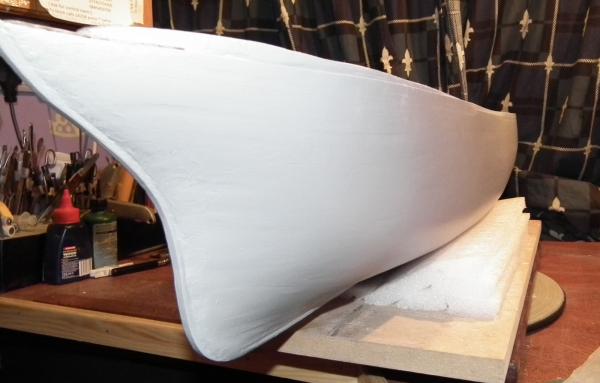
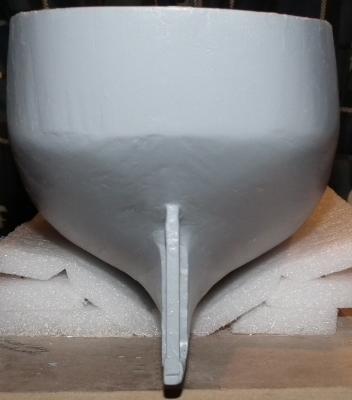
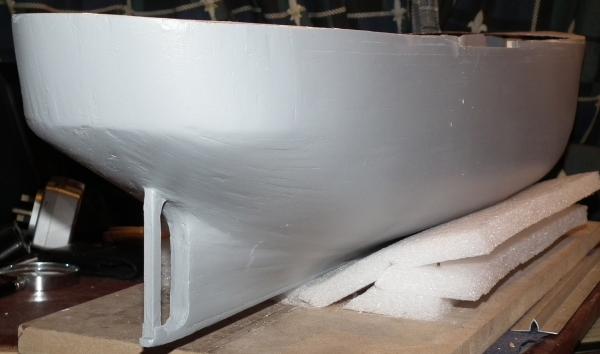
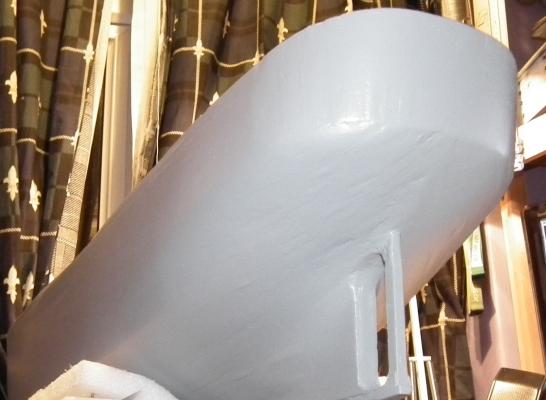
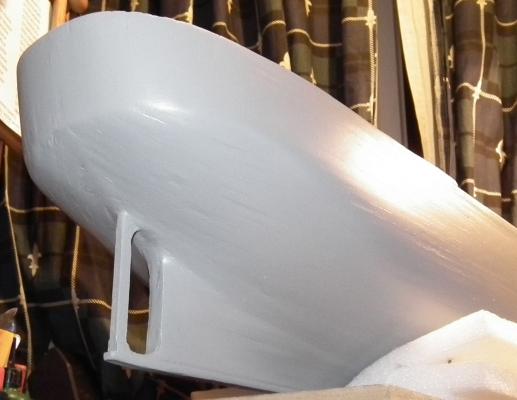
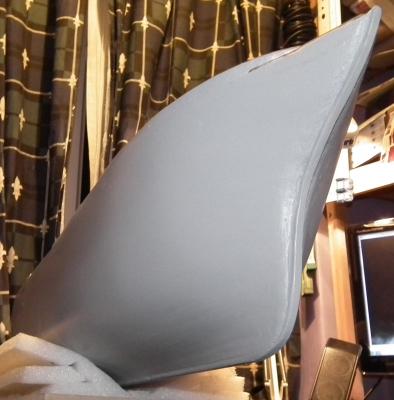
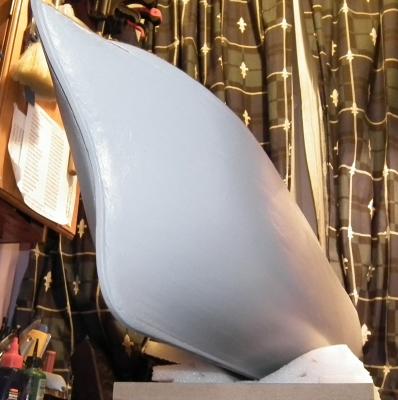
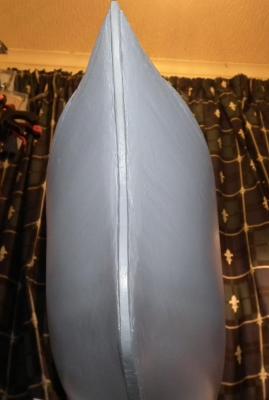
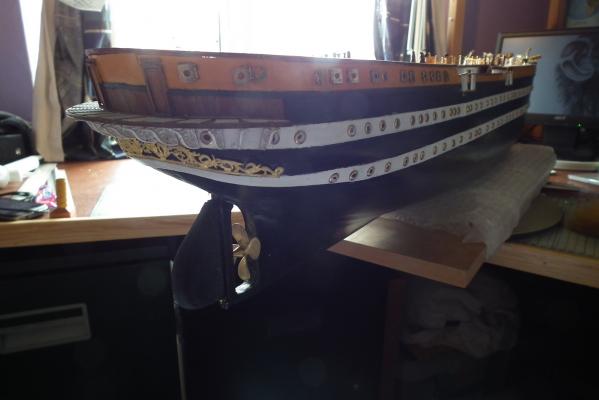
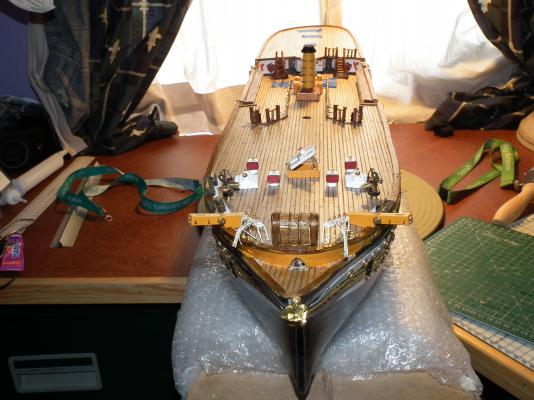
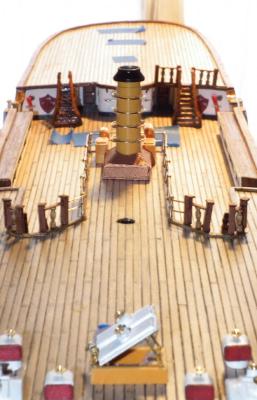
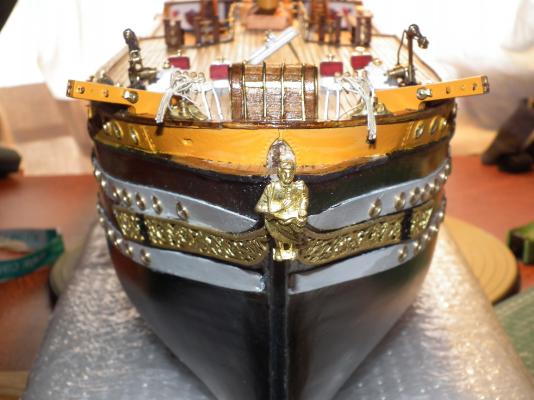
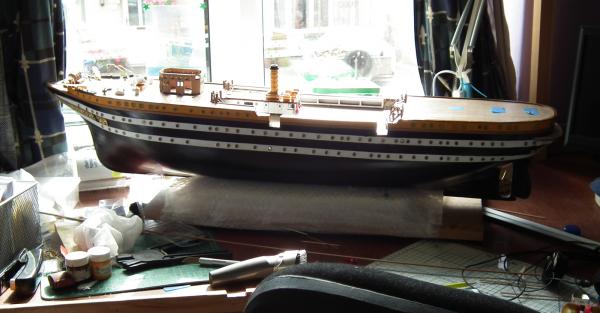
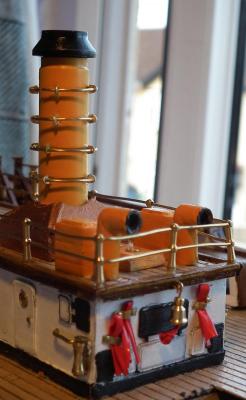
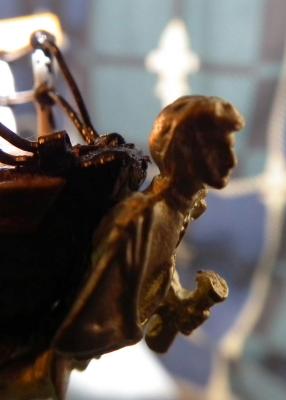
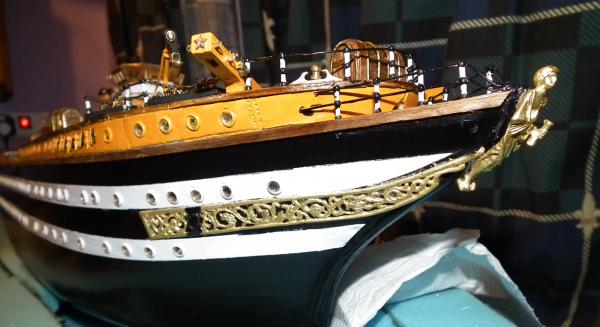
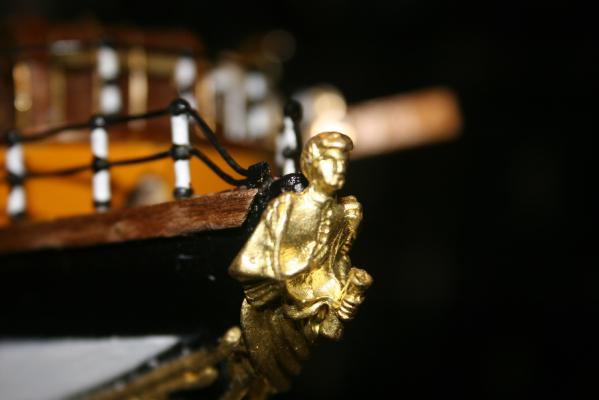
Here goes, my first time building a log on MSW. If I've not created this properly, please let me know. But first, here is a brief history about the ship. In 1925, the Regia Marina ordered two school ships to a design by General Lieutenant Francesco Rotundi of the Italian Navy Engineering Corps, inspired by the style of large late 18th century 74-cannon ships. The first, the Cristoforo Colombo, was put into service in 1928 and was used by the Italian Navy until 1943. After World War II, this ship was handed over to the USSR as part of the war reparations and was shortly afterwards decommissioned. The second ship was the Amerigo Vespucci. It was built in 1930 at the Regio Cantiere Navale of Castellammare di Stabia, near Naples, where it was launched on February 22, 1931, on the 50th anniversary of the naval academy’s foundation. It is still in use as a school ship. The ship also carries out the role of ambassador for culture and Italian naval tradition, as it takes part in several important activities and events all over the world. The vessel is a 101m long steel hull sailing ship with engine and three vertical steel masts. The hull is painted black with two white stripes in reference to the two gun decks of the original ships the design is based on. All the sails are traditional canvas sails, and all the ropes of the rig are traditional hemp ropes; only the mooring lines are synthetic, to comply with port regulations. Originally it had 2-stroke 6-cylinder FIAT Q 426 engines, but in 1964 these were replaced with two 4-stroke, 8-cylinder FIAT B 308 ESS diesel engines. The newer engines generate electric power for one electric propulsion motor. Its motto is 'Not those who begin but those who persevere', a sentence attributed to Leonardo Da Vinci. The Dry Fit. She is certainly is a large model! I began with a dry fit; everything fell in place with just some minor corrections to make sure the deck would be level. The replacement deck appeared to be thinner than original so I decided to reinforce the deck with additional pieces between the bulkheads. Bulkhead and deck fitted. The bulkheads are in place, shaped and glued. I think I have shaved the 1st bulkhead a bit too sharp of an angle near the top. I also plan to fill the stern and bow sections with balsa wood to help with the shaping of the planks. The top decks are temporarily in place and will be remove to make planking of the deck, and the walls between decks in kit No.2 First Planking The first planking appeared to fit well with no real problems apart from me dropping the hull carrying it between rooms putting a hole, about the size of a 10p coin. As you can see, a section was cut out, strengthening planks glued behind, and then first planking laid on the top. I am slowly loosing the use of my hands and arms; I think I have a good hold on something but find out too late. That the grip has gone. I spend a great deal of my time looking for items which have dropped on the floor. Some of the work was carried out in the back garden; taking advantage of the warm spell in March. There is an option with this kit to cove the first planking with a fine material the dope or to do the more conventional method of second planking; I chose the latter. Second Planking. The second planking on the port side went very well, but had a problem with the bottom half of the starboard side which was striped out and restarted. There is still a lot of finishing off to be done before the first coat of primer is sprayed on. This is a POF model but has to have a metal hull finish so any impressions of the planking have to be emoved or covered. Perhaps useing the option of covering the first layer of planking with the material and painting over with dope might have been better, but I'm pleased I choose the wallnut planking. First coat of primer. This first coat of primer has shown up many imperfections that will require some work on. Cabins It has been a while since loading up the first lot of photographs. This part of the build was about a year ago, and I hope to bring the log up to date during the next few days. I managed to loose the photos of the cabin build, but it was quite a difficult task for me. The plans were vague without much direction. It took several attempts to get it to this stage Decking and Bulwarks The Deck Planking went well. I used 1mm thread between the planks, and pencil lines for the joints. The bulwarks were not easy to fit. Whichever way I tried them they never looked right, I’m ot sure they are correct now. A few more pictures to add to the build. These were taken several months ago but I have only just got back to loading them, there are more to come but about 6 weeks back I decided I was not happy with all sorts of things, so I stripped everything off the deck to begin again. It will become more evident as to what I've done when I complete loading all the photographs.
About us
Modelshipworld - Advancing Ship Modeling through Research
SSL Secured
Your security is important for us so this Website is SSL-Secured
NRG Mailing Address
Nautical Research Guild
237 South Lincoln Street
Westmont IL, 60559-1917
Model Ship World ® and the MSW logo are Registered Trademarks, and belong to the Nautical Research Guild (United States Patent and Trademark Office: No. 6,929,264 & No. 6,929,274, registered Dec. 20, 2022)
Helpful Links
About the NRG
If you enjoy building ship models that are historically accurate as well as beautiful, then The Nautical Research Guild (NRG) is just right for you.
The Guild is a non-profit educational organization whose mission is to “Advance Ship Modeling Through Research”. We provide support to our members in their efforts to raise the quality of their model ships.
The Nautical Research Guild has published our world-renowned quarterly magazine, The Nautical Research Journal, since 1955. The pages of the Journal are full of articles by accomplished ship modelers who show you how they create those exquisite details on their models, and by maritime historians who show you the correct details to build. The Journal is available in both print and digital editions. Go to the NRG web site (www.thenrg.org) to download a complimentary digital copy of the Journal. The NRG also publishes plan sets, books and compilations of back issues of the Journal and the former Ships in Scale and Model Ship Builder magazines.


