HOLIDAY DONATION DRIVE - SUPPORT MSW - DO YOUR PART TO KEEP THIS GREAT FORUM GOING! (Only 36 donations so far out of 49,000 members - C'mon guys!)
×


marktiedens
-
Posts
1,737 -
Joined
-
Last visited
Content Type
Profiles
Forums
Gallery
Events
Everything posted by marktiedens
-
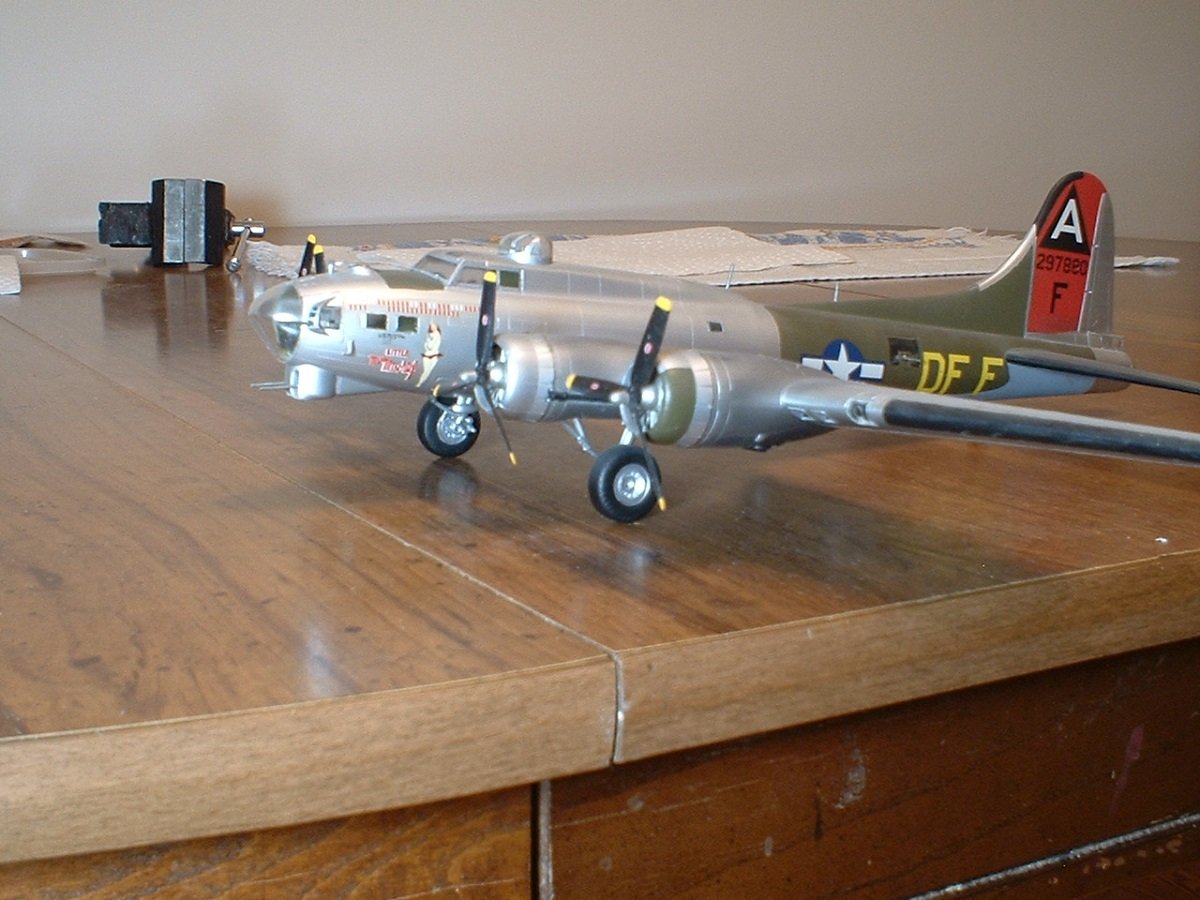
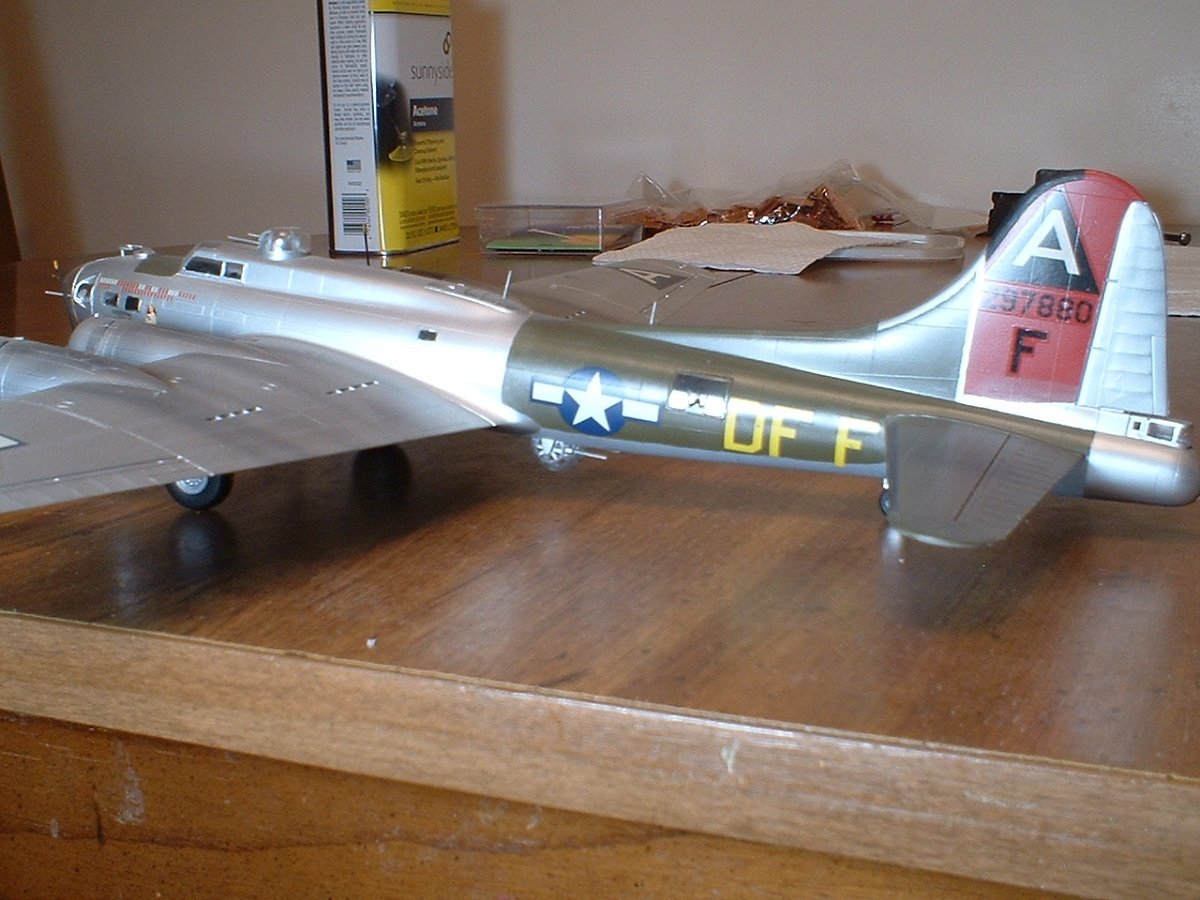
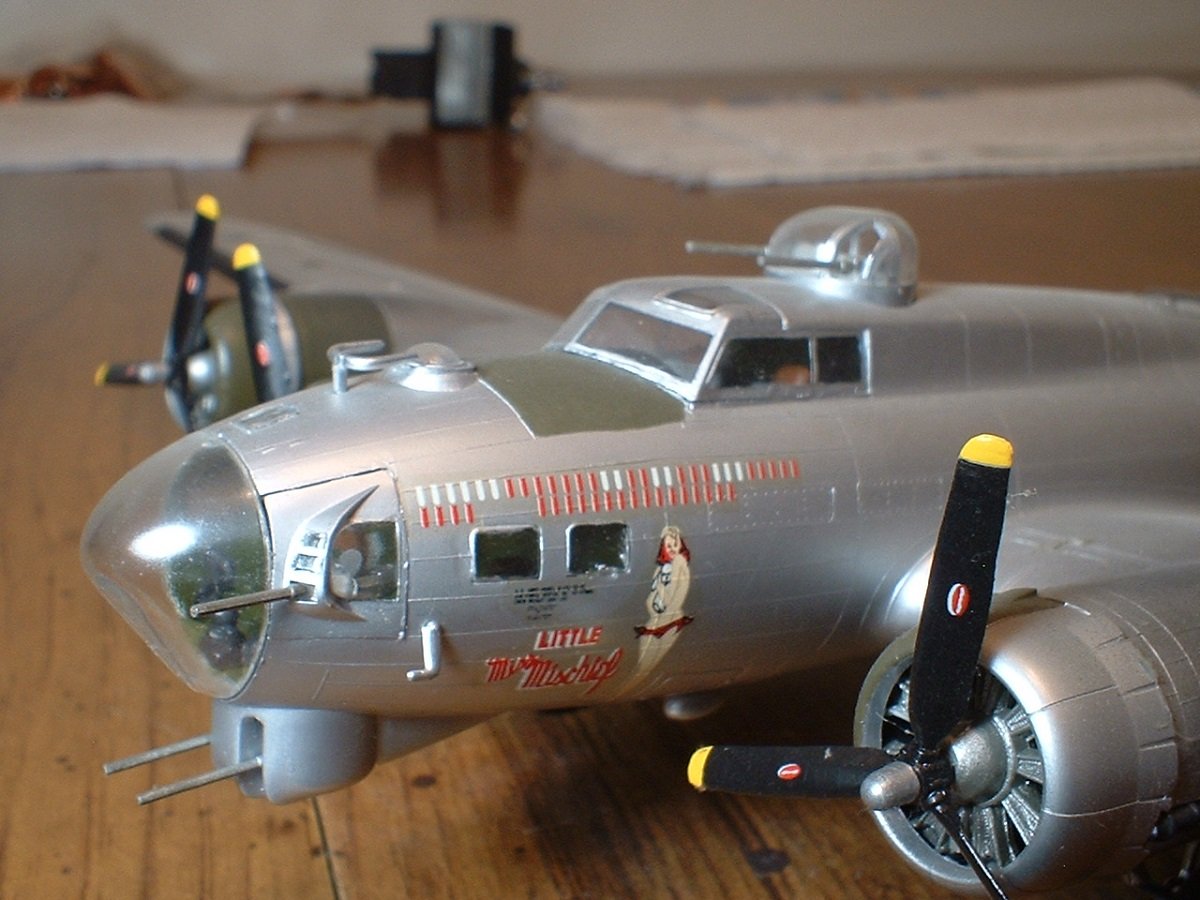
Yea,it was built straight from the box - no PE back then. I think I got that far left engine cowling 180 off. Mark
-
Hey Denis - here`s something I threw together MANY years ago......don`t remember the brand - may have been Revell or Monogram. Mark

- 247 replies
-
- 11
-

-
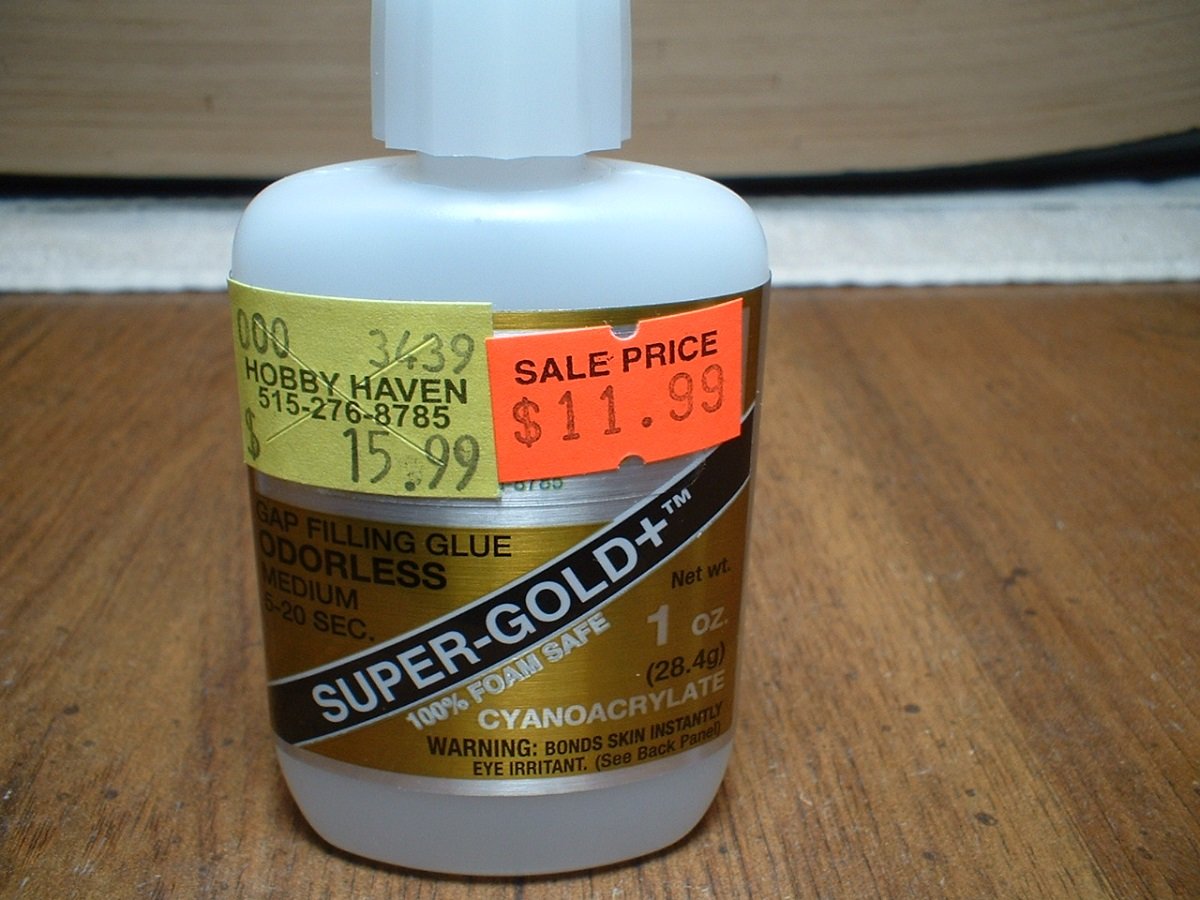
Snowy - Thanks. I will add a picture of the container. It`s made by BSI here in the states. It says it`s an eye irritant,but I haven`t noticed any irritation - unlike regular CA,which makes my eyes water among other things. Thanks zappto - yes,it is quite the project. I don`t know where I am going to put it when finished. Mark
-
I am using an odorless medium viscosity CA. It`s a bit pricey,but doesn`t seem to have the bad reactions of regular CA,so worth the extra cost to me. Mark
-
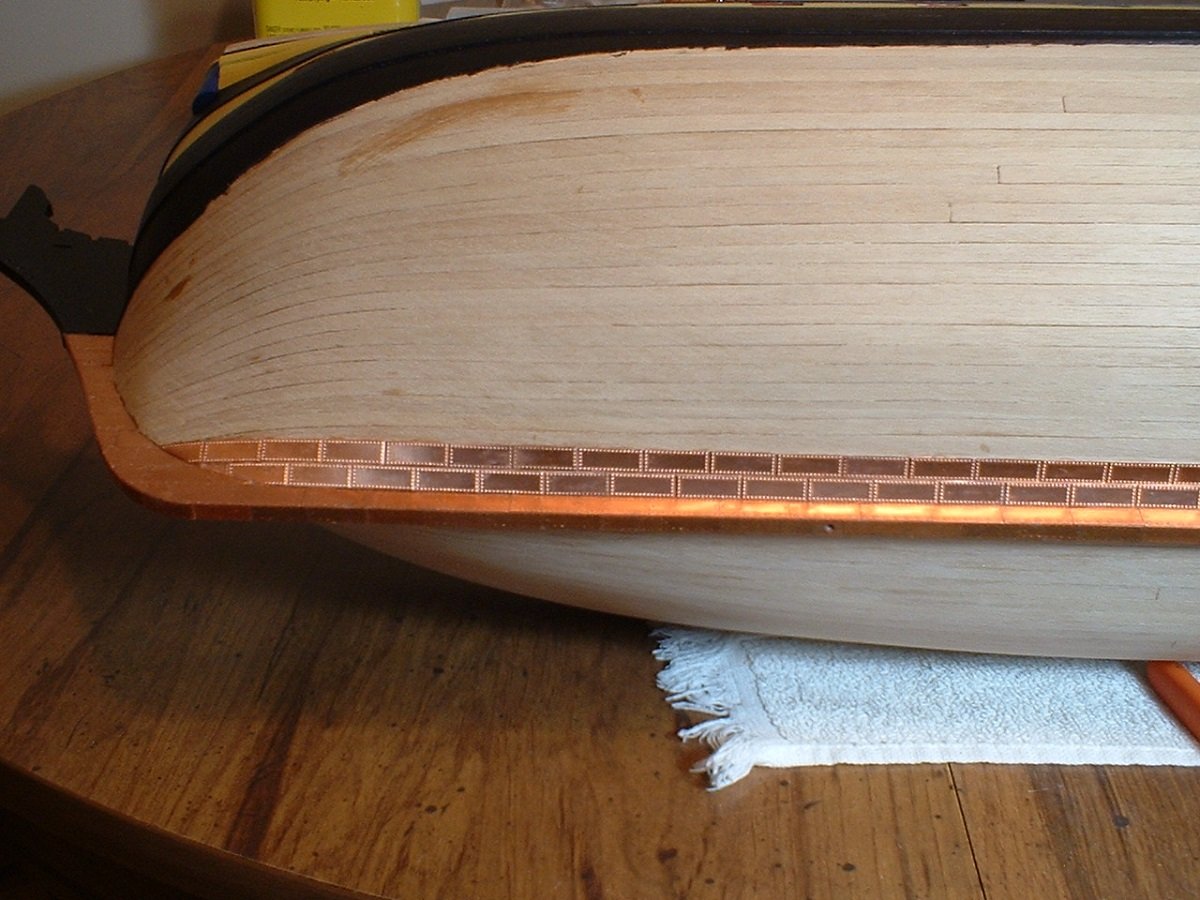
Hi everyone. Not a lot to show,but I have started the coppering. I decided to cover the keel first - I have some copper plates that were just the right width to cover the keel without a lot of cutting & fiddling. They had some really large nail detail,so I flattened them by squeezing them in a vice. The rest of the plates I will use as-is. I should be farther along,but I`m not overly motivated with all the bad news lately. The keel plates are from Model Expo & the rest of the hull will be covered by plates from Jotika (Caldercraft). Thanks for looking in. Mark
-
Bell UH-1H Huey By lmagna - Dragon - 1/35 - PLASTIC
marktiedens replied to lmagna's topic in Non-ship/categorised builds
Hi guys - I am also a member of the bad hearing club! however,I finally broke down & got some hearing aids - the fancy ones that I can pair to a smartphone. So,the next thing on my list is to get a smartphone. I had quit going to the movie theaters because I couldn`t understand half the dialogue,plus when I watched tv that`s all I did was watch it - couldn`t hear a lot of the dialogue. I am still getting used to them,but am happy with them overall. The bad thing is my medicare plan only covered a bit over half the cost. I don`t why they cost so much other than they are considered a "medical device". I think if you took a pair of tweezers & tagged them as a medical device you could sell them for 5 times the normal price!! Mark -
Thanks guys - yes,OC - the edges are not that even. They actually have a little curl in them which I could not fully flatten out. What makes it so hard to work with is it is only .025mm thick - it bends over just by blowing on it. At least I can say I tried it! Before I continue with the copper I think I will get the stand put together so I can drill a couple of holes in the keel for mounting it. Peeked in on your Constitution,Jeff - I hope my copper turns out as good as yours. Mark
-
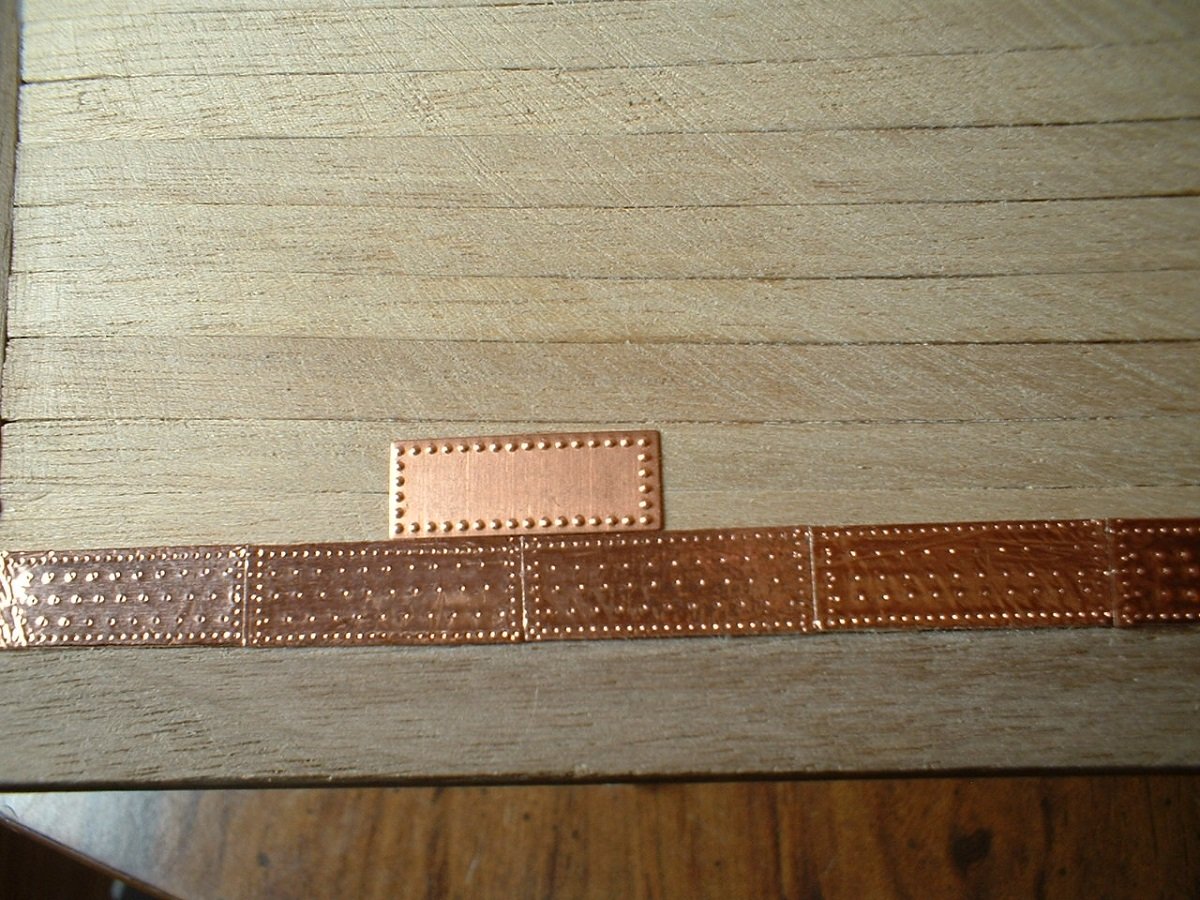
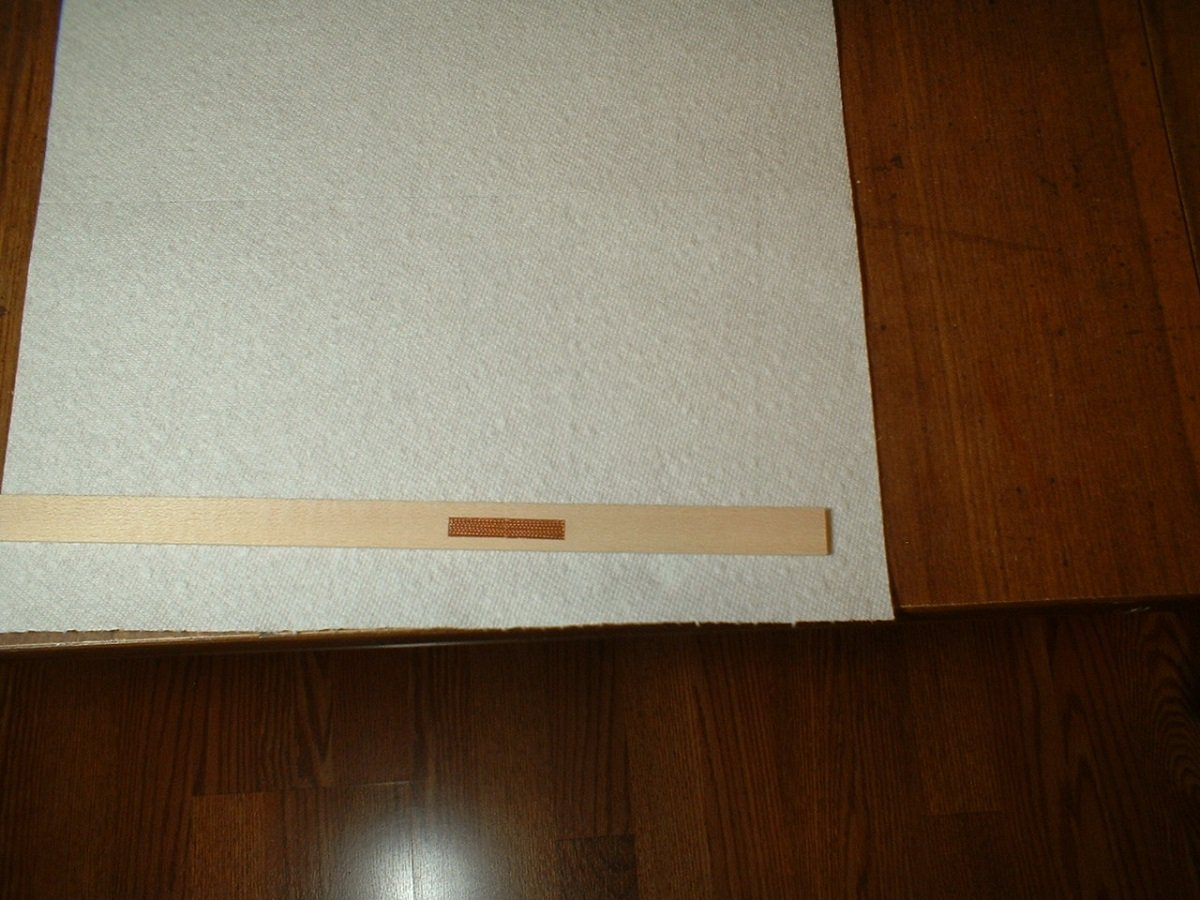
Hi all - I think my experiment with the copper foil tape is over. This stuff is awful to work with! By the time I get the backing peeled off it`s all curled up & nearly impossible to flatten it back out without wrinkles. I also couldn`t get a consistent pattern of nails on it,plus I had a hard time laying it in a straight line. By the time I pulled it off several times & repositioned it the glue on the back didn`t want to stick very good. It is also way too shiny & a lot of the edges had some sort of dark stain on them which I couldn`t get off. On top of that,I totally ran out of cuss words trying to work with this stuff! I am therefore going to use the plates I have from Jotika. The "nails" may be a bit out of scale,but they still look decent plus they are easy to work with. I have 3000 of them,which should be plenty. The picture shows some of the copper tape I tried along with one of the Jotika plates. Mark
-
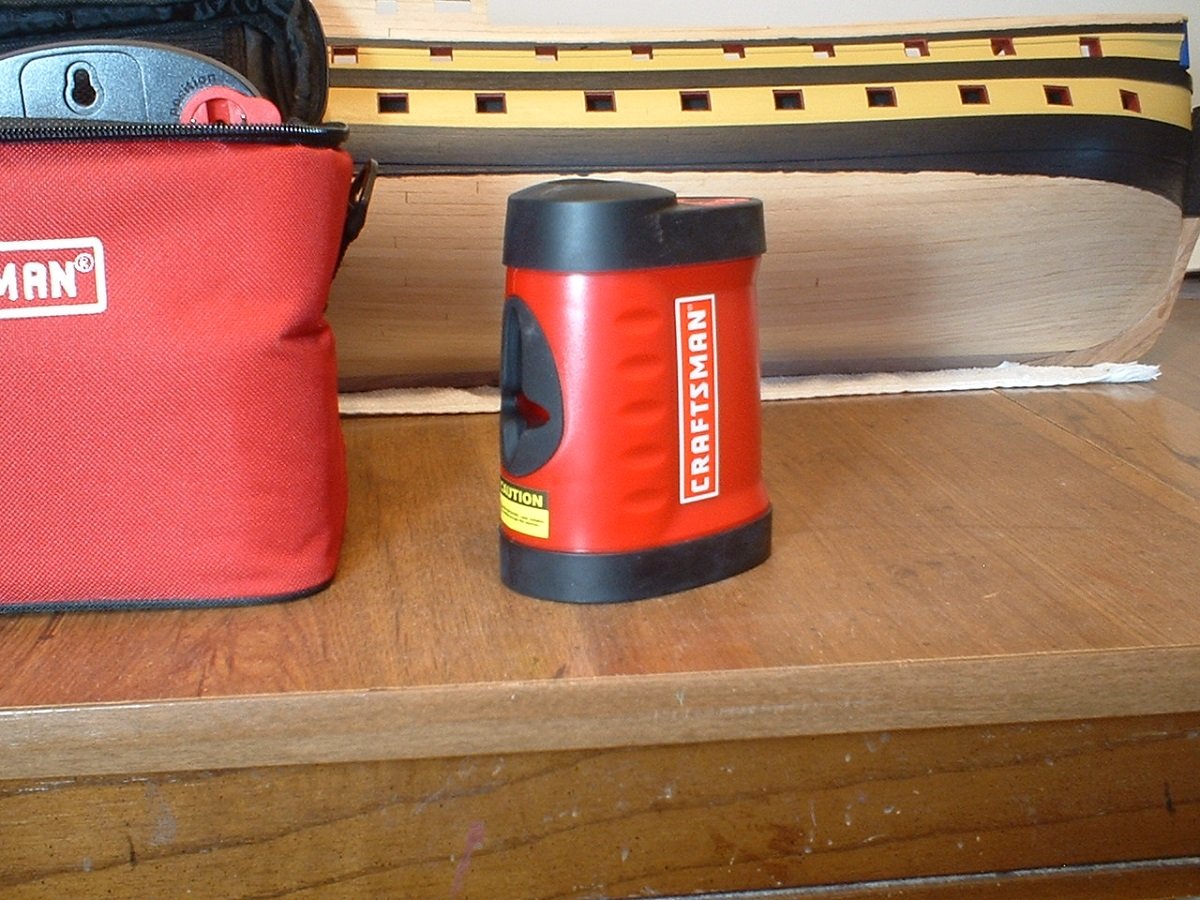
Thanks Frank - I got the level from Sears several years ago before they closed their store here - a really nice unit. It is self-leveling as long as it is within 4 degrees of level. It also has threads in the bottom so it can be mounted on a tripod. It can project either a horizontal,vertical,or cross beam. It uses 3 AA batteries,so there is no cord to trip over or drag around. I don`t remember what I paid for it,but I`m pretty certain it was well under $100. It really works well for hanging pictures,mounting shelves,etc.,etc. Mark Mark
-
Hi Peter - I have seen the stamp ,but I don`t think I could make one to my satisfaction. I cut the plates a little larger because the copper tape supplied is 1/4 inch wide (6.35mm). I think I can line up the rivets a little better using a straight edge. I may try the 1.5mm rivet wheel & see how that looks. Although I didn`t press hard on the tool,a lighter touch might be better also. The points on the tool wheel are very sharp,so it doesn`t take much pressure to make an indentation in the copper,which is only .025mm thick. The hard part seems to be getting the paper backing peeled off the copper! I`m not really that concerned about how many rivets are on each plate ( I`m not a rivet counter),just that it looks fairly even. Mark
-
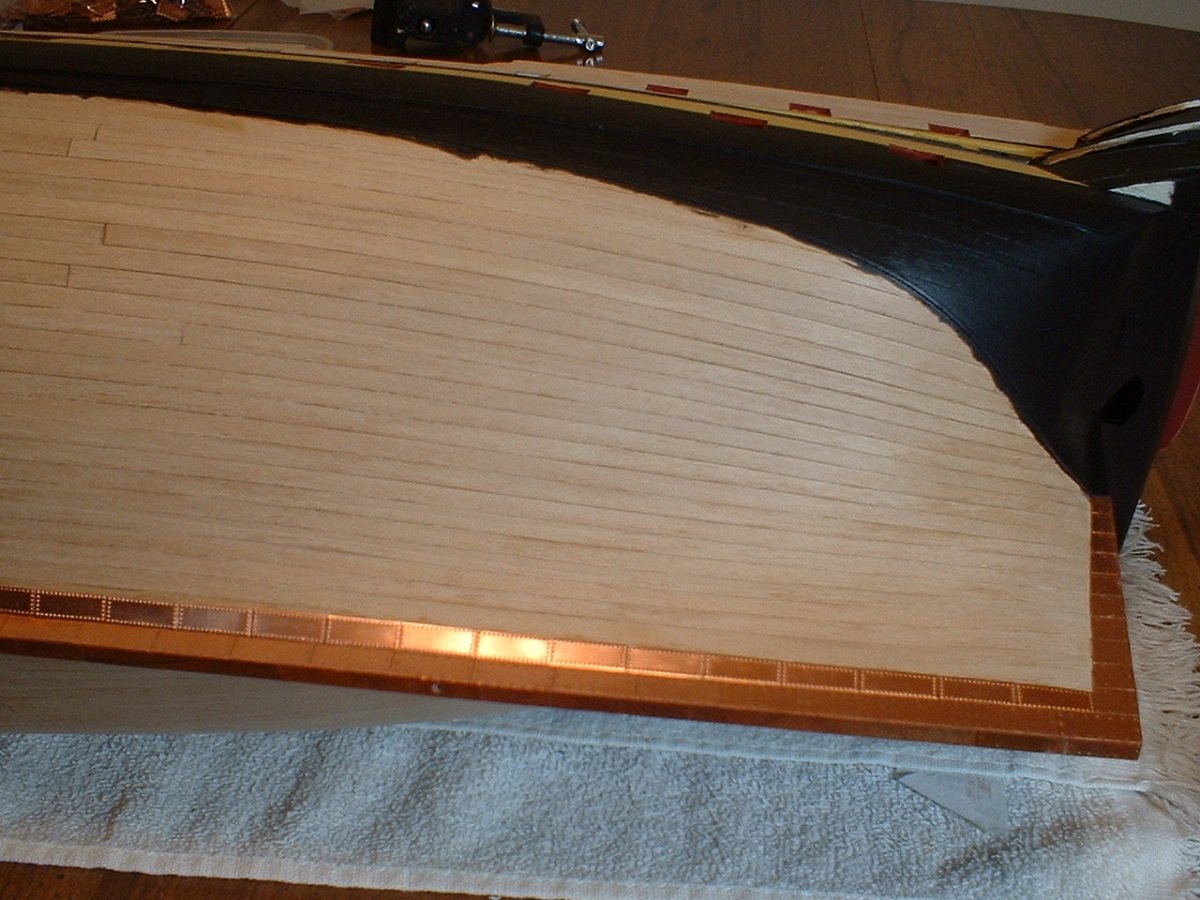
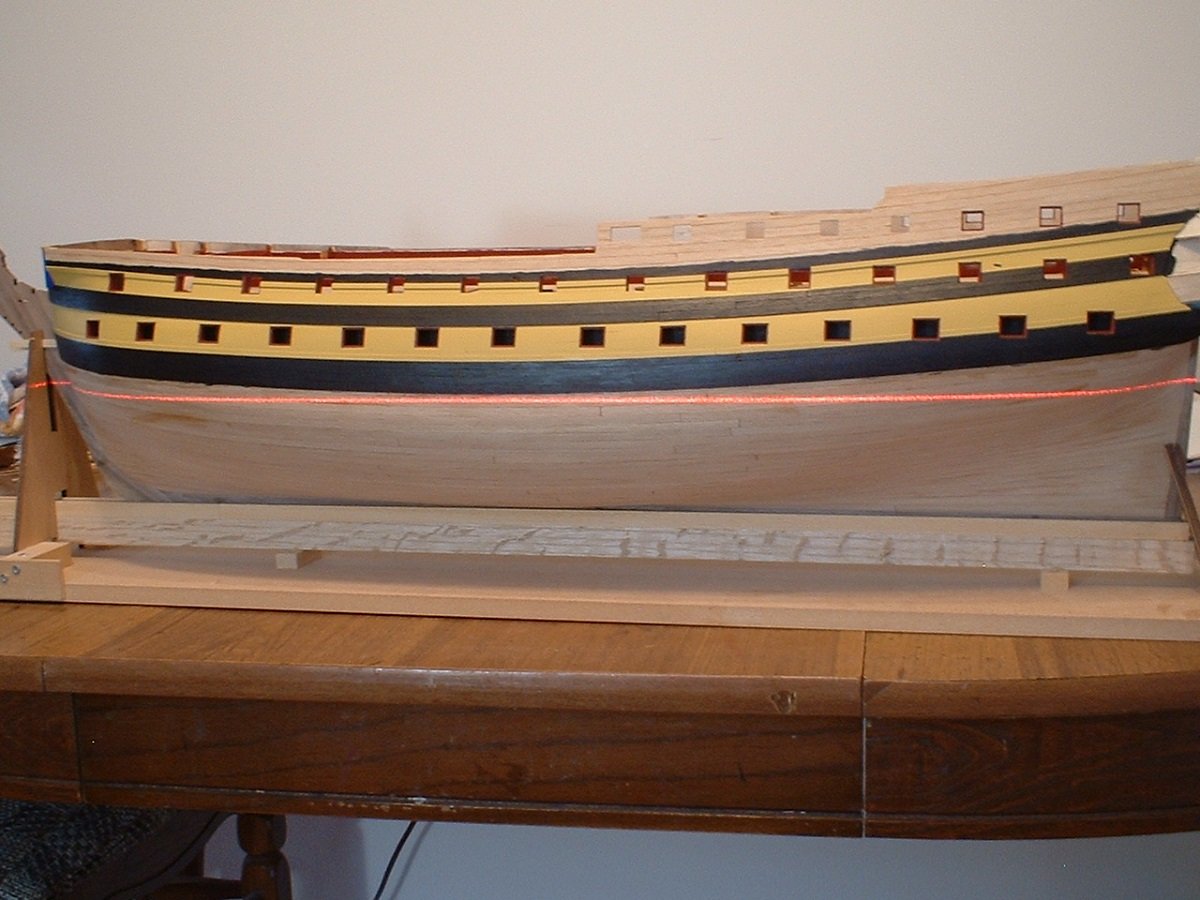
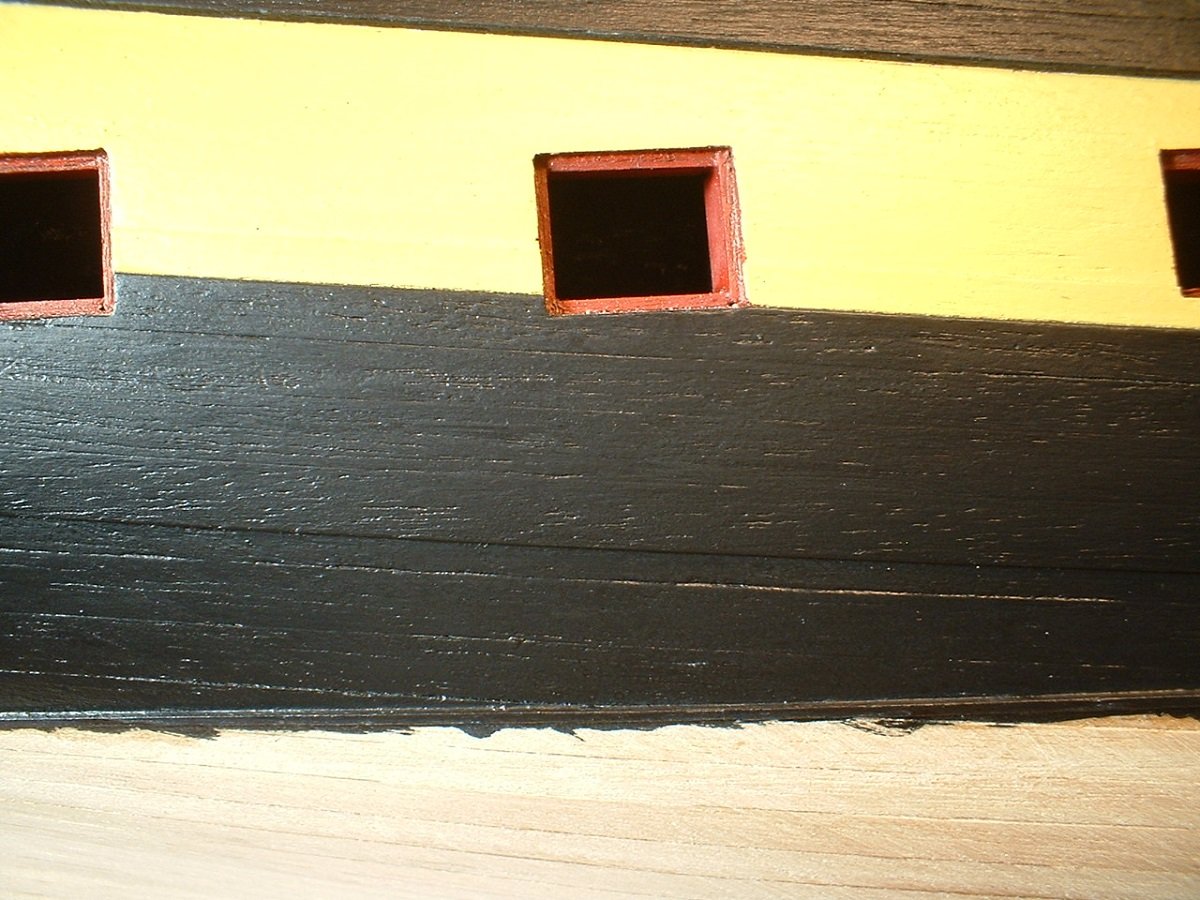
Continuing on......Using a laser level,the waterline was marked & a thin strip was added along it to border the copper. Next, the rest of the black area below the wales was painted. Then,I cut a couple pieces of copper (6mm x 18mm) & stuck them on some scrap wood. Having bought a rivet tool some time ago,I figured it was a good time to try it out. The rivet tool came with 4 sizes of rivet wheels & I thought the one with 1.25mm spacing looked good,so I ran it over the copper,which made small indentations in it. The picture is a really close up,so the indentations look large,but at a normal distance they are tiny. I know they are probably slightly out of scale,but this is the smallest rivet tool I could find. Any thoughts? Mark


-
Very nice story,OC. I have a short story - During the war my Mother worked building aircraft in a factory in California (don`t know which factory) While my Father was overseas. She said they called her "Ruthy the riveter" (her middle name was Ruth). She is now almost 97 & in a nursing home with dementia & severe short term memory problems. The sad part is that illegal aliens get more govt. benefits than her. Mark
-
Thank you very much,Martin. Mark
-
Yes,I`ve seen the Amati plates & they do look nice. One small problem is I just dropped a ton of money for hearing aids,so my bank account is a little thin right now. Mark
-
Thanks Mike - I am going to experiment a little with the tape before going full speed ahead. If I don`t like it I have about 3000 copper plates I got from Jotika some time ago that I can use. The only problem with the plates from Jotika is the "nails" are a bit out of scale. Mark
-
Thanks Richard. Getting closer to that dreaded coppering. Mark
-
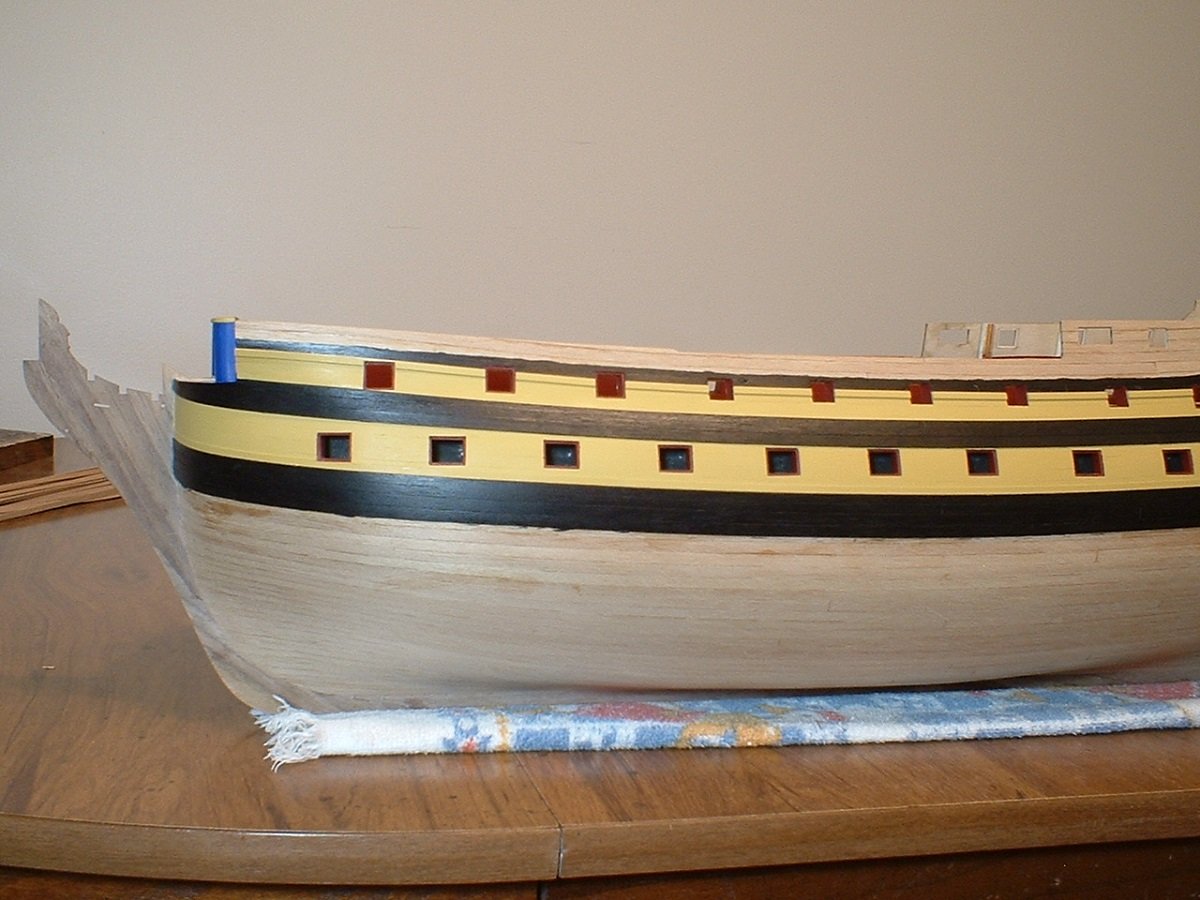
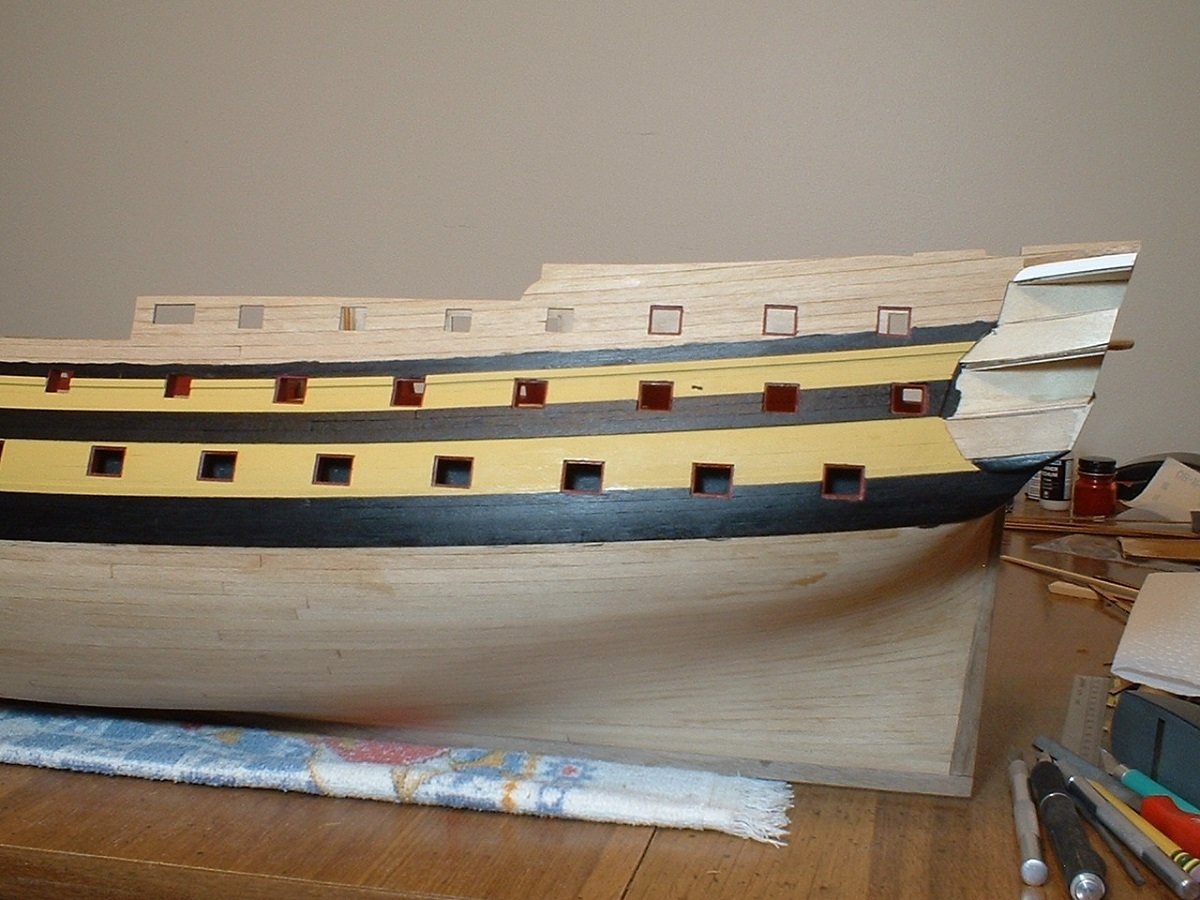
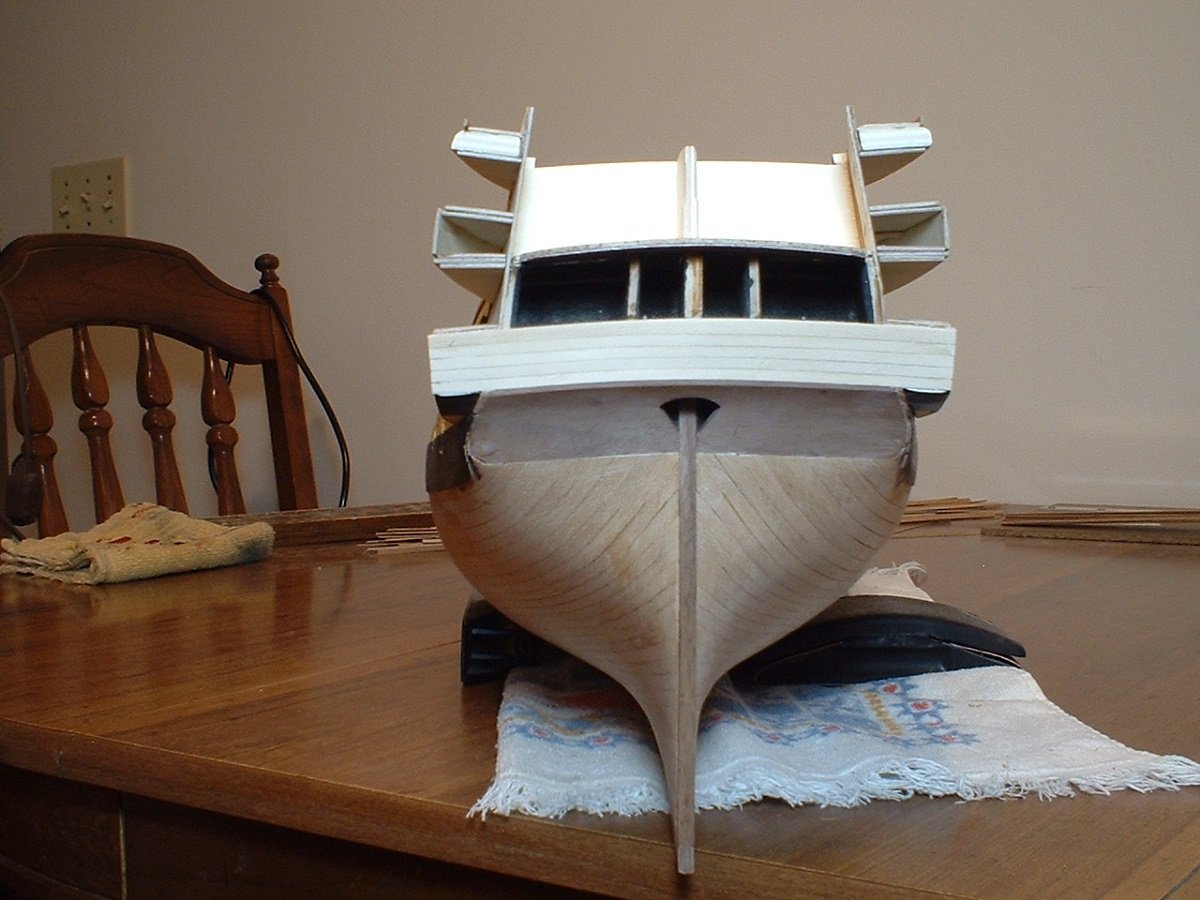
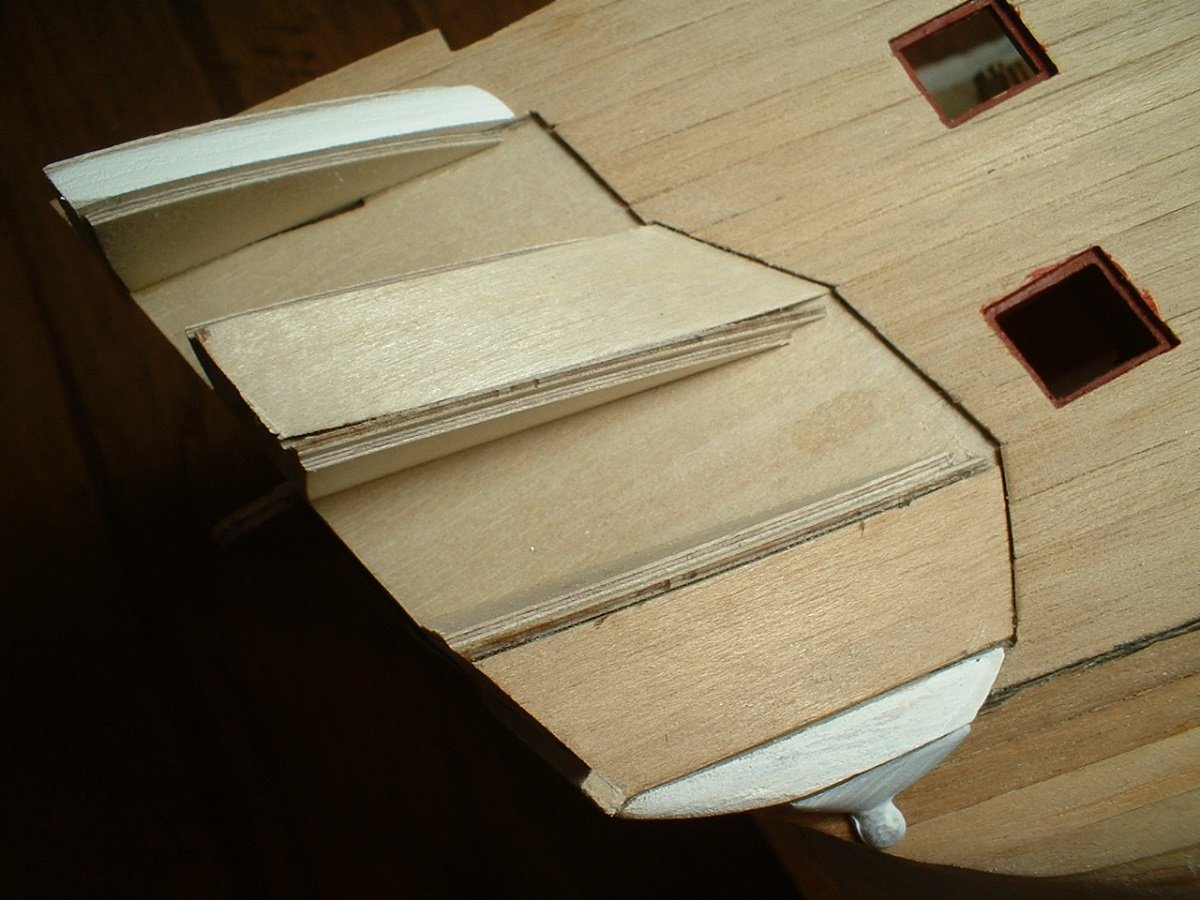
Update - The middle wale is now in place & painted along with the yellow areas. The black is Model Master paint & the yellow is Vallejo yellow ochre. I also figured it was a good time to plank the upper counter. Not sure where I`ll go next - maybe get the waterline marked & finish the black below the main wale. Mark
-
Thanks OC. No need to do that Richard - from the size of the lower cap I may be able to just cut one in half & get by. I am still a ways off from adding the decorations. I don`t see anywhere else on the ship where these particular decorations would go,so they may just be extras. I just happened to think - the Amati kit has parts for three different ships where as this Model Shipways kit only has parts for the Vanguard variant,so the extra decorations may be for the different variations of the Amati kit. I think the etched brass sheets in my kit are from Amati,so that would explain the extra parts. There is a sheet from Model Shipways in the kit that says they have updated the instruction book & clarified the text (along with a few other changes). Mark
-
.......And here is a shot of the main wale with 1 coat of paint - a few more coats will follow. The upper edge was painted before glueing on to get a sharp edge. Mark
-
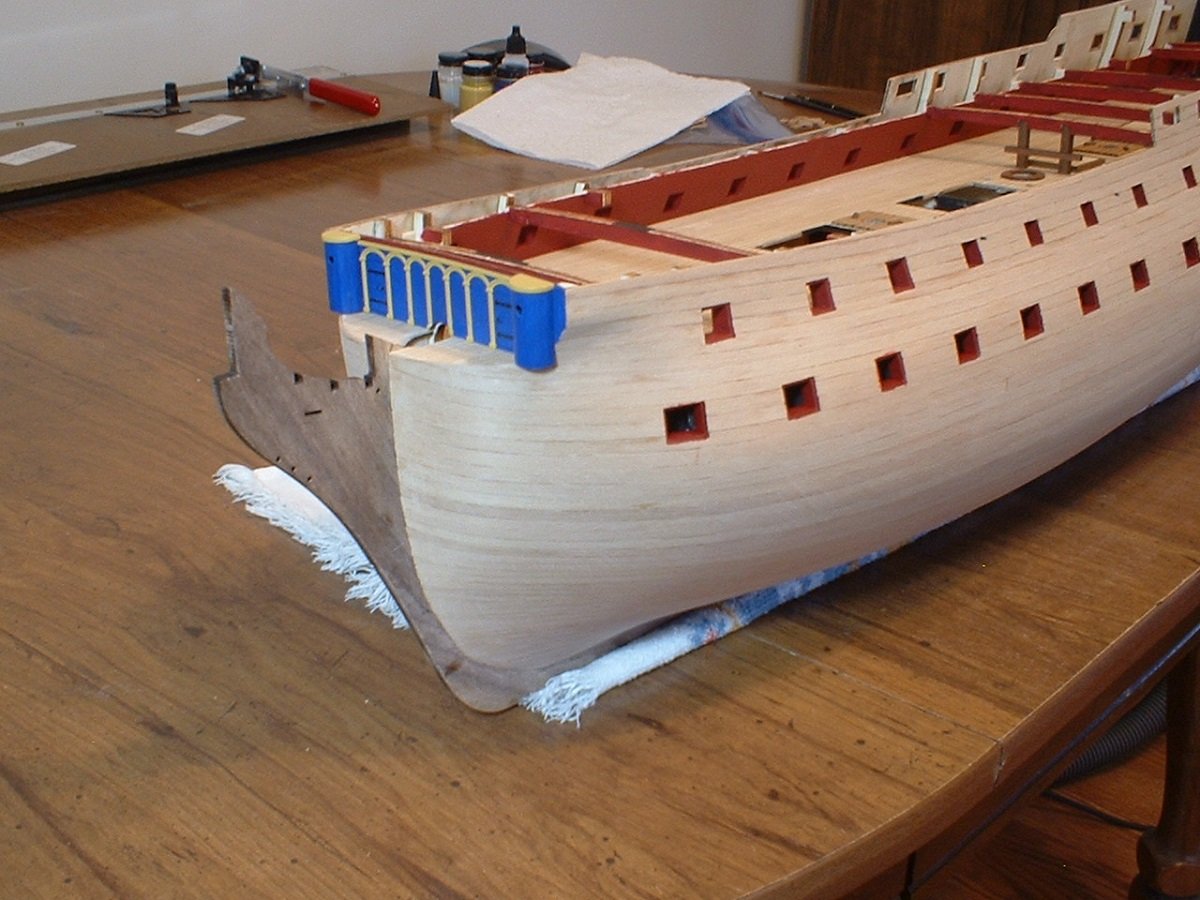
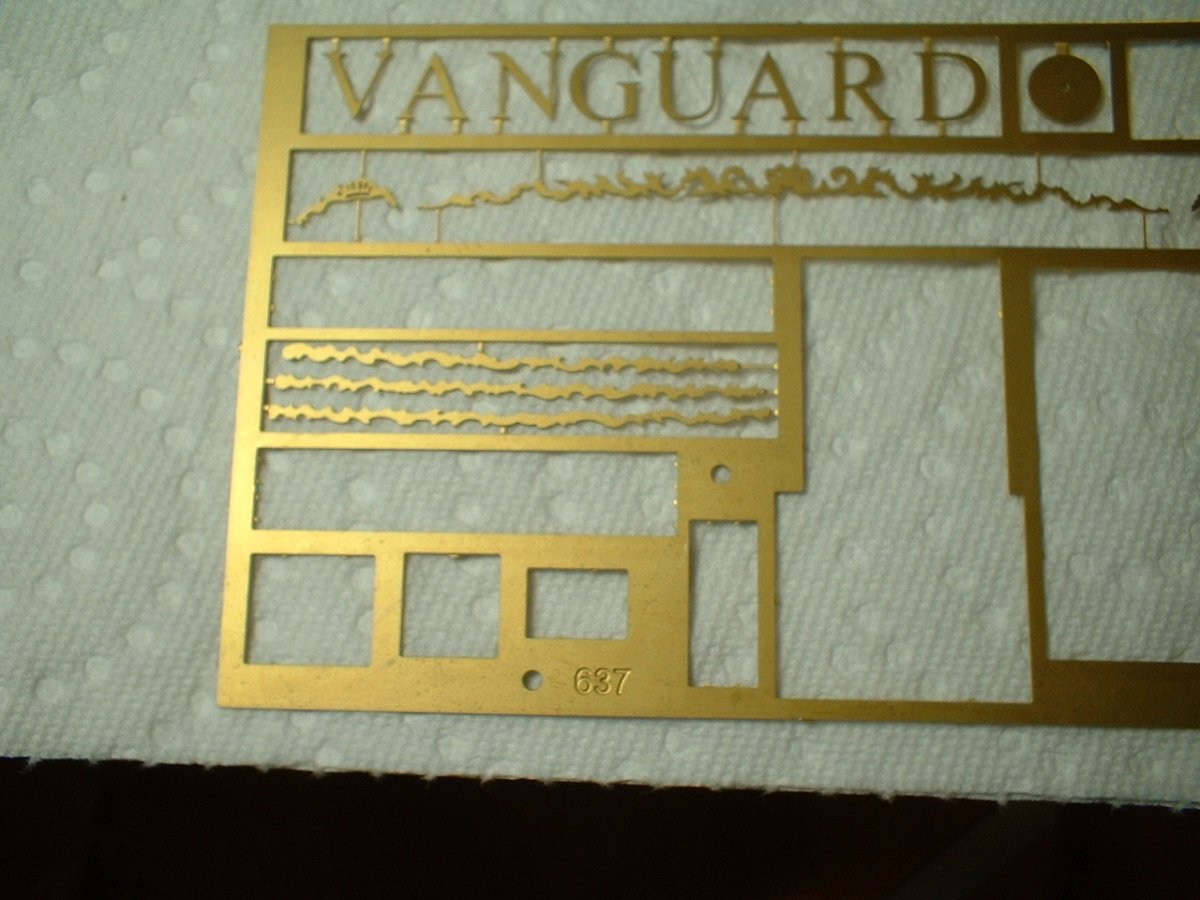
Update - with the main wale in place I thought I would make the top & bottom caps of the side galleries. I couldn`t quite make out the exact shape of them from the plans,so I just "winged" it & shaped them so they looked good. They were given a coat of primer,but are not glued in place yet. In the second picture there are brass etched decorations that go on the lower cap,but I`m not sure which ones to use. Only 2 are needed,but 3 are provided with all 3 having the same part number on the plan sheet. All three are also different shapes & lengths. Whichever ones I use they will need to be cut to length,so it`s not really a big deal. The parts list actually showed a quantity of 4 for this part number (377),but I could only find these three. Mark
-
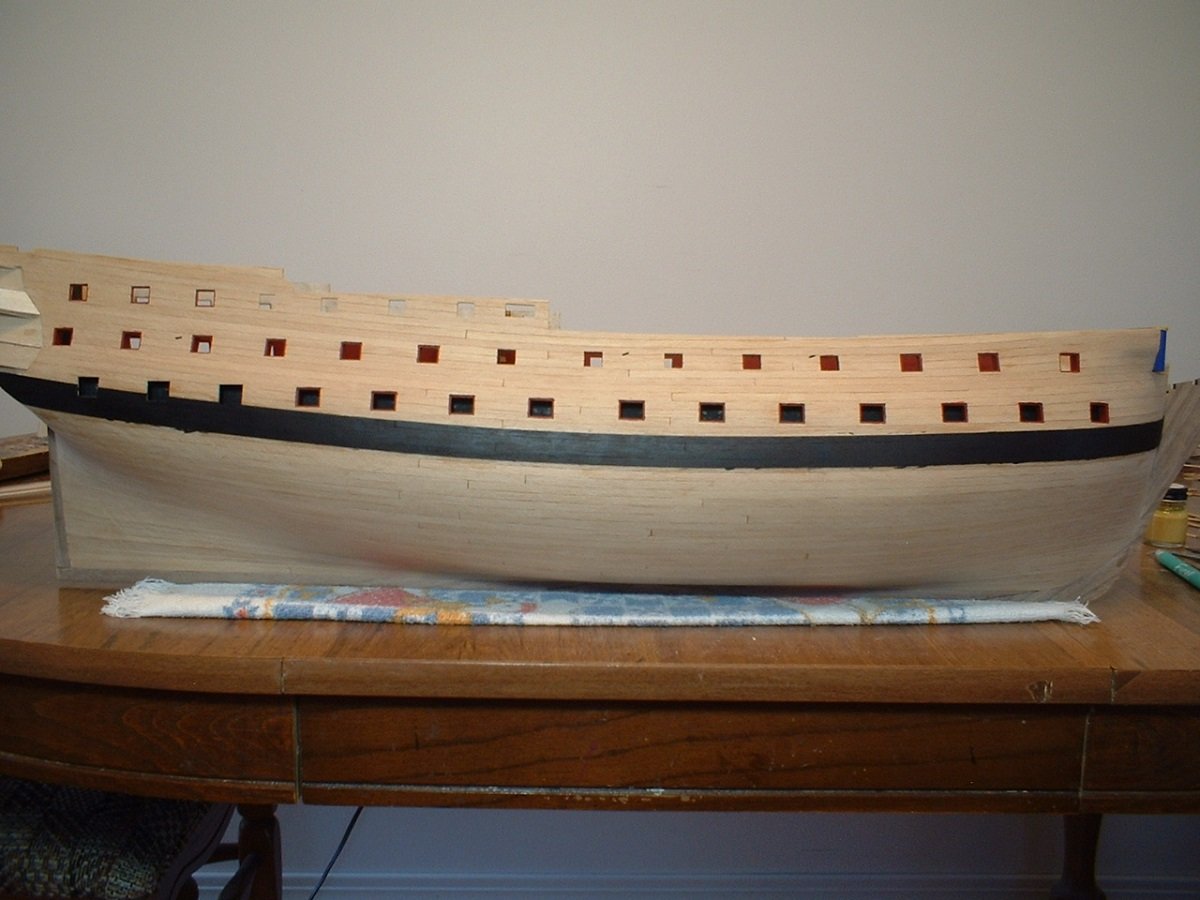
As I start adding the wales,I need to decide which paint scheme to use. The plans show 2 different paint schemes - one has the black & yellow following the line of the wales,the other has the black & yellow following the line of the gunports. The first would be relatively easy with the wales black & yellow between the wales. The second would require a LOT of masking & trying to get a straight line over different thicknesses. Since I am not the best at painting I am leaning toward the easier one,which seems to be the pre-1798 style according to the plans. Mark
-
Thanks Richard - could have been a little better if not for the splintery wood,but good enough as a base for coppering & paint (I am always overly critical of my work). Mark
-
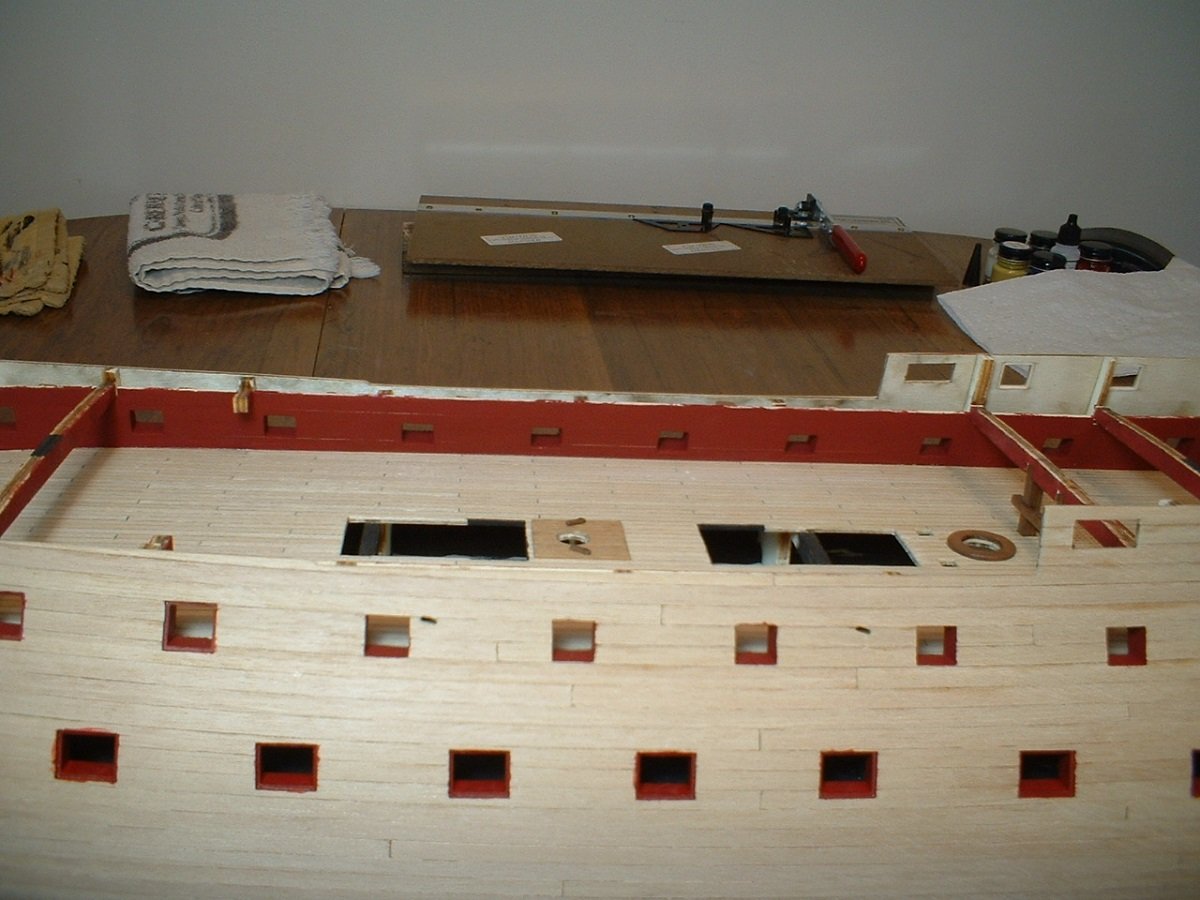
Thanks Chuck & Bob & for all the likes. The paint work is a little messy,but it doesn`t really matter since the hull will be painted black & yellow around the ports. Mark
-
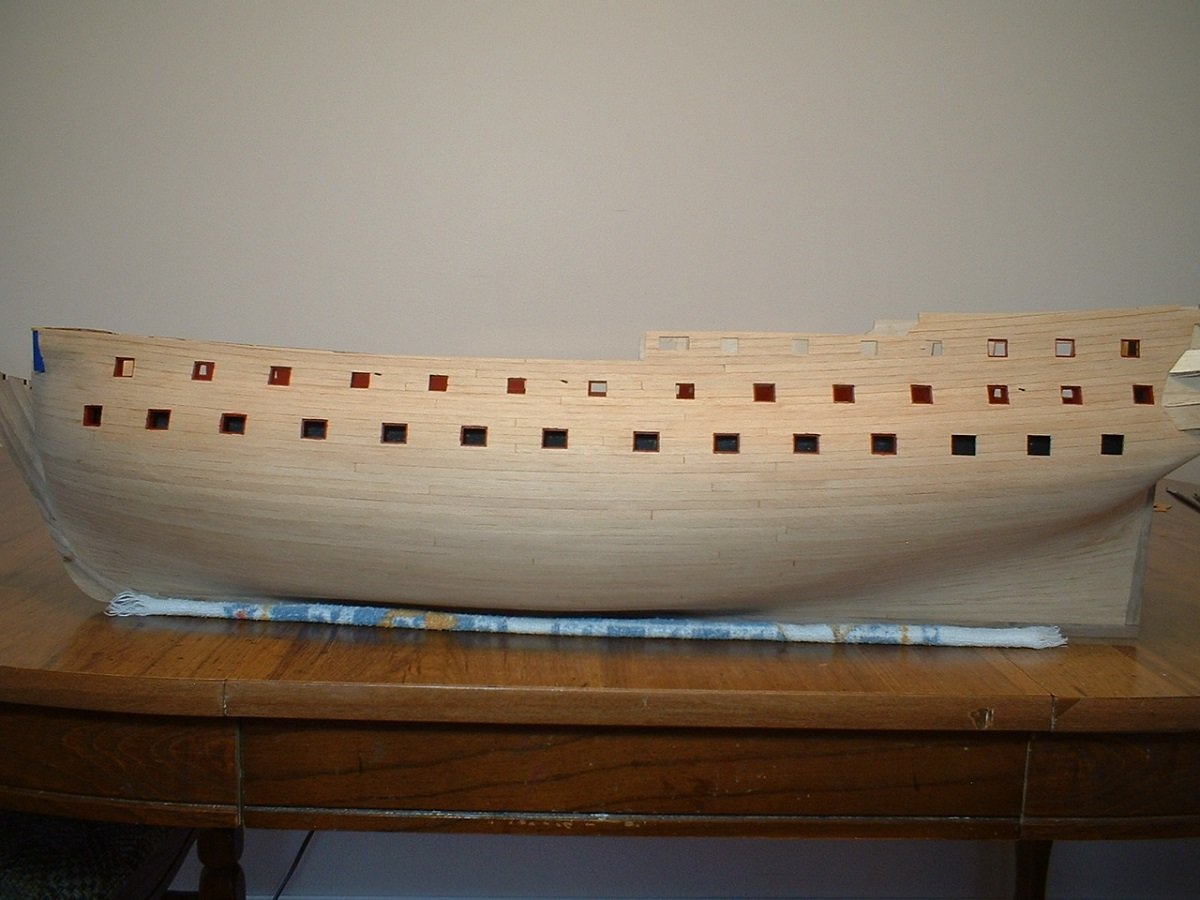
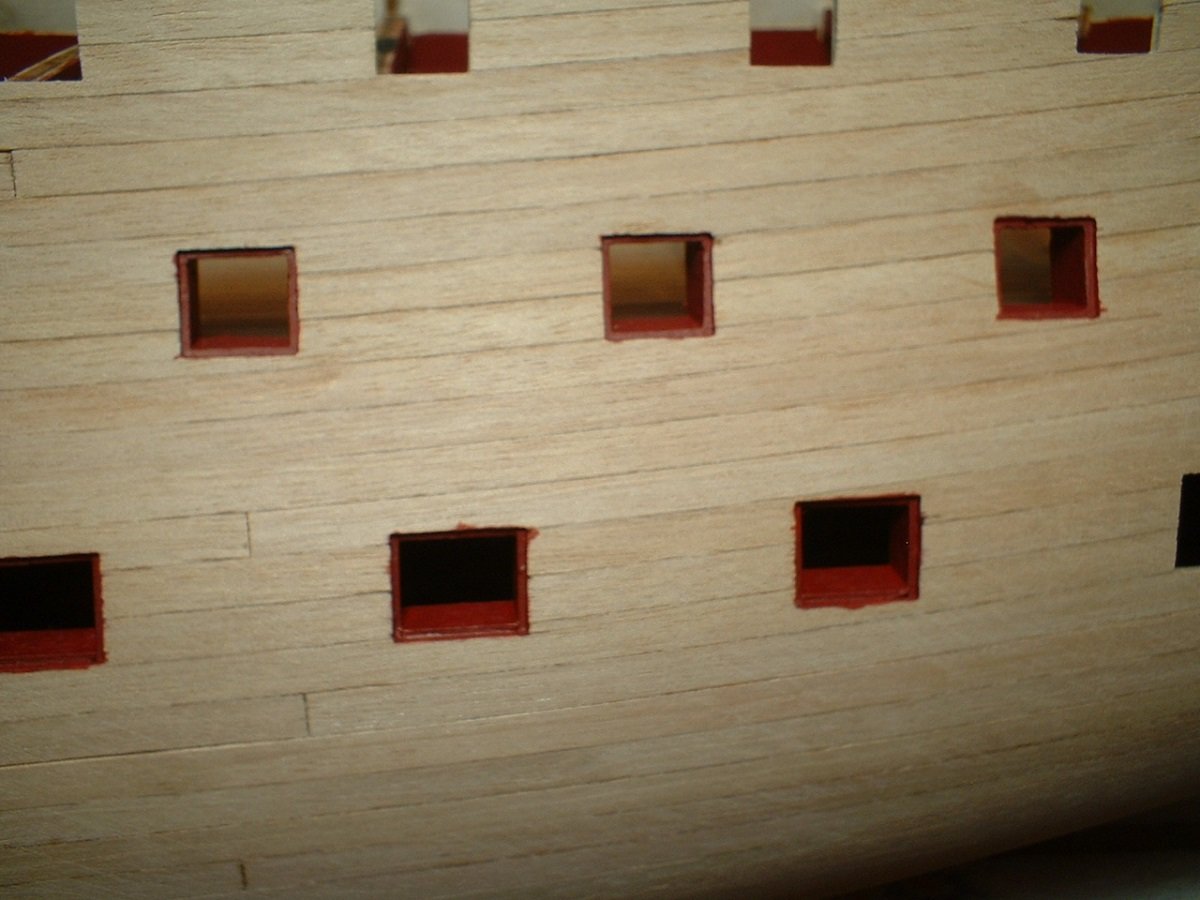
Update - hull sanded & gunports lined & opened up & painted. The last 3 on the lower deck will be finished up after the main wale is in place. I probably should have waited do line the last few ports on the upper gun deck, but will just work around them. Mark