
HOLIDAY DONATION DRIVE - SUPPORT MSW - DO YOUR PART TO KEEP THIS GREAT FORUM GOING! (Only 36 donations so far out of 49,000 members - C'mon guys!)
×


marktiedens
-
Posts
1,737 -
Joined
-
Last visited
Content Type
Profiles
Forums
Gallery
Events
Everything posted by marktiedens
-
Michael - I no longer have the plans or that somewhat useless little instruction booklet,but I think those two booklets you have circled are just brochures about some of their products - basically mini catalogues. Not really useful in building the ship. I have a Sergal Cutty Sark in my stash & it has those same brochures in the box. In fact,all the Sergal or Mantua kits I`ve done had those brochures. Maybe someone who has built the new version could chime in about the actual instructions? You might search the forum for someone who has built the newer version & check with them. As far as all those bags of decorations,I think they are packaged according to where they are grouped on the ship. If you just open all the bags & mix them together,it would be quite a job trying to determine where they all go. There should also be a number of profiled brass strips that you will have to cut to size for all the borders between the decorations. Mark
-
Military Wrecker - Revell - 1:32 Scale - PLASTIC
marktiedens replied to CDW's topic in Non-ship/categorised builds
I have twin boys - identical except one is left handed,the other is right handed! I think they are referred to as mirror image twins. Wonderful kids - great jobs & great families. Mark -
Not a big deal,but those old Sergal castings are actually bronze,not brass. Having worked with them,I can tell you they are much harder than brass. Mark
-
Sorry to differ with you,but I built the older Sergal SoS kit way back & there were no pre-printed parts to cut out - everything was laser cut. I don`t recall any of Sergal`s kits having pre - printed parts. I think some of Amati`s older kits may have the pre-printed parts,though. Mark
-
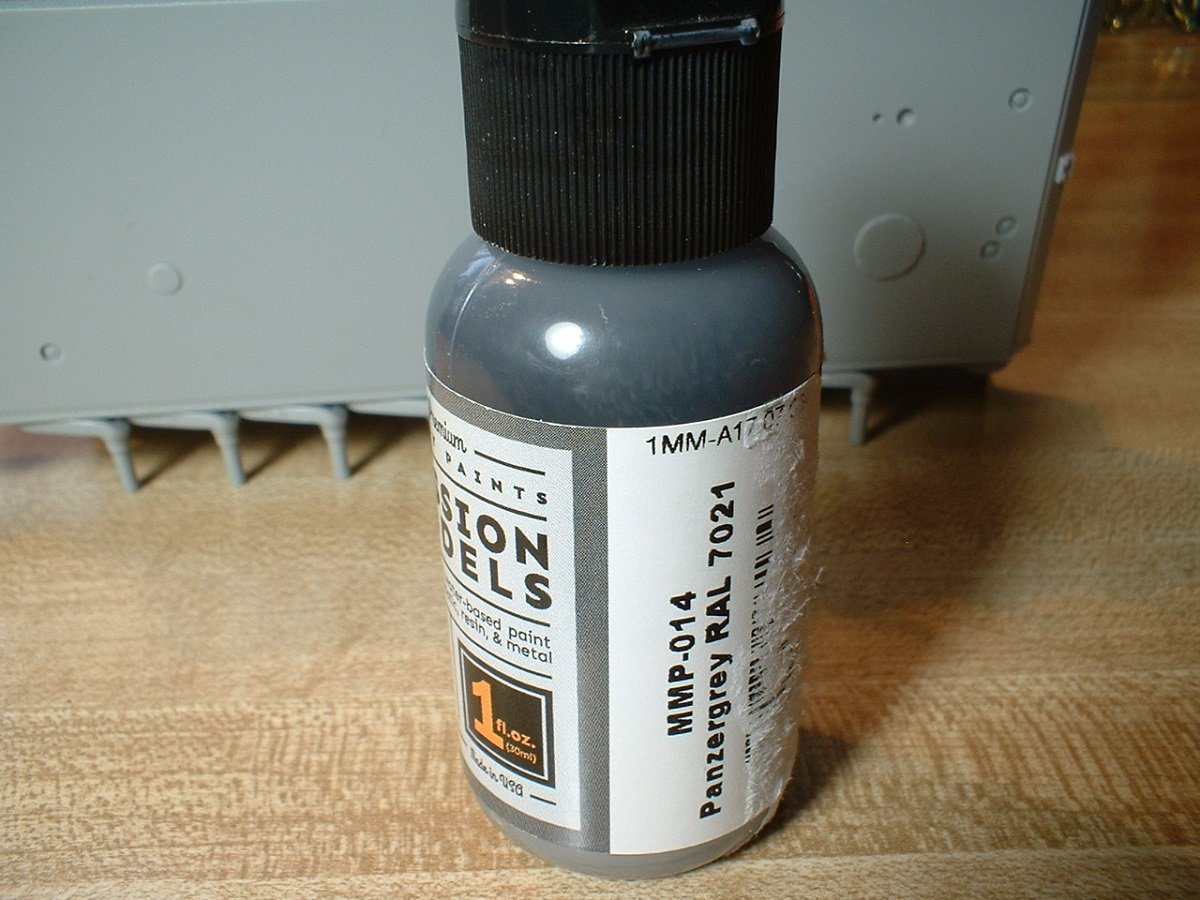
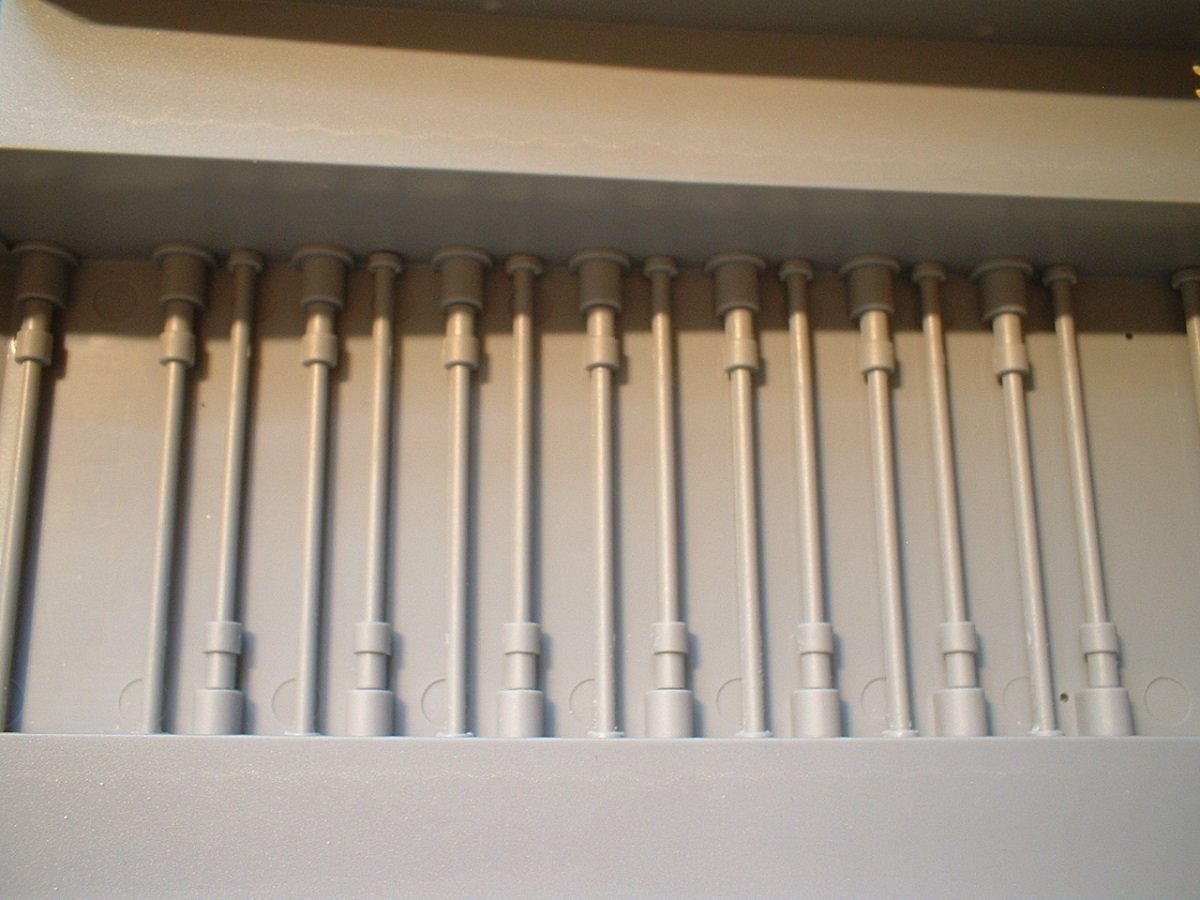
Went over to Hobby Town & found some panzer grey - seems a little dark,but I would assume it`s correct. By the way,the clerk at the store told me the Testors paint line is going away - anybody else heard that? Here`s a couple if pics to get started. They actually provide the suspension torsion bars. They can`t be seen once the tank body is closed up,though. Mark
- 125 replies
-
- 10
-

-
M-50 Israeli Sherman - FINISHED - MP Models - 1:35 Scale
marktiedens replied to CDW's topic in Non-ship/categorised builds
All I can say is WOW! Mark -
Lou - the actual barrel is plastic. The metal part goes inside the barrel & has a spring on the end so the barrel can actually "recoil" if you push on the end! Mark
-
Yes,indeed - you are so right. Thanks for your thoughts. Mark
-
Thanks for the thoughts guys. So far,so good. She`s 97,so it wouldn`t take much to do her in. I can speak to her on a phone from a little booth at one end of the building,but just not the same as in person. She has severe memory problems & dementia,so probably doesn`t understand what`s going on. They had one virus case in the building,but it was quickly isolated - I don`t know if it was a resident or one of the staff. Anyway, I went back to the hobby shop to get some more paint - they were out of the panzer gray. So,I found the gunship grey,but they only had it in enamel. Ended up getting something called dark grey (Vallejo). Got it home & tried it - much too dark,almost black. I may try adding some white to lighten it up a bit,but I will go over to Hobby Town & see what they have first. Mark
-
Yep - almost all the stores are open here. I have a Hobby Town about 10 minutes from my house,but they are really expensive. I can drive across town to a place called Hobby Haven & get the same stuff about 30% cheaper. We have a Hobby Lobby here too,so I have a lot of choices. I almost never go to the Hobby Town unless I need a small item - they are about 90% RC stuff. Our barber shops opened last week,so I was FINALLY able to get a haircut yesterday. Many stores are limited to 50% capacity plus a few other guidelines,but at least they are open. Restaurants are also limited to 50% capacity. There has been no spike in virus cases & the percentage of positives is actually declining. A few stores require wearing a mask,but most don`t. I expect that nursing homes & care facilities will remain closed to visitors for quite some time,though. My mother is in one of those,so I haven`t seen her since early March. Mark
-
Thanks for that Lou - I am headed out to my local hobby shop shortly to pick up a few things & will see what they have. Mark
-
I don`t have one of those cleaners,so considering what I originally paid for it no big loss. Just don`t understand why the air passage is clogged - there was never any liquid run through it,only air. Maybe corrosion from lack of use. I may just go get one of those"bargain" ones - even they are better than rattle cans. Mark
-
Looks like my experiment with the old airbrush won`t happen. After dusting off the cobwebs I found I can`t get any airflow through it. Tried taking it apart & cleaning it,but something seems to be plugging the air passage at the trigger - the one thing I can`t get apart. The trigger plunger assembly looks like it`s pressed into the housing. Even tried soaking it in lacquer thinner & acetone - still no go. The paint passages are fine. Had to laugh - the price tag is still on the case - $19.95. I did find my old little compressor - at least it still works. Mark
-
Yup,as a kid I couldn`t get enough of plastic kits. So I suppose besides being a shipaholic,I may be in danger of becoming a plasticaholic. Way back,enamel was about all that was available,but with all the great acrylics now available, painting is less of a chore. Mistakes are much easier to correct & no more messing with bad smelling thinners or waiting a week for the paint to dry. Mark
-
All are welcome of course,although the popcorn may get a little stale at the speed I work at. Mark
-
All great suggestions - thanks again. I may get a couple of different paints & experiment a little. Forgot to mention - they also carry Tamiya paint,which I really like. They have a few misc.bottles of Floquil left,mostly RR colors. I wish they had empty Tamiya bottles for sale - their lids really seal well. I usually empty my Vallejo paints into spare Testors jars - not too crazy about their squeeze bottles. The pictorial instructions are a little bit of a challenge - if I remember right the last plastic kit I built actually had written instructions & a LOT fewer parts. Mark
-
Thanks guys for all your suggestions. I will most likely not weather it. I also haven`t decided to use a brush or dig out my old airbrush - a Badger 350. Don`t really have a good air source. I suppose I could use some canned air for this little project. Mr. Color is probably out as my local hobby shop mostly only carries Vallejo,Model Master, & Alclad. I don`t want to mail order anything if I don`t have to - much prefer to support my local brick & mortar store. Mark
-
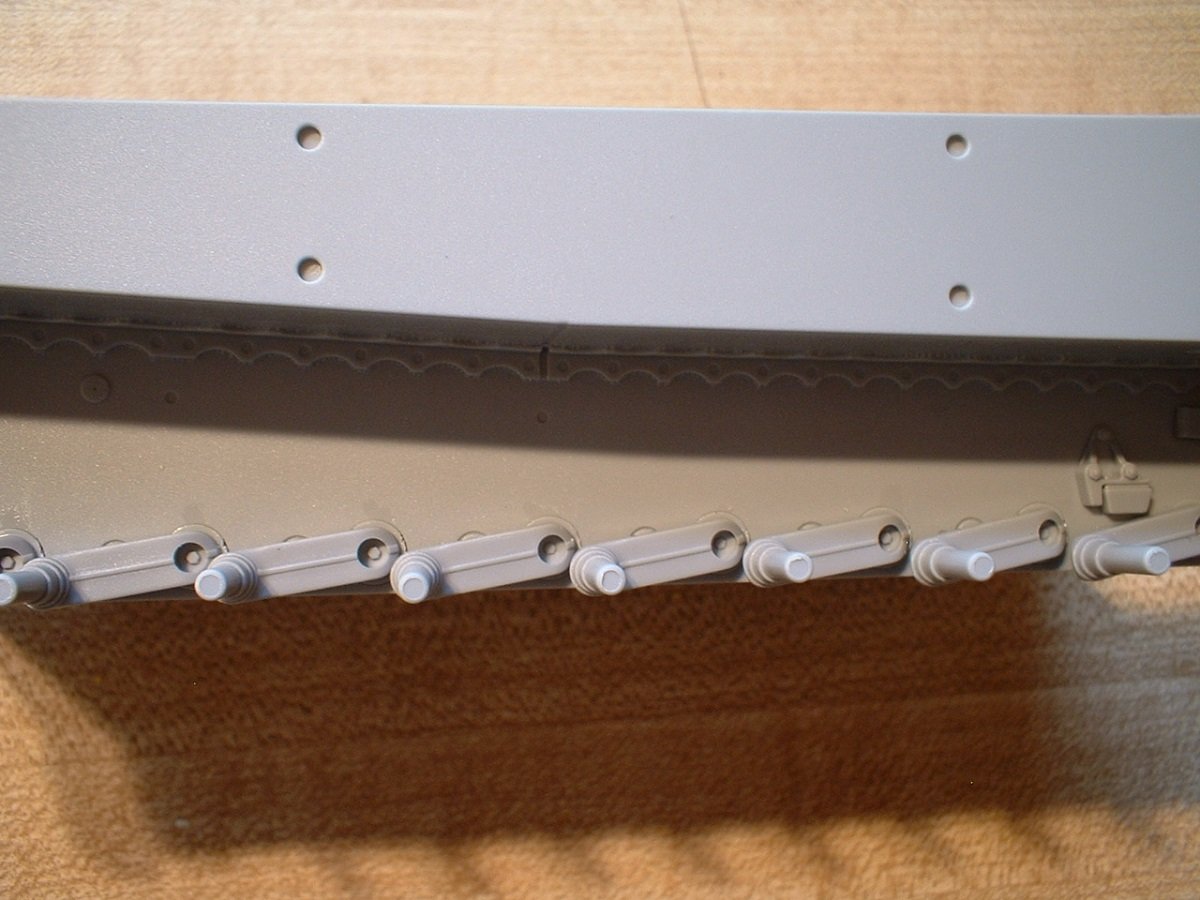
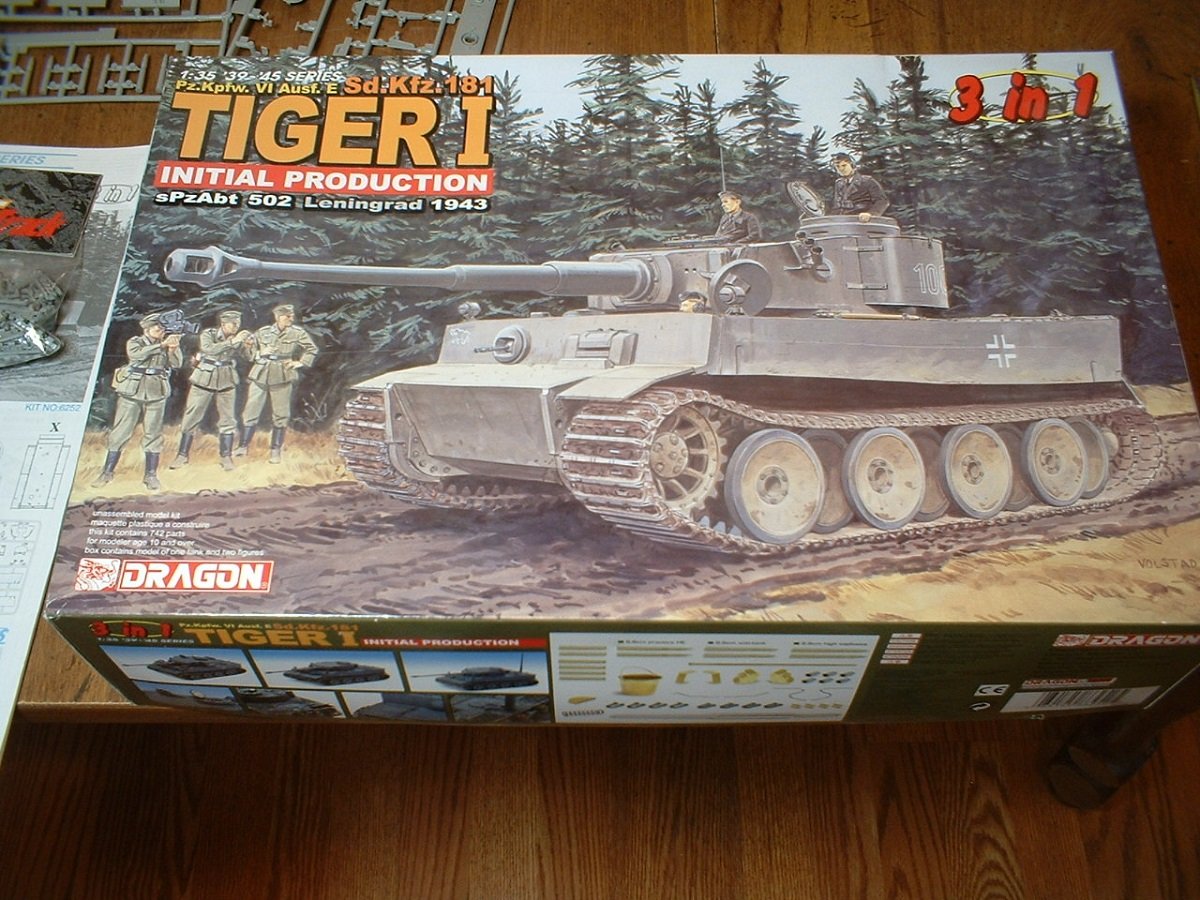
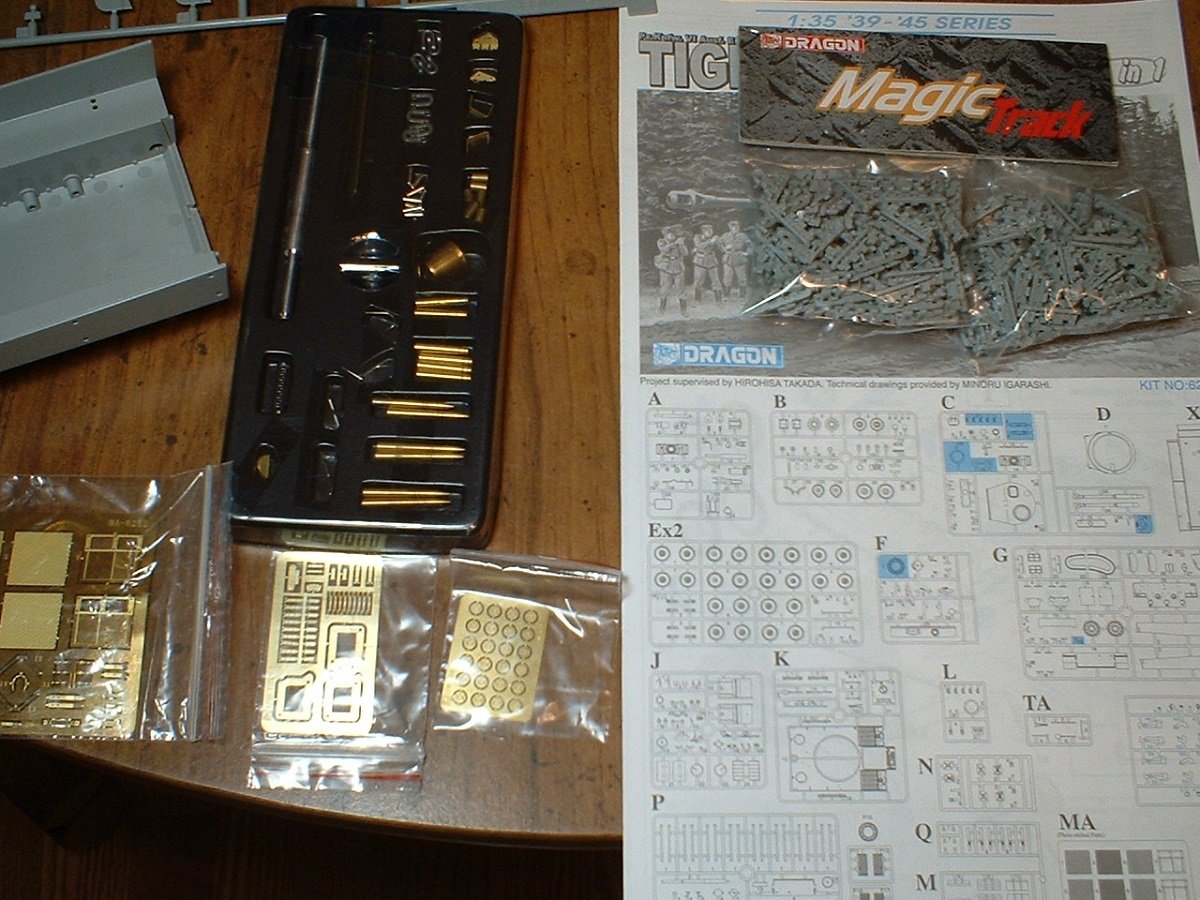
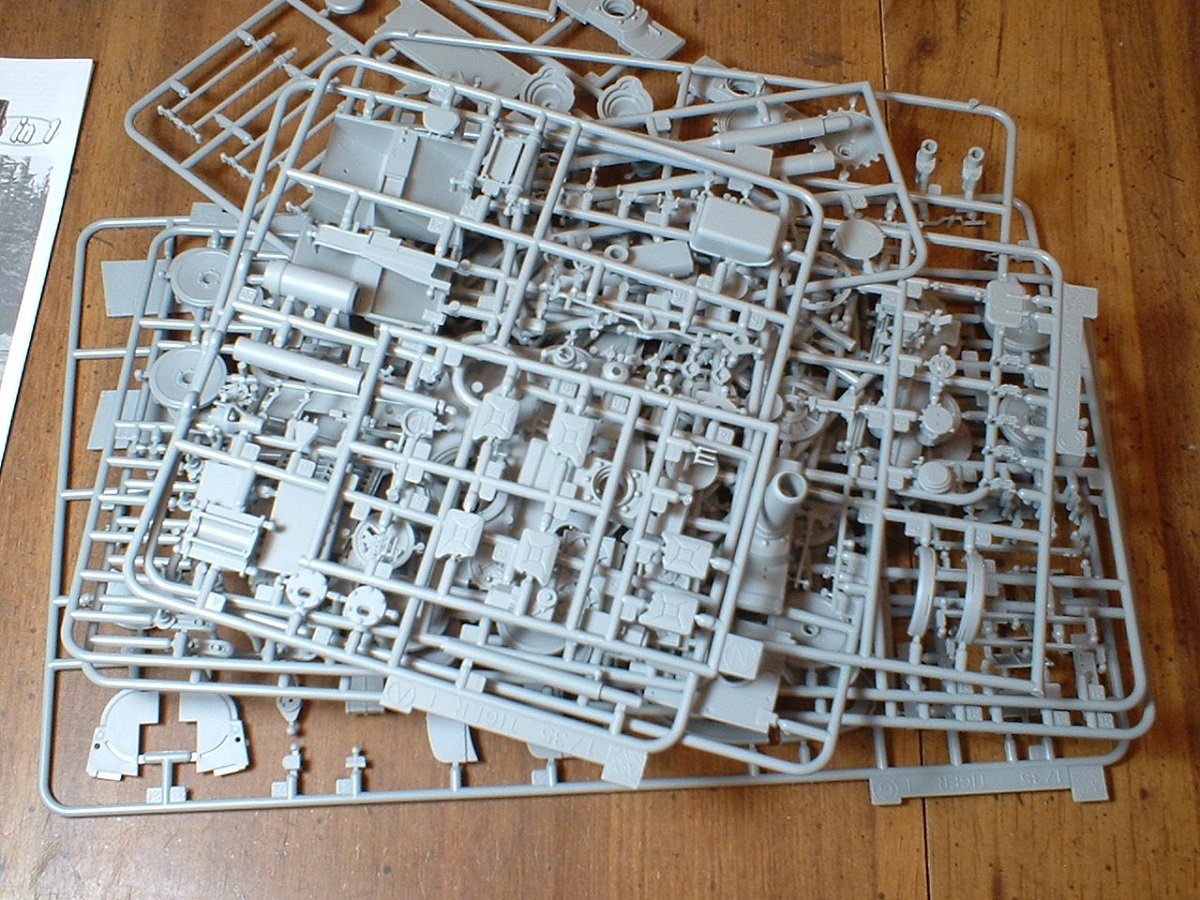
This will be my first venture into plastic since my much younger days. The kit contains parts for 3 versions & I will attempt to build the one depicted on the box cover. Looking through the contents,it appears to be very finely detailed with little or no flash (742 parts!). The tracks are made up of individual segments which are assembled around a form before glueing. It also includes some PE plus a few extras - a couple of figures,spare ammo,jerry cans,ammo box,& some tools. It is molded in a medium gray color which brings me to my first dilemma - the painting suggestions do not specify what shade of gray to paint the main body. In fact,it doesn`t show the main tank body being painted at all. Any suggestions are welcome! I don`t expect to get it perfect,so something close would do fine. I do have some Vallejo neutral gray & blue-gray paint. The build will be a bit sporadic,as I`m also building a ship. Just doing this as an occasional change of pace. Mark
- 125 replies
-
- 10
-
-
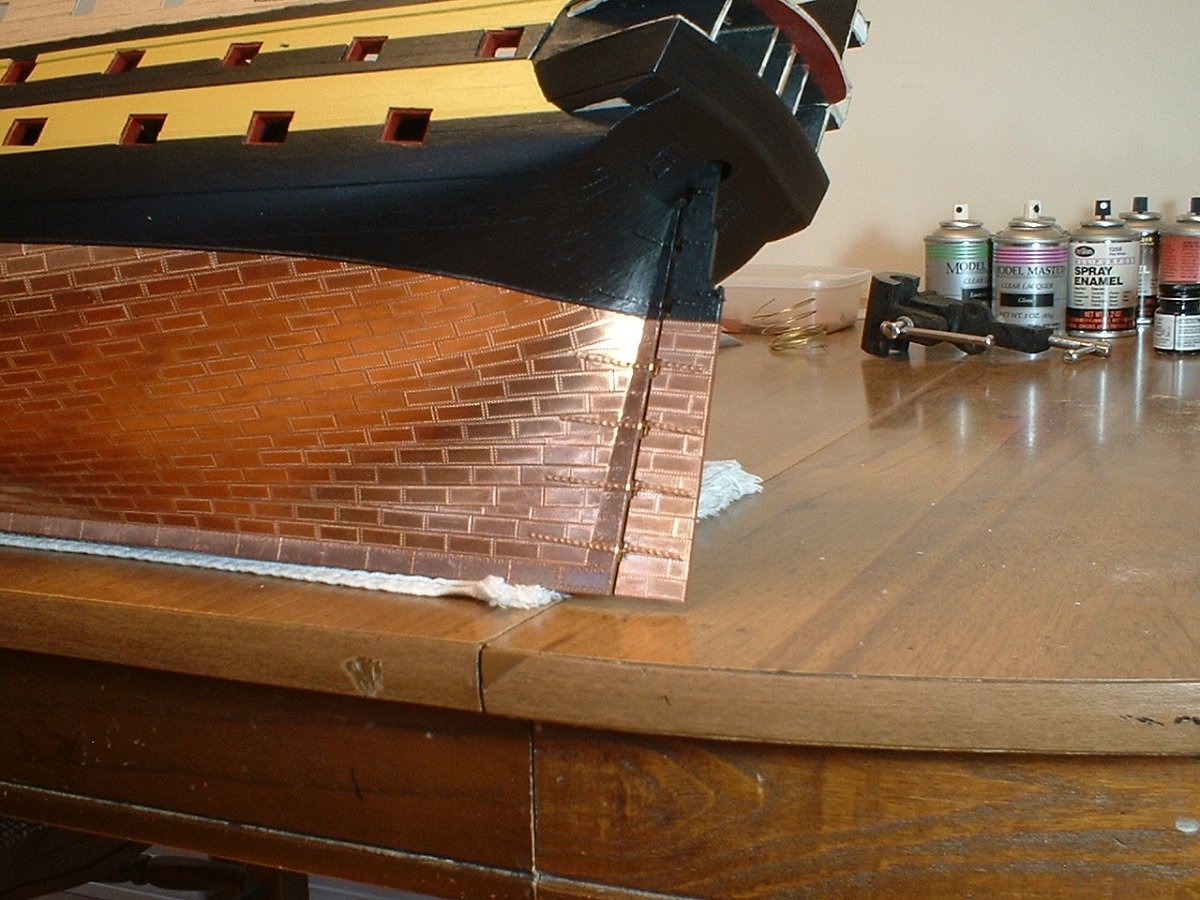
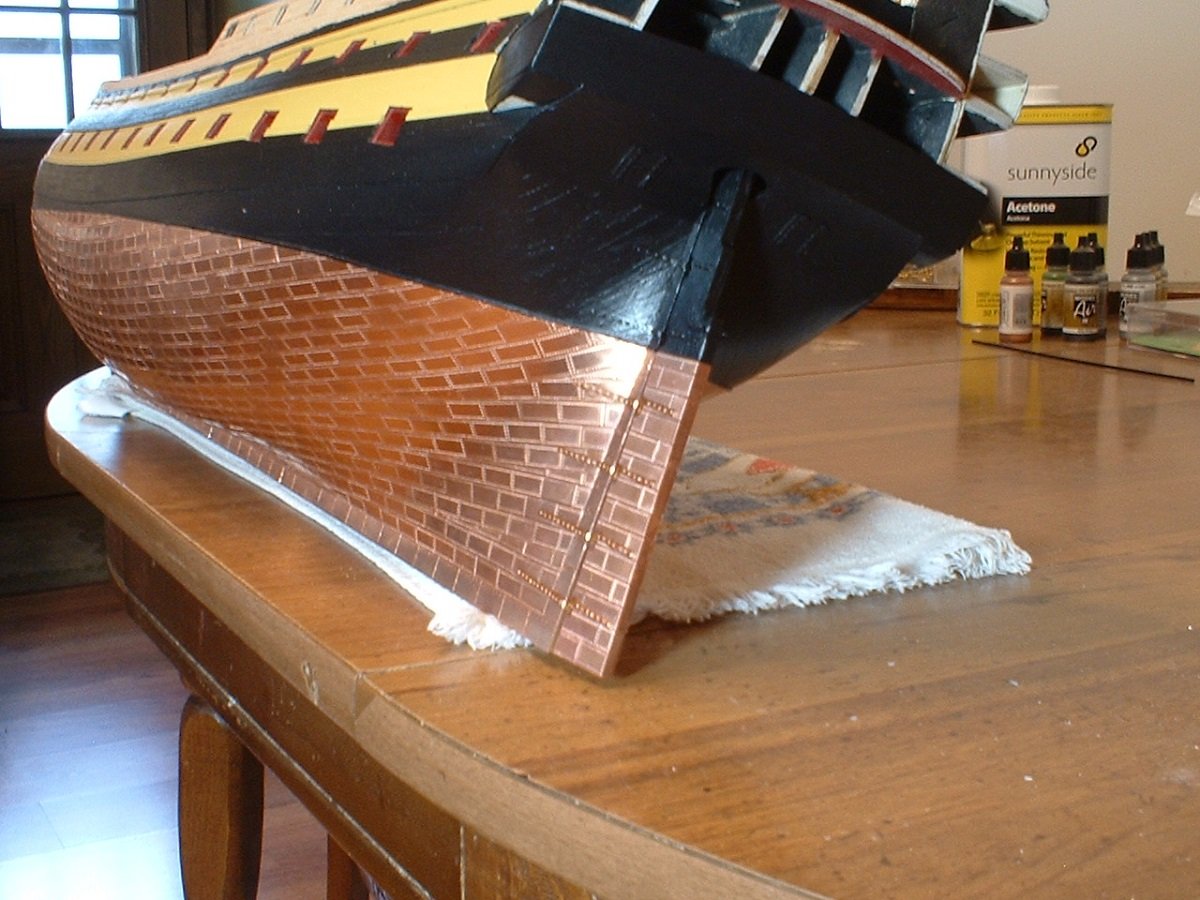
http://www.jotika-ltd.com/Pages/1024768/Fitting_SfitA.htm Thanks JT - I hope the link works. If not,just go to jotika.com & click on fittings. They have 2 sizes - 1/64 & 1/72 scales. The ones I am using are the 1/72 scale plates. They come in packages of 100 & I had 30 packs which equals 3000,which is way too many. I got that many because I didn`t know exactly how many I would need,plus there is always some waste. I didn`t count how many I used,but I probably have enough left do do another ship half the size of this one. If I was to guess,I would say I used somewhere between 2000 & 2500. As they say,your mileage may vary. If you get some,be sure & clean them before trying to glue them on - a lot of mine had an oily film on them,probably from the stamping process. I used acetone to clean them. For glue,I am using an odorless medium viscosity CA - no bad reactions (for me,anyway).
-
Hi - finally got the rudder coppered & hinges on & painted accordingly. Hard to tell from the pictures,but it was tapered at the back edge & toward the bottom. It is removable,so I will set it aside & move on to another area. Thanks for looking! Mark
-
I agree with Michael`s way - works great. The only thing I do different is use finer sandpaper - usually 1000 or 1200 grit, the black wet-or-dry type. I don`t use it wet,though. Takes a bit more sanding but will leave a shinier surface if that`s what you are after. Mark
- 510 replies
-
- 2
-
-
- reale de france
- corel
- (and 1 more)
-
I say we take it for a spin - looks real enough. Mark
-
I have it from a very good source that Euromodel is back in production. From what I understand they were having some issues with the castings,but they have apparently got that sorted out. I have no connection to the company,just like their products. Mark
-
Pin driver
marktiedens replied to ErnieL's topic in Building, Framing, Planking and plating a ships hull and deck
I usually pre-drill holes for the pins - slightly smaller than the pin diameter. Very seldom bend one unless it`s started crooked. Mark