
HOLIDAY DONATION DRIVE - SUPPORT MSW - DO YOUR PART TO KEEP THIS GREAT FORUM GOING! (Only 44 donations so far out of 49,000 members - C'mon guys!)
×


marktiedens
-
Posts
1,737 -
Joined
-
Last visited
Content Type
Profiles
Forums
Gallery
Events
Everything posted by marktiedens
-
Peter - I`ve actually been just sitting around for a couple of weeks & was getting bored,so off I go again. I was going to build an old Aeropiccola kit of the Essex,but the Vanguard kept calling to me from the closet. Joe & Mort - thanks for the vote of confidence. Frank - Yes,a fairly quick turnaround. There`s no admiral here,so I get bored pretty quickly. Mark
-
Phil - my greatest concern is how well the self adhesive copper tape holds over time - I would hate to have to re-do it after all the masts & rigging is done. I have coppered 4 ships so far with individual plates & haven`t had a single plate fall off. Mark
-
Welcome aboard everyone! David - since I have already done the Caldercraft Victory & Agamemnon I am familiar with the design concepts of Chris Watton,so I hope to do it justice. Udo - it was only made by Model Shipways for a short time. They stopped making it when Model Shipways & Amati parted ways for reasons unknown to me. Peter - I haven`t looked closely at the guns yet,so that remains to be seen. As far as the copper tape goes,I will experiment with it to see how it looks applied to something. If I`m not happy with it I have a package of 3000 copper plates from jotika that I can use. The Bellerophon & Elephant versions are not included - only Vanguard. Mark
-
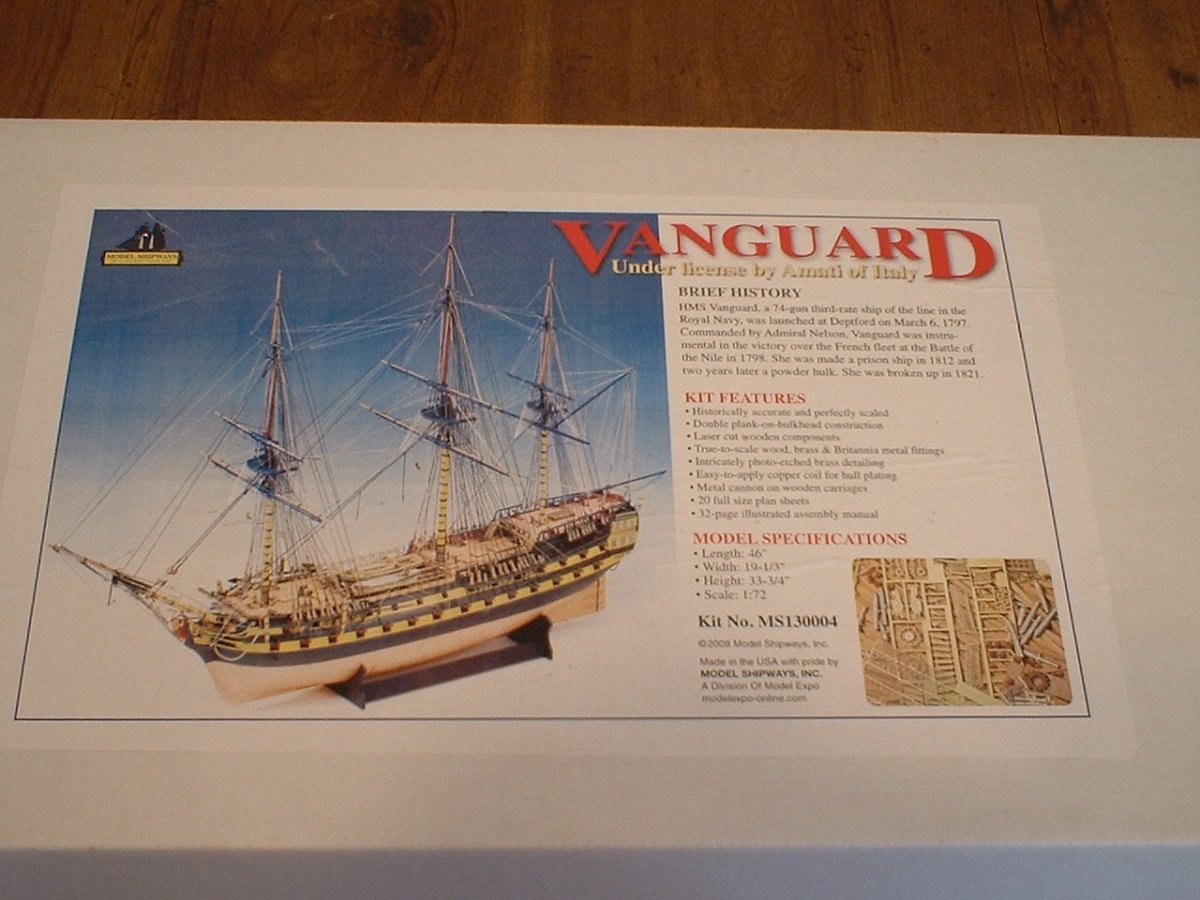
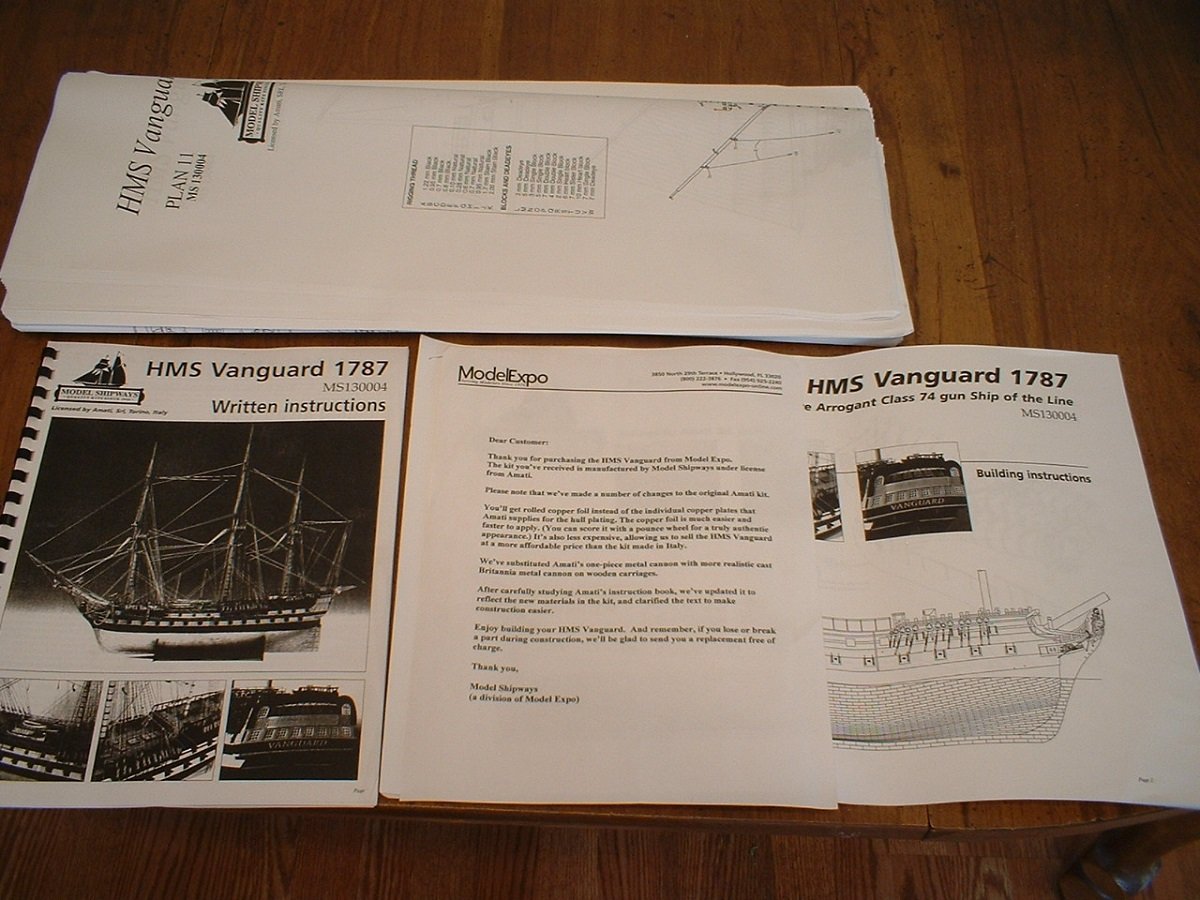
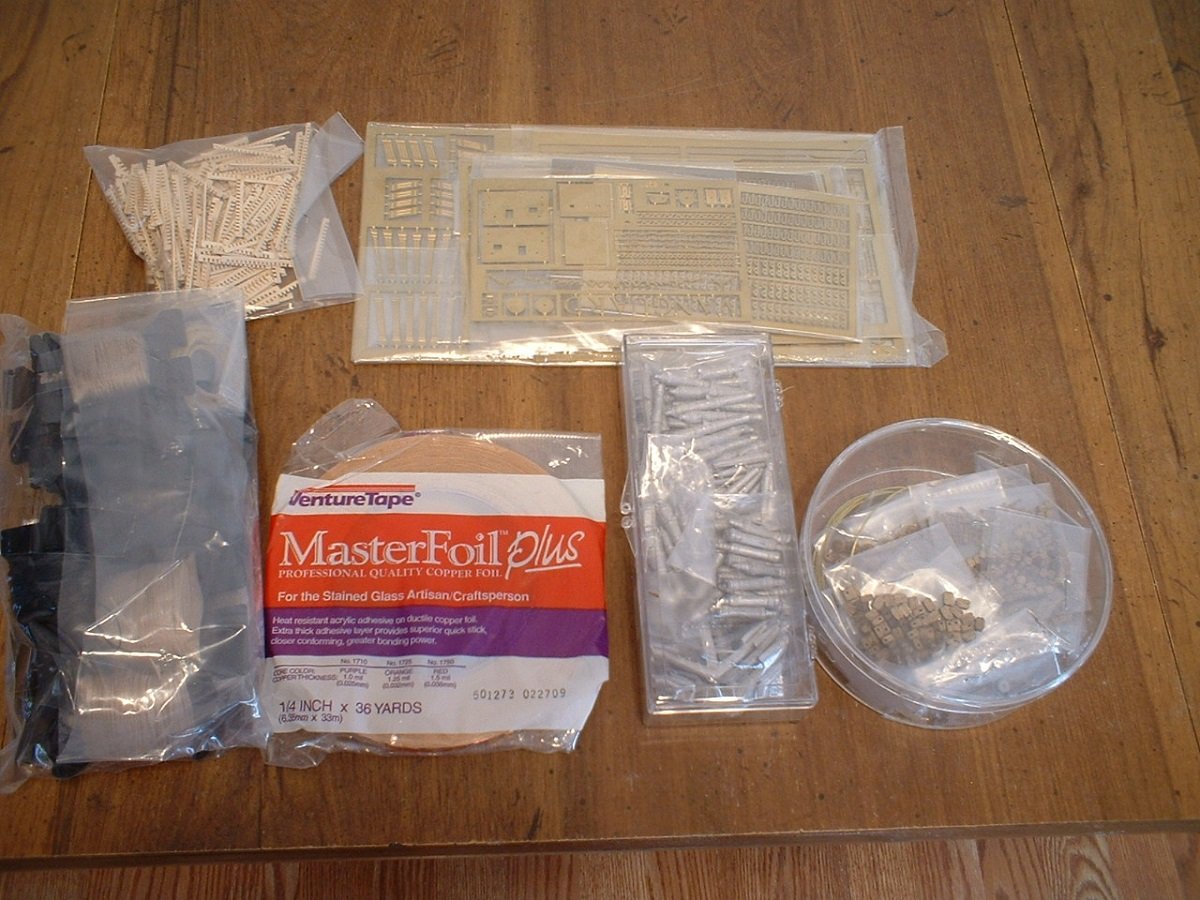
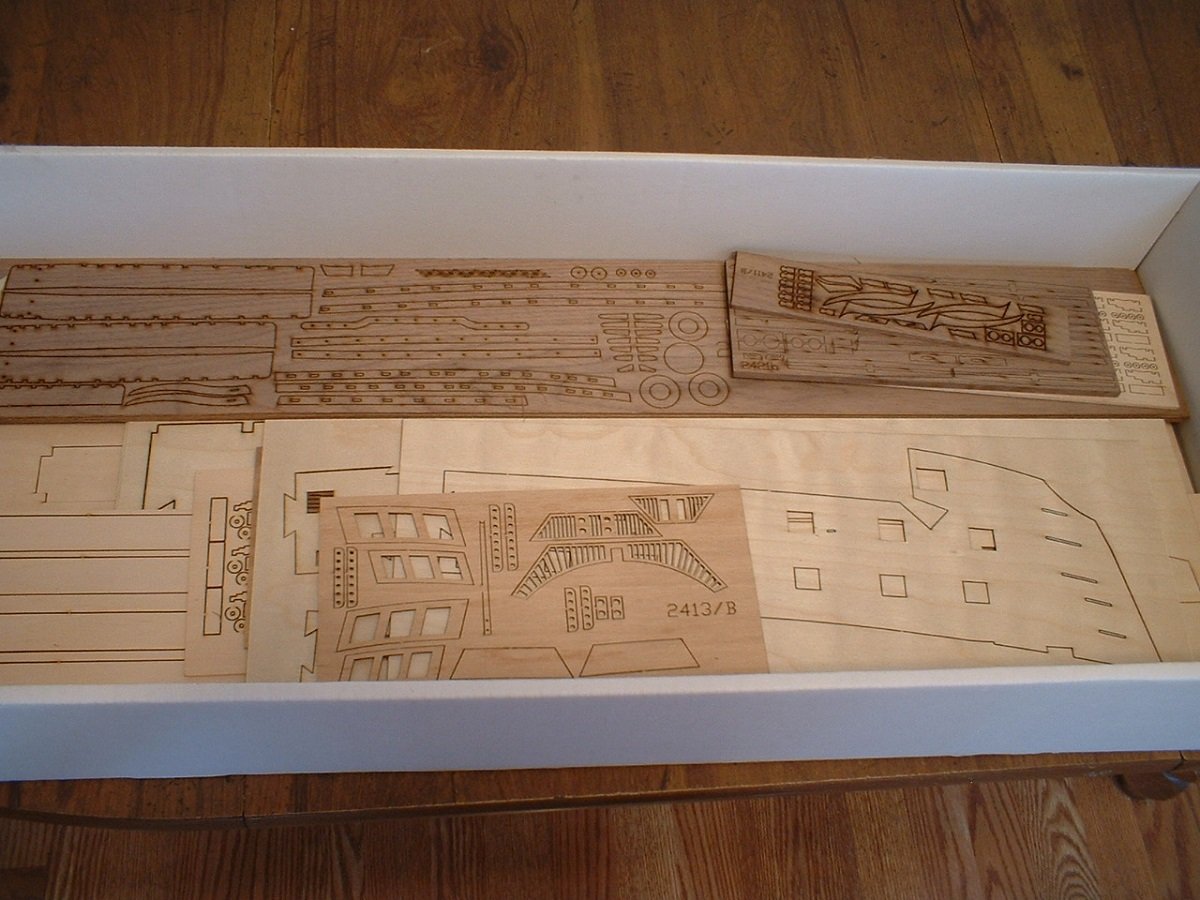
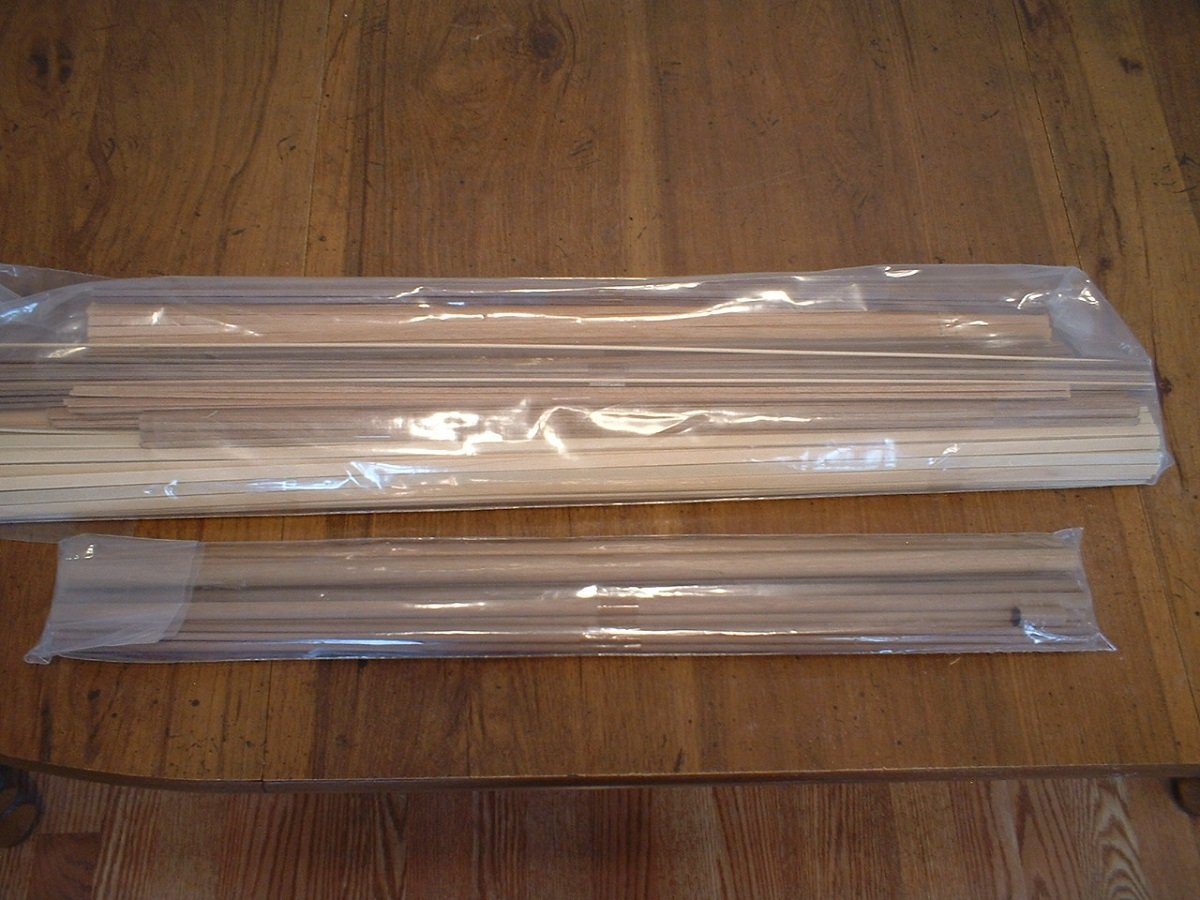
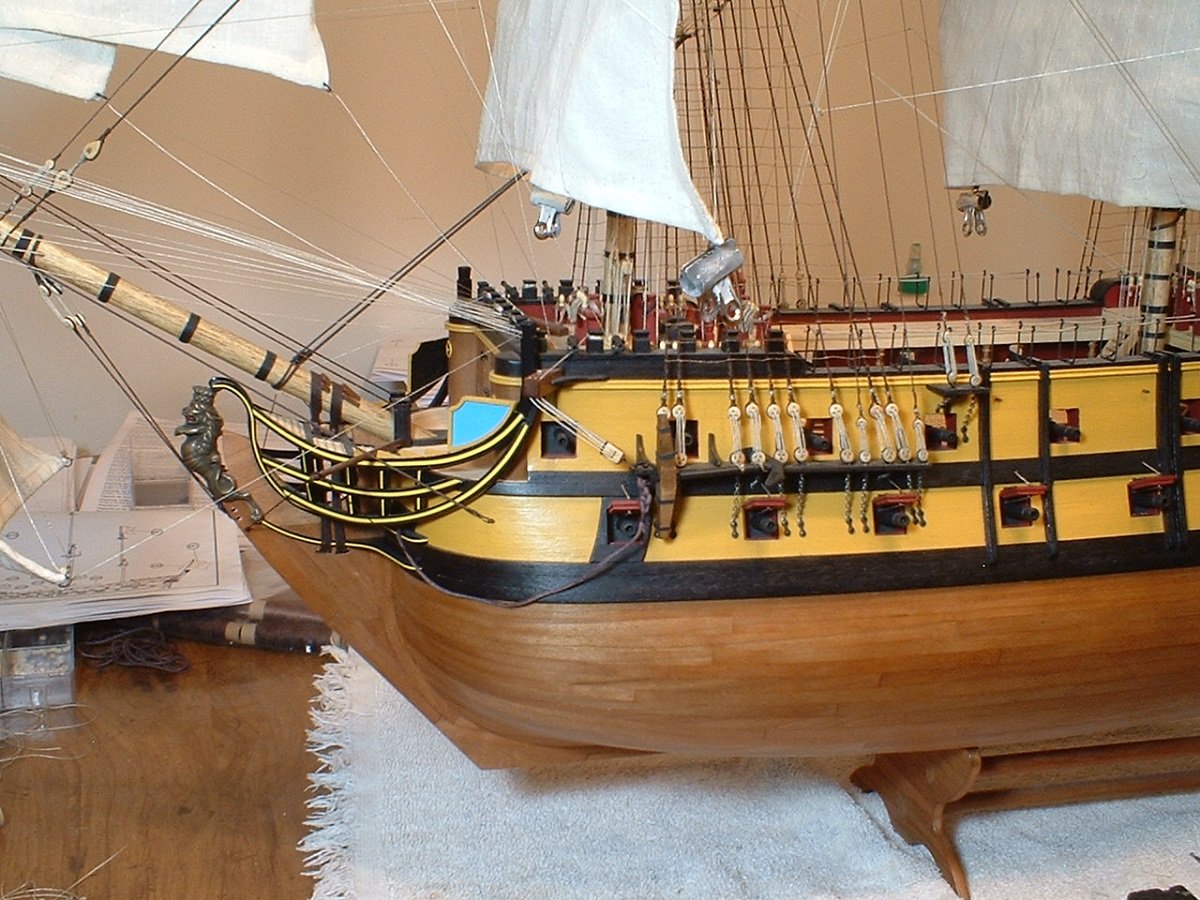
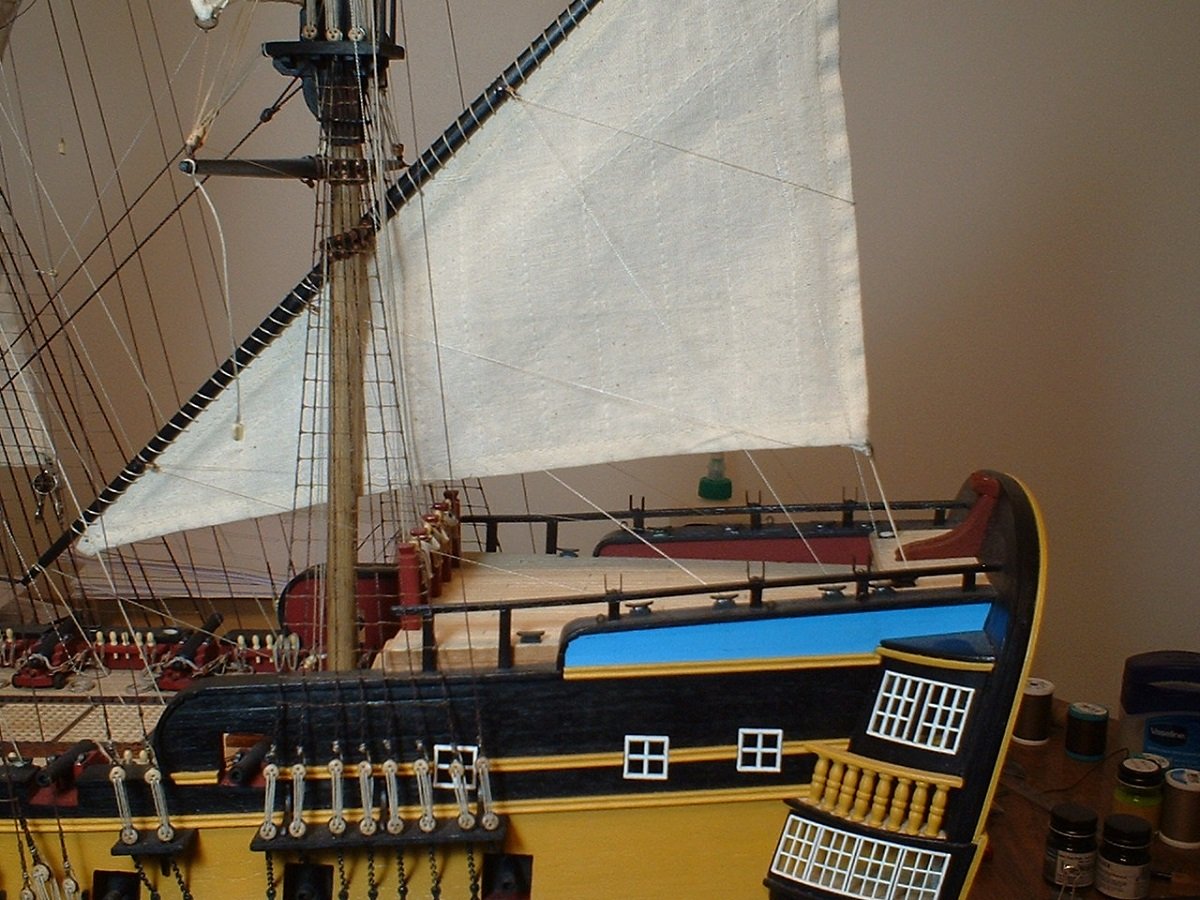
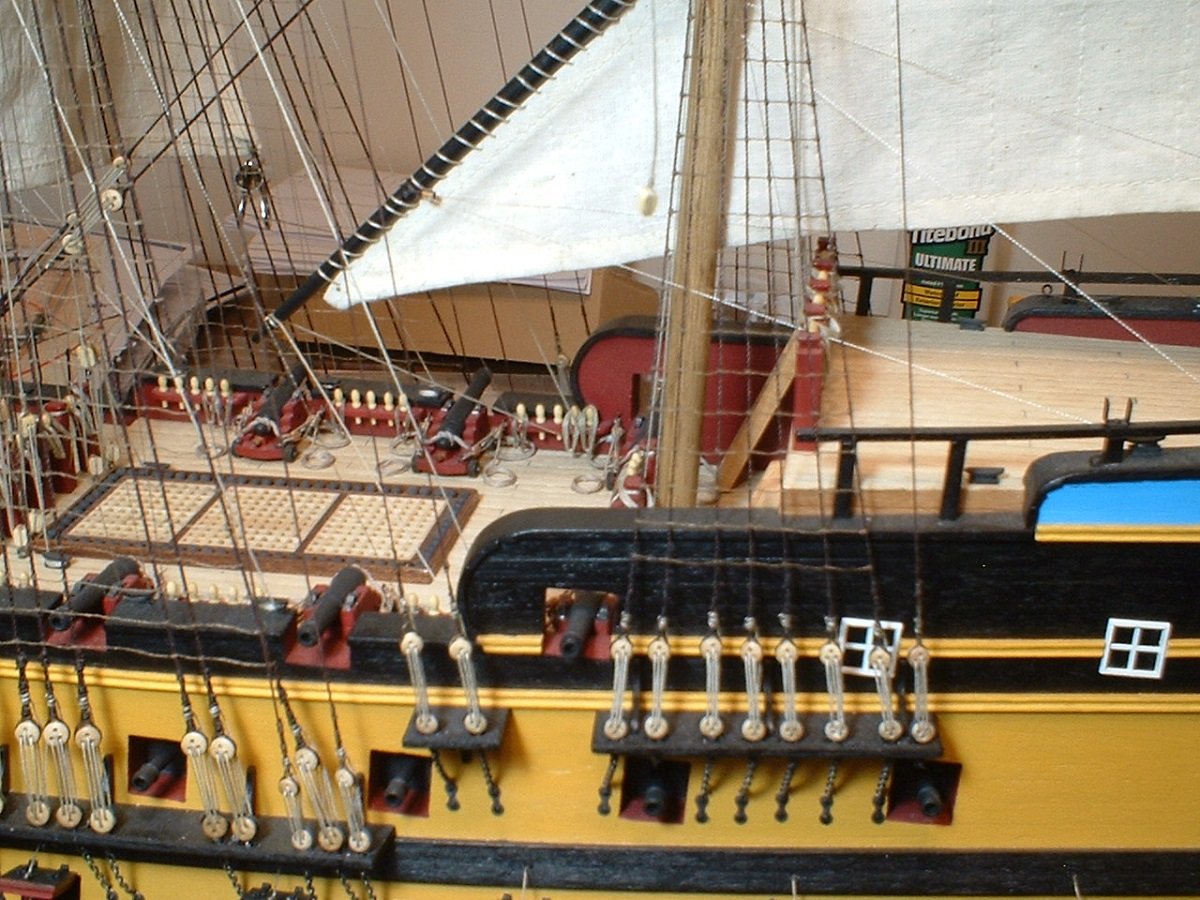
Hi everyone - this will be my build of the Vanguard by Model Shipways. This kit was made by Model Shipways for a short time under license from Amati. Included in the kit are 20 plan sheets,27 laser cut wood sheets of various woods,11 sheets of etched brass,along with all the usual fittings,plus a lot of cast metal items. All the rigging line is on Mantua spools & looks to be of decent quality,although I may replace some of it with Syren rope depending on the application. The rigging blocks look to be above average quality,but I will still probably use Syren blocks. Copper tape is provided for coppering the hull rather than individual copper plates. Also,all the guns are cast metal instead of turned brass. As I understand,the Amati version has the gun carriages made of metal but my kit provides wood carriages. There is a LOT of strip wood plus a large handful of walnut dowels. This appears to be a high quality kit & should be fun to build! A few pics of the contents....... Mark P.S. - please let me know if the link below works........took me about 6 tries
-
Thanks Don. Mark
-
Bob - thank you very much! Looking forward to your Winnie. Thanks Peter - yes,my fleet is getting a bit large. I have a ping pong table in my basement that has 12 ships sitting on it. Thanks O.C. - hope your situation works out. Thanks Bill - I started it in Feb.2018, so that works out to about 19 months although I did take some breaks. Mark
- 331 replies
-
- 1
-

-
- nuestra senora del pilar
- occre
- (and 1 more)
-
Thanks Michael - much appreciated! Mark
-
Thanks Frank. Mark
-
Sorry to hear your Lexington is going on the back burner,but I`m sure you will do a great job on the Winny. Mark
-
goetzi73 - thank you very much! sferoida - thank you also. Hope you can do better on the galleries than me. Thanks Martyn - I`m anxious to see how your Vasa turns out! Thanks to you also,Phil. Mark
- 331 replies
-
- 1
-
-
- nuestra senora del pilar
- occre
- (and 1 more)
-
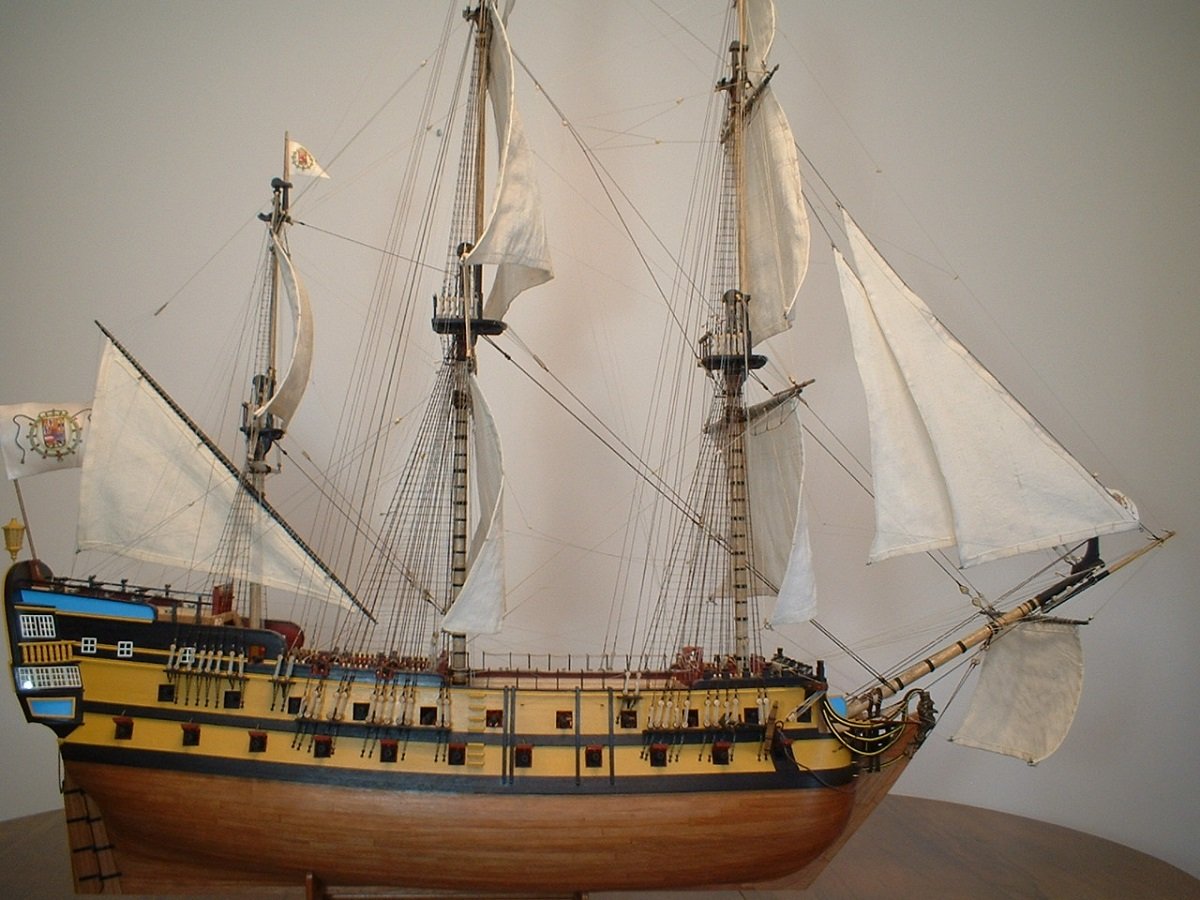
After adding the tack lines for the fore & main sails I`m calling this one done. The kit does include a ship`s boat kit,but I have decided to not build it. Thanks to all that have followed along. I will add some pictures to the gallery soon. I`m not sure what I will build next - would love to do Chuck`s Winchelsea,but I don`t have a hobby size table saw to cut planks & can`t really afford to spend hundreds of $$ for one right now. Mark
- 331 replies
-
- 19
-
-

-
- nuestra senora del pilar
- occre
- (and 1 more)
-
Thanks Martyn. Mark
-
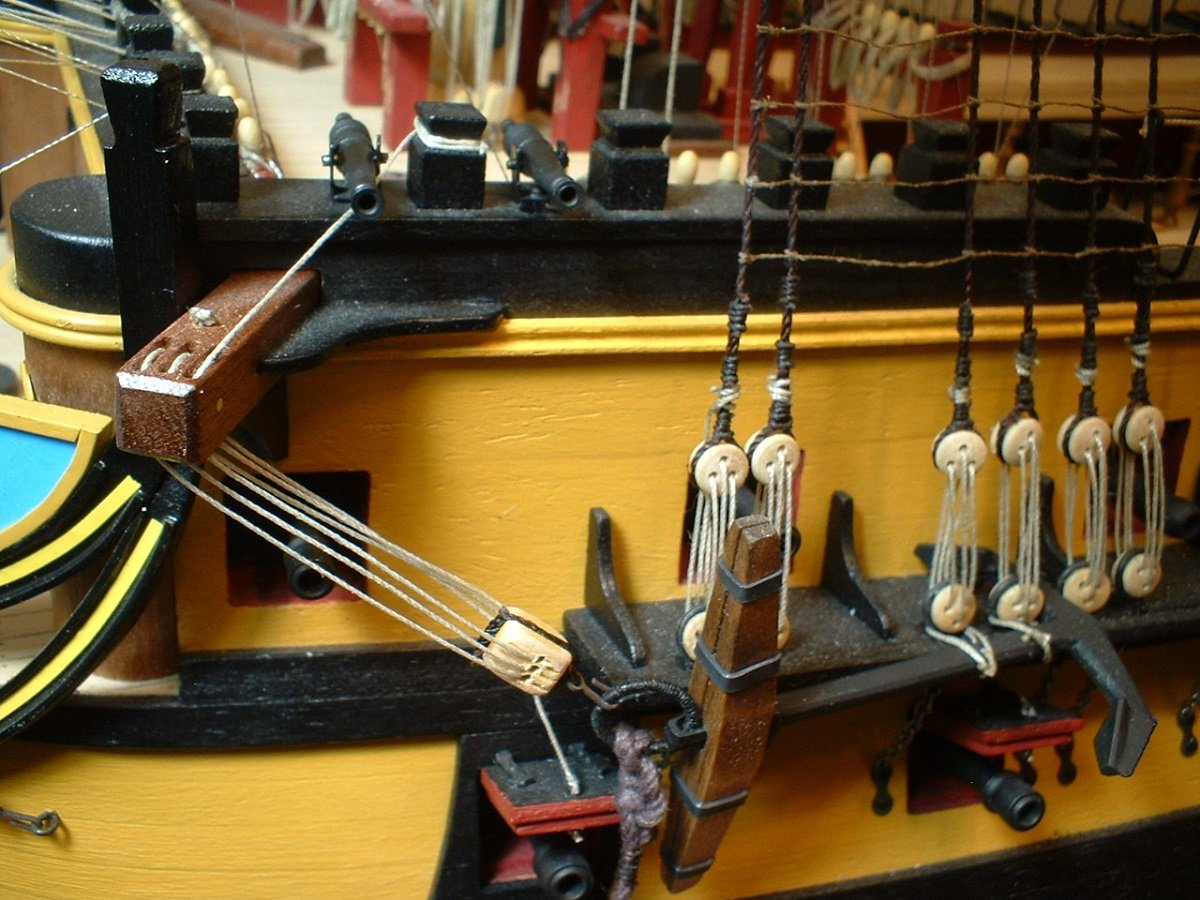
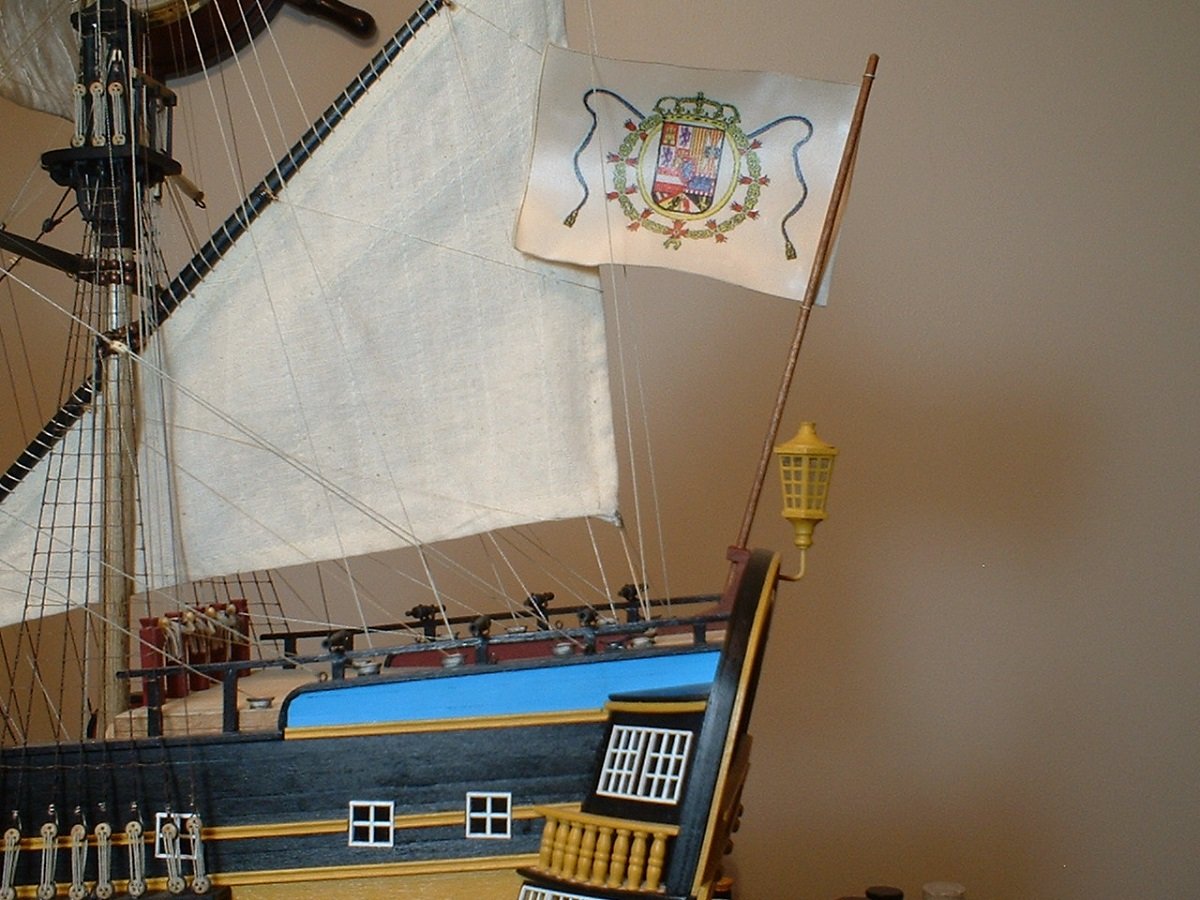
Update - all 10 swivel guns mounted,along with the stern lantern,flag pole, & anchors. Was not able to shape the flags well as they are stiff as a board. Mark
- 331 replies
-
- 8
-
-
-
- nuestra senora del pilar
- occre
- (and 1 more)
-
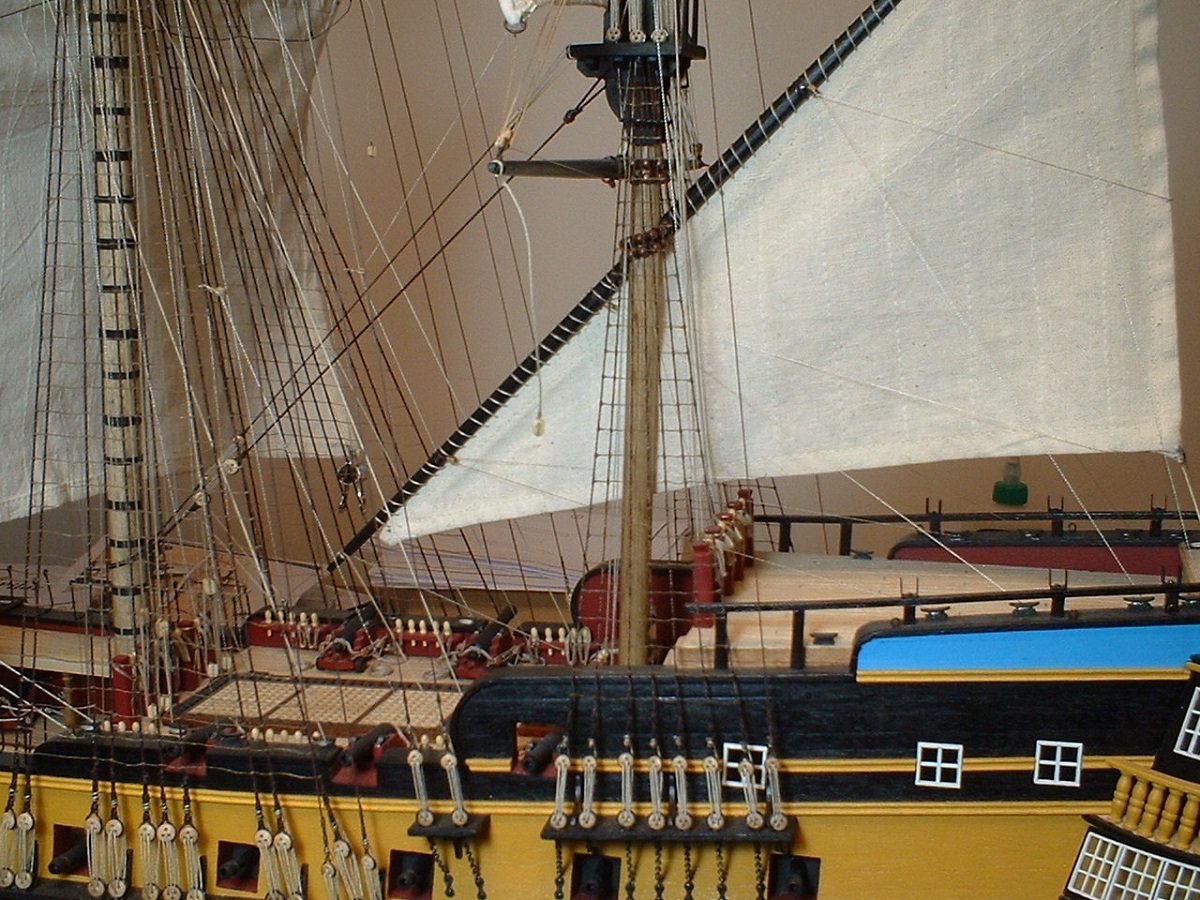
Thanks Michael - your thoughts are appreciated. These sails are a royal pain - a lot of extra work & difficult to get my hands into the belaying points. Mark
- 331 replies
-
- 1
-
-
- nuestra senora del pilar
- occre
- (and 1 more)
-
Hi Zapto - thank you very much! Mark
-
Thanks Pete & Bill. Thanks also for all the likes. I can now see the light at the end of the tunnel on this project! Mark
-
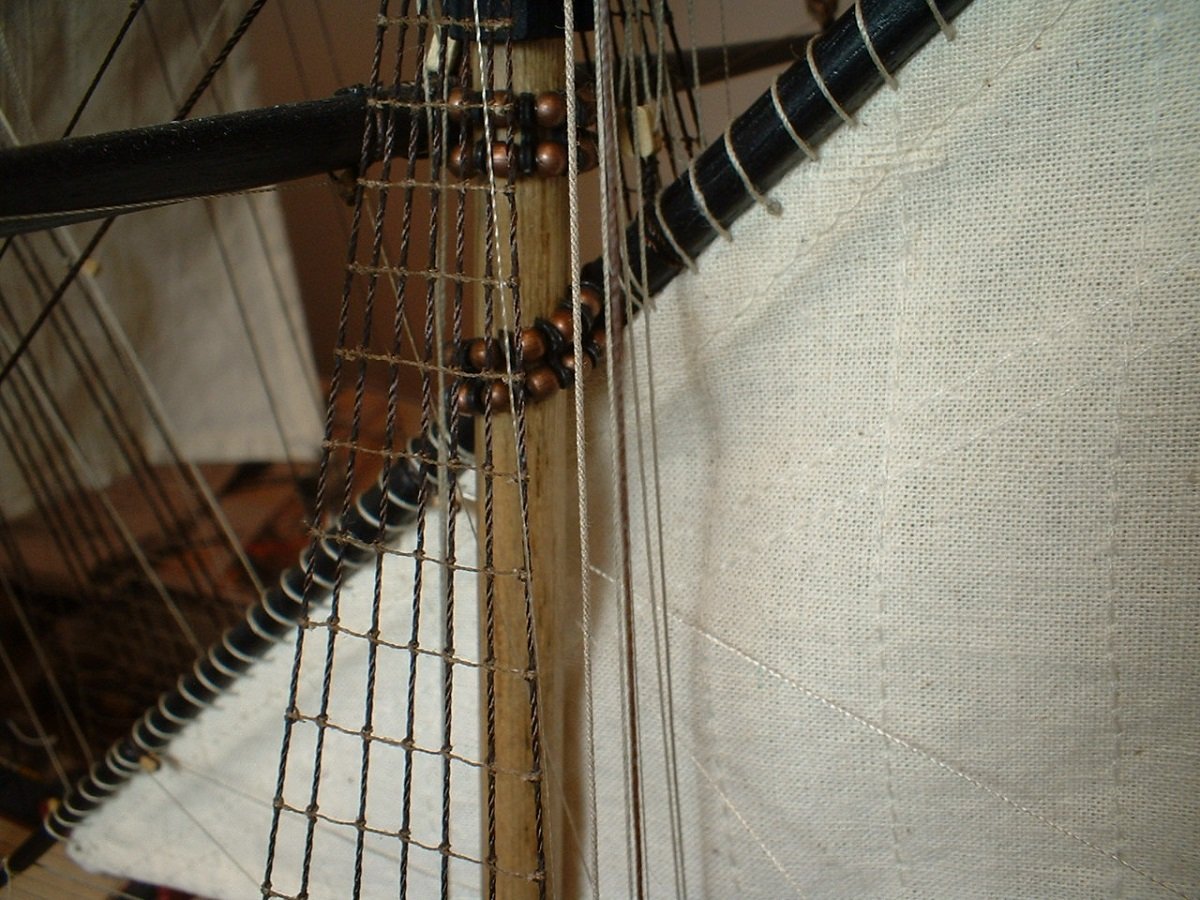
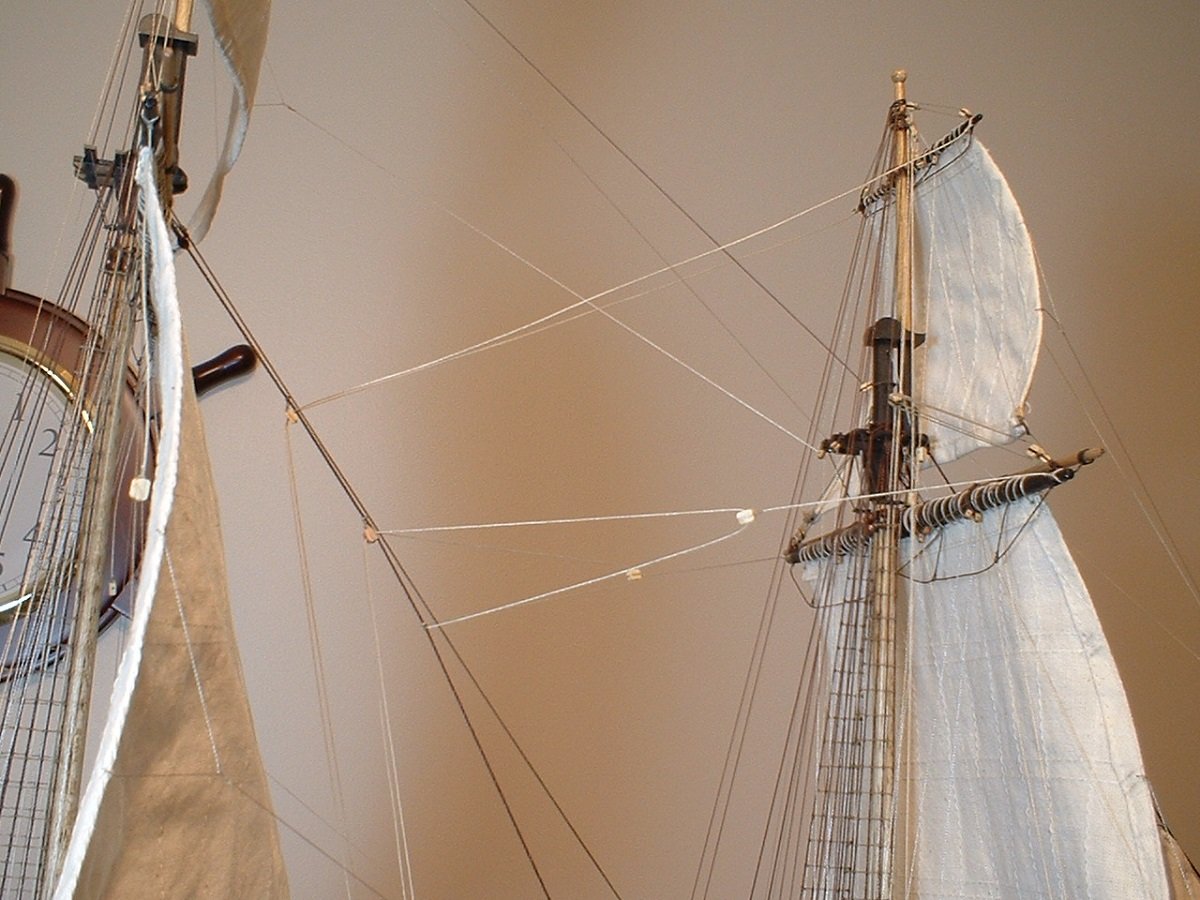
Another update - the mizzen lateen yard is now in place & the sail rigged. The kit provided black beads for the parrels,but I decided to use some bronze colored ones from the bead store. The main topgallant backstays are now done also - I had to wait until now to do all the topgallant backstays so I could get my hands in to the belaying points for all the other lines. Mark
- 331 replies
-
- 17
-
-
- nuestra senora del pilar
- occre
- (and 1 more)
-
Looks very nice! I am building this ship also. Mark
-
Thanks O.C. - hope you can get your issues sorted out & continue with the Pearl. Mark
-
Beautiful work!!!! Mark
-
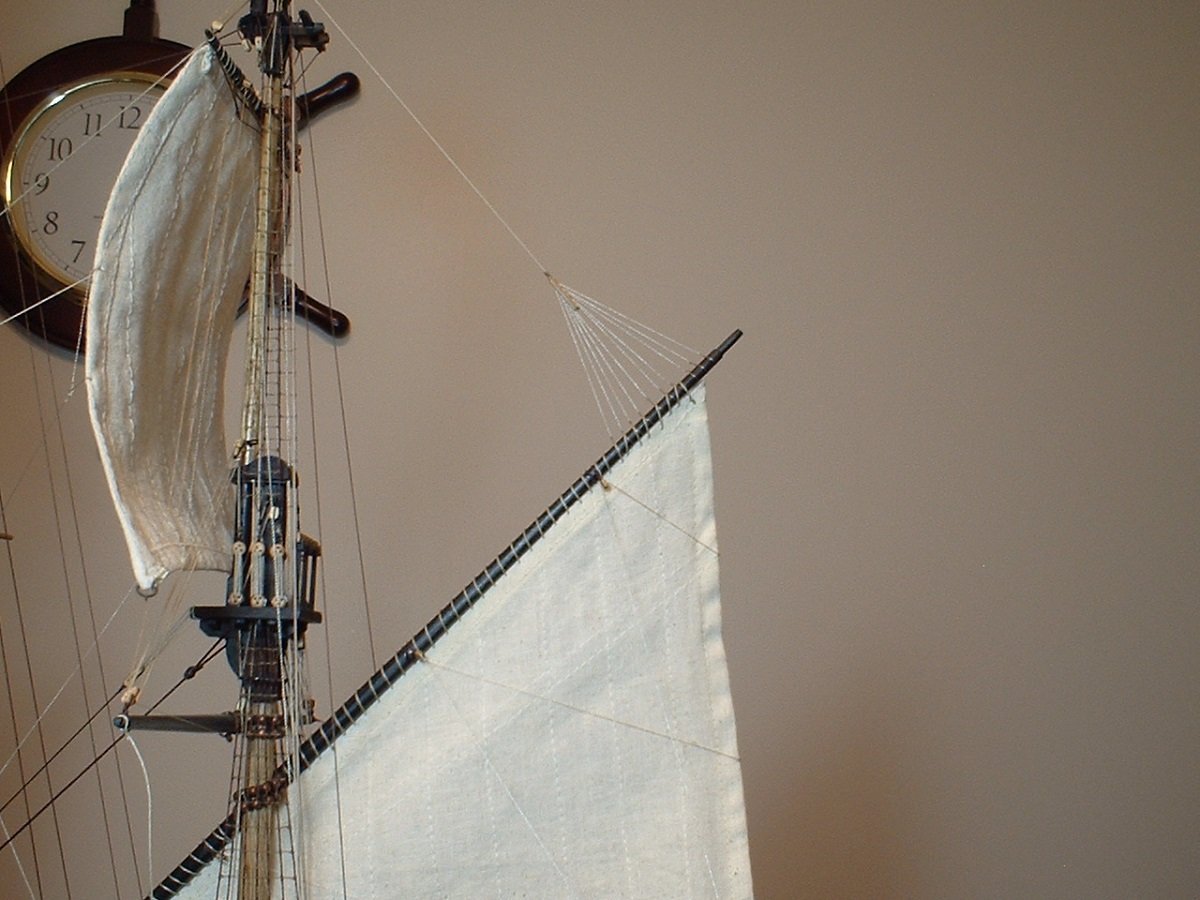
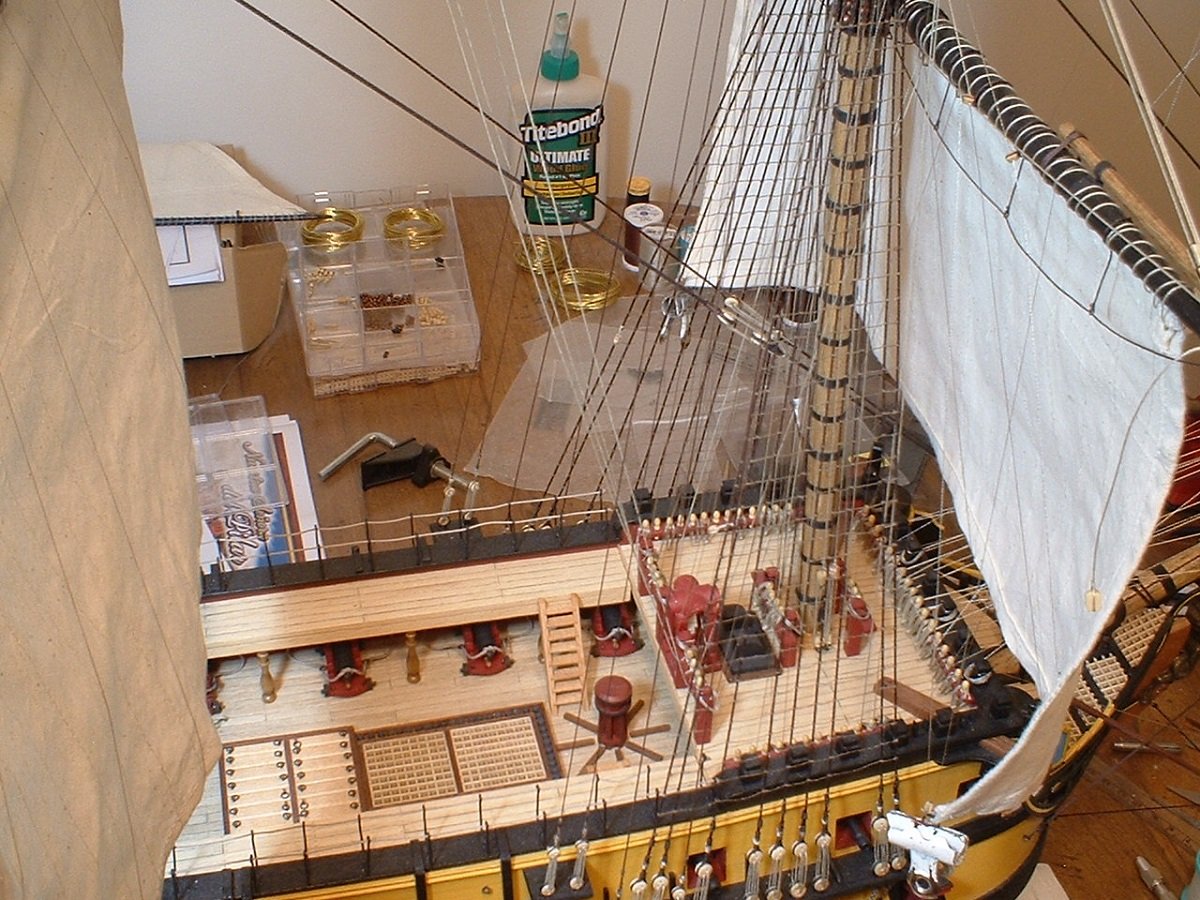
Hello friends! Haven`t posted in a while - did some remodeling,cleaned out & got my mother`s house sold, then a few unfortunate things happened(Murphy`s Law has been following me around)...... I have got a couple of things done - made a bunch of rope coils,& got the fore topmast & topgallant yard braces done. Those braces were shown on the belaying plan to belay BEHIND the main lower sail but that is not possible with the mainsail in place,so I belayed them to the railing at the rear of the forecastle deck. Also got the fore topgallant backstays done. I hope to get back to work on this more regularly very soon. As always,thanks for looking in. Mark
- 331 replies
-
- 11
-
-
- nuestra senora del pilar
- occre
- (and 1 more)
-
Sorry,I no longer have those. Mark