marktiedens
-
Posts
1,737 -
Joined
-
Last visited
Content Type
Profiles
Forums
Gallery
Events
Everything posted by marktiedens
-
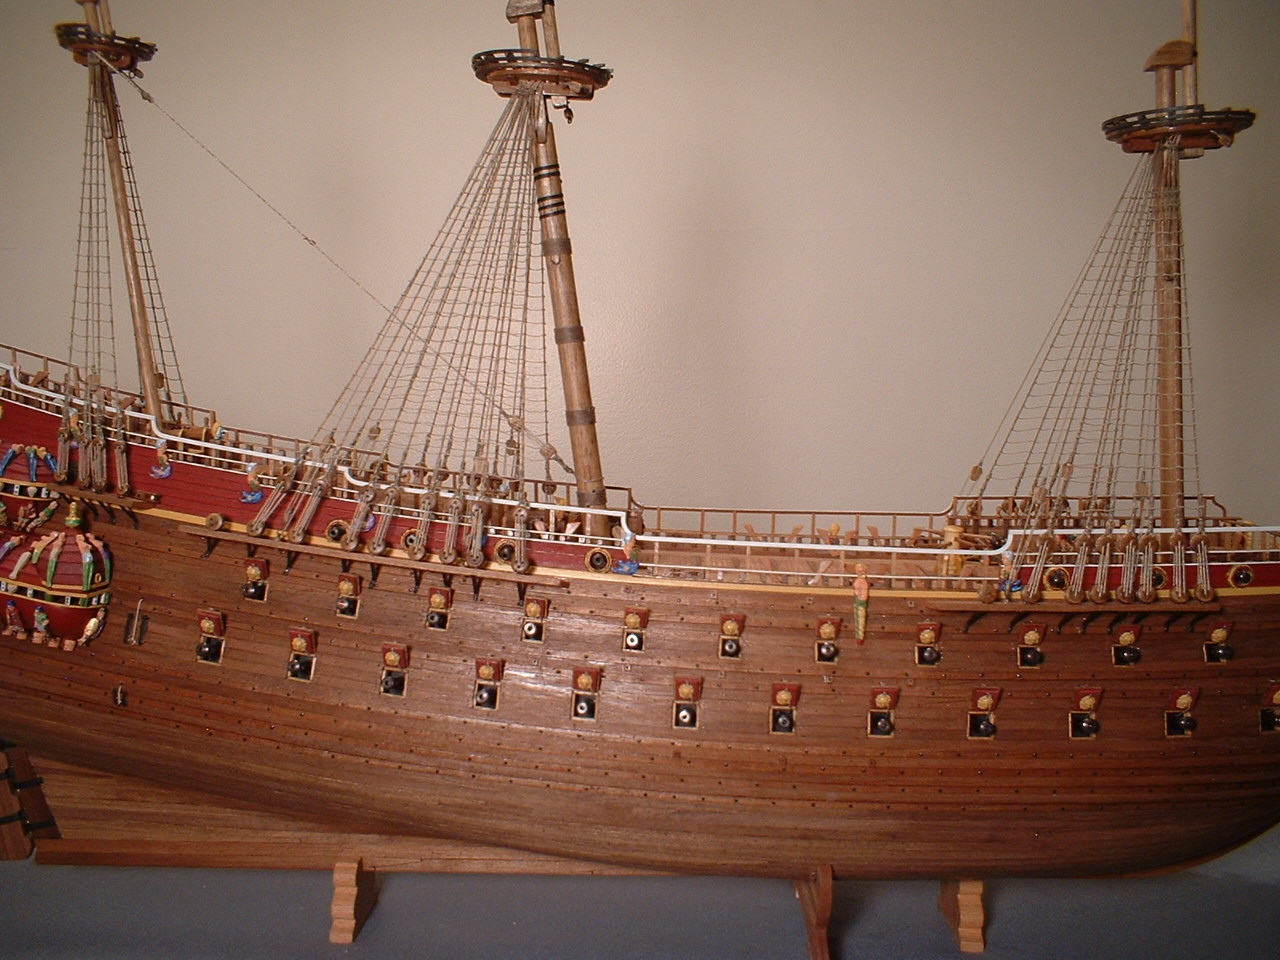
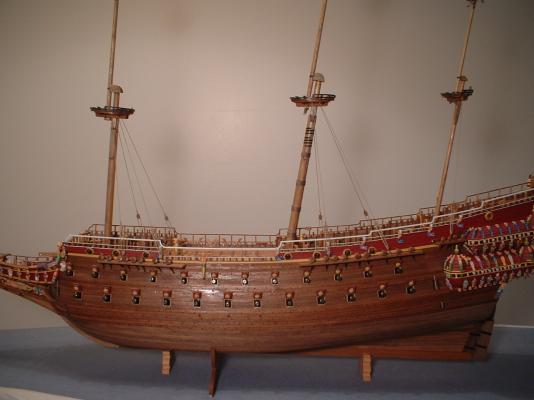
A little progress - finished the lower shrouds & ratlines & mounted the bowsprit. /Mark


-
Hi Jan - in answer to your question about the rigging,I will put a link to the Vasa forum where I have gotten much information. http://warshipvasa.freeforums.net/thread/97/rigging If you search through the other sections you can find many little bits of information - it`s kind of scattered around. Also if you have any specific questions someone there usually knows the answer. /Mark
-
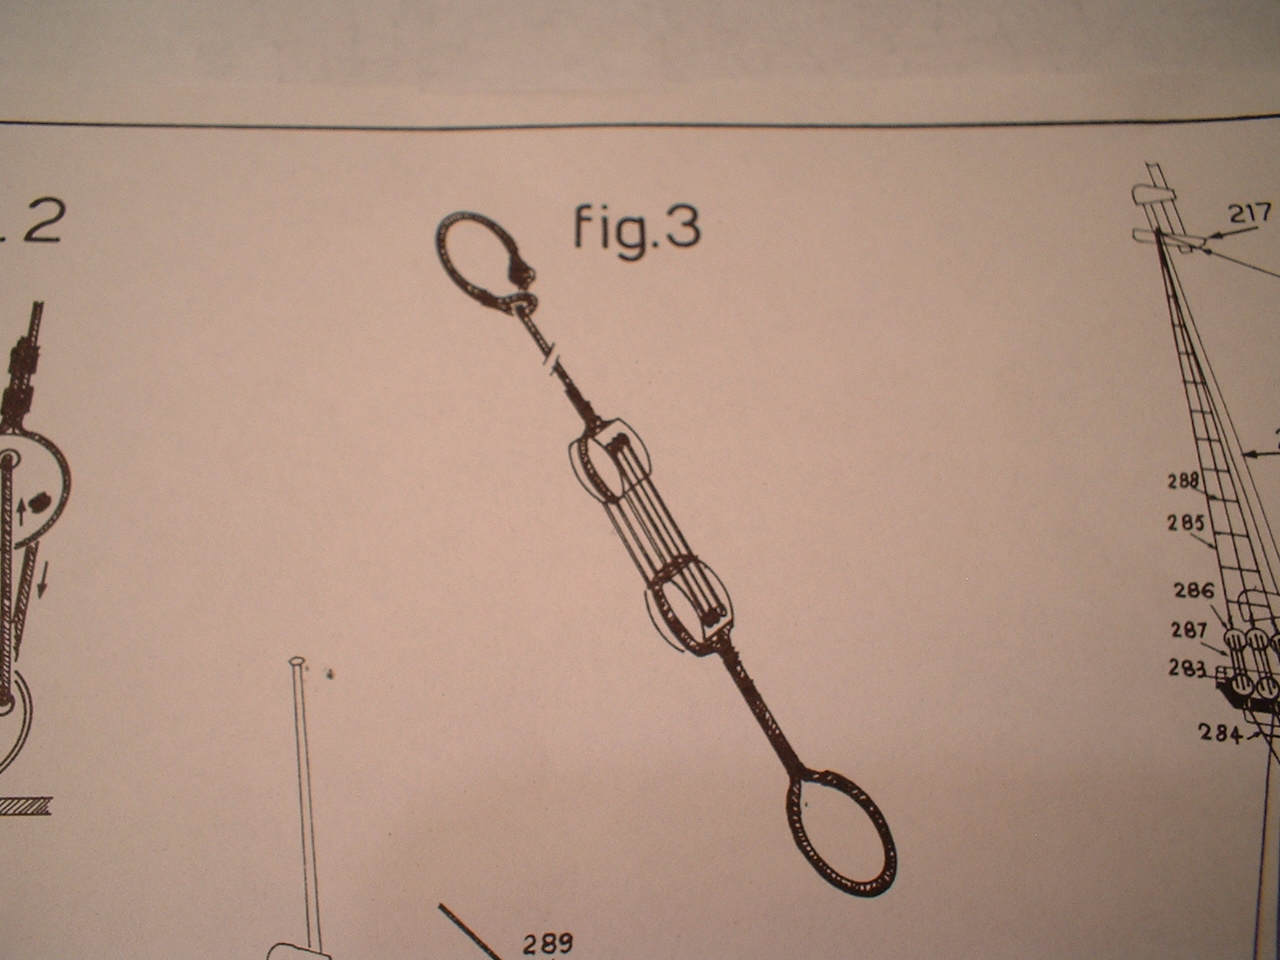
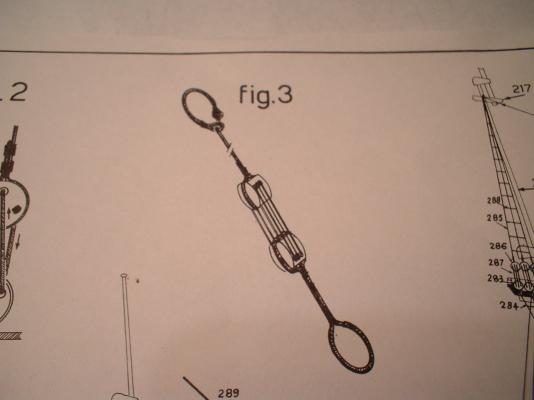
Hi Frank - thanks for your explanation. That`s what I had been doing but mine never seemed to look quite right to me. I think I will try something a little different - I will fasten an eyebolt to the bottom of the upper block & run through the sheaves & tie it off at the seizing of the lower block & see how that looks. Just for information those triple blocks are referred to by Fred at the museum as being basically large square deadeyes - no rollers between the sheaves. It doesn`t make any difference as far as rigging them goes ,though. Sorry to keep referencing Fred but he is a wealth of information. /Mark
-
Hi Frank - I have a question for you. How did you rig the lanyards between the triple blocks on the stays? What I`m wondering is what is the starting point & where does it tie off. Kind of a dumb question but I have never seen on plans the rigging sequence - it`s always a simplified diagram just showing 3 lines between the blocks. I have rigged them on previous models but they always look a little off. I did look at your rigging in one of your previous posts but I can`t quite make out the starting & ending points. /Mark
-
Hi Frank - even if you left them on they are barely noticeable behind the shrouds & ratlines. By the way I am doing all the rigging in a tan color since Fred said the ropes had very little tar on them if any at all. Most of the models including the 1/10 at the museum are built that way,so I will go with the majority. /Mark
-
Thanks Michael & Karl. Michael - the banding is simply heavy black paper cut into narrow strips. The paper was left over from a Caldercraft kit,but any stationery store should have it. It`s almost like card stock. /Mark
-
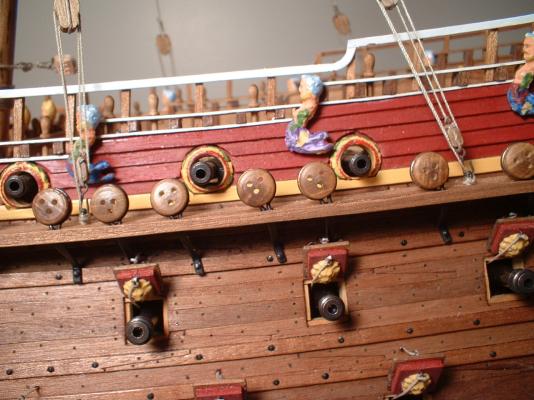
Hi Frank - I don`t have the museum plans so I am going by the pictures of Clayton`s scratch build on the Vasa forum. He has only 2 on each side of the fore & main masts. I don`t know if it`s correct but it seems like 3 on each side would be overkill. He was in constant contact with Fred at the museum during his build so I would think his version is close to correct. Also I think the plans from the museum are being re-done - I`m pretty sure they are not selling them any more. I may be totally wrong but I`m sticking with the 2 per mast for now. Also it was mentioned by Fred that the rear-most deadeyes on the chain plates for the fore & main masts are most likely topmast backstays instead of shrouds. So,in other words I am going by the work of someone much more informed than I am. /Mark
-
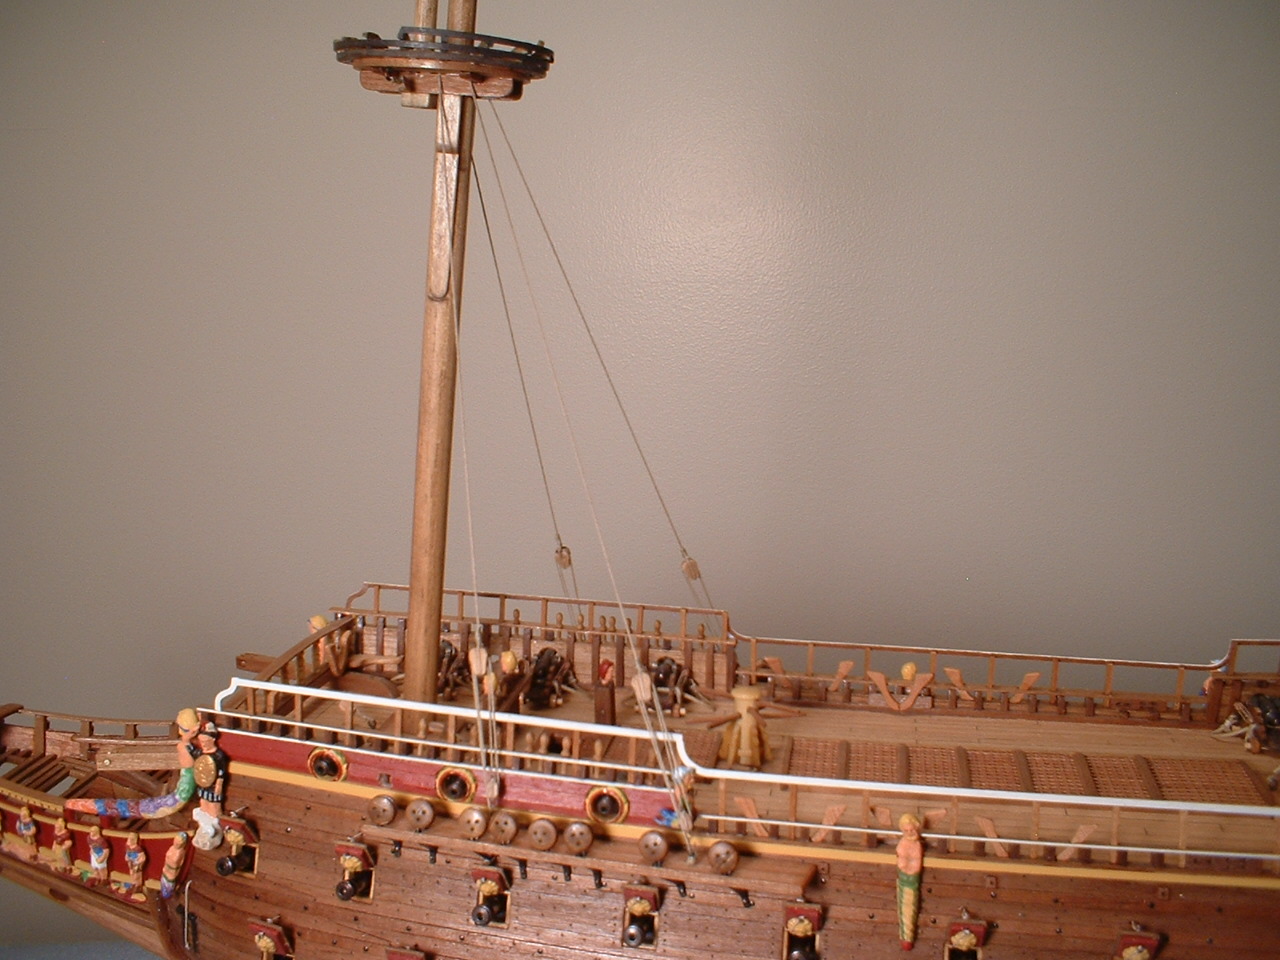
Update - Masts stepped & mast tackles installed,using leftover hooks from a previous build. I will probably start on the shrouds next. /Mark
-
Another very nice gold paint is a Vallejo game color called polished gold - very realistic finish. /Mark
-
I think yours looks just fine with 3 sheaves - I didn`t know the fourth sheave was for the toprope,even after looking at all the pictures of the rigging that I could find . They keep changing the rigging plans anyway. /Mark
-
Very nice work - they look much better than mine. Just one observation - it appears on the 1-1 that the one large knighthead has 4 sheaves.It may be an optical illusion - what do you think? /Mark
-
Michael - I also tried to make the slots by drilling holes & then filing the slots by hand. After about an hour of drilling & filing it looked terrible. That`s when I gave up & went with the laminating method. The only bad thing is the edges of the strips can be seen,but it still looks better than my poor attempt at drilling & filing . /Mark
-
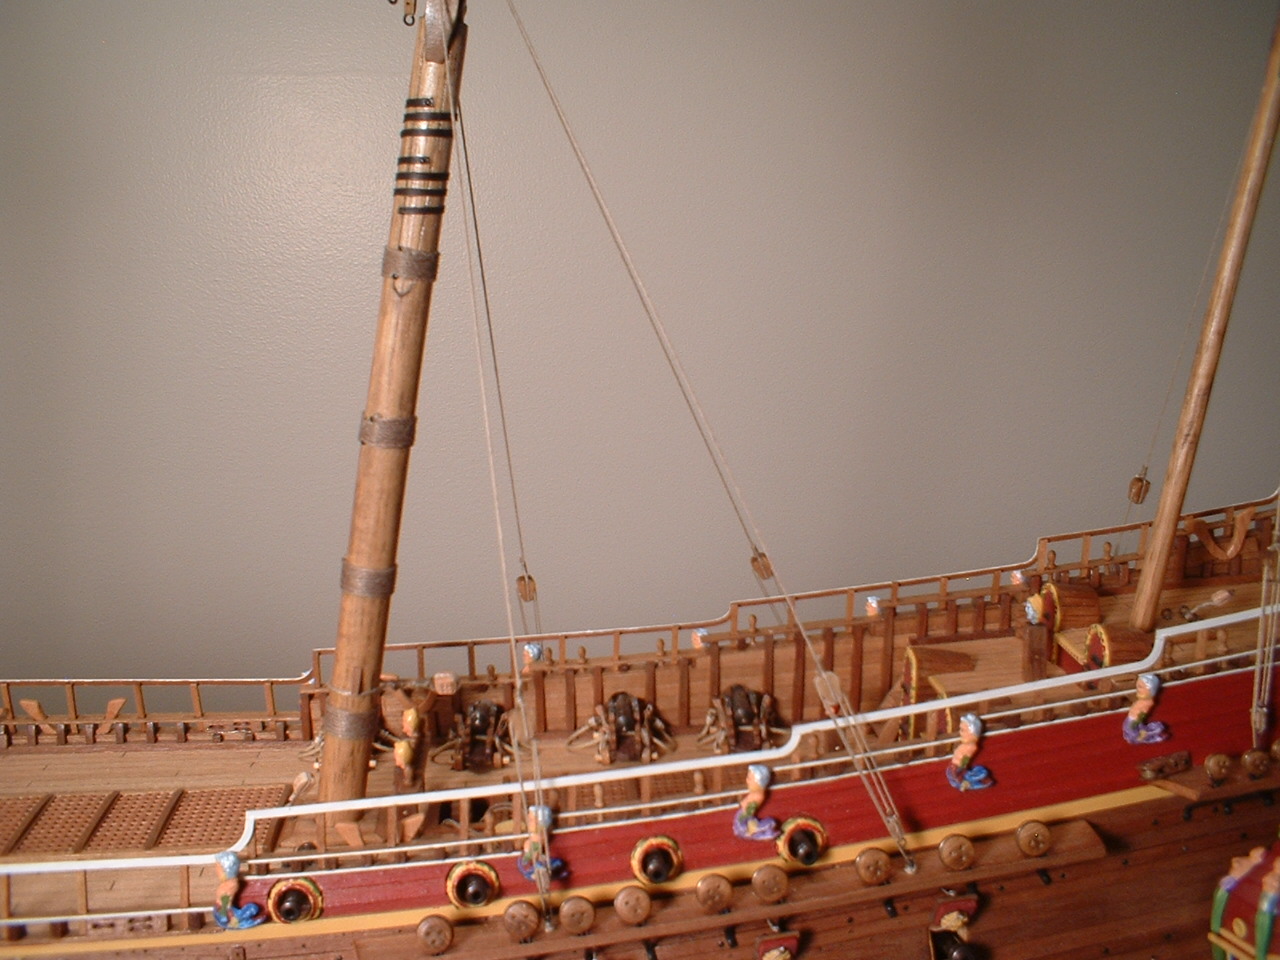
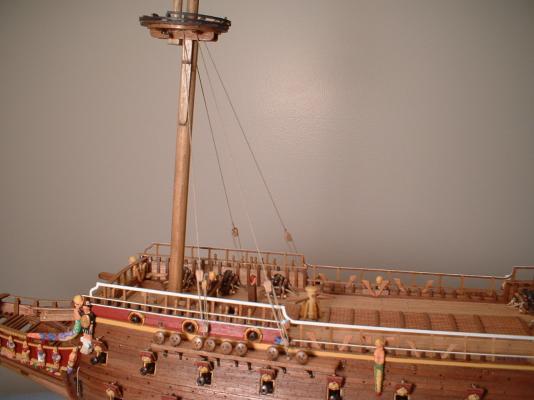
Thanks Michael - I managed to get all the masts assembled & all the main mast bindings installed.Since Fred at the museum said the main mast ropes were nailed in place I added some small nails to the rope ends,although they are hard to see in the picture. /Mark
-
Thanks Frank - it was rather time consuming making all those little brackets,but well worth the time. /Mark
-
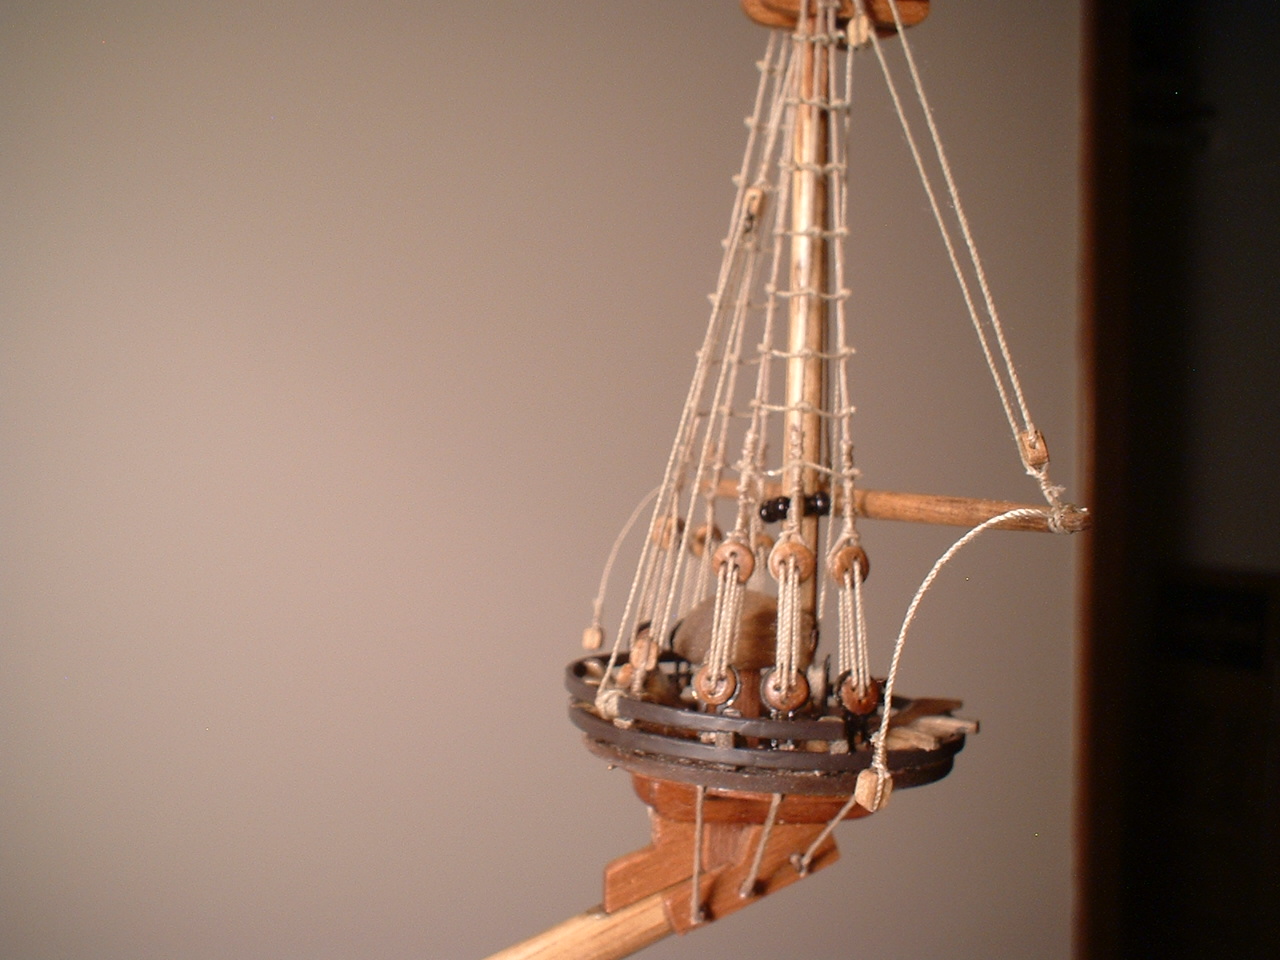
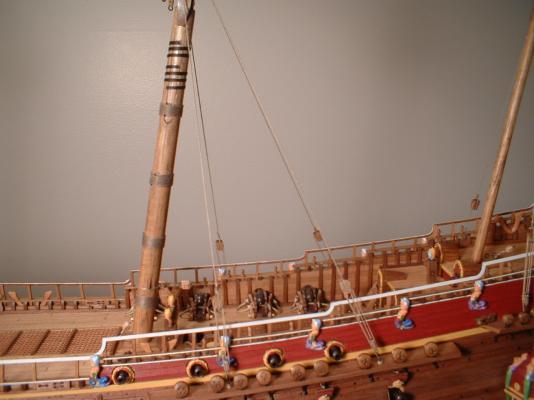
Update - still working on the masts. All the platforms & cross trees are built. Now all I have to do is put all the masts together. The mast caps provided in the kit were English style square caps so I made my own rounded caps out of basswood & then stained everything to sort of match a little better. The iron straps holding the mast sections to the caps were made from copper strips & painted black. The pulleys on the sides of the masts are just short pieces of dowel - I did not bother to groove them as they will not be seen after the ropes going through them are in place. Foremast assembled - only 2 more masts & the bowsprit to go. /Mark

- 145 replies
-
- 10
-

-
I am not waiting for the book - they might even change things after it comes out. I will probably just rig mine very close to what I did on my Sergal build. If the quality of the kit was better I might be a little more concerned about the correctness of the rigging. /Mark
-
Looking good Frank! I just remembered that it was mentioned on the Vasa forum by Fred Hocker that the last deadeye on the channels may have been a topmast backstay instead of a shroud.I don`t know if he had hard evidence or was just making an educated guess. I don`t really think it would make a whole lot of difference either way on our models. It seems a little difficult to keep up with the changes they keep making at the museum . /Mark
-
Thanks Frank! /Mark
-
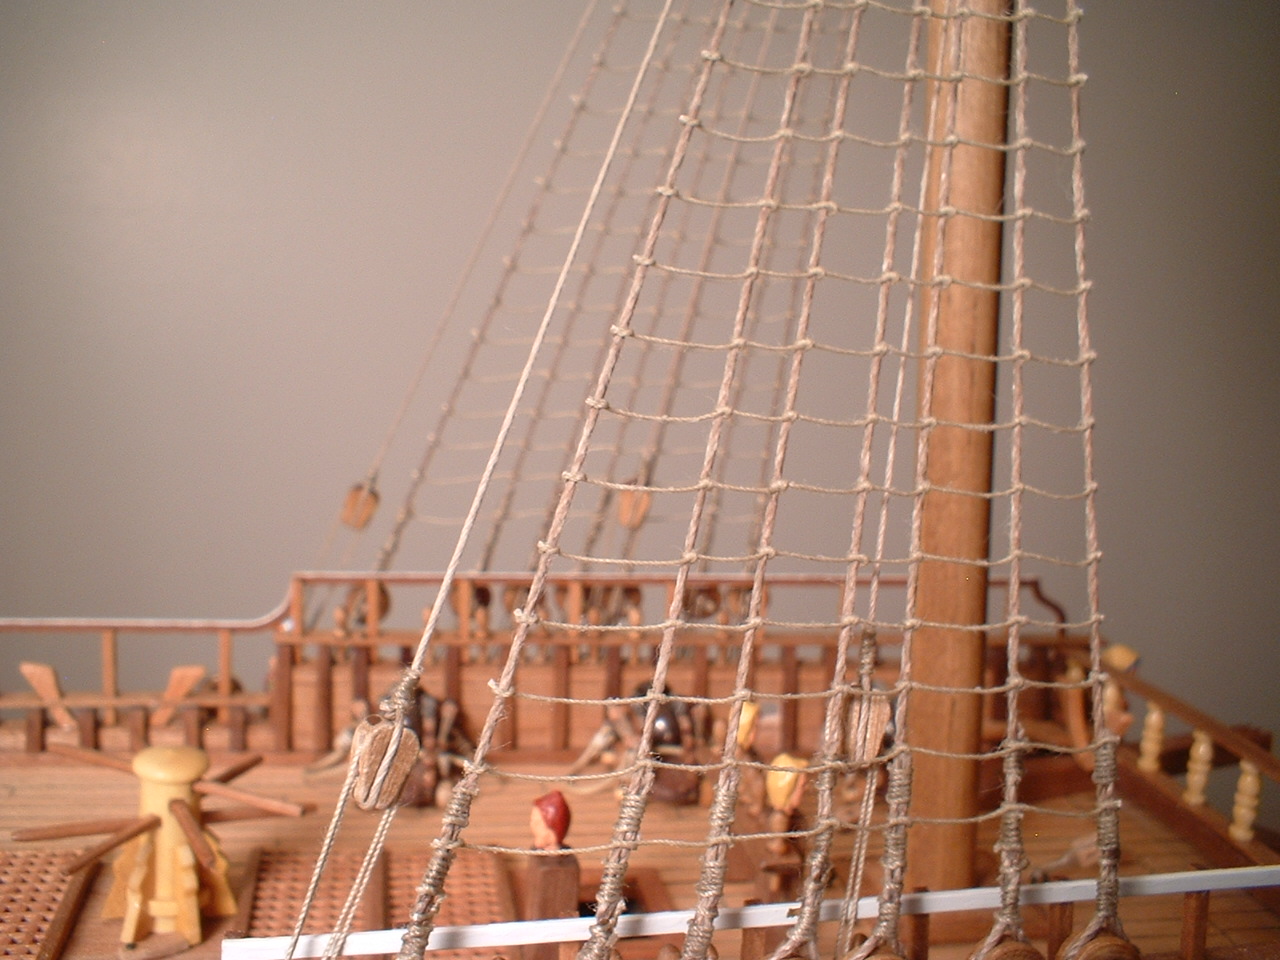
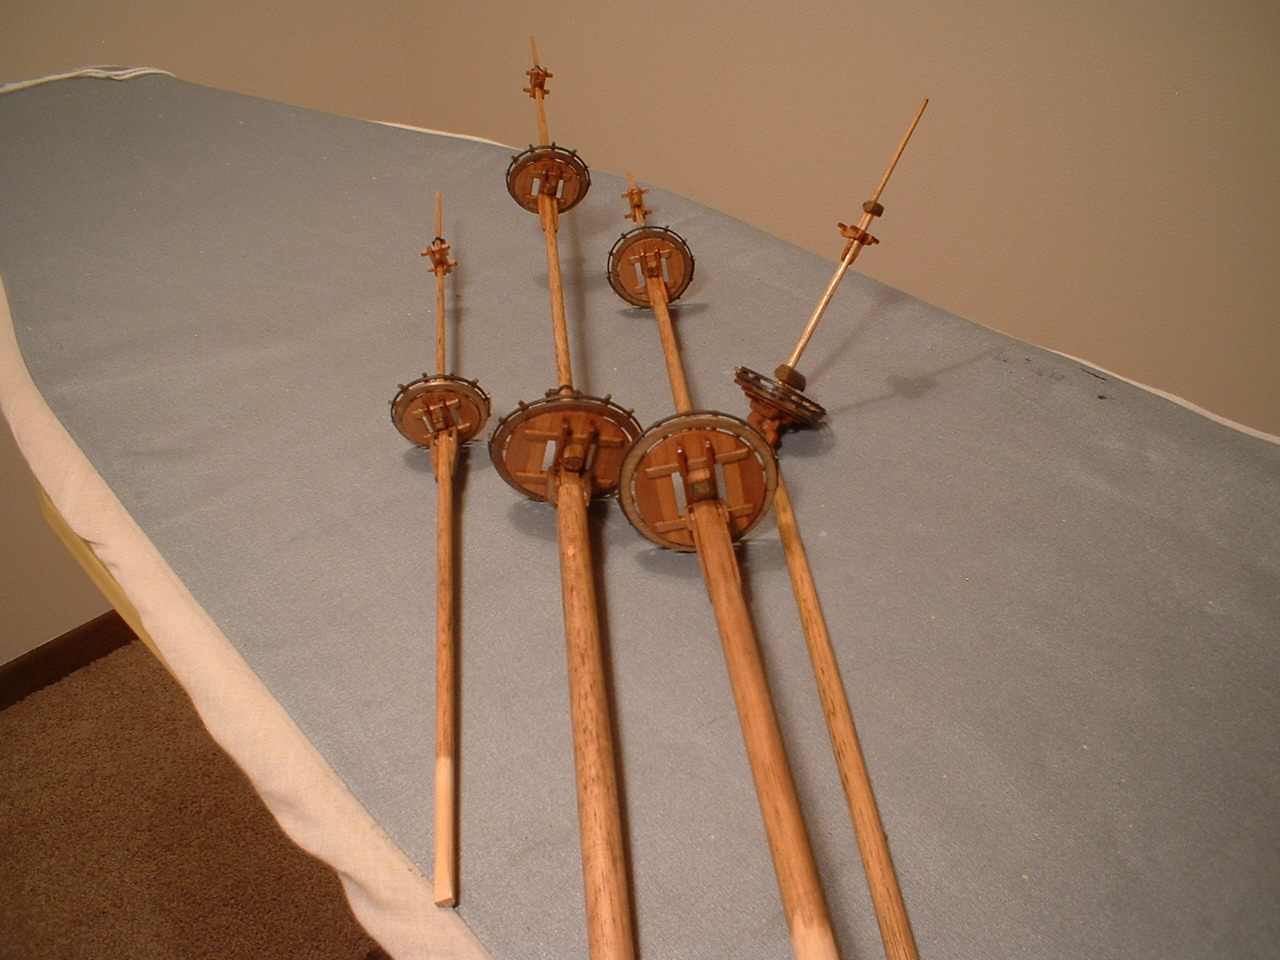
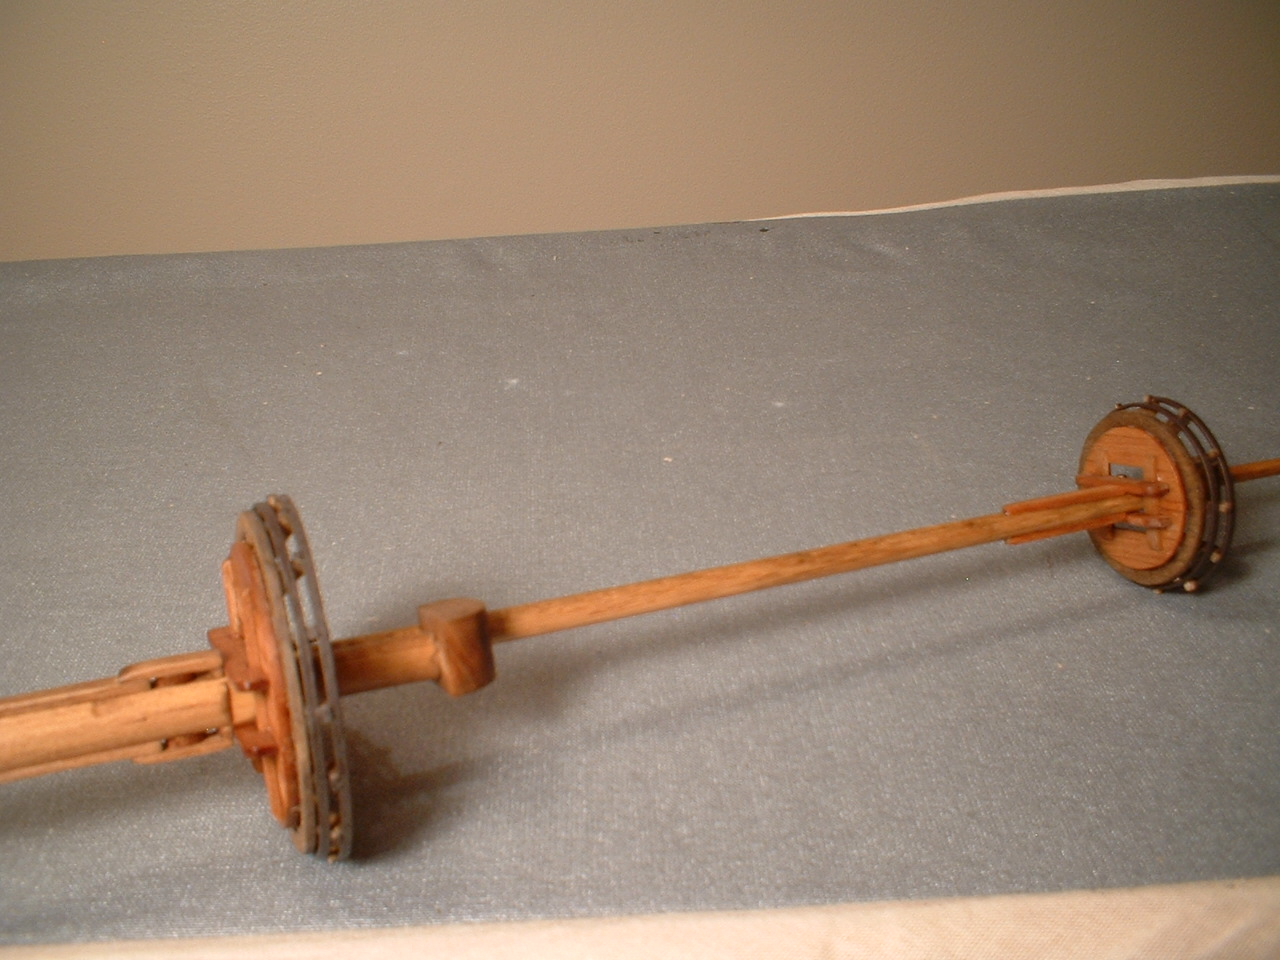
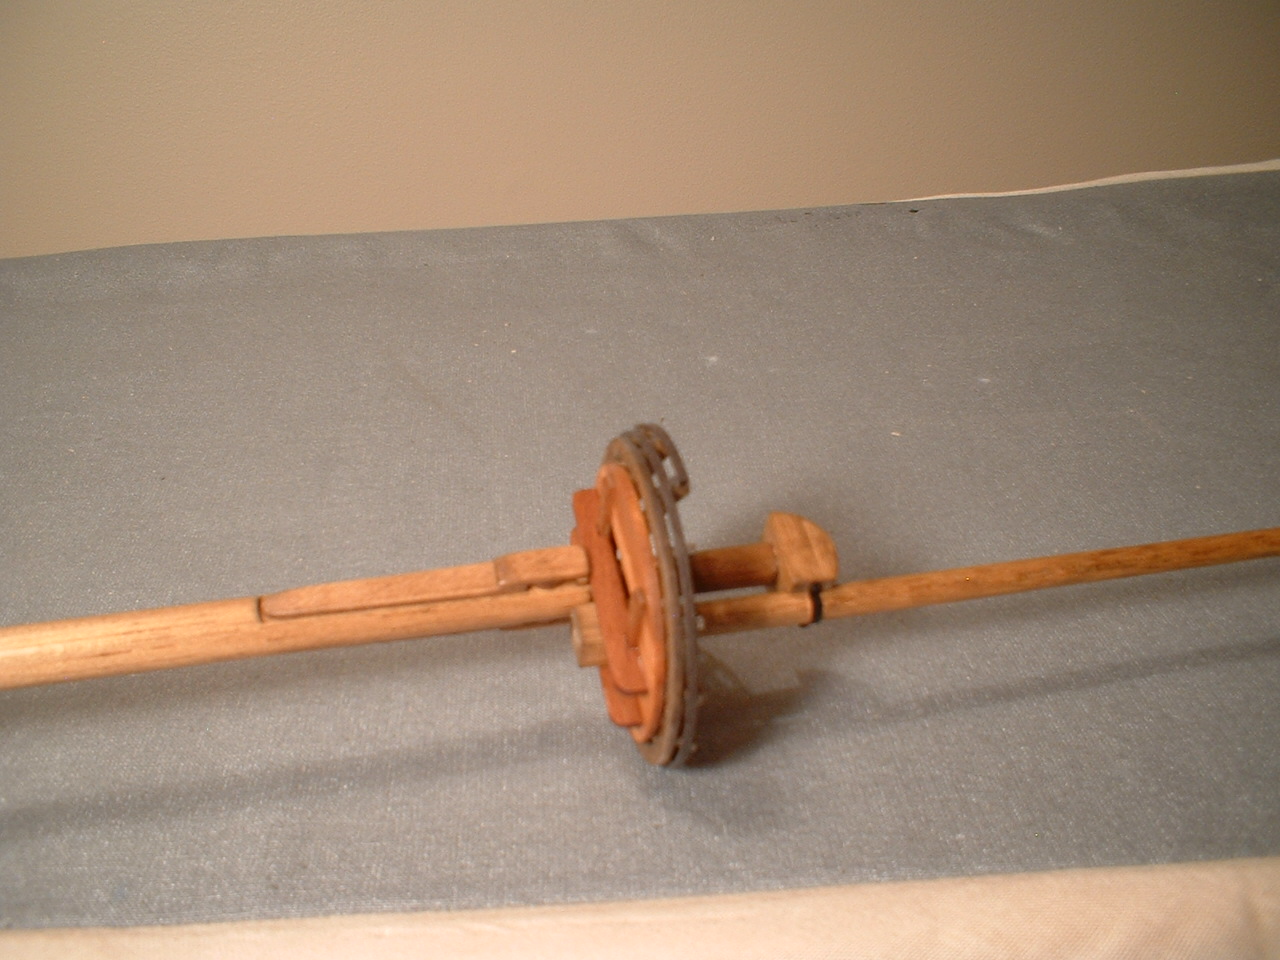
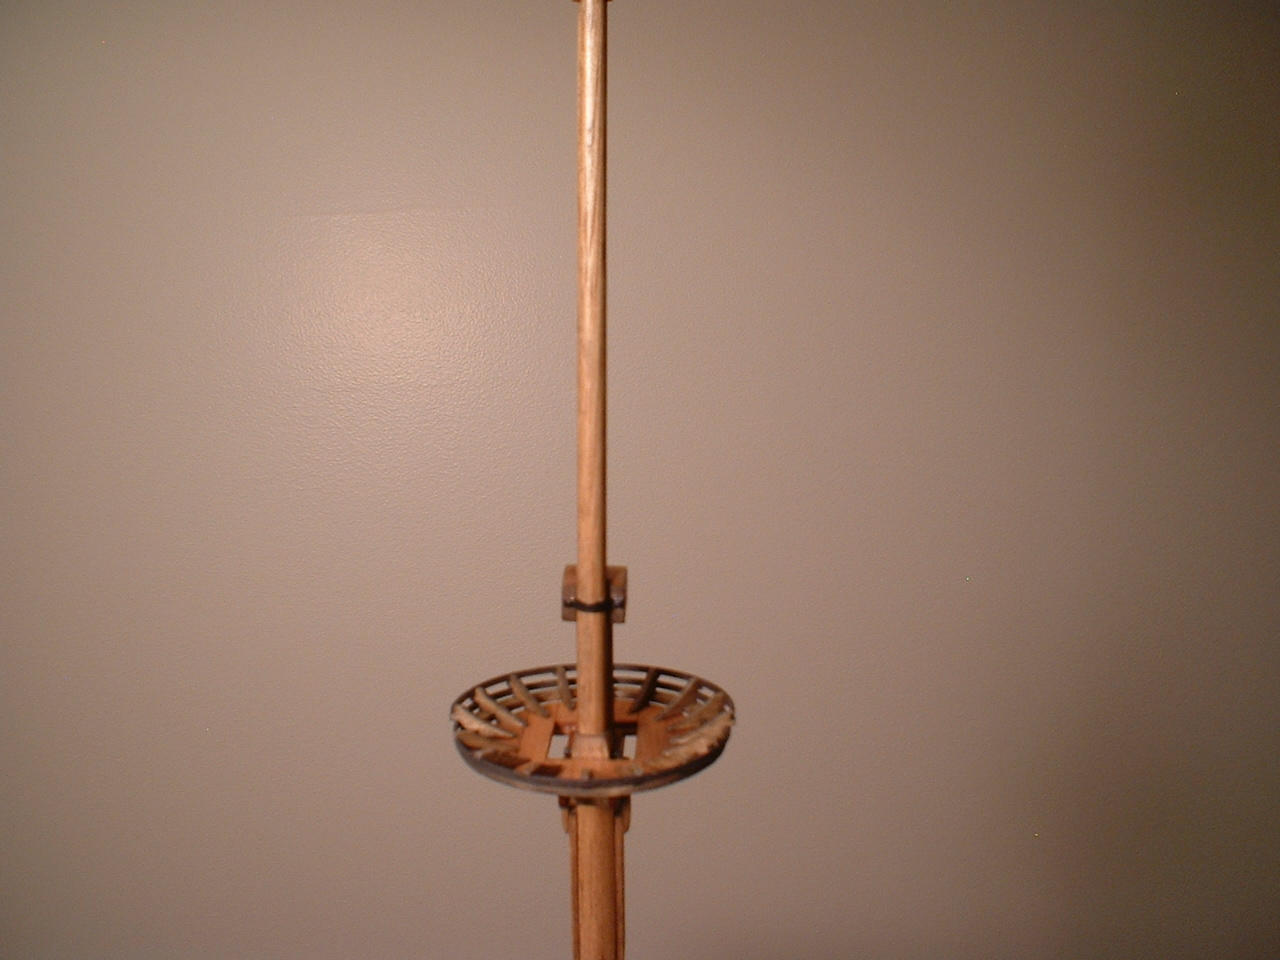
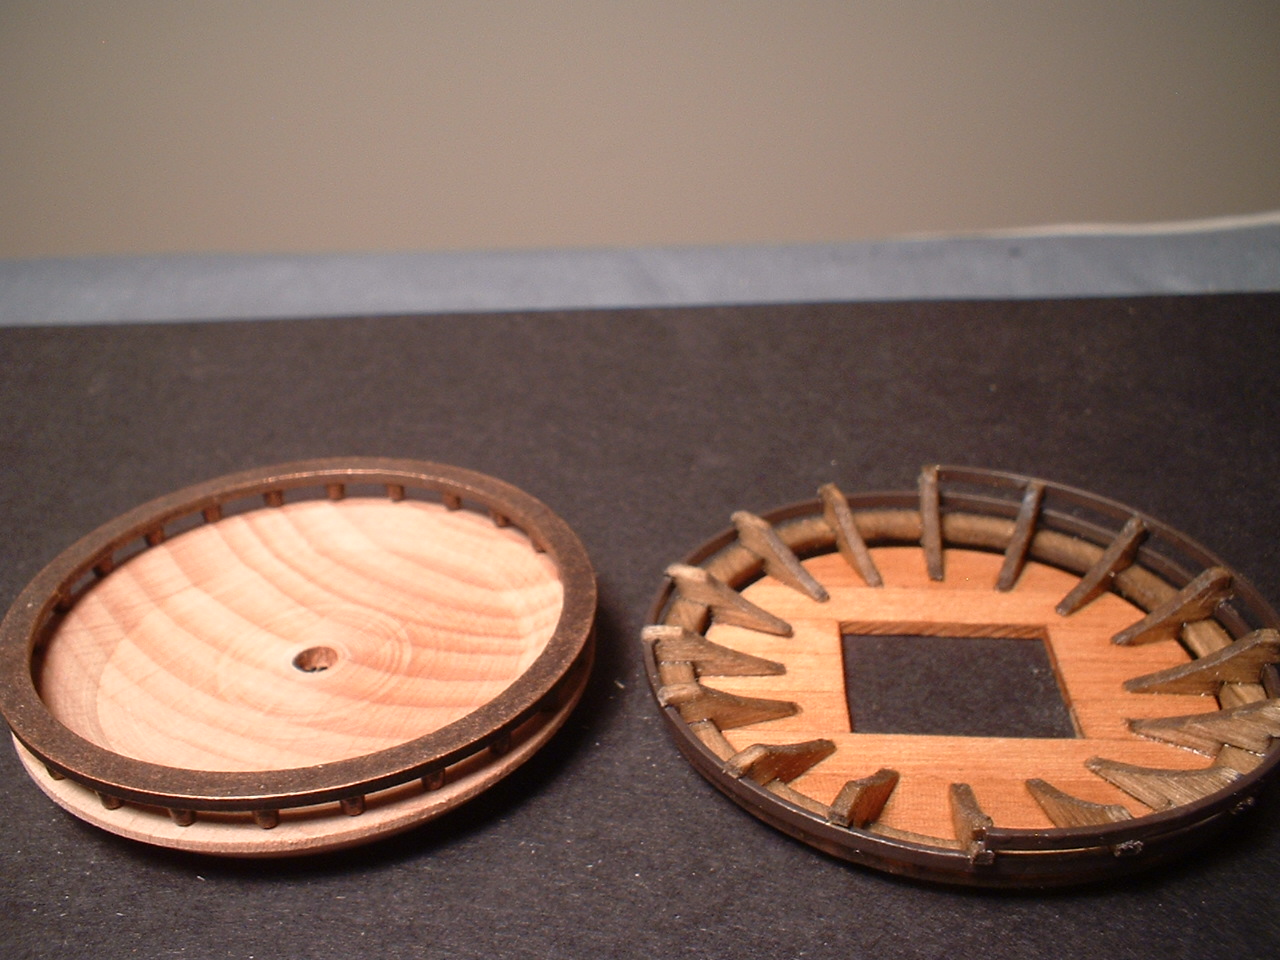
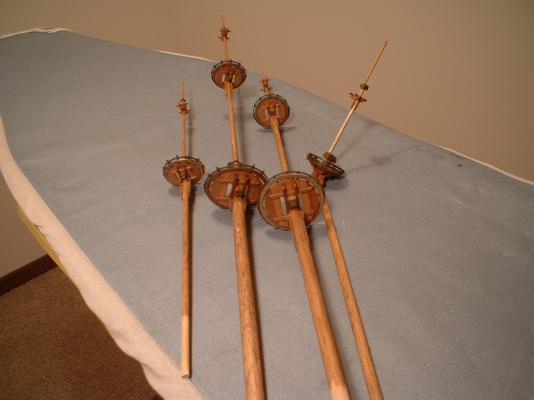
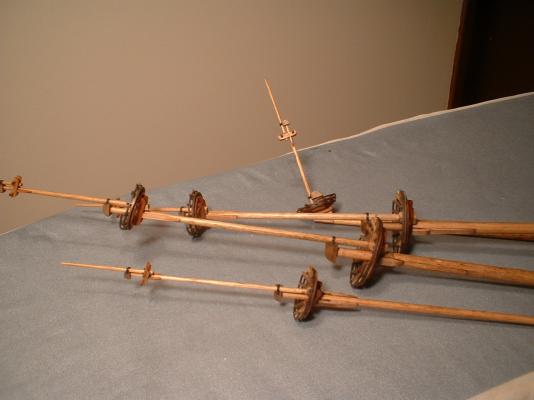
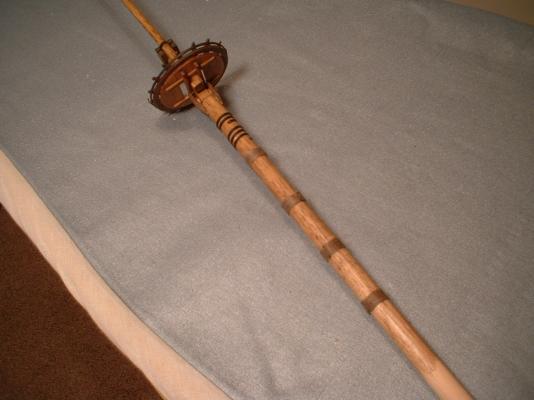
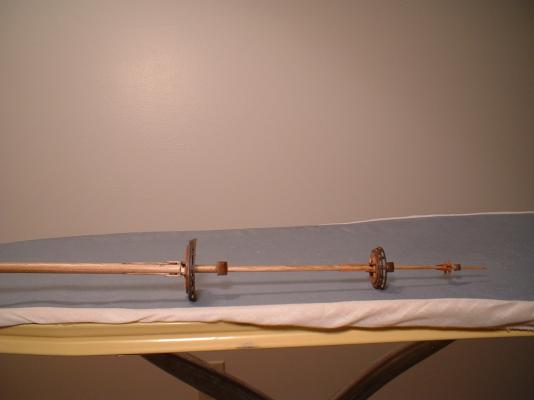
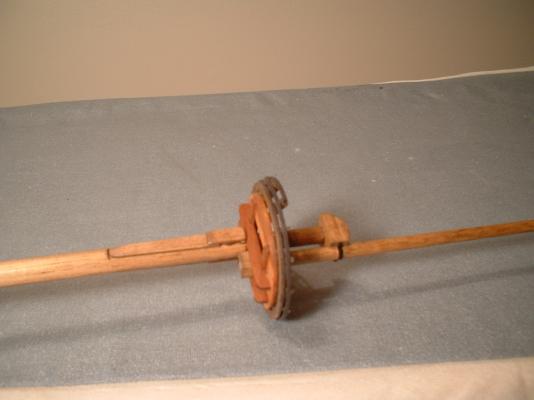
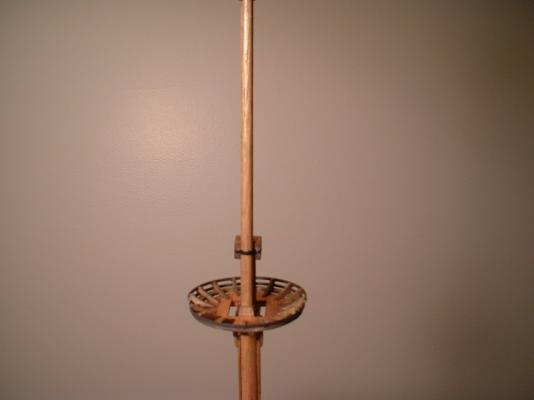
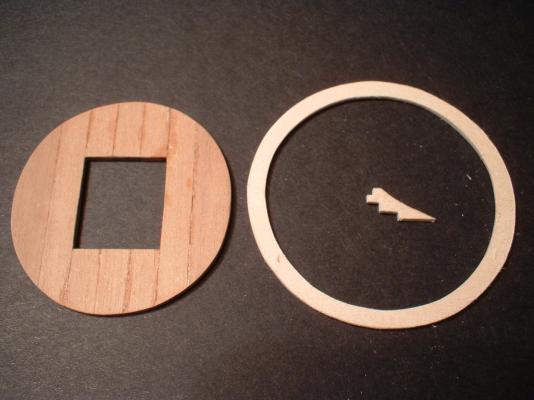
Hi everyone,a little update. I thought I would tackle the mast tops next.First I built some new platforms out of some 2 by 6mm strips. Then I cot out the lowest wide rail out of a sheet of basswood. Then the hard part - I made the brackets using an x-acto knife & some files,80 of them to be exact . The upper rails were then made from the same brass bar that I used for the hand rail. After some fine tuning I got one assembled. The top on the left side of the second picture is the kit version. I`m pretty happy how mine turned out. Now I just need to make five more for the other masts. /Mark

-
John, I echo what mtaylor said - I wish you nothing but the best. /Mark
-
Hi,the box I have is 870mm long by 365mm wide by 85mm tall. /Mark