marktiedens
-
Posts
1,737 -
Joined
-
Last visited
Content Type
Profiles
Forums
Gallery
Events
Everything posted by marktiedens
-
I can reverse the hose on my Kirby vacuum cleaner & turn it into a nice strong blower. /Mark
-
You are doing a fine job on this monster. As I recall I knocked down those frames with my Dremel & finished them off with a file. I also recall having to square up those rounded inside corners. Have faith - the hardest part of this build is about done. /Mark
- 786 replies
-
- 1
-

-
- Royal Louis
- Finished
- (and 1 more)
-
Hi Frank - I did not add that extra tackle. I`m not too sure ships of this time period had them - just looks out of place. It might be a good question for Fred at the museum.However,it`s your ship,so if you like it then go for it. /Mark
-
Hi Frank -the paints I am using are a mixture of Testors model master,a few craft store paints,& some Vallejo paints. Specifically the red is a Vallejo game color called gory red - it`s about the same color as blood out of the bottle but dries to a deep darker red.My camera doesn`t really show the color that well - I may try and adjust the color to show it a little better. Another Vallejo paint that looks really nice is called polished gold - it really looks like gold when dry,not just metallic paint. The Vallejo paint has only recently became available at my local hobby store,so that`s why I used mostly Testors. Even at that they only carry the air brush ready line & the game colors. I don`t know why they aren`t carrying the Vallejo regular brush paints. //Mark
-
What a fantastic job you did on this difficult kit,especially considering the condition of it when you started it.It looks like the real ship out on the water. You have,as they say,made a silk purse out of a sow`s ear. /Mark
-
Keith - your RW looks very nice to me. I hope to do as good when I get around to starting mine. As far as the Vasa kits go the Sergal version is much larger than Corel`s - about the same size as the RW. Quality wise the Sergal kit is laser cut & the parts fit together nicely. My Corel kit is an old one so it is not laser cut. The stern area on the Sergal kit is nicely shaped but the Corel`s is way off - difficult to fix because of the way the castings are made. On the other hand the Corel bow is shaped much better than Sergal`s. As far as the castings go Sergal`s are decent - some are spot on while others are way off. The cannons are pretty good - they even have the little lions cast into them. Corel`s castings are awful at best - some look like just little blobs of metal. The wood in both is fair at best. Both kits were designed in the seventies so I can understand why some of the castings are incorrect.If I was to recommend one over the other it would probably be Sergal`s.Both need a lot of bashing to make them at least close to correct. Another choice would be the Billings kit - I don`t have first hand knowledge of it but from what I`ve seen it is the most accurate.Like any kit,they all have their problems.What fun would it be if we didn`t have to re-do anything . Sorry about the long winded response - hope it helps. Regards,Mark
-
Thanks Michael.The only reason I am building two of them is because I originally bought the Corel kit & later got the Sergal kit at a really good price,although I may end up in the looney bin before I`m finished . Maybe I should get the Billings kit then I would have a set of three . On second thought - don`t think so. But then again.................... /Mark
-
Thanks Keith. I am watching your build of the RW as I have this kit waiting in the closet. /Mark
-
Make it look like brass
marktiedens replied to rcmdrvr's topic in Painting, finishing and weathering products and techniques
Maybe after painting the brass color you could overcoat it with some clear gloss paint. I have done this & it came out pretty shiny. /Mark -
Thanks Mark. If you choose the Corel kit be prepared to make a lot of changes.
-
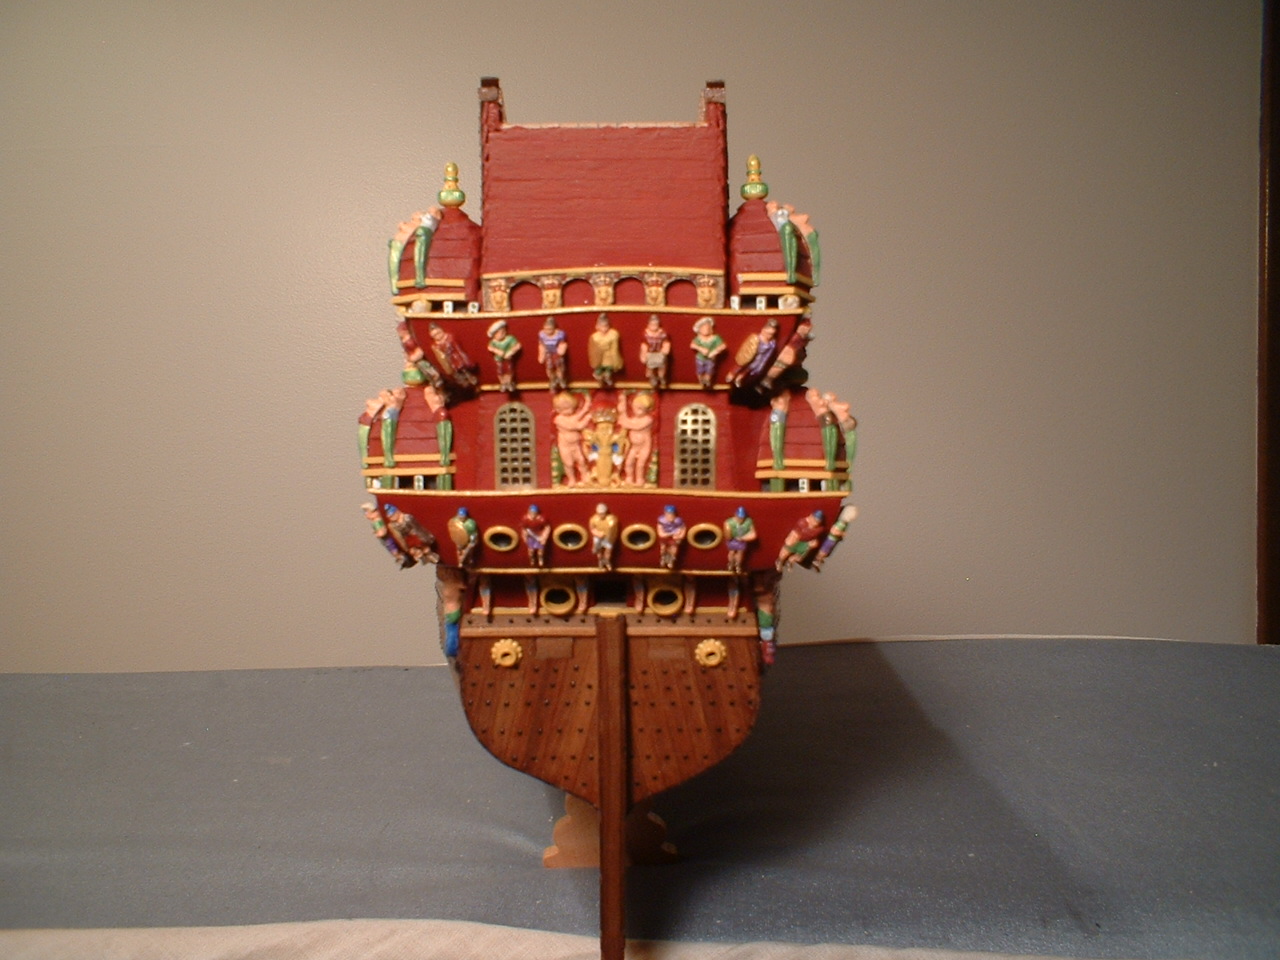
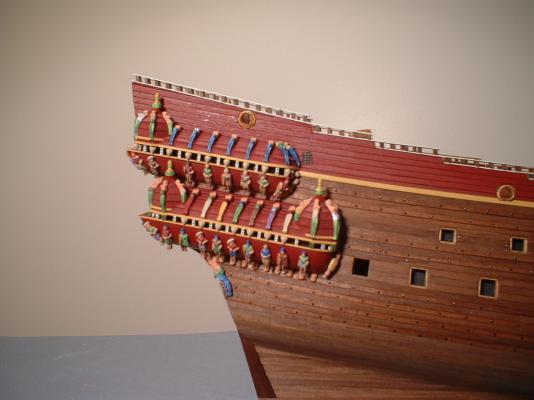
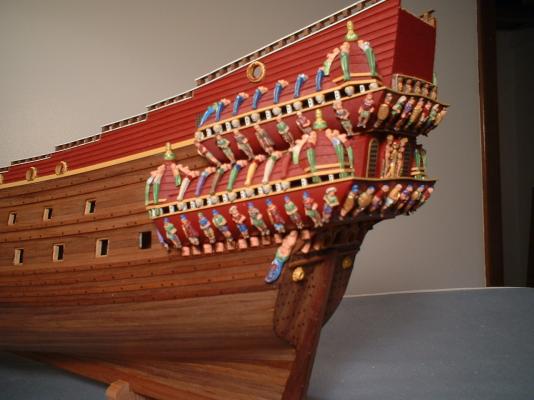
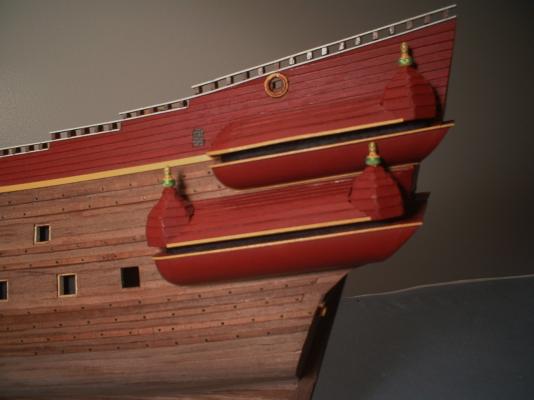
A small update - been painting figures. Most of them don`t match what`s on the real ship but they look ok from a distance. The kit did not provide for the 4 port holes in the upper gallery so I made some from some brass eyelets from the fabric store. I also didn`t like the oversize plastic windows so I searched through my spare parts boxes & found a couple of etched brass windows which were just the right size,so I used them. Now back to more painting /Mark oops - I meant the lower gallery

-
Is there a better #11 blade handle
marktiedens replied to roach101761's topic in Modeling tools and Workshop Equipment
I have some of the Z blades. They are slightly larger but no thicker. The blade seems to have a little better edge to it. Also if you look close at the picture the blade edge has a little curve to it near the end. I am still undecided as to if it is any better. I don`t particularly care for the curve in the blade. Mark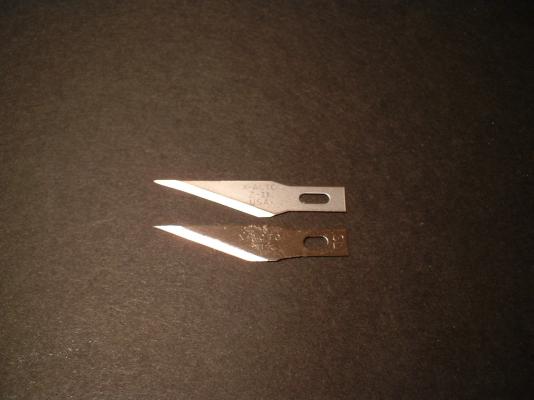
-
Hello jollymillar. I am building the Corel kit which is double planked with walnut so I did not do any staining of the hull or decks. I painted part of the hull red according to the Vasa museum 1/10 scale model & info from the museum. /Mark
-
Hi Frank - I never really paid that much attention to the level of the tops. After looking at the museum pictures,& pictures of Clayton`s fabulous scratch build it appears that the mizzen top probably should be a little lower. It also appears that way on most of the Billing kit pictures. It is also lower on my Sergal model. It should be an easy fix - just cut the bottom of the mast shorter so it fits lower in the keel former. It seems that the Corel plans are the most inaccurate of all the Vasa kits. I should have bought the Billings kit - I would probably be finished with it by now. You could also go to the Vasa forum & ask Fred Hocker - he is the the main researcher at the museum. This link should get you there. http://warshipvasa.freeforums.net/ /Mark
-
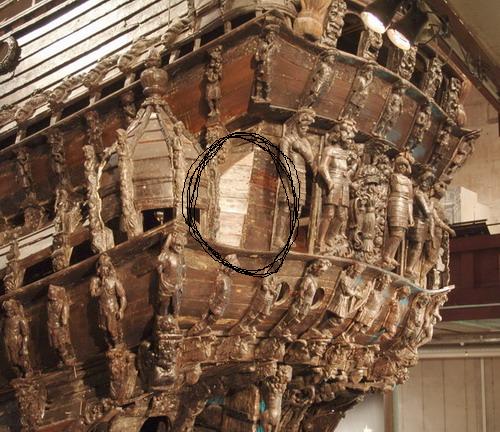
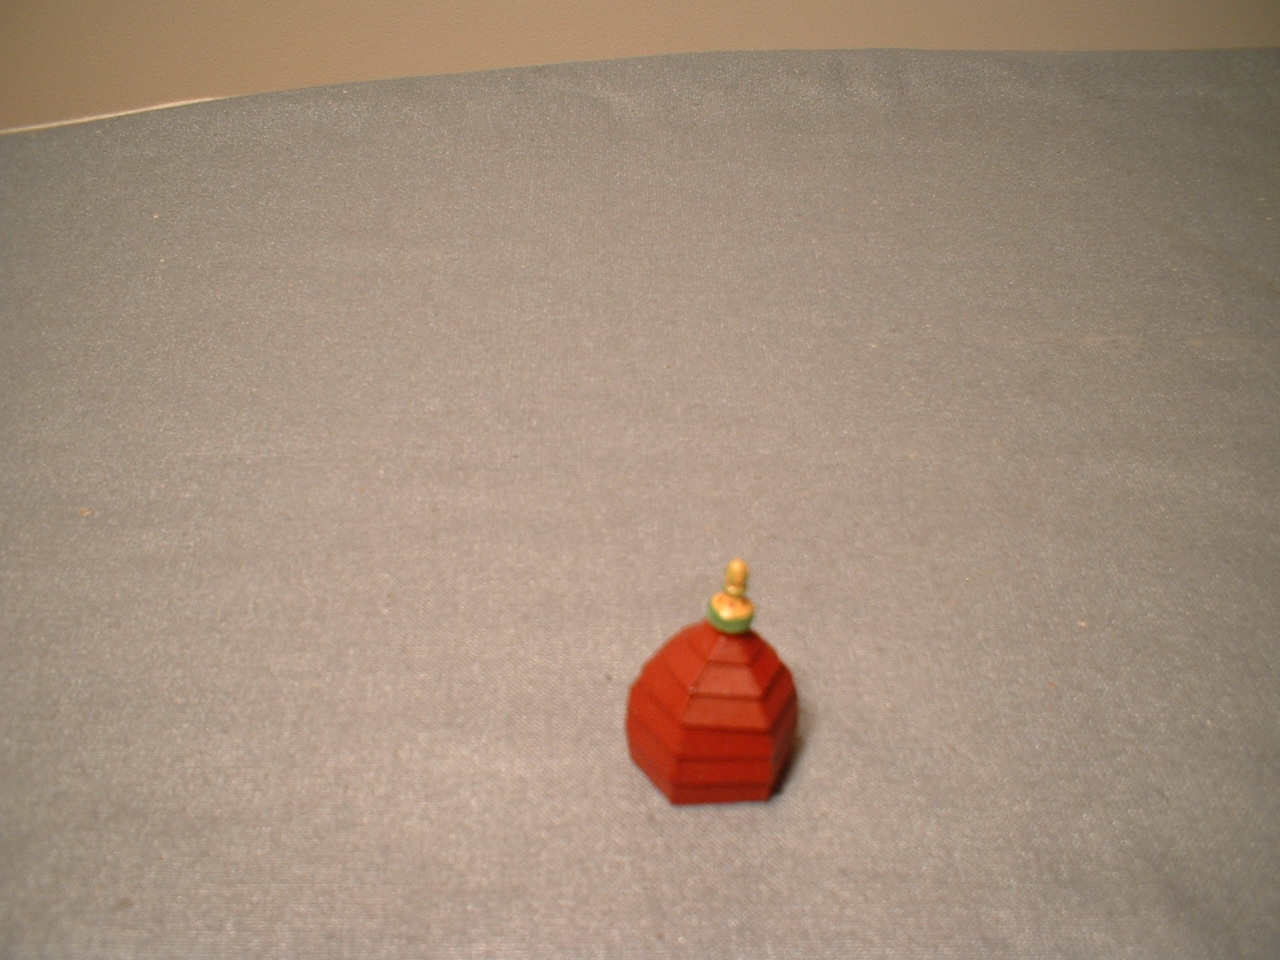
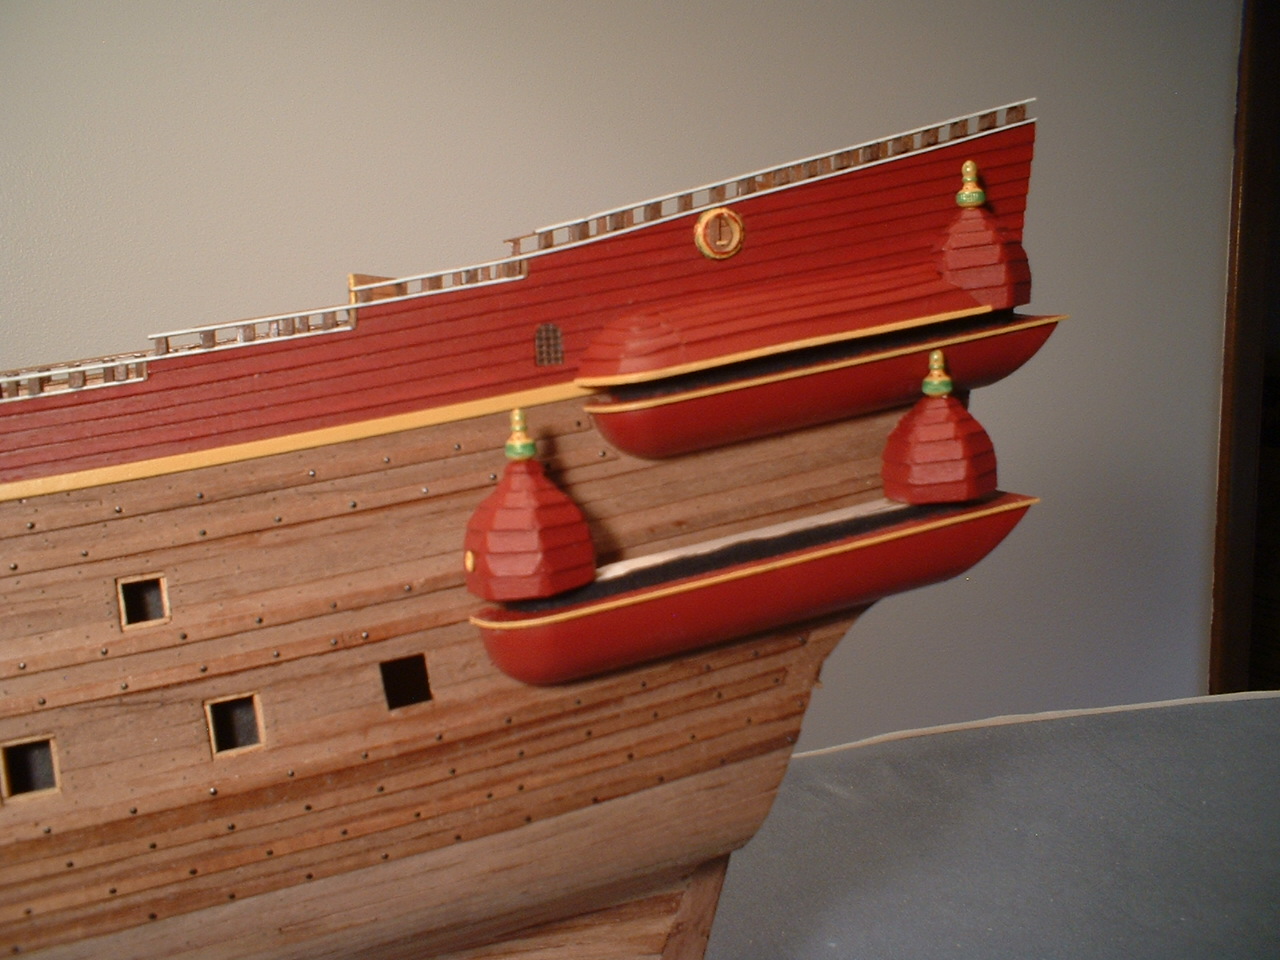
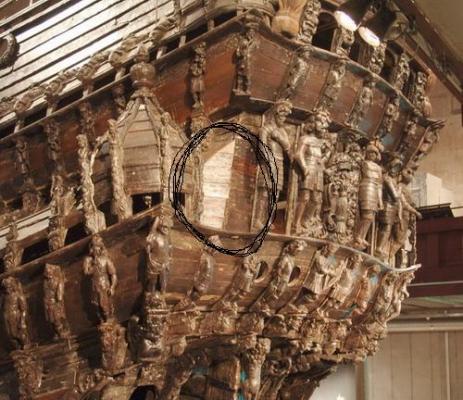
A little more progress - got the lower gallery roofs planked. The tricky part was the angled planks between the lower tower & the side of the ship. The area is the circled area on the picture of the real ship. /Mark
-
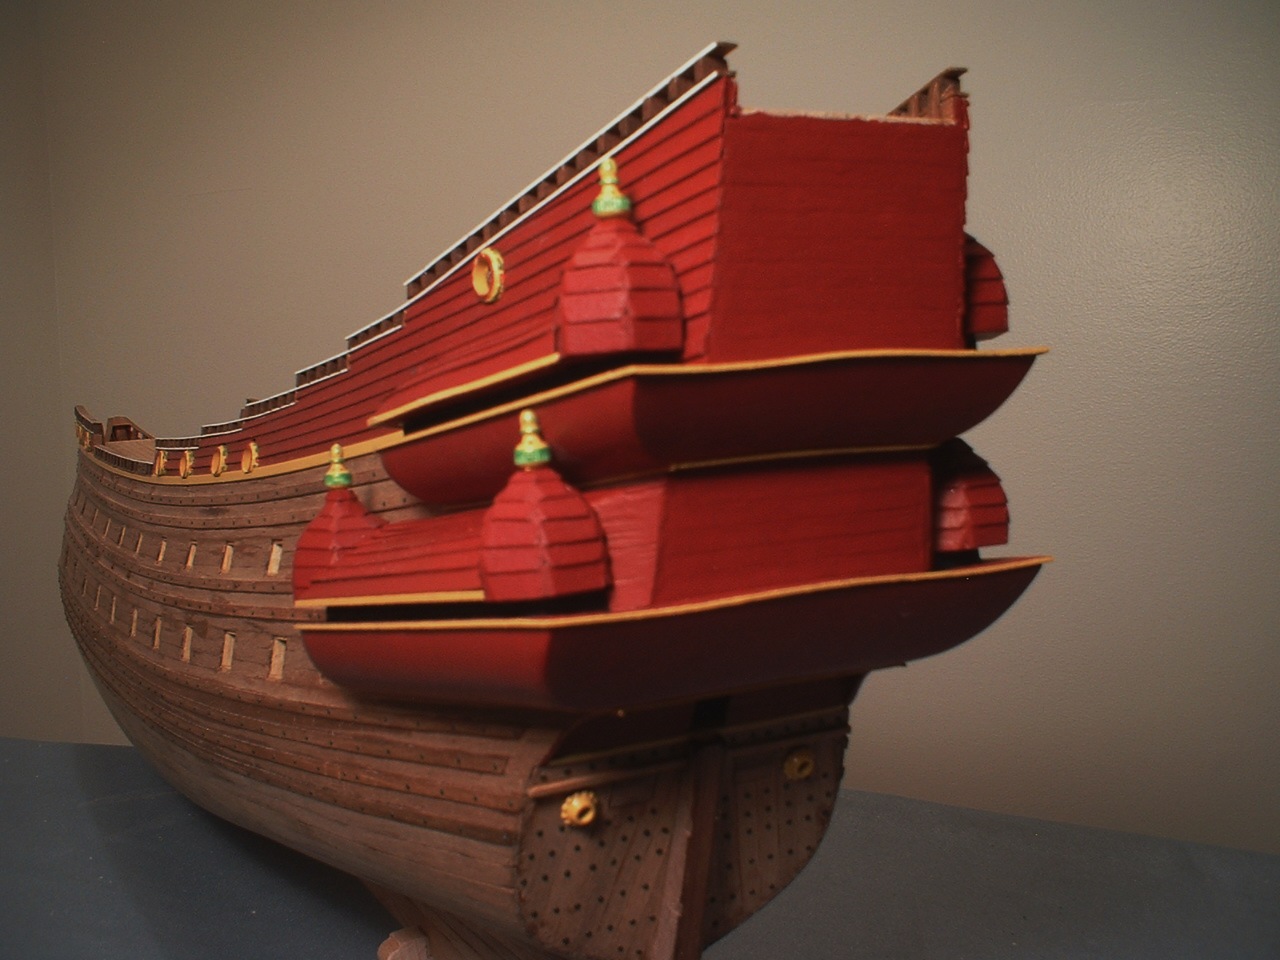
Thanks Frank - I didn`t mount them perfectly level,instead I planked them a little bit "wonky" as Matti would say. It`s kind of hard to tell in the photos. Also thanks everyone for the looks & likes. Now working on the lower gallery roofs - a bit tricky. I must say I have already changed more things on this build than the entire Sergal build & I`m not even half way through it. /Mark
-
What camera do you use
marktiedens replied to Scholzy's topic in Modeling tools and Workshop Equipment
Got a Fuji A200 as a gift so that`s what I use. /Mark -
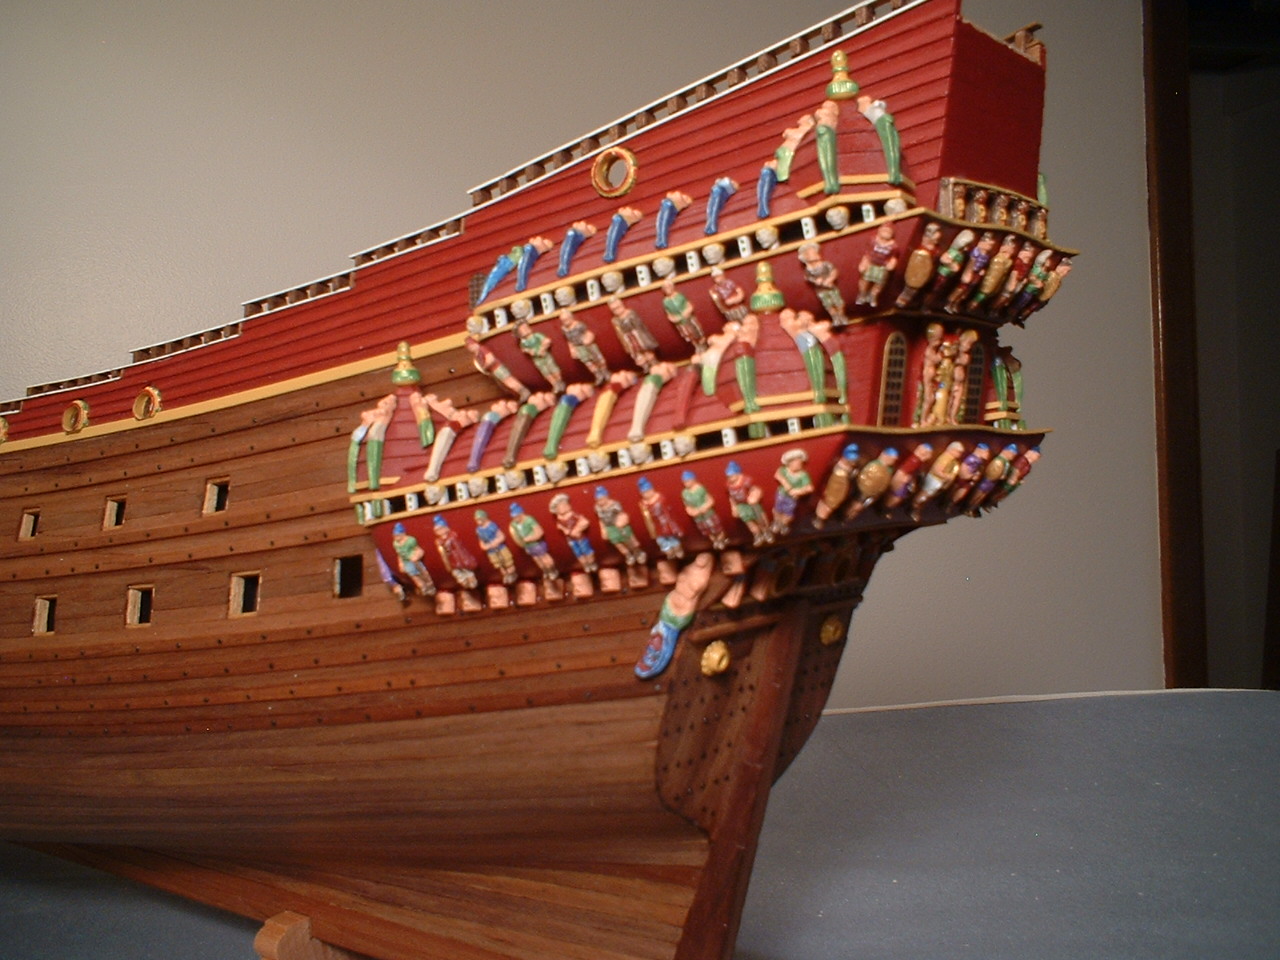
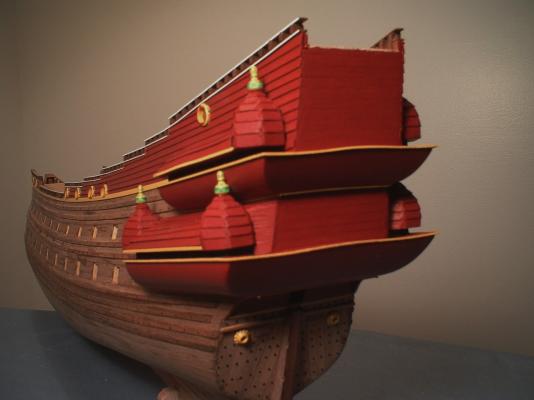
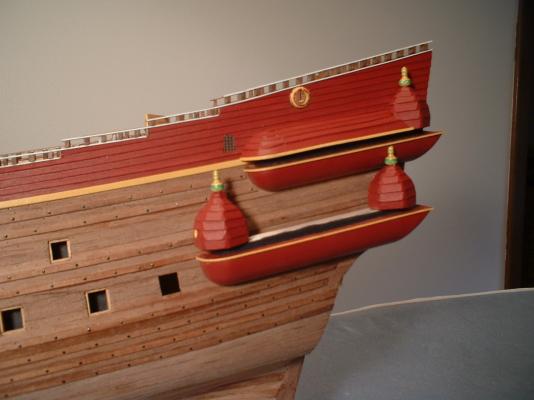
Another little update- After filing down the towers I planked over them to make them look a little better & then painted them. After gluing them in place I planked over the upper roof formers & painted them. The butts in the roof & tower planking will be covered by the figures from the kit. Even after shimming the lower galleries out the lower rear towers still just barely fit. /Mark

-
Really sharp - love that planking. /Mark
-
Matti - you have done a masterful job of capturing the look of this ship . Do you have any more ship modeling projects planned? /Mark
-
Thanks Frank. I can see so far that after widening the lower platforms I will also have to adjust the roof a little. /Mark
-
Wow - that`s some project you have taken on. best of luck to you. /Mark
-
Hi John - I can`t really offer any useful advice since I haven`t done a fully framed model but you may have an issue with plank butts all lining up instead of being staggered - unless you waited to plank until after the sections were joined. Anyway,it does sound like a good idea. /Mark