marktiedens
-
Posts
1,737 -
Joined
-
Last visited
Content Type
Profiles
Forums
Gallery
Events
Everything posted by marktiedens
-
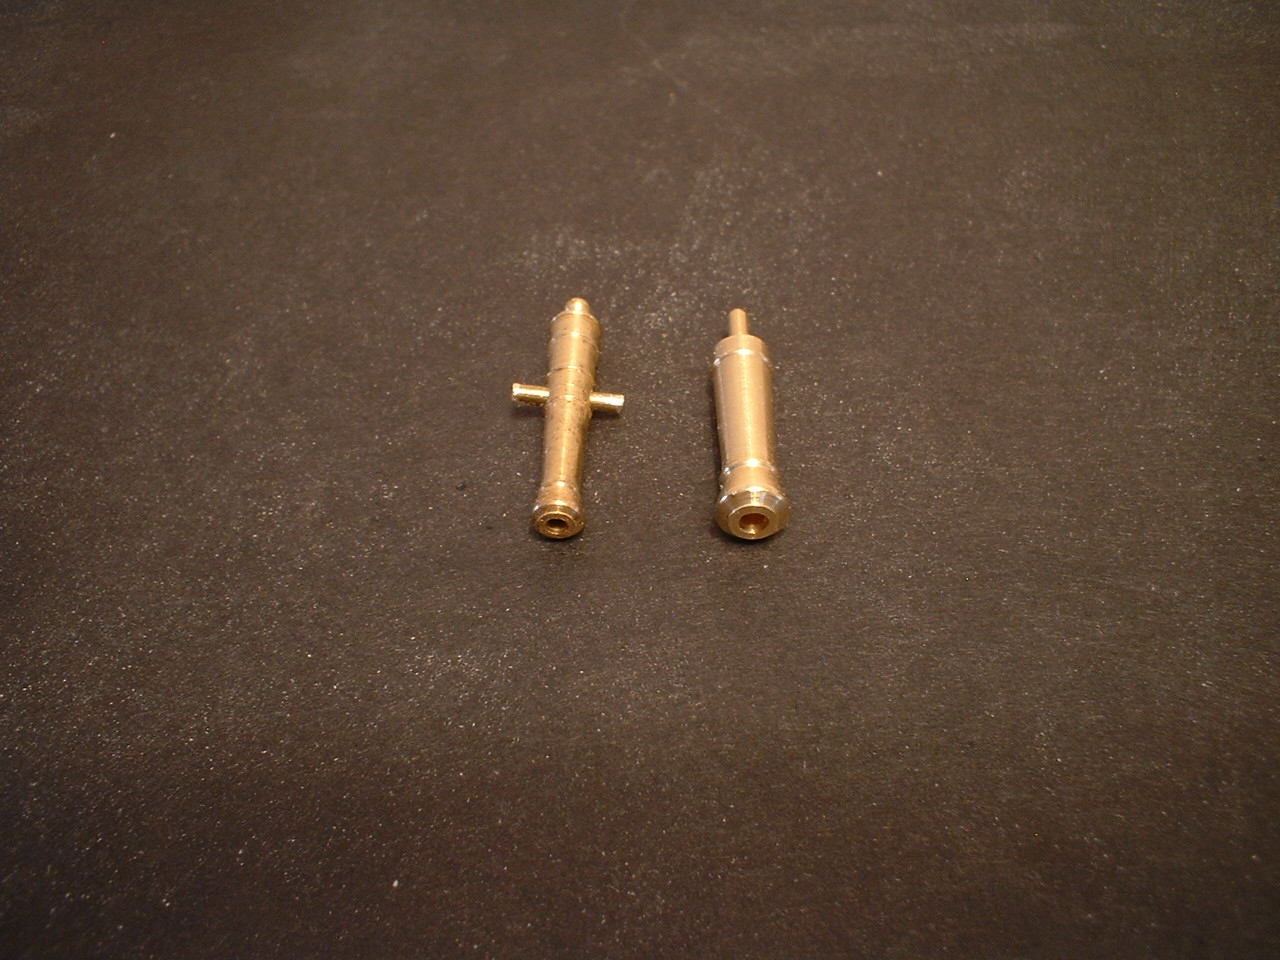
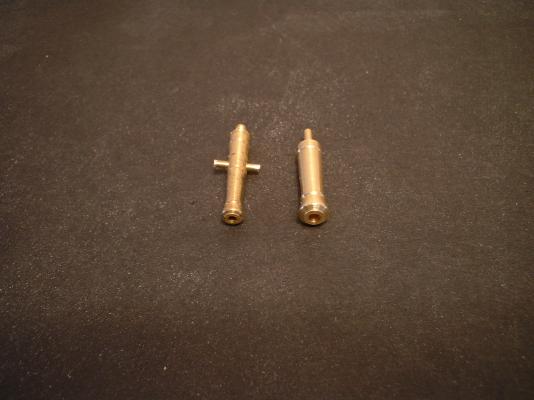
Here is what I mean by different size barrels. Mark
- 652 replies
-
- 1
-

-
- royal william
- euromodel
- (and 1 more)
-
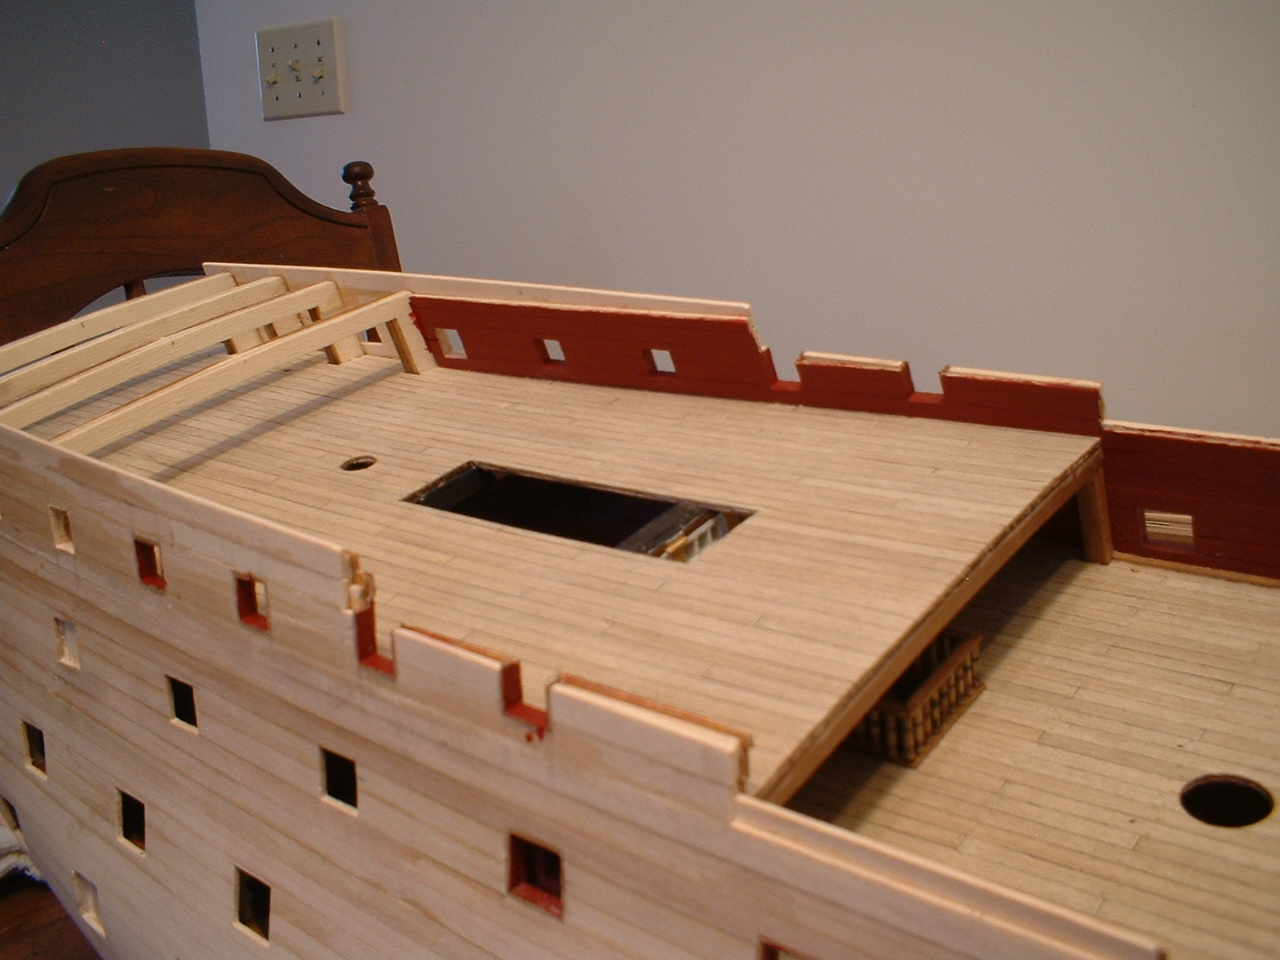
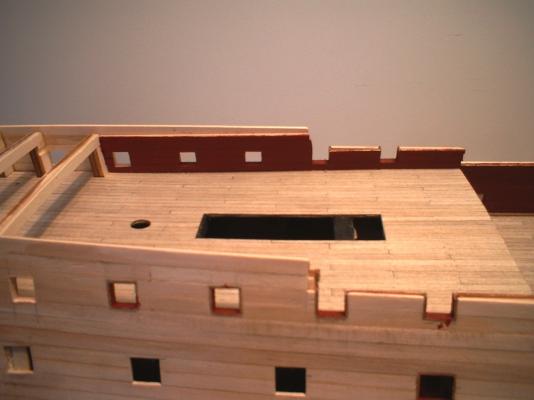
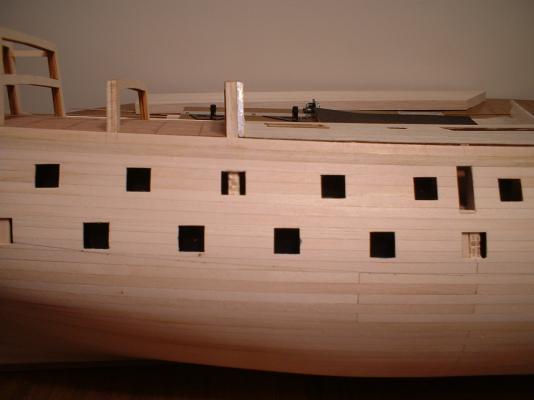
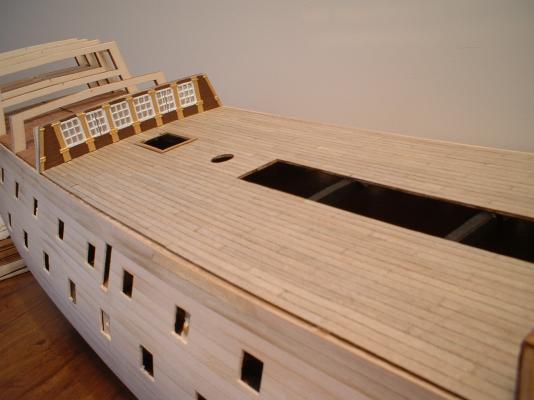
Hi all - a little update. I installed the quarter deck & planked it - I don`t know if the overhang at the rear will eventually will be cut off,so I planked it all the way to the rear.Then I double planked the bulwarks,added a finish layer of planks to the inside,cut out the gun ports& painted it. A question for you RW builders out there - there doesn`t seem to be any dummy half-guns with the same size barrel as the quarter deck & forecastle deck full cannons. The smallest half guns are the same size as the main deck cannons,which are larger than the cannons on the upper decks. Are we supposed to use them anyway?I am thinking about just showing the ports on the quarter deck with dummy guns closed - the dummy guns provided have noticeably larger barrel diameters. Mark

- 652 replies
-
- 6
-
-
- royal william
- euromodel
- (and 1 more)
-
Wonderful job with this difficult ship to build . The lantern really finishes it off nicely. Mark
-
I have built Sovereign of the Seas,Victory,San Felipe,Royal Louis,& 2 models of the Vasa. The Royal William I am currently working on is definitely the most difficult to me. Mark
-
Looks good to me too - I would imagine that back in the day they were not exactly the same width either. Mark
-
Hi Lawrence - thanks for your nice comments. Those windows are actually all but hidden under the quarter deck - it was good practice for the gallery windows,which are a bit down the road. Mark
- 652 replies
-
- 1
-
-
- royal william
- euromodel
- (and 1 more)
-
Looks very nice - do you anticipate any trouble rigging the guns with the marines walk over the top of them? Mark
-
Hi Frank - Keith is correct about the cannons. The kit came with 74 dummy cannons of various sizes & 26 full size cannons. There are 2 under the quarter deck & 2 under the forecastle that they indicate using dummy cannons. They are difficult to see but they are visible if you look close enough. I only have 2 extra full size cannons that are about the same size so I flipped a coin & decided to put them under the quarter deck - they are more visible than the 2 under the forecastle. Under the forecastle will be the 2 dummy guns. Also some of the other gun ports that are completely blocked by bulkheads will have the lids shut. I did open a few that were just partially blocked. Mark
- 652 replies
-
- 1
-
-
- royal william
- euromodel
- (and 1 more)
-
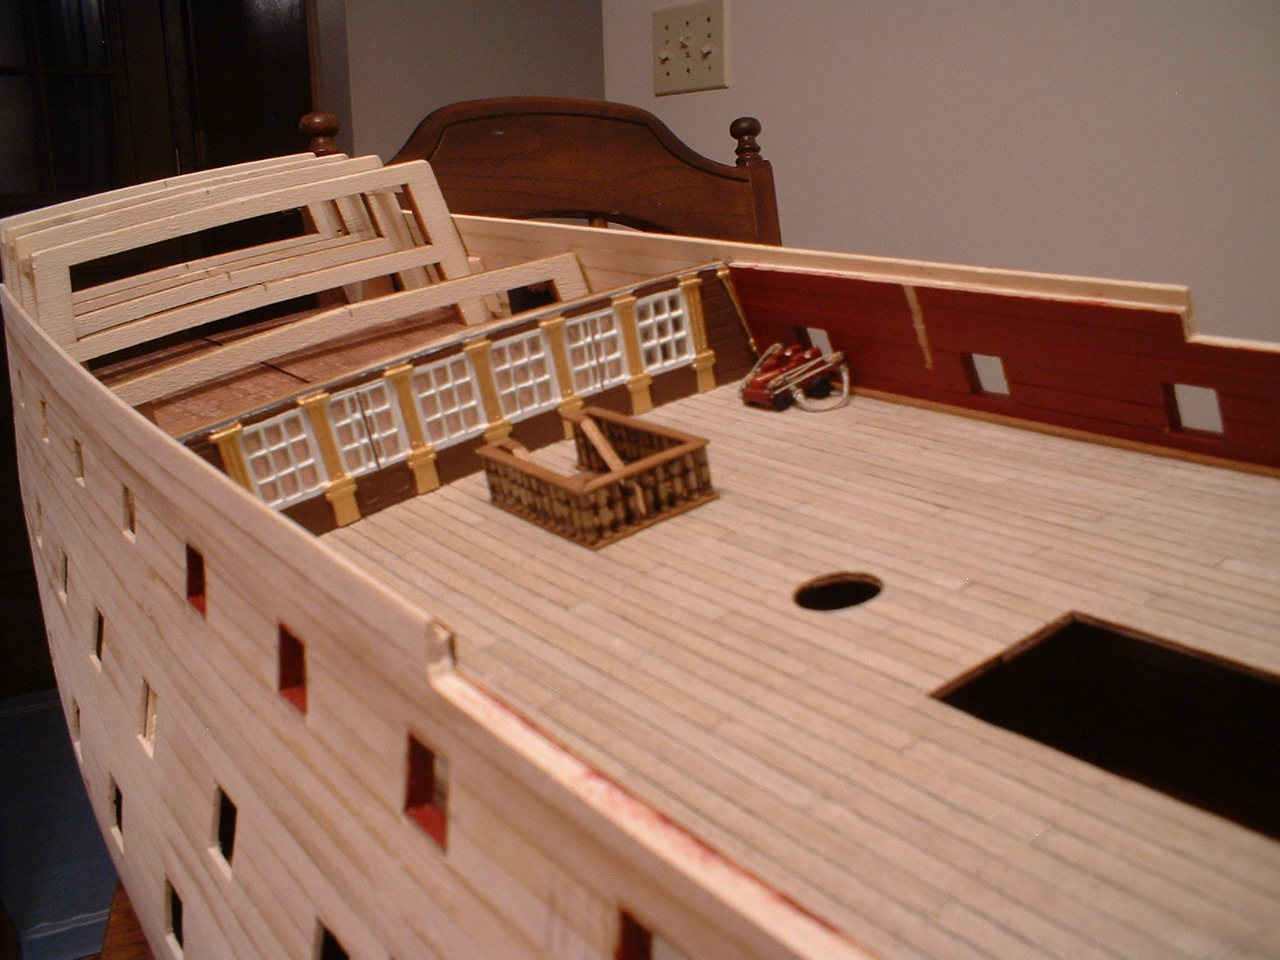
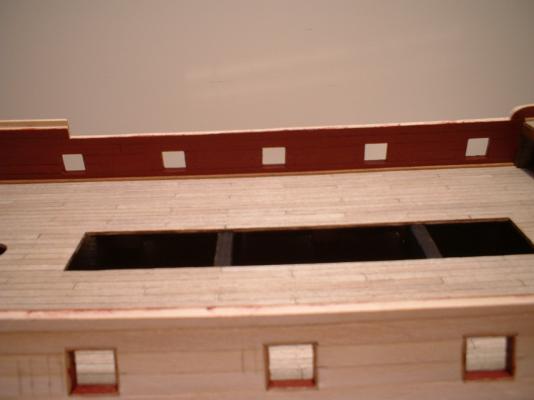
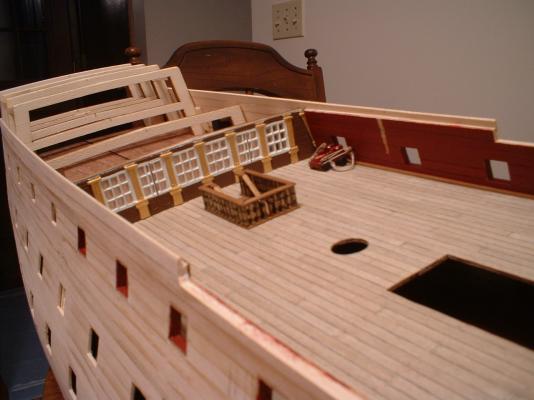
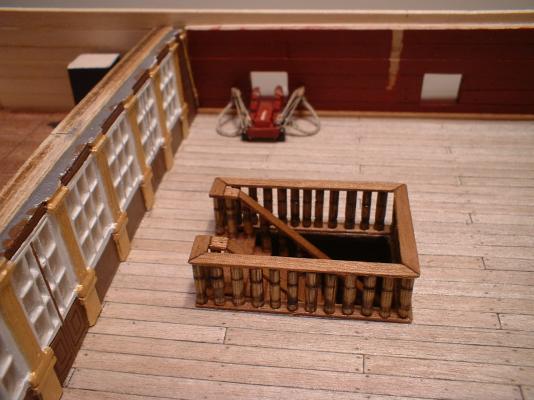
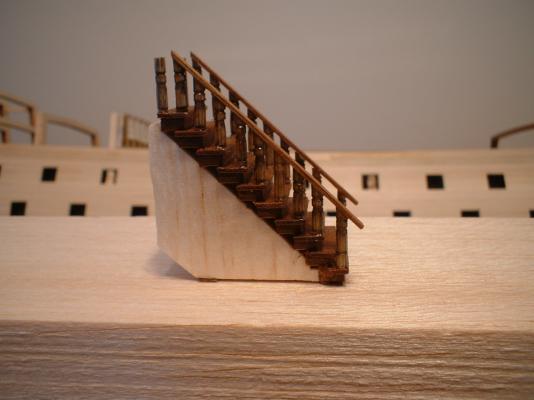
Hi all - thanks everyone for looking in. I got the inner bulwark finish planking done & painted.Also cut the openings for the anchor catheads. I had some extra gun carriages & a couple of extra cannon in my spare parts box that were about the same size as the kit cannons,so I rigged a couple of them up that are under the quarter deck. Then I finished building the stair railing with more of those grooved toothpicks - not the greatest looking but it is nearly hidden under the quarter deck. Mark

- 652 replies
-
- 8
-
-
- royal william
- euromodel
- (and 1 more)
-
Thanks Frank - I actually got the bleaching idea from Vince P who is also building this ship. I haven`t tried it on anything but the kit walnut. Also the bleach doesn`t penetrate clear through the wood - the planks are still dark on the inside. Mark
- 652 replies
-
- 1
-
-
- royal william
- euromodel
- (and 1 more)
-
Thank you very much Michael & Mike. I`m still in the easy part of this build - the stern galleries look like they will be pretty tricky when I get to them. BTW - I have a son named Michael . Mark
- 652 replies
-
- 1
-
-
- royal william
- euromodel
- (and 1 more)
-
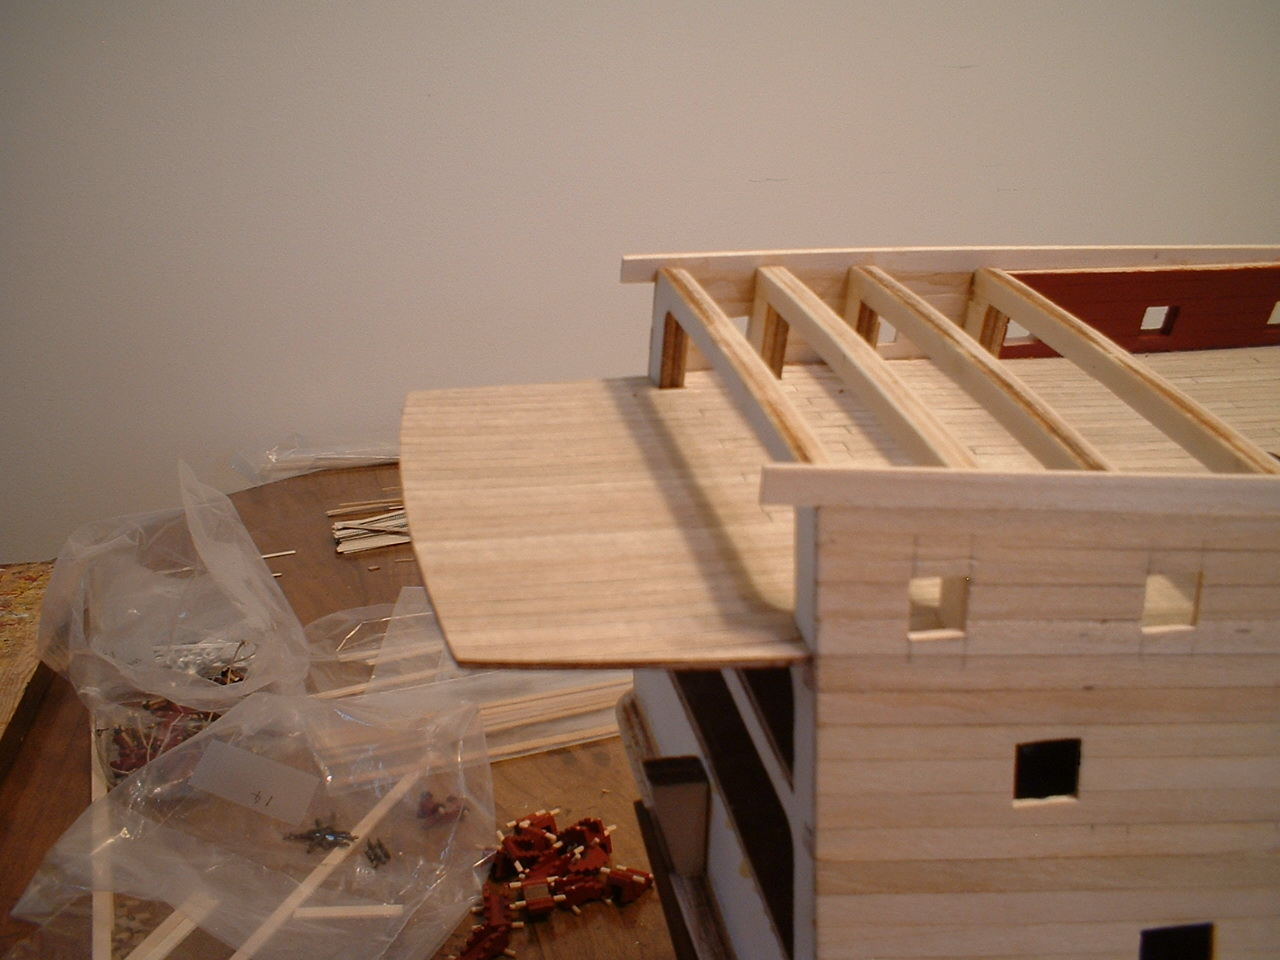
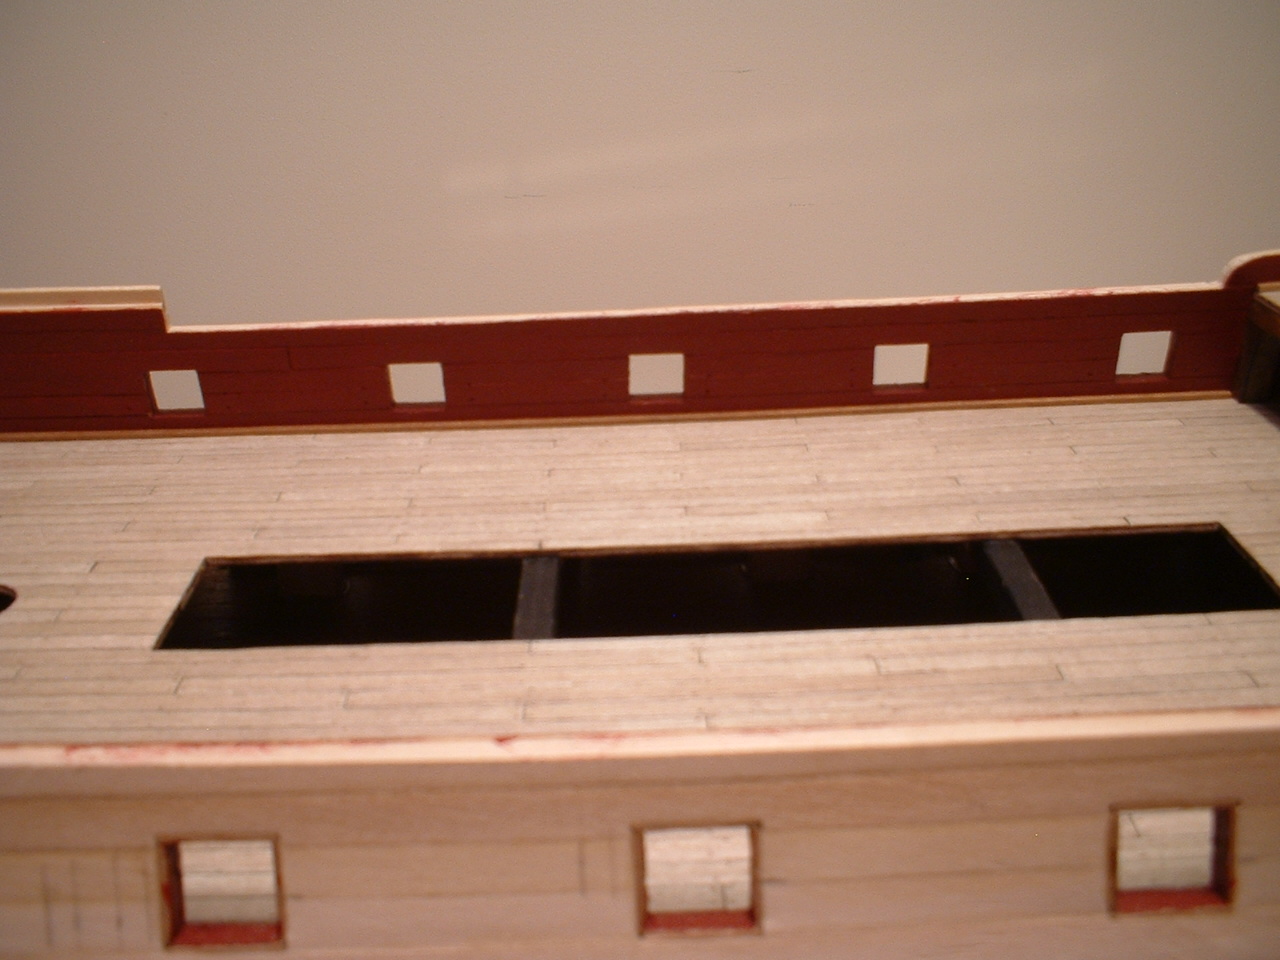
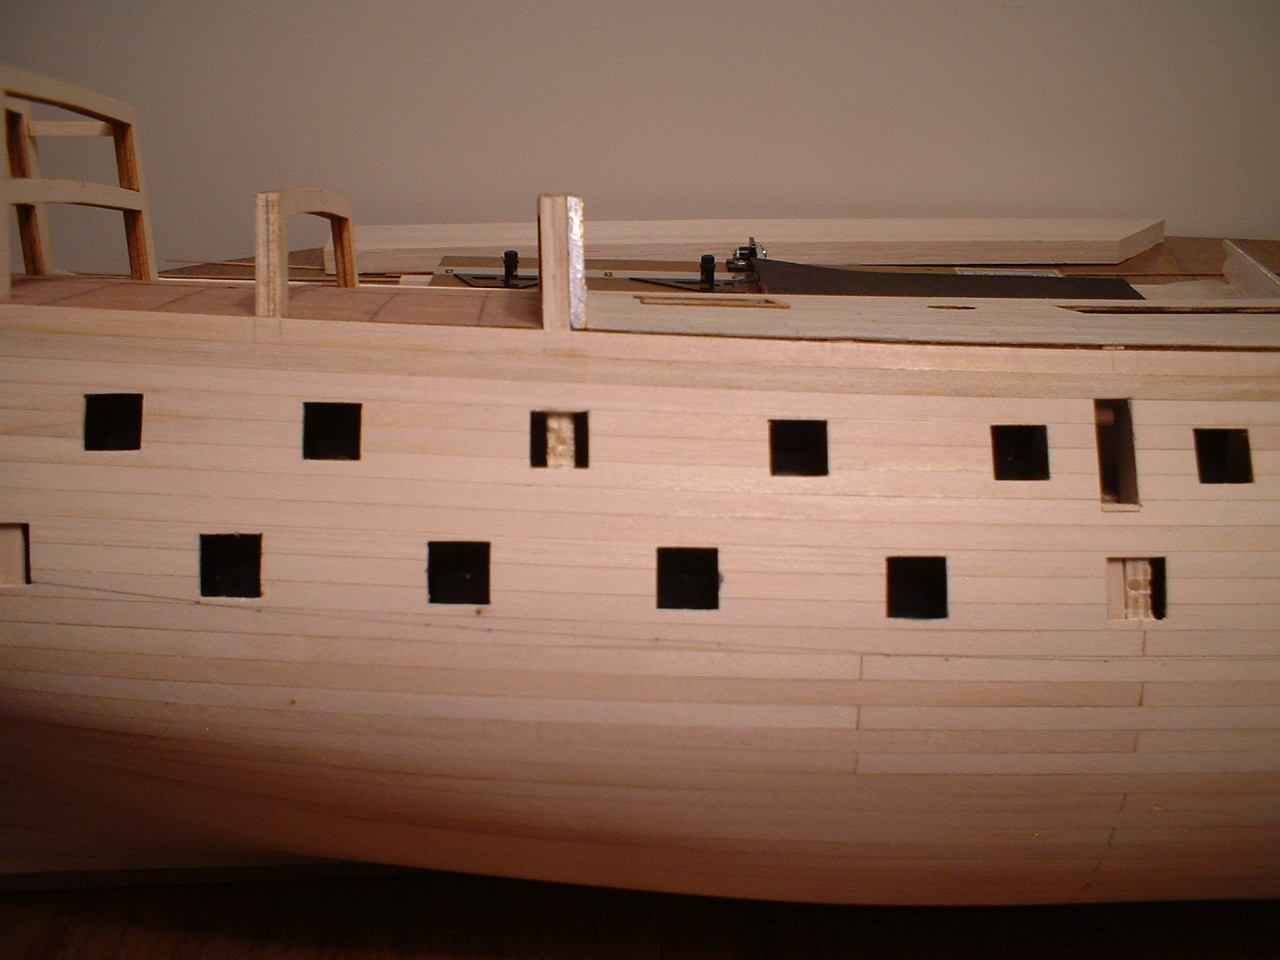
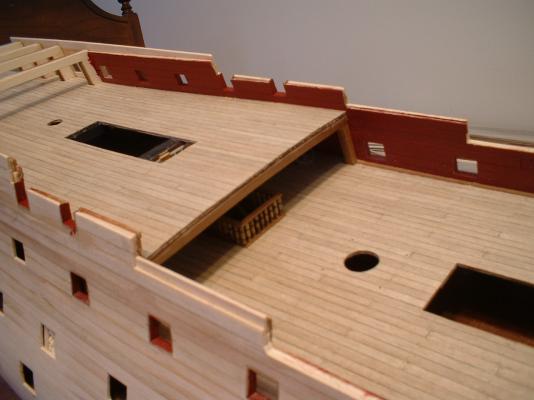
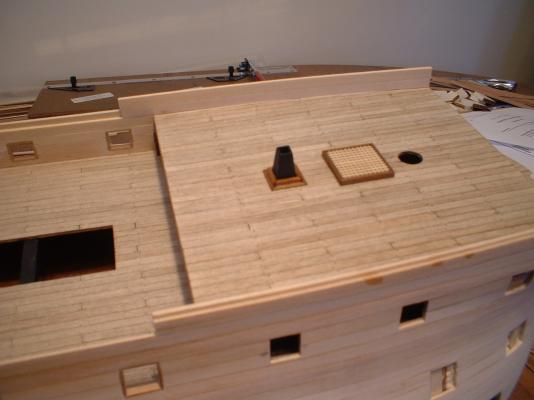
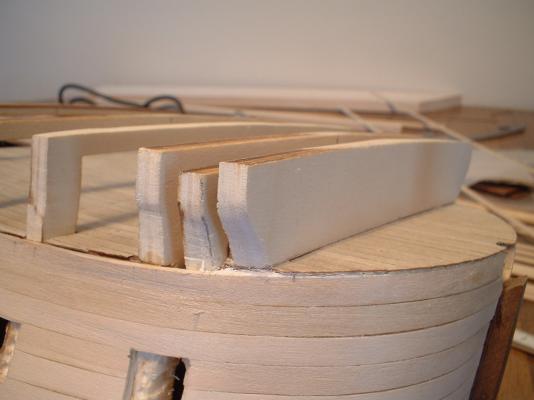
A little progress - stove located & glued down. Then I glued the forecastle deck & planked it. Also built up the bulwarks double thick with some first planking strips. They will be trimmed down after determining the positions of the cast metal decorations. Also lined the gun ports without lids at the waist with 1 mm strips. They look a little large,but they measure 11mm as on the plans. The finish planking will go all the way to the inside edge of those gun ports. All the gun ports with lids will be lined with 1mm strips set back 1mm from the outside edge after the finish planking. Mark

- 652 replies
-
- 13
-
-
- royal william
- euromodel
- (and 1 more)
-
Hi Michael - that`s a good question. I didn`t put them on mine. Might be a good question for Fred at the museum. Mark
-
Maybe you could cut the columns out of the metal piece & use them? Mark
-
WOW! Very interesting approach - looks like a lot of fiddly work. Mark
-
Hi Frank - superb work on your ship . I don`t know anything about the Model Expo stagecoach kit,but I built the Artesania Latina stagecoach & it was a nice change of pace. Mark
-
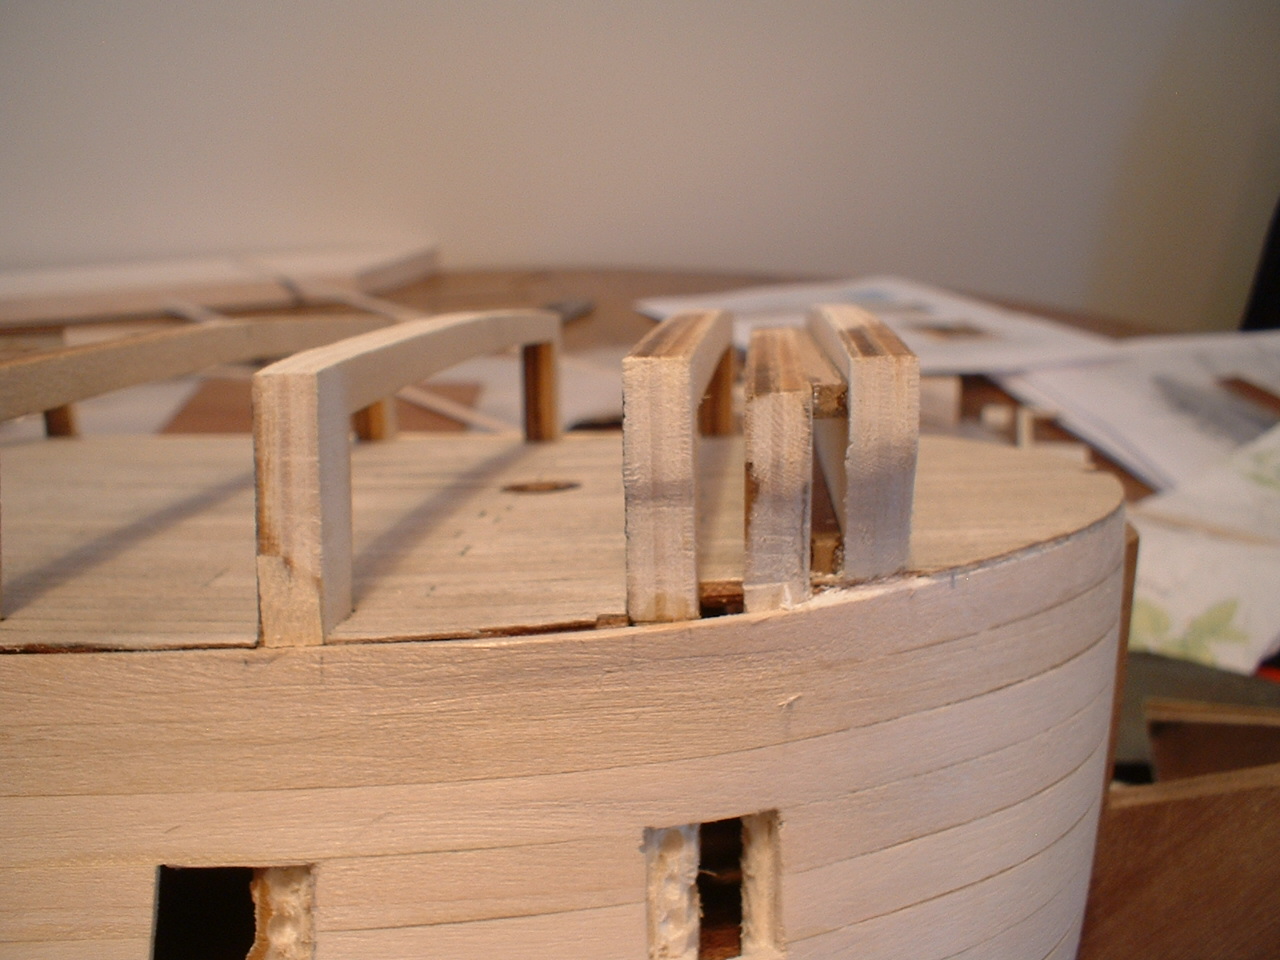
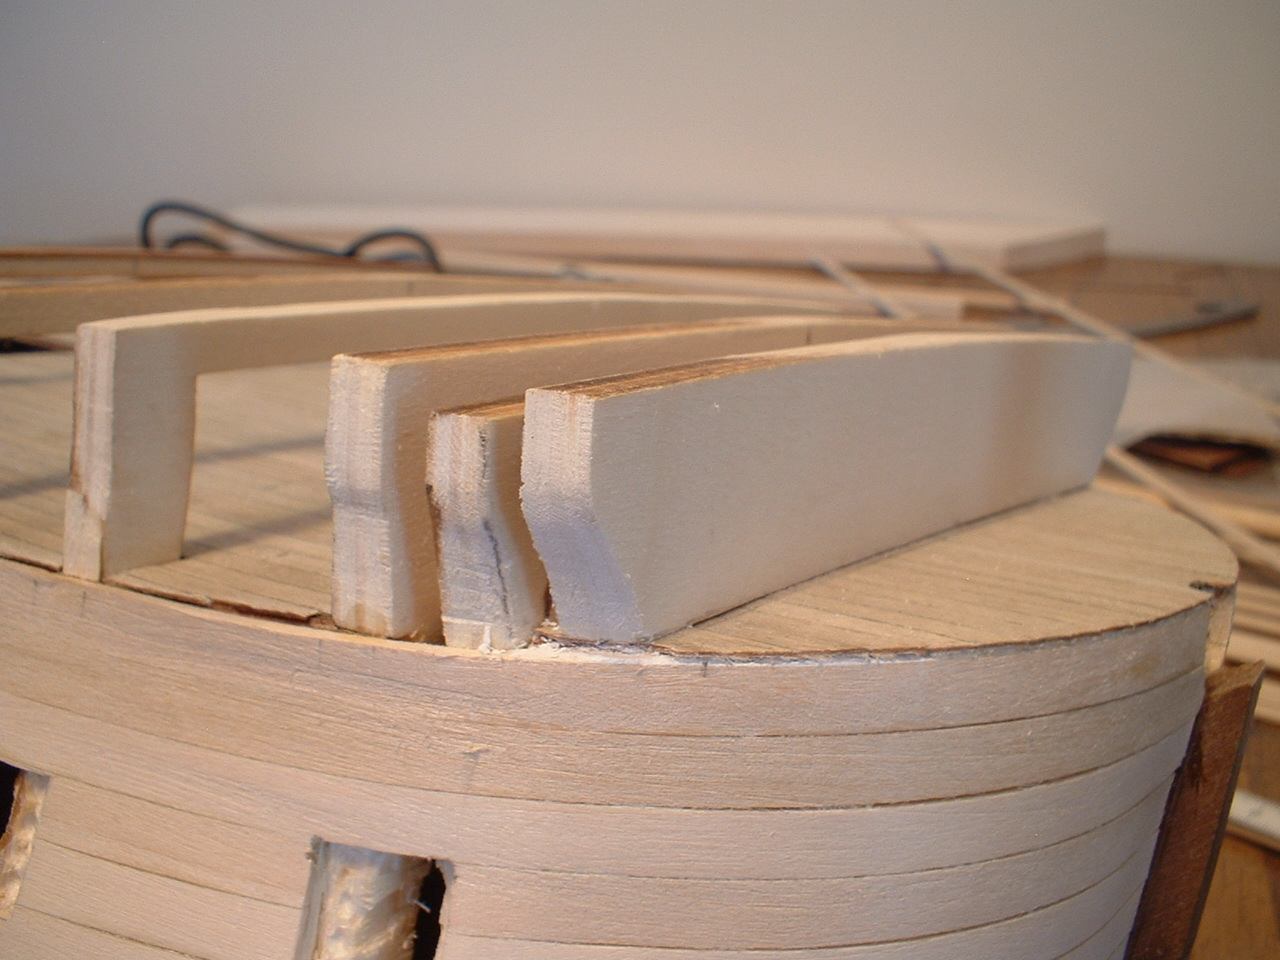
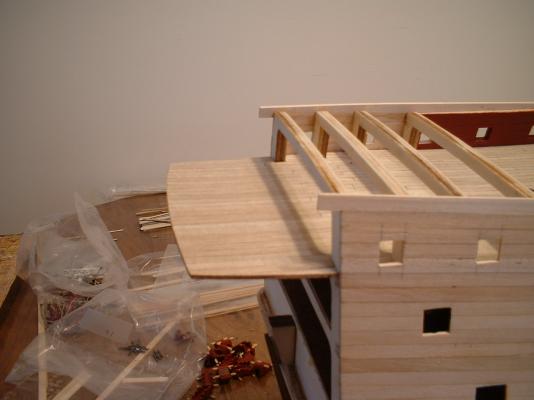
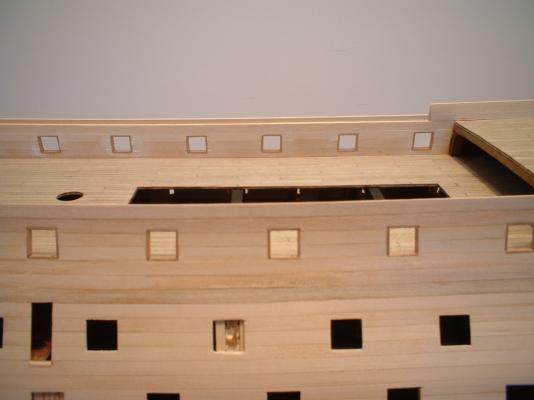
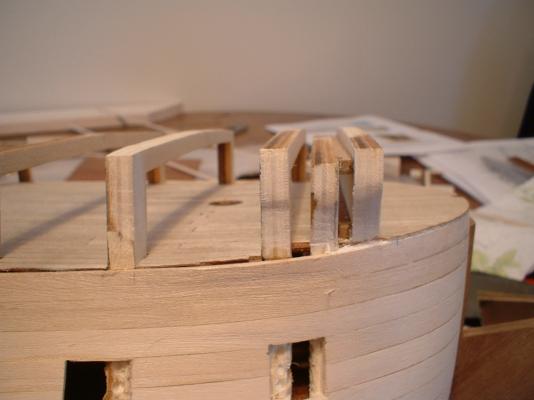
Before continuing the first planking above the level of the main deck I wanted to determine exactly where the planks would end at the bow. After studying the plan sheets i marked on the bow deck where the planking should end - approx.19mm in front of bulkhead F. I used one of the cut outs from the bulkheads to make a new false bulkhead which already had the correct deck camber across the top. Then I spaced it 3mm in front of bulkhead F. From what I measured it should give me the correct starting point for the planks. There will be another thin false bulkhead which will have the roundhouses & decorations mounted on it & glued on at a later stage. Mark
- 652 replies
-
- 7
-
-
- royal william
- euromodel
- (and 1 more)
-
Wonderful job on the planking. I have also built this kit ,so I know the amount of work involved. Mark
- 191 replies
-
- 5
-
-
- victory
- caldercraft
- (and 1 more)
-
Thanks Keith - I tend to make a lot of sawdust so I blow the dust off quite often. However,my table is still quite messy . Mark
- 652 replies
-
- 1
-
-
- royal william
- euromodel
- (and 1 more)
-
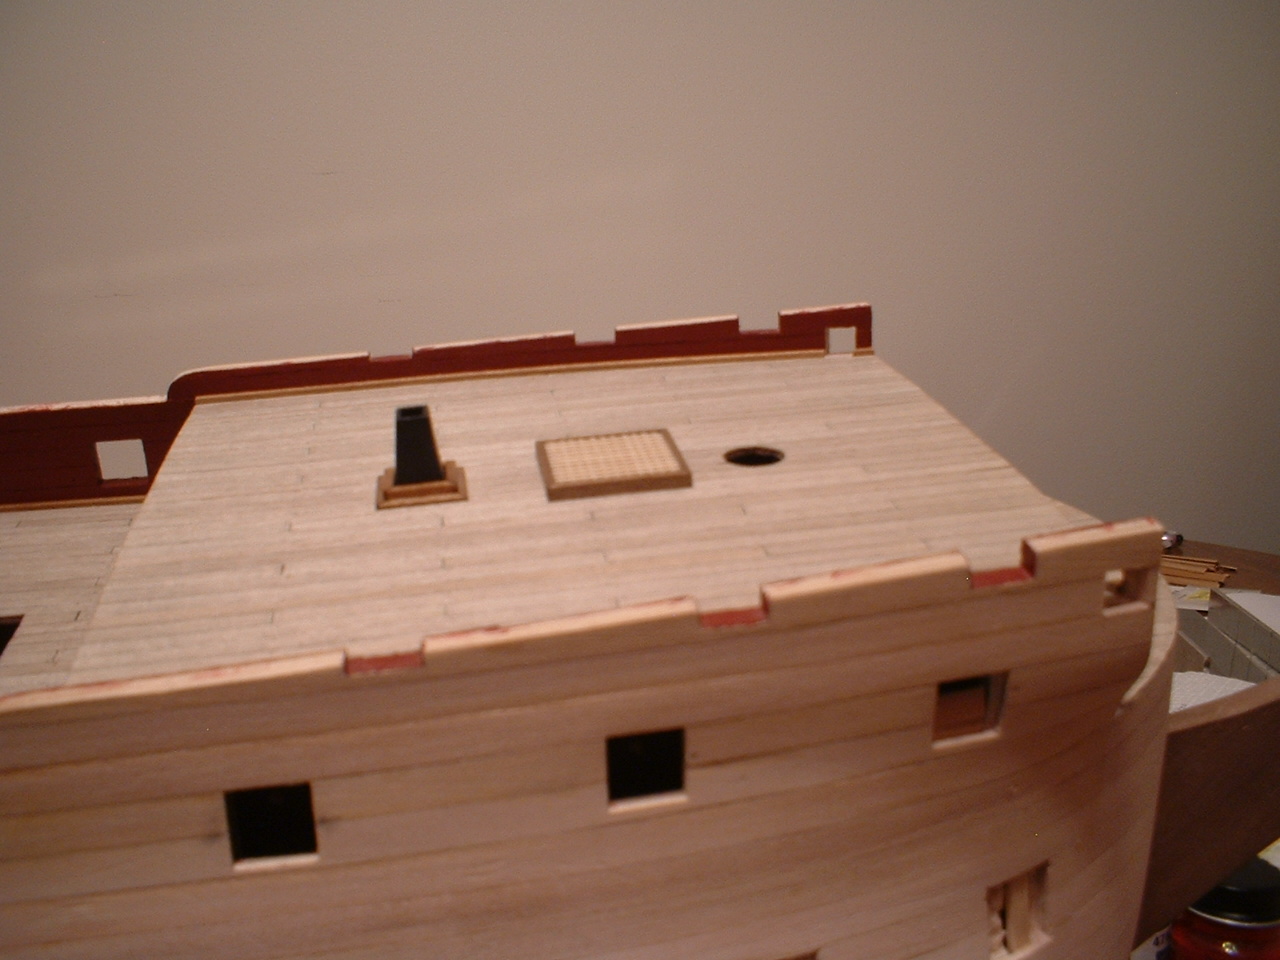
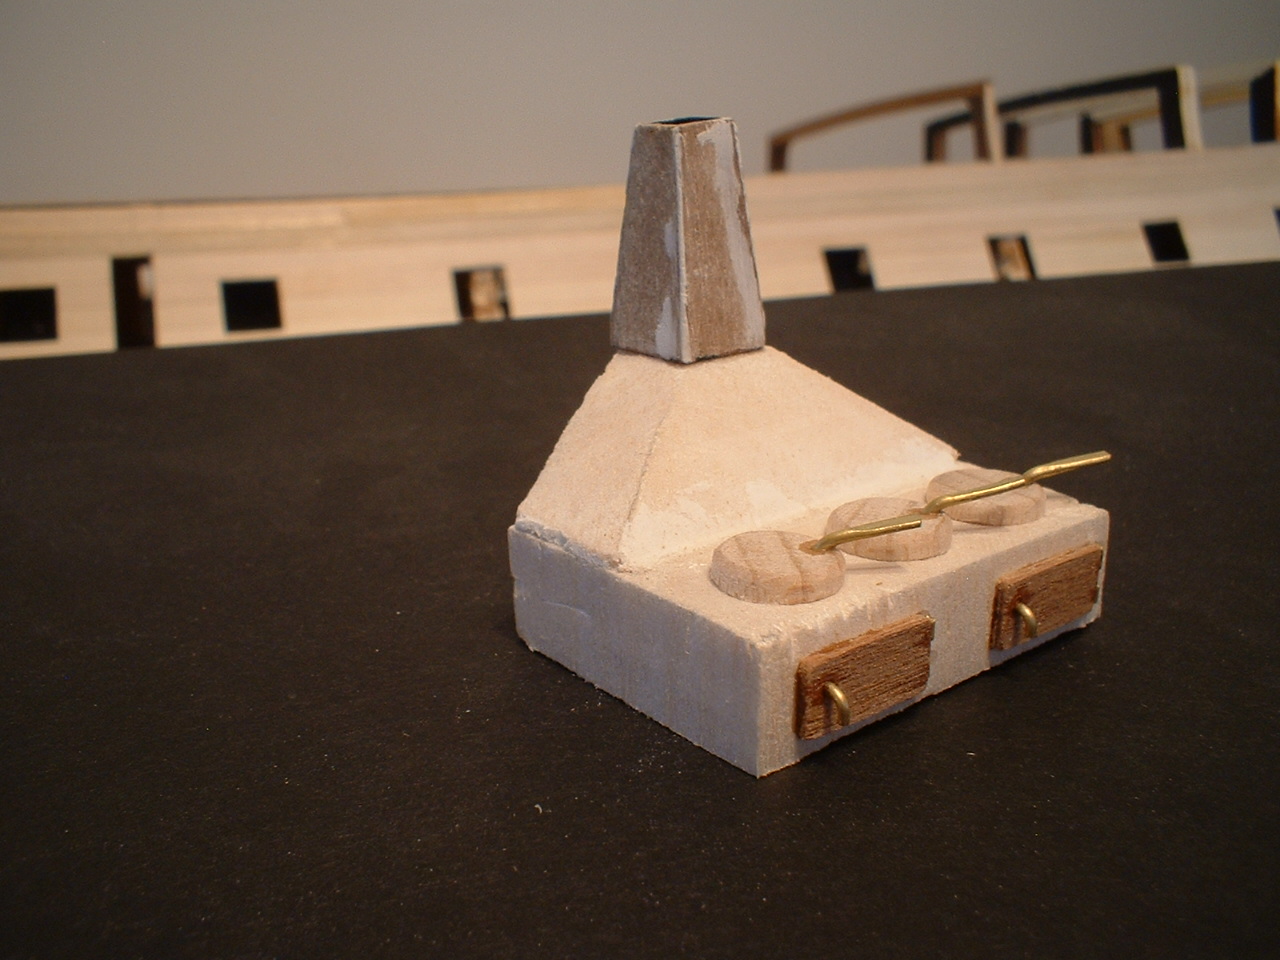
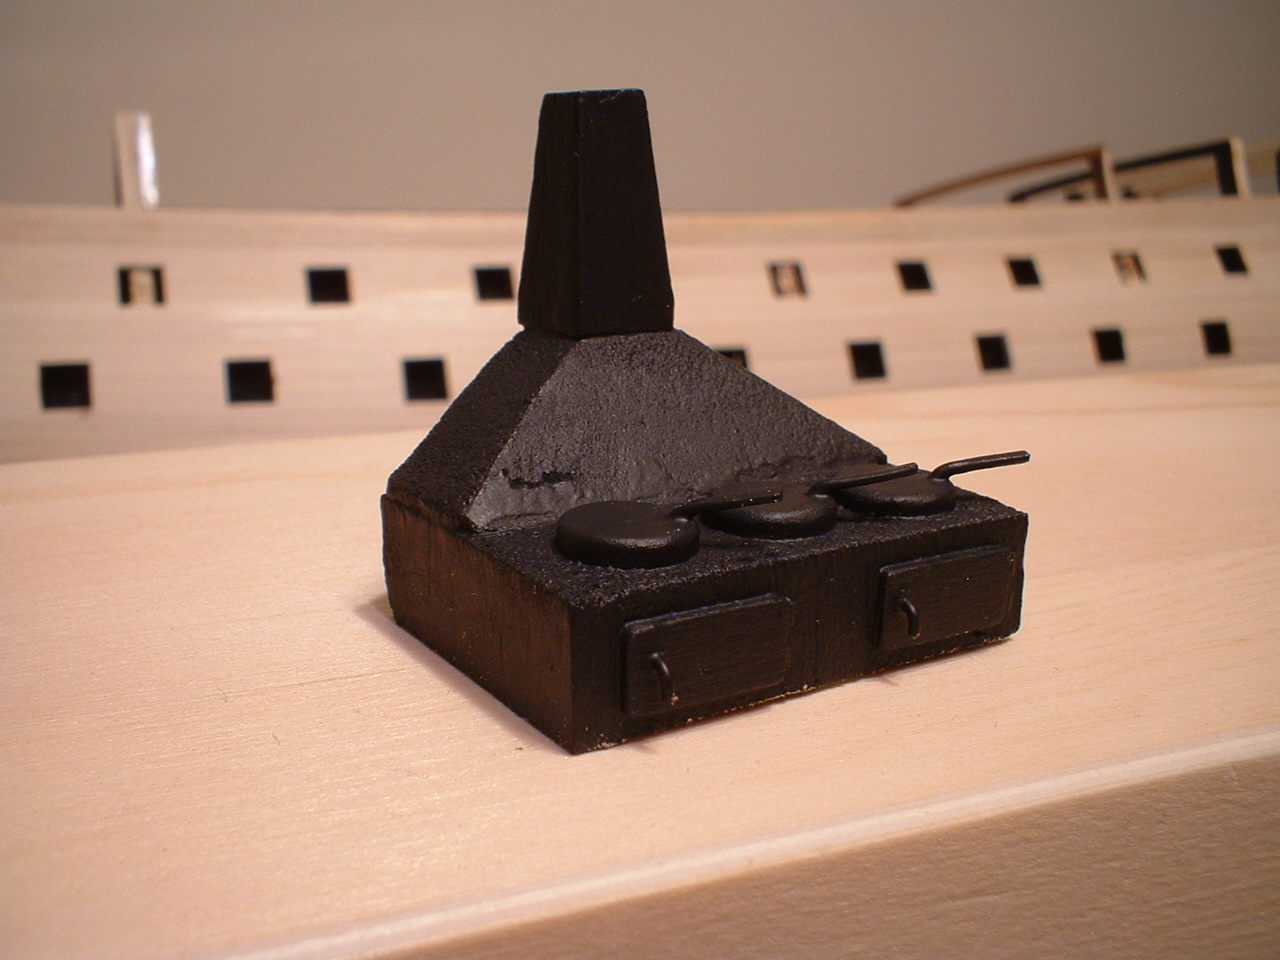
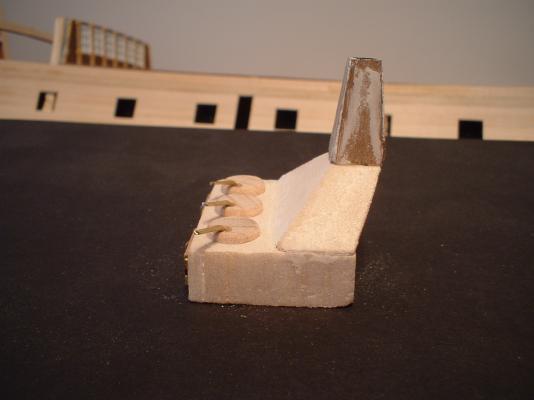
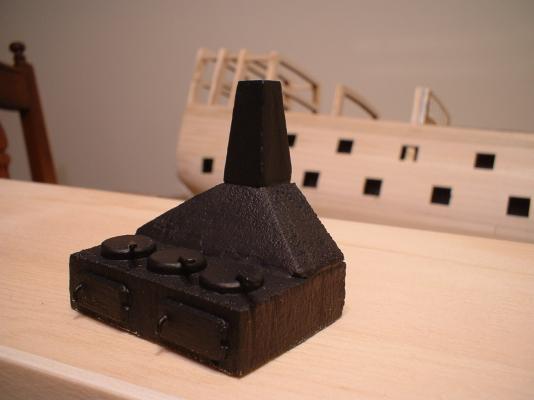
Hi Michael - thanks for your nice comments. Regarding the windows - they are vertical. It`s just the camera angle. I sometimes have to take a few pictures with my low tech camera to get a decent shot that isn`t blurry & out of focus. Another picture from the side - the bulkheads are vertical. They look slanted because of the sheer of the deck. Meanwhile,I thought I would build a little ship`s stove. I made the base out of balsa & the chimney out of some 1mm thick walnut scrap. The "pans" were pieces of dowel & all the handles were made from brass wire with the pan handles hammered flat. It`s a little rough,but the only thing that is easily visible is the chimney. The rest of the stove is hidden under the forecastle deck. Mark P.S. - Regarding the deck planks I must give credit to Vince P for the bleaching idea.


- 652 replies
-
- 7
-
-
- royal william
- euromodel
- (and 1 more)
-
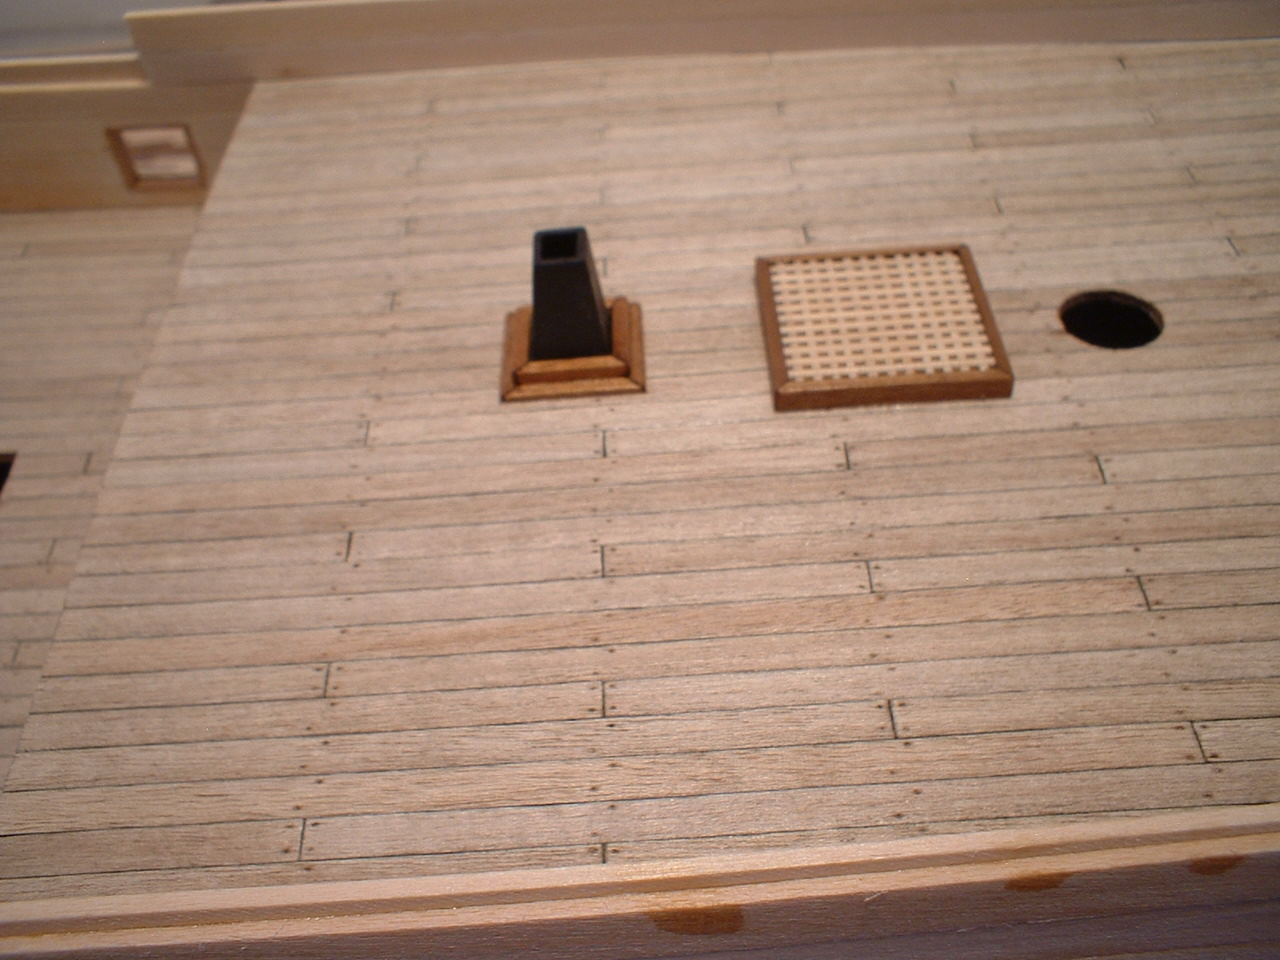
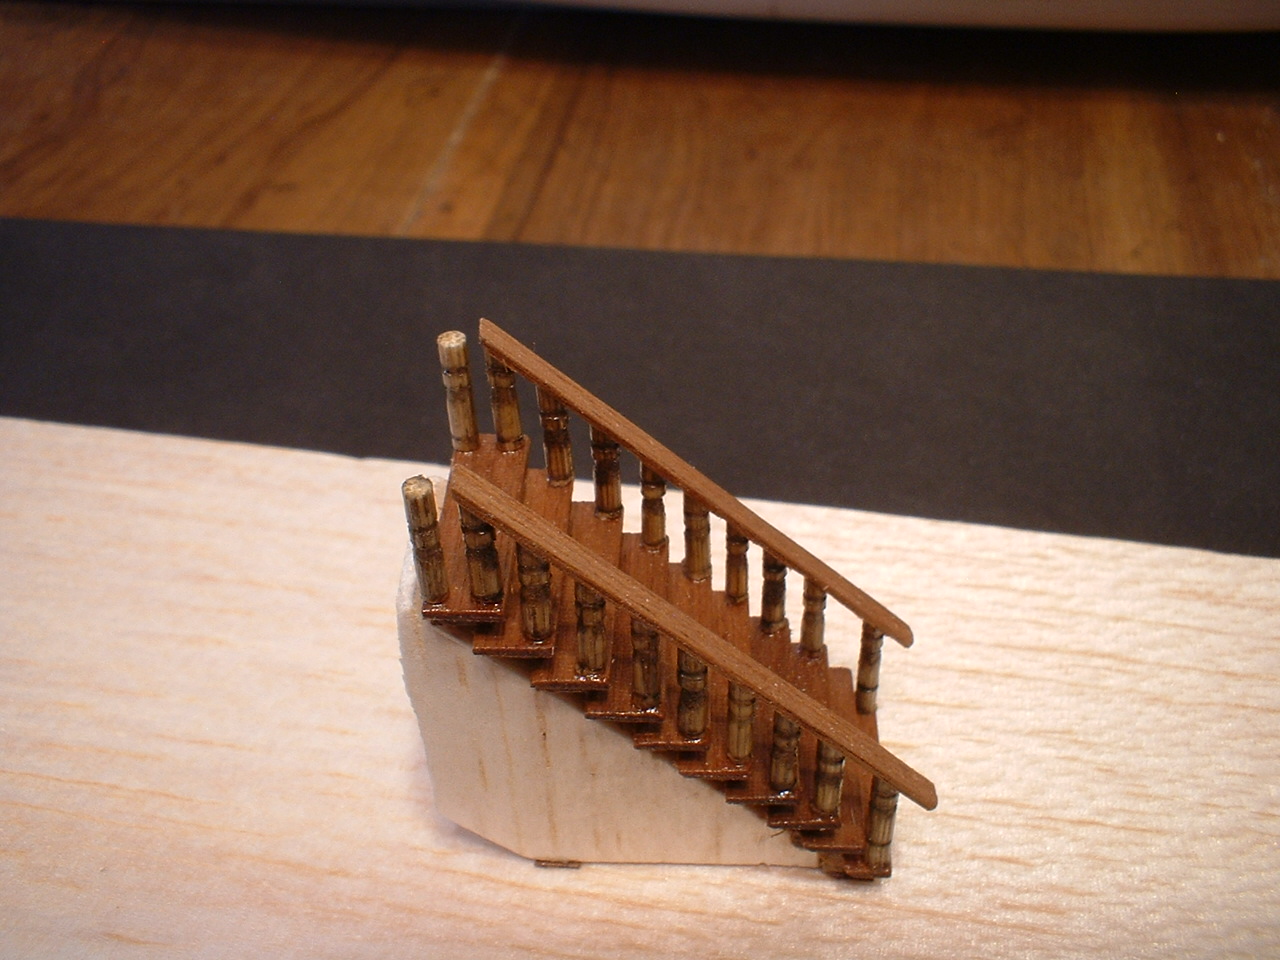
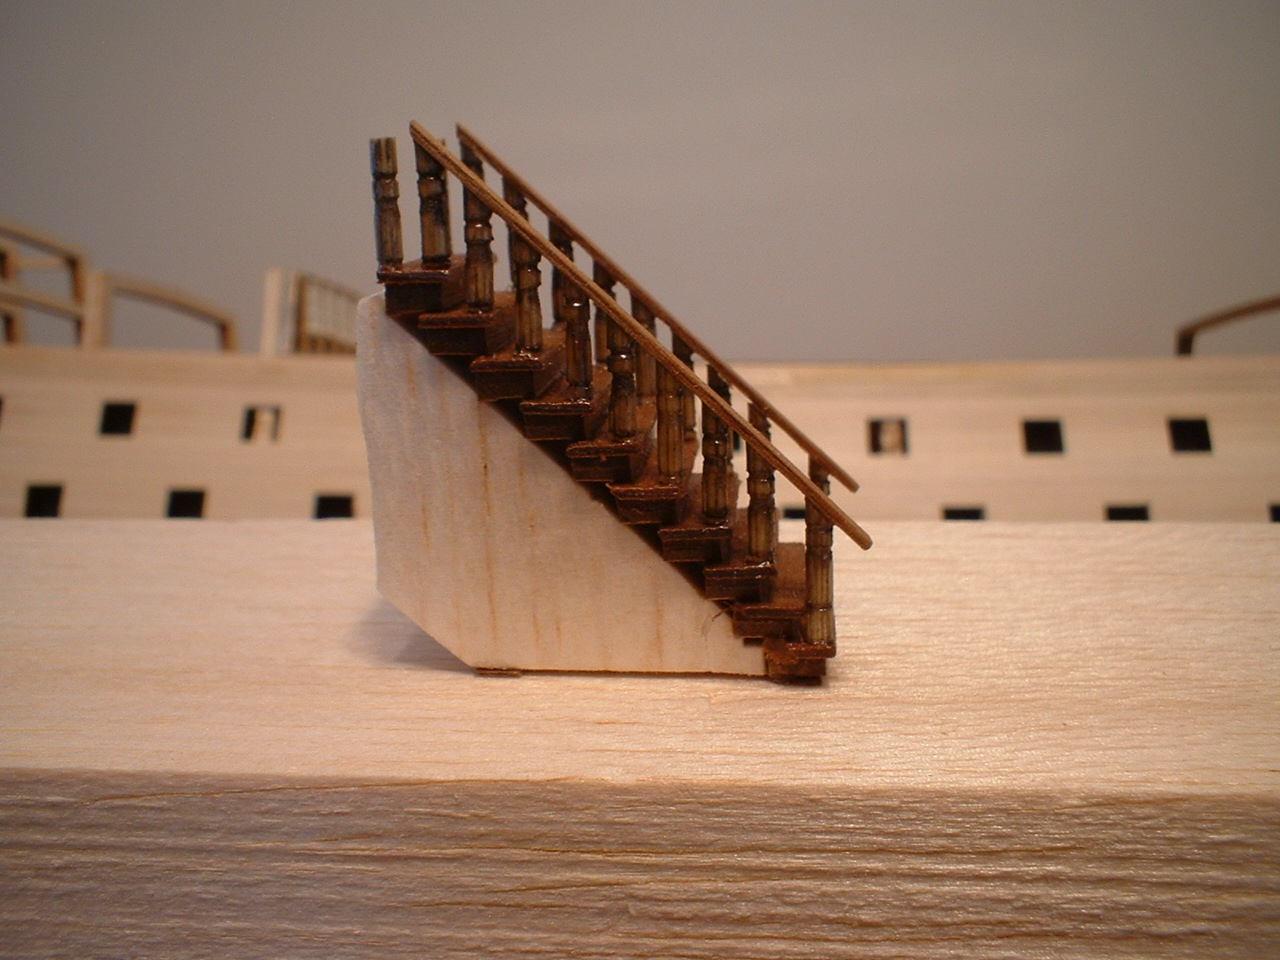
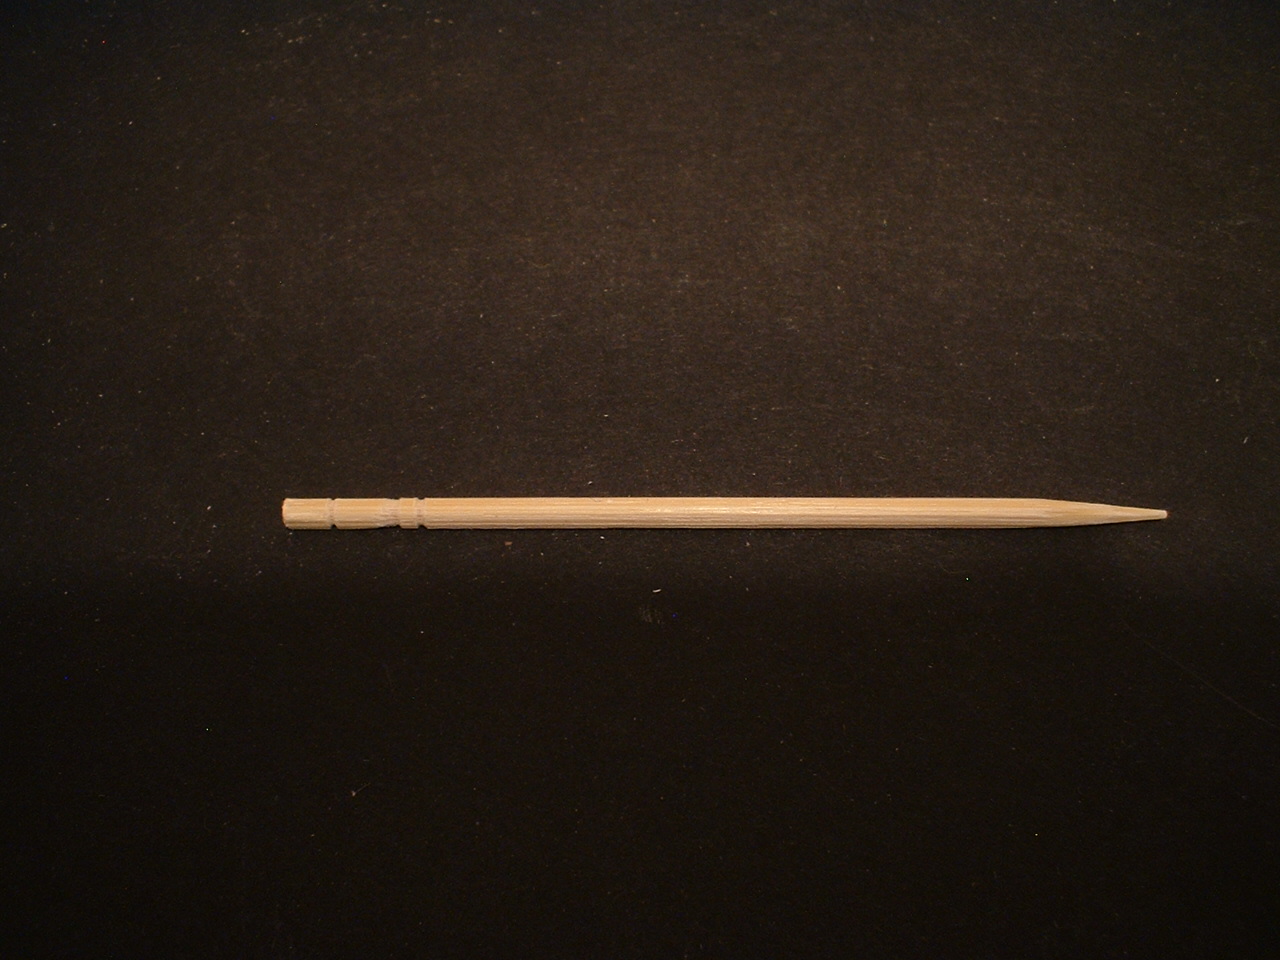
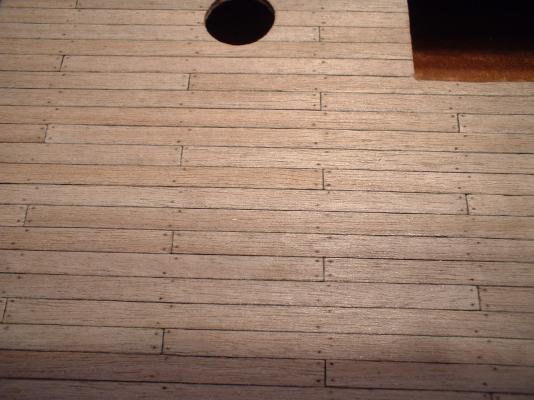
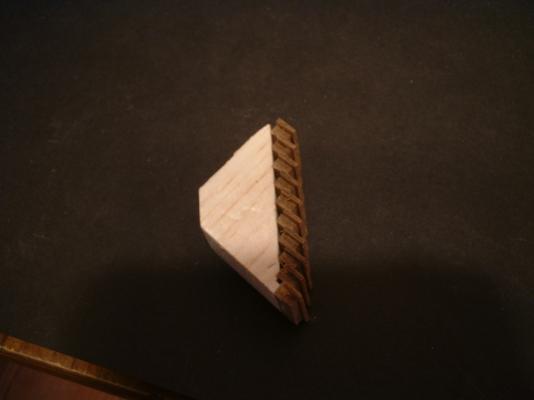
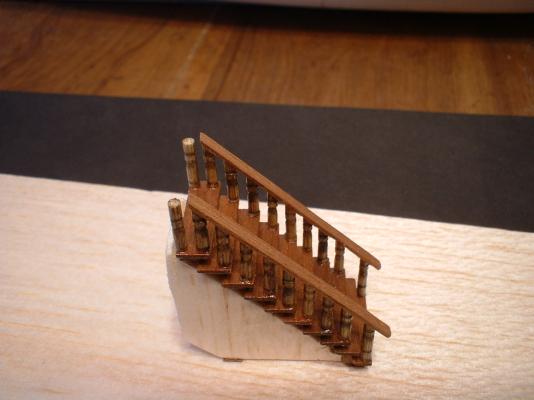
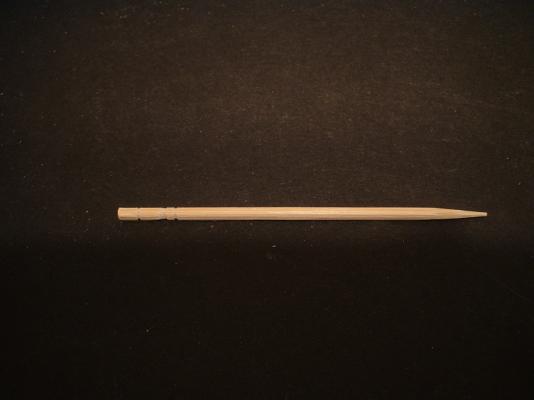
Thanks everyone for looking in & hitting the "like" button. Finished the main deck planking & one coat of poly applied. I just darkened the edges with an HB2 pencil. I simulated the nailing by using a half twist of a #78 drill bit to make a tiny indentation. I like how the final color came out. Meanwhile I thought I would make a staircase for the main deck. I glued the steps onto a balsa former angled at 45 degrees. While thinking of what to use for hand rail posts I found some toothpicks with grooves cut into the end & only 2mm in diameter - seemed perfect for the job. After staining them I cut them off to the correct length & glued them on & added the hand rails from some 1mm by 2mm walnut strip. Not perfect but I thought it came out ok. I will finish the railing around the opening in the deck later. Mark
- 652 replies
-
- 5
-
-
- royal william
- euromodel
- (and 1 more)