marktiedens
-
Posts
1,737 -
Joined
-
Last visited
Content Type
Profiles
Forums
Gallery
Events
Everything posted by marktiedens
-
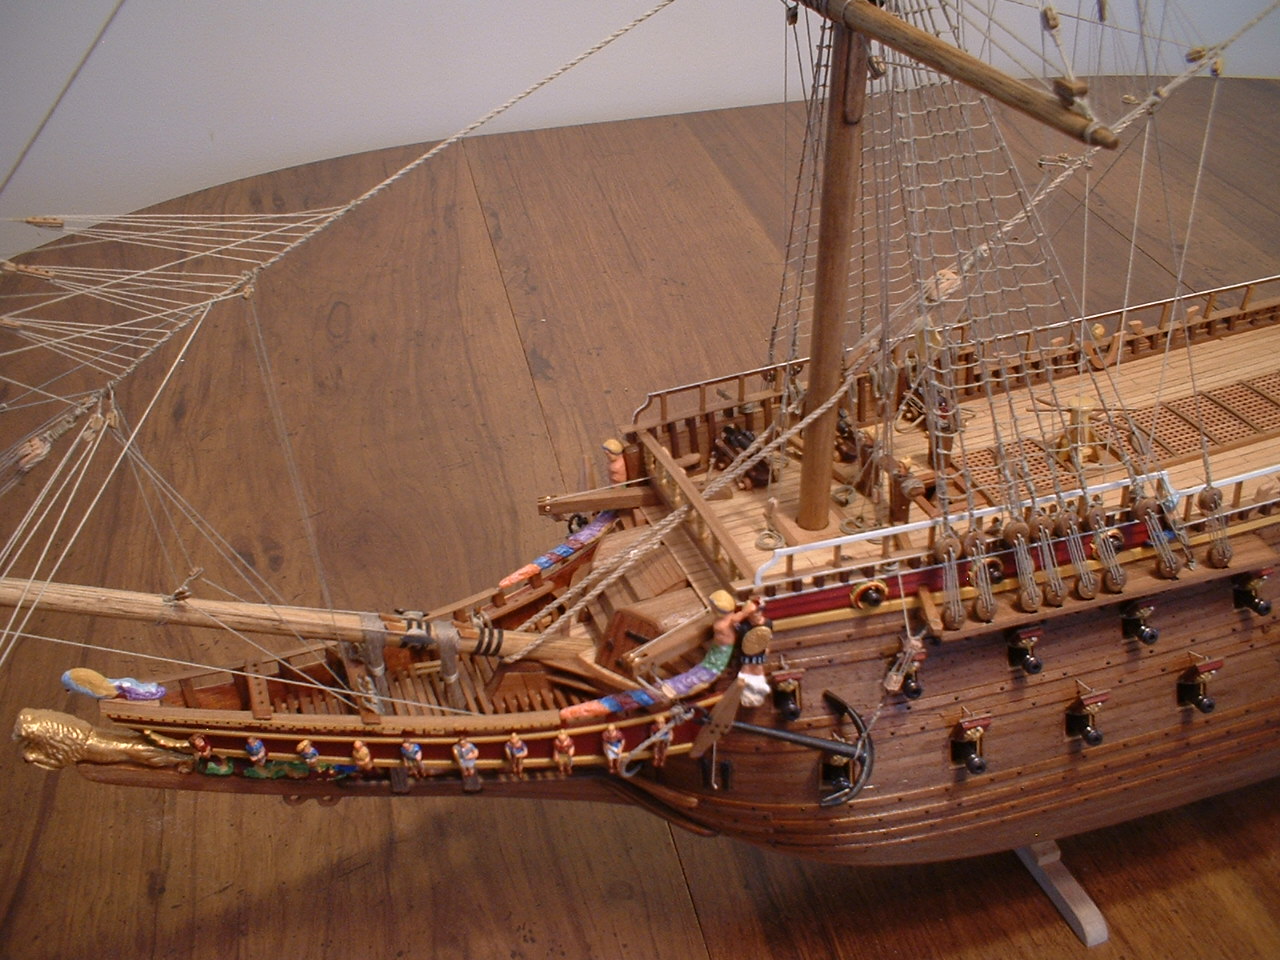
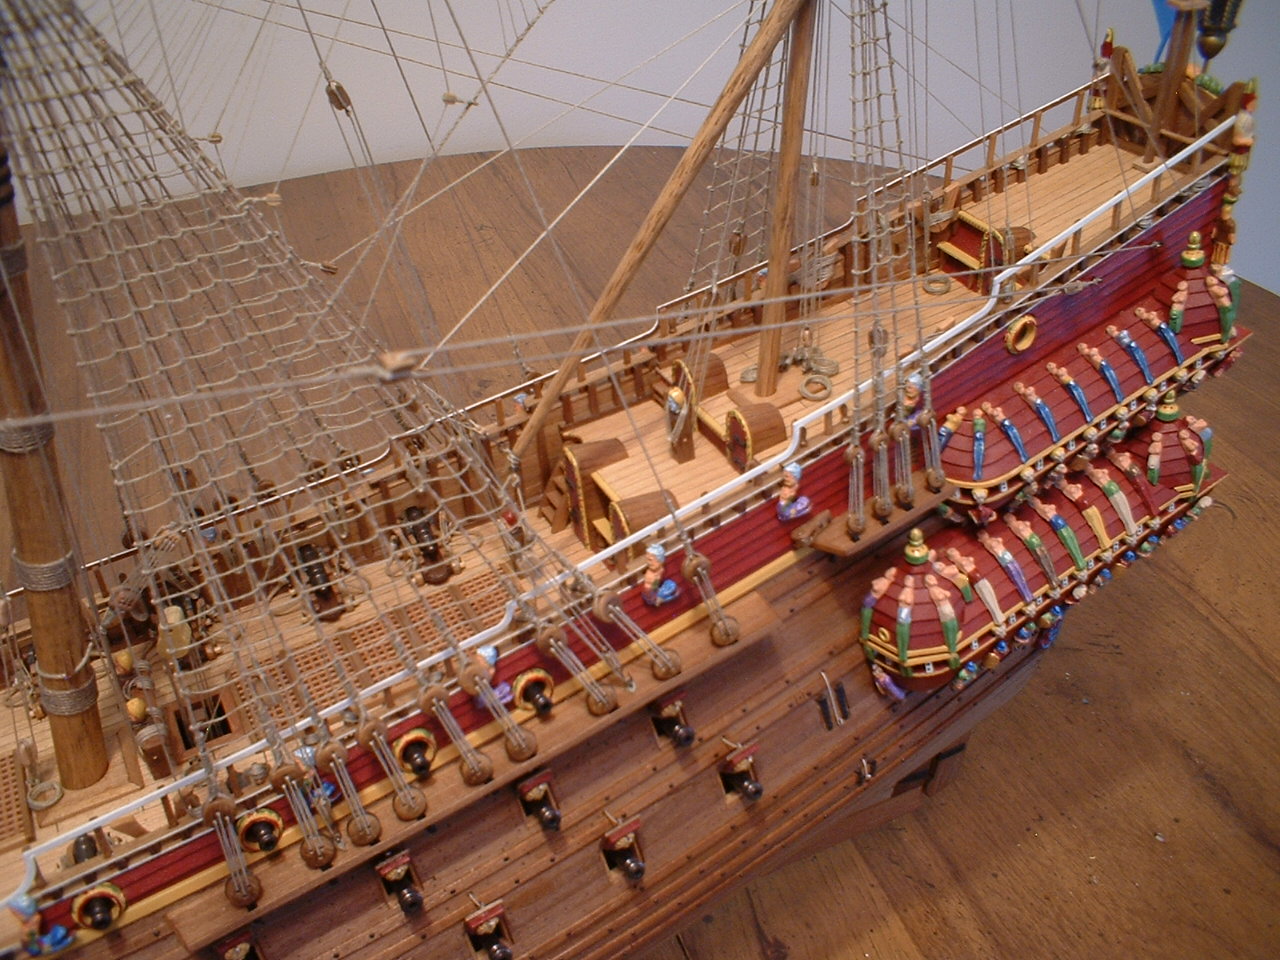
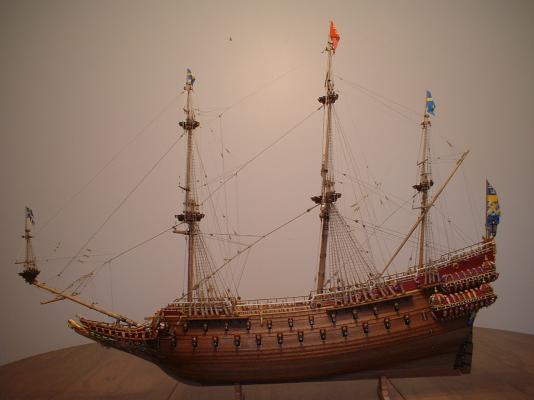
Finished.Finally. Well, I finished up by rigging the anchors & finishing the running rigging.Not sure about some of the belaying points but I think it passes the galloping horse test . Sorry I was not a little more descriptive of some of the work but sometimes I get going on something & forget to take pictures.A lot of modifications were made but I think the end result was worth the effort. I would like to thank everyone for looking in & posting all the generous comments & hitting the like button. I will try to put a few more pics in the gallery. Now for the hard part - trying to decide what to build next . /Mark
- 145 replies
-
- 15
-

-
Nice work. I am using a mixture or Corel`s plans & all the photos I can find of Clayton`s fine model. I can tell you that Mantua`s rigging plans are pretty much useless - not even close. Apparently the Vasa book will not be out by the end of the year - maybe by spring. /Mark
-
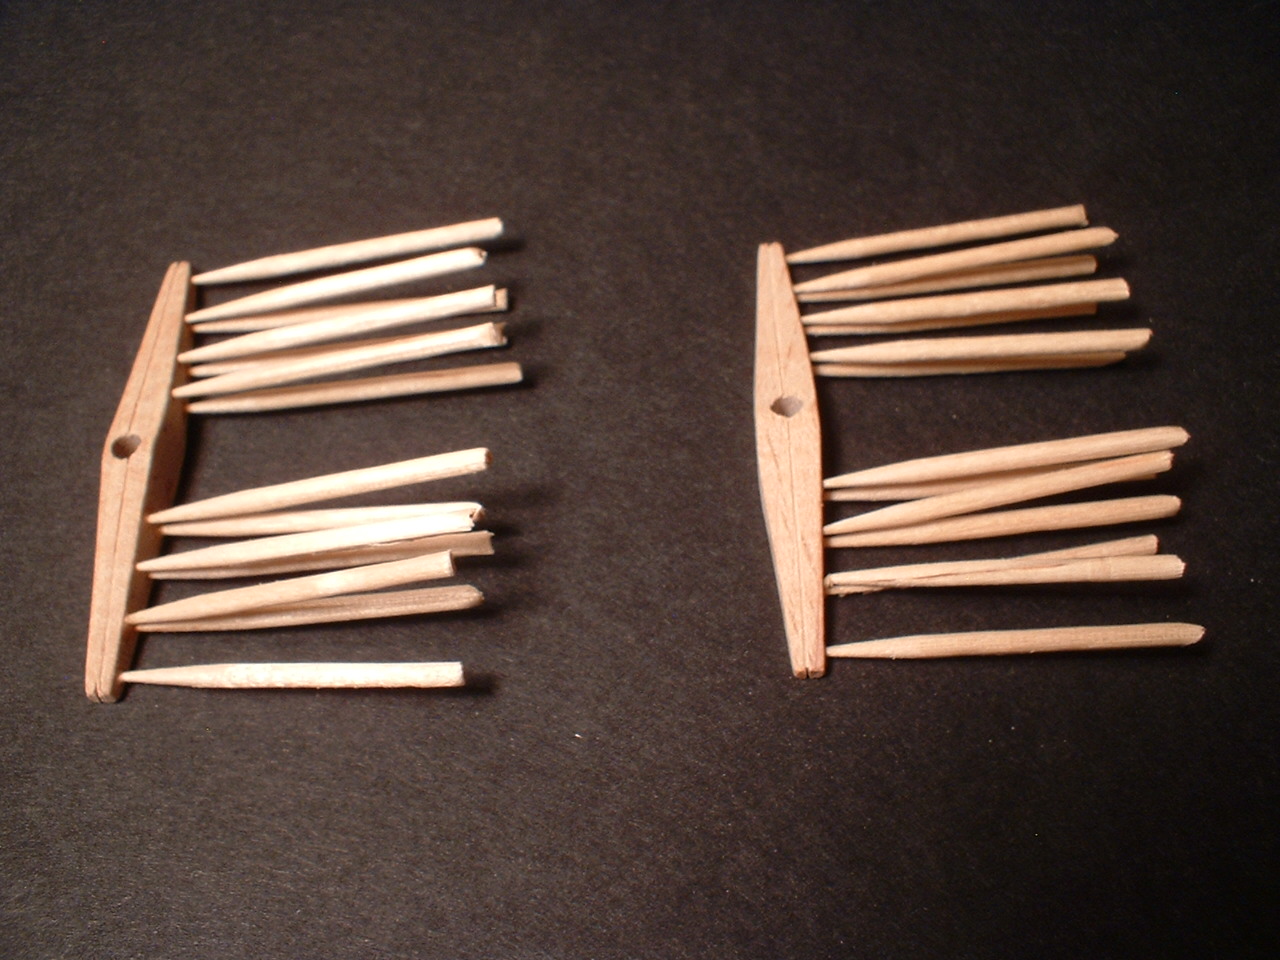
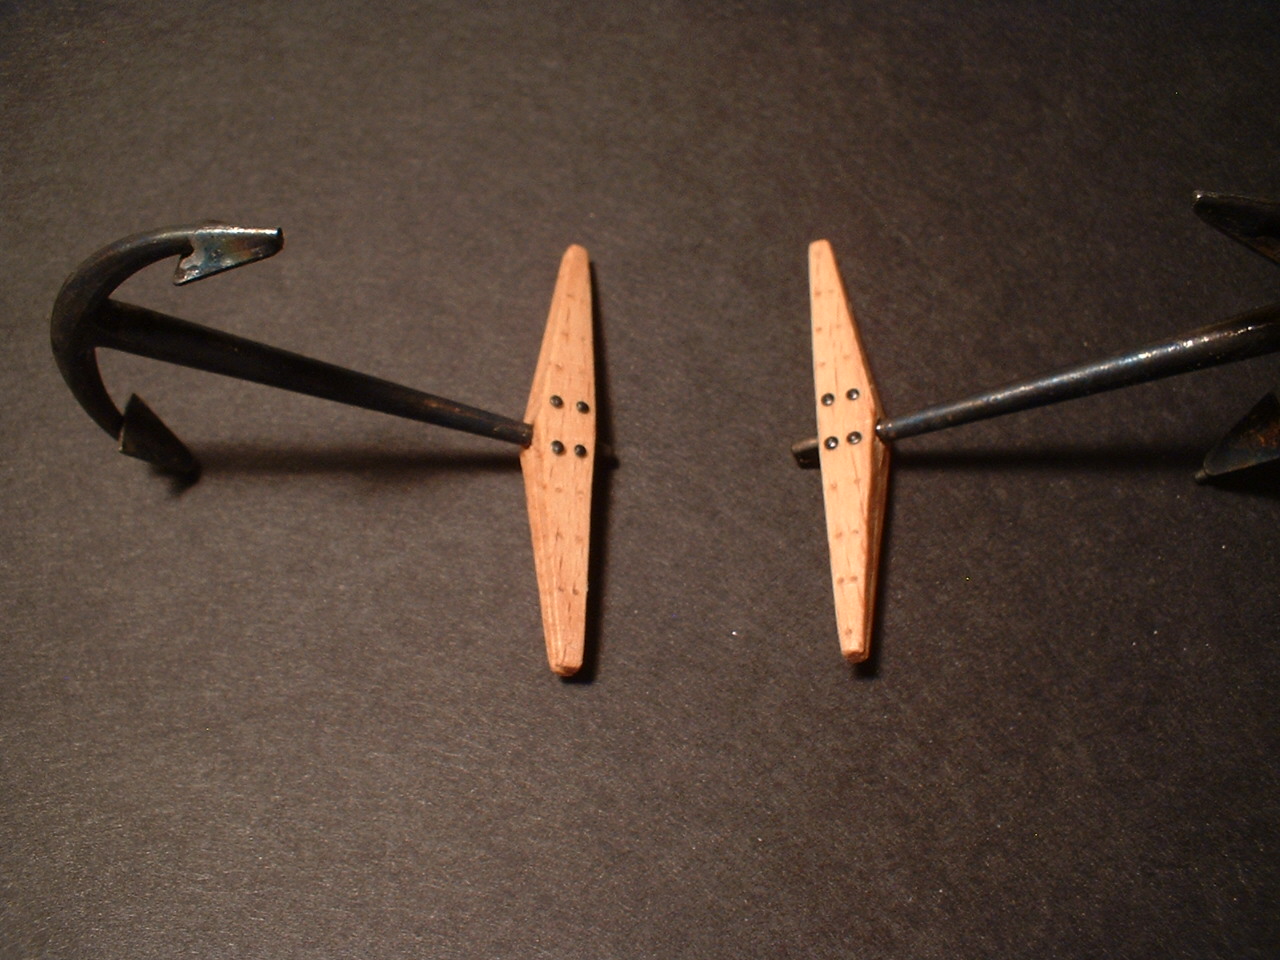
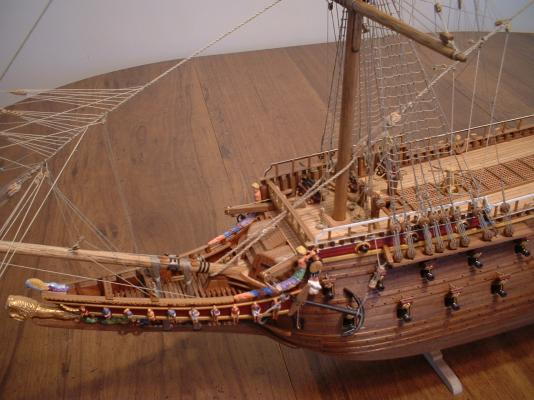
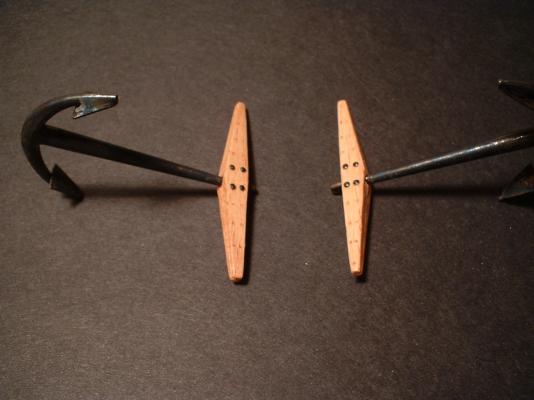
Been making rope coils - thought I would take a break from that & work on the anchors. First I filed a groove around the stock so it would look like 2 pieces. Then I drilled some small holes & glued in some toothpicks,then I sanded them off smooth to simulate treenails. Then I added some small black nails to simulate bolts & finished with some satin poly. The treenails can barely be seen but that is the effect I wanted. /Mark

-
wood filler
marktiedens replied to wilspaul49's topic in Building, Framing, Planking and plating a ships hull and deck
I have been using Elmer`s carpenter`s color change wood filler - it is a pink color in the tub but turns white when dry. It goes on smoothly & sands easily when dry. It is water based so there is no bad odors. It is usually dry enough to sand after about 1 to 2 hours. /Mark -
Thanks Michael,your thoughts are appreciated. /Mark
-
Thanks very much Joe. Also thanks to everyone looking in & all the likes. Rigging is not my favorite thing to do - takes me forever it seems like. Also without accurate plans I am guessing at some of the lines & belaying points by looking at much better models than mine . Mark
-
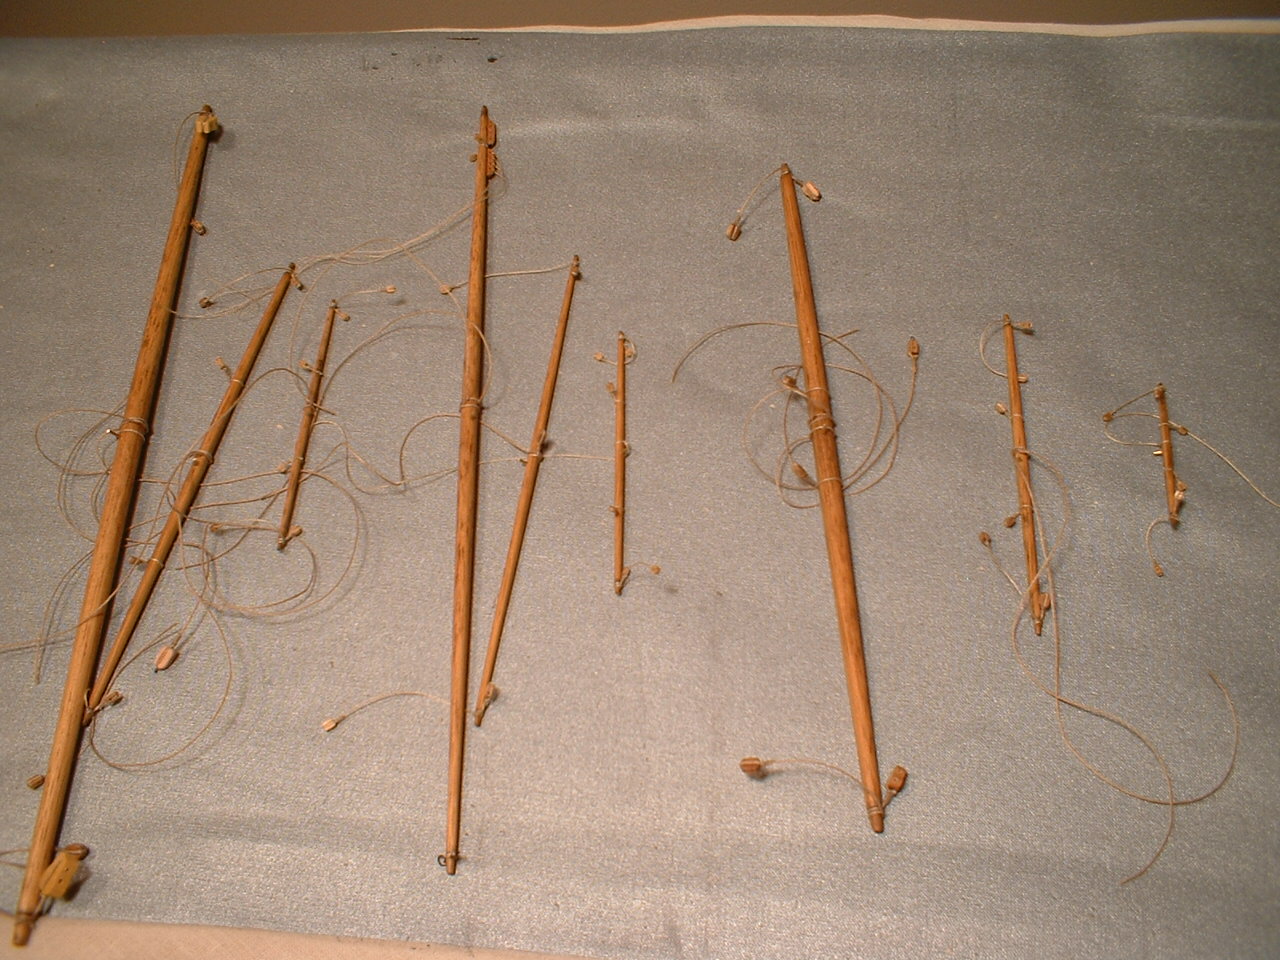
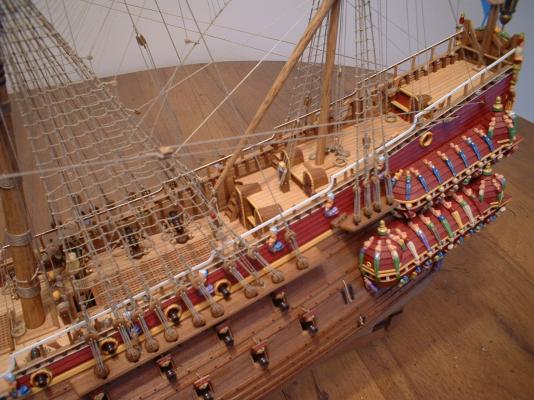
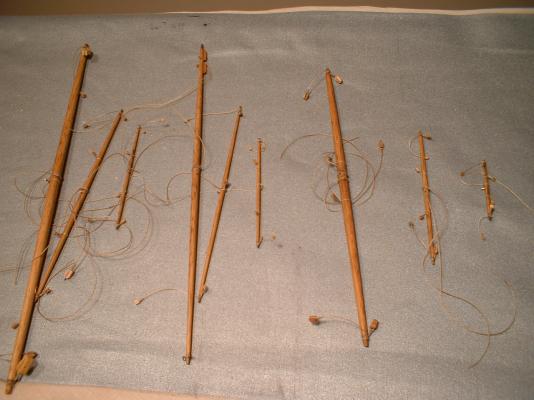
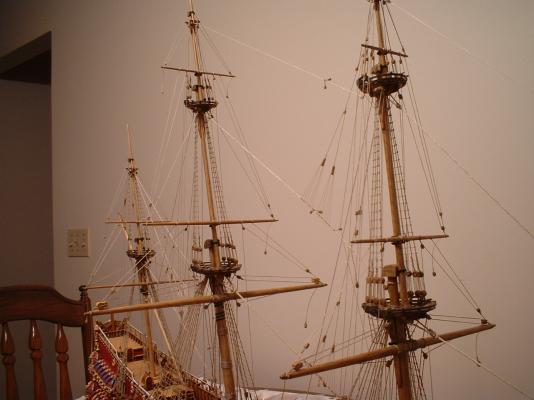
Hi all - a bit of progress. First I pre-rigged the yards as much as possible. Then I attached the yards to the masts & got all the lifts & halyards rigged. May not be 100% correct but it should be close. Still a bit more to do such as braces,rope coils,anchors,& a few other misc.items. I went by Corel`s measurements for the masts & yards but the yards seem a little on the short side .Oh well - I`m not going to re-do them at this point. /Mark
-
Great looking sails. I don`t think I could rig the shrouds & ratlines after mounting the yards - I would have them knocked loose very quickly. /Mark
-
I may be wrong but I think Model Expo used to advertise their brittania metal as lead free. /Mark
-
Looking good. Having built this ship from the older designed kit I know how much work is involved. /Mark
-
Hi Michael - nice tops. di you make them by hand or with your milling machine? It seems it would have been easier to cut the profiles with the milling machine & them slice them off - I`ve seen many people do that with gun carriages. I found it a bit difficult to make them all by hand & keep them close to identical to each other,but the effort was worth it. /Mark
-
I wonder if they are going to paint the galleries - it would look worse yet if they left them yellow. /Mark
-
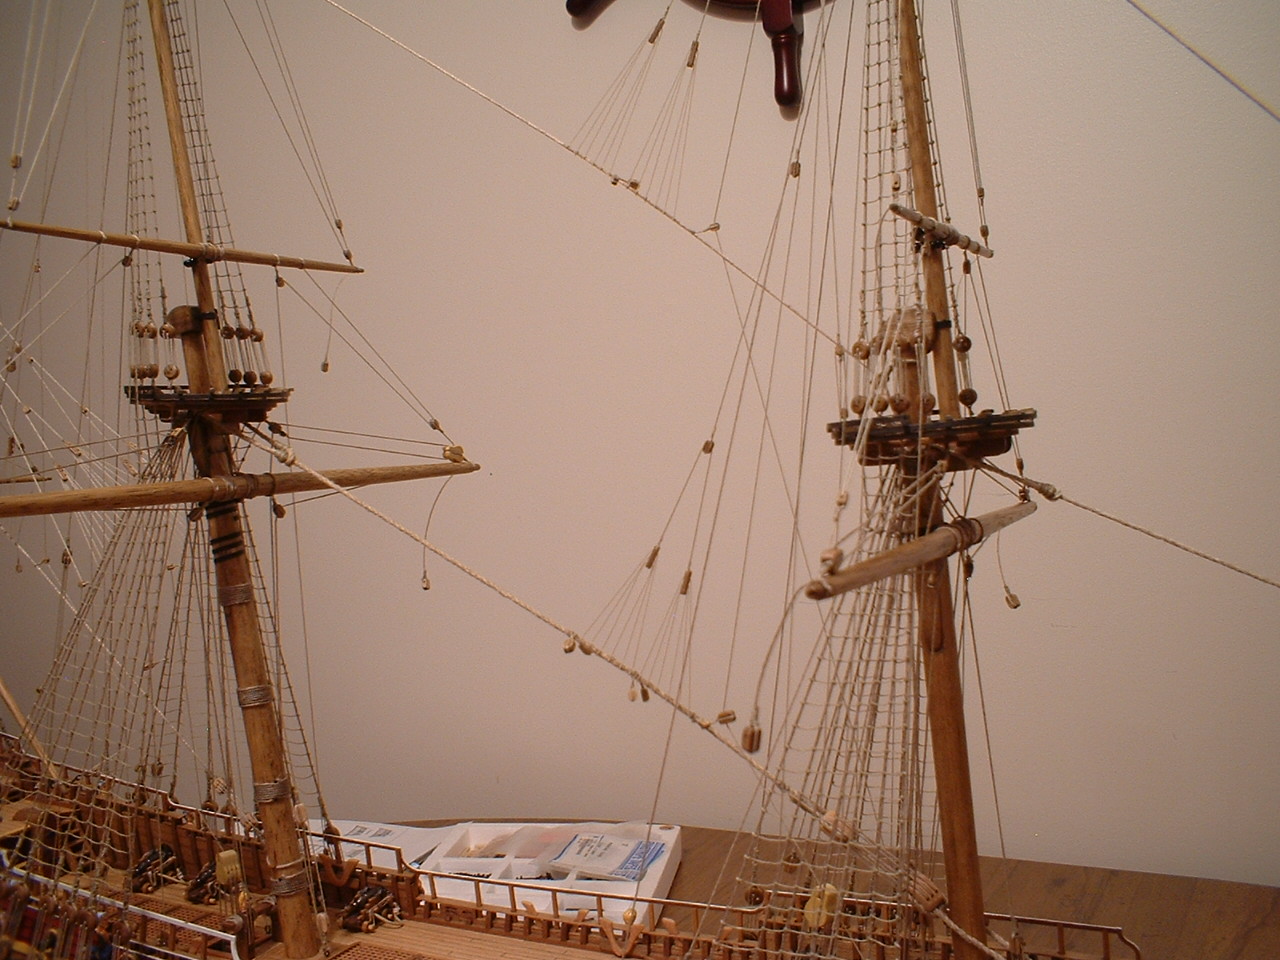
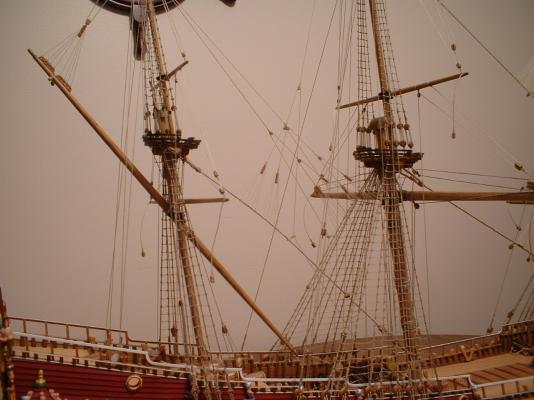
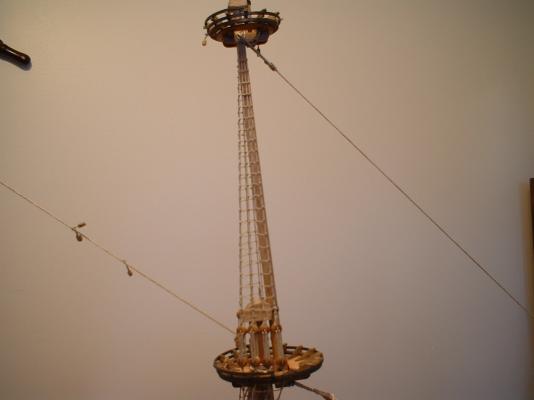
Thanks Henry. The rigging is a little hard to see with the light background. Just shows what I know about photography . Haven`t figured out how to keep the stays from bowing where lines or blocks are attached - if the stays were any tighter they would pull the masts way out of alignment . /Mark
-
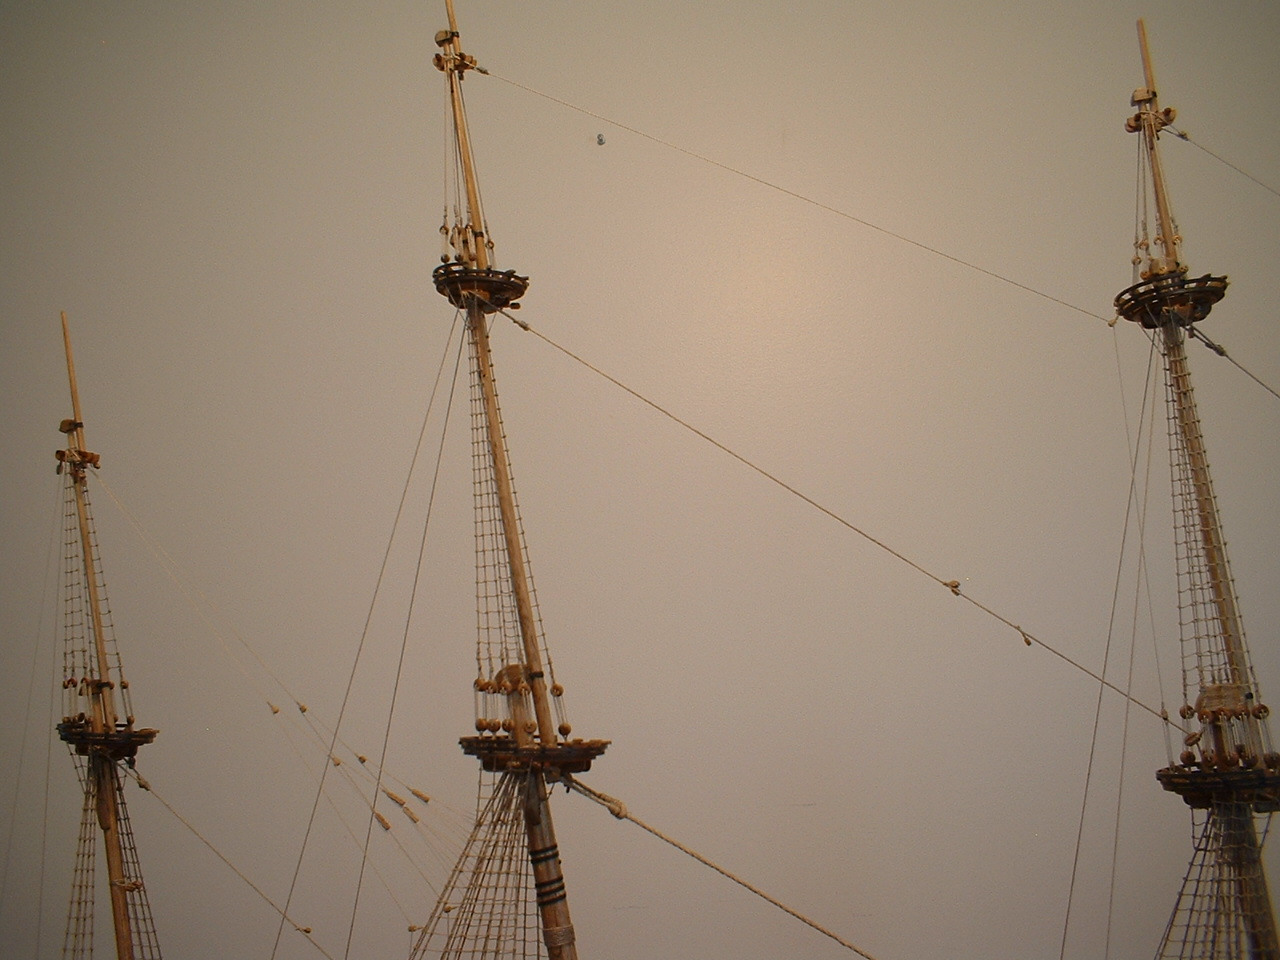
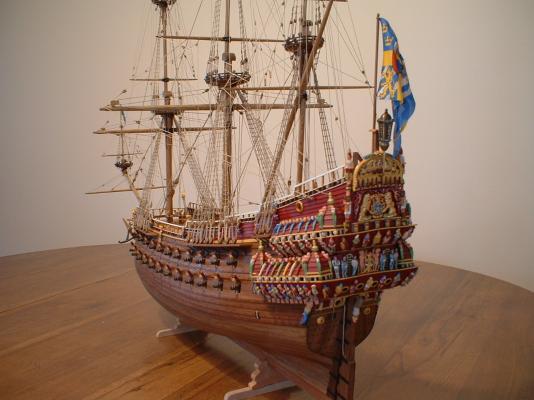
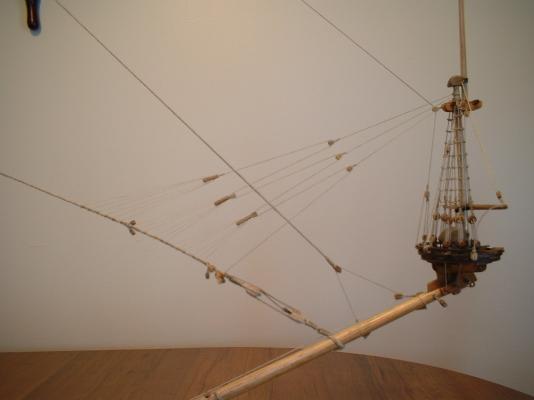
Hi again. Standing rigging done. Could have used 3 hands to do those crow`s feet. Also no ratlines on the topgallant shrouds. I used the rear-most lower deadeyes for backstays. /Mark


-
Thanks Frank. I am going to use the last deadeyes in the channels for the fore & main backstays. It was mentioned in the Vasa forum that this is most likely correct. Really like your sail work but I don`t think I will be adding them to mine. /Mark
-
They must have bumped more than their head. I wonder if they actually sold any at those prices. /Mark
-
Michael - I think the attaching points on the left picture are the same as the drawing on the right. The camera angle just seems to have them converging at one point. At least that`s how it appears. /Mark
-
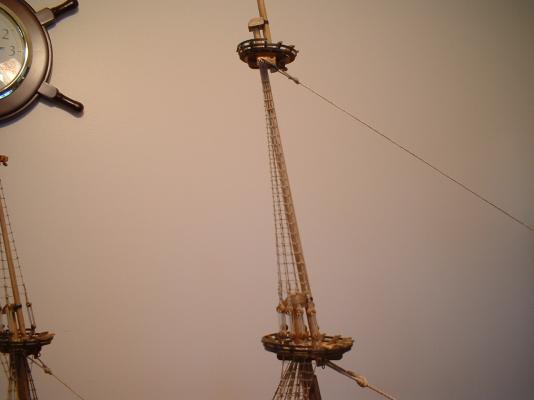
Hi Michael - I think those lower deadeyes may actually be in metal chain plates like the others but I took the easy way out by just using rope. As for the attaching points I couldn`t find a really clear picture of them,so I just fastened them in what I thought was a logical fashion. /Mark
-
Thank you ,Michael. There are still some things I could re-do a little better but I keep telling myself I`m not re-doing anything more . /Mark
-
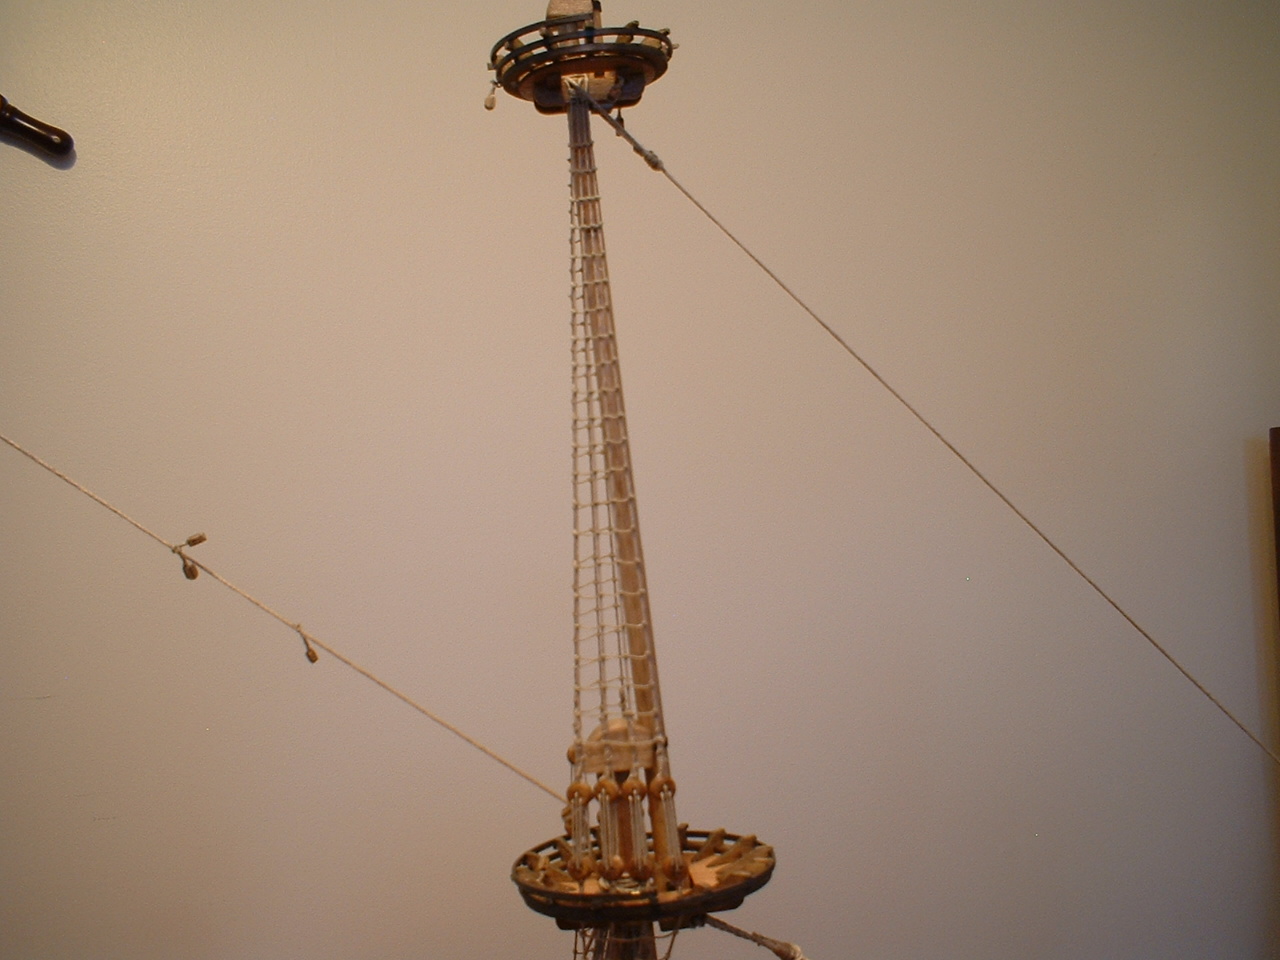
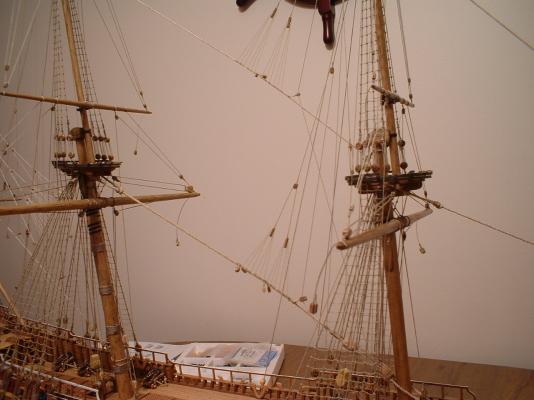
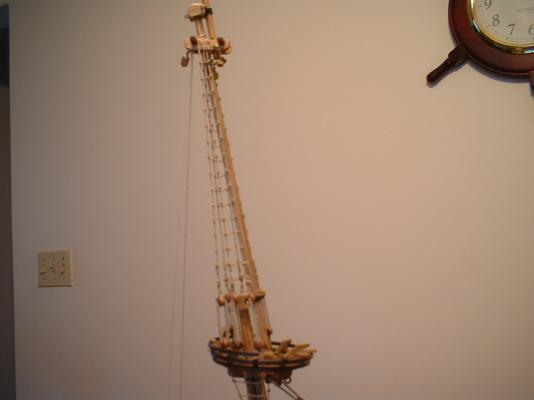
Hi all - progress has been a little slow but I managed to get the topmast shrouds & a couple more stays done. I had some family staying with me for a while ,but everything is back to normal now. /Mark
-
Hi Michael - I believe you are correct that the lower ring is wider than the uppers.The shrouds for the topmasts actually go through the lower rings so you will need to drill some small holes in the lower rings for the lower shroud ropes to go through.Nice brackets by the way. /Mark
-
Micro Drills, Revisited.
marktiedens replied to Modeler12's topic in Modeling tools and Workshop Equipment
The best small drill bits I have found are made by Walthers. Sizes are always spot on.& they are nice & sharp. My local hobby shop carries them. They are not that expensive either - about $3.00 for a package of 2 bits. Mark -
Hi Nils - I have found that fabric or sewing shops have a good selection of brass eyelets that work very well to simulate portholes. /Mark

- 2,625 replies
-
- 5
-
-
- kaiser wilhelm der grosse
- passenger steamer
- (and 1 more)
-
Nice work - I didn`t realize there was a joint there. Looks like awfully fiddly work. I probably would taken the easy way out & just scribed the joint into the dowel. /Mark
-
I would also add that if you re-do them use light weight thread - the ratlines are usually the thinnest ropes on the ship.That should fix the problem of pushing the shrouds apart. /Mark