HOLIDAY DONATION DRIVE - SUPPORT MSW - DO YOUR PART TO KEEP THIS GREAT FORUM GOING! (Only 20 donations so far - C'mon guys!)
×


Jasseji
-
Posts
604 -
Joined
-
Last visited
Content Type
Profiles
Forums
Gallery
Events
Everything posted by Jasseji
-
There is definitely a "nice to have" if it comes to larger build areas, i am trying to figure out the downsides (apart from definite model size) from getting a smaller printer up front and then perhaps switching down the road
-
I am still thinking if i really require the Larger build area, my goal is mostly to print Ship figures in 1:64 Scale and Lego-Compatible Parts for my Son. As for Thingieverse, well, that's the Problem of it being "Community-Driven" and not moderated by any means...
-
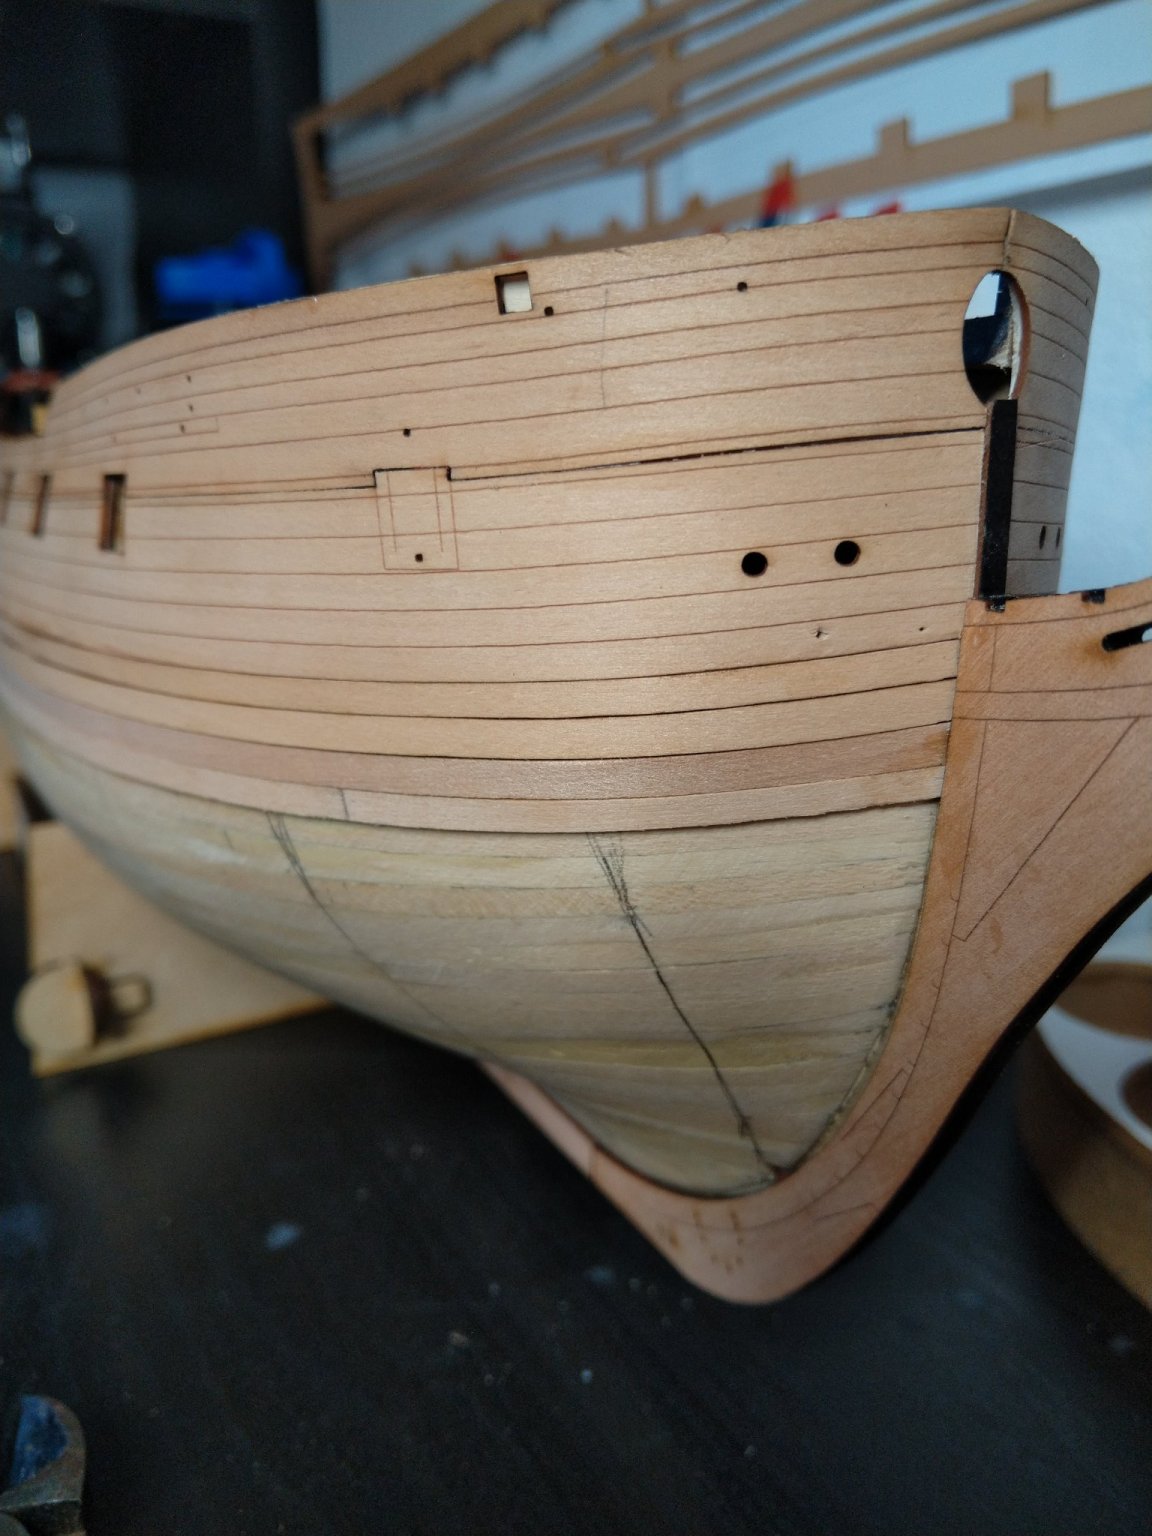
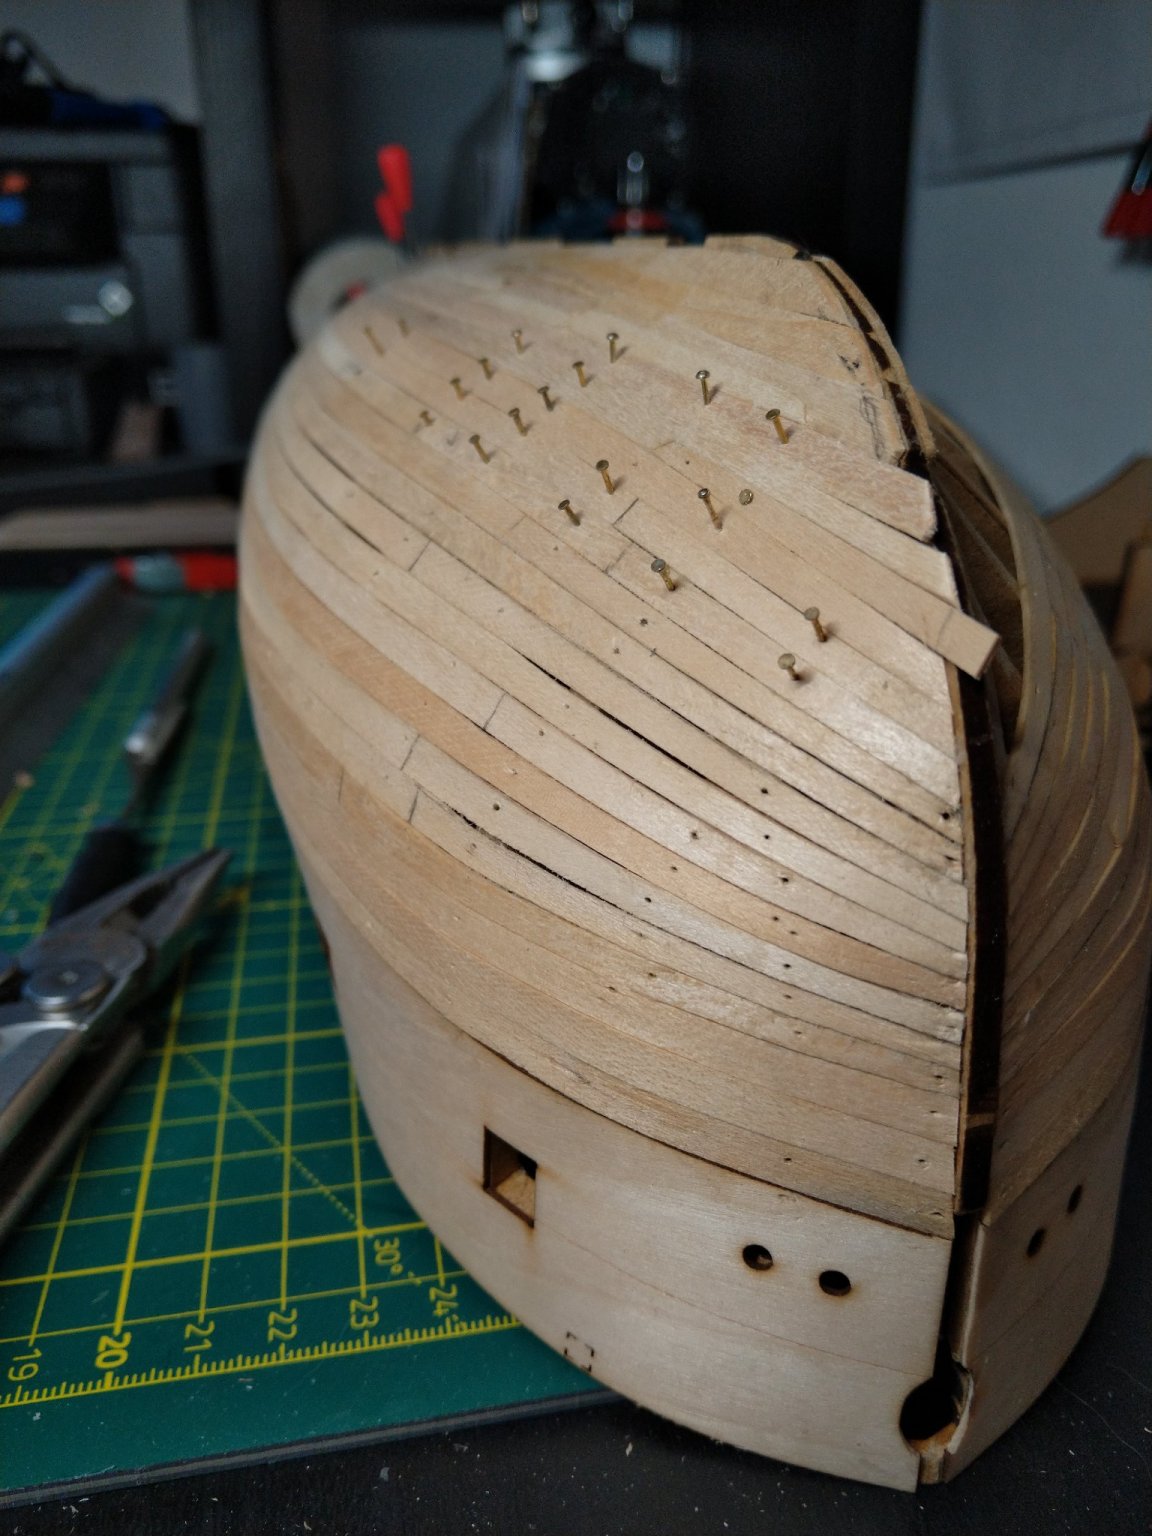
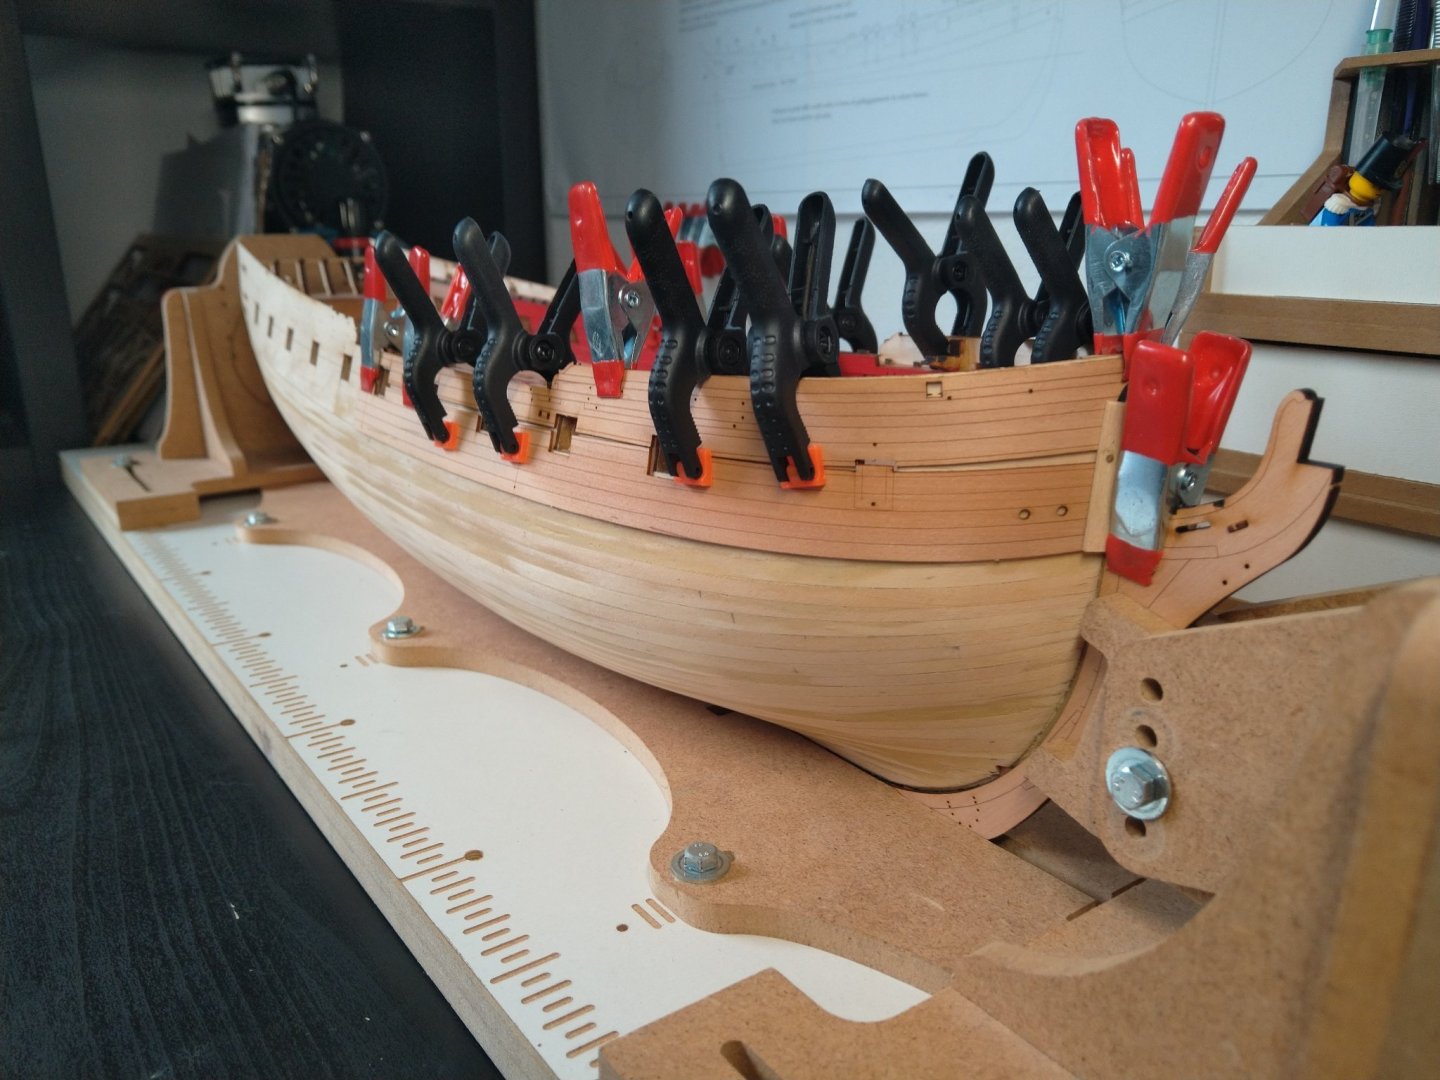
 Hull planking. I fitted All the lasered bulwark liners and the 2 precut strakes, then Went ahead with the 2 full length planks which will be below the Wales. I decided to use very Little raper on those 2 strakes, i like the Look. I use CA glue and i find the planks lie very good without any need for EDGE bending Found out another Cheat i like: CA Glue (as long as it doesnt Stick to the Fingers)
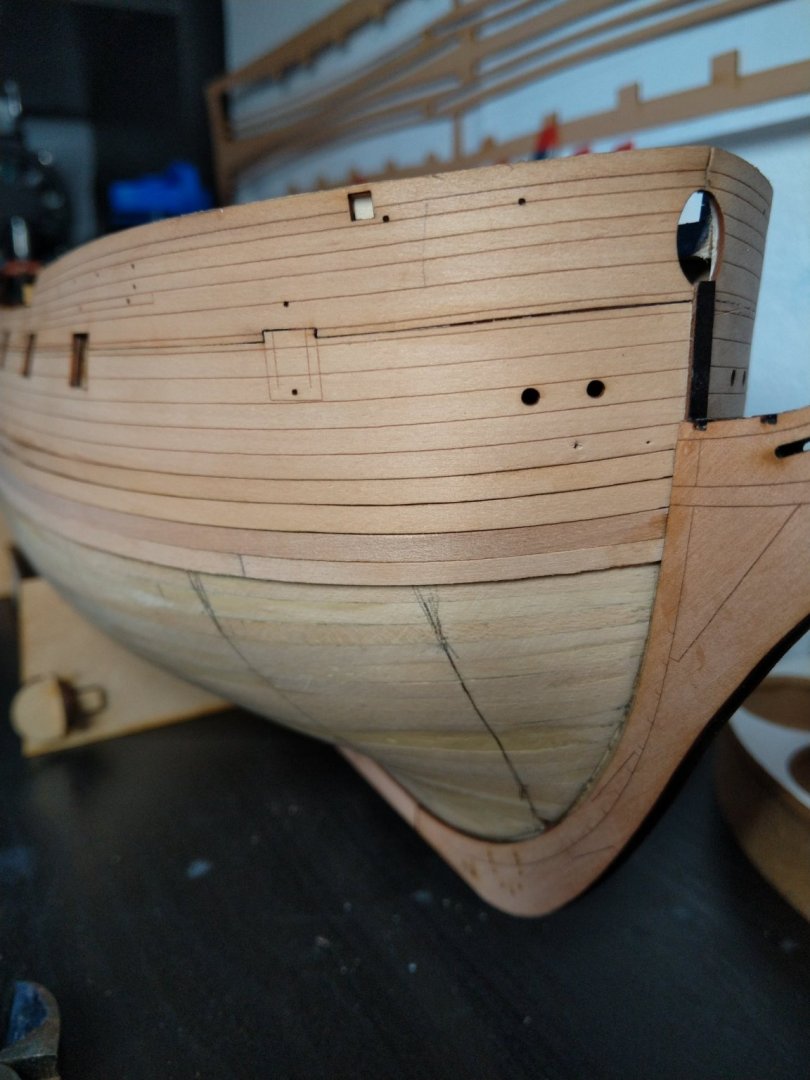
-
If you struggle with the nails, you could always try to make some dots of acrylic paint
-
Thanks for the Warning, my Cat keeps eating leaves of flowers which are marked as "Toxic for Cats", also i caught her drinking water from the cup i use to clean my brushes after using them for PVA Glue/Paint so i dont think Resin would her I figured that at the cost of the Miniatures i would like to add to my Models i can actually get a printer and print them myself Was thinking Filament printer but the Resin ones beat them by far at 28mm Miniature scales
-
it wont be visible and i myself dint have any issues gluing to charred edges but in case of this model, removal off all char is an indication when the frames have been faired enough (at least on the bulwarks inner and outer)
- 857 replies
-
- 3
-

-
- Sphinx
- Vanguard Models
- (and 1 more)
-
Cant wait your impressions on thos, was considering a 3D Printer for some time and now the prices are in the Humane range i am specifically looking at AnyCubic (although i think i will start with the "Regular" Mono, the build area SHOULD be enough)
-
After careful deliberation i glued in the prow and keel lasered patterns. I'm not brave enough to do that on the Stern post tho, That area might require some Touch-ups still during second planking
-
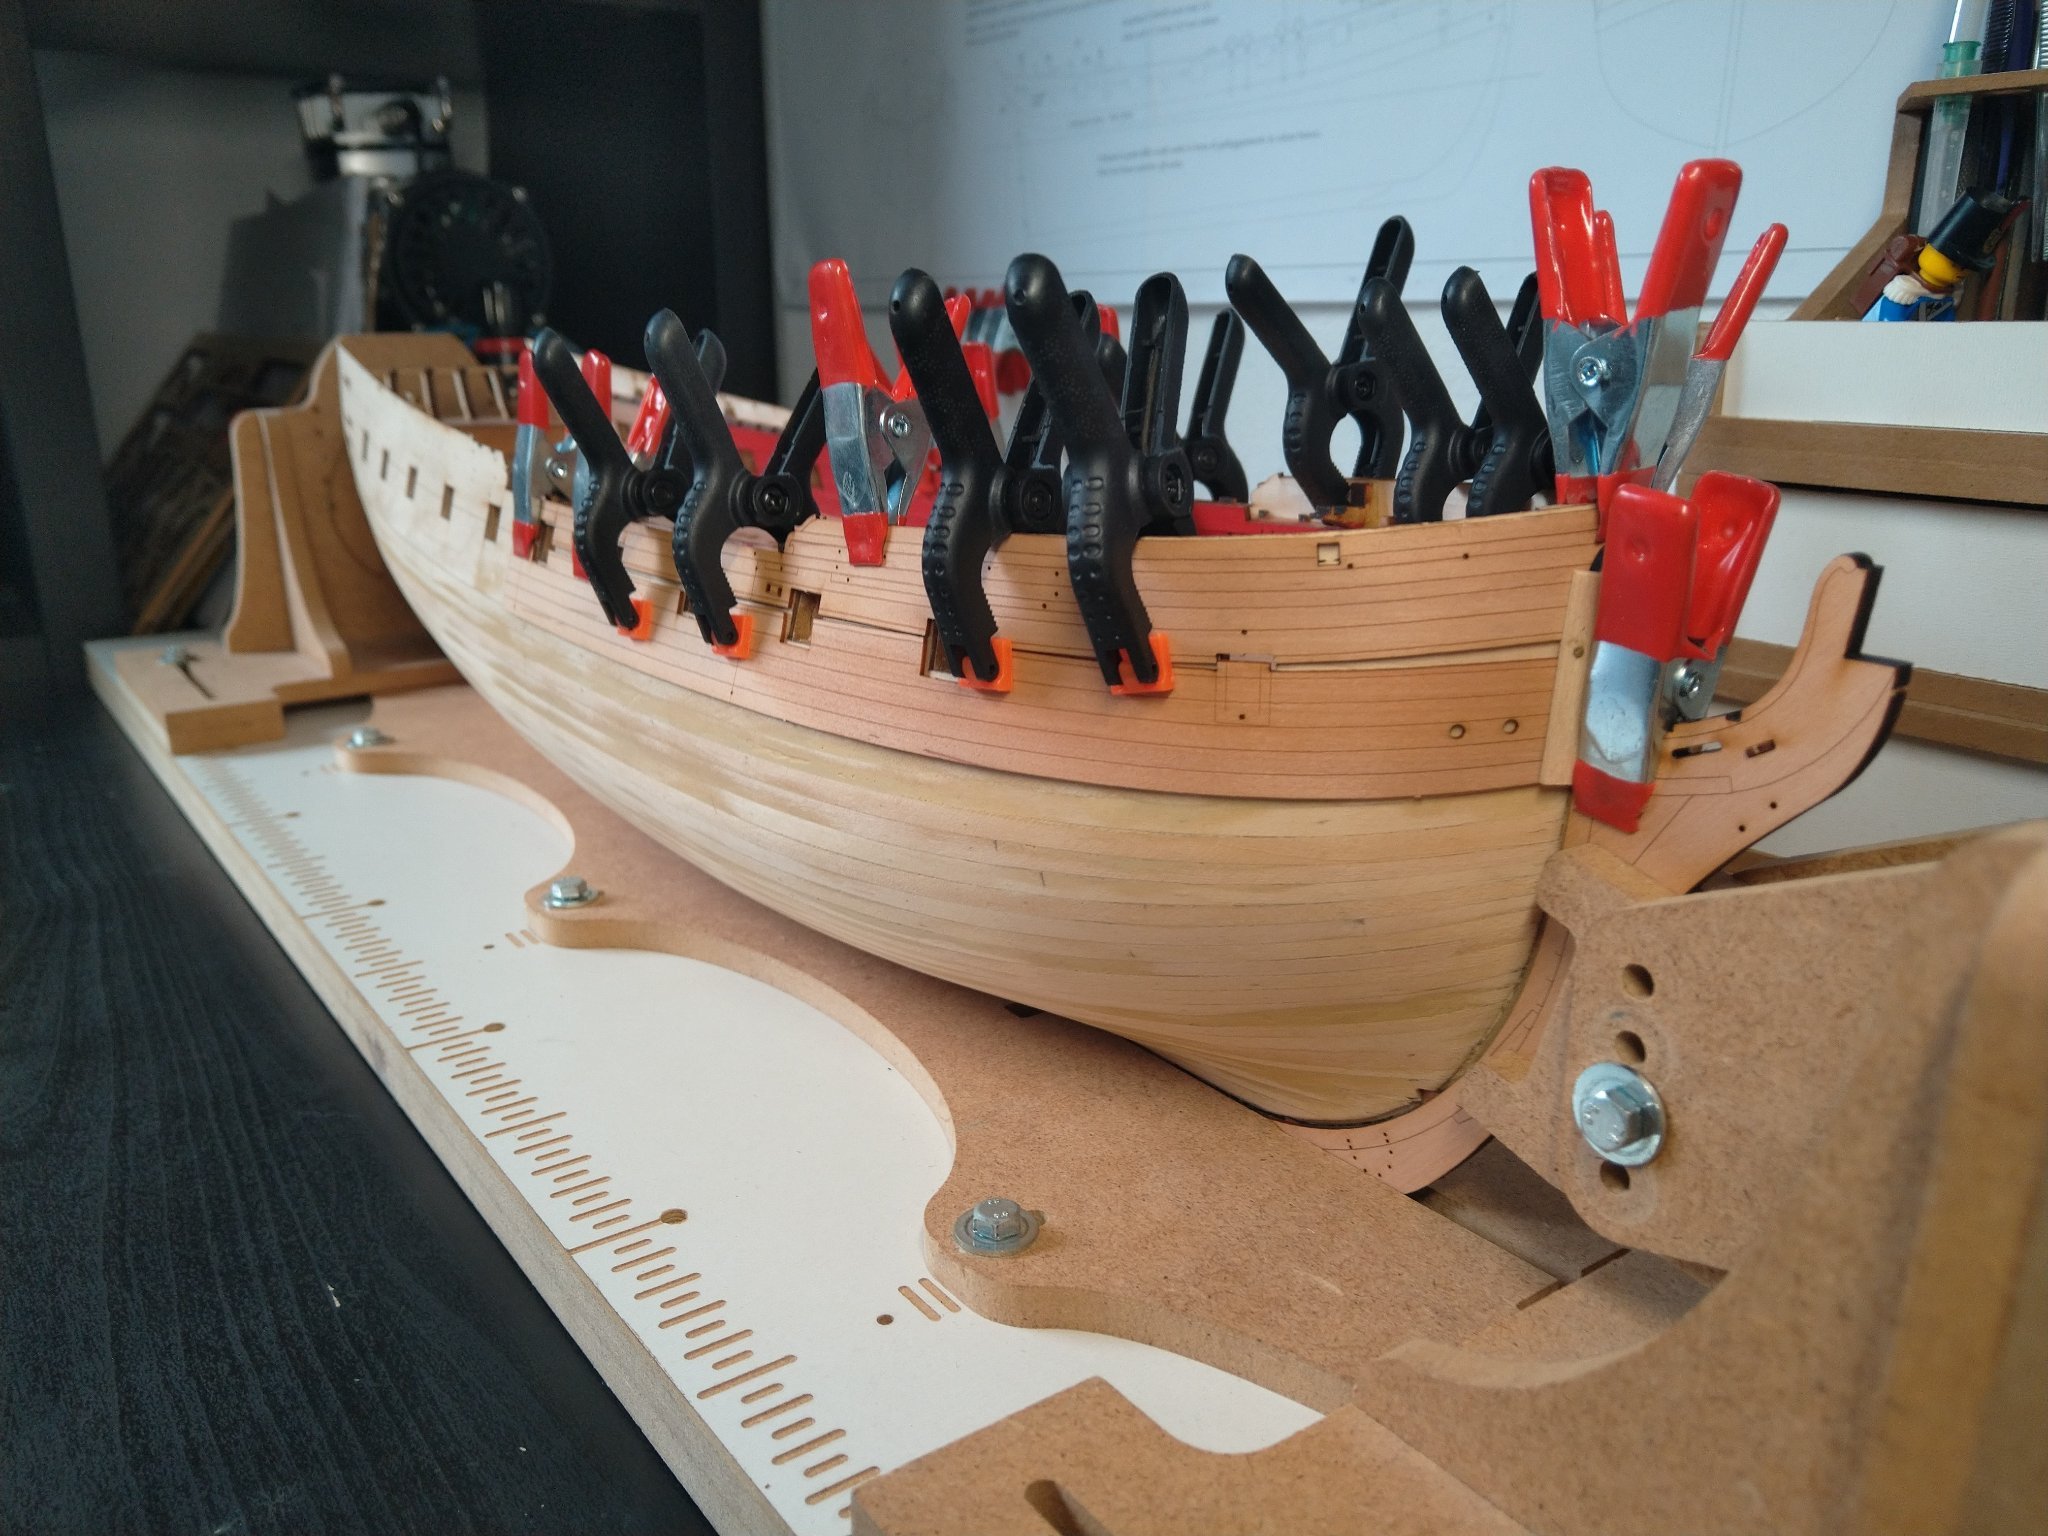
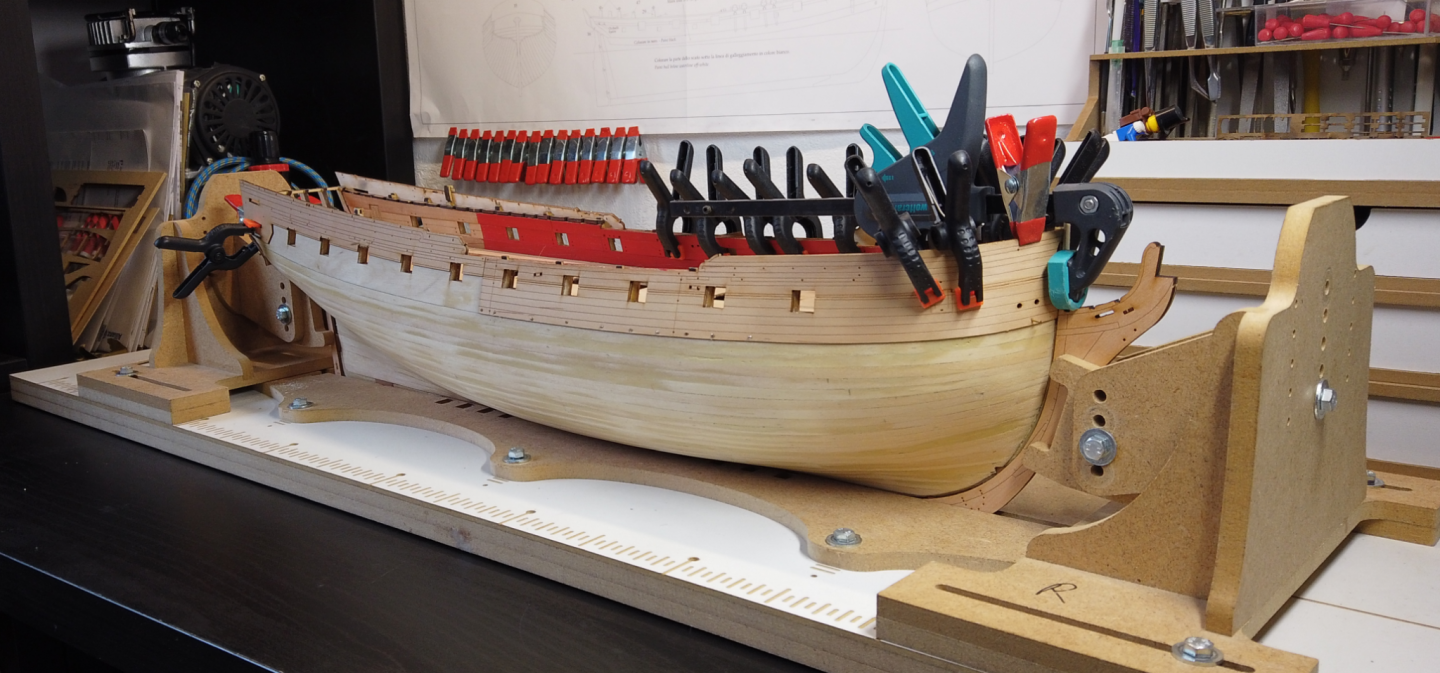
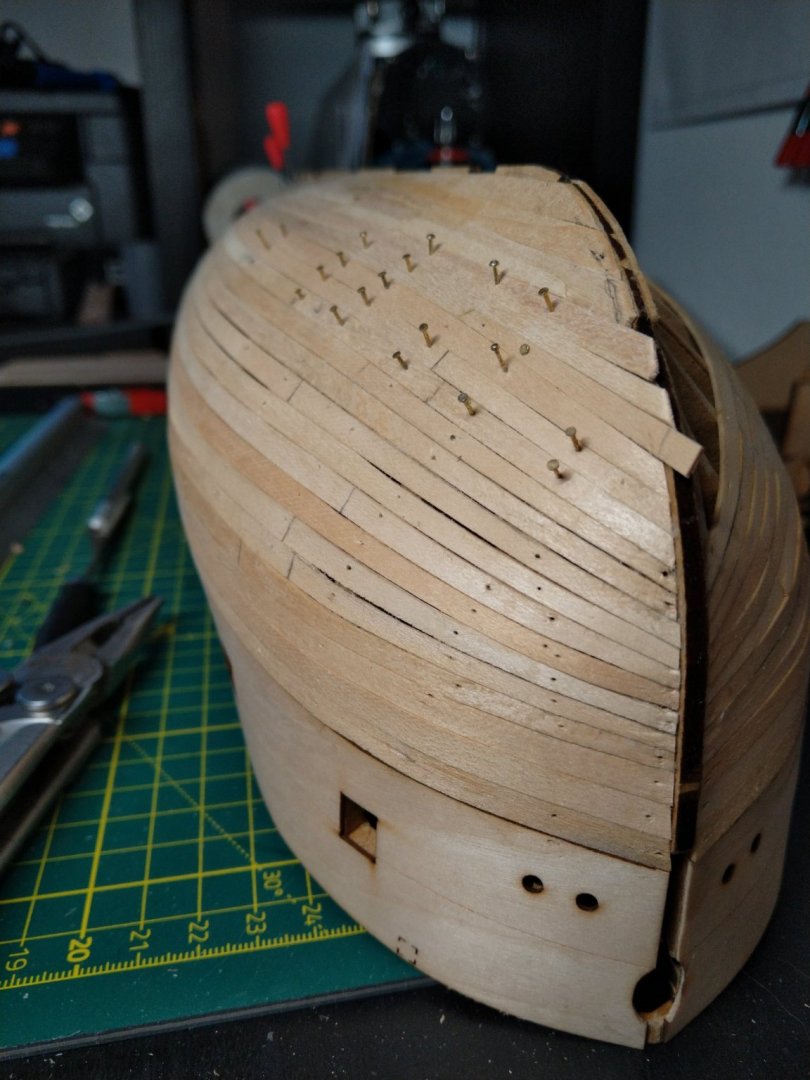
Weather got us home eraly so, glue added. Port side i had to file a bit of the planking to make the rabbet wider, but works now. Both sides are at this stage now: I use the HZ Slip to hold everything straight, becuase i havent glued the Prow/Keel/Stempost Lasered Patterns yet. I was actually hoping to get as much of the 2nd Planking done without having to glue them, in case i need to sand and so i dont damage these
-
Soaked and clamped for drying. The prow and keel patterns are only dry fitted for now, need to Check the rabbet first (too tight on one side i noticed already) Off to roadtrip with Kid and Wife
-
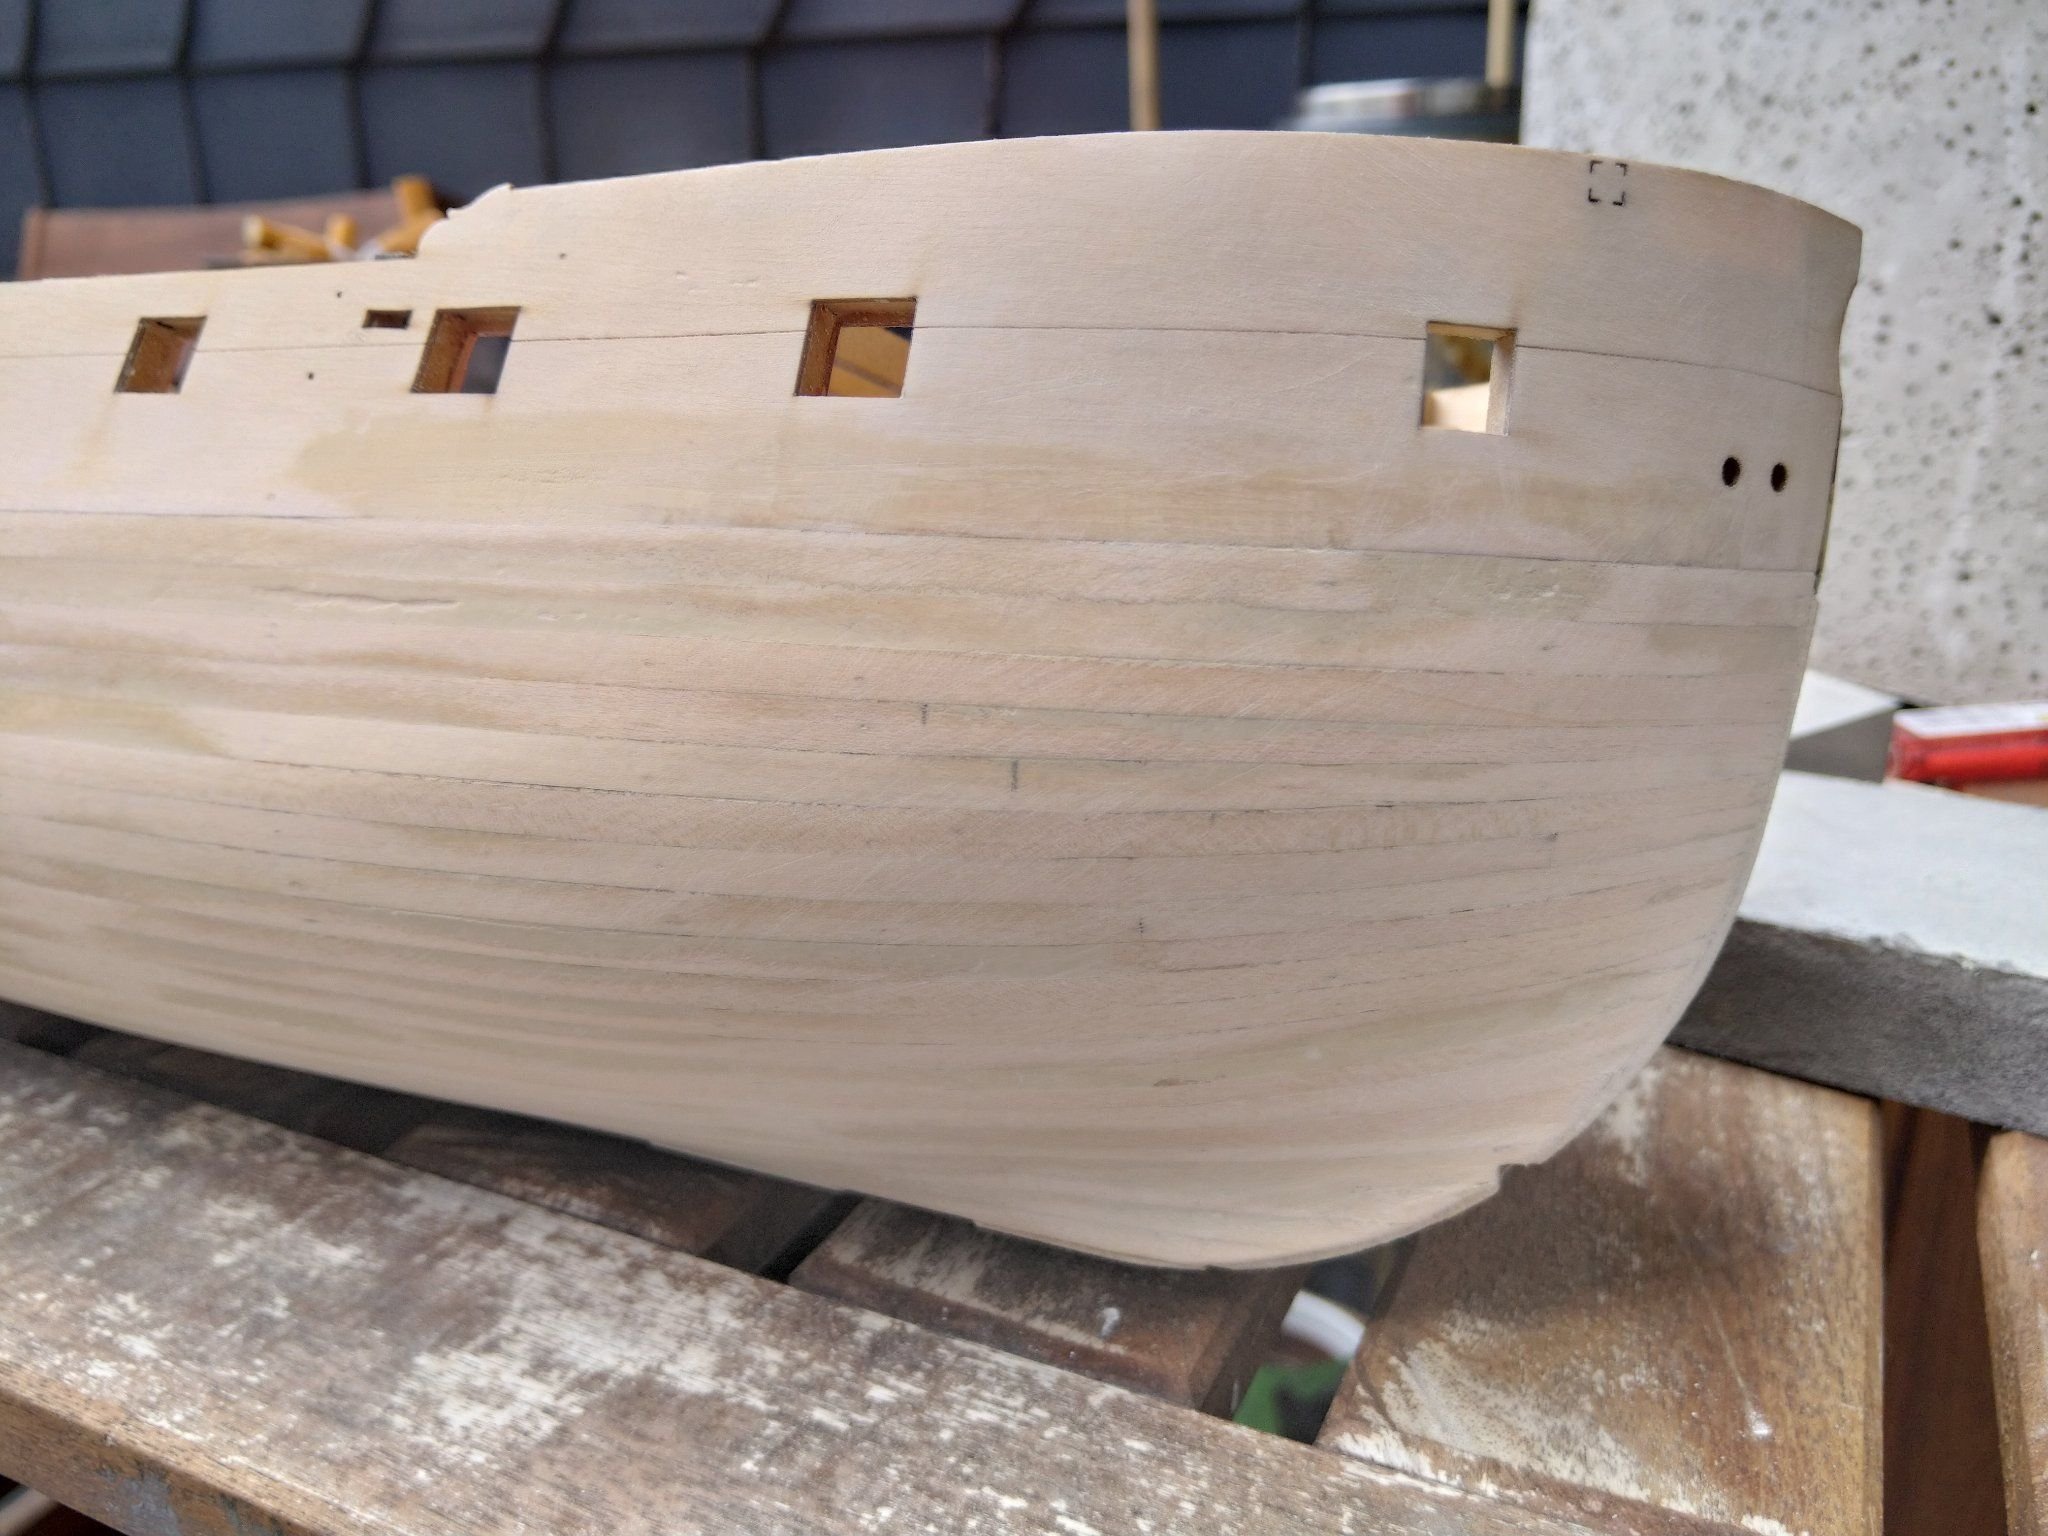
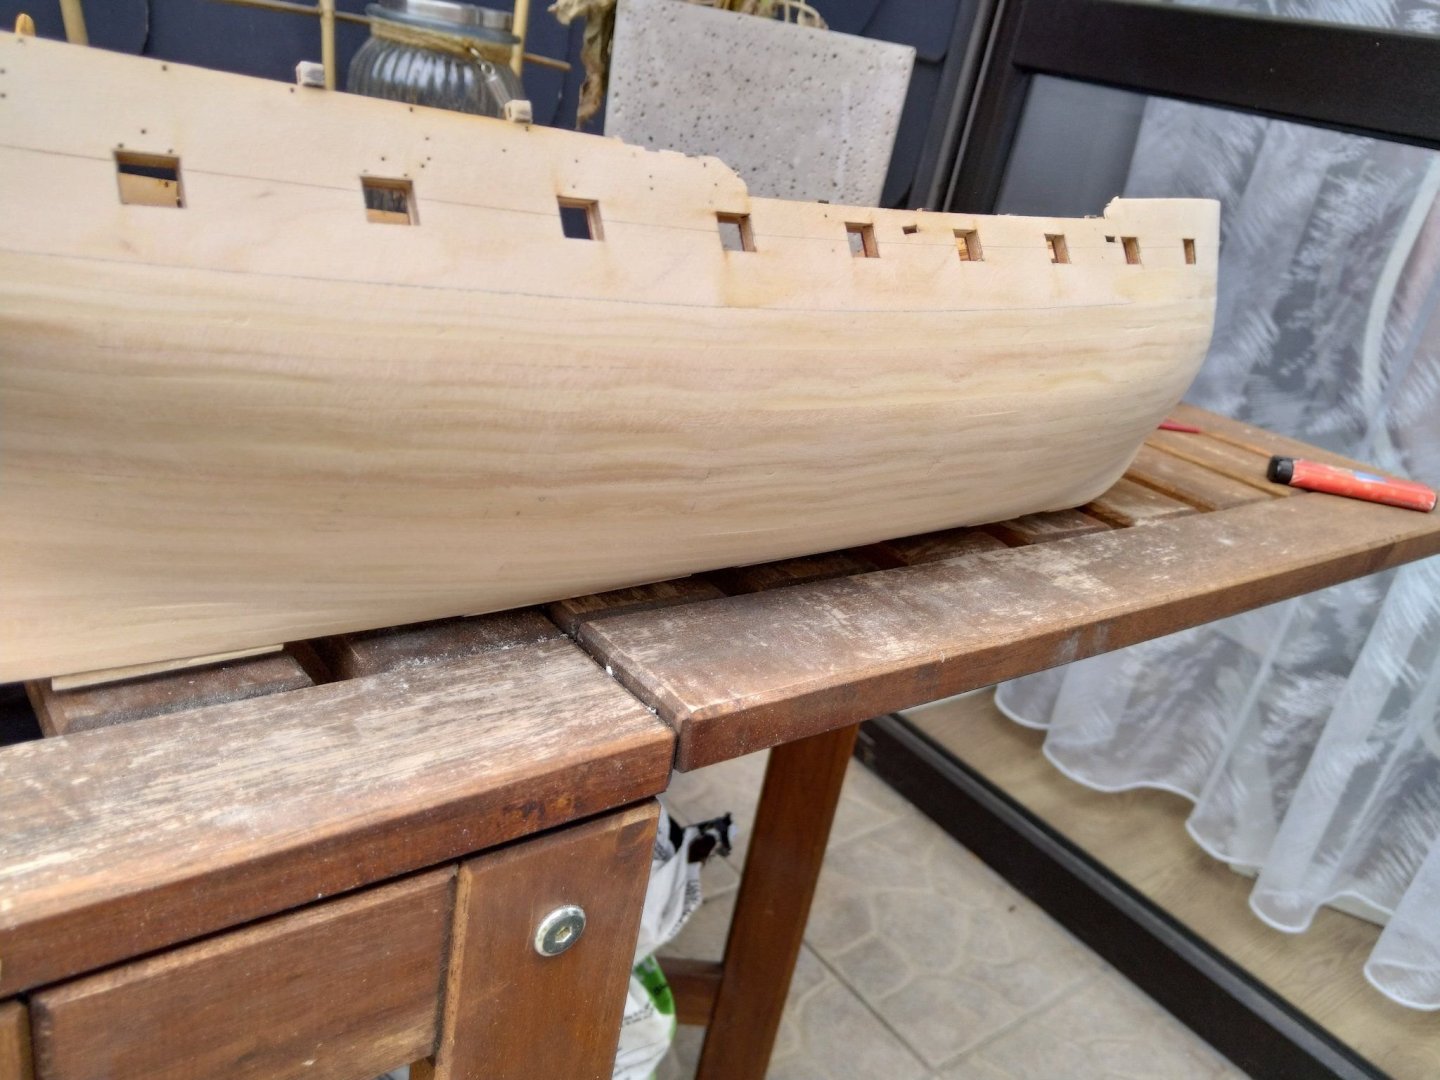
So, i finished my 1st planking and did the sanding: I added some filler before the first sanding round and after All sanding was done, sealed the hull with a thin layer of diluted varnish to trap all the filler and the sawdust in all Cracks. I hope that my rabbet wont turn out too small in the top part tho, will See tomorrow when i fit the prow and keel patterns

-
My point is, UK Glenn writes 30sec with the Bender Tool, BE claims 2-3 Minutes with Travel Iron, you write 10-15secs with Travel Iron, I am trying to decide how not to use 2 Tools, as taking out the Travel Iron is a complicated operation for me (have to lock myself in my Homeoffice/Workshop due to Kid + Cat ) The Electric Plank Bender seems a Tool easier to handle in such a situation, hence i ask
-
Nice, i was on planting Duty today, Admiral needed new flower on the Balcony...
-
ye, i dont really care as long as the planks are invisible. I will try to do the last few today as well
-
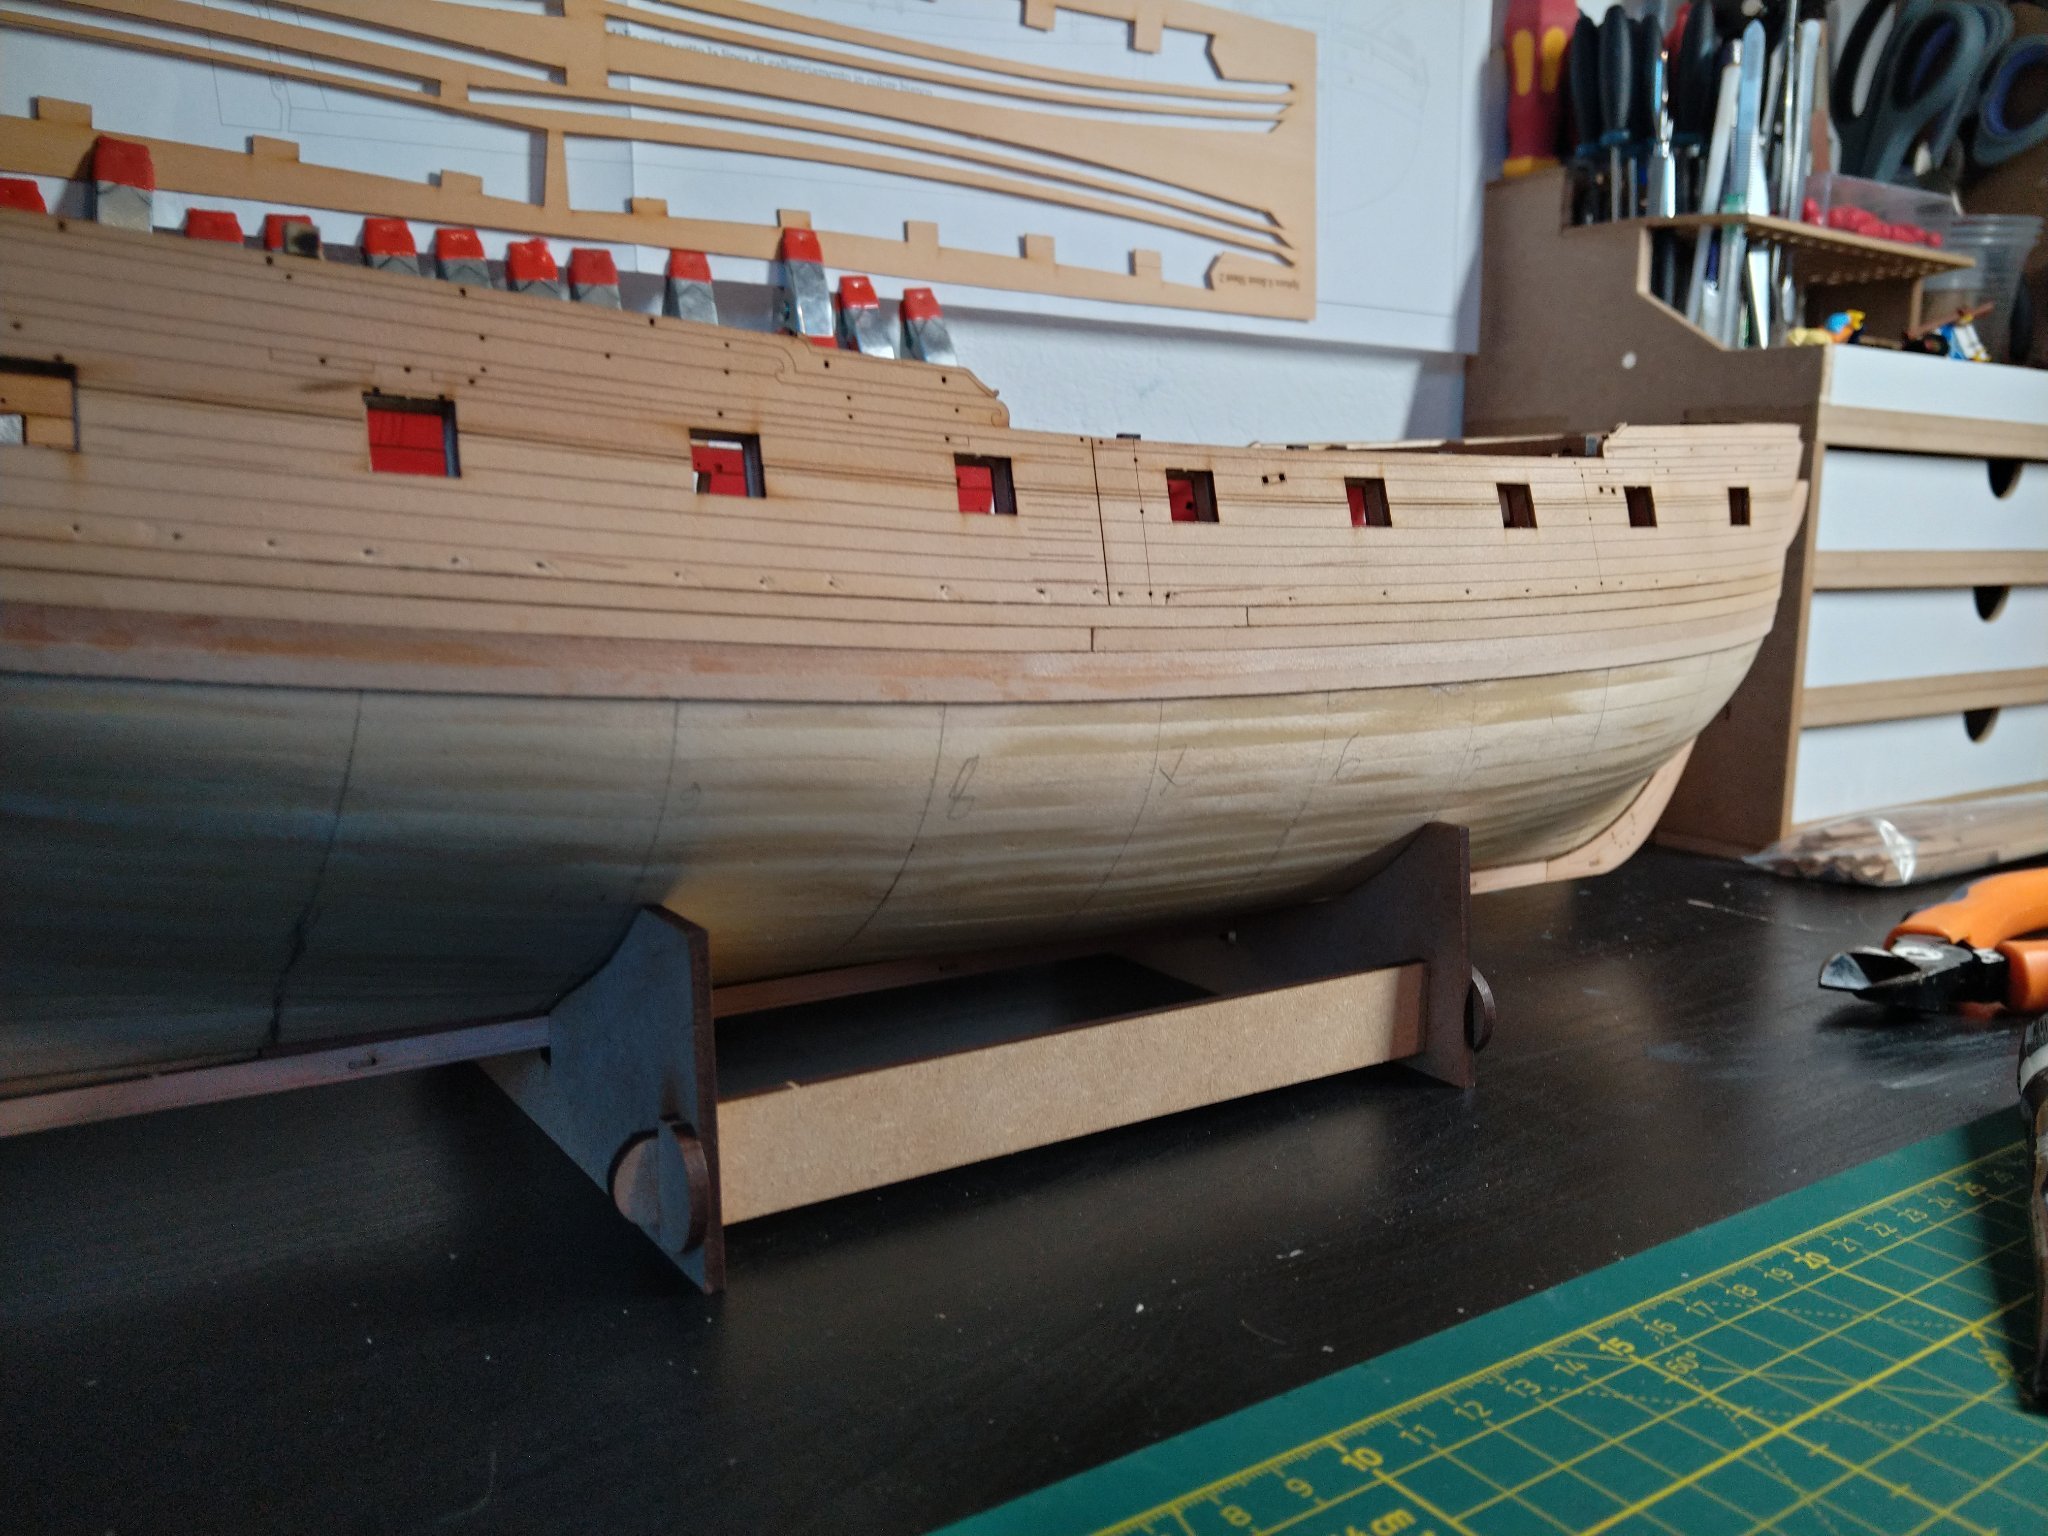
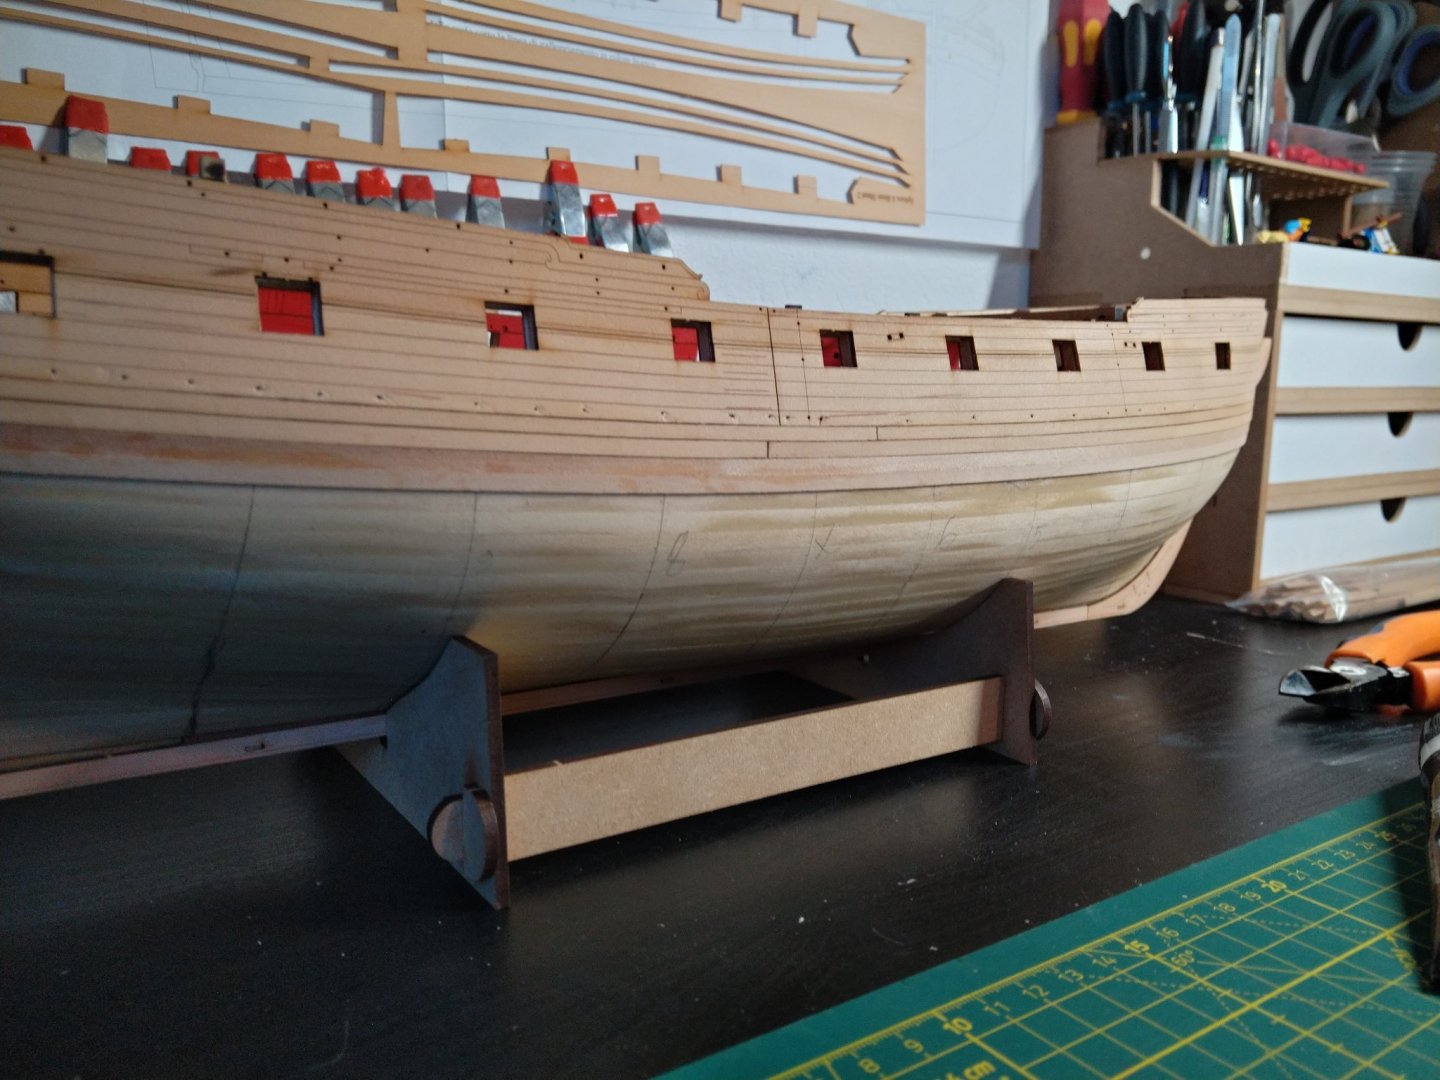
Ok, Port planking is finished, i have to say it turned out to be a massive Charlie-Foxtrot in the waist (mostly between bulkheads 2 and 4) What did i do wrong this time ? Well, i contrast to my LN build, i did the taper TOO CLOSE to the Bow, which resulted in not enough space along the Bulkheads 2 and 3. Additionally, i measured the bulkheads with a short batten and i took the measurements totally wrong (i believe after i marked the ticks i measured them with my Caliper on the wrong markings) I actually like adding stealers tho, so Stealers, Drop Planks, correction planks... The shape is correct tho, it's very far below the waterline and no plank is tapered to less than 1/2 of it's width, so maybe it isnt a complete failure... Moving on to the other side...
-
yup, i broke the part between hatch and ladderway, was thinking myself about some additional beams there. It;s more rigid after the Laser-Deck has been added tho (but you are planking yourself)
- 857 replies
-
- 3
-
-
- Sphinx
- Vanguard Models
- (and 1 more)
-
I glued the Q-Deck Jig Ears back while fitting the ply bulwark liner, broke all of them during sanding
- 505 replies
-
- 3
-
-
- vanguard models
- Sphinx
- (and 1 more)
-
I hope you can't you cheater (Joking but i checked the Price of that Bender - 150$ isnt worth it for me)
-
the manual asks for a cutoff of the red color in the cabin area, Mark painted it over completely so the spricketing pattern is red on the whole lenght - i should have done the same to be honest after i got the paint spill on the cutoff
- 505 replies
-
- 3
-
-
- vanguard models
- Sphinx
- (and 1 more)
-
No to Kit Piracy but yes to Kit smuggling ?
-
No worries, i dont mind, just grumbling about how to proceed, i measured the bulheads now after adding the Garboard and came up with following: Waist: 38mm Bow: 29mm Which means 7.6 Planks in the waist, but if i keep up with the 2.8mm taper i have used for the planks so far, i will fall short on the Bow by 7.3mm (which is 1.4 Planks) So, i am wondering which option i should choose: 1. Add 2 Stealers on the Bow 2. Change the bow-taper to 3.8mm 3. Keep the 2.8mm Taper and try to fit 10 Planks at the Bow, which would mean cutting away the "Garboard" planks at the waist to create a curve (which would be actually NOT how a Garboard should look, but in my case it would result in a Garboard Plank which is 15mm wide on Bow and Stern and 2mm in the middle)
-
It's good that both of you keep adding UK or US, otherwise one could Spot some Kind of schizophrenia Anyways self should er pat and let's continue
-
The thinning Was more of an accident, i started to do it without chekcing the manual for that step, i plan to thin the 1st layer as much down as possible to be flush with the keel and Sternpost