HOLIDAY DONATION DRIVE - SUPPORT MSW - DO YOUR PART TO KEEP THIS GREAT FORUM GOING! (Only 13 donations so far - C'mon guys!)
×


Jasseji
-
Posts
604 -
Joined
-
Last visited
Content Type
Profiles
Forums
Gallery
Events
Everything posted by Jasseji
-
 Yes, those are the most important steps (i bookmarked them in the PDF) I like how much "fun stuff" you can do on this model before getting to the "chore stuff" (Planking)
 -
Understanding Truss Pendants and other rigging things
Jasseji replied to LucienL's topic in Masting, rigging and sails
Hi, i took the pic from James H prototype of the Vanguard HMS Sphinx, although the plans themselves show them with just a spliced rope. Do you know of any reference on how they would be lashed/Secured when not in use ? -
@James H just for clarification as i propably is just one way to do it - you show that you fit the masts fully and then add the shrouds, stays etc. Wouldnt it be easier to first fit the lower mast, attack stays, then topmast etc. ? I'm actually just wondering about the pros and cons
- 355 replies
-
- 1
-

-
- vanguard models
- Sphinx
- (and 1 more)
-
Understanding Truss Pendants and other rigging things
Jasseji replied to LucienL's topic in Masting, rigging and sails
Just for clarification. Those Pendants: Would be used to attach blocks on hooks in order to hoist heavy items, and when not in use would just be left dangling around ?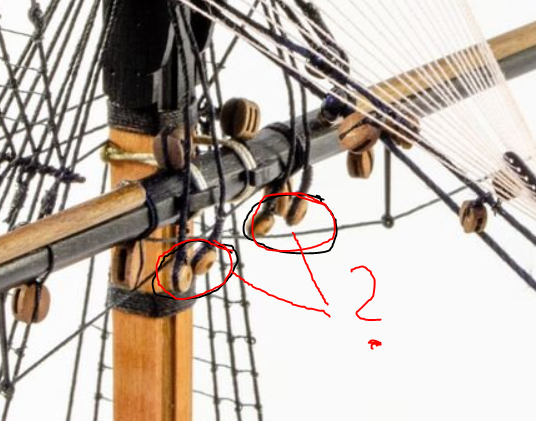
-
The photos are so-so, i will try to make better along the line. Grab a Stool and a Drink, feel free to follow
-
Decided to cut out the bulkheads after All, will add some wall down there to simukate Part of orlop
-
Thx, but the oarts just snap together, if i have time then it moves
-
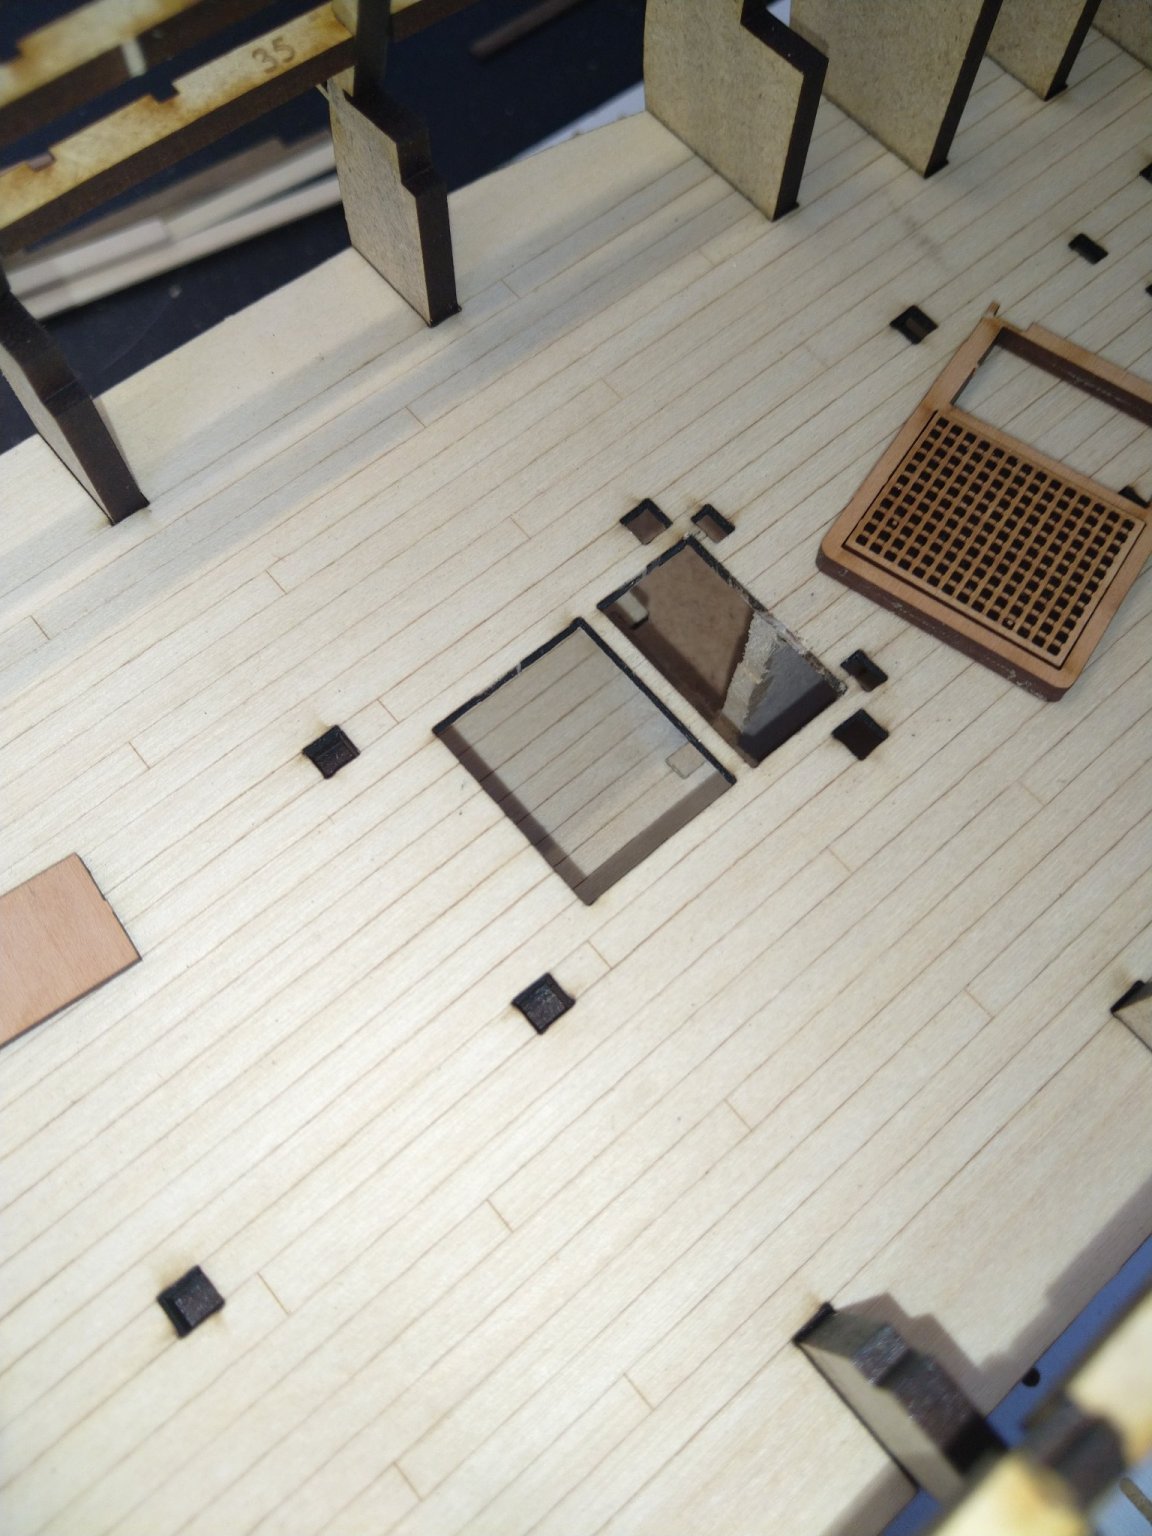
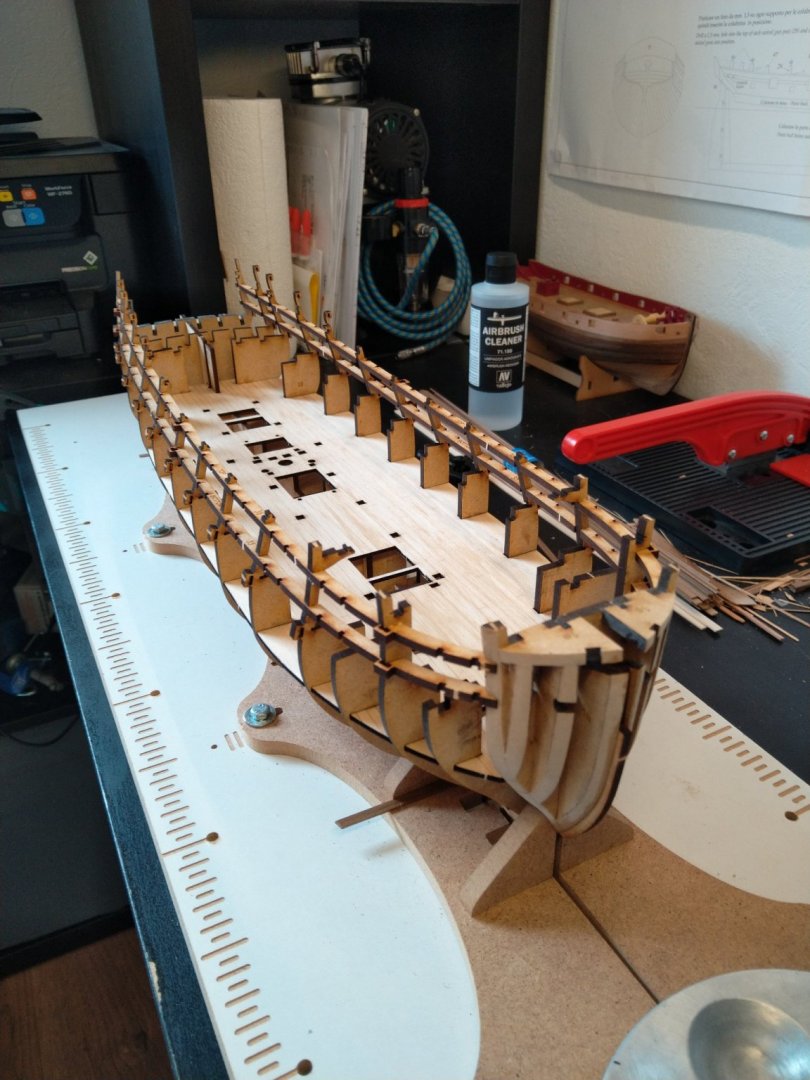
All bulkheads and gunport liners Glued together, waiting for Deck varnish to dry
-
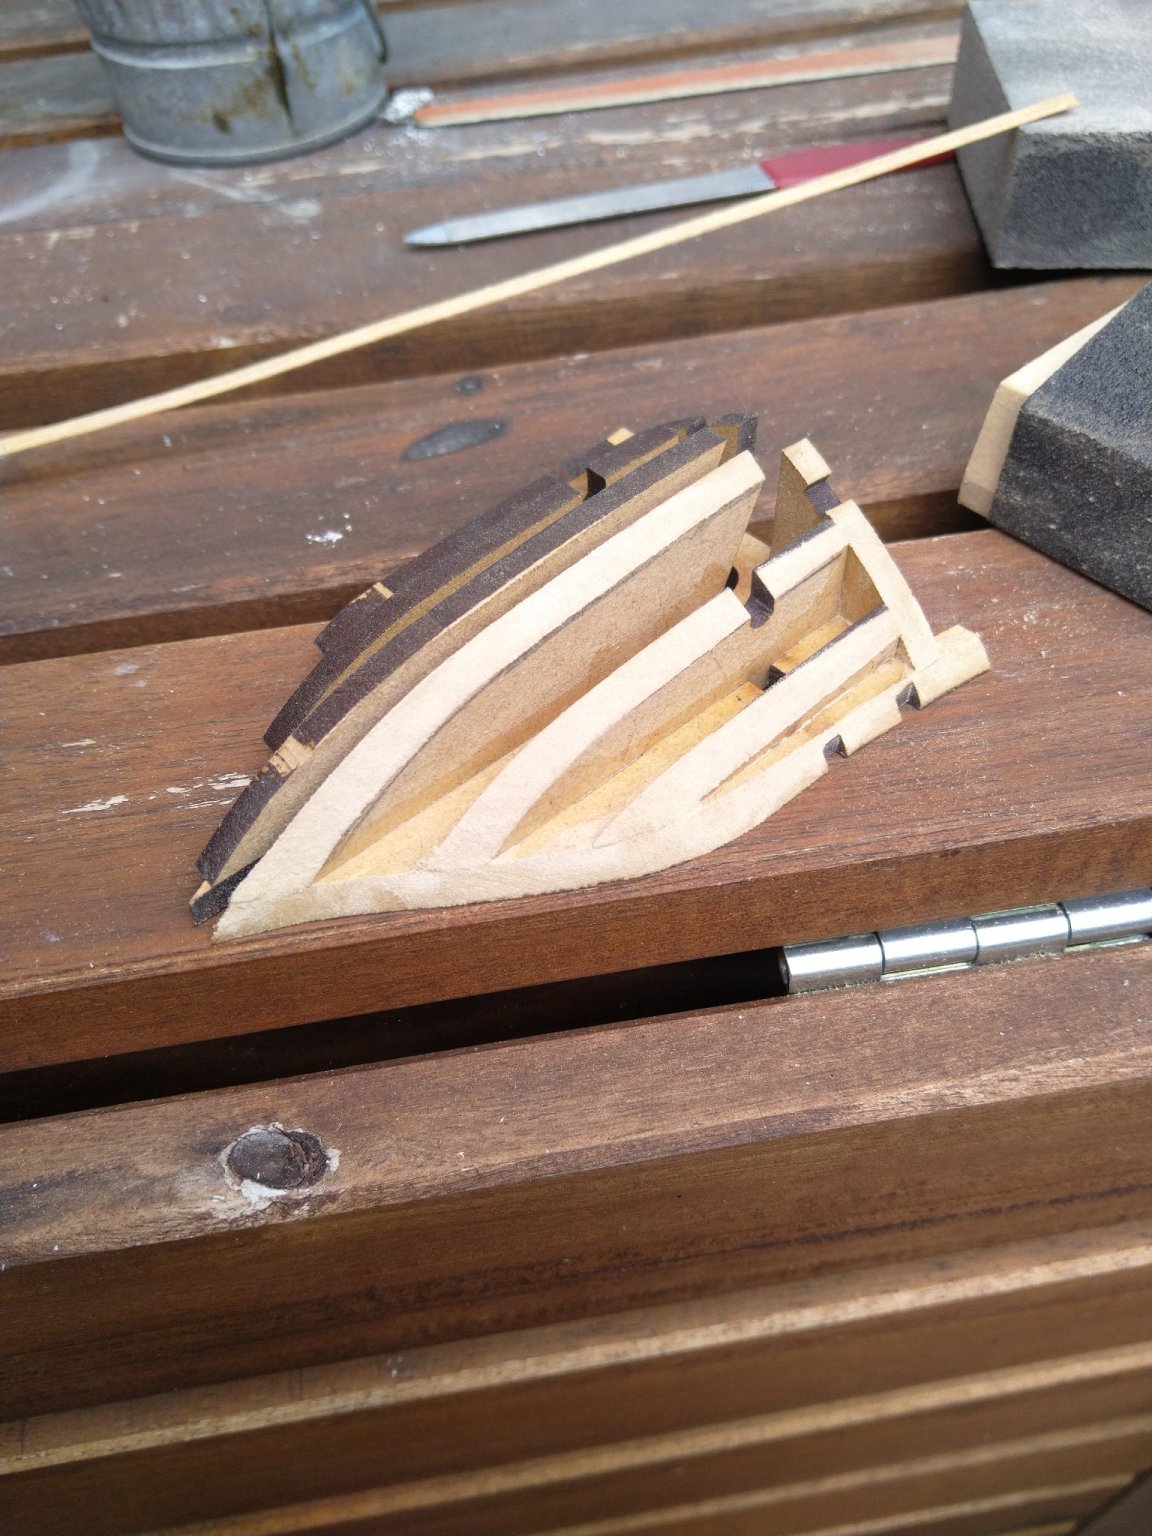
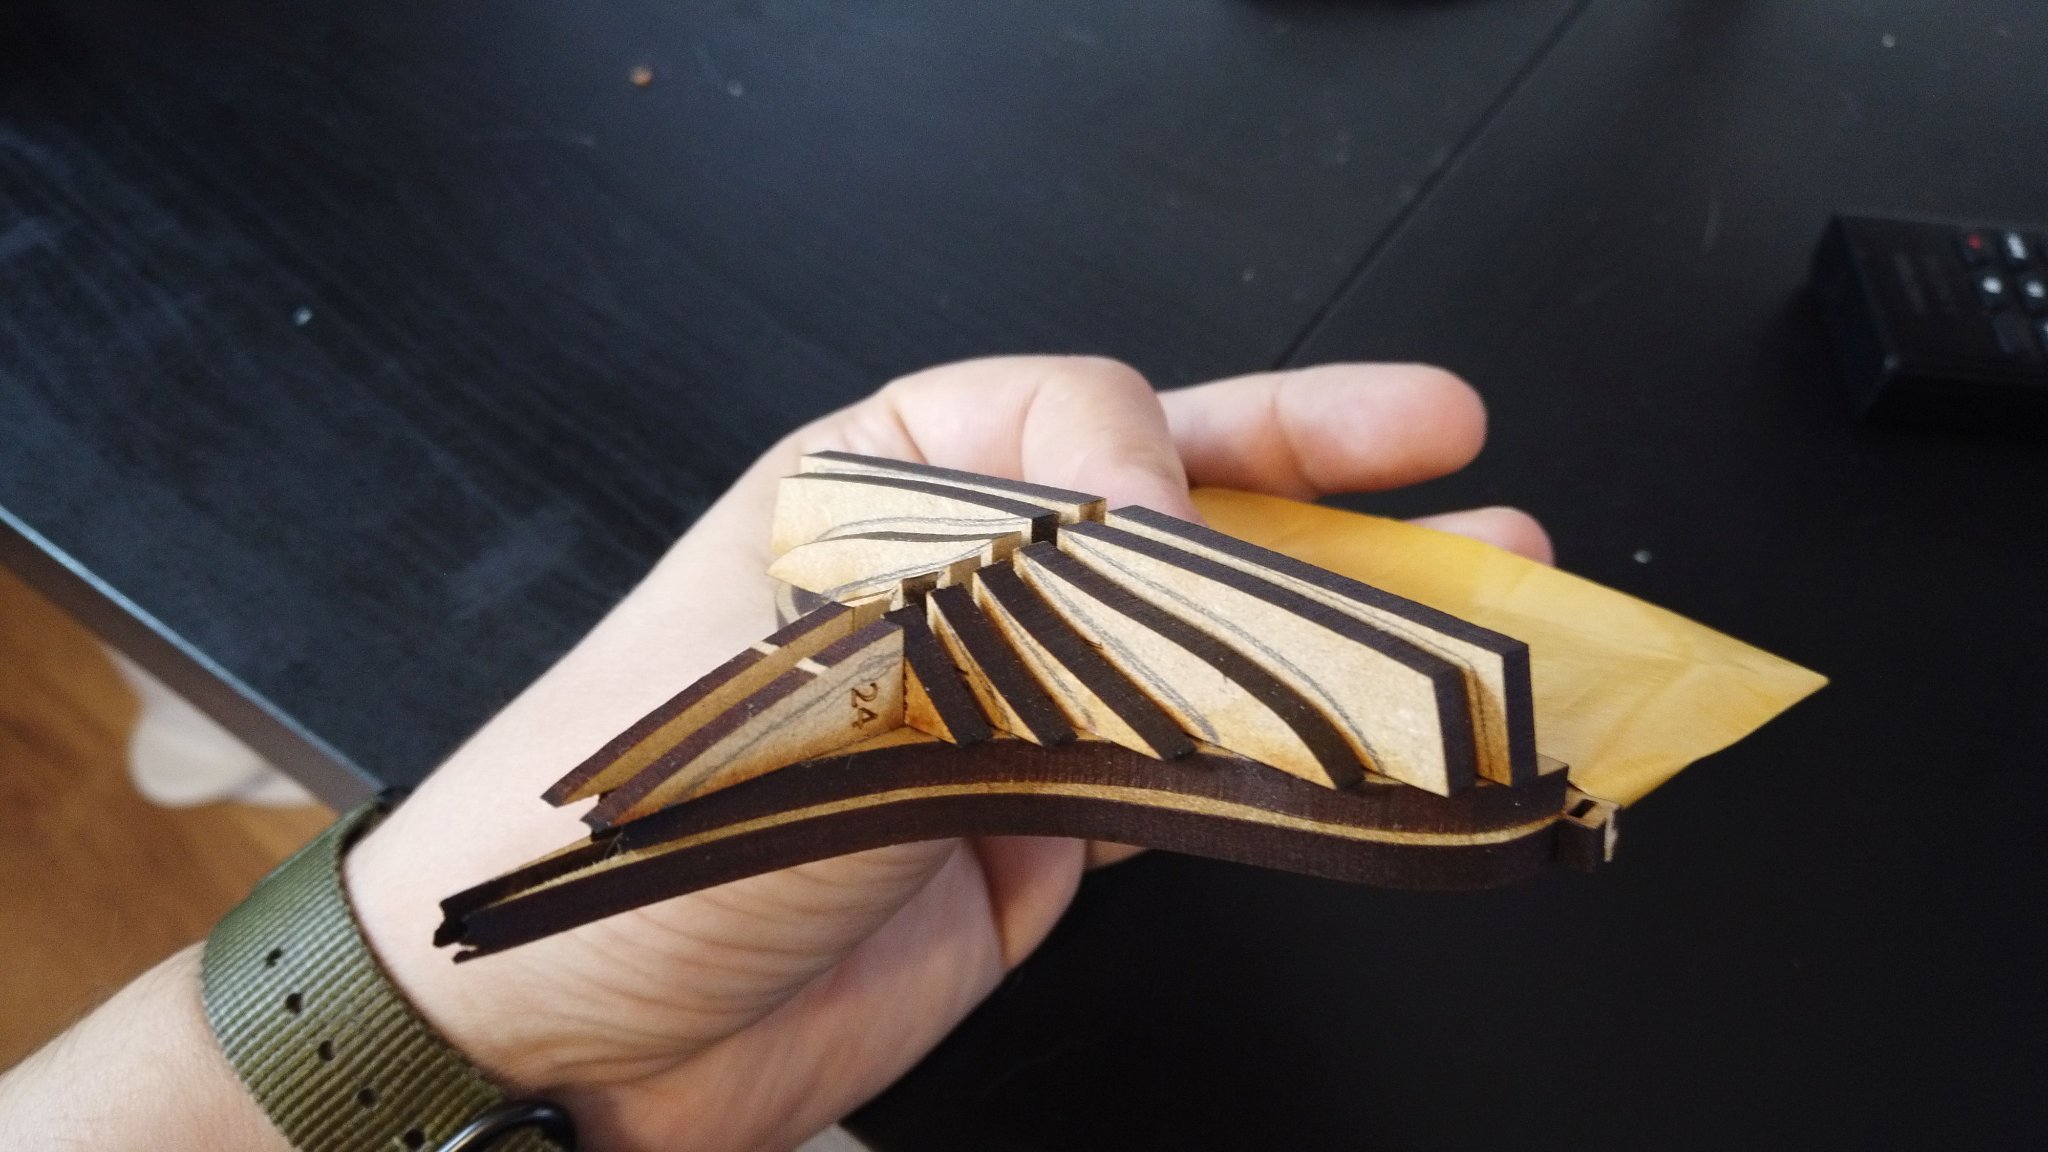
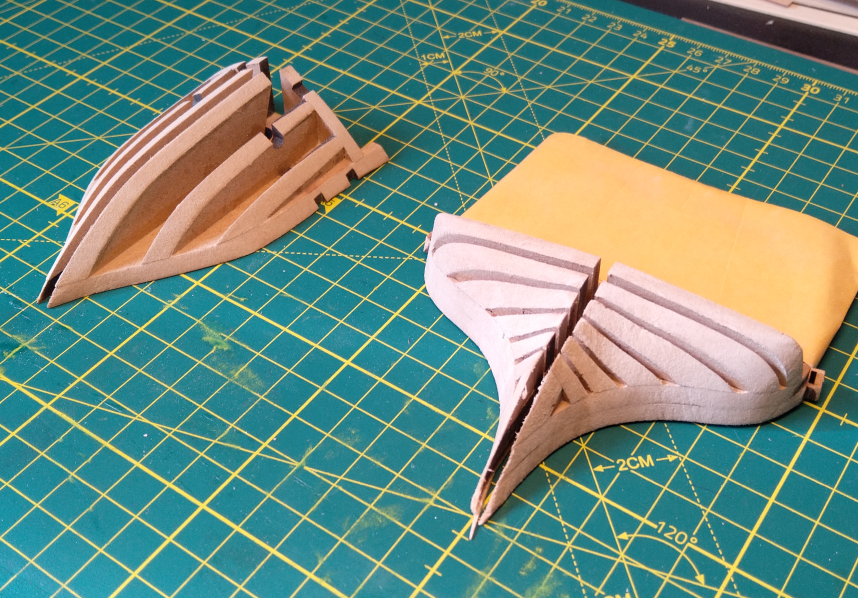
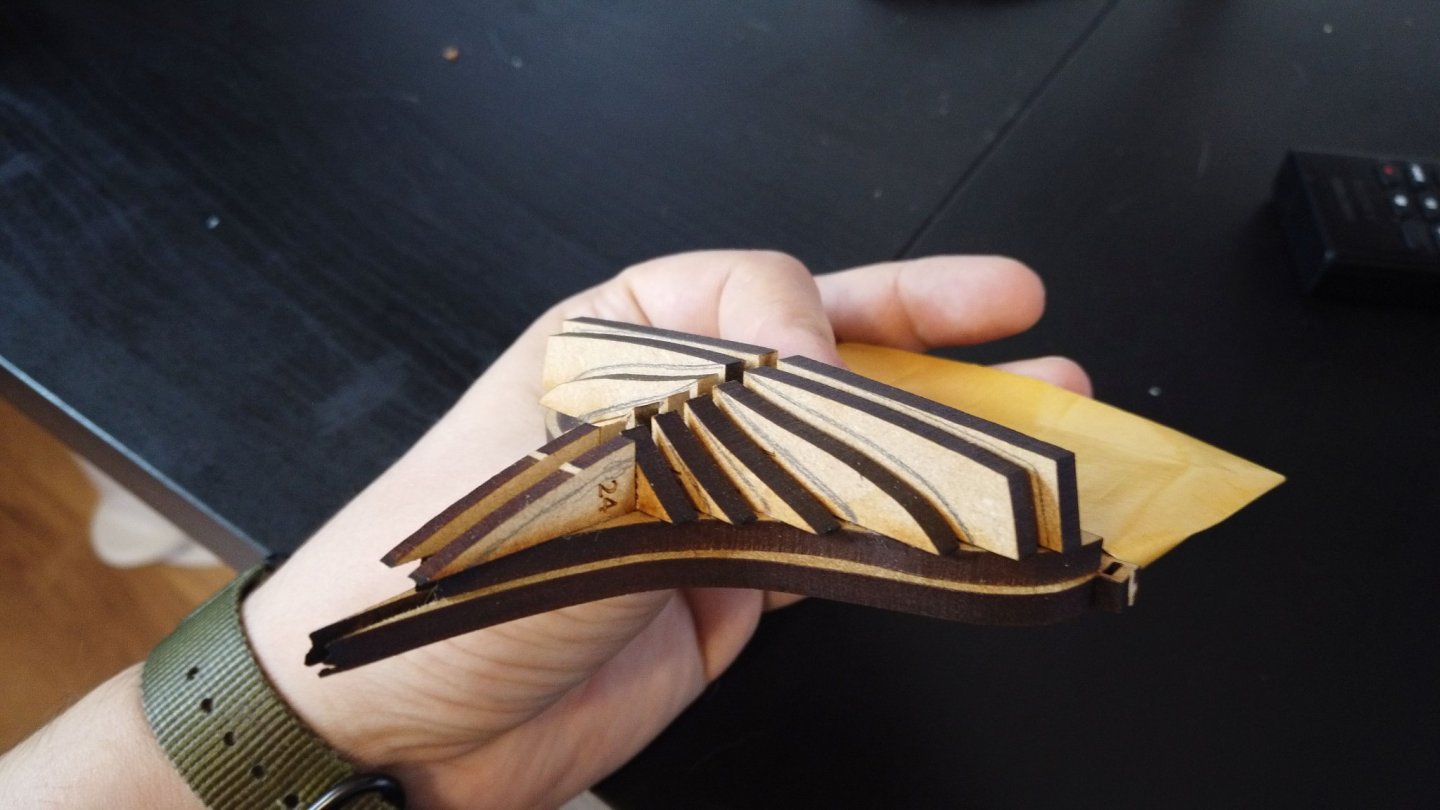
Did the Bow by Hand, but the stern was a pain so reluctantly i started with the Dremel. I think it turned out ok, propably some touch-ups will be required when the planking is to be done
-
Coming along

-
Another one to follow, this is turning out like a group Project (maybe we could ask the Mods for a separate Section :D)
-
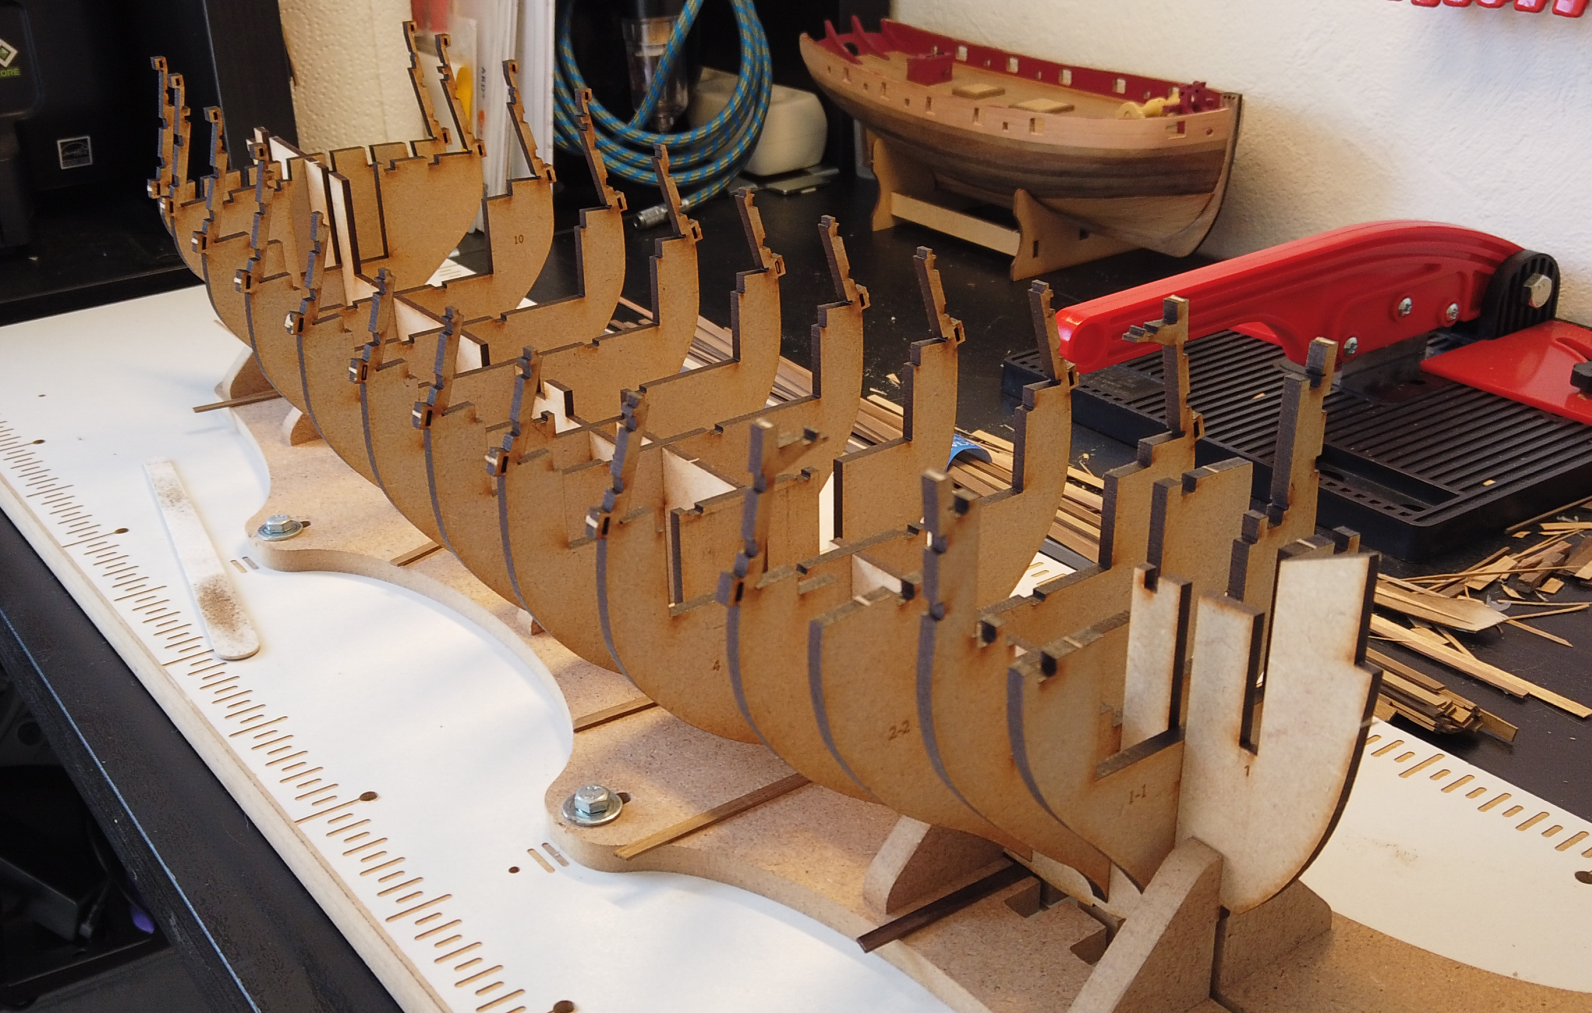
I am Preparing for the fairing, i marked the shape timbers like @glennard2523 i hope this will ork out well, hmm, time to take the Dremel out (i am scared :D)

-
Would itbe the se as using a sanding sponge? I saw them over here
-
So with the 0.8mm ply you basically create a flexible sanding Block?
-
Well, you can get a flag anywhere, the coaster is unique
- 355 replies
-
- 3
-
-
- vanguard models
- Sphinx
- (and 1 more)
-
Your 1st Crap planking is better than my 2nd
-
yup, Coaster (i hope Christ will offer a clear Coaster with the Sphinx for sale as well, the black one got already misappropriated by my kid)
- 355 replies
-
- 5
-
-
- vanguard models
- Sphinx
- (and 1 more)
-
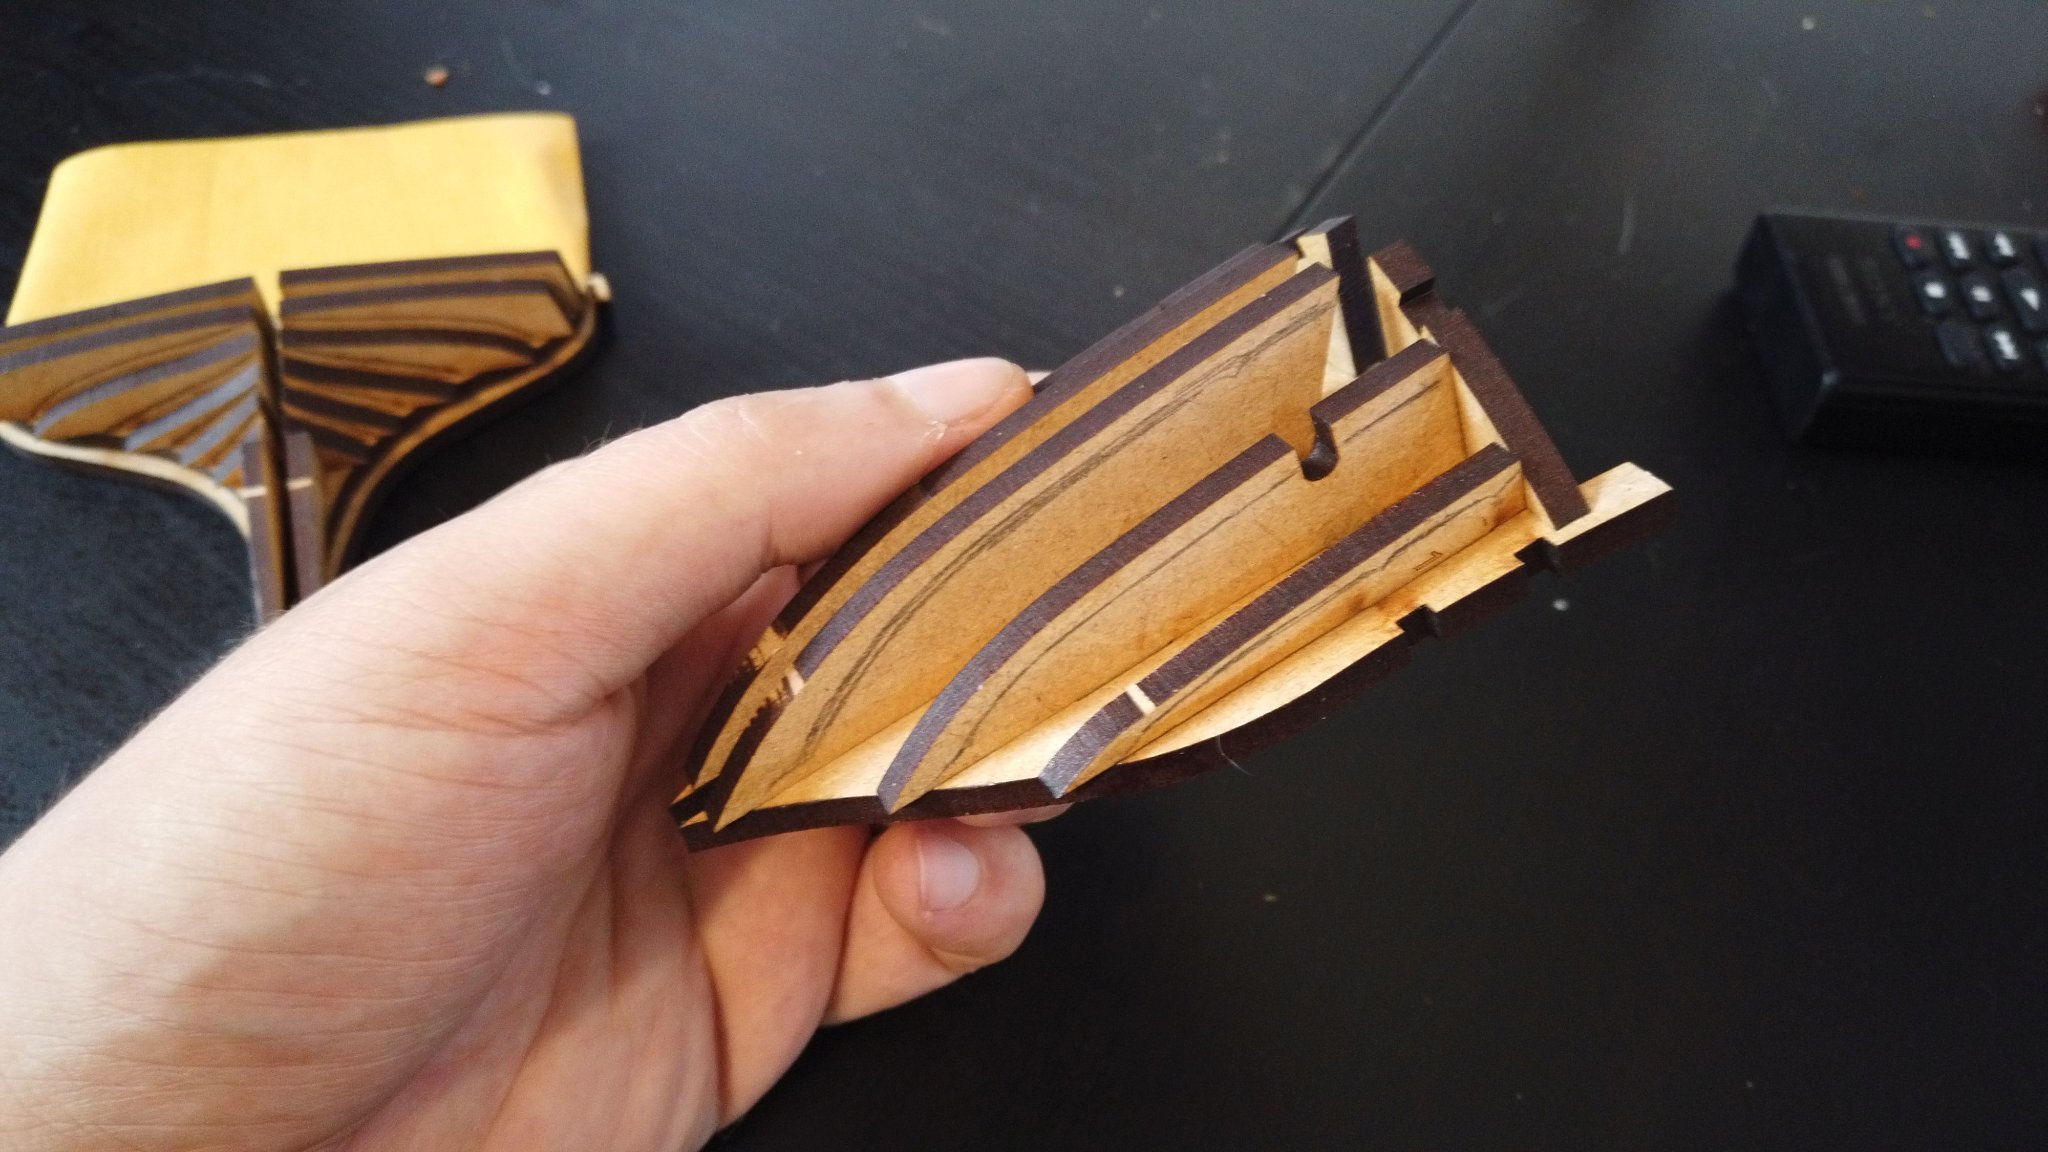
Bulkheads dry-fitted and Ster/Bow shapers assembled, Ready for fairing: Now it's decision-Time, ladder or no ladder ?


-
I meant "option for no manual" = would spare you the weight and trouble for those who really don't want it on paper
-
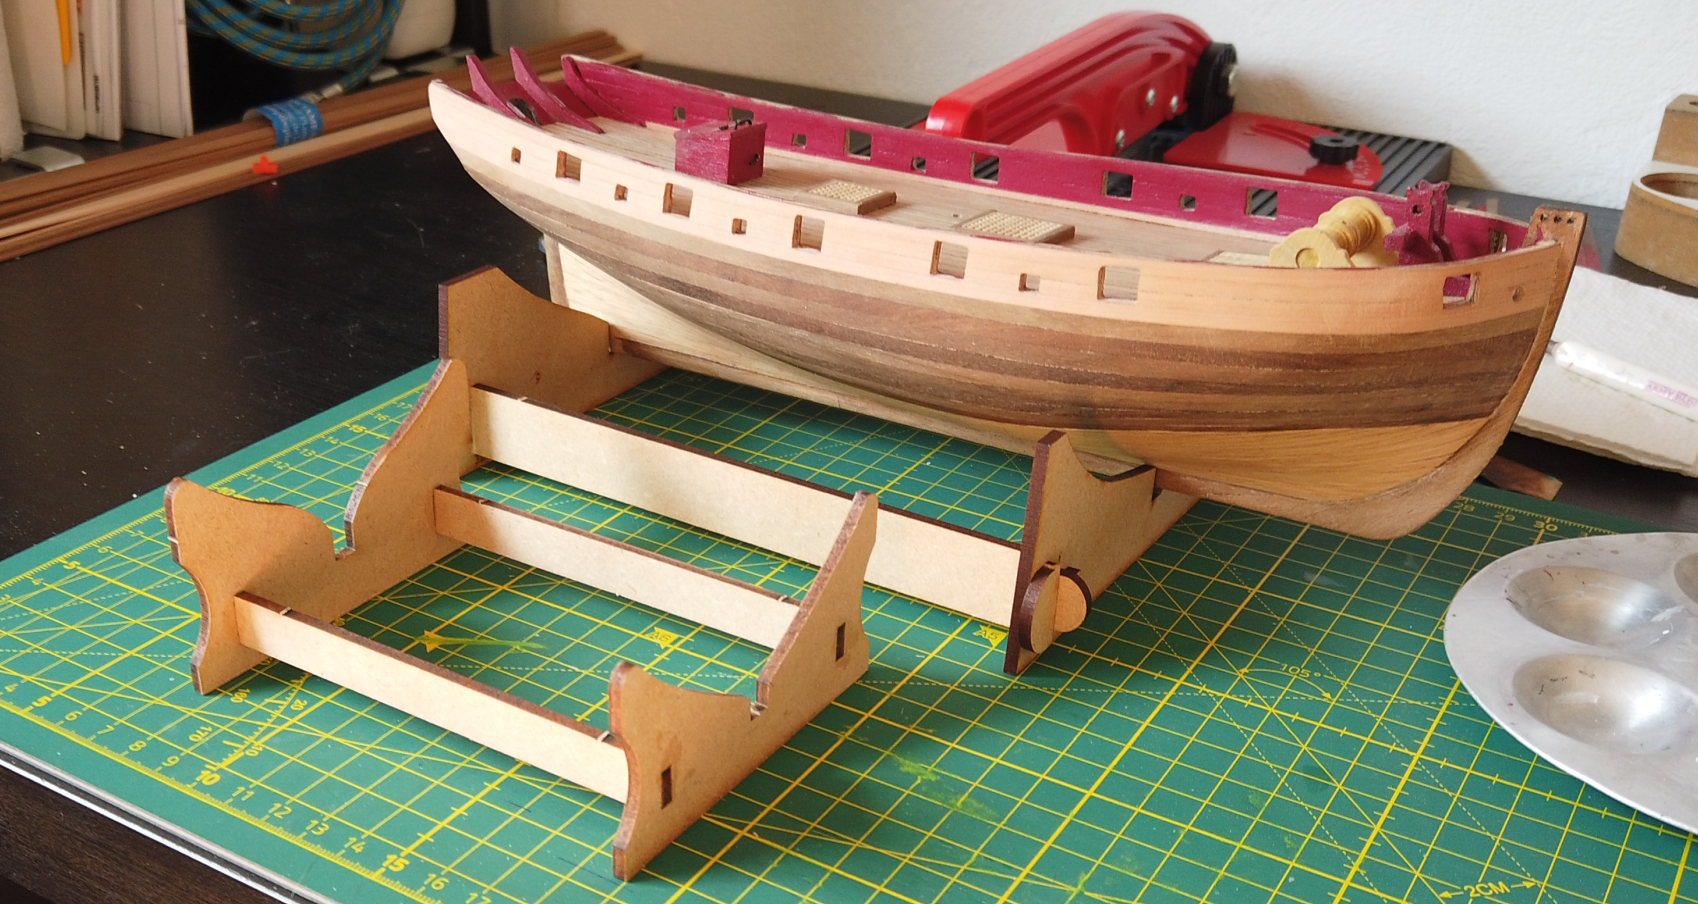
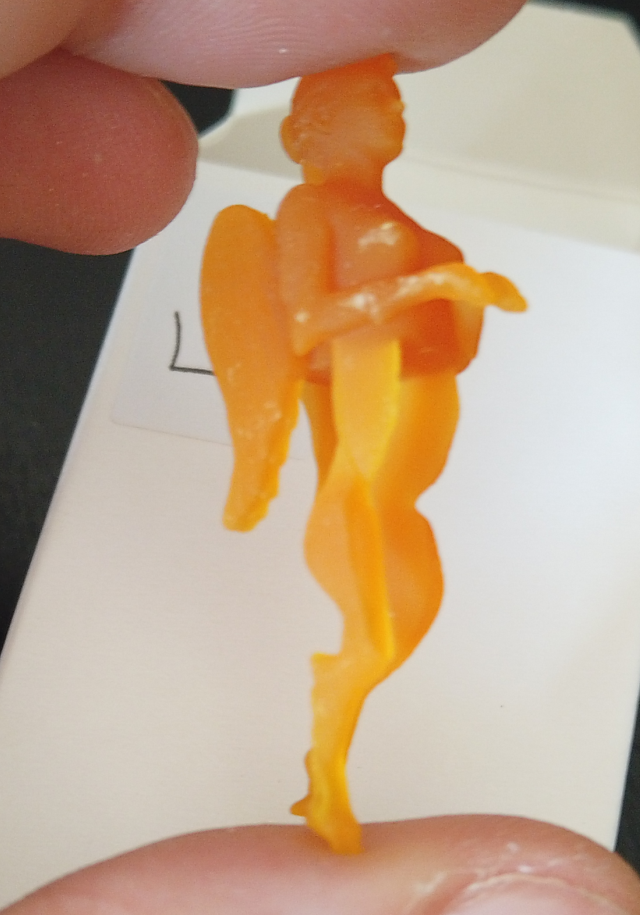
Ok, i can't let all the others have fun, so i started: Cradle Done, nothing to it, it just snaps together: While going through the fittings, i did discover something weird about the figurehead tho: she seems to have lost some weight on her right side, i will see further down the road if i can fix that with some Modelling Putty. Other than that, i find one thing @chris watton might consider: offering the Kit without the printed manual (or as an option for those who want)

-
needs some fake coal and fire + LED's
-
Surely something to add to the Library, thanks for the tips
-
Looking at that and other builds, i have an URGE to start mine - coming along very nicely and as far as i can tell apart from some adaptations of the gundeck - everything seems to snap together nicely
-
Airbrush “controls”
Jasseji replied to glbarlow's topic in Painting, finishing and weathering products and techniques
Just some thoughts, i did go the same learning curve a few years ago for Miniatures. The downside of this compressor setup is the weight of the whole setup, the less you have to hold in your hand, the less strain on the wrist (also, more precision and better to maneuver to weird angles, tight spaces etc.) Also, with external compressors with tank, you have the option to better fine-tune the air pressure on the regulator (the trigger itself doesnt allow for that range of tuning). Each paint will behave differently, even from the same manufacturer (i use Vallejo Model Air) and you might need to tune pressure on the go, especially for large surfaces when filling up paint when it runs out, the consistency of the paint will never be exactly the same (for weight reasons and drying up, it is recommended to work with 1-2ml paint in the cup Maximum) Use Knob A to limit amount of paint if you get splatters (dots of thicker paint), allows for better control than only using your finger when pulling back (treat it as a rest-stop so on larger areas you can set the stop at one position and dont have to think how far you pull the trigger) Due to the trigger and the way our fingers are built it is especially good to just press the C Trigger down fully and pull it back fully, all tuning can then happen on the air pressure regulator and the knob A. Also one other point about Tank-Compressors, i use a Dual-Piston Compressor with a max pressure of 6 Bar (around 90psi) and i have an additional air pistol for it, this is ideal to blowing away dust from model parts and cleaning electronics (laptop interior) -
It is somehow satisfying to see, how experienced modellers do make the same mistakes as beginners no offence intended
- 505 replies
-
- 7
-

-
-
- vanguard models
- Sphinx
- (and 1 more)