SaltyScot
-
Posts
867 -
Joined
-
Last visited
Content Type
Profiles
Forums
Gallery
Events
Everything posted by SaltyScot
-
Welcome aboard, Dan.
-
Welcome to this great forum!
-
Welcome aboard, Jimbo. I look forward to your build log sir.
-

Hello! New to the forum, happy to be here :)
SaltyScot replied to BuckyBoo's topic in New member Introductions
Welcome aboard Bucky! -
Welcome aboard!
-
Nice save on that, Mark, very neat work. I liked your idea of gluing those intricate pieces to a piece of scrap and your release method. Duly noted!
-
The next 17 will go quicker now that you have "experience", Steve 🤣🤣
-
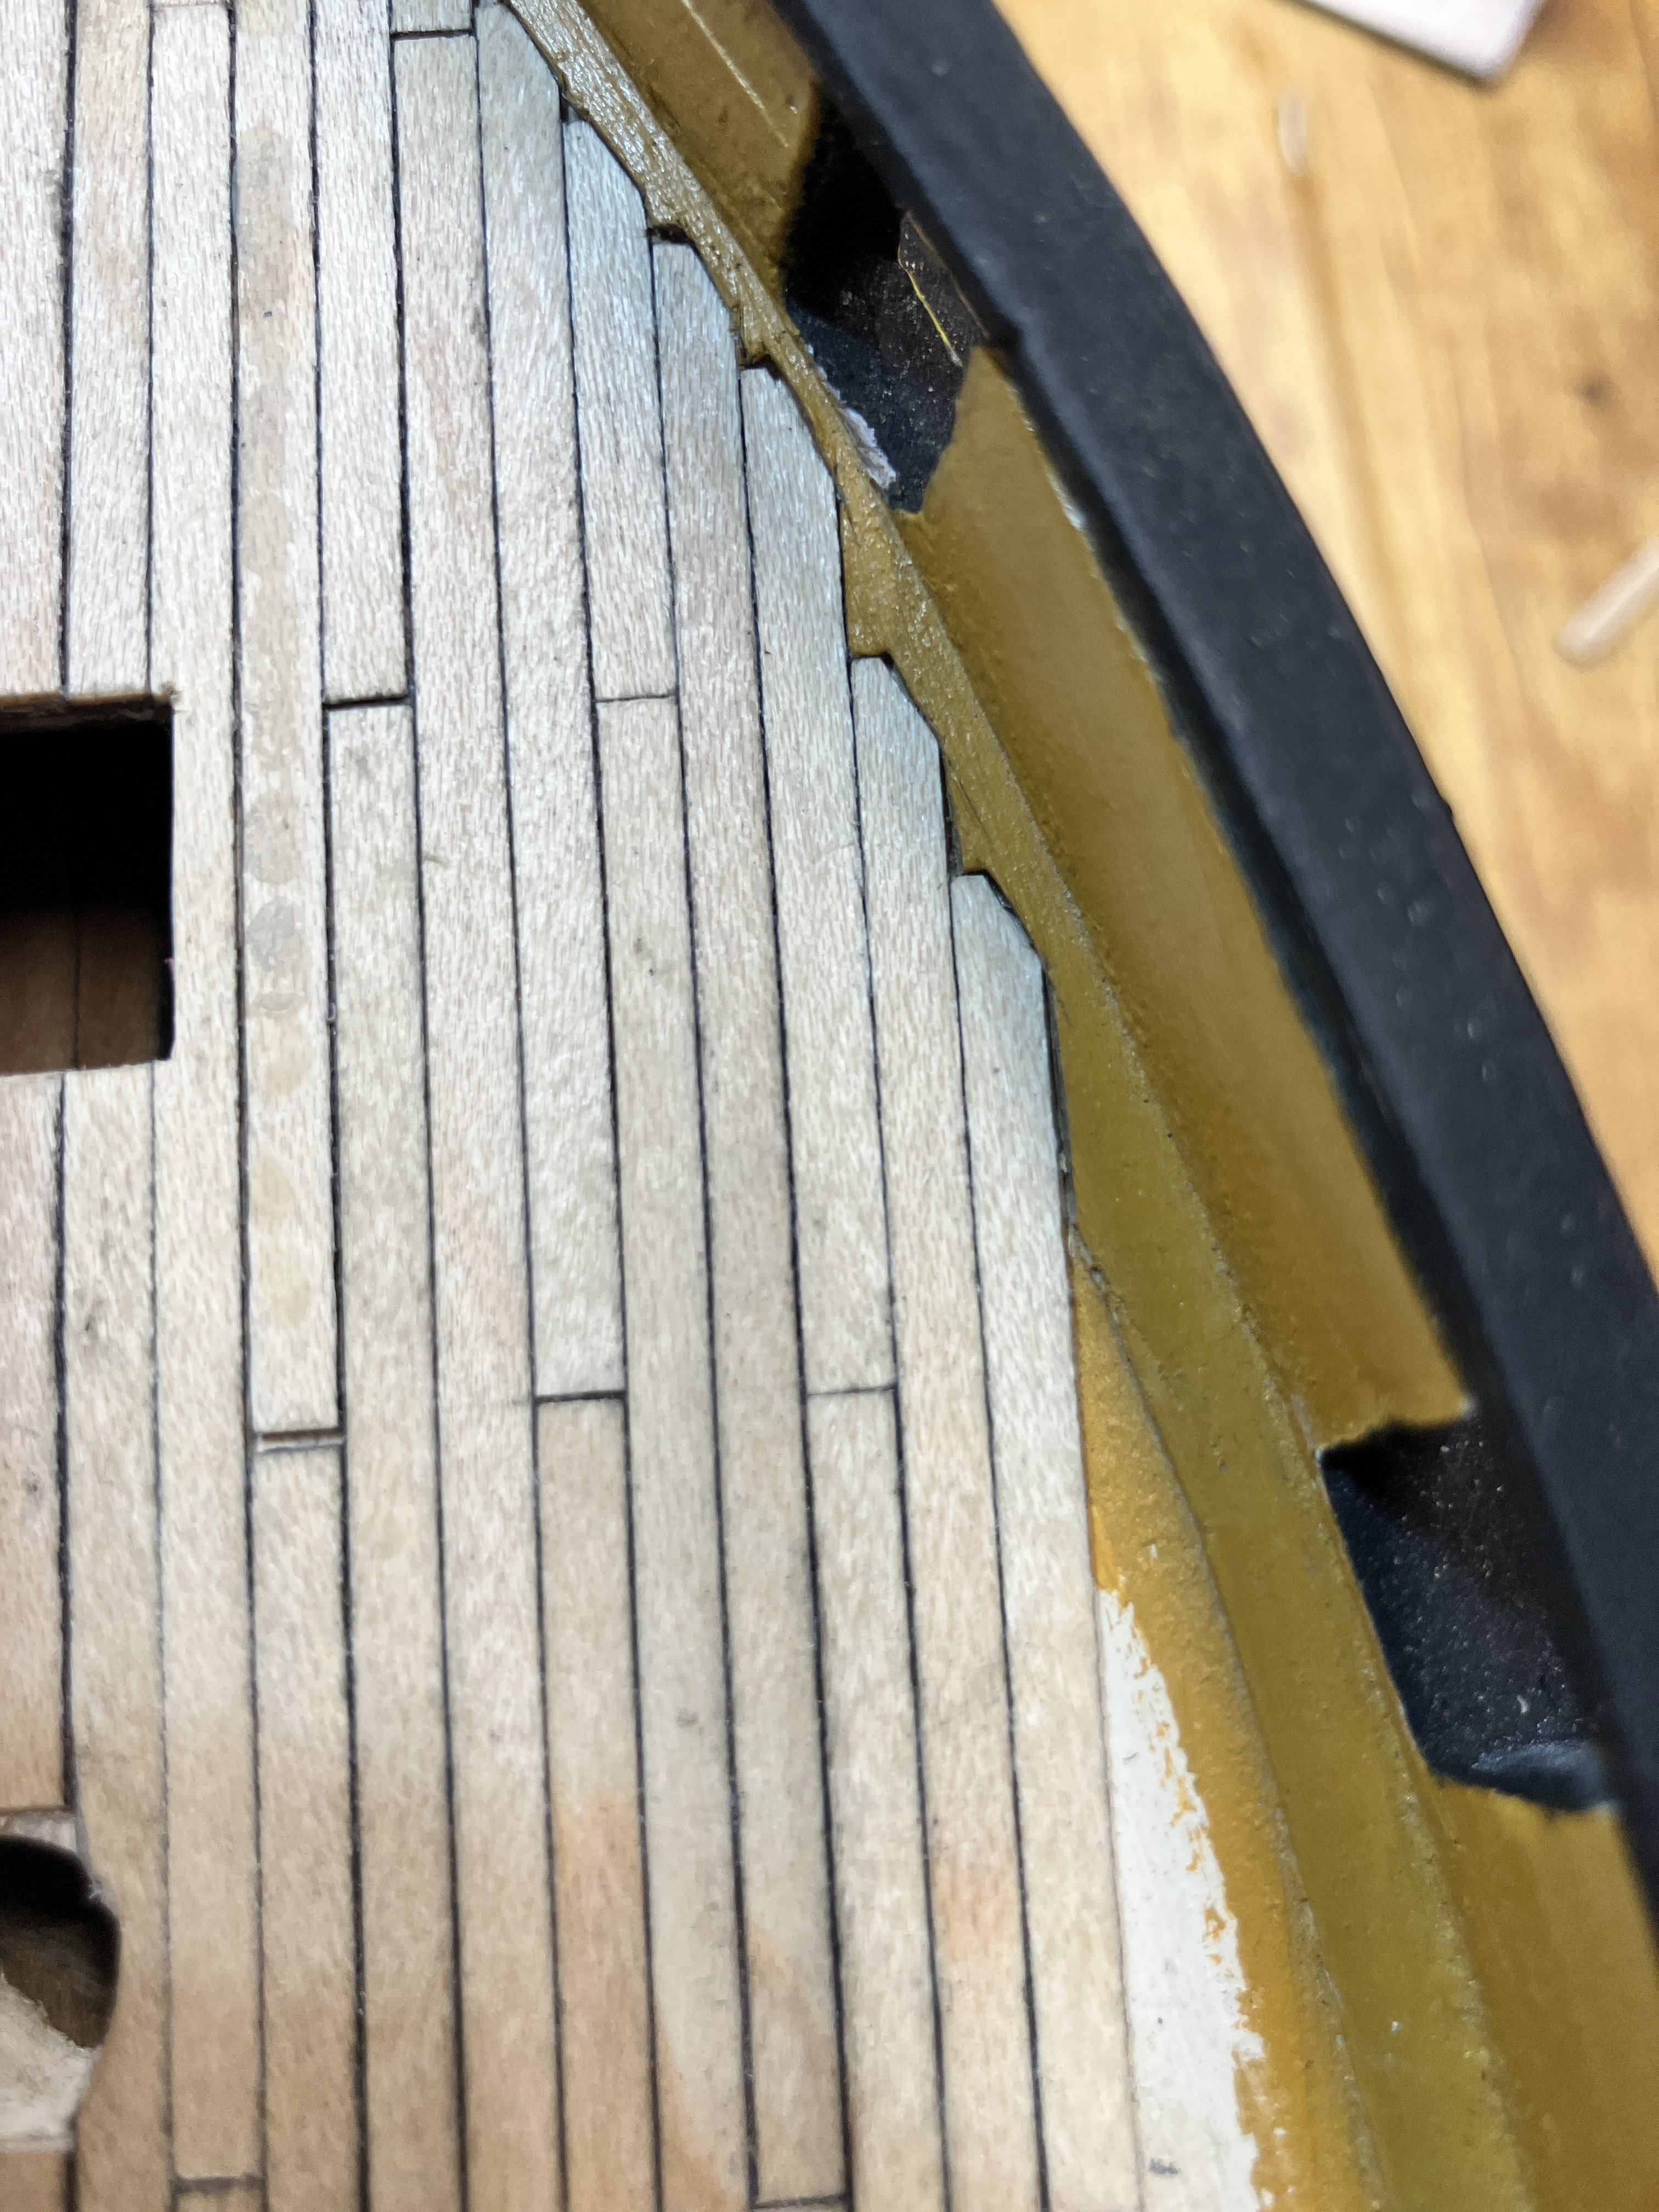
Ooops. I am glad that got pointed out before I went much further. You are right, Phil, I am having to cut into the margin board a little too much. I am pretty much equal on both sides at this point so I can adjust accordingly moving forward. We will see
-
Thanks, Glen. I just call it that because that is what I have seen others call it. Perhaps there is a true nautical term for it out there somewhere, who knows.
-
Yep, Steve, that's him. I see that a lot of what Ms. Dinsmore wrote there was taken straight from her book. He was a very interesting guy.
-
Quick translation here Herbert: The deck planking is done, deck structures added. You did a nice job on this. I am still trying to decide if I don't want to go ahead and do a larger scale model of the Endeavour as well.....
-
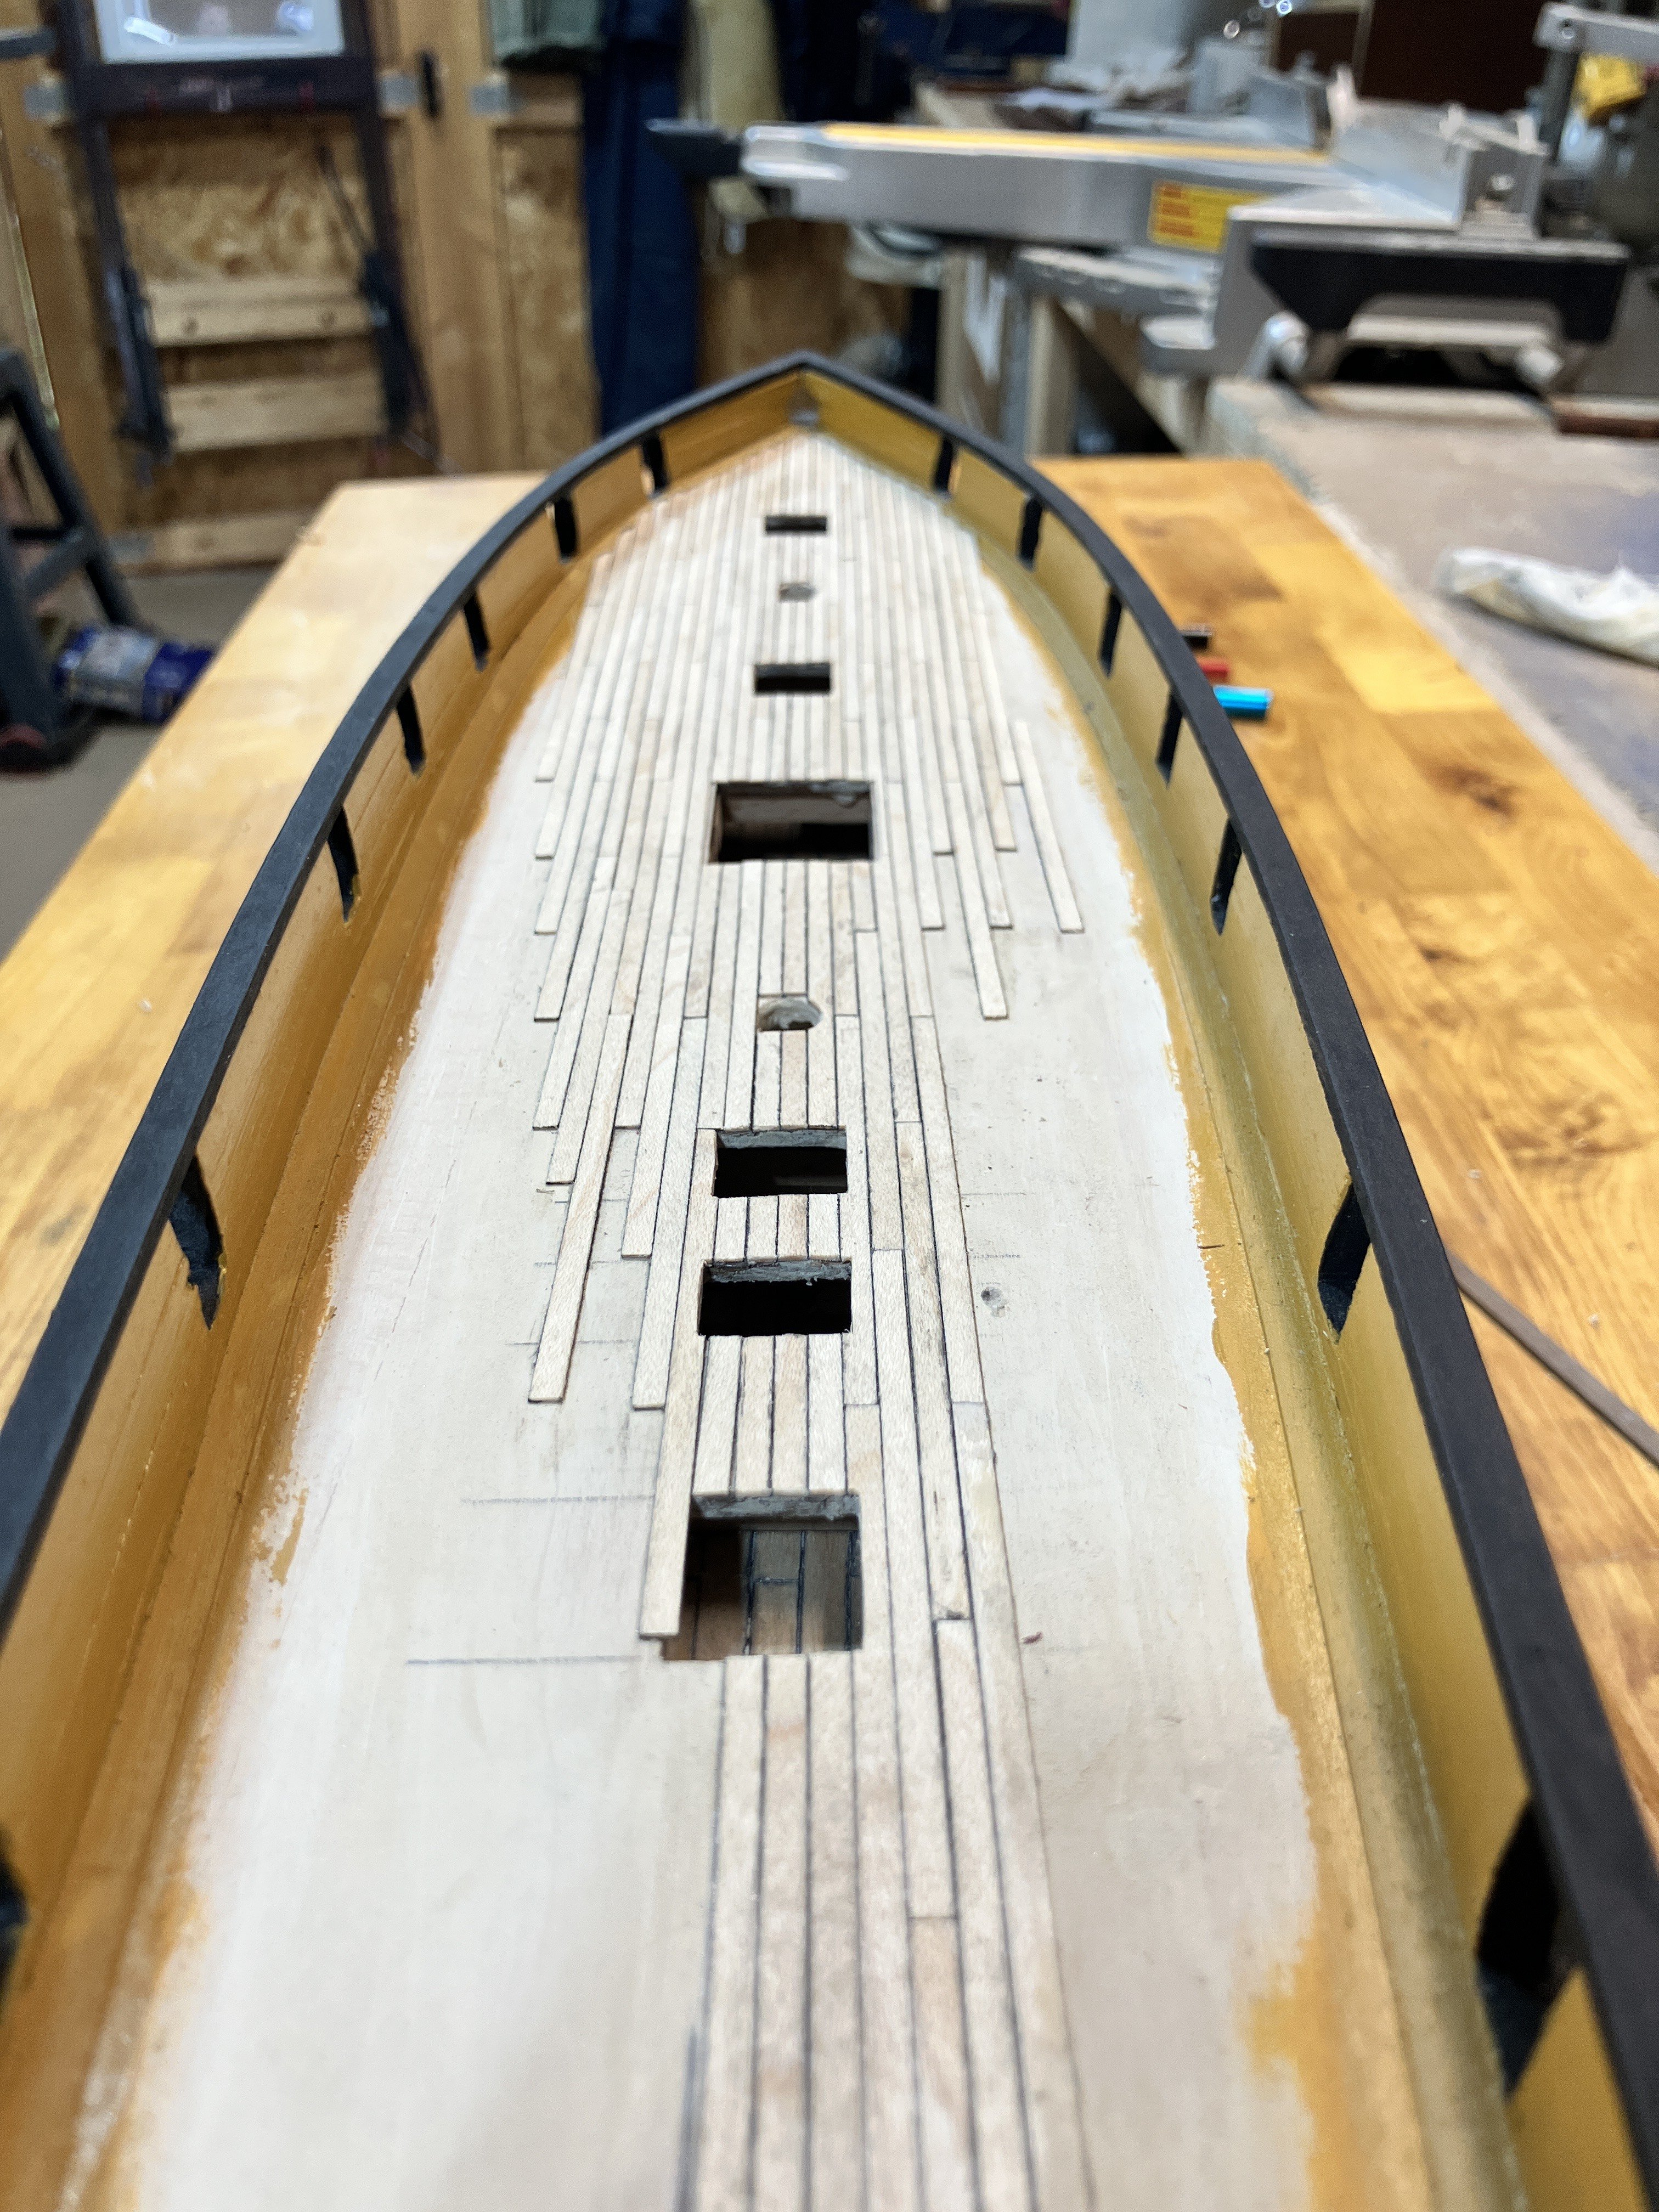
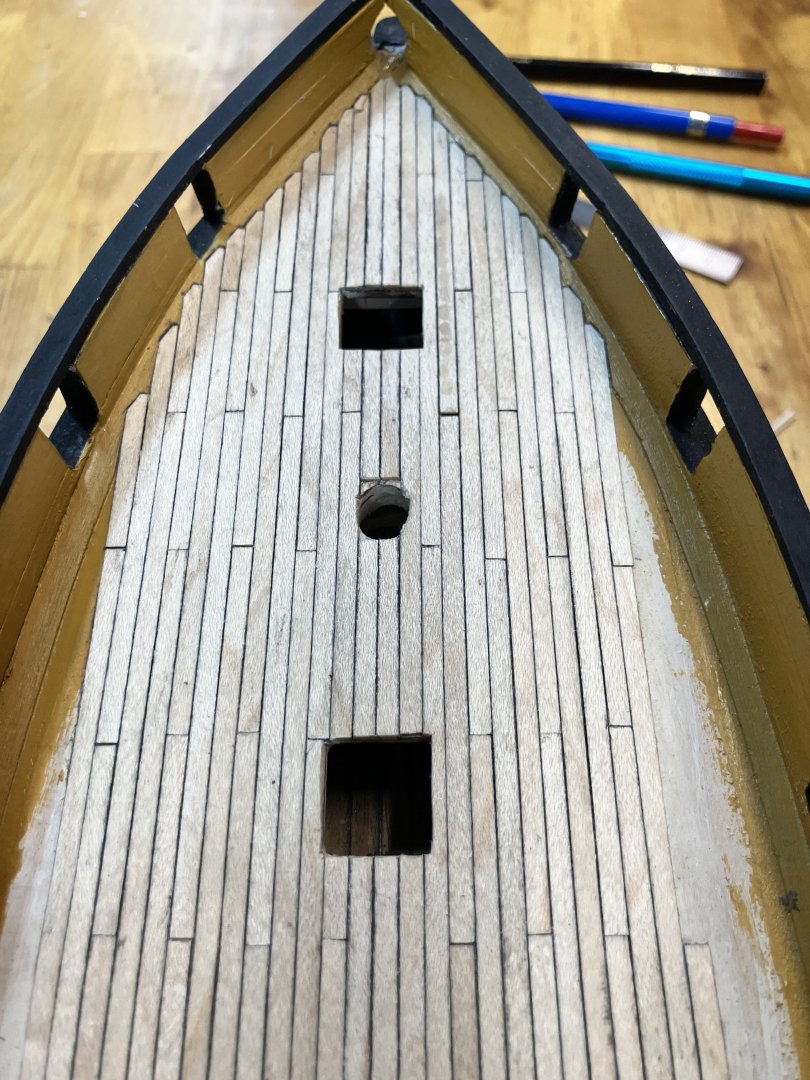
I am back in the shipyard and so very happy to be there. We got A LOT of work done here at home throughout the summer and, every chance we got when the wind was accommodating, we were out on the bay in the sailboat. Now, however, it is time to turn my attention back to my Lynx build and get her moving along. I had been procrastinating with regards to the deck plank nibbing. The thing is, once I actually sat down and started to work on it, and once I got into a routine, it was really quite enjoyable. The first few attempts were at the bow and they will be hidden by the bowsprit support, that is why I started there. I am enjoying being back working on her: I have a ways to go yet, the planks will need a good scraping once done, but she is shaping up nicely, at least in my eyes : I don't know if any of you have ever heard of John Prior Gardner? The people we bought our sailboat from, very keen yacht racers by the way, have now become good friends. As it happens, the wife's father knew John who was a master model ship builder (and yacht racer). When they came over here and saw my Endeavour model, it prompted them to lend me this book about his life (he passed away in 2019): It is a beautiful story of his life at sea and the ups and downs of producing museum quality model ships. I can truly recommend it to anyone who is serious about model ship building and anything remotely related to it.


-
It is in the works, believe me. I have been longingly eyeing the 1903 America's Cup yacht Reliance. I am seriously thinking of having her as my first scratch build......
-
Well, my hiatus is over and it's back to the ship world. I see your ship got some "company" Steve. Now everybody wants some too You have certainly made some good progress while I was off doing other things, very nice she looks.
-
That deck is starting to look nice Herbert.
-
What a nasty surprise, Trevor! Has that made you want to check all the walls on the house now? I truly hope that was the only one.
-
A masterclass in model ship construction.
-
I have been away for a while, Ron, and am pleased to see your progress. Very nicely done indeed!
-
Folks, I am still out here alive and kicking. As the cooler weather moved in the CEO and I were able to carry on working on our patio extension behind the house. It is a big patio, ergo it is a big extension. I have not abandoned my build, just moved it down my priority list for a wee while as we get on with the house.All is not lost and I have not forgotten about you all
-
Exquisite work! The amazing thing is, you did this multiple times and made a fantastic job of all of them. Like @Frecap said, perseverance is the key and you certainly have that.
-
If this is how your work looks when you are hampered by "decrepitude"as you so put it, what would it look like if you were not 🤔 A work of art, Maurice, seriously.
- 332 replies
-
- 3
-

-

-
- Harpy
- Vanguard Models
- (and 1 more)
-
That is a beautiful display case and a fine looking model. And, you are right, clipper models like that are a lot nicer to look at than a telescope (which is made for looking through 🤣🤣 )
-
If you need a few more, Bob, I could run some over for you 🤣🤣🤣🤣