-
Posts
853 -
Joined
-
Last visited
Content Type
Profiles
Forums
Gallery
Events
Everything posted by SaltyScot
-
Absolutely! If you ever have any questions, don't be afraid to ask! There are plenty of good folk here who would be only too happy to help.
-
A warm welcome to MSW. With a build like that you are off to a very good start!
-
What an amazing thing to be able to accomplish. My hat comes off to you, sir. Very nice indeed.
- 106 replies
-
- Kentoshi-Sen
- bottle
-
(and 1 more)
Tagged with:
-
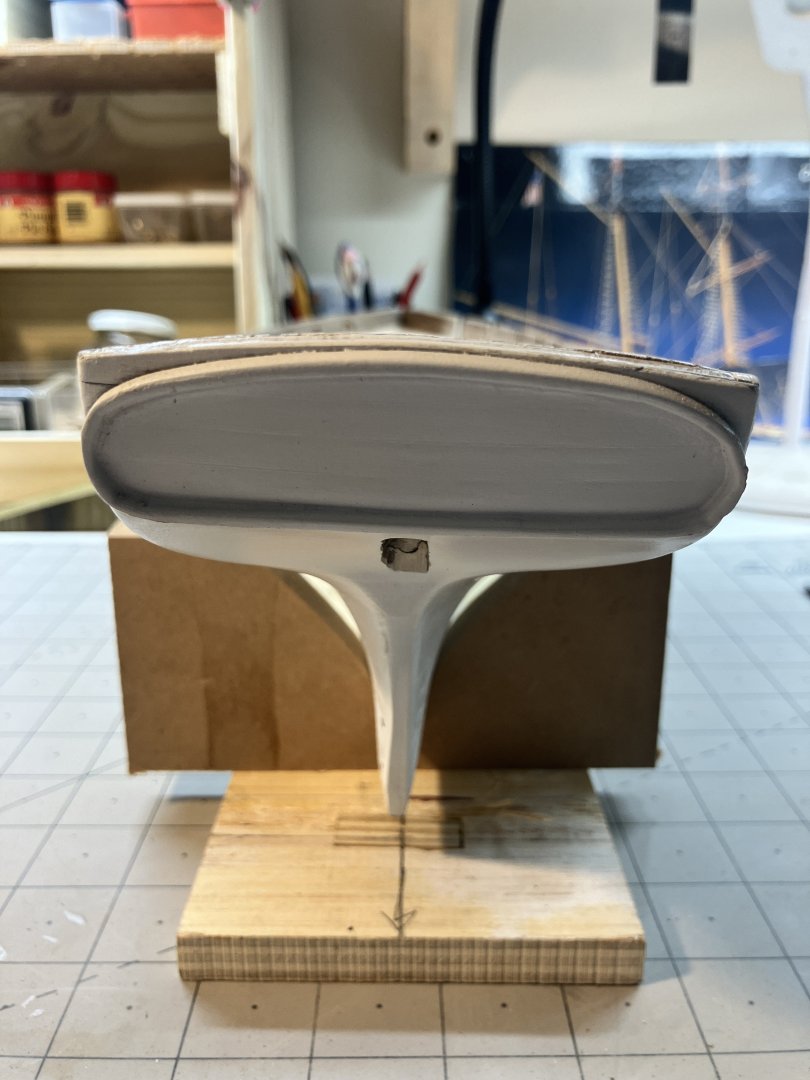
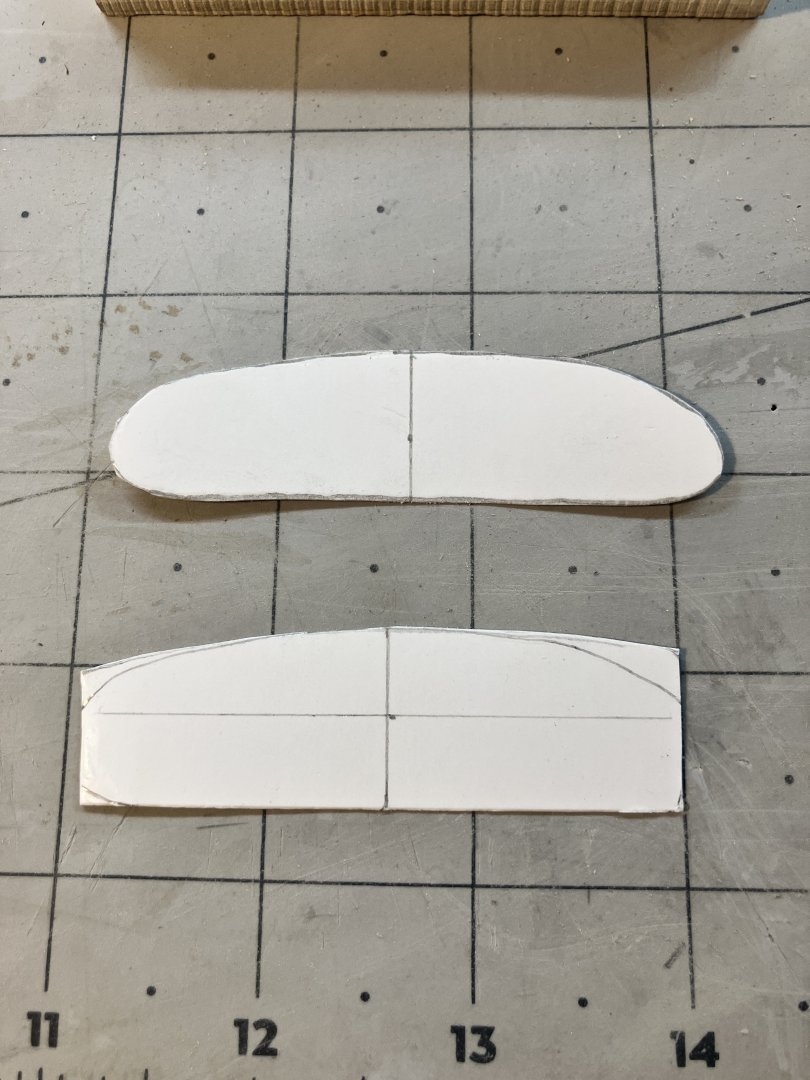
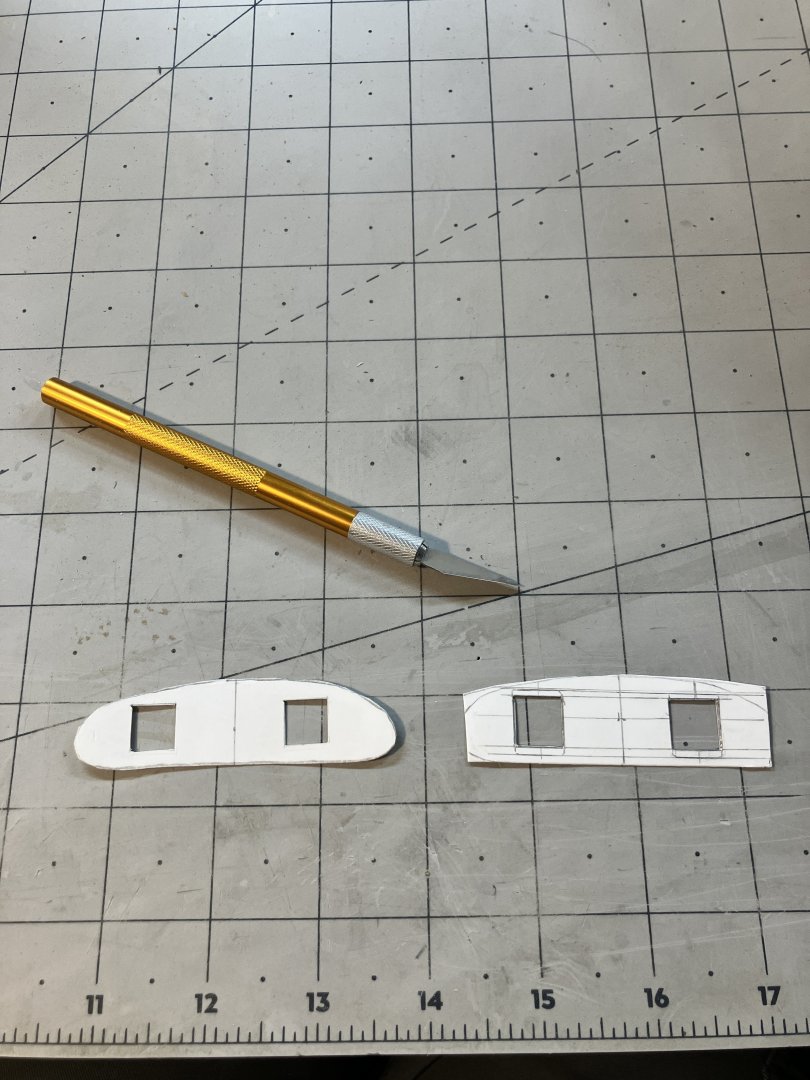
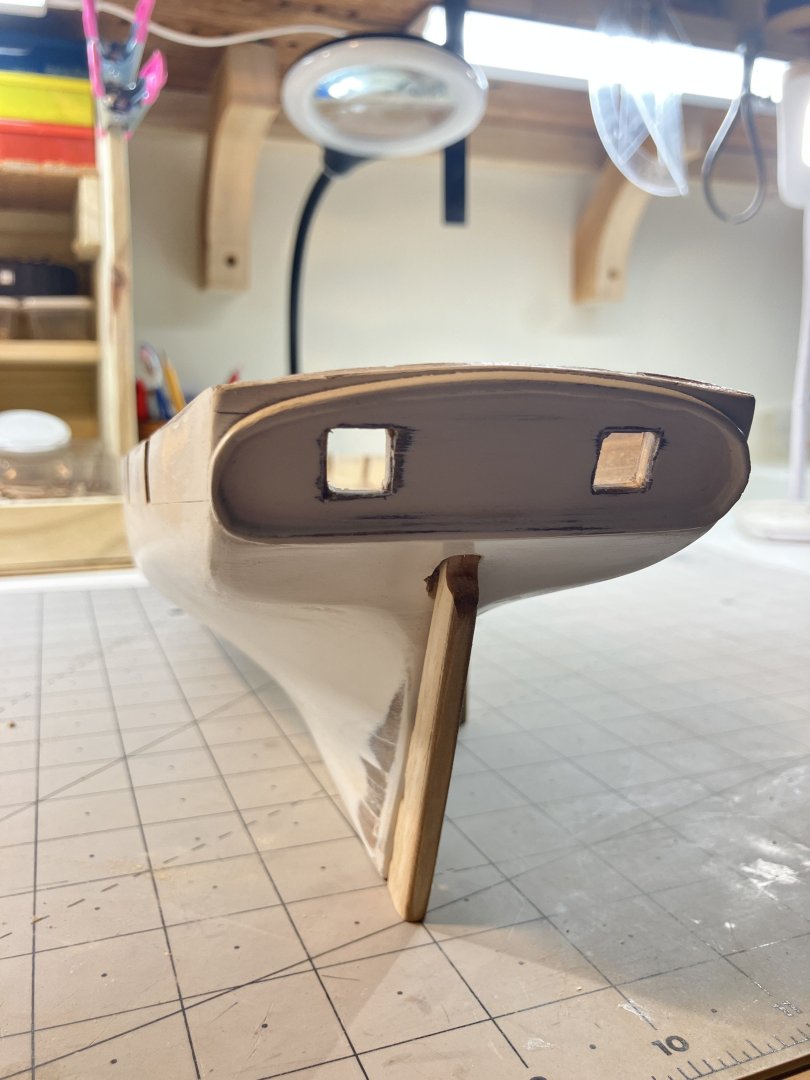
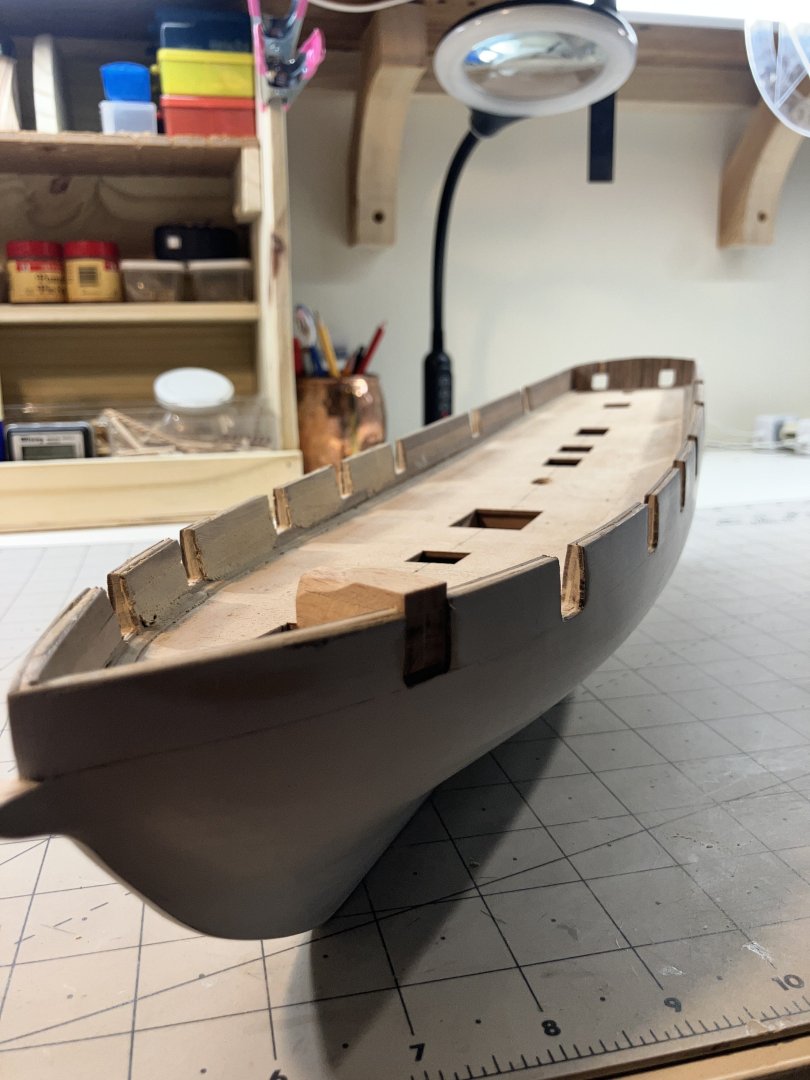
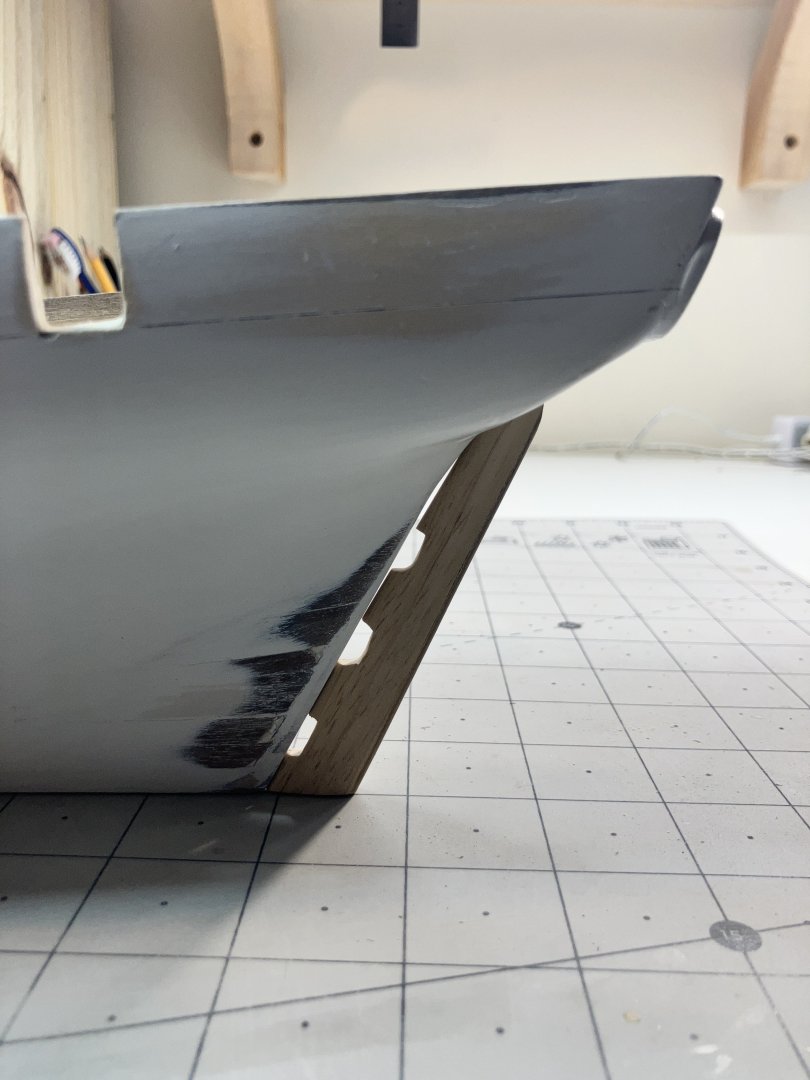
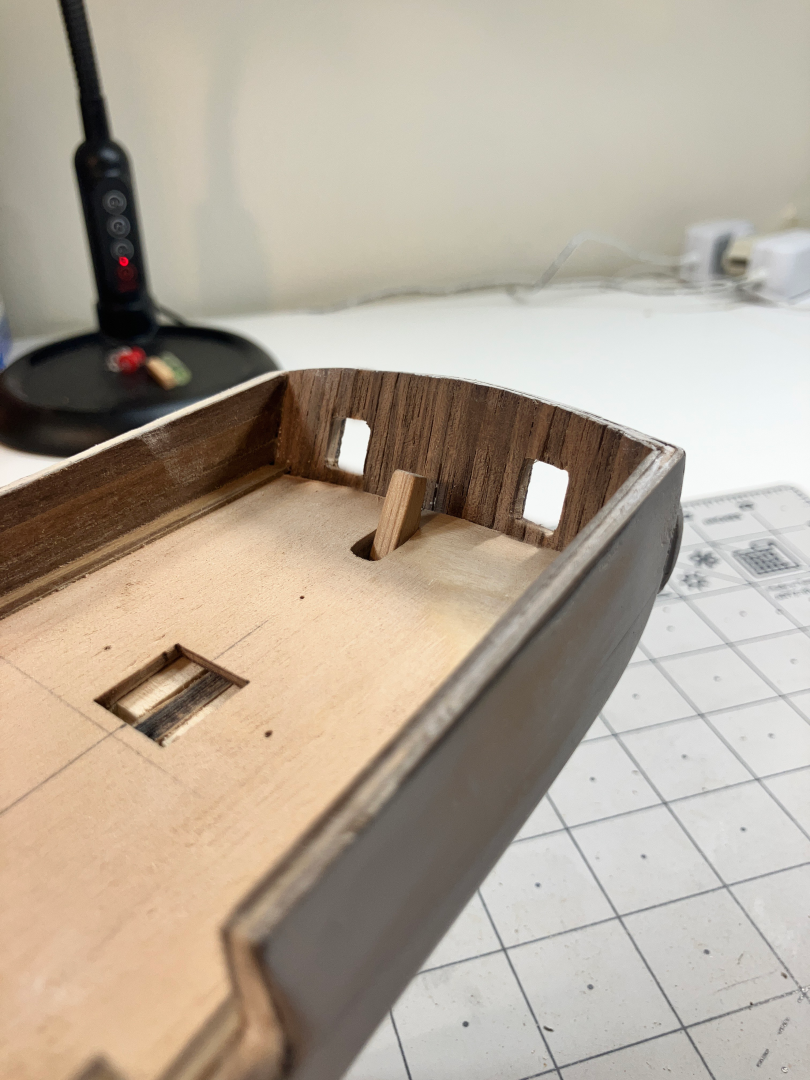
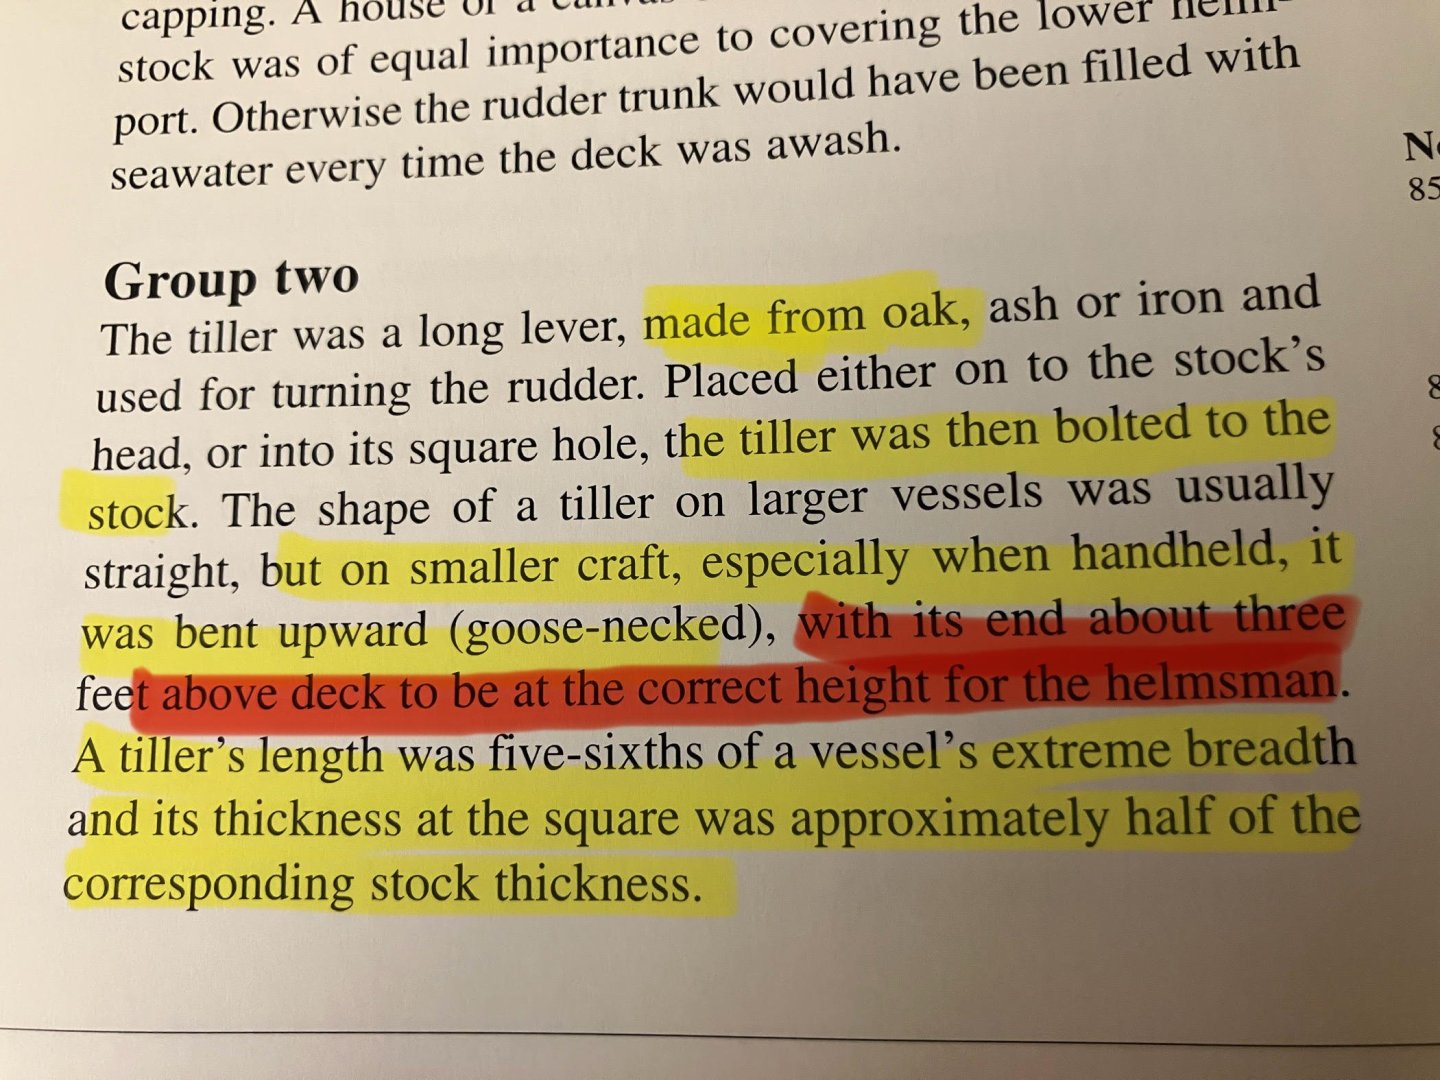
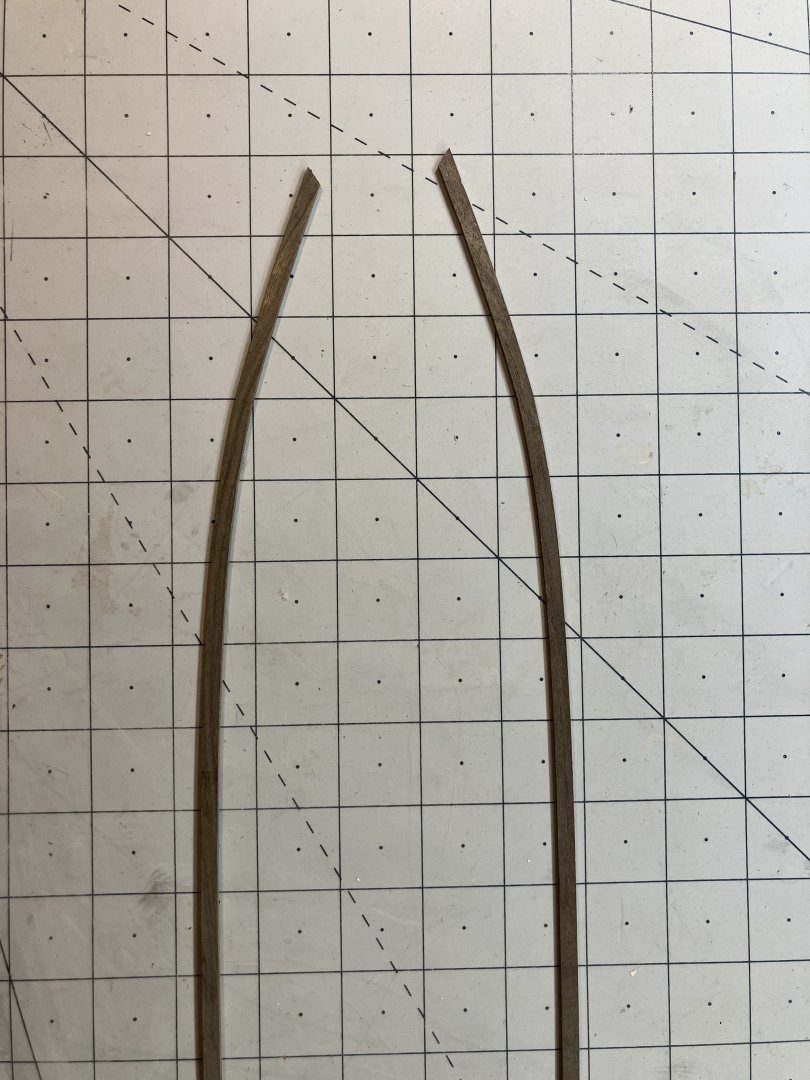
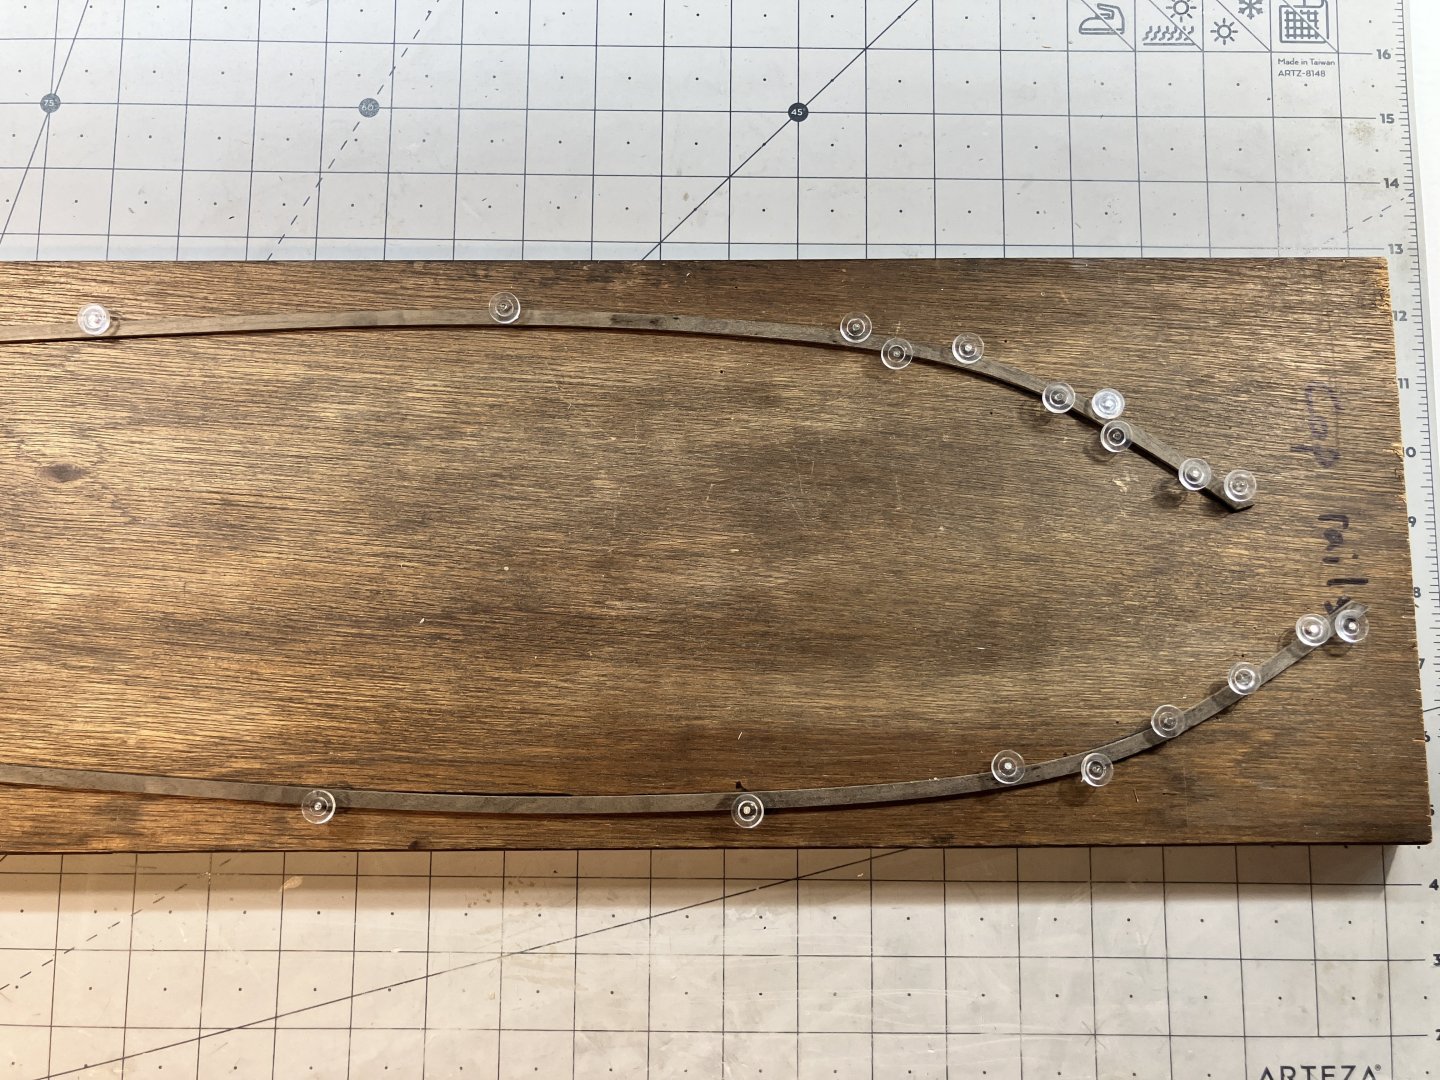
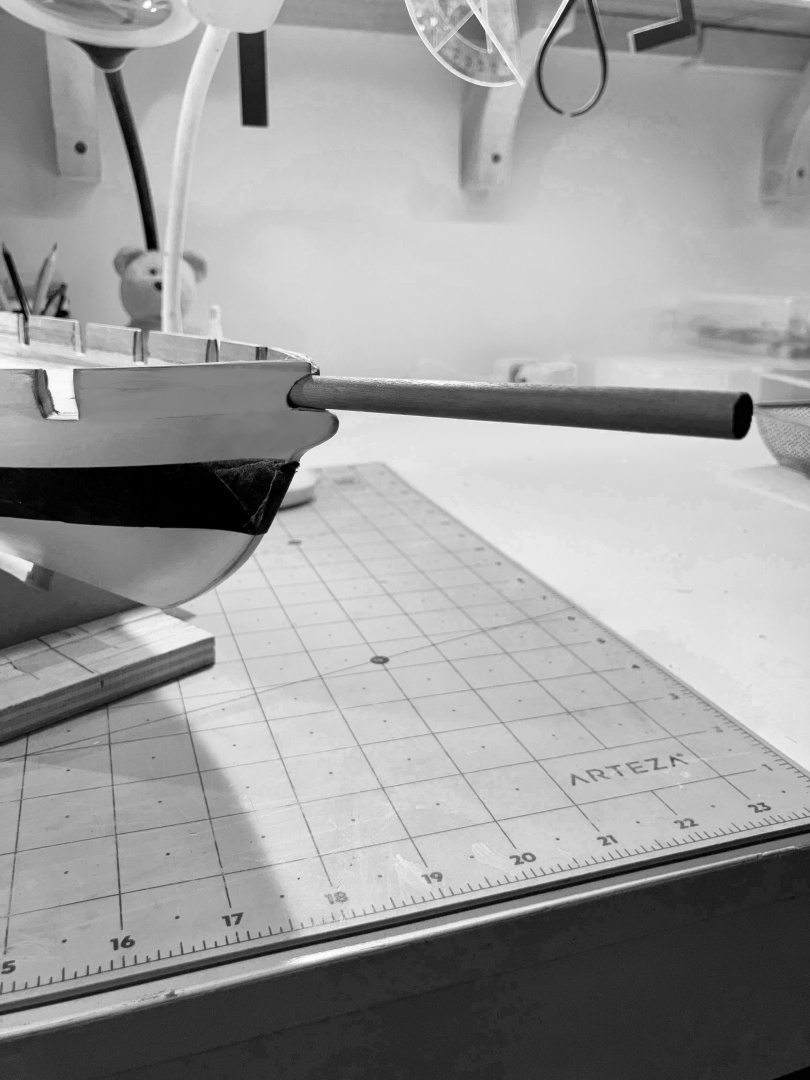
It was time to address the rest of the gun ports and take care of the two ports at the stern. Because I "refashioned" the stern transom I had some measuring to do to make sure the two ports back there sat in the correct position: I first made a template of both the inside and the outside and transferred the outside shape onto the inside template: I needed to ensure that the ports fell nicely within the rail going around the outside of the transom. To get that right the port holes were first measured up and added to the inside template. I laid that on top of the outside one and drew the cut outs onto it. This gave me the correct placement within that exterior rail: After transferring that template to the boat, the port holes were marked and cut out: The rest of the gun ports were cut out, cleaned up and test fitted with the gap gauge: Next up was the rudder and tiller. I dry fitted the rudder to ensure there was enough room to mount the tiller head. It sat in there very nicely: The tiller will be made out of black walnut (the plywood one supplied with the kit just doesn't cut it for me!) To get the dimensions right I consulted Marquardt's Global Schooner and found this: This is something I will take care of very soon. My next task was the cap rails. Again, I was not at all happy with the kit supplied ones. I decided to go with walnut strakes that were bent using the "hot tub method" (which has since been officially decommissioned for the summer by the way). I left them in there for 24 hours and then pinned them to a solid board to take shape, leaving them overnight. They didn't exactly hold the desired shape for some reason so I re-soaked them in a tall thermos of boiling water for 20 minutes and re-pinned them. I will leave them like that until tomorrow: My last task of the day yesterday was to drill the hole for the bowsprit. The plans suggest using a 6mm drill bit initially and then file out to the required 8mm. I started with 4mm, then 6. All went well up to that point but for some obscure reason I decided to take my Dremel tool with a burr bit and try to clean up the hole edges. It was on a slower speed than normal but still made a mess. I had some minor repairs to do to the gammoning knee and the bow. That was taken care of last evening and this morning she looks OK again. She now has a bowsprit hole She was taped up after I marked the waterline because the next task, after adding the fender rails and lining the gun ports, is to get her off to paint.
- 257 replies
-
Never say never, Glen What a fantastic way to close out that wonderful chapter.
- 301 replies
-
- Constitution
- Bluejacket Shipcrafters
-
(and 1 more)
Tagged with:
-
I 100% agree. The possibility of ruining something else or getting all tied up somewhere is taken off the table by doing it like this. This is the way I will be doing the Lynx masts once the time comes. Thanks again, B.E.
- 332 replies
-
- Harpy
- Vanguard Models
-
(and 1 more)
Tagged with:
-
Another lesson learned. I had been wondering how to achieve that. Thanks B.E. !
- 332 replies
-
- Harpy
- Vanguard Models
-
(and 1 more)
Tagged with:
-
Yes, it most ertainly is.I tried that on the Endeavour build. Very disappointing.
- 433 replies
-
- minesweeper
- Cape
-
(and 1 more)
Tagged with:
-
I thought the deck looked good, Wolle, but we modelers view our builds with a very critical eye, don't we.
- 35 replies
-
- Britannia
- Mountfleet Models
-
(and 1 more)
Tagged with:
-
You did a nice job on that deck house framing, Phil, very neat and precise. What wood are you using for that?
- 433 replies
-
- minesweeper
- Cape
-
(and 1 more)
Tagged with:
-
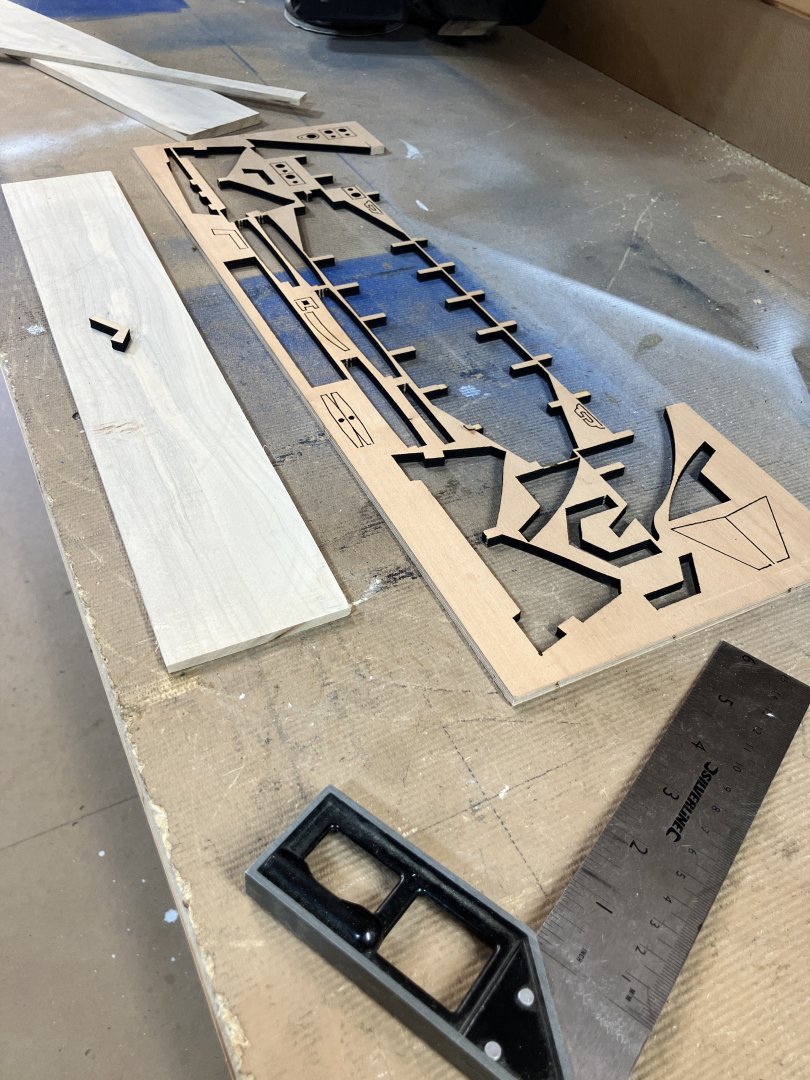
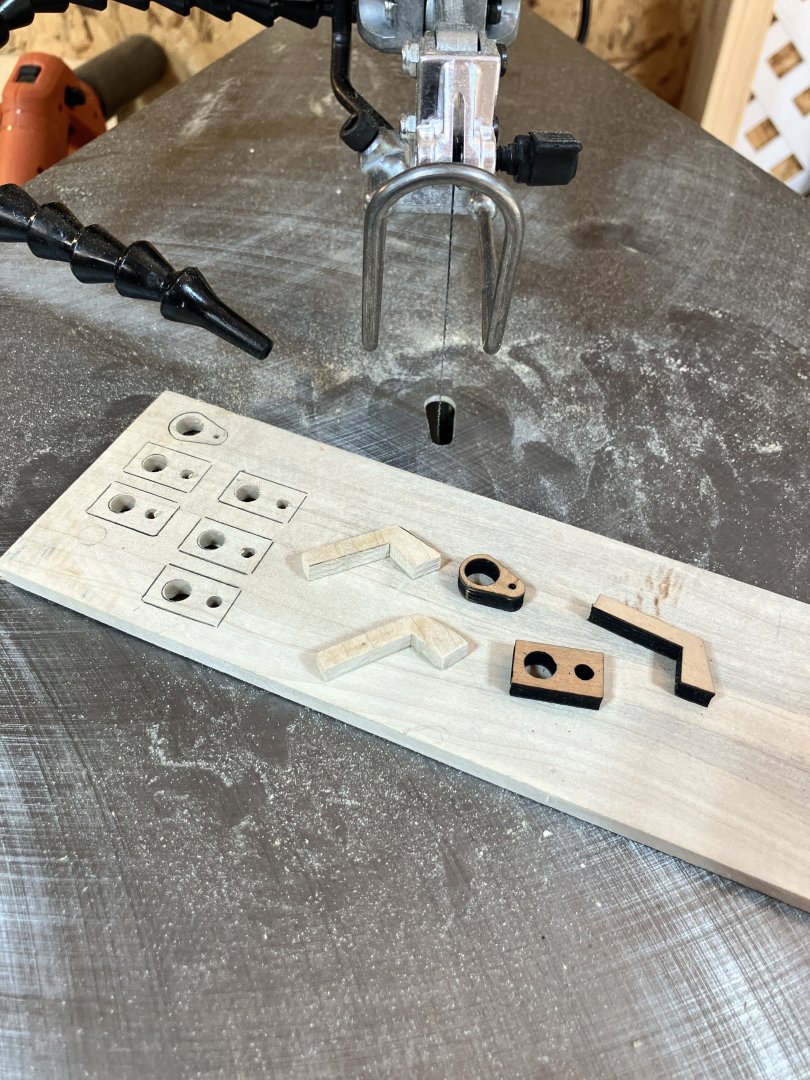
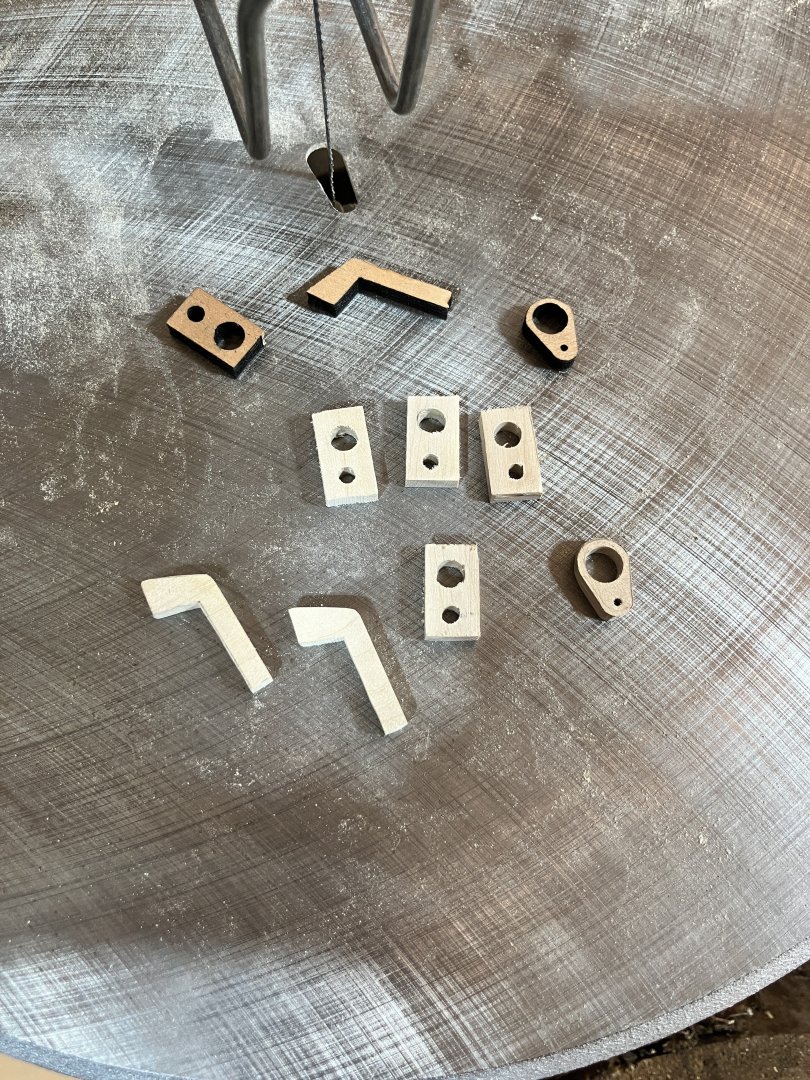
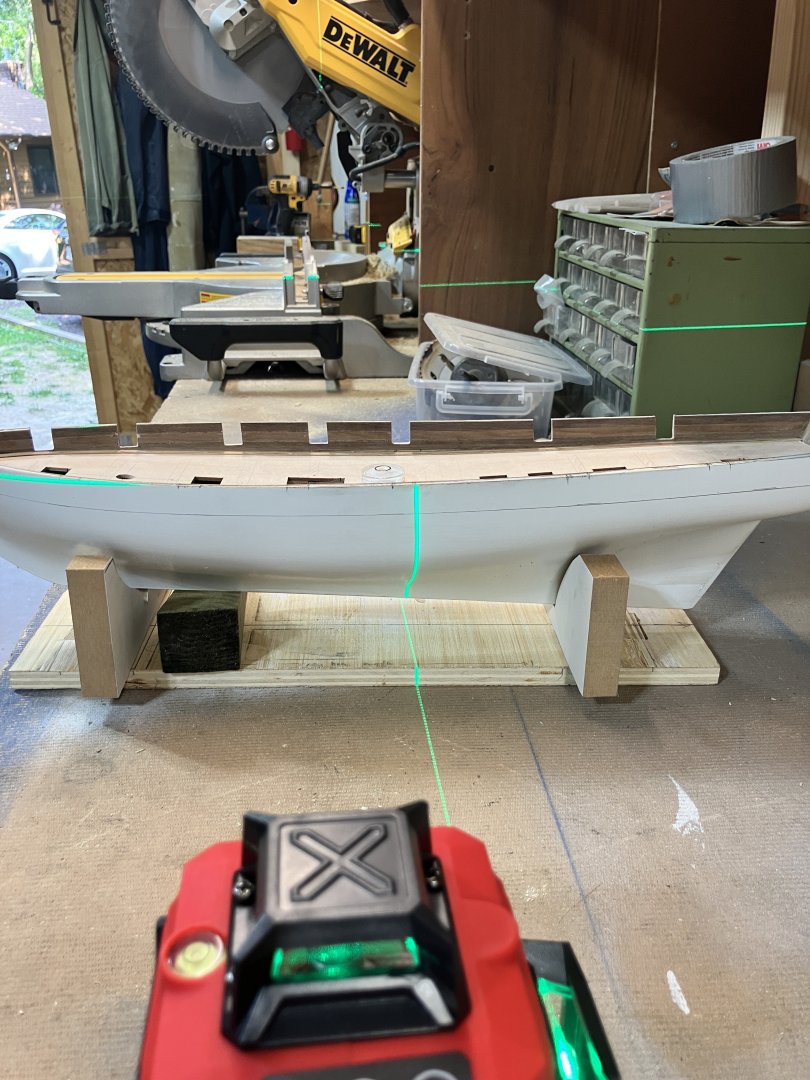
I managed to get some unexpected time in the shipyard today. We have family here for the week but they decided to take a day trip today which freed up some time. I got on with some tasks I have been wanting to do away from the ship. I replaced the horrible plywood parts for the bowsprit and mast caps, catheads and support ring for the boom on the main mast with some white maple I had knockng around the woodshop. The maple was milled to the right thickness and the parts cut out on the band/scroll saws: The pieces will be taken to the shipyard and cleaned up properly then stored away until needed. As well as that I put the new laser level to the test. I leveled the hull in the woodshop and used the laser level to help me mark the gunport holes that still needed cutting out. I also checked on the ones that I had already done, just to be sure: Our house will be ours again this weekend so I am hoping to carry on where I left off today. Here's hoping
- 257 replies
-
I have to agree with Keith here. I bow to you, sensei Glen
- 106 replies
-
- Kentoshi-Sen
- bottle
-
(and 1 more)
Tagged with:
-
I am happy to read that your eye issue resolved itself, Tom. Let's hope the after effects of this latest surgery go the same route. I found your sticky tape solution ingenious! That is what a lot of this hobby is about, solving tricky issues like that. Nicely done.
- 205 replies
-
- Endurance
- Shackleton
-
(and 2 more)
Tagged with:
-
Mensch sieht das aber fein aus! You did a fantastic job on the hull, Wolle!! The deck looks amazing too, love that color tone. Haste gut gemacht
- 35 replies
-
- Britannia
- Mountfleet Models
-
(and 1 more)
Tagged with:
-
That is an impressive setup, sir. You had mentioned using a piece of tubing on the seizings. I take it that it doesn't stay in place once done and is only there to help hold the two ends together before you seize them? I was a little confused about that.
- 332 replies
-
- Harpy
- Vanguard Models
-
(and 1 more)
Tagged with:
-
Congratulations on reaching the finishing line on this one, Phil. Your build log, and now the added notes at the end of the blog, will continue to be an inspiration for me as I begin my journey into the world of schooners. We are apparently going to have a few very rainy days here this coming week. If that is so, I will leave my (real) boat and fishing poles at the dock and get back to my Lynx build
-
I am a little late coming aboard but I will be staying for the rest of the journey. What a great build and a very interesting model. I really do like the look of her! Nicely done.
- 121 replies
-
- Lucia A Simpson
- AJ Fisher
-
(and 1 more)
Tagged with:
-
Welcome aboard, Andreas. This link may help you out with your rigging. Peter did a great job on his Virginia build and an even better job of explaining the rigging. You will find that info in his build log. Enjoy!!
-
Welcome to MSW, Wes. All I can say is, do not be afraid to ask questions once you get your build log up and running. Everyone here is so helpful and the willingness to share experiences and answer questions is more than commendable.
About us
Modelshipworld - Advancing Ship Modeling through Research
SSL Secured
Your security is important for us so this Website is SSL-Secured
NRG Mailing Address
Nautical Research Guild
237 South Lincoln Street
Westmont IL, 60559-1917
Model Ship World ® and the MSW logo are Registered Trademarks, and belong to the Nautical Research Guild (United States Patent and Trademark Office: No. 6,929,264 & No. 6,929,274, registered Dec. 20, 2022)
Helpful Links
About the NRG
If you enjoy building ship models that are historically accurate as well as beautiful, then The Nautical Research Guild (NRG) is just right for you.
The Guild is a non-profit educational organization whose mission is to “Advance Ship Modeling Through Research”. We provide support to our members in their efforts to raise the quality of their model ships.
The Nautical Research Guild has published our world-renowned quarterly magazine, The Nautical Research Journal, since 1955. The pages of the Journal are full of articles by accomplished ship modelers who show you how they create those exquisite details on their models, and by maritime historians who show you the correct details to build. The Journal is available in both print and digital editions. Go to the NRG web site (www.thenrg.org) to download a complimentary digital copy of the Journal. The NRG also publishes plan sets, books and compilations of back issues of the Journal and the former Ships in Scale and Model Ship Builder magazines.

