HOLIDAY DONATION DRIVE - SUPPORT MSW - DO YOUR PART TO KEEP THIS GREAT FORUM GOING! (89 donations so far out of 49,000 members - C'mon guys!)
×


ndeconte
-
Posts
142 -
Joined
-
Last visited
Content Type
Profiles
Forums
Gallery
Events
Everything posted by ndeconte
-
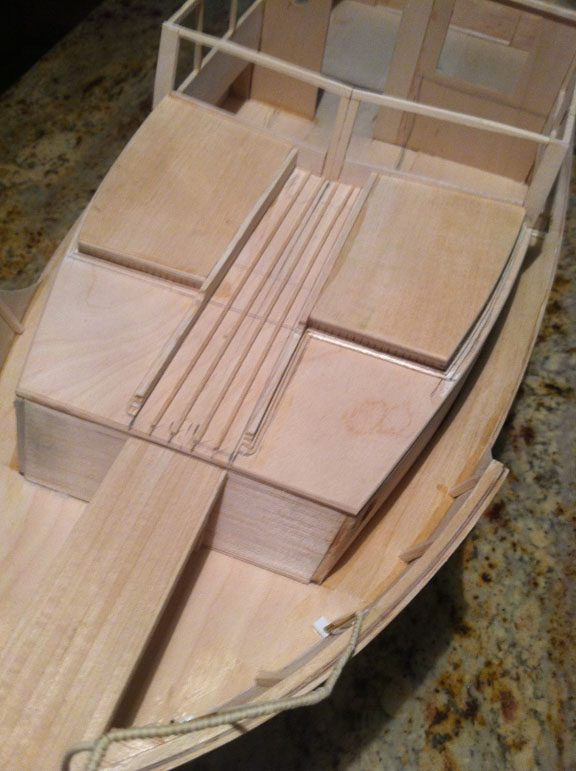
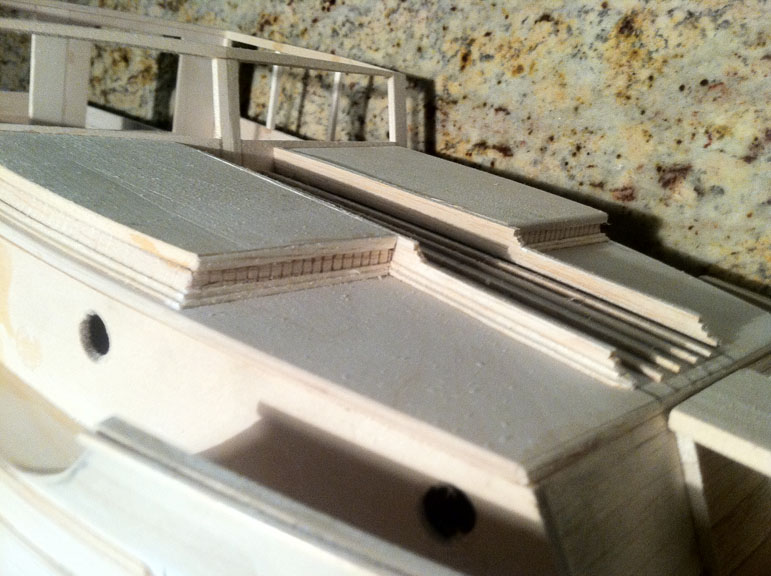
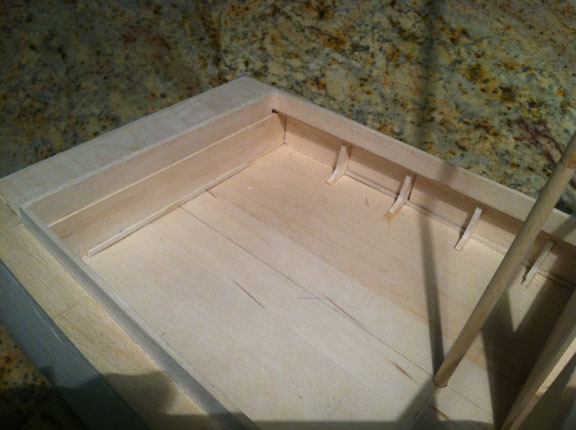
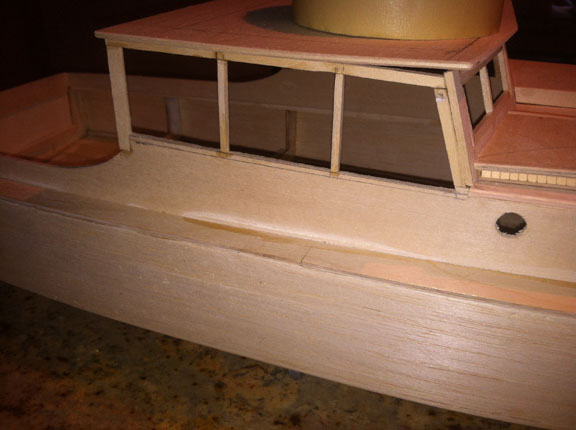
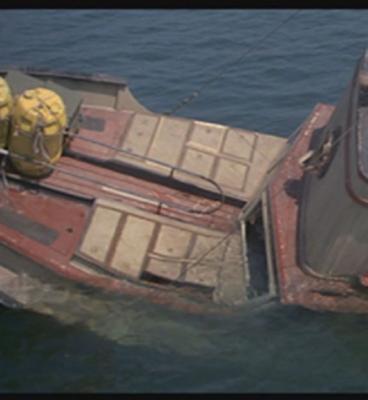
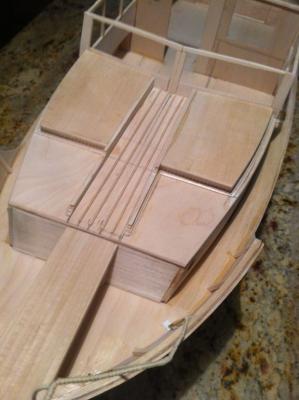
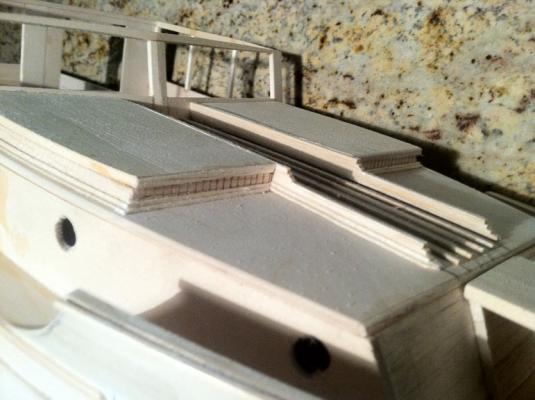
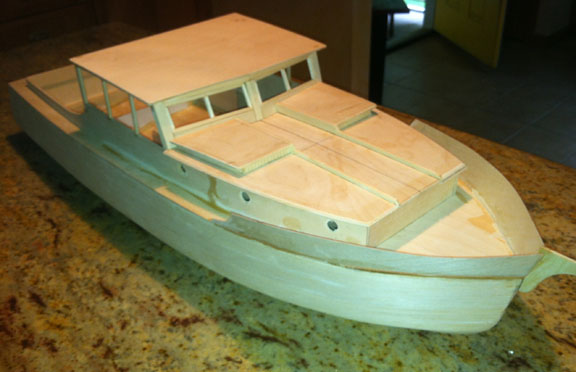
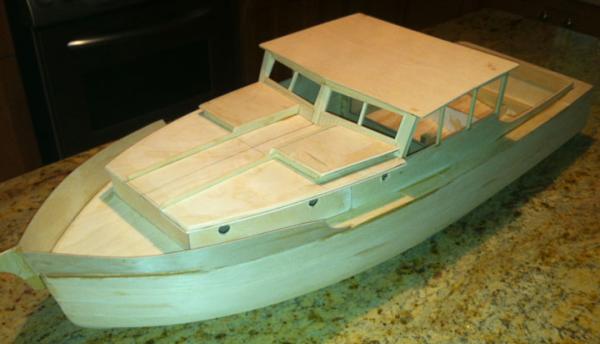
Found some time to work on this during the week......... Working from bow to stern right now trying to finalize all my major building. Couple images of what I'm trying to replicate: Decided that the whole upper hatch sections had to be larger so I went in and re-built all of this including the scribed plank boards and hand gouged molding. Also noticed that the side guide boards for the barrels weren't tall enough and didn't have the correct end details, so I fixed those also. Added the four slide bars for the barrels to rest on also. And on the pulpit, I added the main steel rod front support with bracket mounted on underside of Pulpit. Also added the mounting brackets to both sides of the boat for the steel tension lines. Realized that I forgot the bull nose molding on the side of the hull, right above said bracket, so made those out of some 1/8" balsa strips.


-
Wouldn't have a clue how to do a "ship in a bottle" and I love the whole Kraken idea, I'll be watching this one!
-
Thanks all!
-
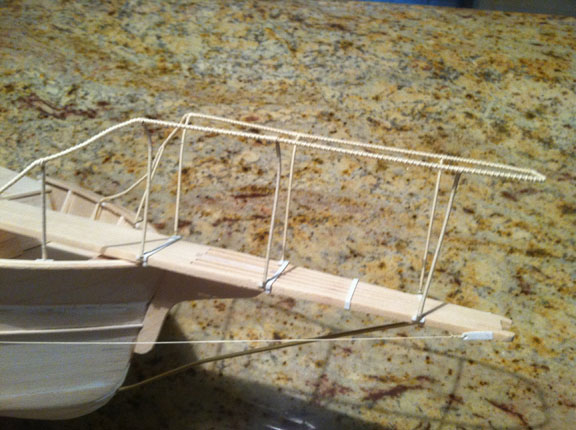
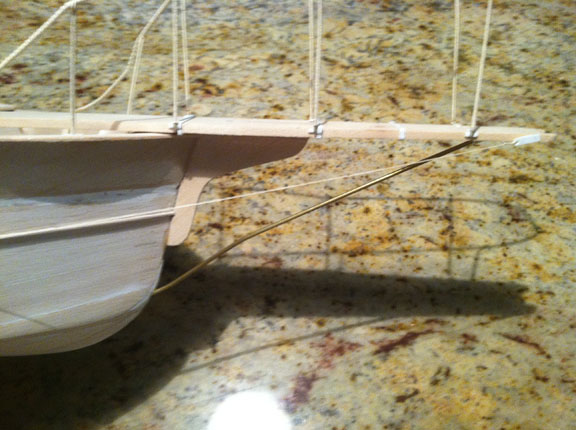
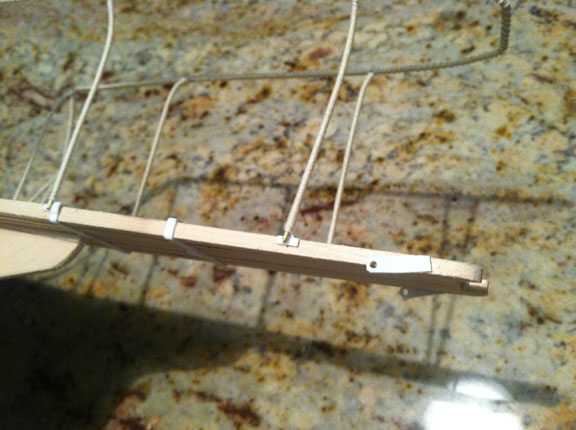
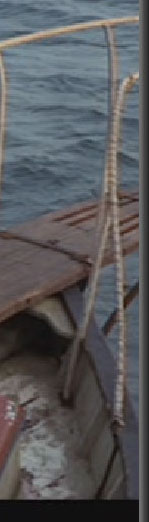
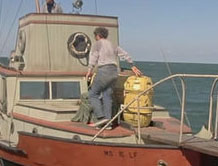
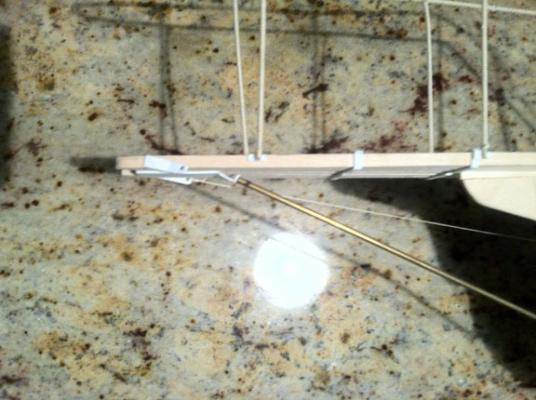
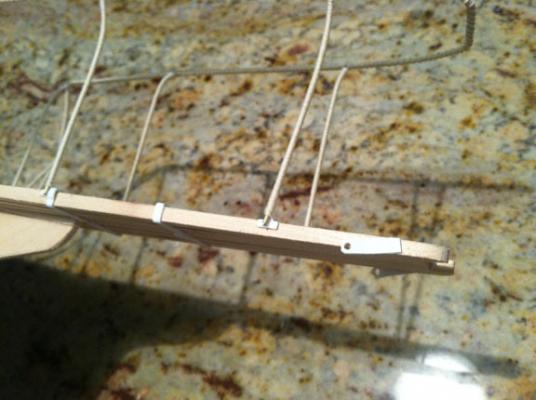
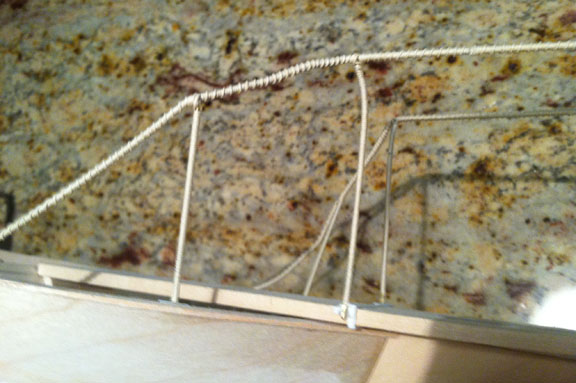
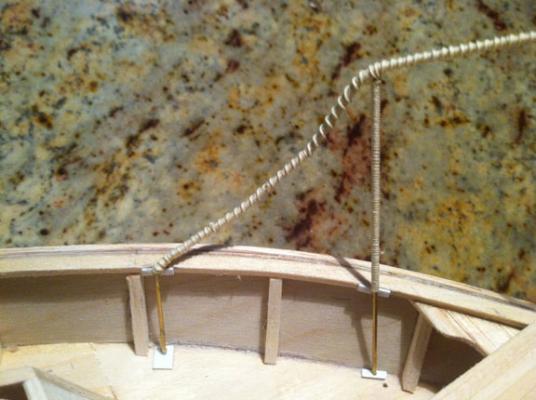
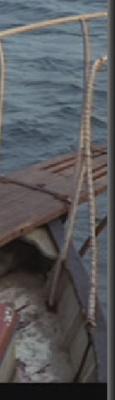
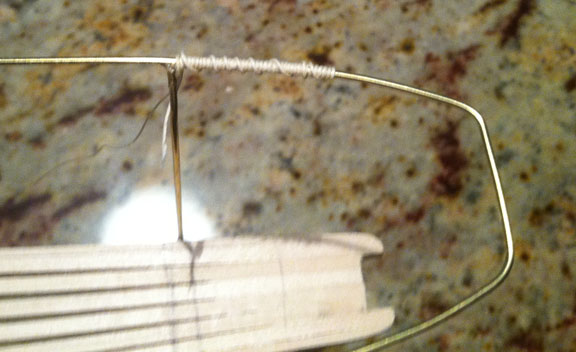
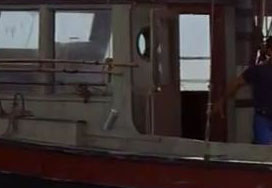
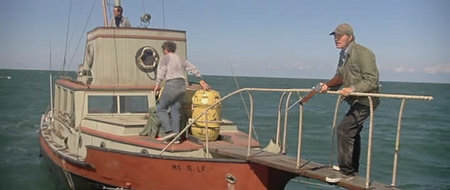
So I have the Pulpit/Pulpit rail completed except for nut & bolt details, waiting for them to arrive. I made all the rail brackets and pulpit strapping from 1/64" thick styrene sheet which I cut to the appropriate width. Once the brass handrail was attached, it was time to wrap it with thread to match the actual boat. This was done by wrapping it twice, once nice and tight and then the secondary looser, with spacing between each wrap. I used thinned PVA to set it and superglued the ends so I wouldn't have to worry about it coming loose. I also attached a screen grab from the movie which is a close up of the handrail to show what I was trying to achieve, not the best quality, but it's something. This model is of the boat as when it was in the movie, so the bends and tweaks in the hand rail are supposed to be there for the used/weathered appearance.


-
Mark, Thanks for the heads up on the fasteners. Found a great place on line tho, Micro Fasteners, you can purchase packs of 50 or 100 (depending on size) for under $10!? Others out there charge that for 25 count! Here's a link if anyone is interested: http://www.microfasteners.com
-
Lookin GREAT Mark!
-
Thanks for the kind words and likes all! Question for the masses here........ Any idea of a manufacturer of small nut heads/bolts? Preferably resin? Thinking I'm going to need some of these for the different plating/hardware on this. Worst case, I can make my own.
-
The result looks great! Nice progress on the ROV itself also.
-
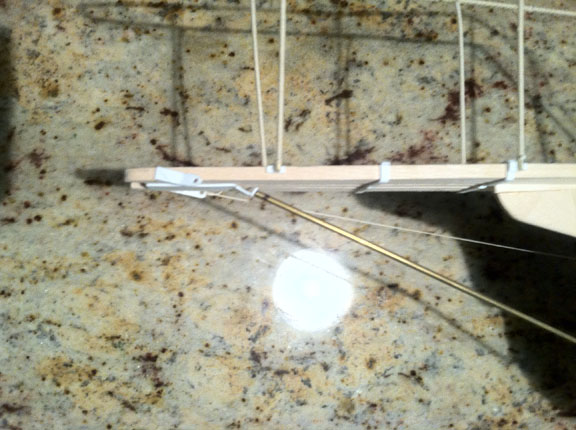
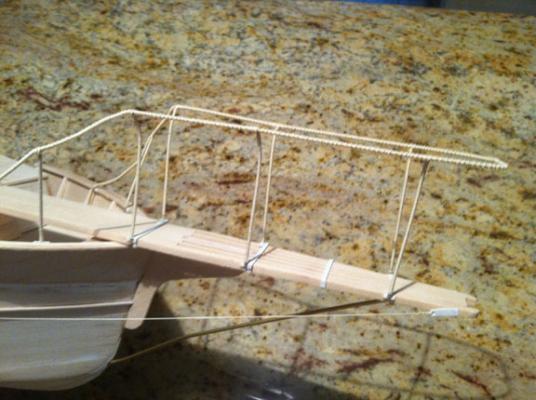
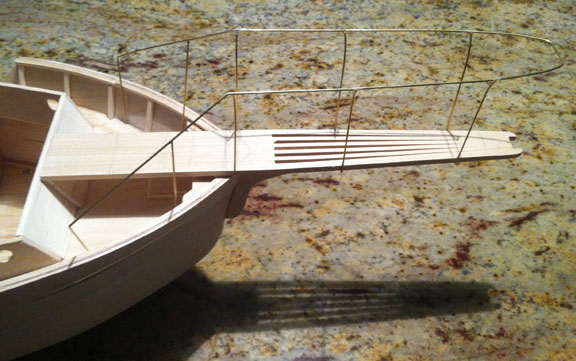
I made the Pulpit Rail out 3/64" brass rod. It's been super glued together, think it hold up the best this way. Still need to build the brackets to mount it to the pulpit and deck. Once finished it will be painted and wrapped with thread to duplicate what was on the actual boat, here's a quick sample I did to make sure I was going to like the final result.


- 155 replies
-
- 13
-

-
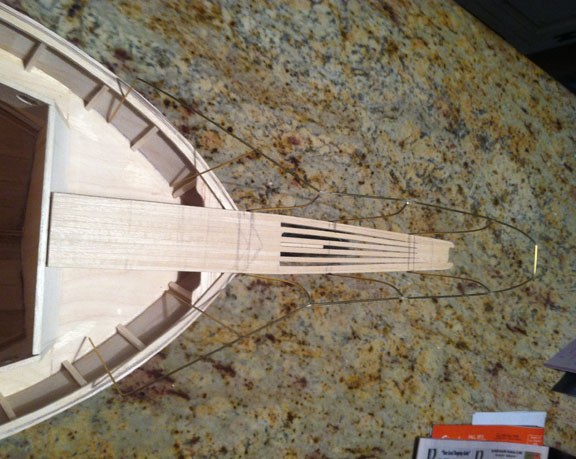
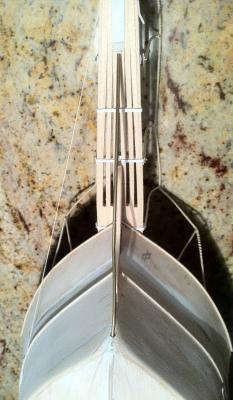
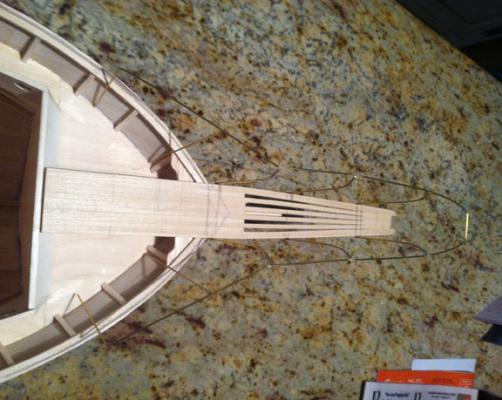
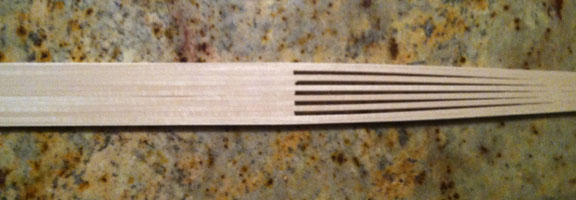
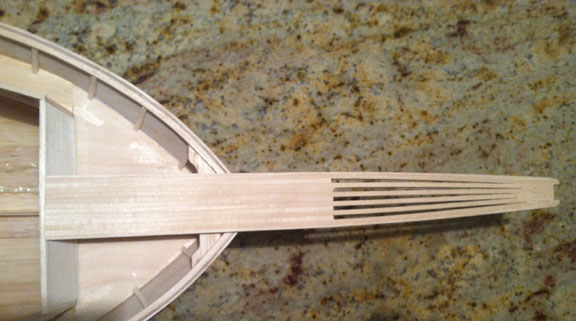
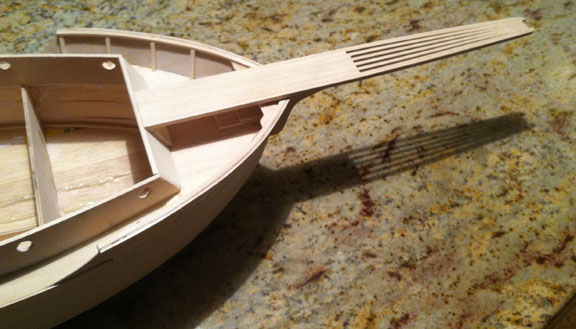
Decided to get the Pulpit roughed out this weekend. Started with cutting some 1/8" Basswood into 3/16" wide strips, 5 @ 7.75" long and 8 @ 16" long. Glued them together starting with 2 16" doubled up for the outside edge with a 7.75" next and then continuing till I had a total of 13. Once this was dried I cut the four middle strips back 1/8" shorter then the overall length to make room for the roller which will be in the end of it. Then I glued the last .75" of the opened end together, closing up the end. Now that the unit was completely glued together I sanded the surfaces smooth to the desired 1/8" thickness and sanded down the edges to the desired shape. Now this is ready for final sanding, detailing and staining/weathering.

-
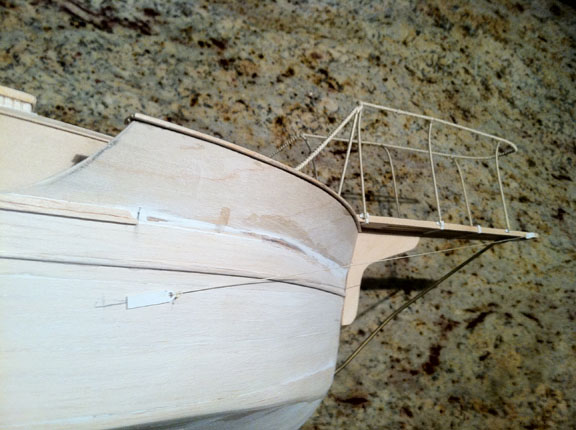
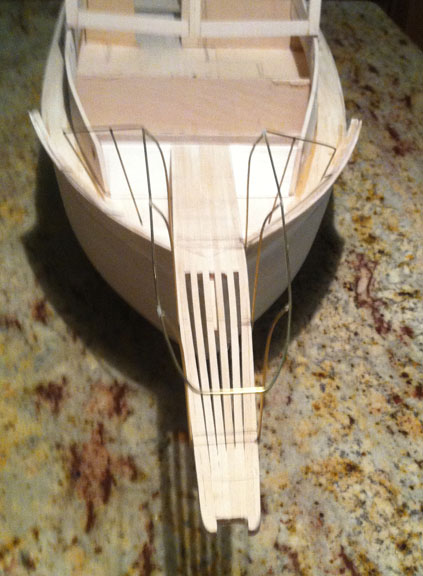
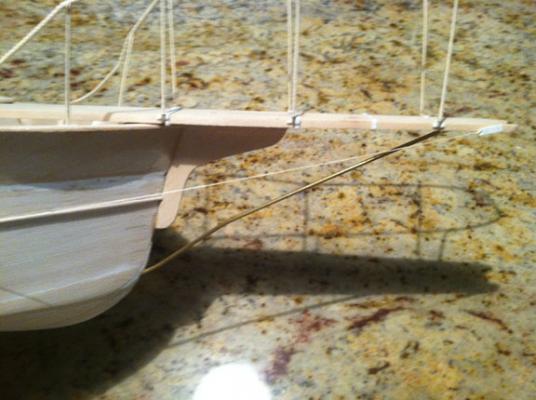
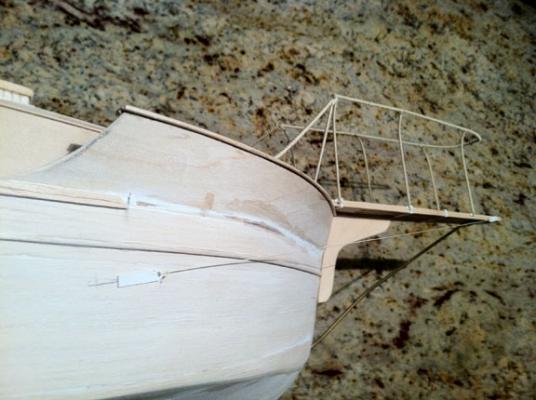
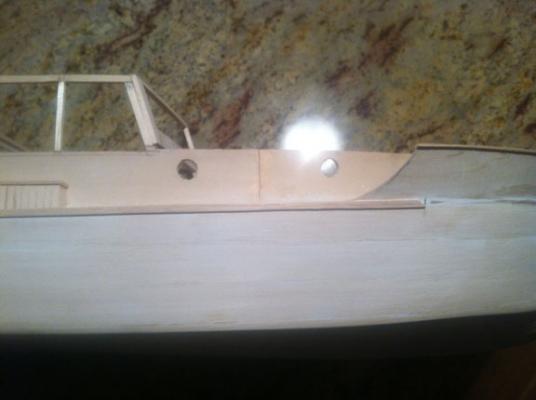
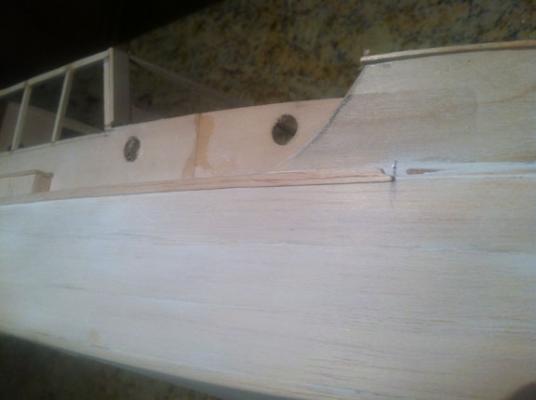
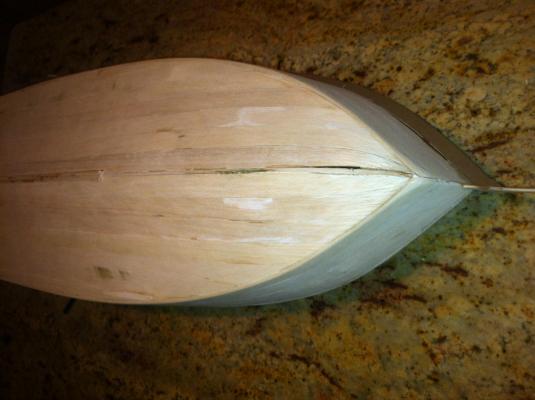
spent most time on the project the last week referencing the boat in the movie via the DVD..... Limited views of parts that you have to try to decipher. Did get some work done on the boat, mostly on splash guard/pulpit brace, see photos below.......this has been the hardest area for me to work since there's not many shots of these areas on the movie. Think I'm to the point of re-work being done from plans to accurate. Done with the plans, rest will be solely based off of the boat in movie. Let me know what you think.......

-
very cool idea, looking forward to watching this one!
-
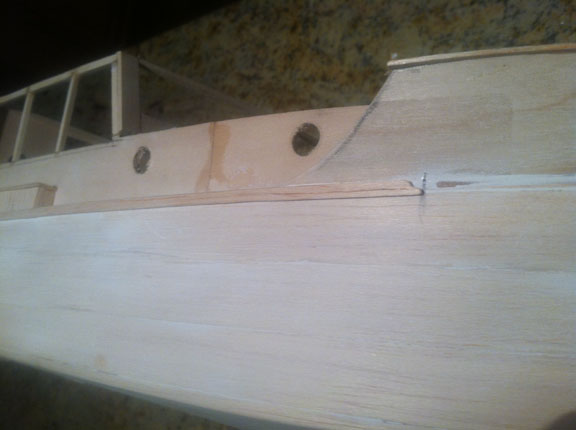
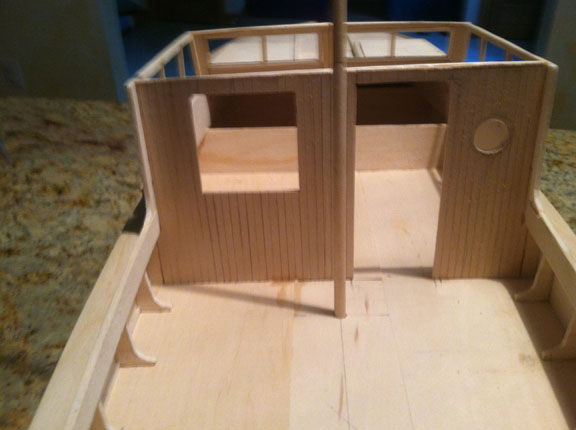
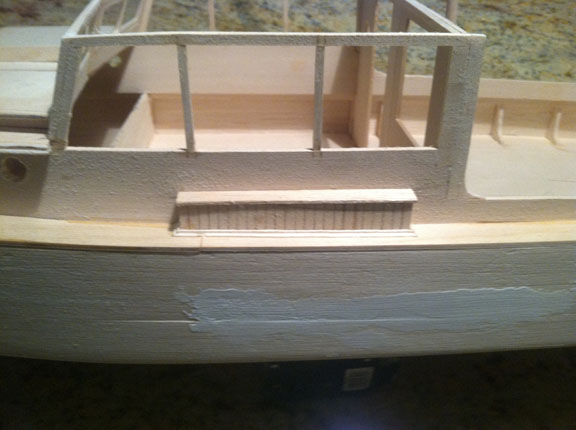
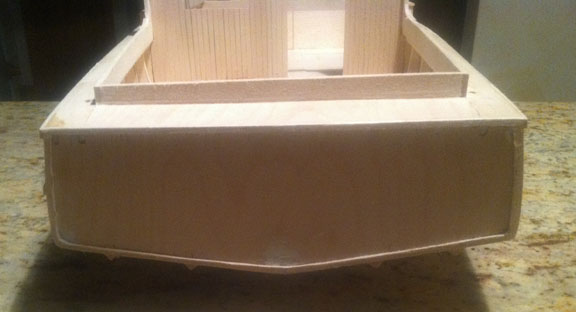
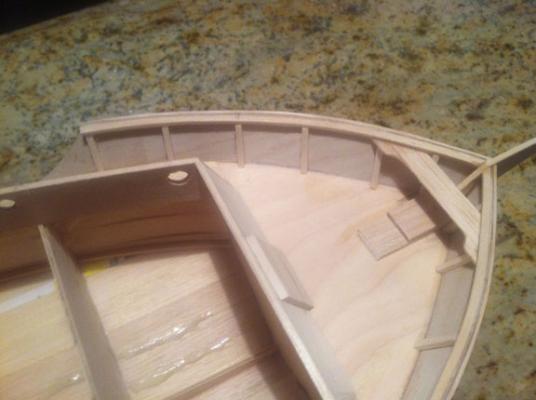
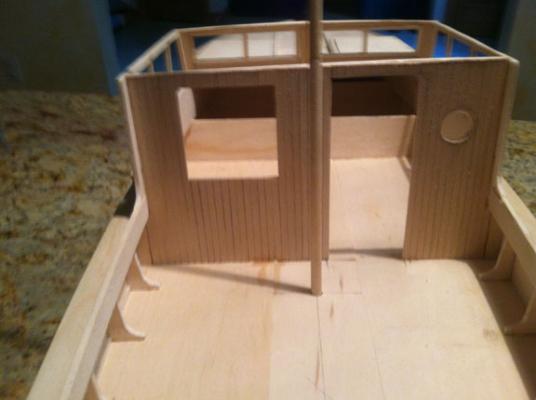
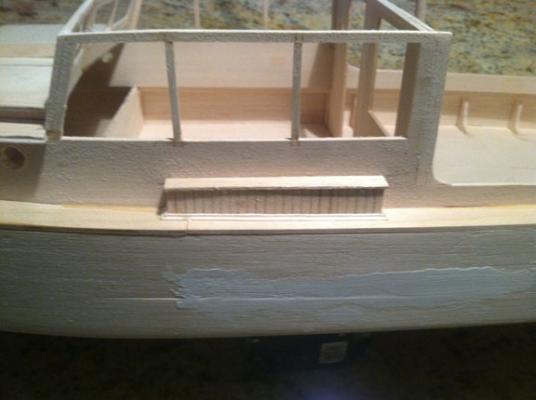
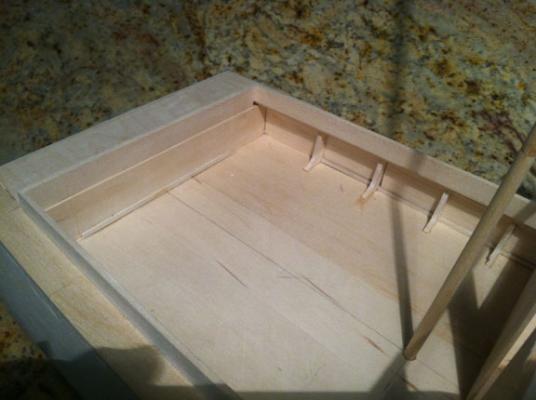
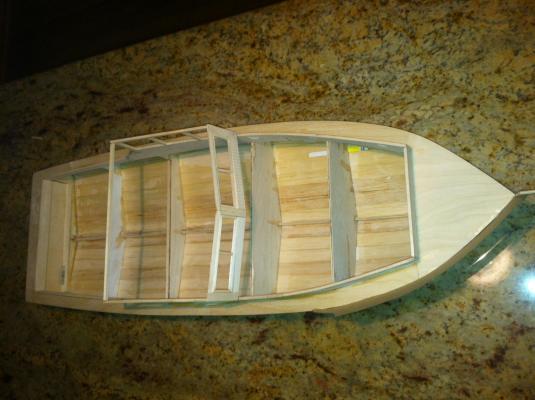
Thanks Mark! Here's some more photos of progress........ Been doing lots of research on this as of late which has been eating up lots of time, lots of revisions from blueprints. Inner transom wall added with molding along bottom and started scribing for both side panel doors. Inner side wall details added to aft deck Realized the back post for the side windows wasn't wide enough, so I added to it and re-cut the bottom radius. Added the small step/box under side windows which have scribed panels and hand gouged moulding where it meets the deck. Back wall of cabin made. made window larger from blueprints to match actual boat, moved door opening since it was in the way of the mast. I'm happy with it so far!
-
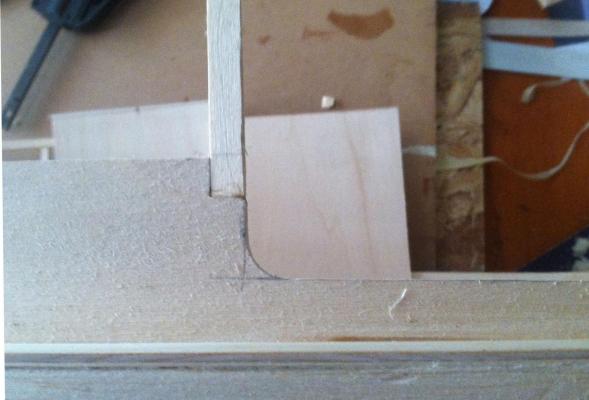
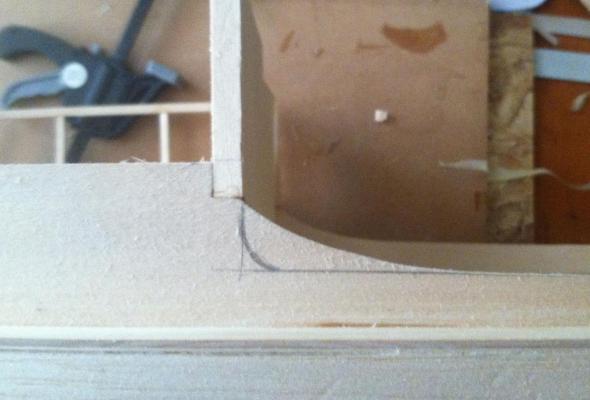
Just realizing that the radius on the cabin side walls where the side go to the railing are on the aft deck is all wrong....... Roughed out, still needs clean up. Revised this are also.....
-
Thanks for the kind words! For a first time scratch build and wooden boat, I'm having fun with the project! I'll be posting more photos this weekend sometime, stay tuned.
-
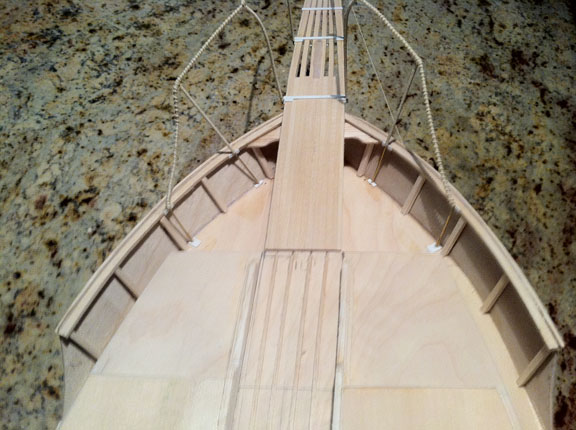
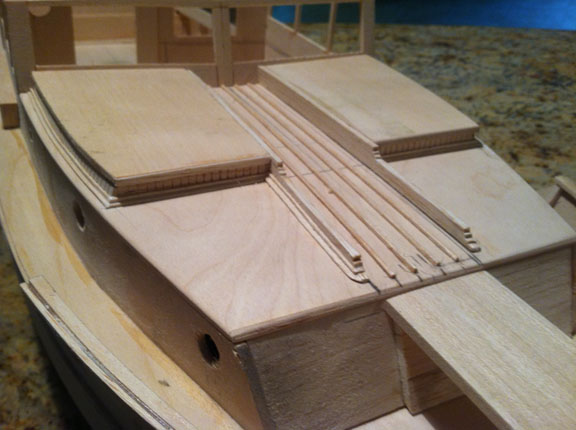
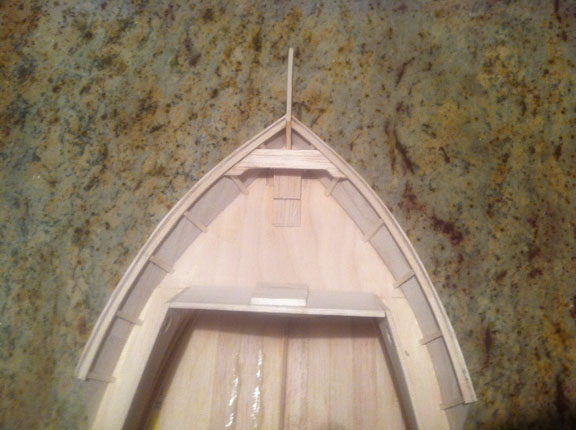
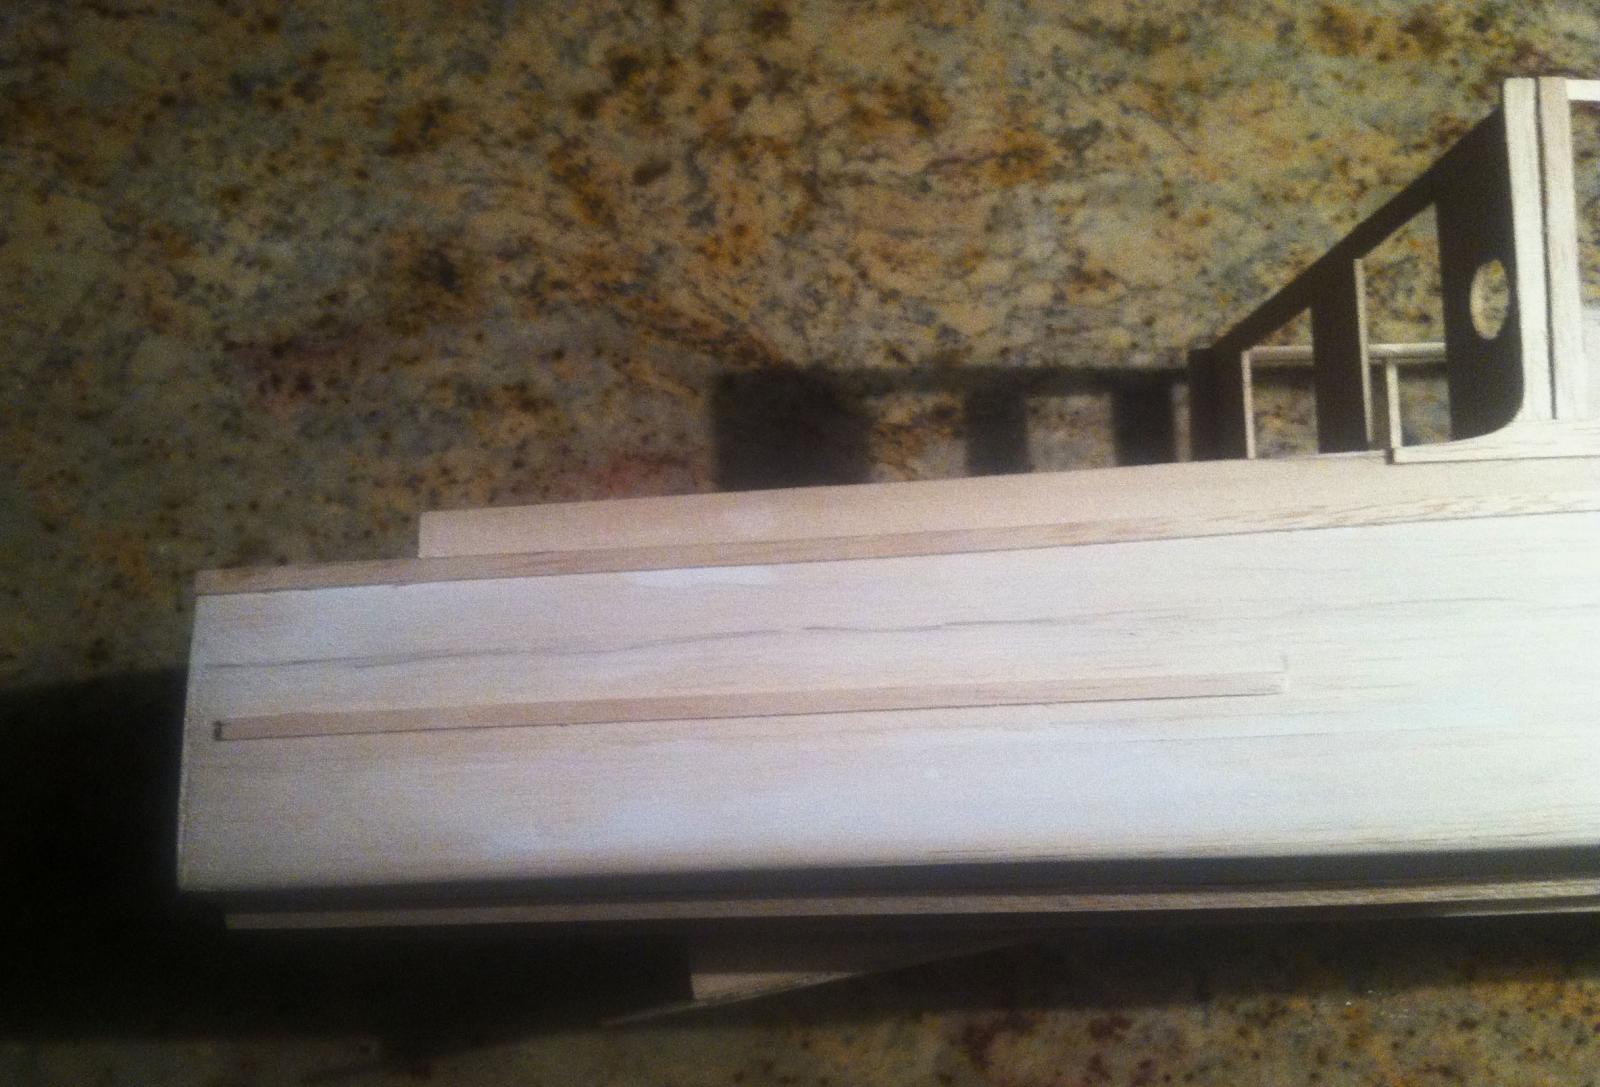
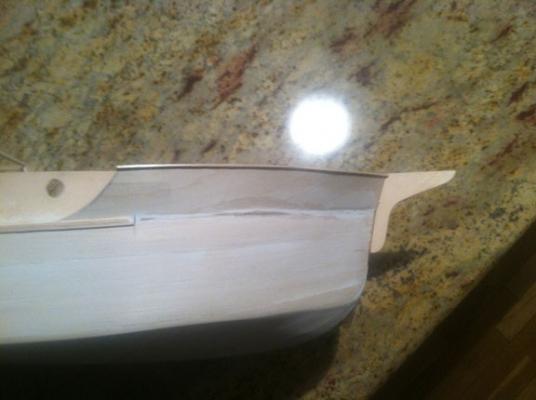
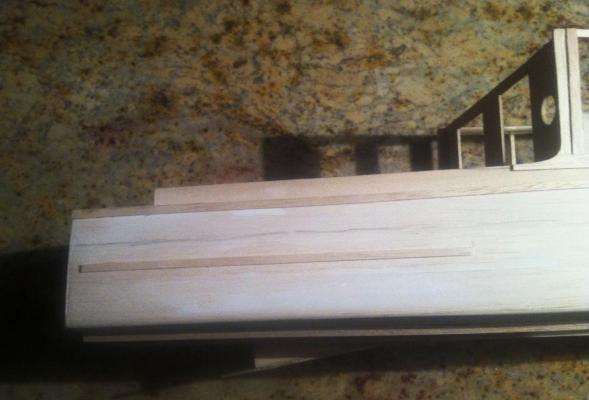
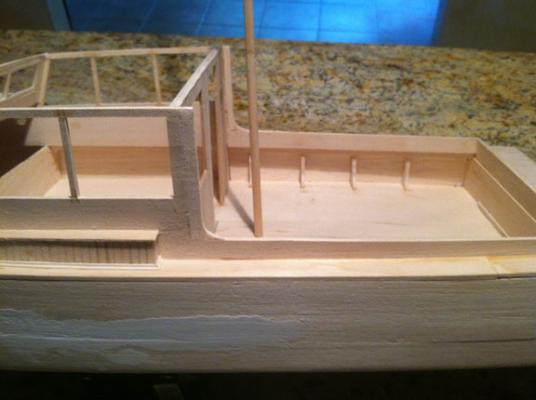
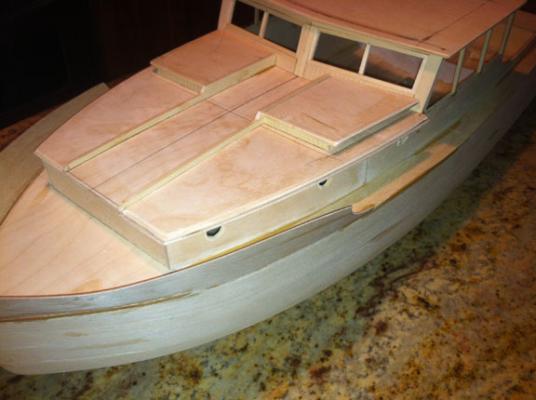
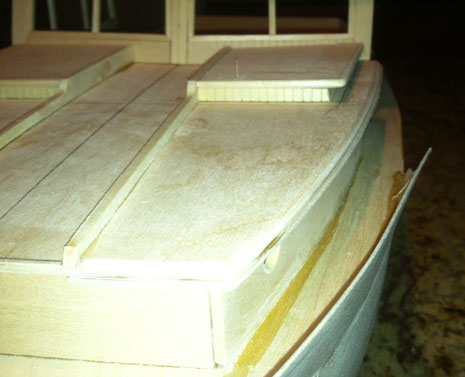
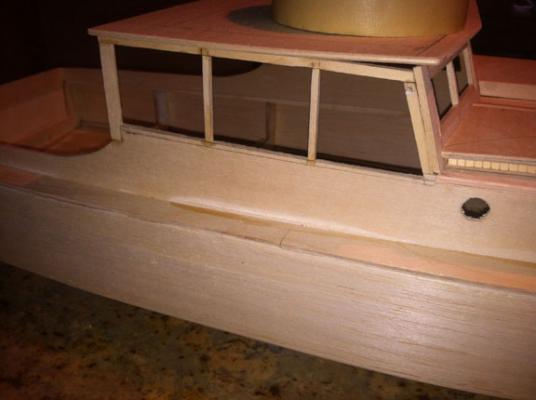
More progress made........ Forward cabin deck cut to shape with top edge tapered off and bullnose molding added to lower edge. Bullnose or the taper isn't shown in the blueprints. Another major change on this is the walkway on the forward cabin deck. The blueprints show this on top of the secondary roof on the forward cabin, looking through screen captures from the movie, it should be directly on the forward cabin deck. Also created the wood trim that is on both sides of the walkway. The short walls for the sides of the secondary roof are supposed to be angled slightly also, which I did. These are scribed to look like planking. Also realized the the side windows on the side of the cabin should be 1/8" lower than what they were, so I lowered the bottom edge of them. Also added the splash guards and the pulpit support, both of which were modified from the blueprints.
-
Freezer Paper - an awesome tool
ndeconte replied to Mahuna's topic in Modeling tools and Workshop Equipment
GREAT tip Frank! -
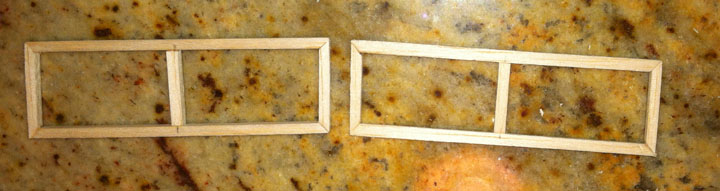
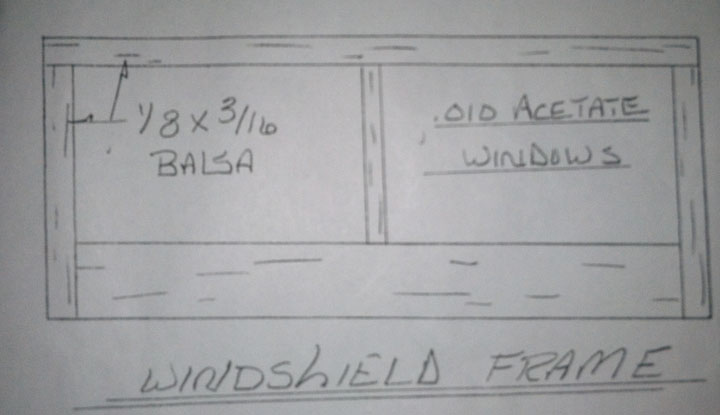
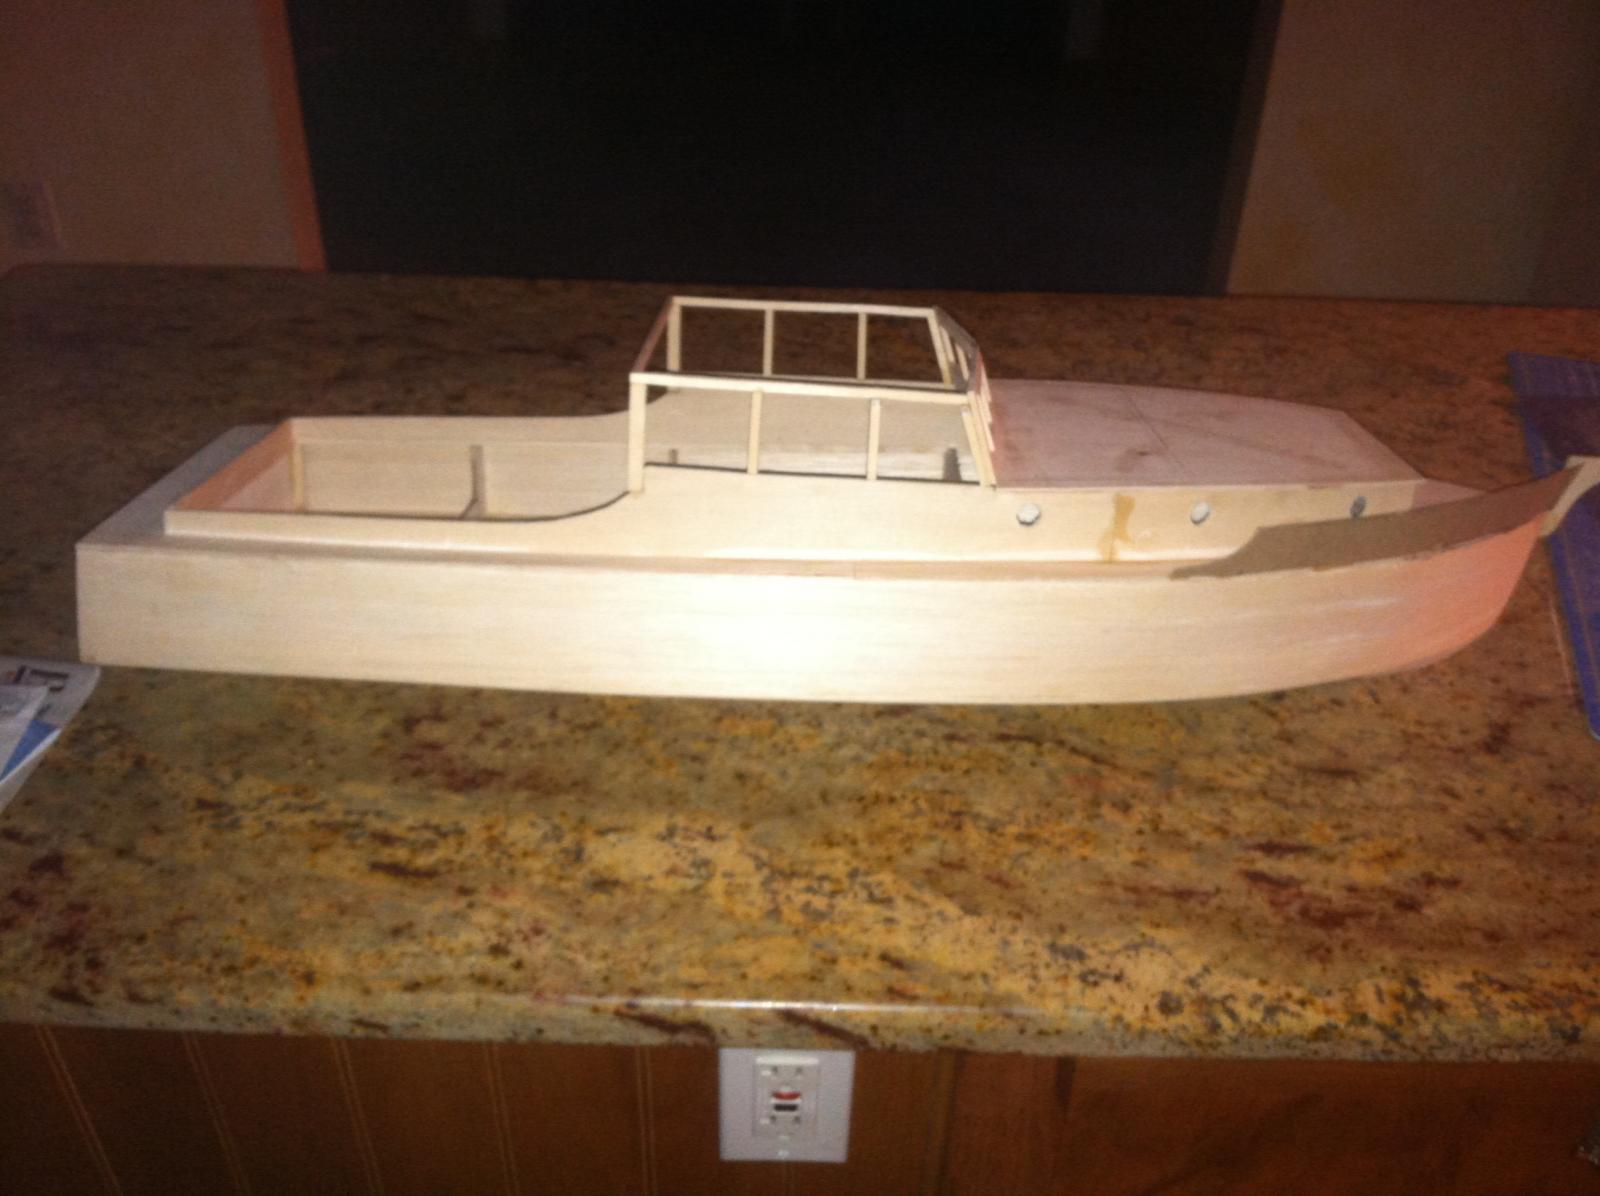
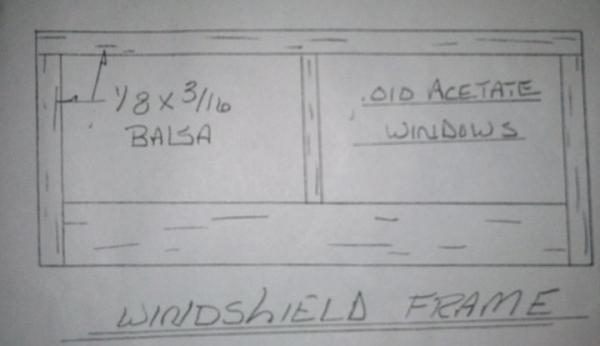
Biggest changes so far would be the front windows of the cabin. If you compare the blueprint frame to the screen capture you can see the difference. So I created the front of the cabin separate from the window frames, this was I can hinge the window frames so that they can open.


-
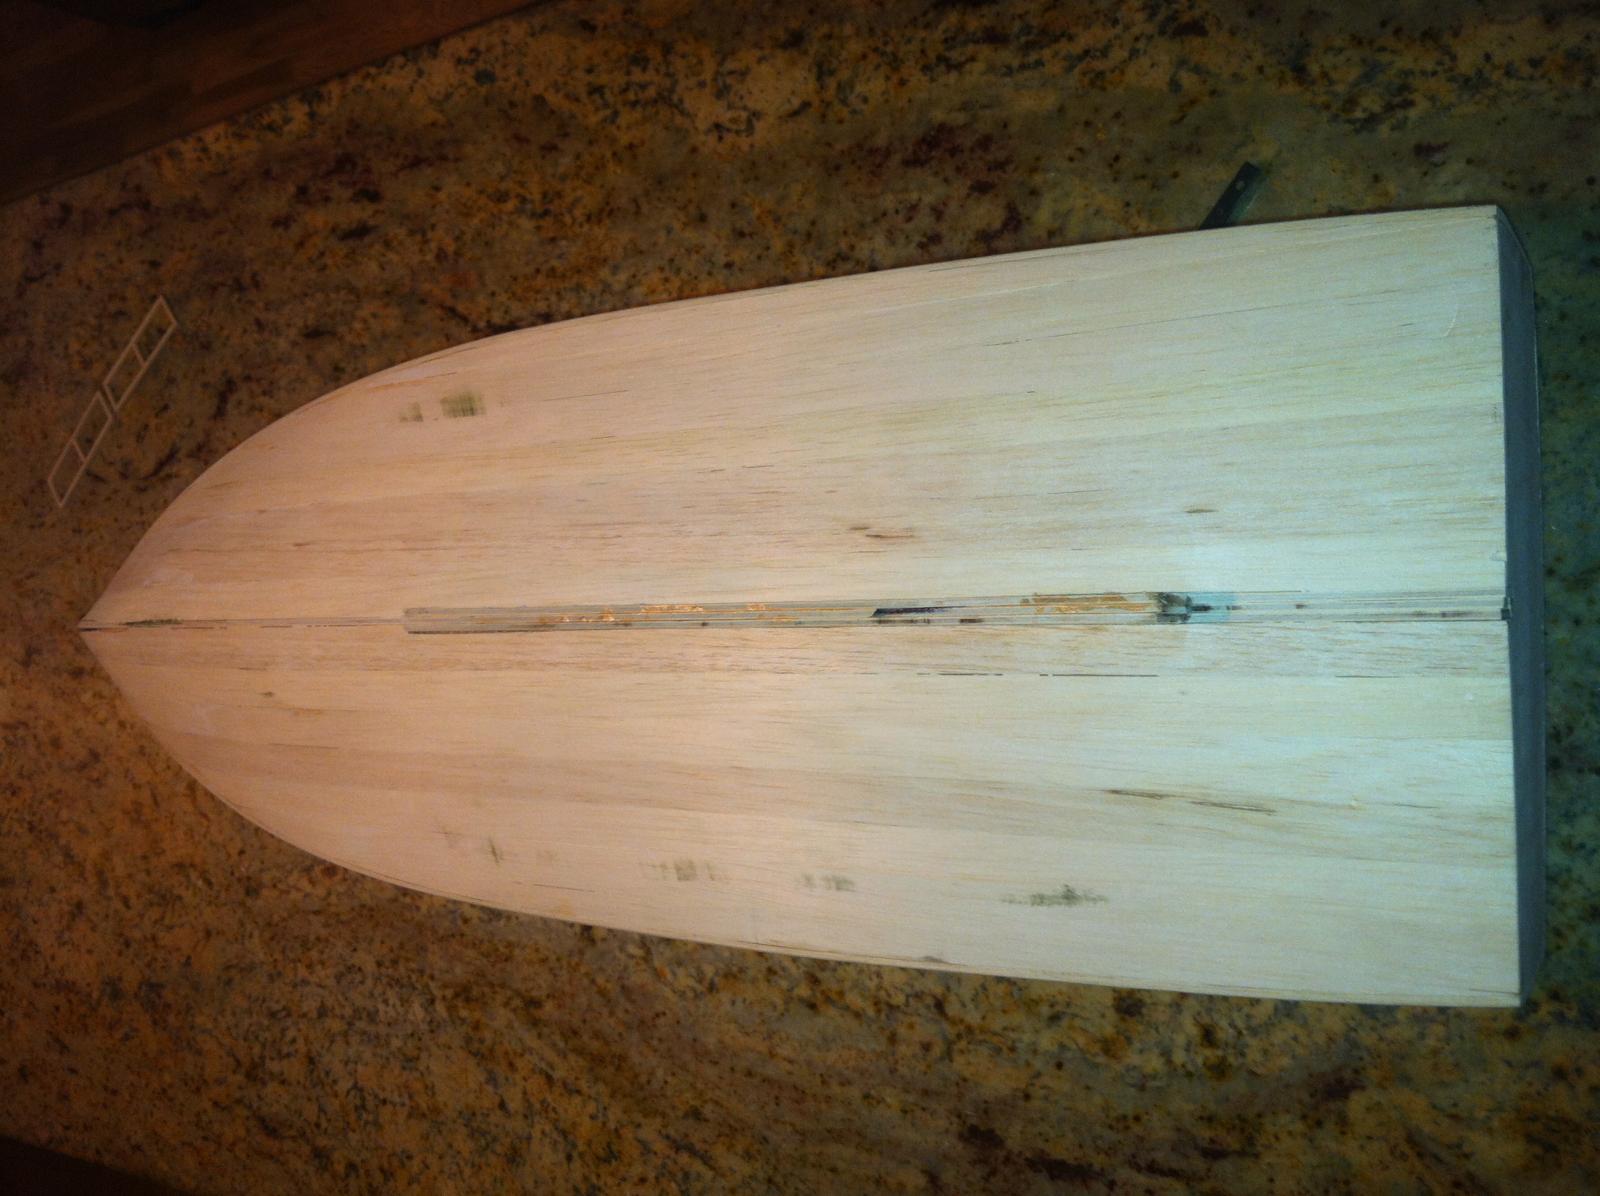
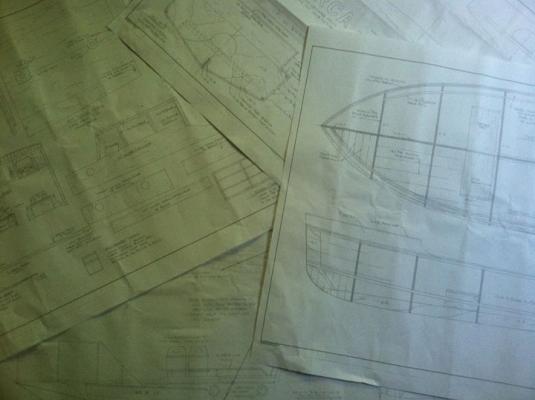
So here is my first build log on my first scratch built wooden boat model. This is a 35" replica of the Orca boat from the movie Jaws. I started with a set of the Paul Tritle blueprints, They're a good starting point for this project......I get a little anal over details, so things are changing already from the prints. These blueprints can be purchased here: http://www.patscustom-models.com/boatplans.htm I got ahead of myself on the build before I started the build log but I'll keep it updated as I go along now.


-
Thanks for the info B.E.! Very cool!
-
B. E., Beautiful ship! Being new to this part of the hobby (ships in general) I have to ask you about your base, I'm assuming you made it? How did you do the water?
-
Great build lambsbk! You and force9 have enlightened me on so many things with this kit, thanks! I got mine in the mail today, hopefully will start on it this weekend. First ship model for me!
-
My hat off to you force9, AMAZING work!?! Being new to the hobby and tackling this same kit as my first very shortly, your work is inspiring.