

vths
-
Posts
144 -
Joined
-
Last visited
Content Type
Profiles
Forums
Gallery
Events
Posts posted by vths
-
-
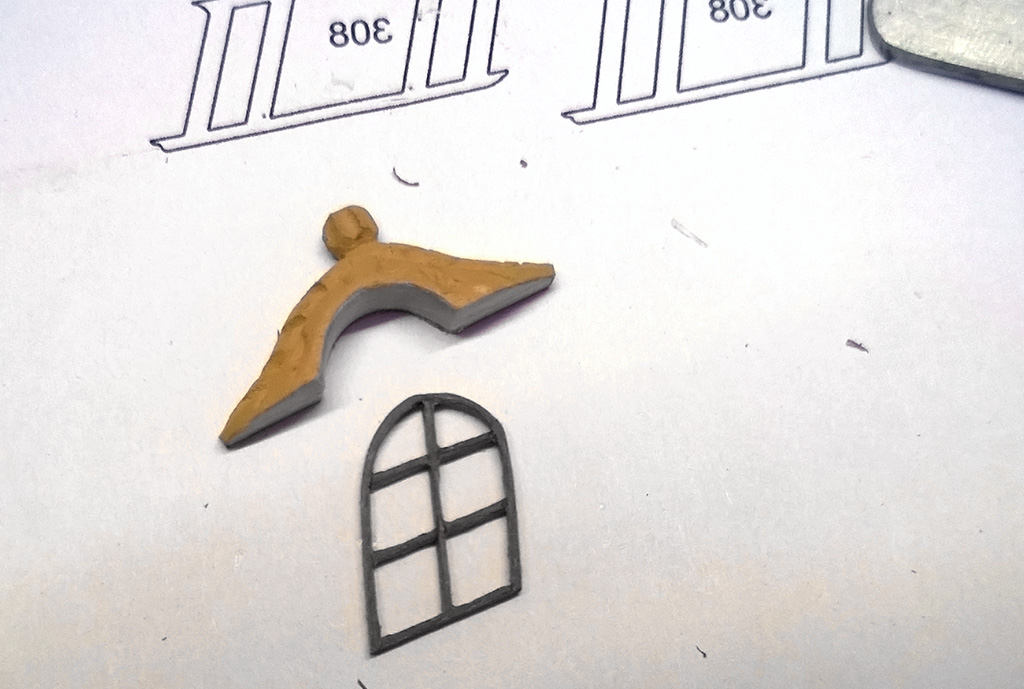
Well that is quite easy
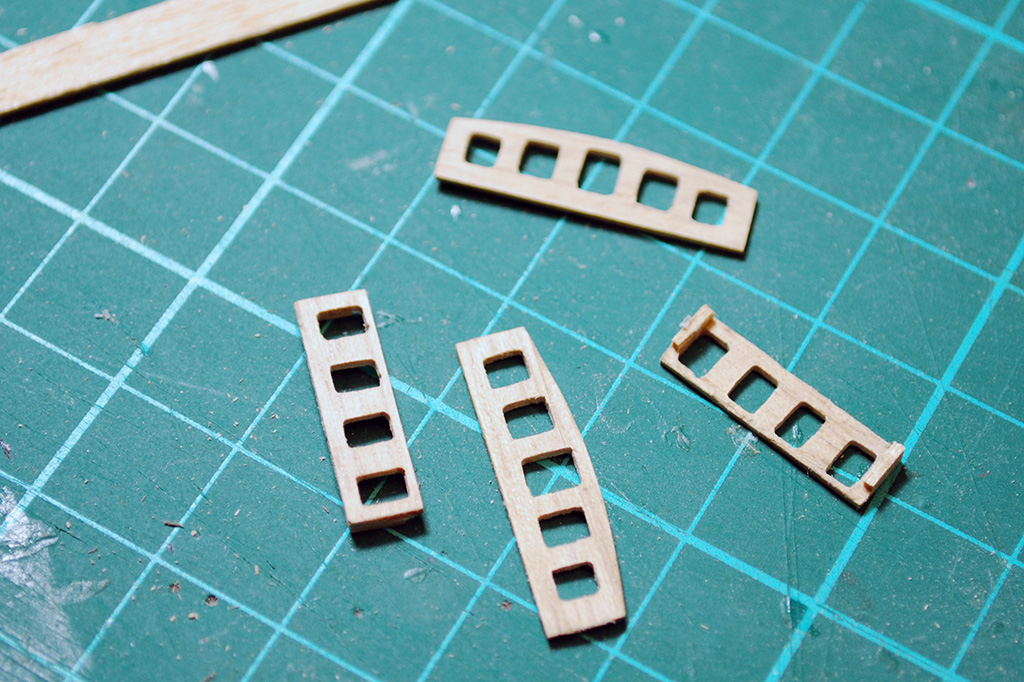
 For example in Photoshop create a new picture with the same ratio as the piece. So if the piece measures 18 x 5 mm, you can create a picture of 900 x 250 pixels. Then draw the windows or anything else - in this case just black rectangulars and fiddle with them to put them in right position. It is also good to make a frame around the whole picture (you'll know where to cut it). The last step is to print it out using scaled print size choosing the actual dimensions of the wooden piece for the whole picture, so in this case 18 x 5 mm again. The printer will provide you with a template of just the right size.
 What I did looked something like this

- Landlubber Mike and Martin W
-
 2
2
-
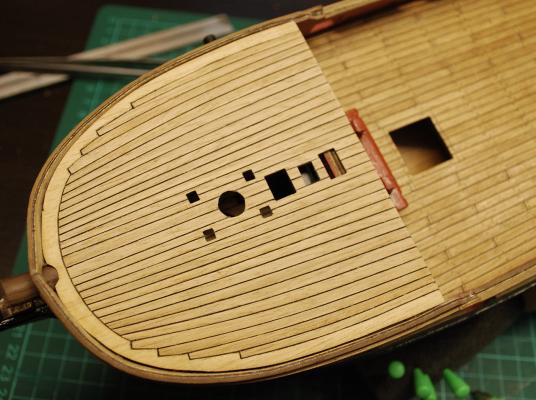
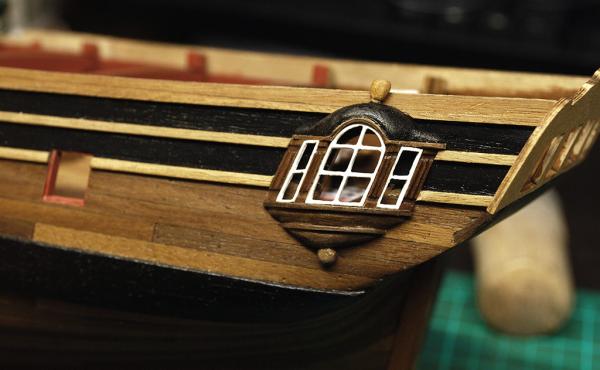
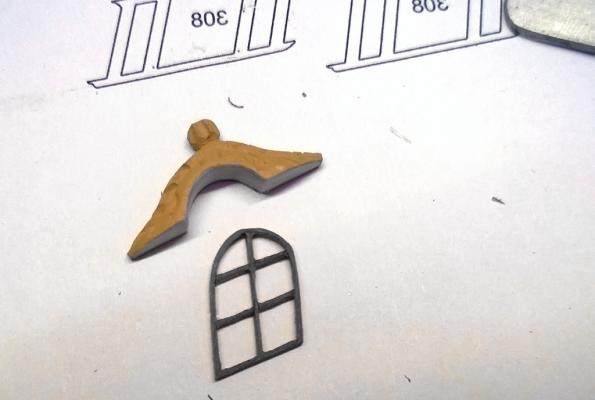
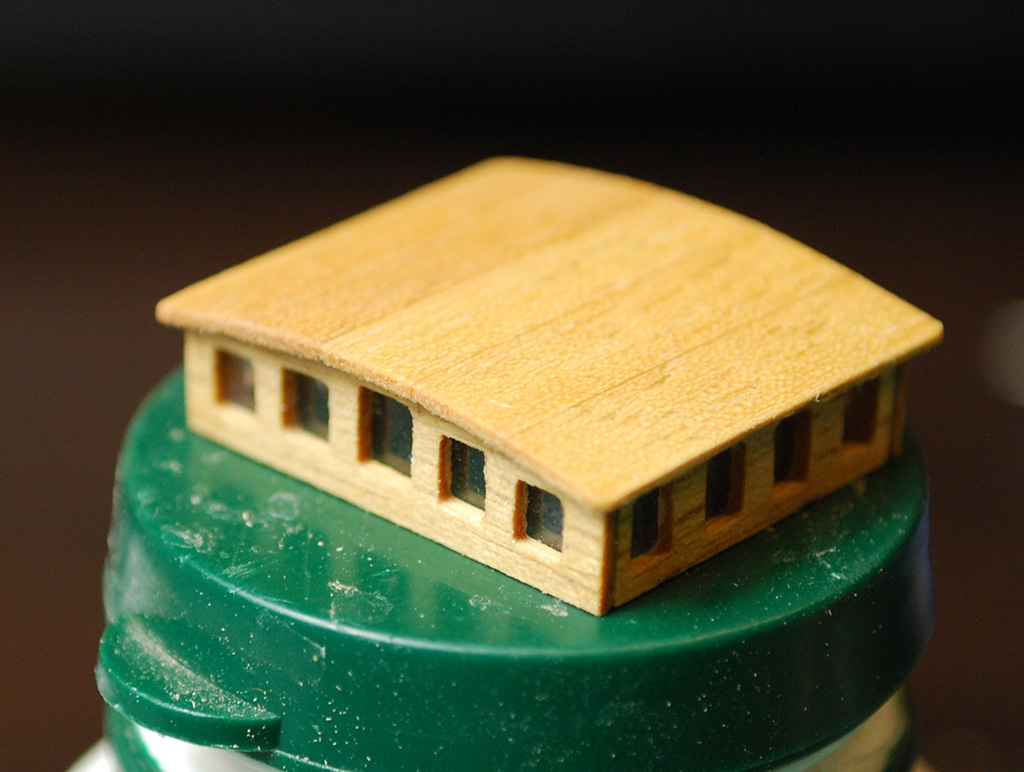
Thanks Martin. I made a long strip of windows using computer and printed it at the right scale. Then I glued two sides of the companionway together using just a little bit of PVA and a strip of five or four windows on them. Then I drilled a small hole with a .6mm bit in each corner of each window, cut them out with a very sharp exacto and finished them with a fine file.
I would also recommend gluing a piece of paper on the other side of the plank to strenghten it, because it tends to break during the process. It is also good to apply a coat of varnish first to seal the fiber.
-
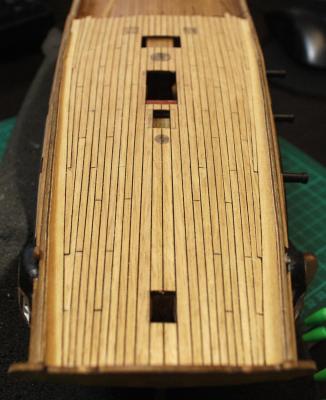
Looks like I have the same problem as you, Alistair. I was not aware that the opening for gratings in the gun deck and opening for stairs in the quarterdeck overlap each other, so now it is not possible to place the stair right. Well now it's too late to do something about it. Guess the next build will be from a scratch, then I will be able to make just my own mistakes
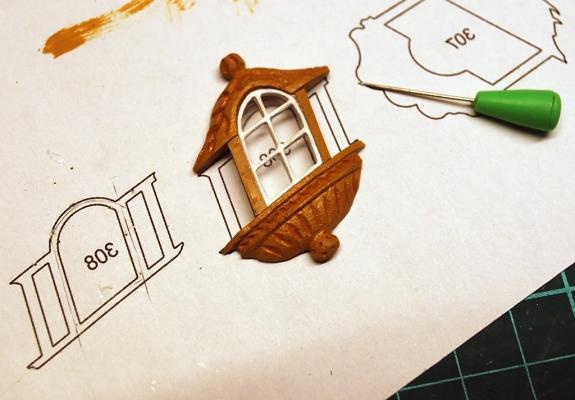
Anyway I've rebuilt the companion top to make it narrower and its base was tapered.
-
Yep, it is highly recommended. It does not have to be absolutely clear, though.
-
Thanks, Alistair. I decided to copy Dan's companion top from his superb Vulture and that is a bit larger than yours. If it were smaller, I think I would also have a very hard time creating the side windows. Still, it is a bit oversized and rather close to the mizzen mast due to one silly mistake of mine, so I will probably have to take it apart and scale it down somehow. Yippee
-
-
-
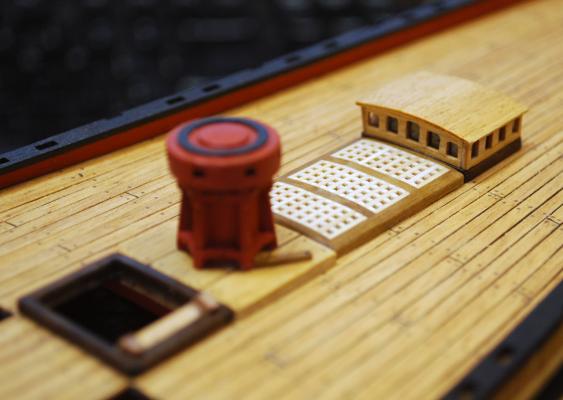
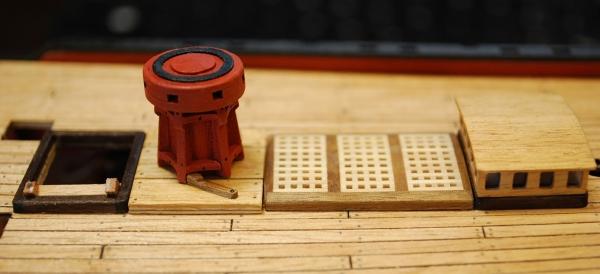
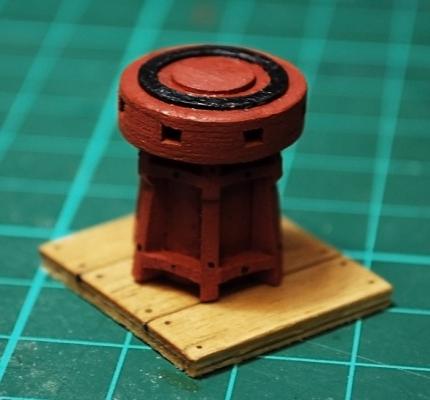
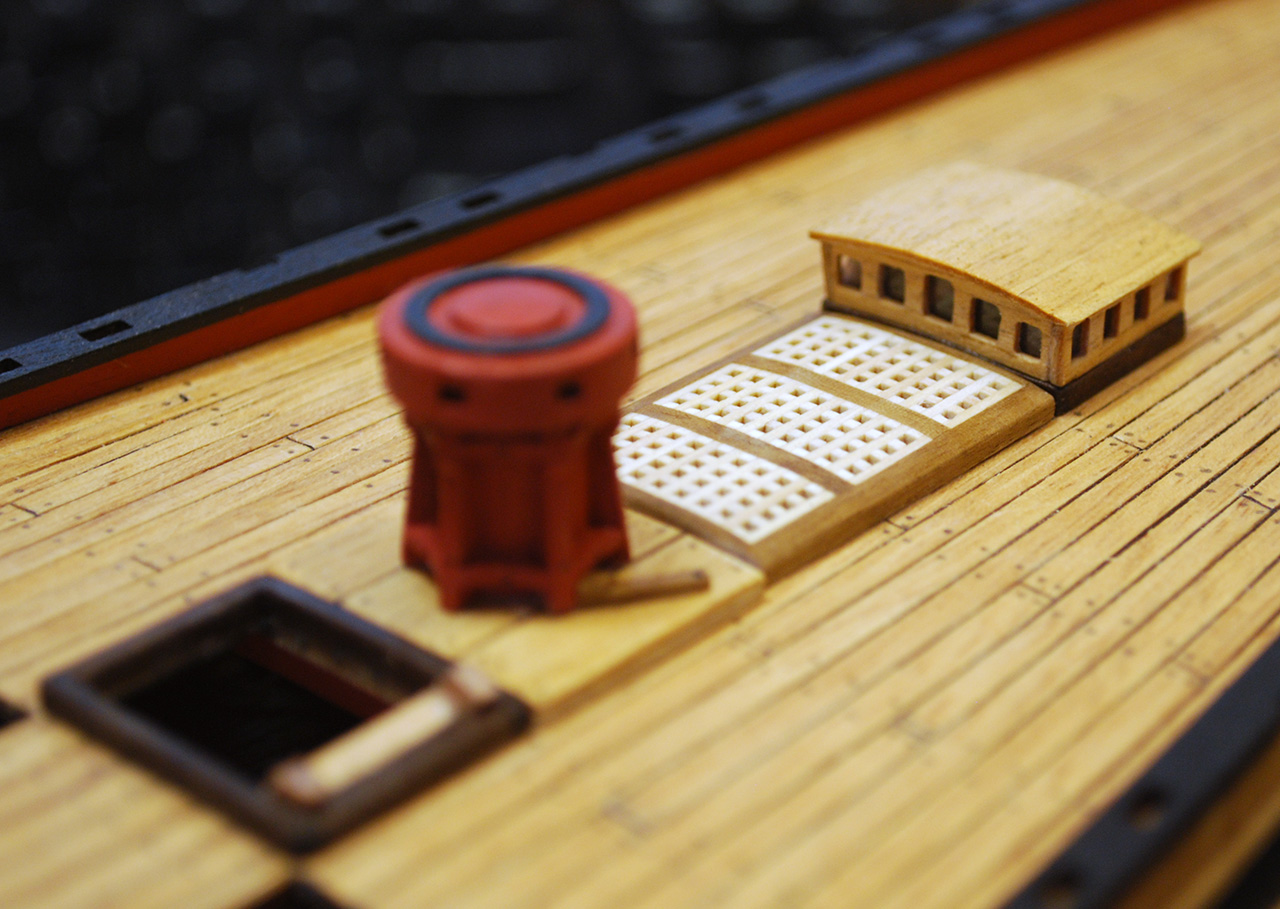
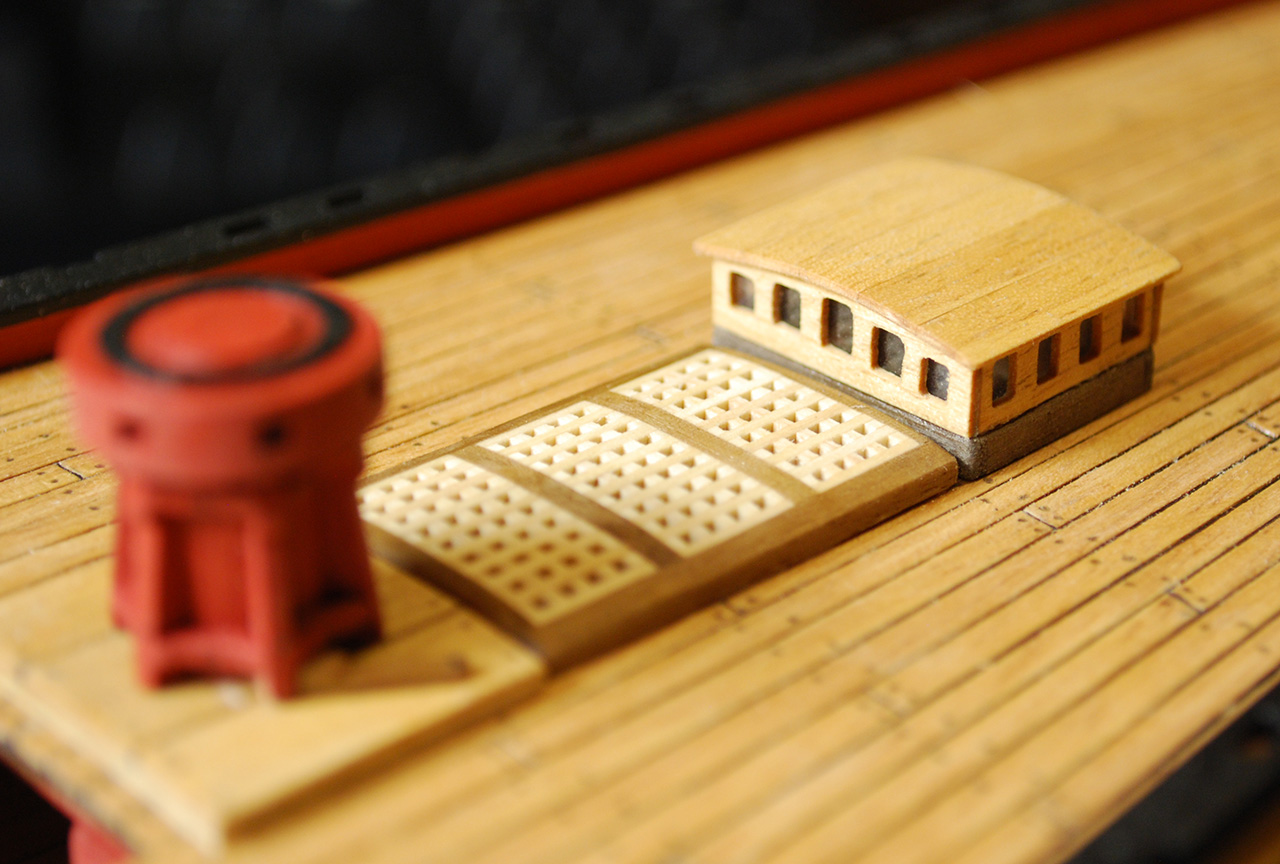
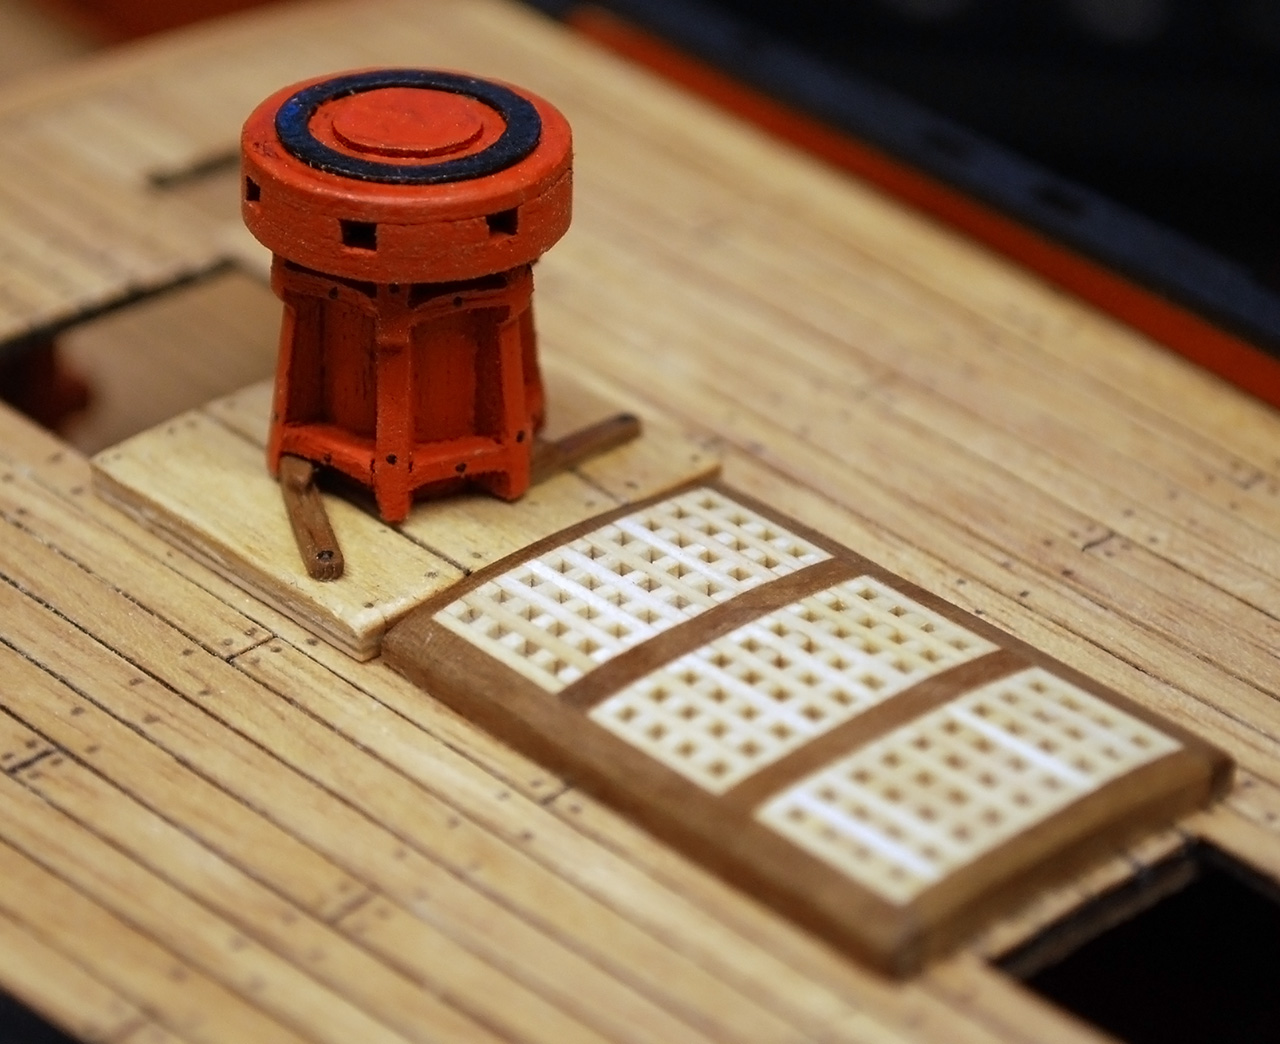
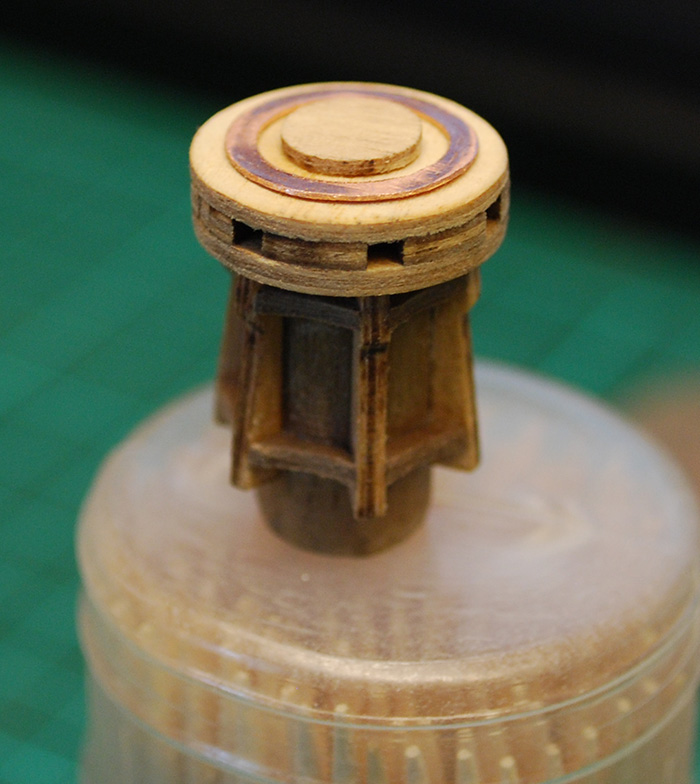
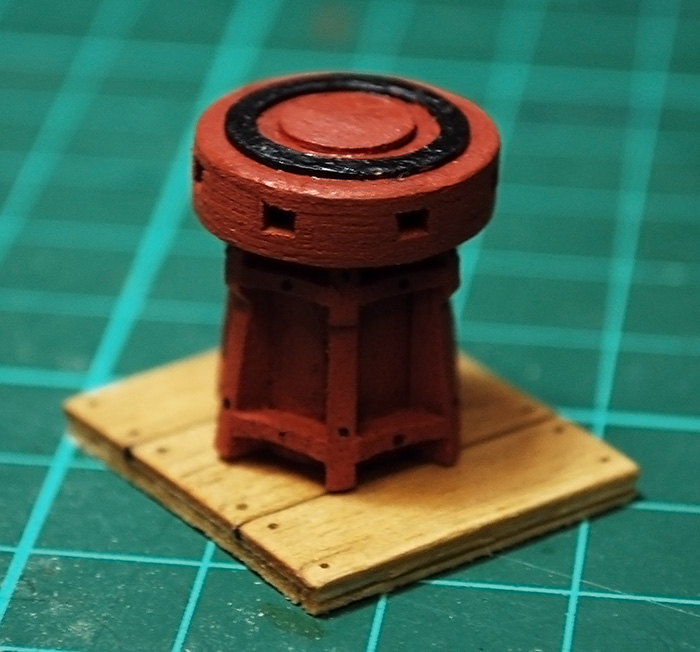
Thanks, I know I would regret it so there was no other way than doing it again. Now the capstain.
The kit has a bit simplified version so I created it to correspond to the TFFM plans. The reinforcing ring is made of copper sheet.

-
Thanks Nils, I find your Pegasus build very inspiring, keep up the good work,
-
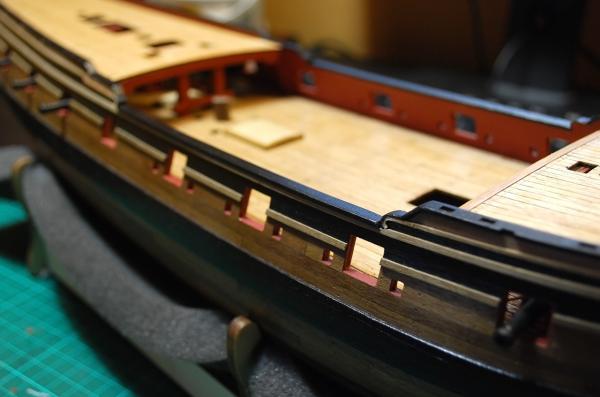
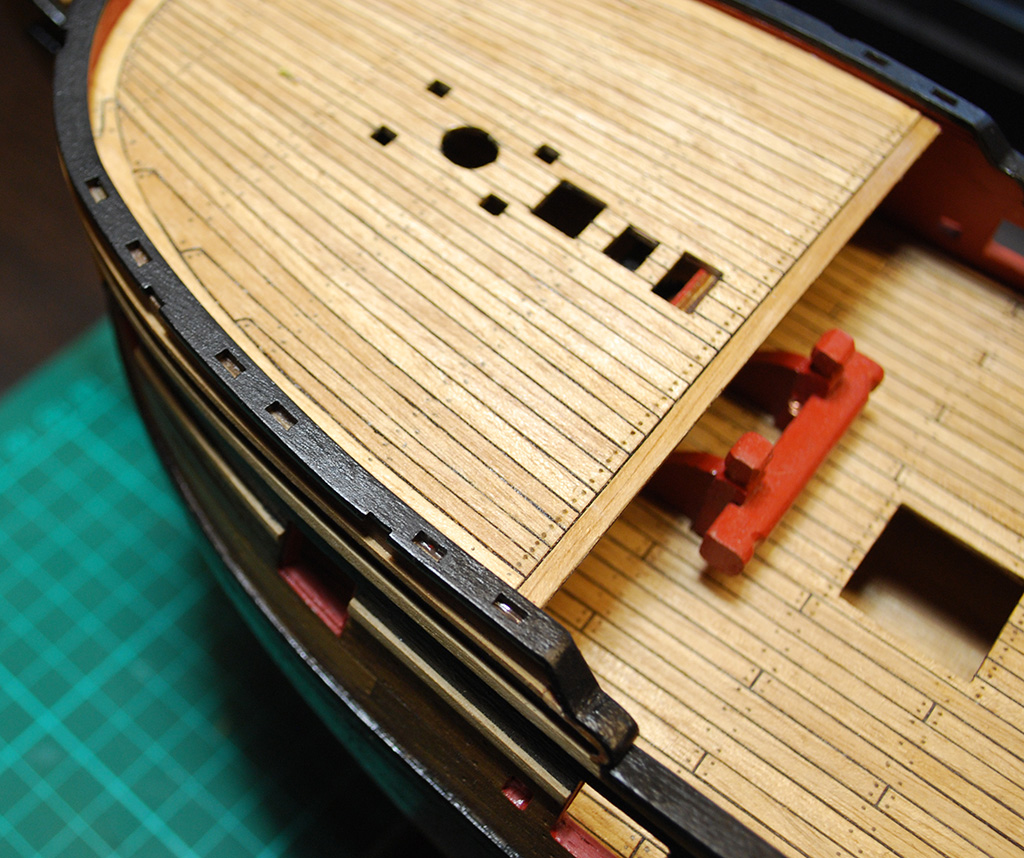
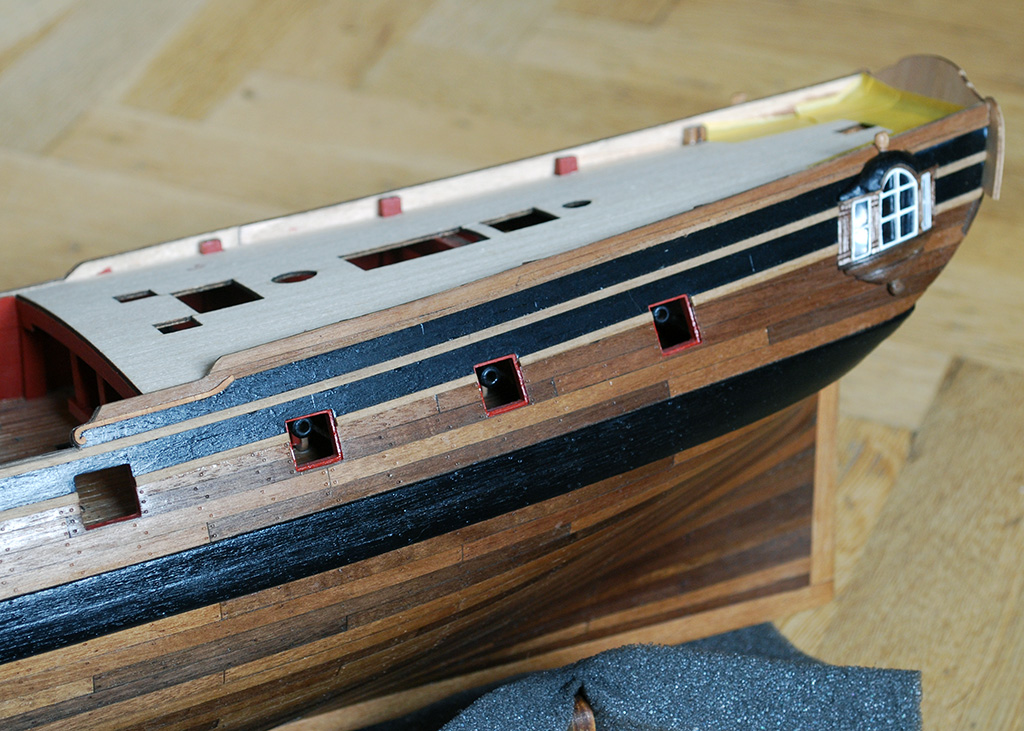
Cap rails are finally finished. Now it is time to create the deck furniture, finish the transome (that'll be a pain), rudder, the rest of the guns, decoration, etc.

- aliluke, Blue Ensign, Martin W and 4 others
-
7
-
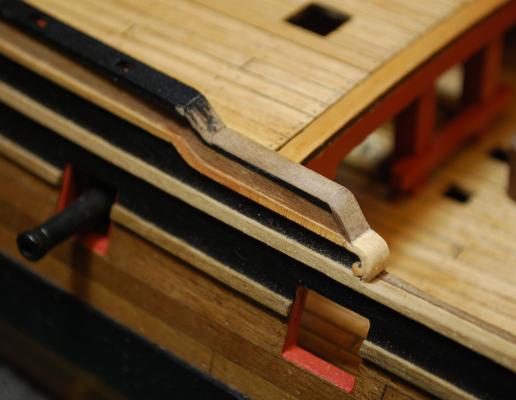
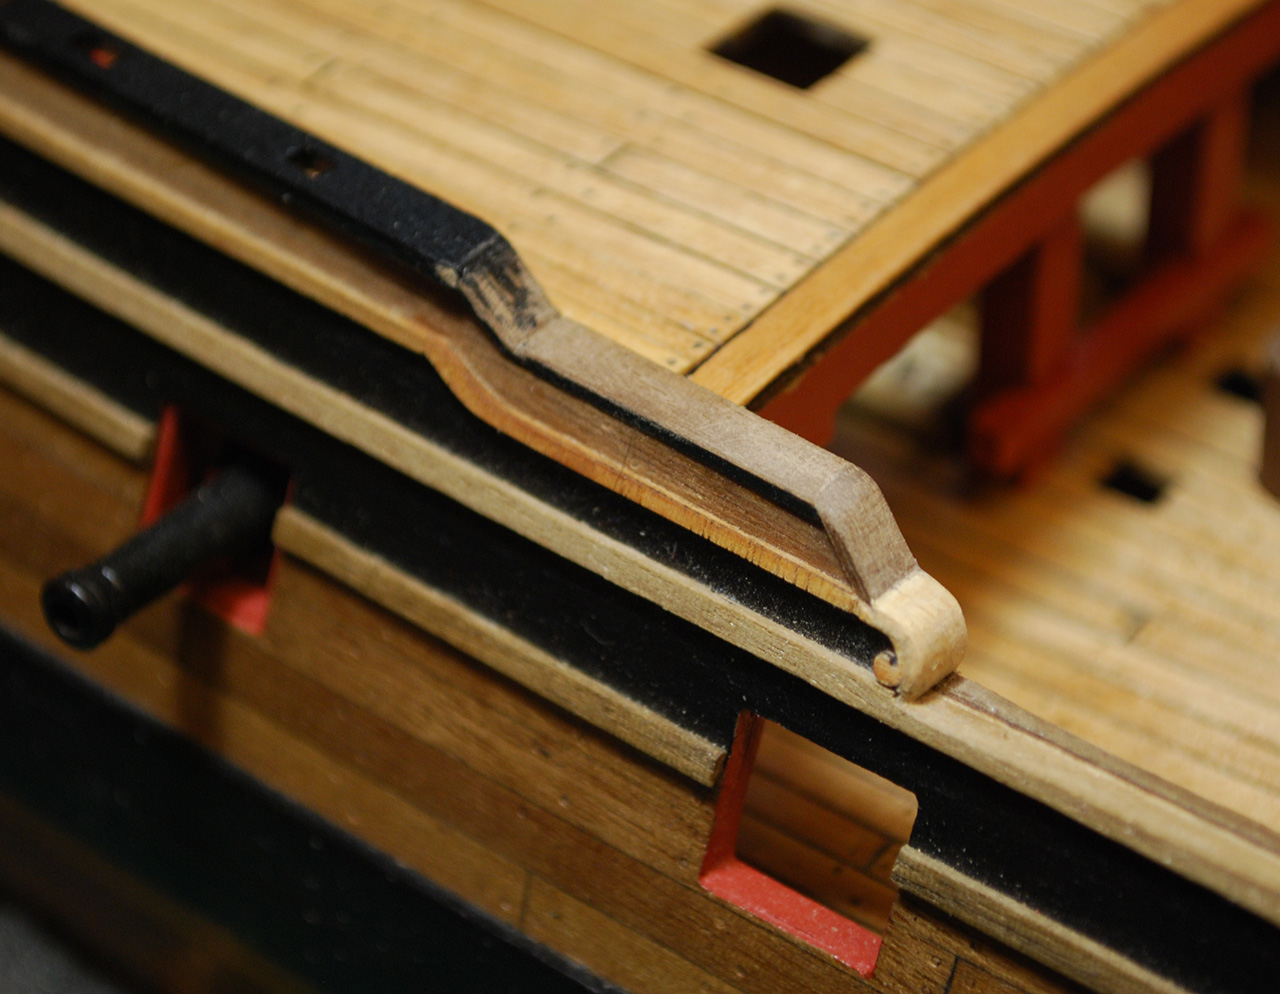
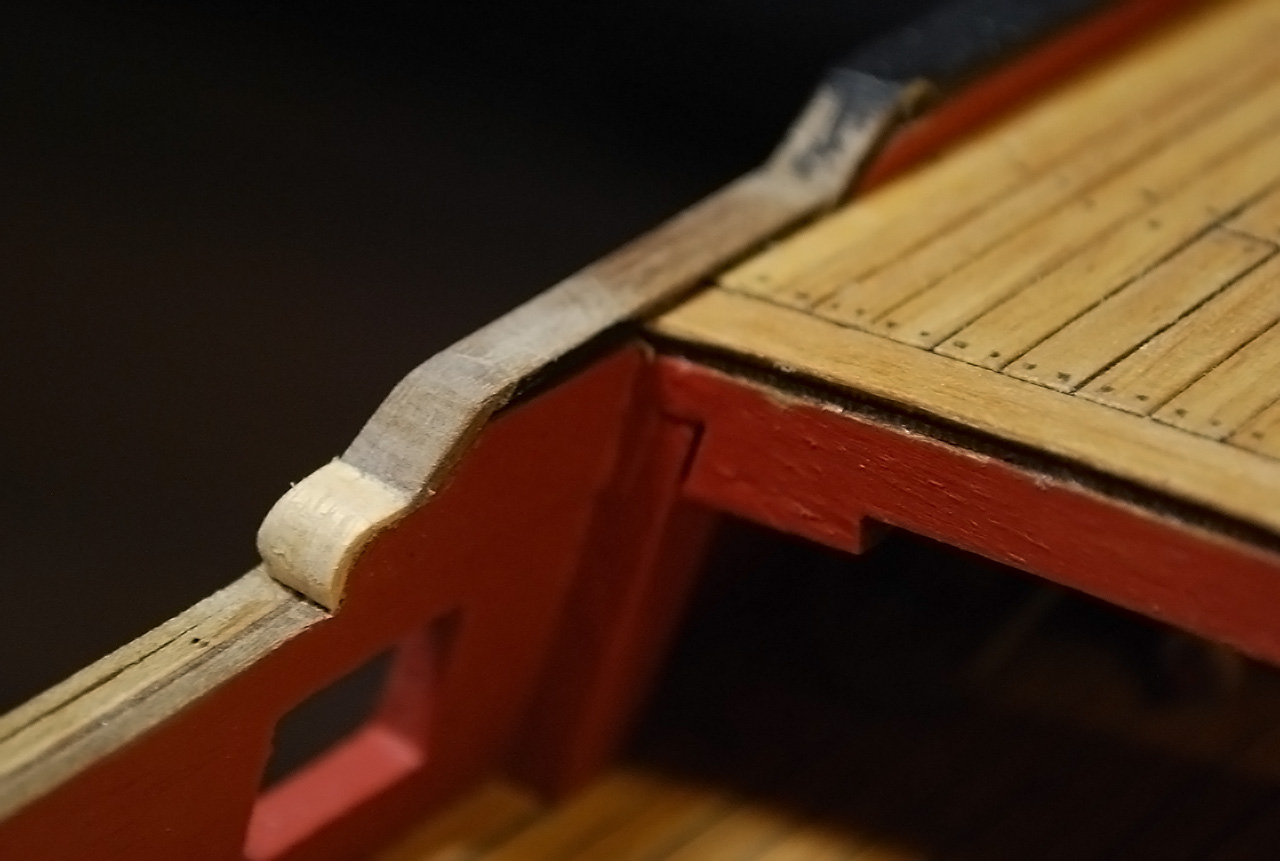
Thanks Alistair. I'll see what I can do about the pictures. Now I'm struggling with the cap rails. The little bent pieces are made of tanganyika. It still was not easy to do, but it was possible with a bit of patience. Now I'm thinking about the top of the transome and what to do with it. Is there also supposed to be a cap rail?


EDIT: Missing photos reuploaded
-
OK, now the hooking should be right.
- Blue Ensign, Mirabell61, Bettina and 4 others
-
7
-
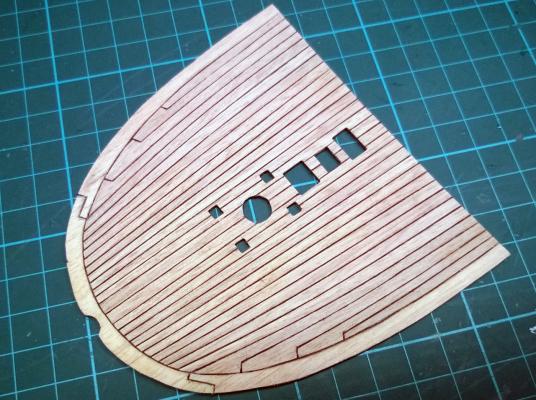
Thanks, unfortunately, that forecastle planking is all wrong, so I'm doing it again
-
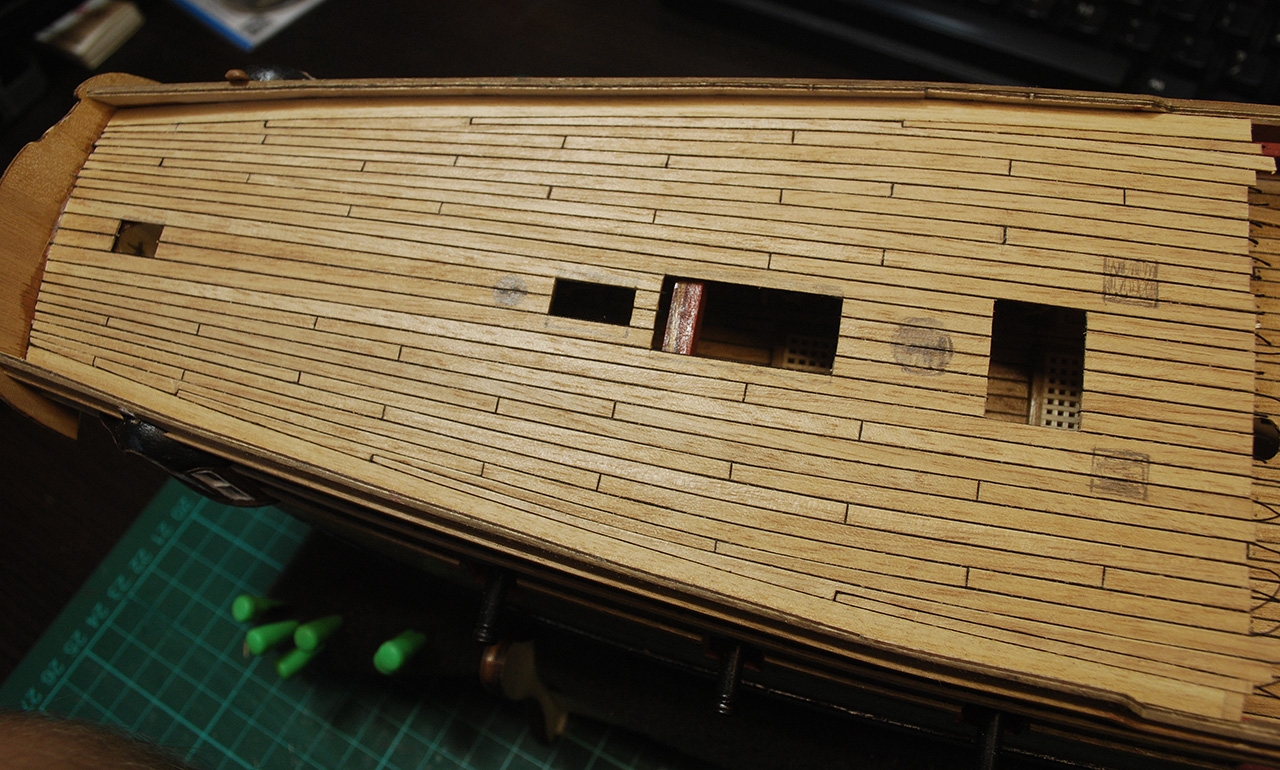
Hello everyone, after a few moments (months) pause I've finished planking the forecastle, placed the front pair of sixpounders and found a place for the stove. Looks like the cook will have a hard time working under the beam, but the was no way around. At least I tapered it a bit.
Now it is time for treenails, yay!

-
Thanks. Alistair, the kink is noticable, but only from above, so the rails should sort it out as well as the inner planking. Anyway I did not give much thought about the stern piece, cause I simply needed it in place to protect the captain's cabin. So that is something that only future me will have to deal with.
-
Thanks guys. Now it is planking time and first, the poop.

-
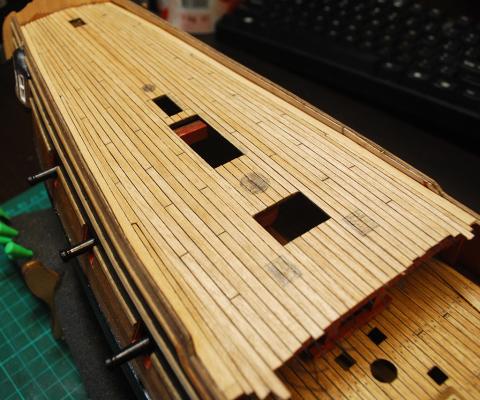
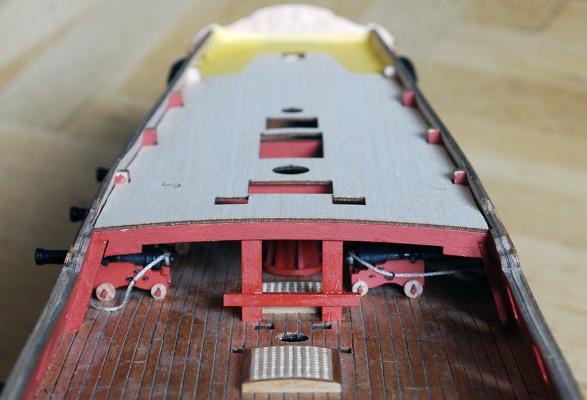
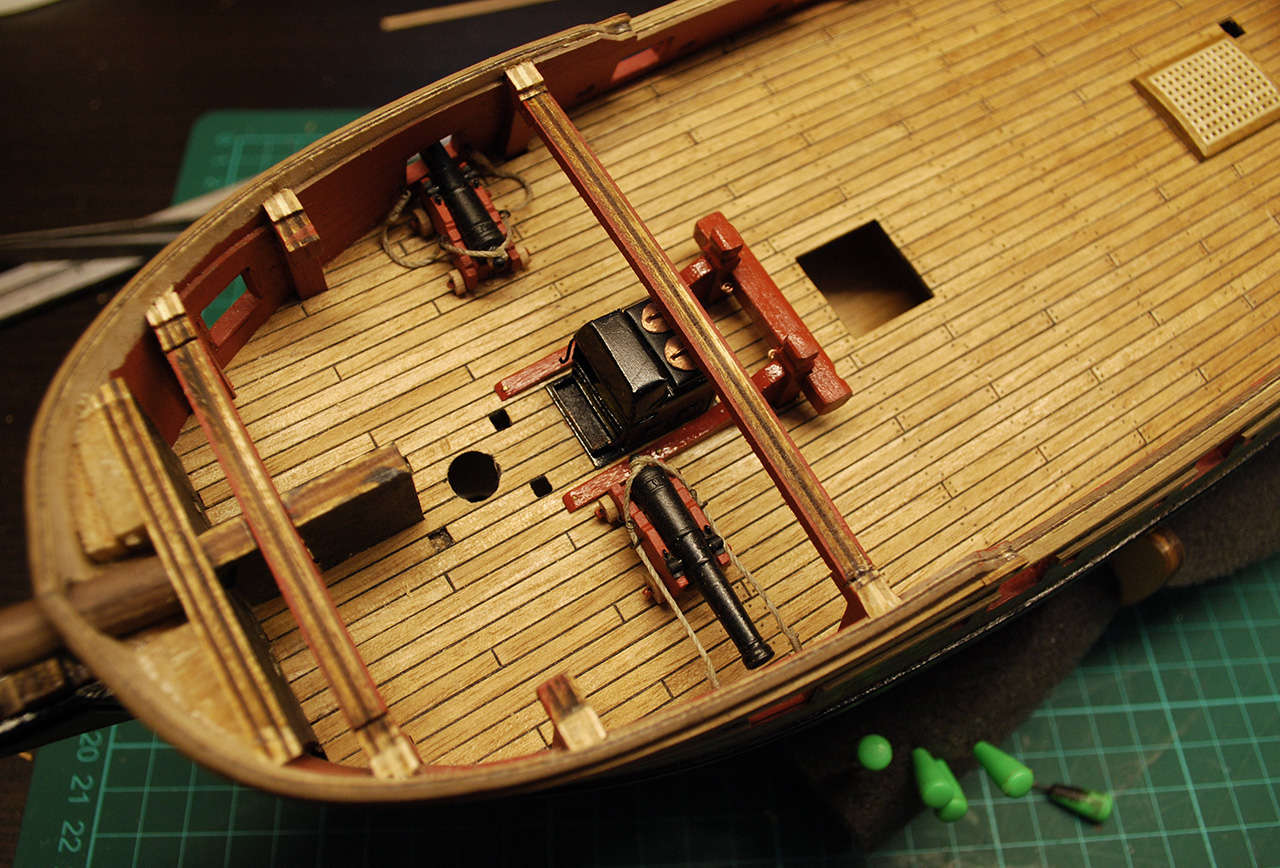
Hey folks, got a small update. I finally moved on and closed the rear deck, so the captain's cabin is finished and sealed and six guns with basic breeching are in place. On starboard side they are run out and on the port side they are in for reloading. I'm planning to show them at different stages of reloading, but that is so far just a thought for the visible ones.
Now I need to get rid of the dust and plank the rest of the decks.

-
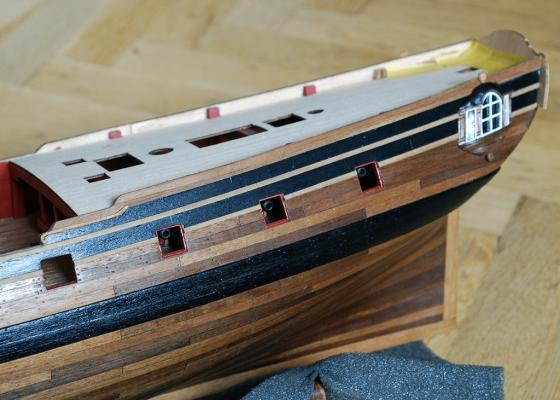
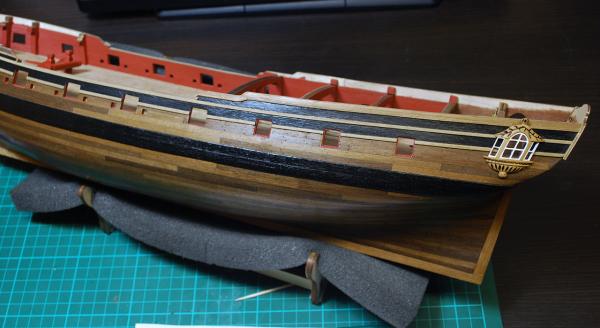
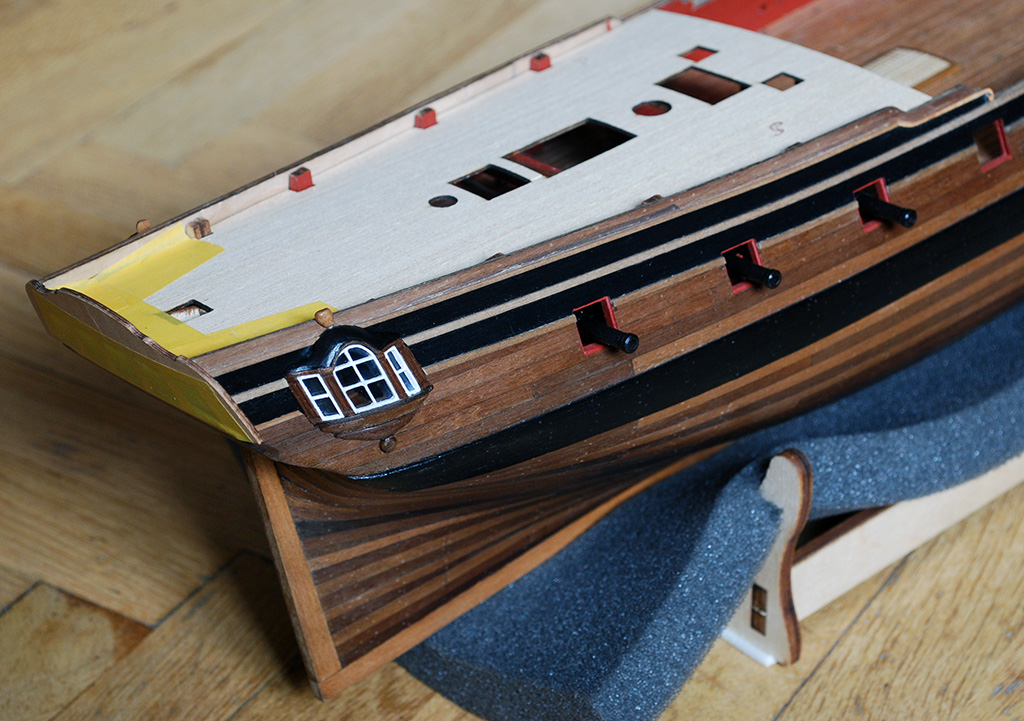
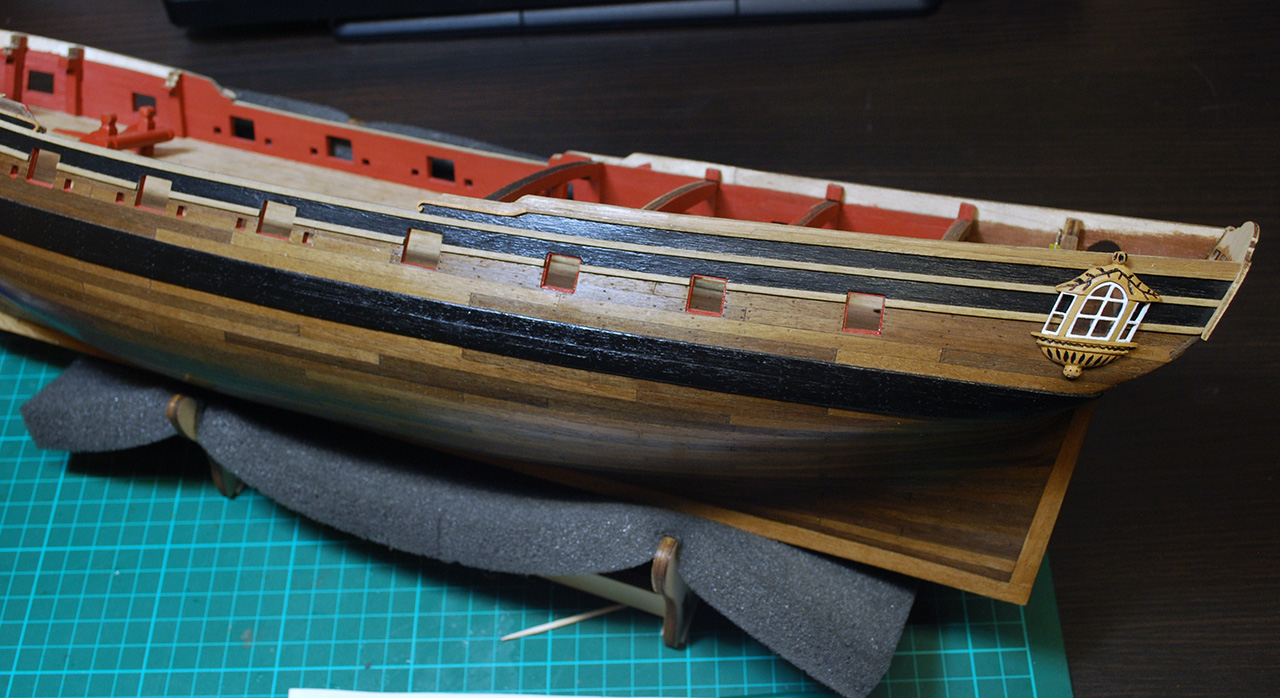
Stern galleries v2.0. Walnut looks much better than lime which had to be painted. Maybe I'll add some decoration to the black top, maybe not.
-
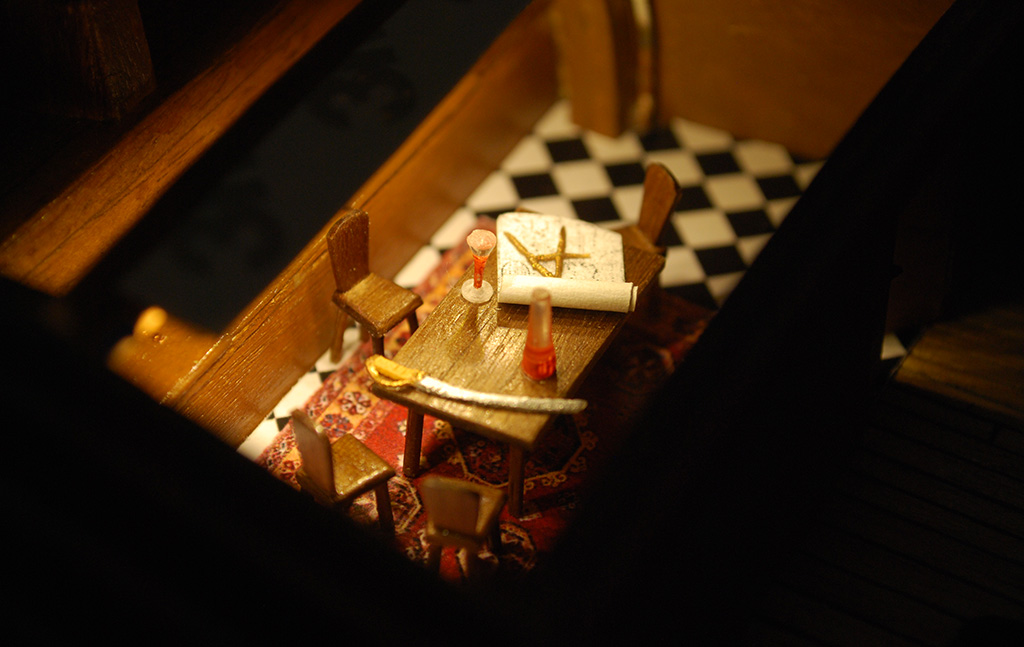
Cheers, Martinw. Jack just got some new equipment and a bottle of port. There is also new lighting - instead of two huge LEDs I've installed short piece of LED strip - more light and it won't be visible through the windows


- Mirabell61, aliluke, Martin W and 3 others
-
6
-
Thanks for the honest words, Alistair. As for the badges, they surely won't annoy me later on, 'cause they annoy me already
But I needed to hear/read something like this to make a decision and scrap them. I will make new pieces, this time using much harder wood (got a few pieces of acacia left), no soft and fragile lime. Yes, Doris job is uncomparable, but she does that at different scale and in different universe
Cheers, V. -
Cheers guys.
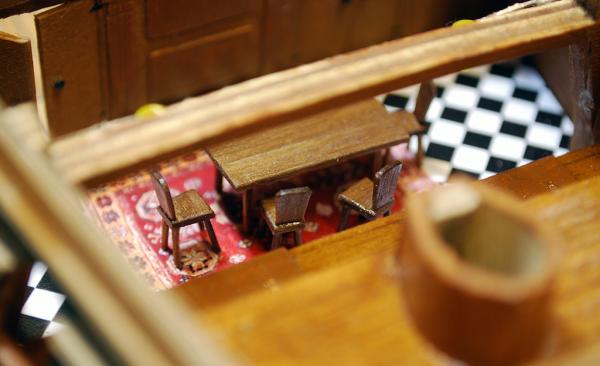
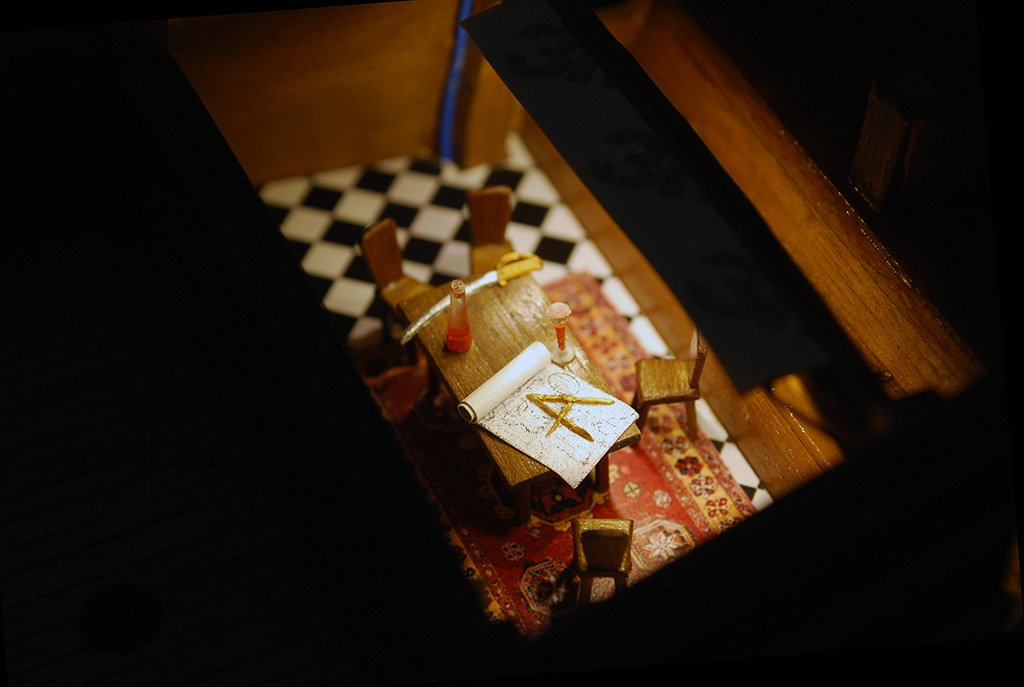
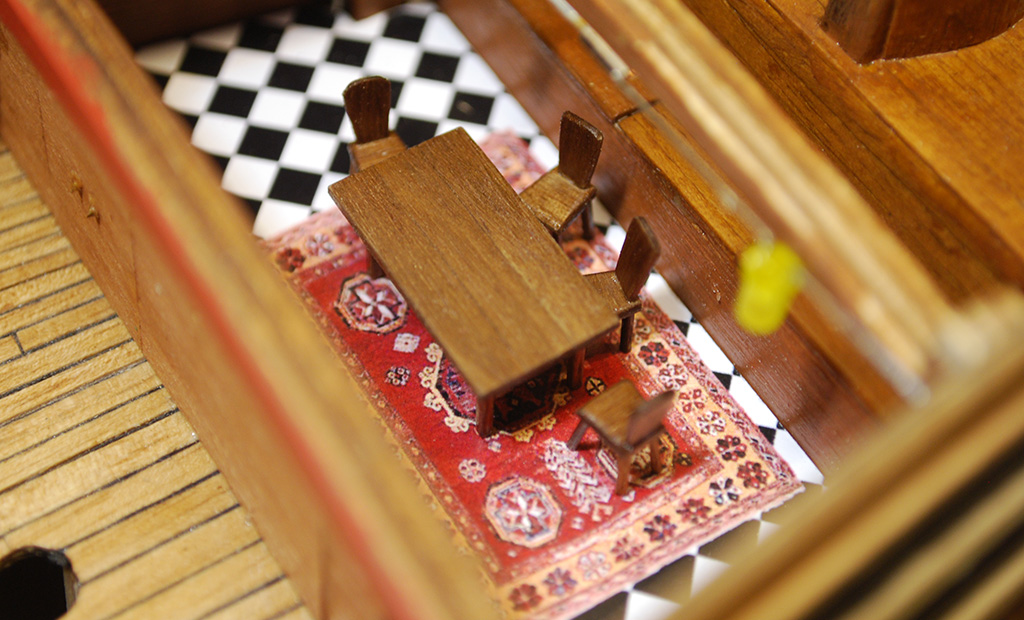
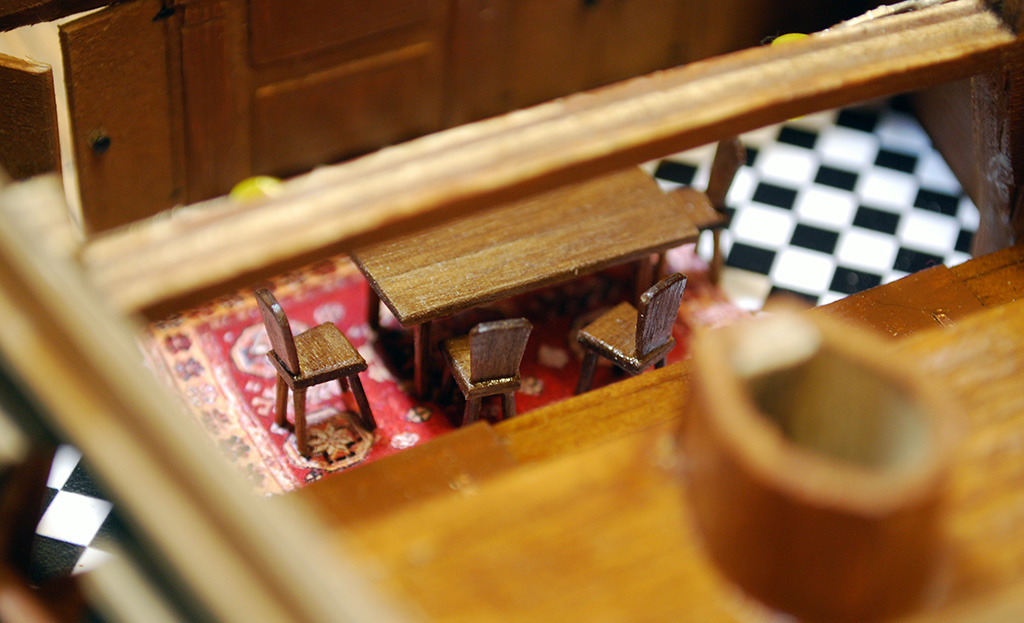
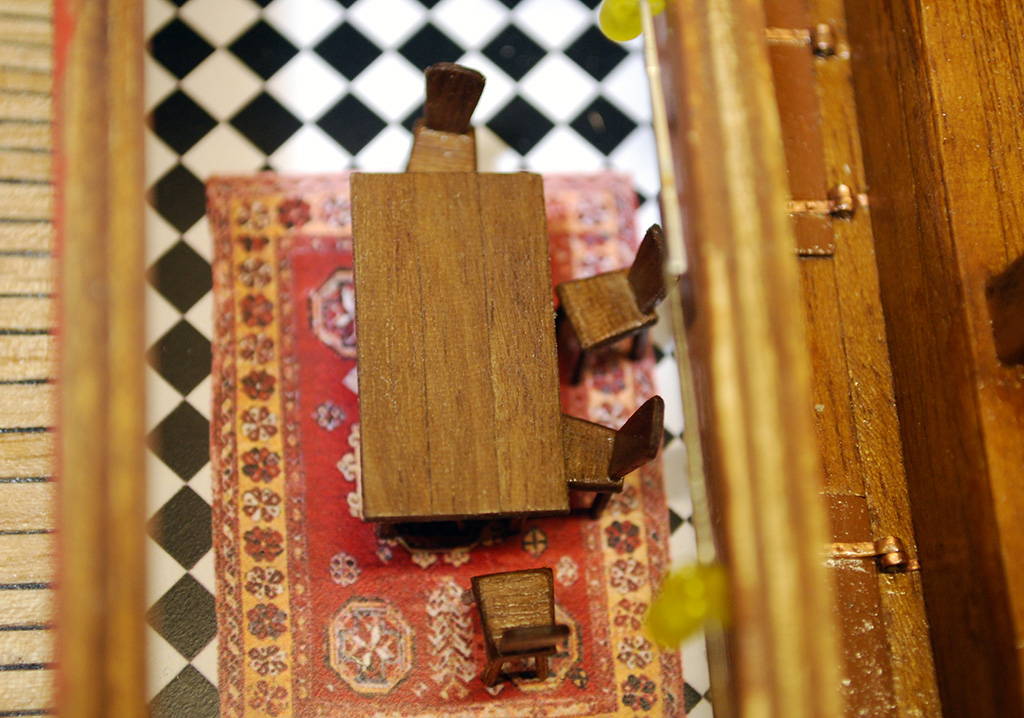
B.E. the very same occured to me and I tried to use modeller's clay to create the moulding, but it was utter rubbish. So let's forget the galleries for a while and present the captain with a few chairs. Great for small parties with senior officers.


-
Okay, here you go. I tried to paint the details black, since the background for the various ornaments is black as well...

- WackoWolf, Dubz, Mirabell61 and 1 other
-
4
-
Always learning something new, thanks.
Yesterday it was gallery carving time. I used walnut and limewood, but the result is not much satisfying, I don't like the colours. Maybe I should paint the great parts in plain ochre or maybe use a completely different scheme. Any opinion?

- Aussie048, Mirabell61 and WackoWolf
-
3
-
Thanks B.E. I was just checking your log and the fine progress you made. I'm very worried about the guns though. How did you manage to work so heavily on the ship with the guns run out? I feel like at some point I will make a bad move and break some of them off, which is a bit terrifying. Also, is there any reason why you have no guns visible in the very front and rear ports? (perhaps because of the same fear I have


HMS Fly by vths - Victory Models - Scale 1:64 - Second wooden kit build
in - Kit build logs for subjects built from 1751 - 1800
Posted
I felt a bit irritated about the stairs, so I finally decided to make a ropewalk. It is a simple jig with cogwheels and the one in the center can be attached to a motor. I had no luck making it work in horizontal position so I tried putting it vertically, which works just fine, but I've only tried it once that way. What I'll need is a better motor that can work in both directions.
Result of the first successful attempt