


Mayohoo
-
Posts
189 -
Joined
-
Last visited
Content Type
Profiles
Forums
Gallery
Events
Posts posted by Mayohoo
-
-
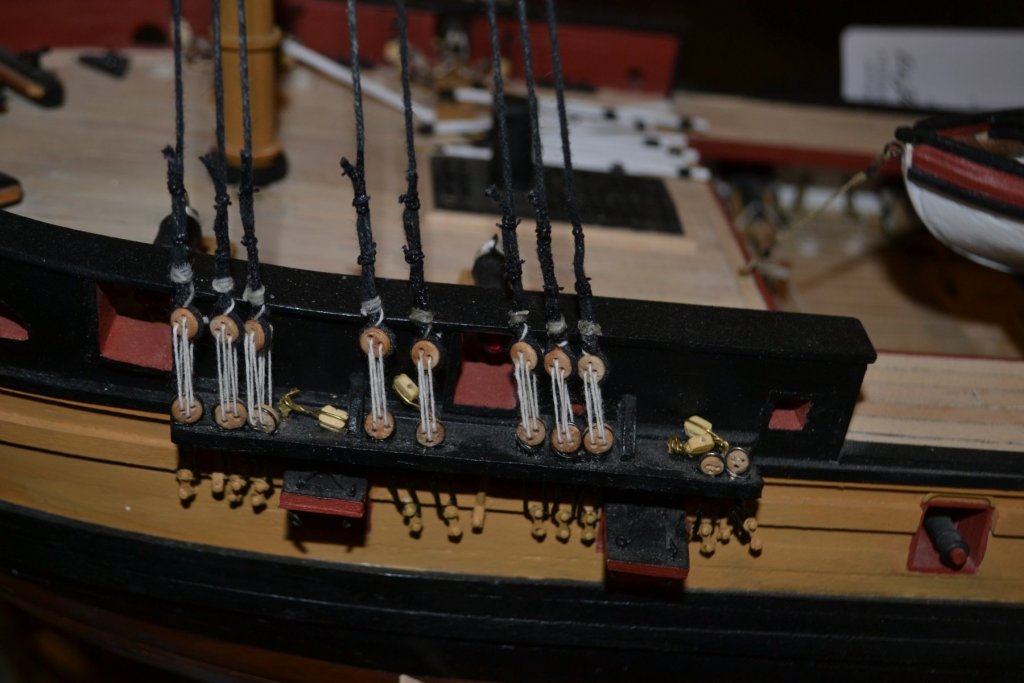
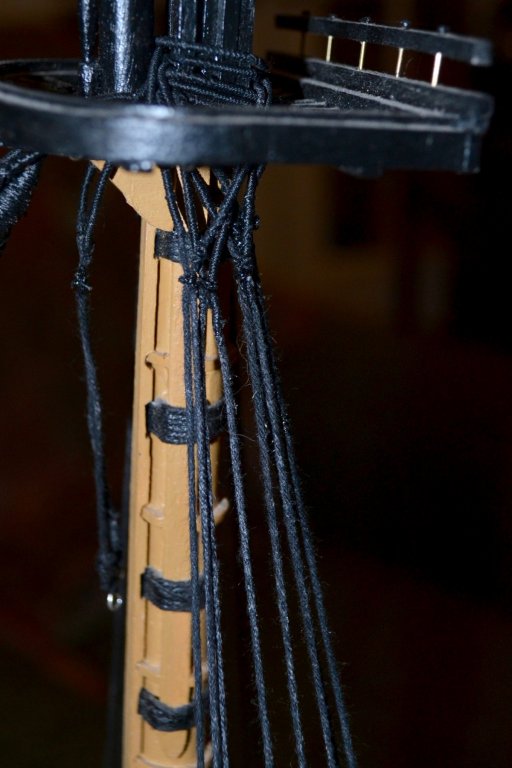
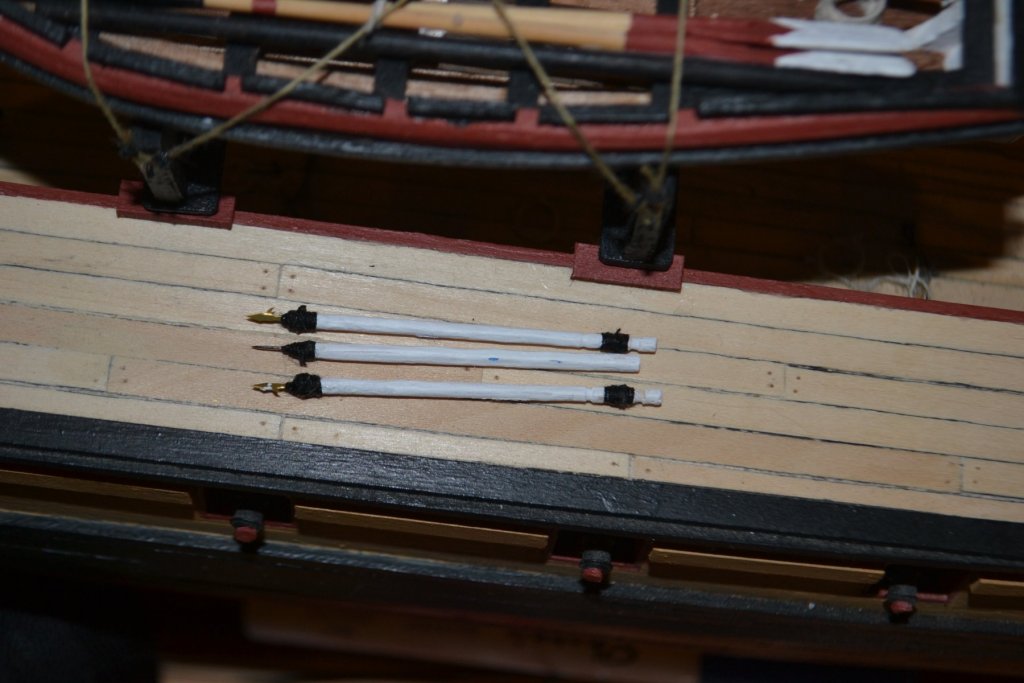
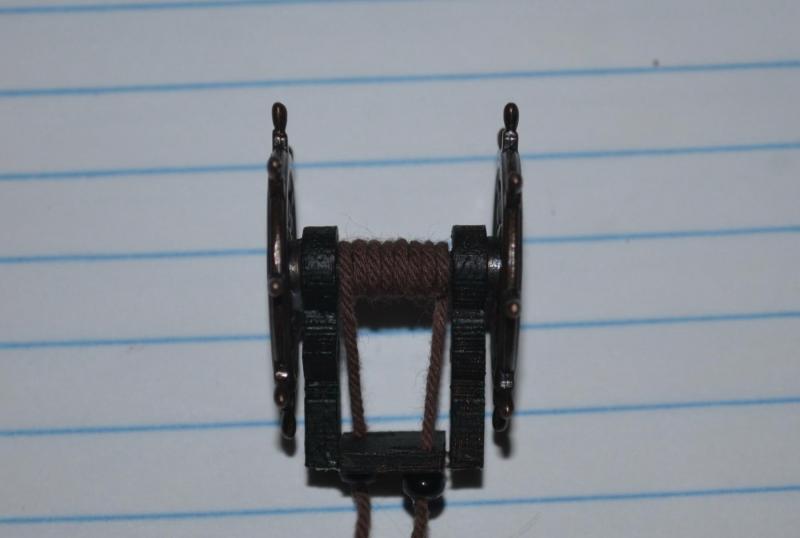
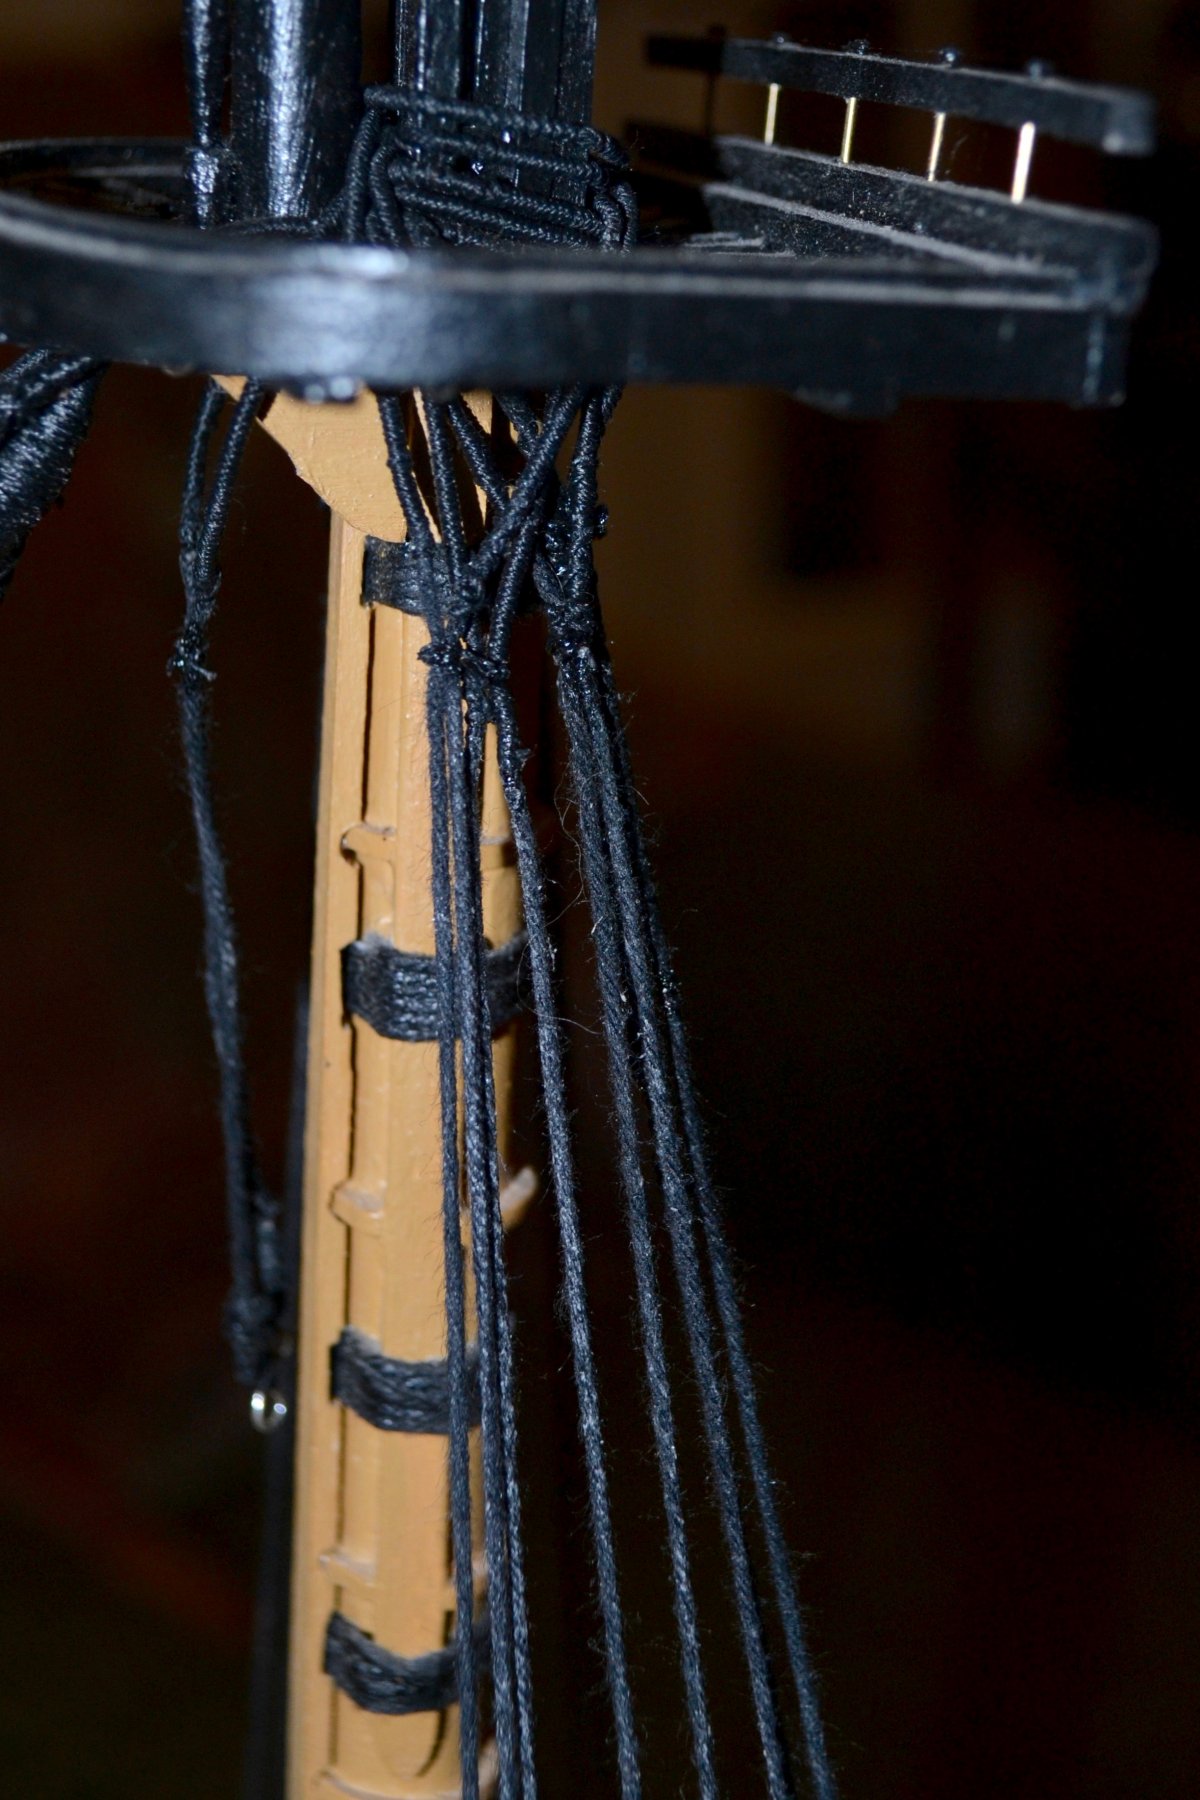
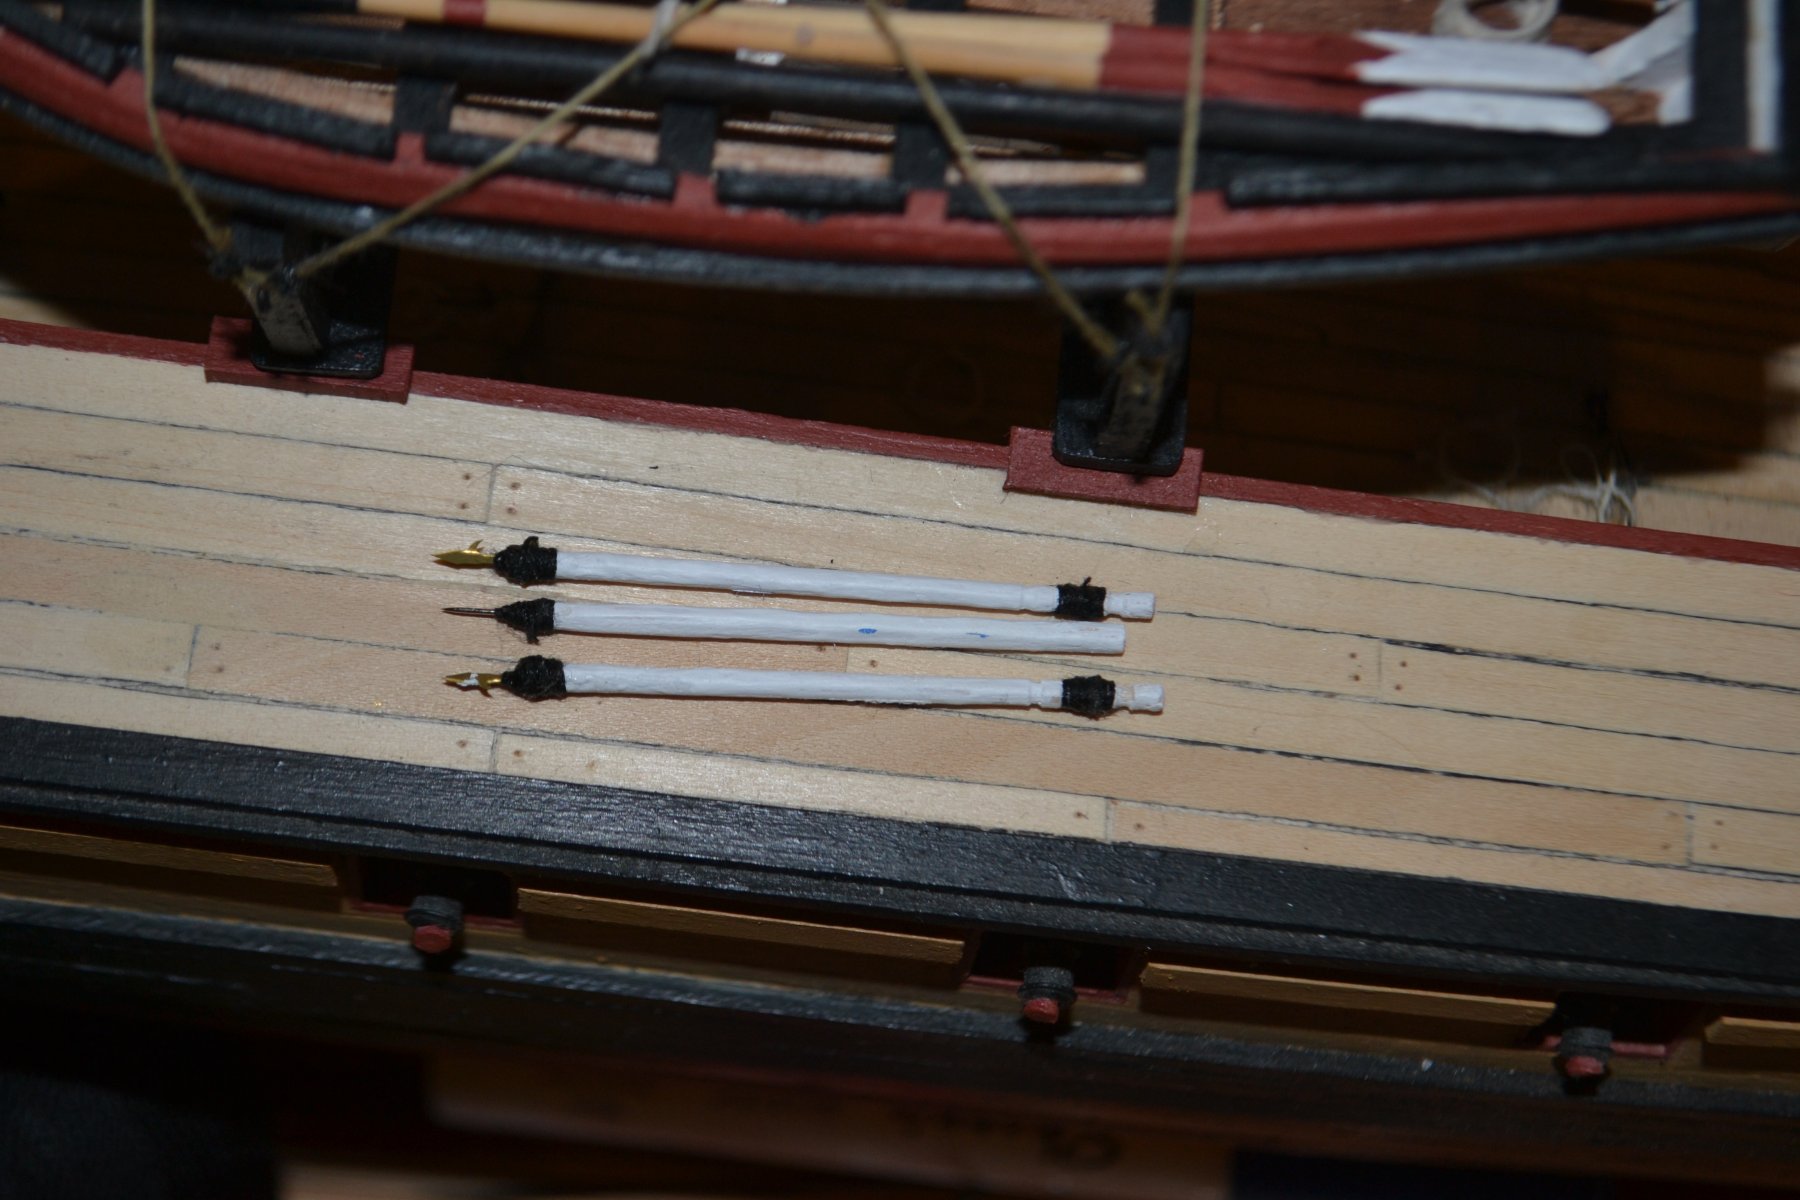
So here is the update. Have finished the foremast channels and am working the mainmast. Note the Burton pendant. Finished boat hooks and boarding pikes.
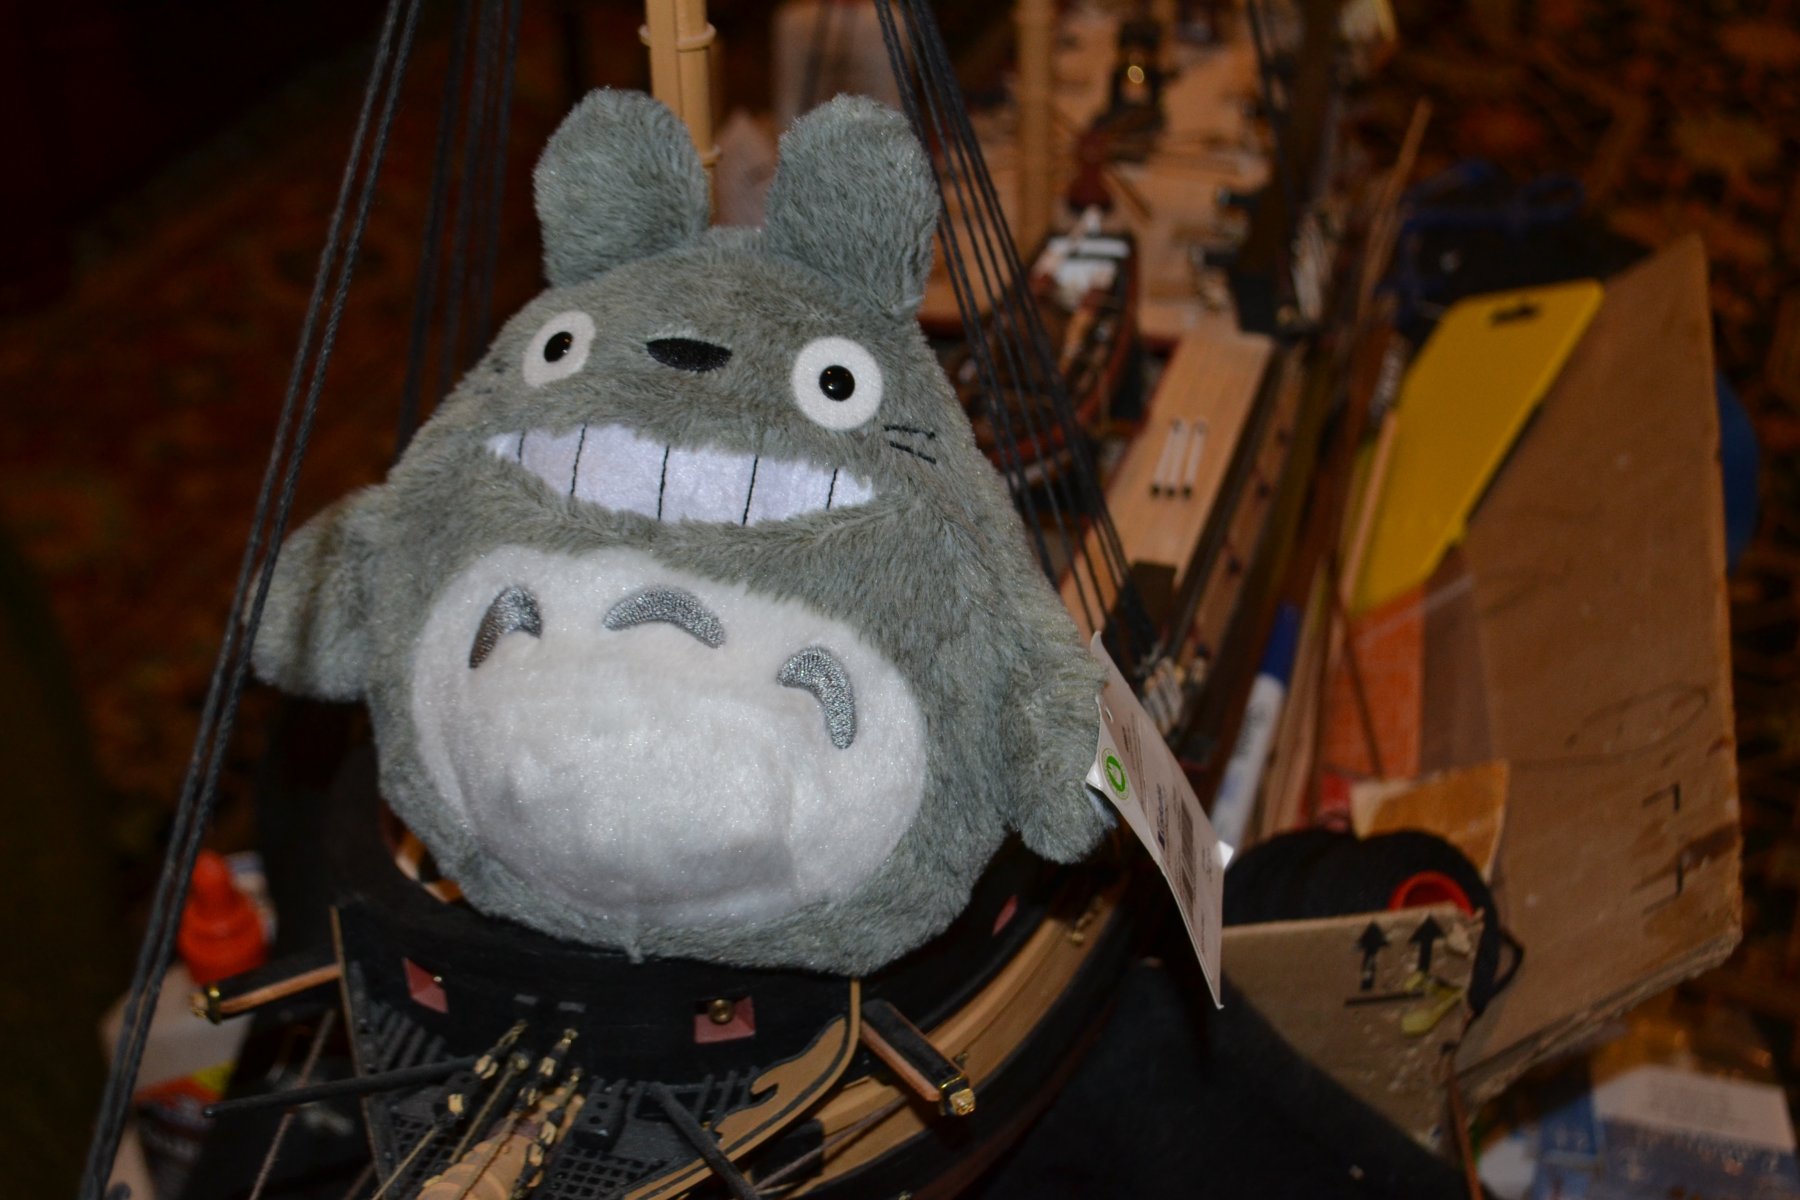
Also, the kids and I went to Japan where we went to the Ghibli museum. We are big Miyazaki fans, so here is Captain Totoro...

- GrandpaPhil, mtaylor, lmagna and 1 other
-
 4
4
-
Thank you for the kind words. Am working on rigging now which is slow work as this is my first attempt at doing it. Will post some pictures this weekend.
- billocrates and mtaylor
-
2
-
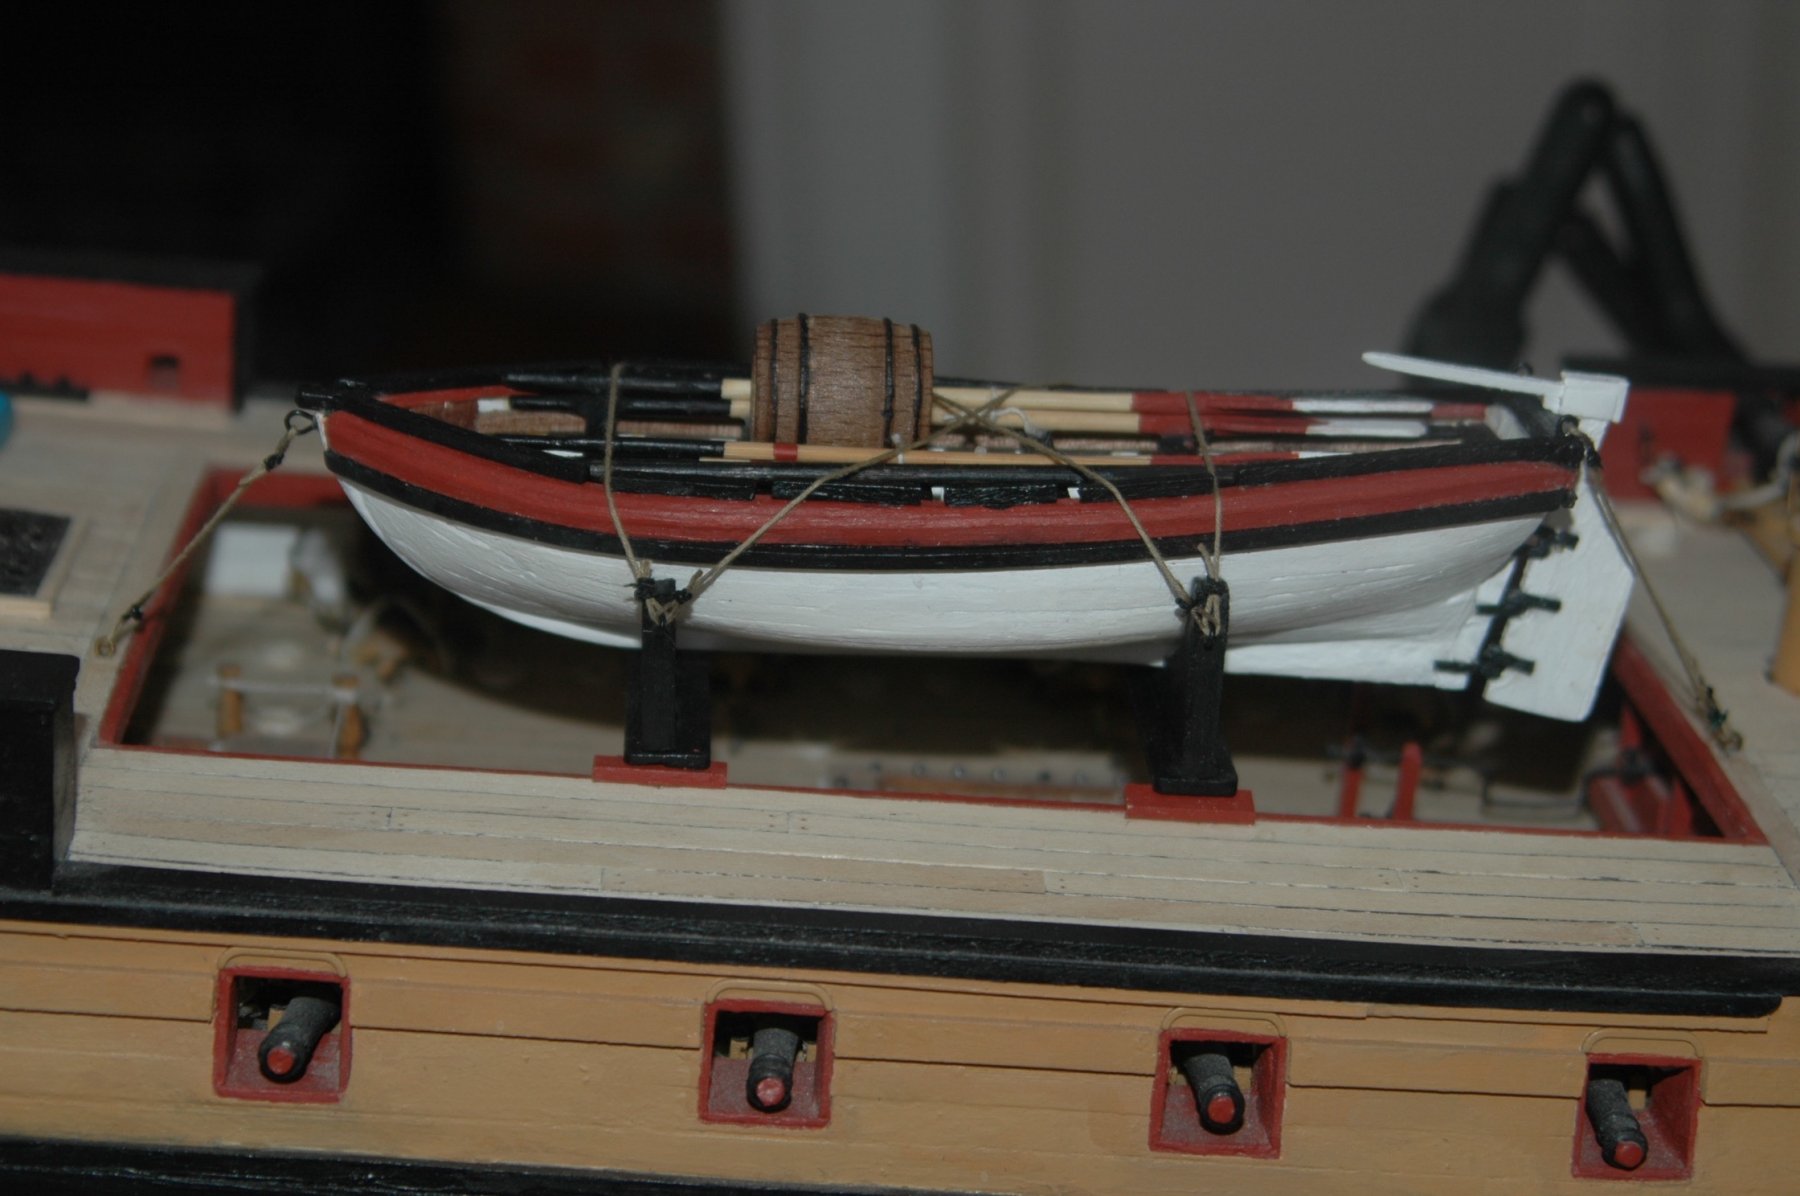
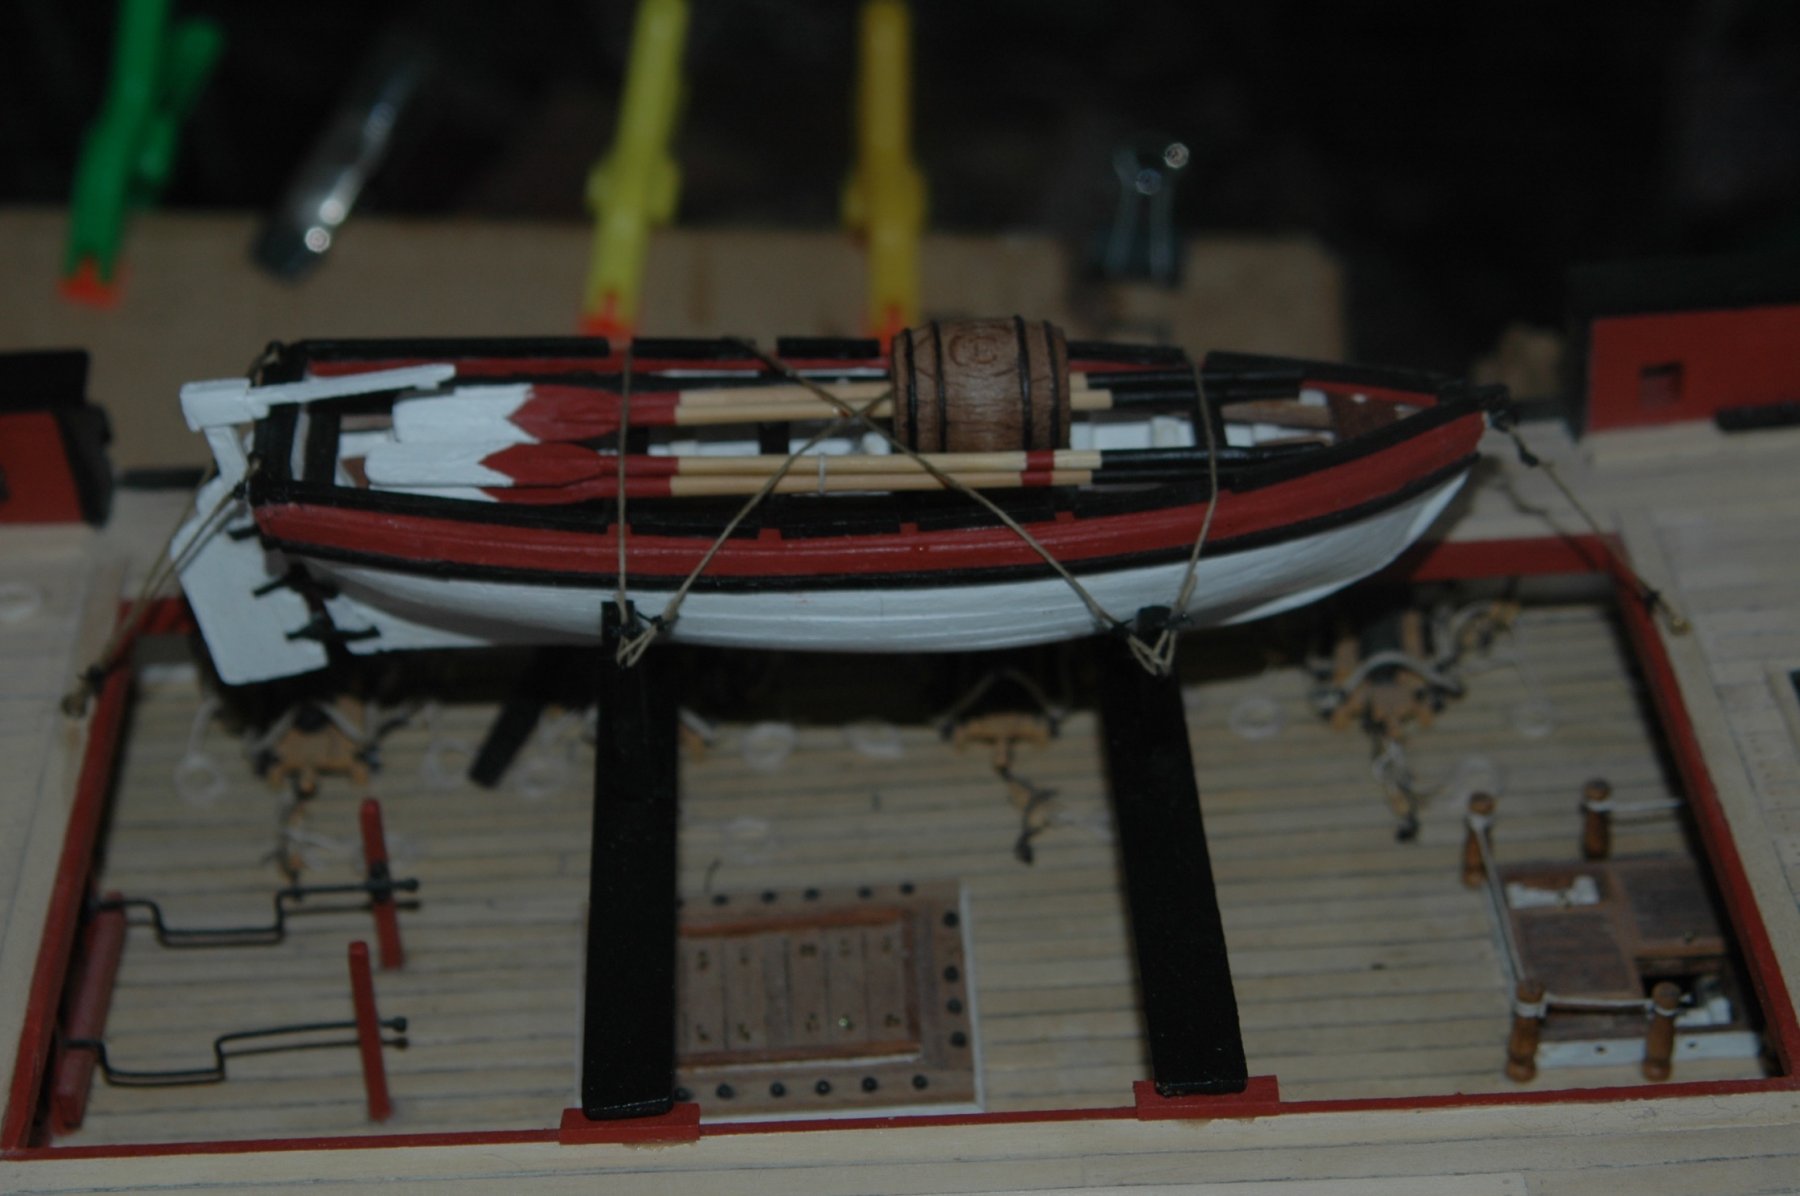
Hr 1101-1110
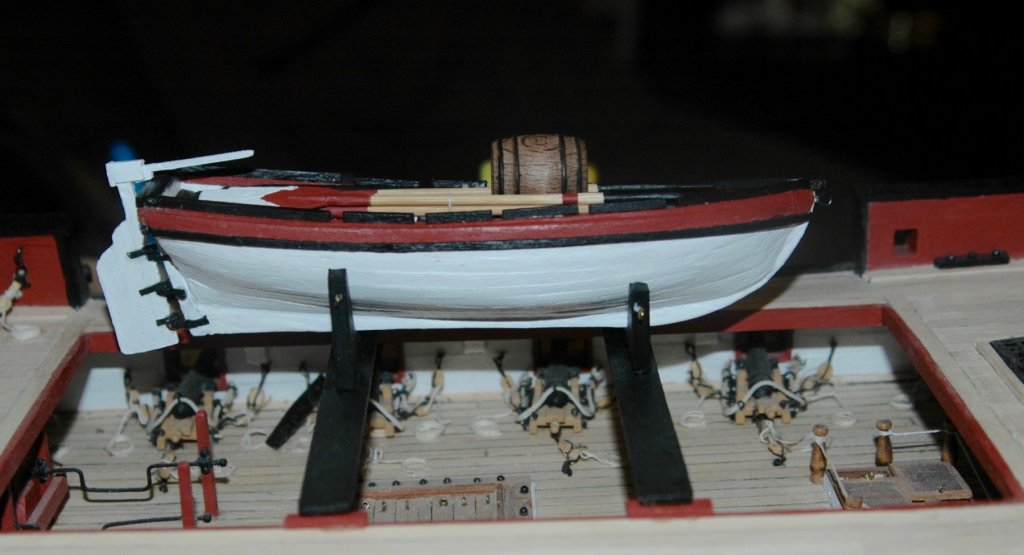
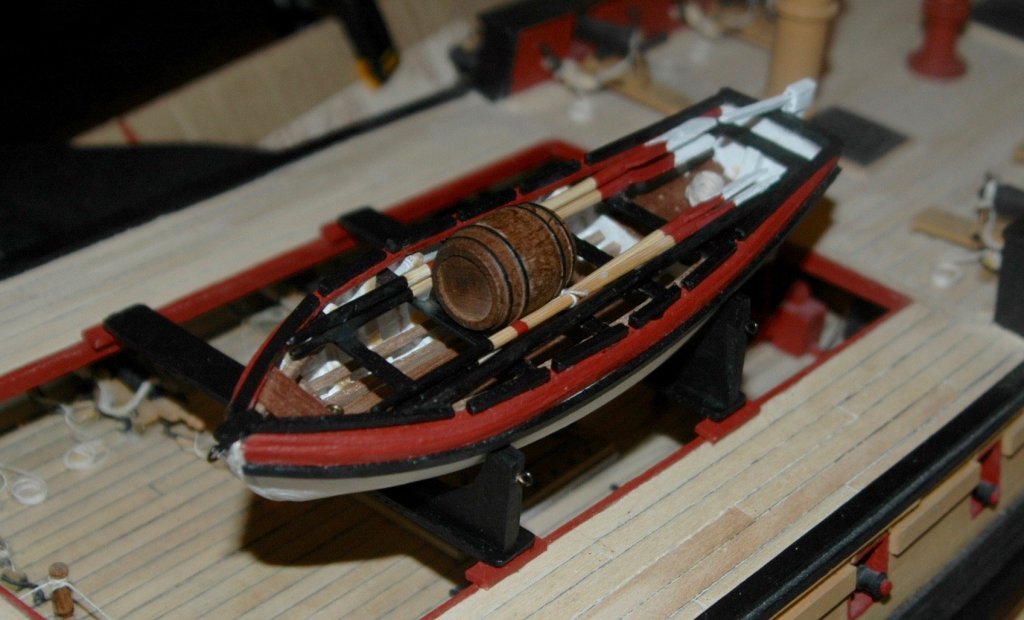
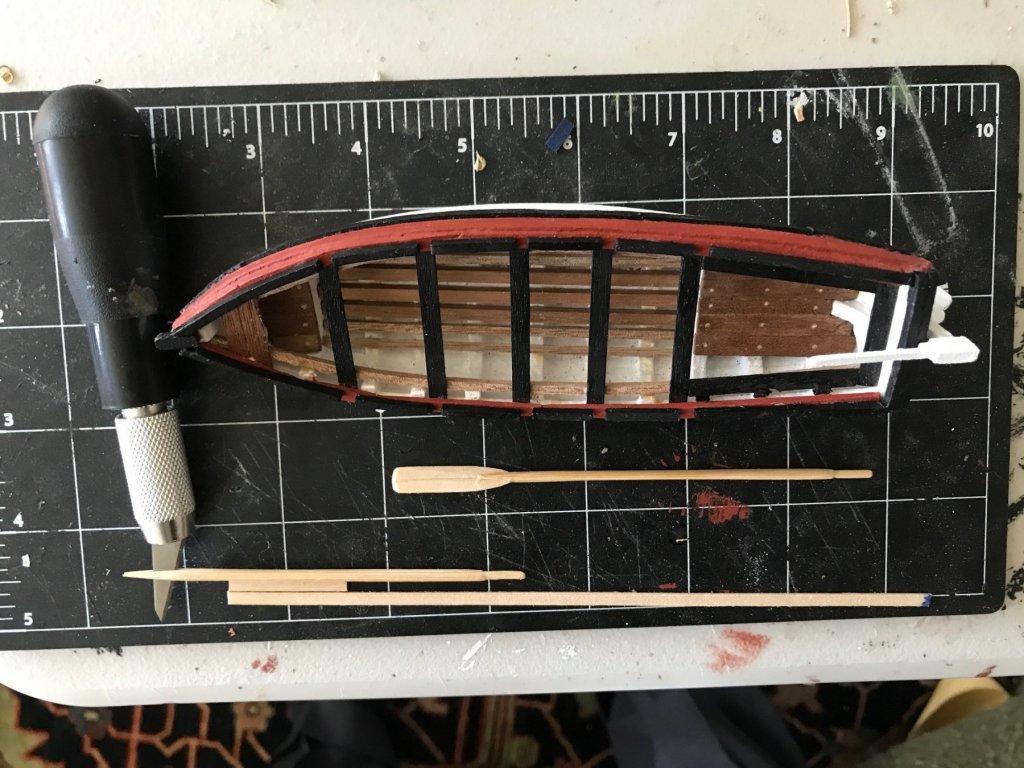
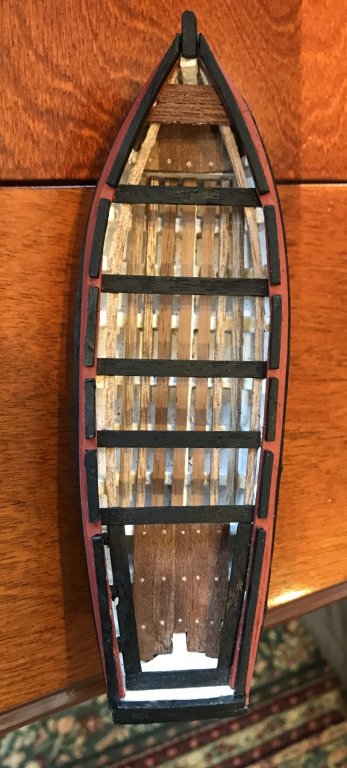
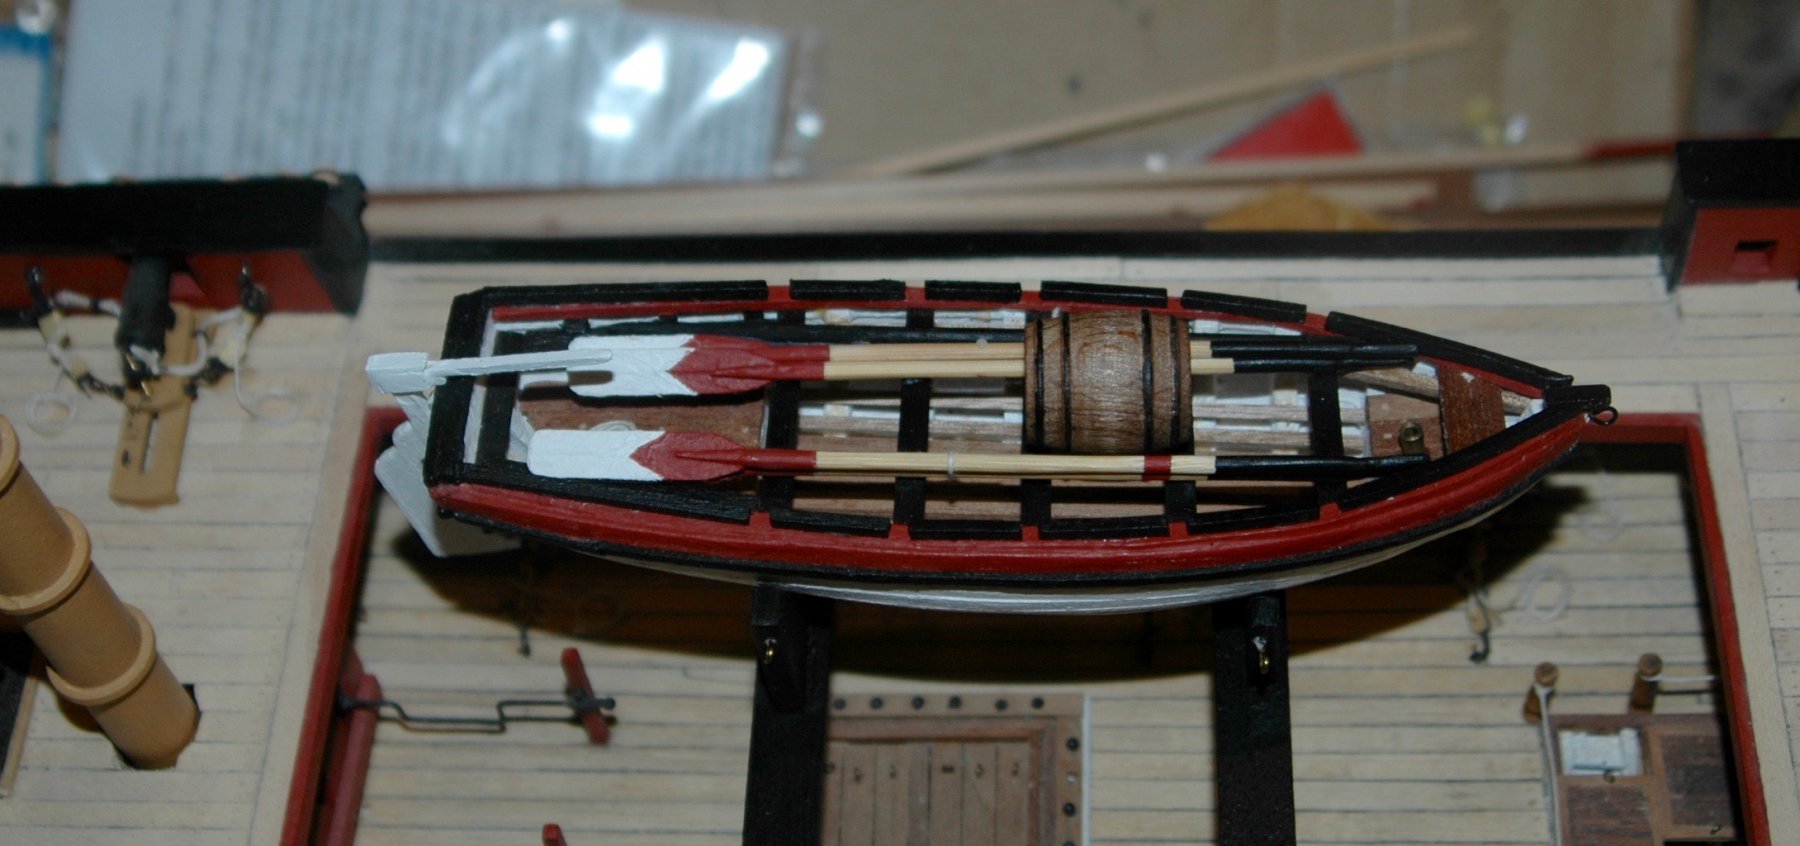
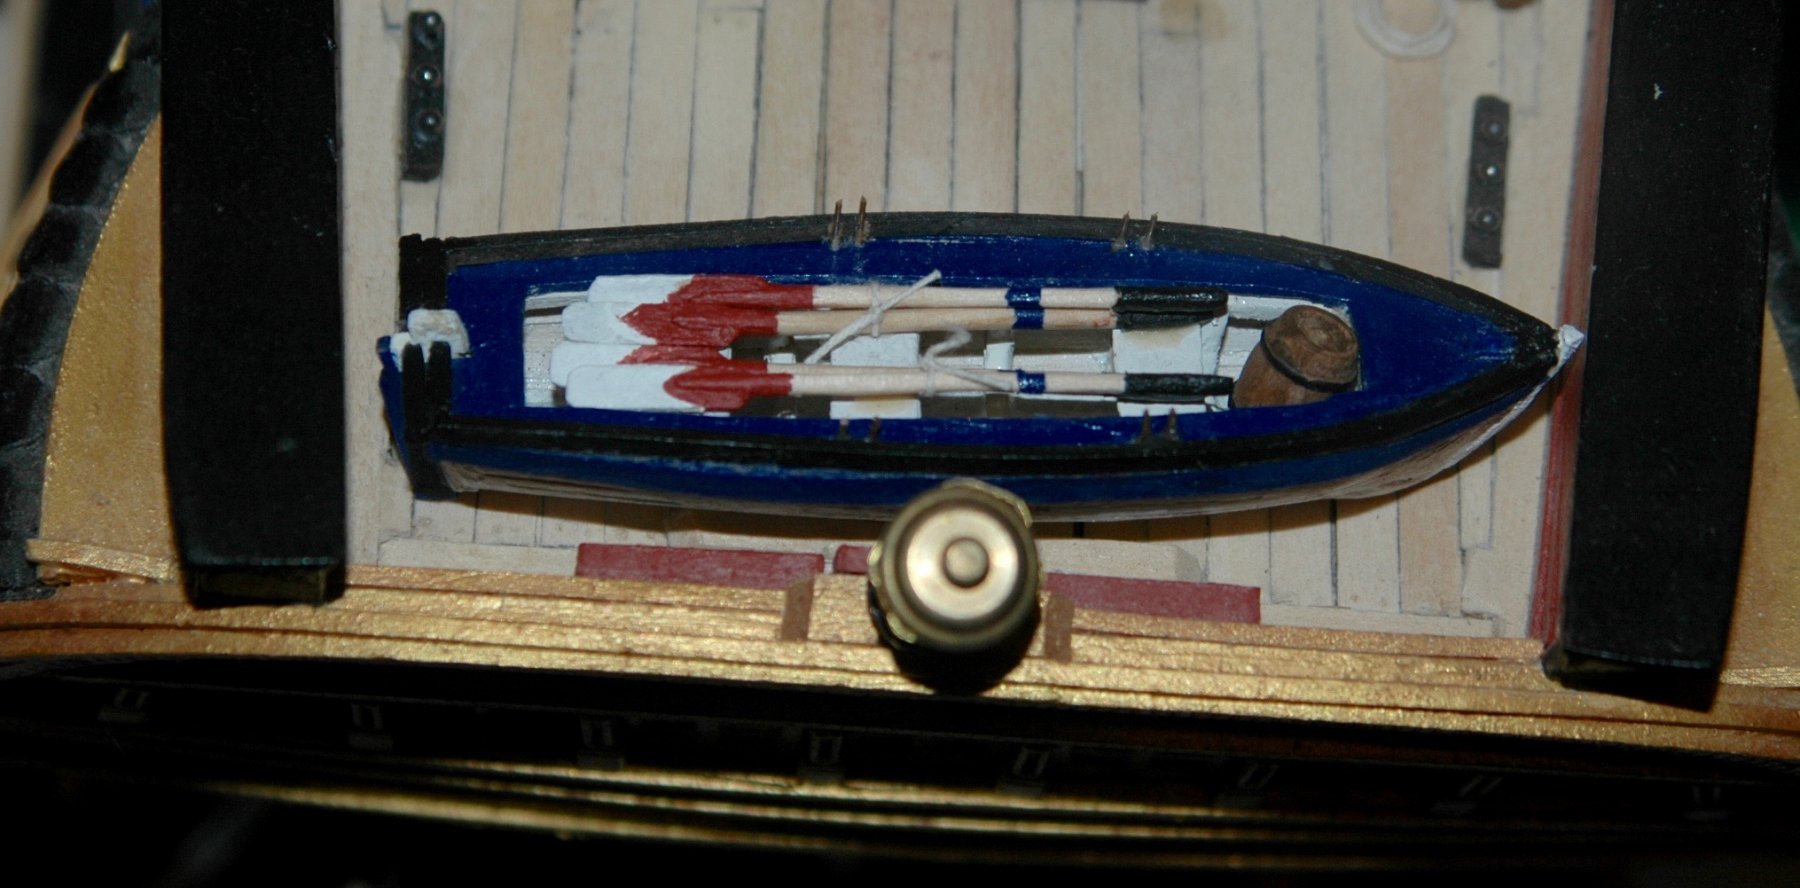
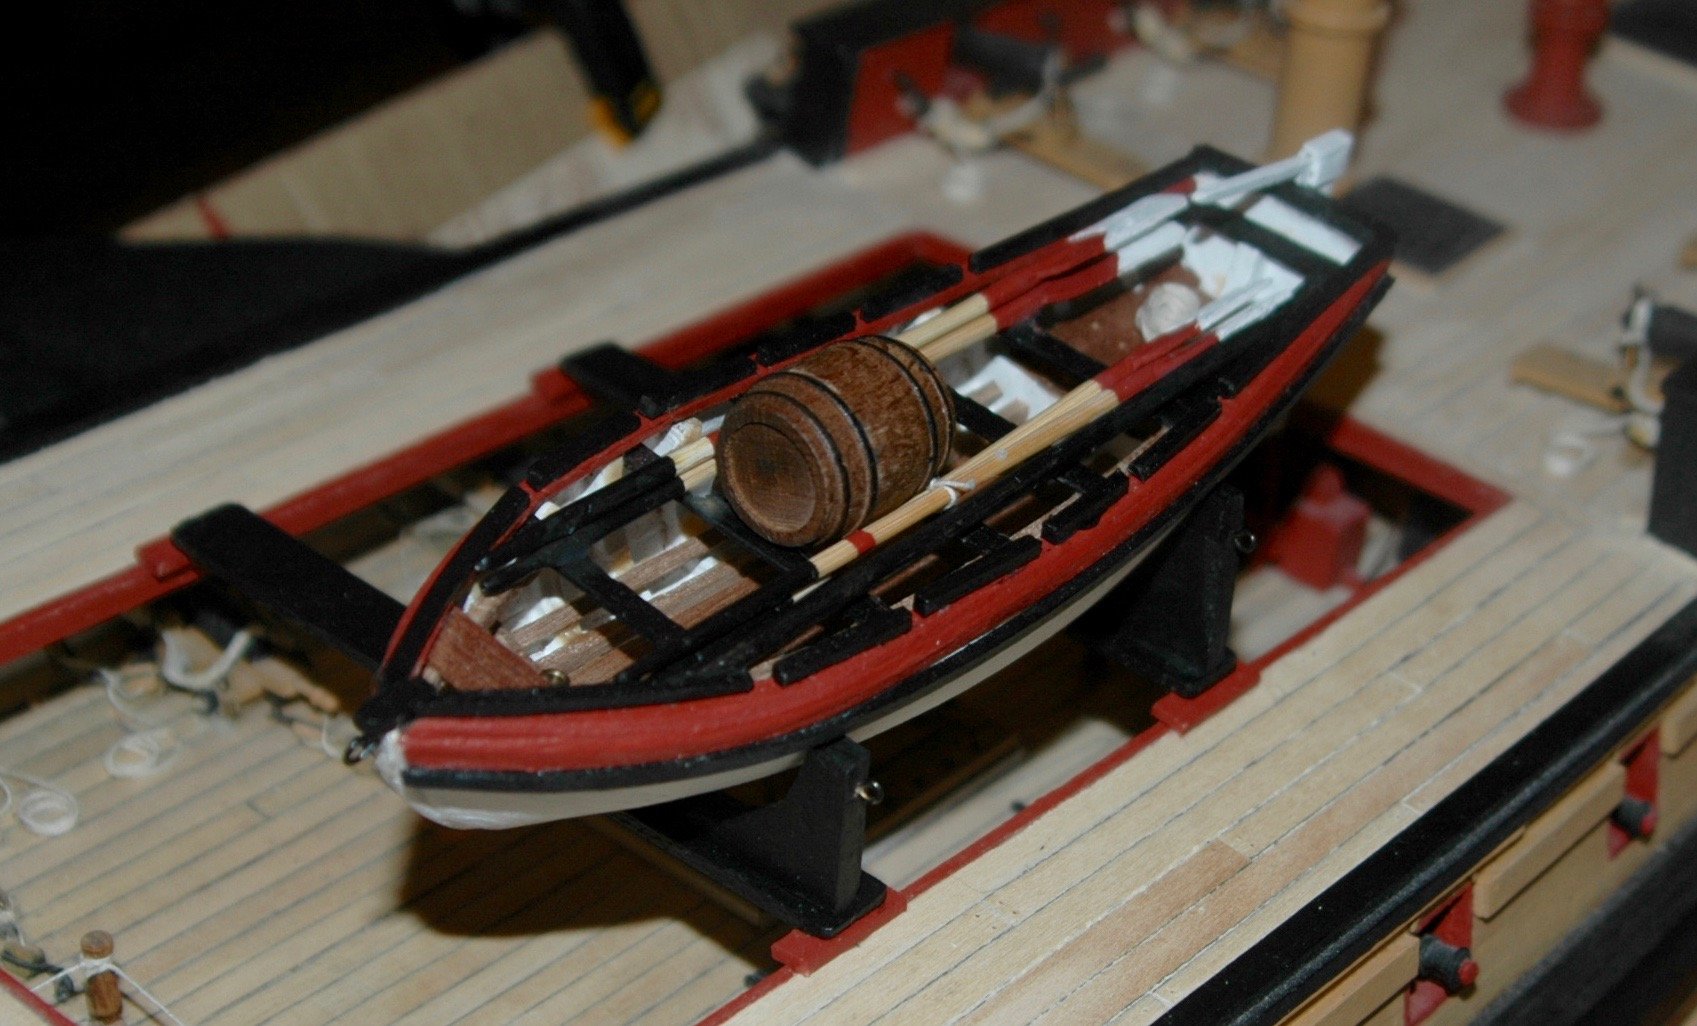
Finished red cutter and mounted in the waist. Loaded with a water barrel, oars, bucket and a spare boom.
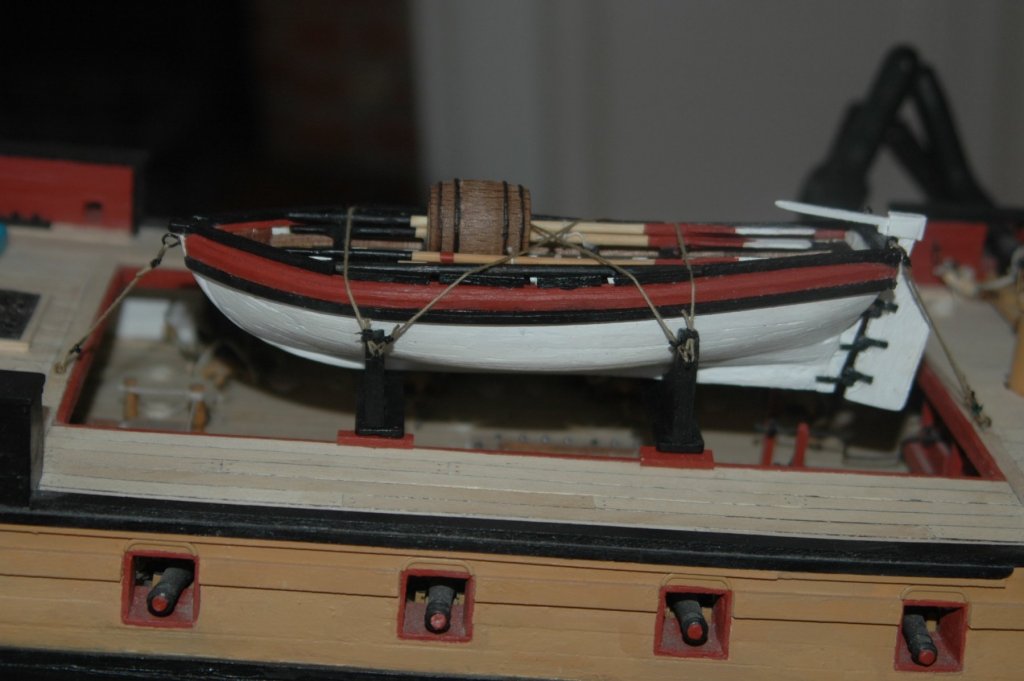
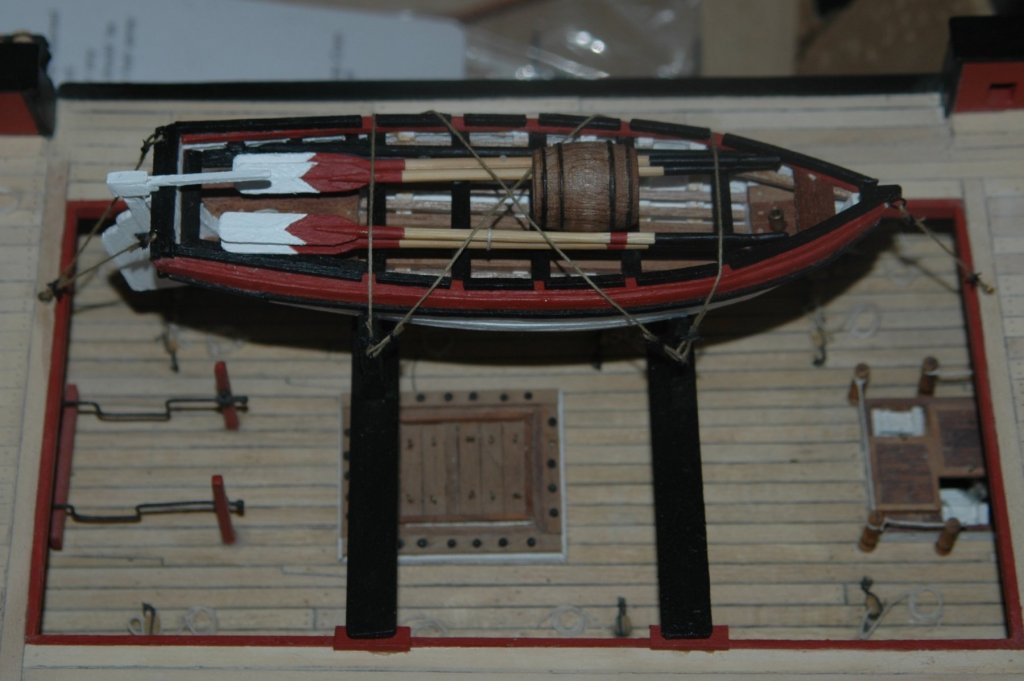
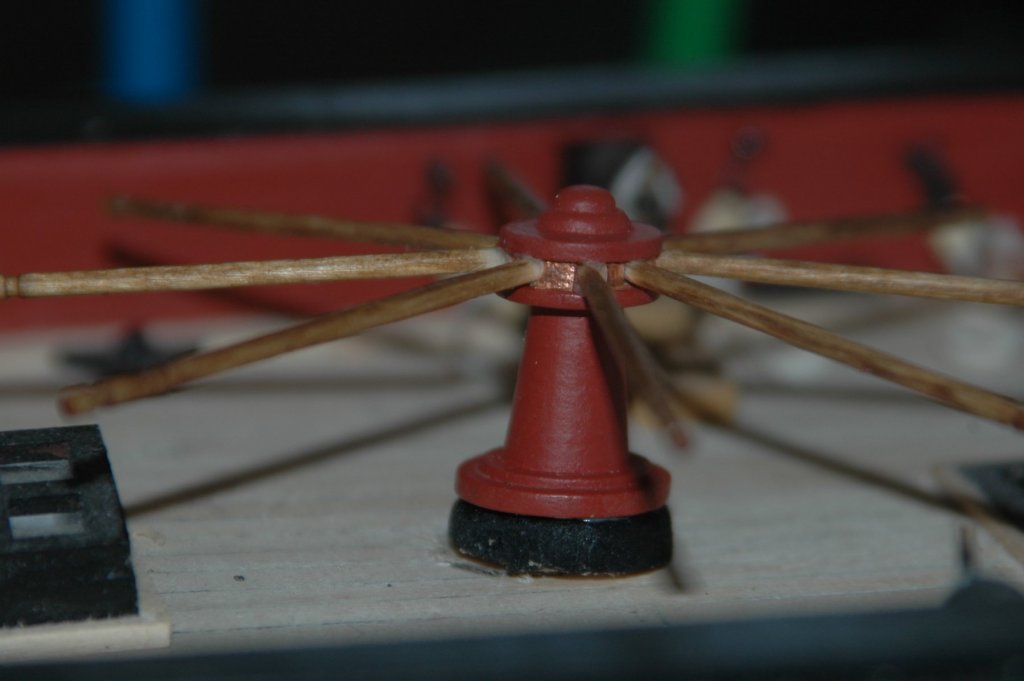
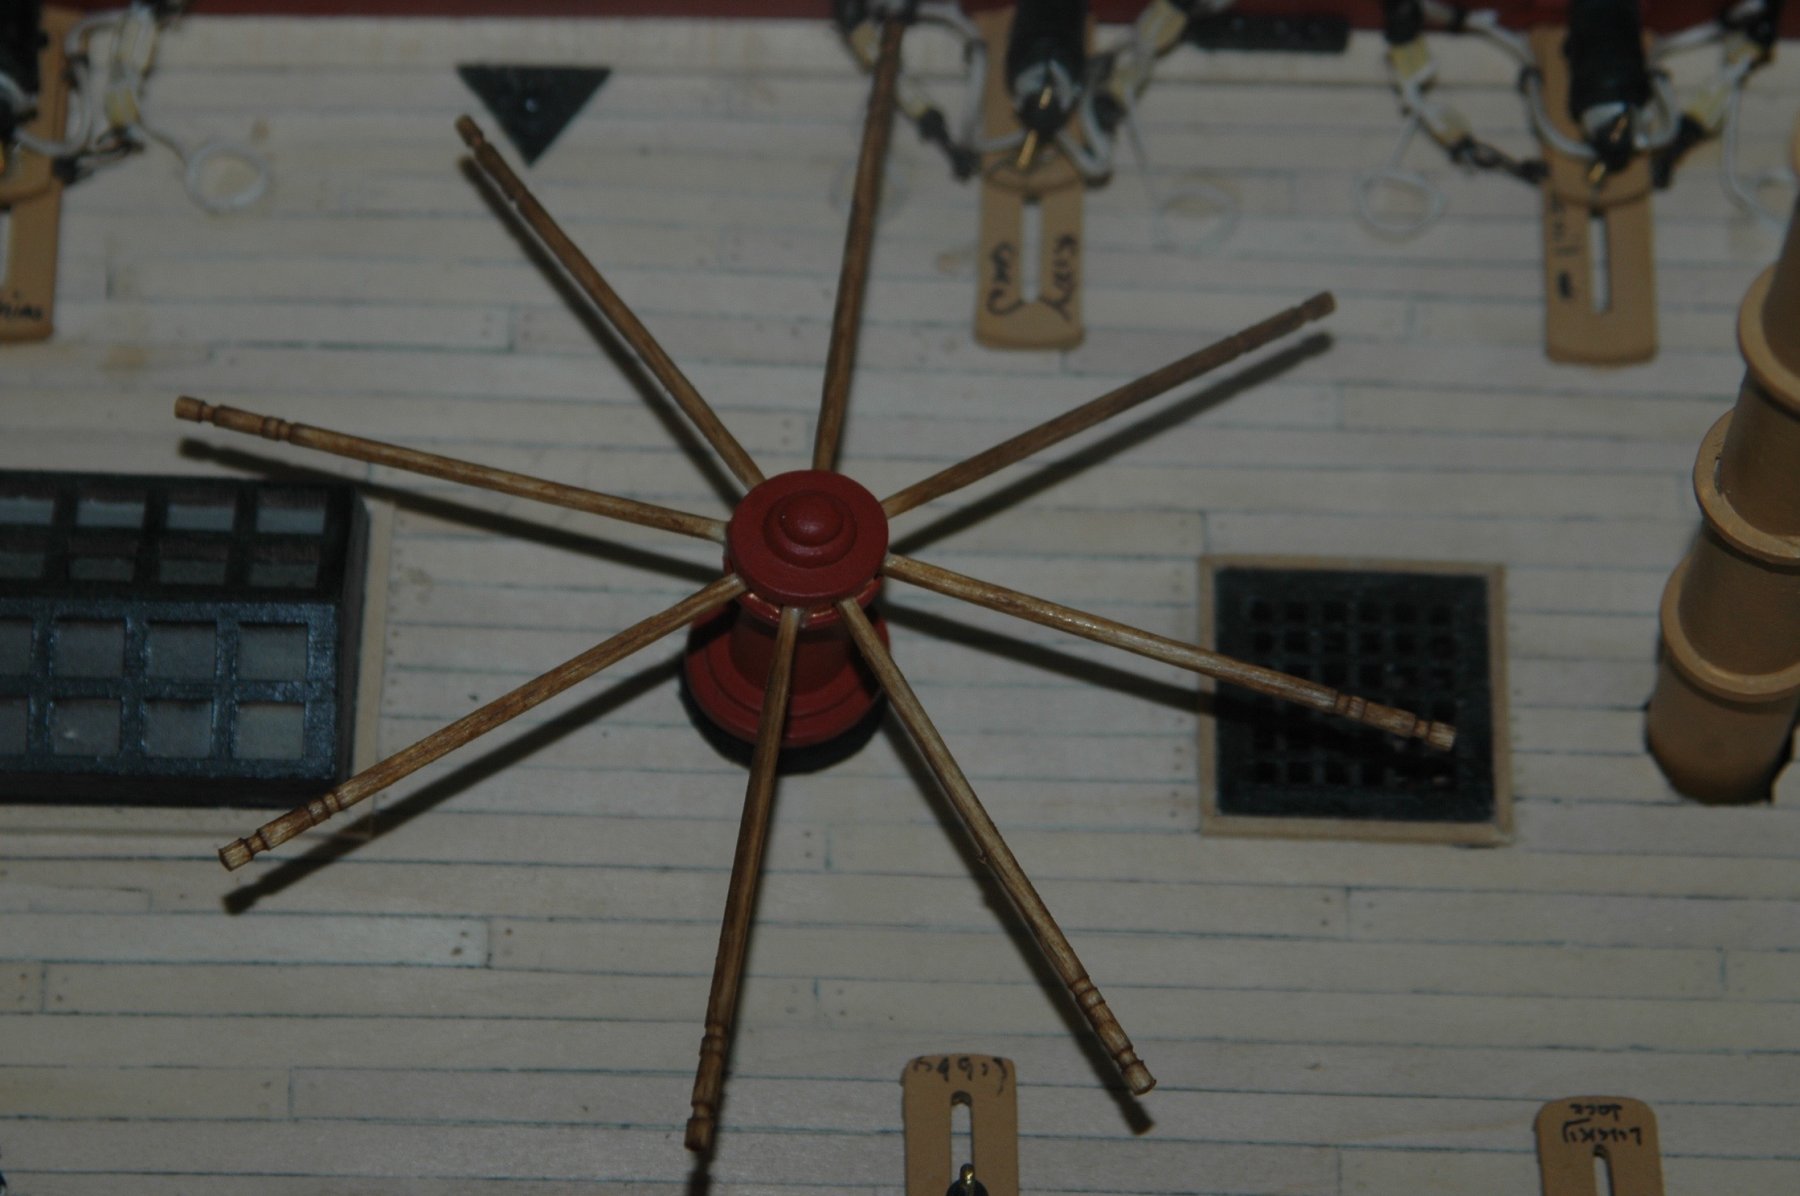
Also capstan with copper flashing and squared inserts.

Needs a little clean up, but making progress...
Next up, boat hooks and boarding pikes.


-
Tower has a $50 coupon on it 011/6 so that might drop the cost more.
I bought mine on eBay a long time ago for $350 or so
-
Hi Mods, I must be an idiot, but I can't make the duplicate go away. Sorry...
-
Hrs 1076-1100
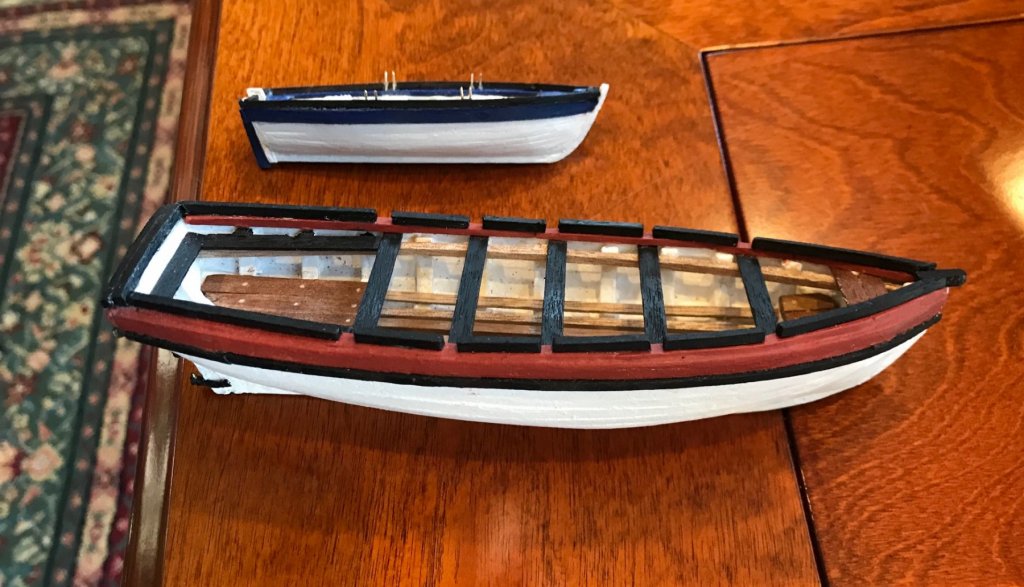
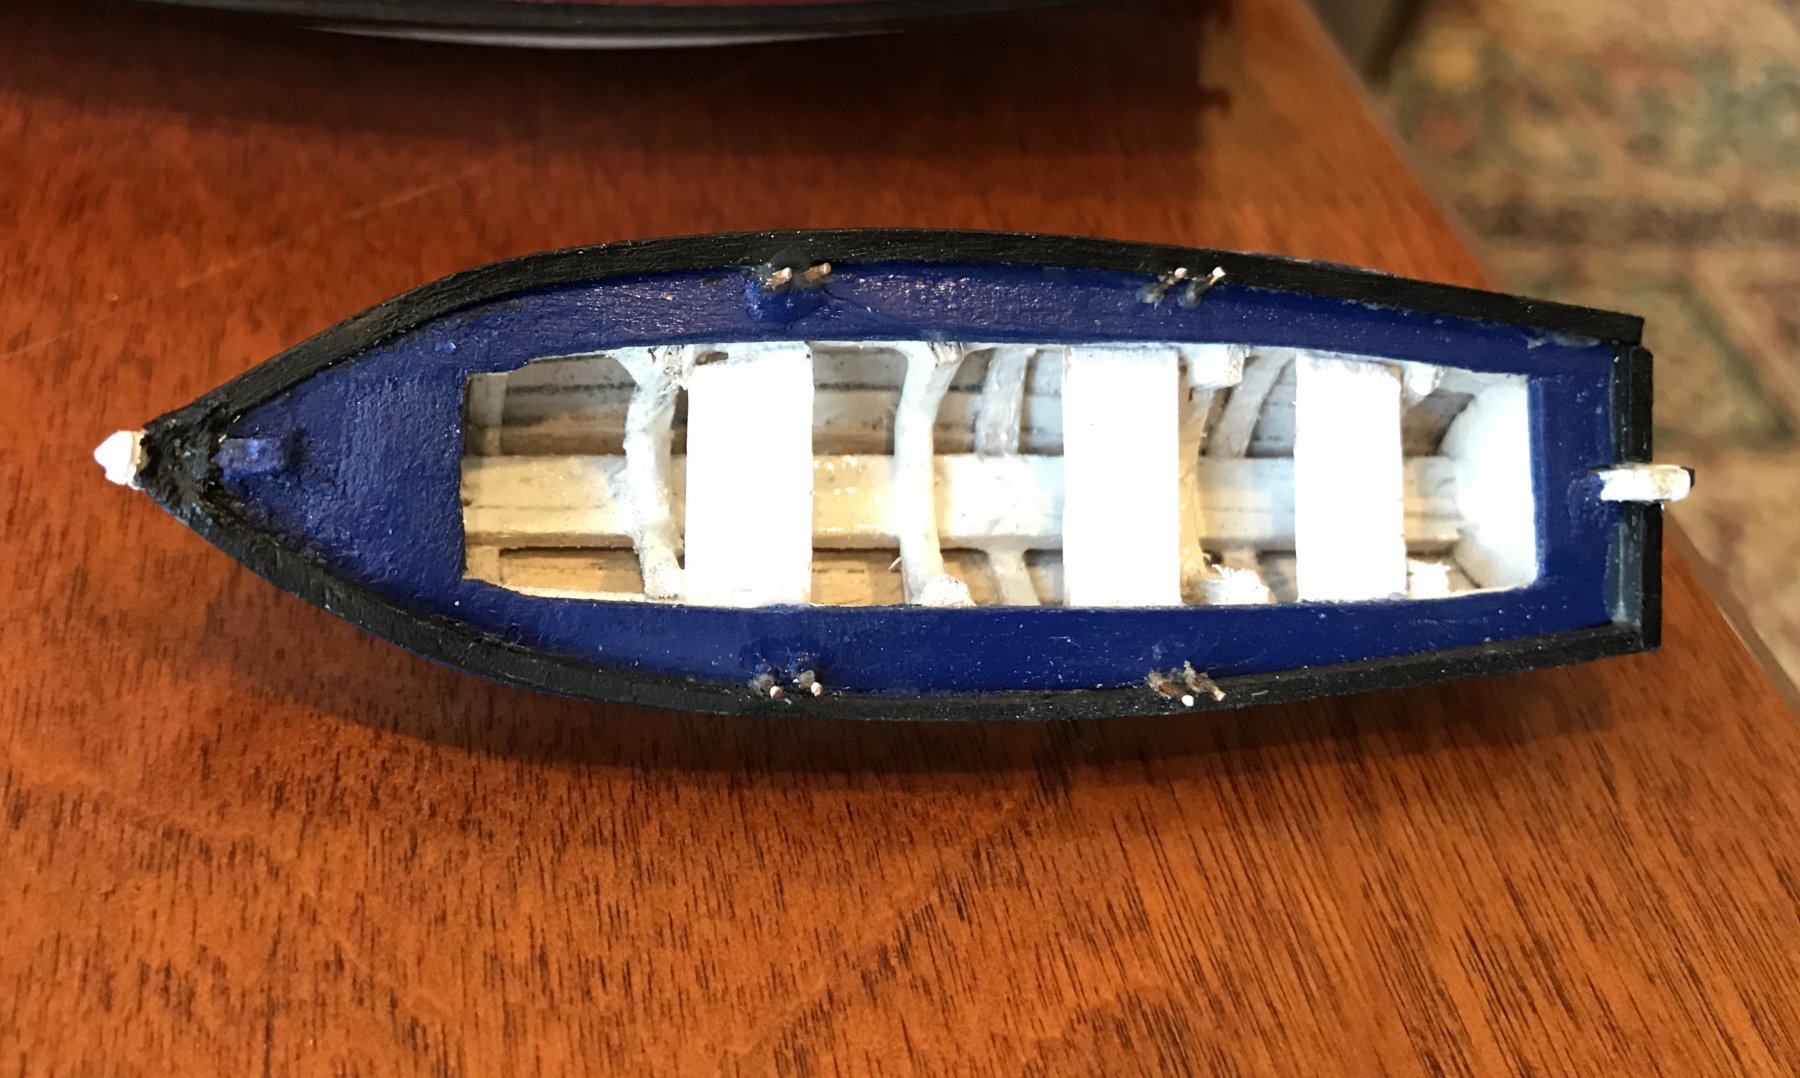
An update is in order. Finished the red cutter and blue cutter. Note gunpowder or water barrel, buckets, and coiled rope in the boats along with sweeps/oars. Am securing the red cutter in the waist with lines and the blue cutter along the stern with davits. The oars are in my sons university crew pattern.


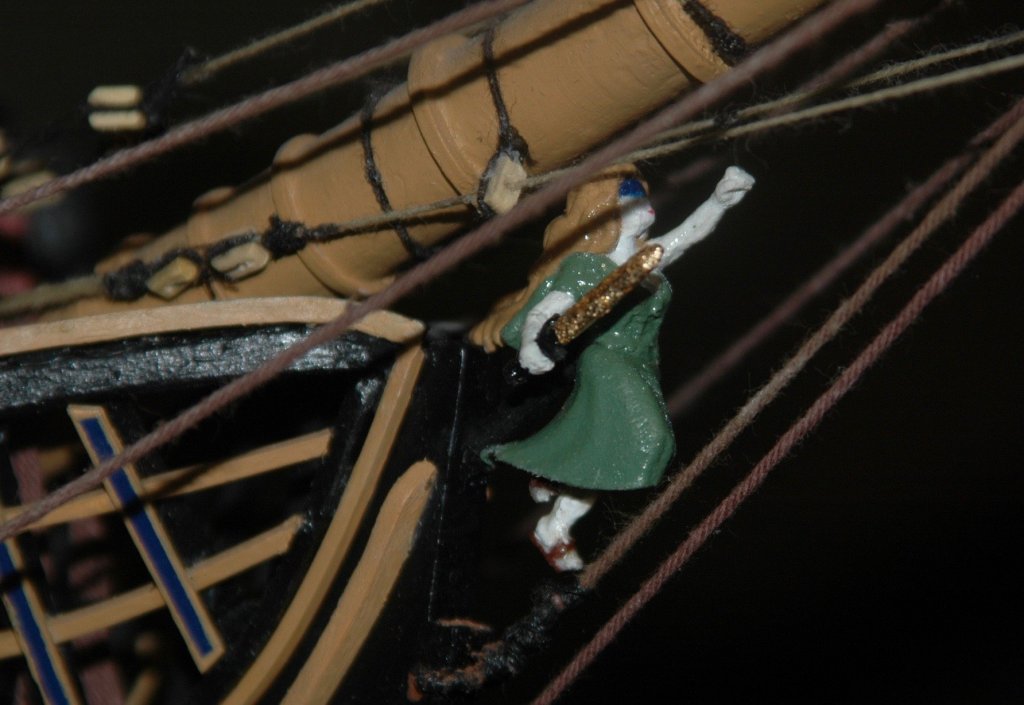
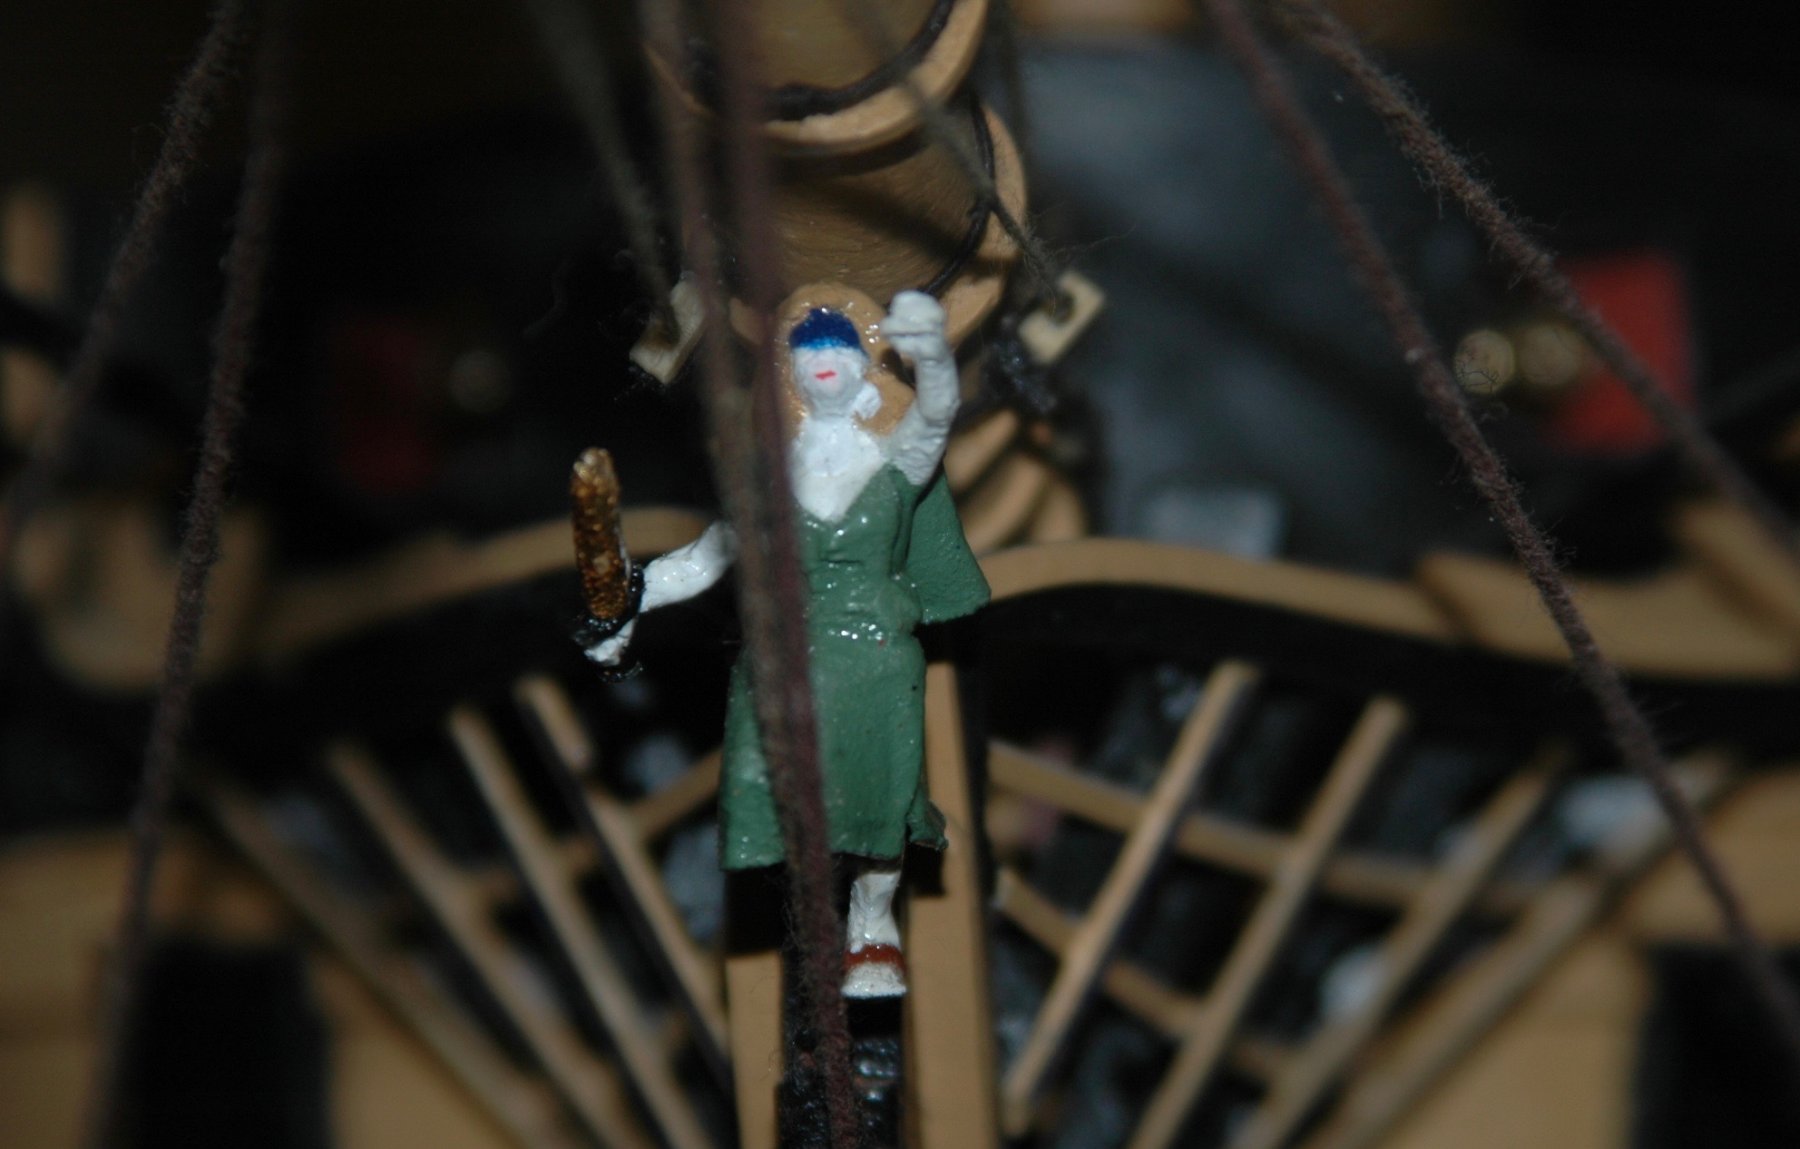
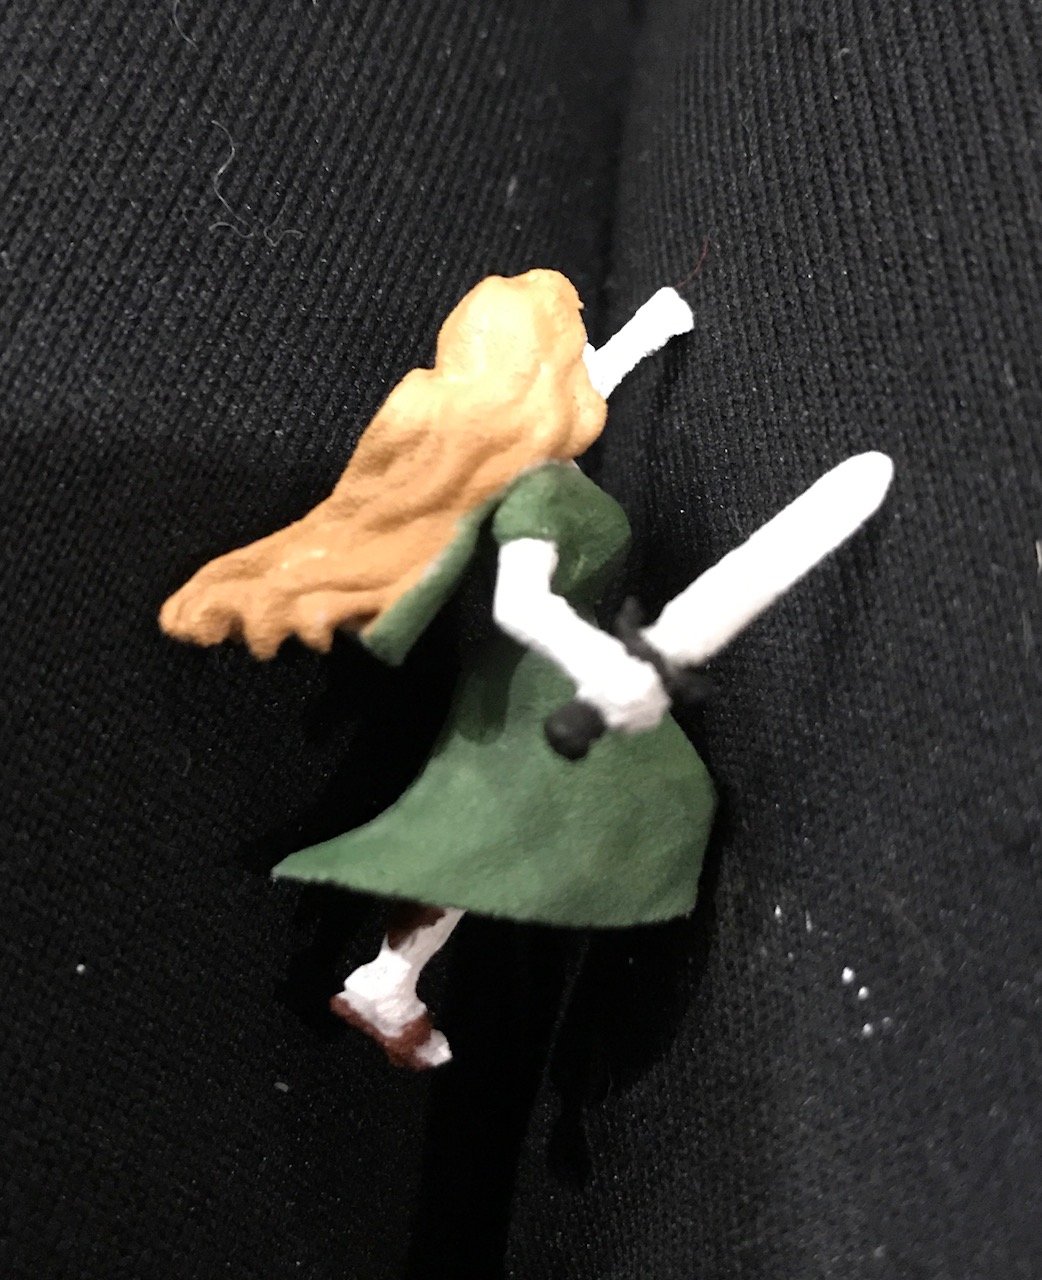
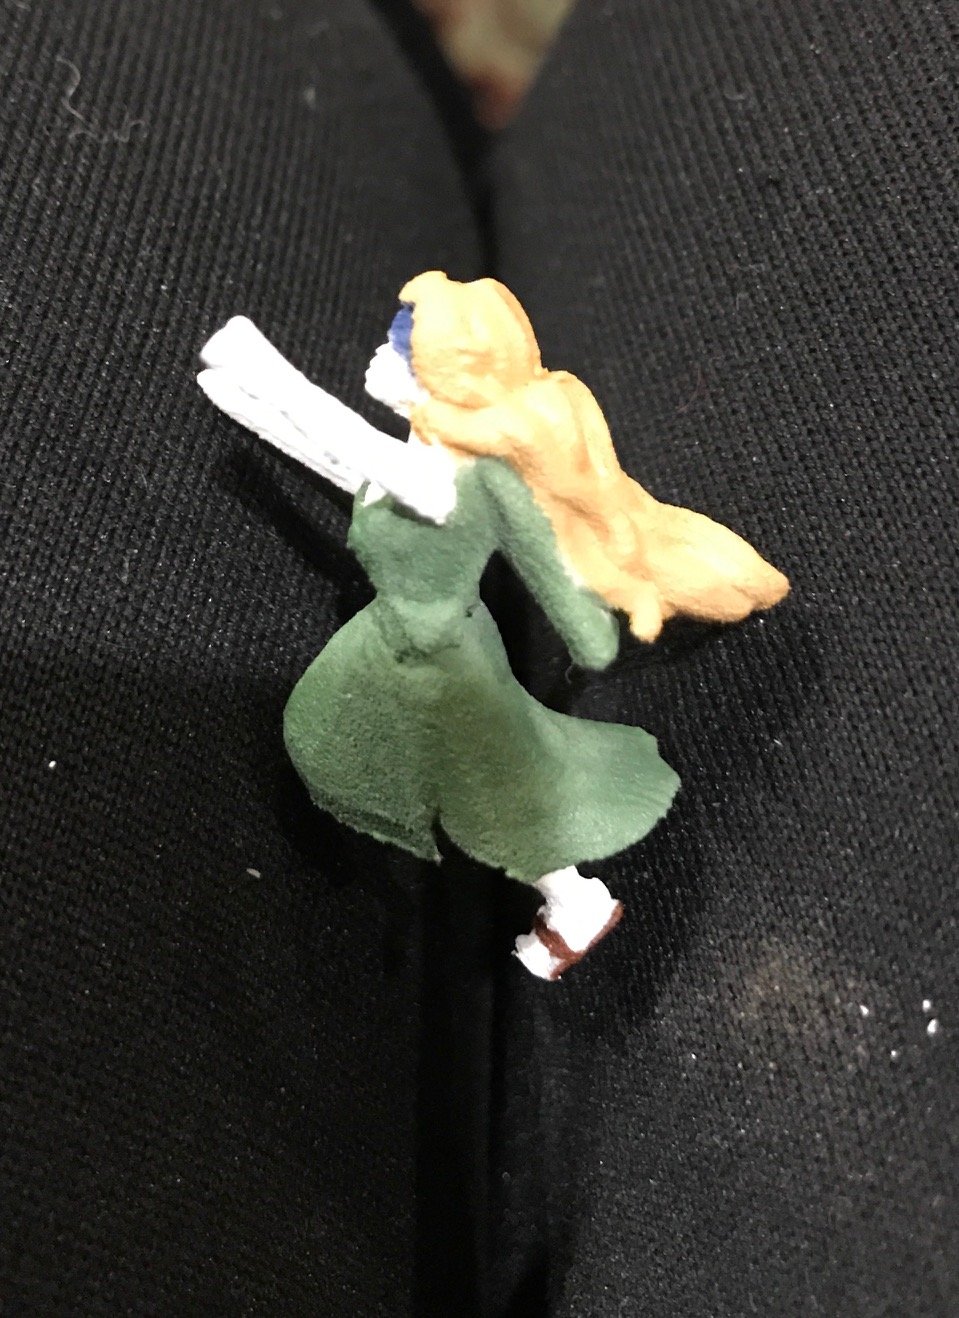
Also finished and mounted the figurehead. She is blindfolded and armed with a gilded sword, then sealed with shellac.


- billocrates, Waitoa and mtaylor
-
3
-
-
Hour 1073-1074Learning to make oars to row de boat. There is a formula based on the beam of the boat so calculating from that. Using bamboo skewers and toothpicks for the shaft and planks for the paddle area. Need some thinning of the shaft but looks pretty good so far. Stabbed my finger though...ouch.
- Dutchman, billocrates, coxswain and 1 other
-
4
-
Hrs 1070-72
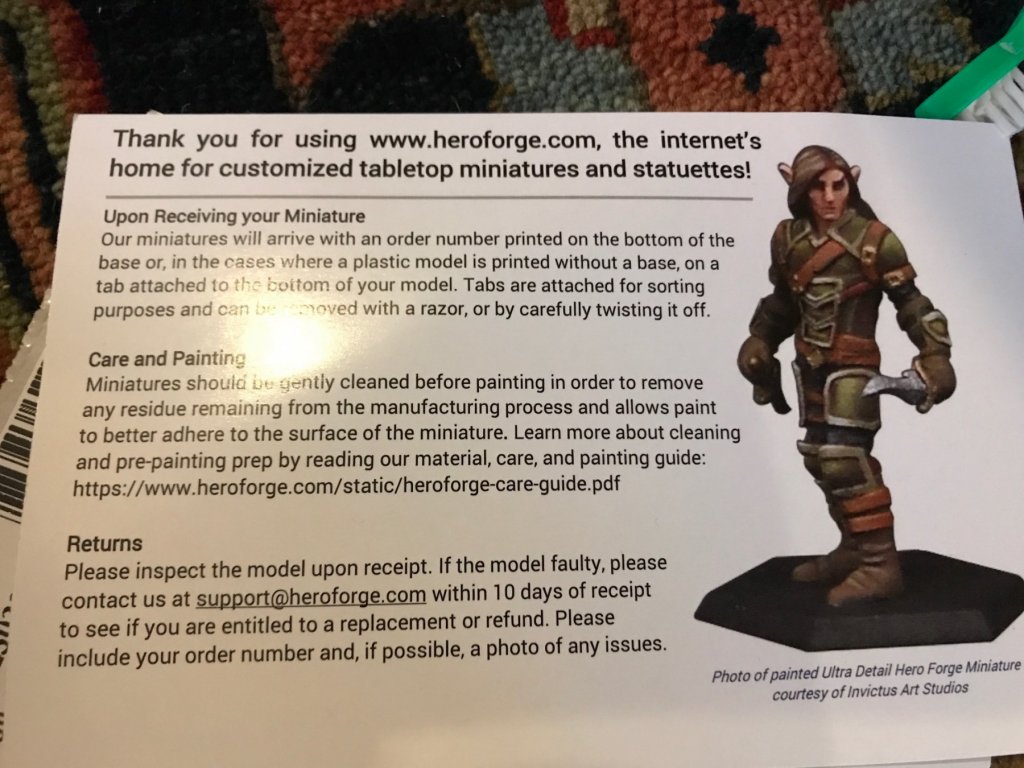
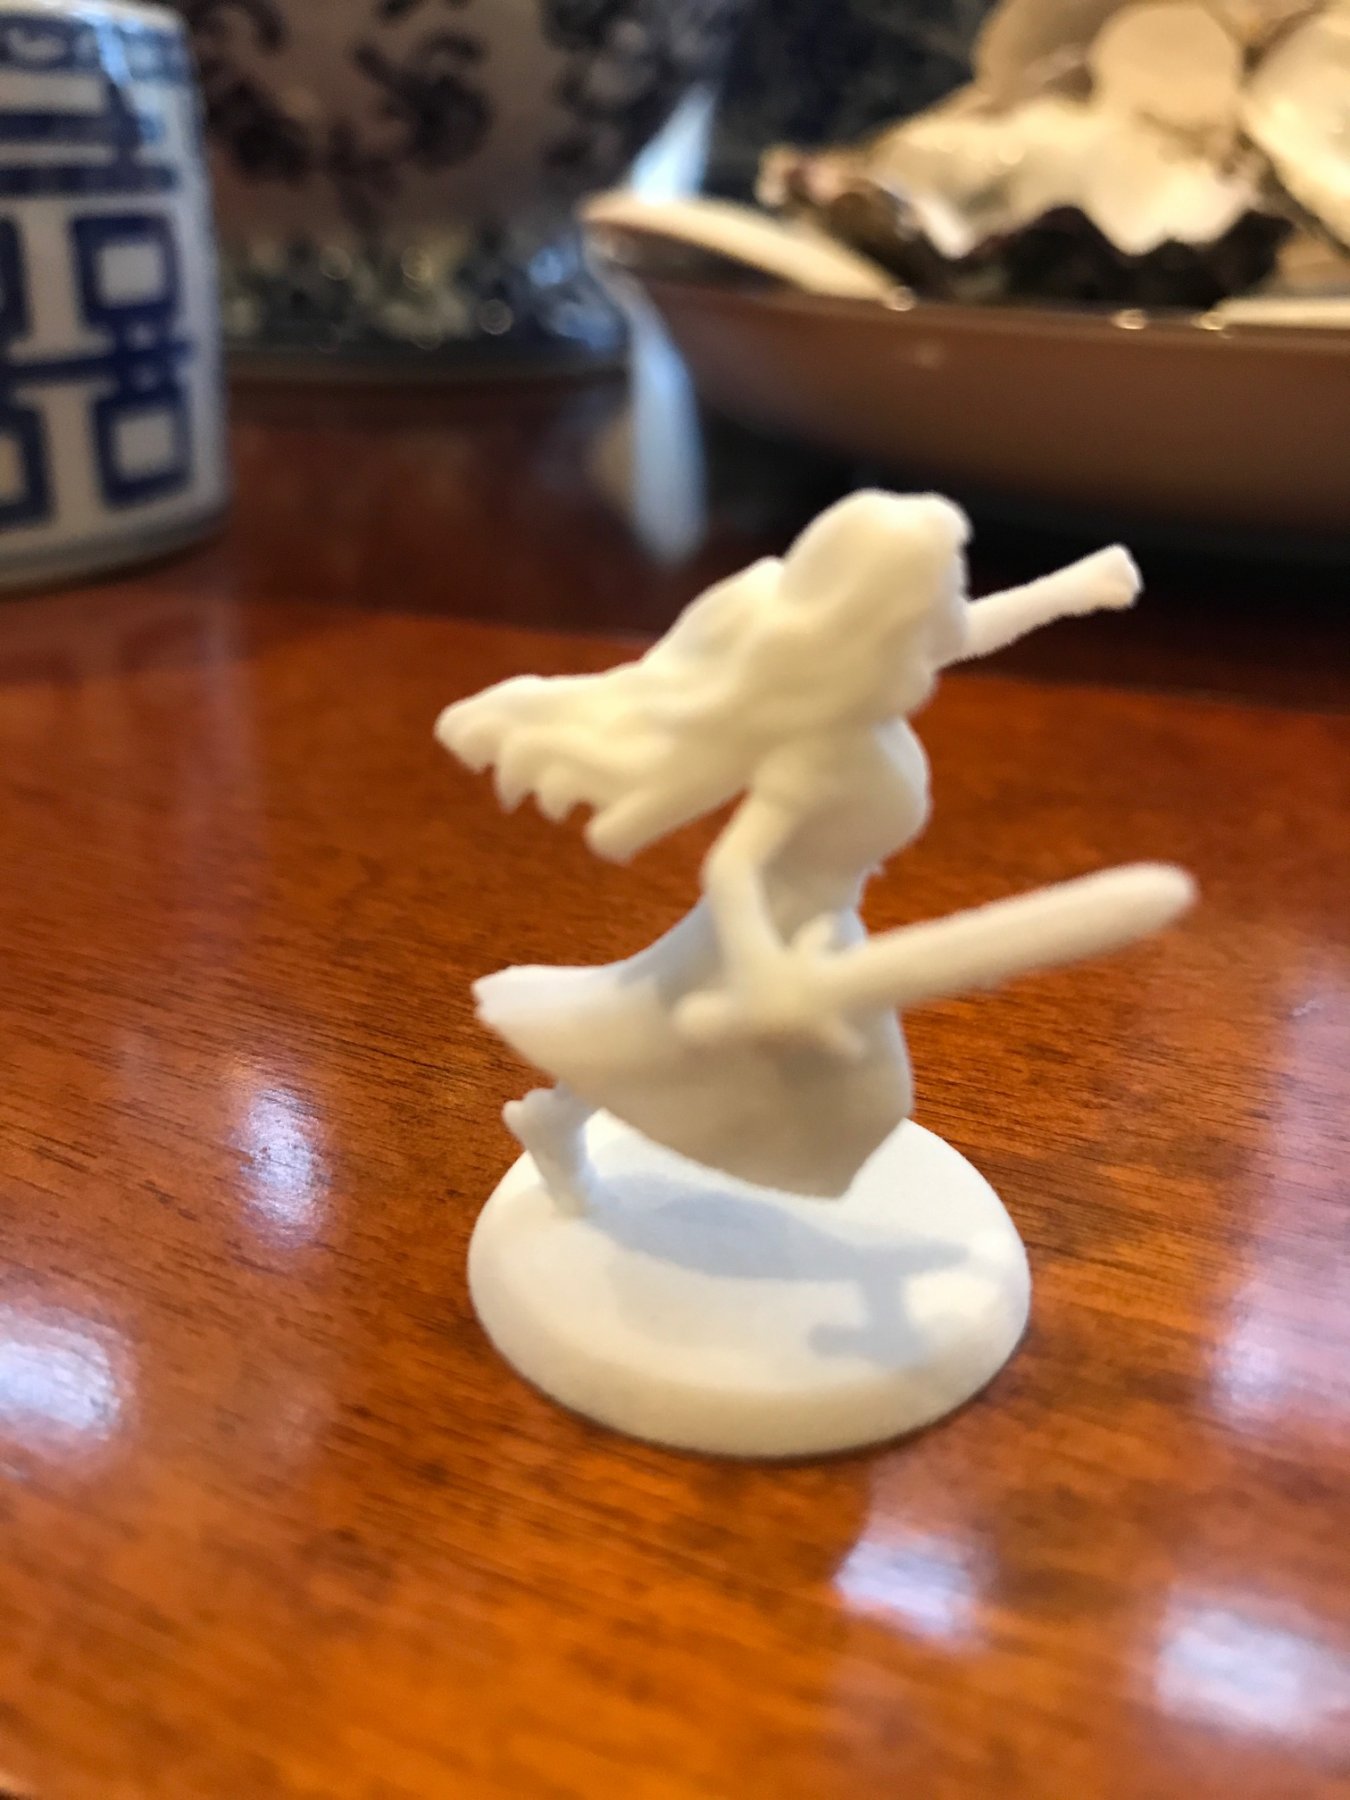
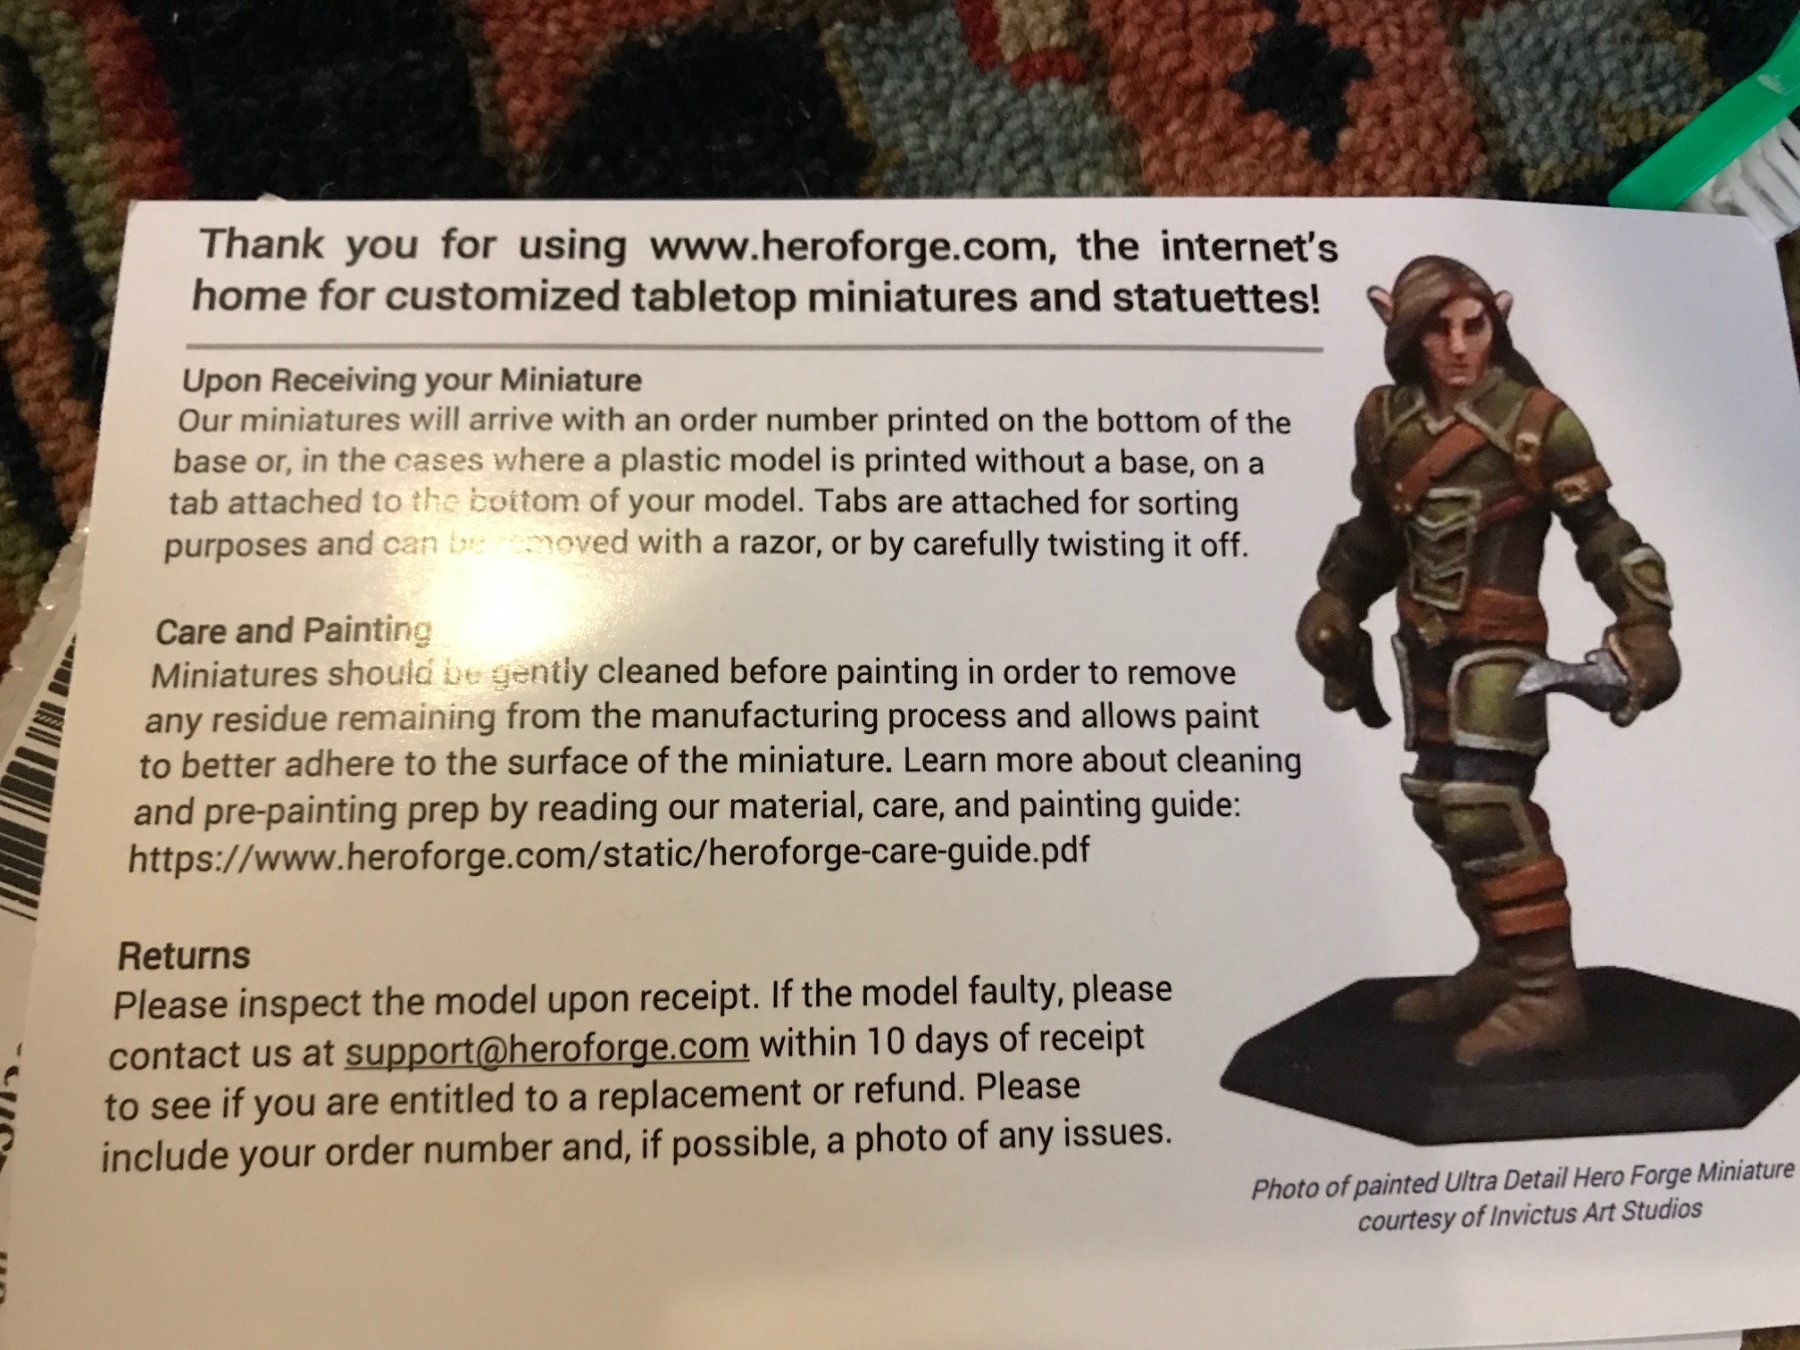
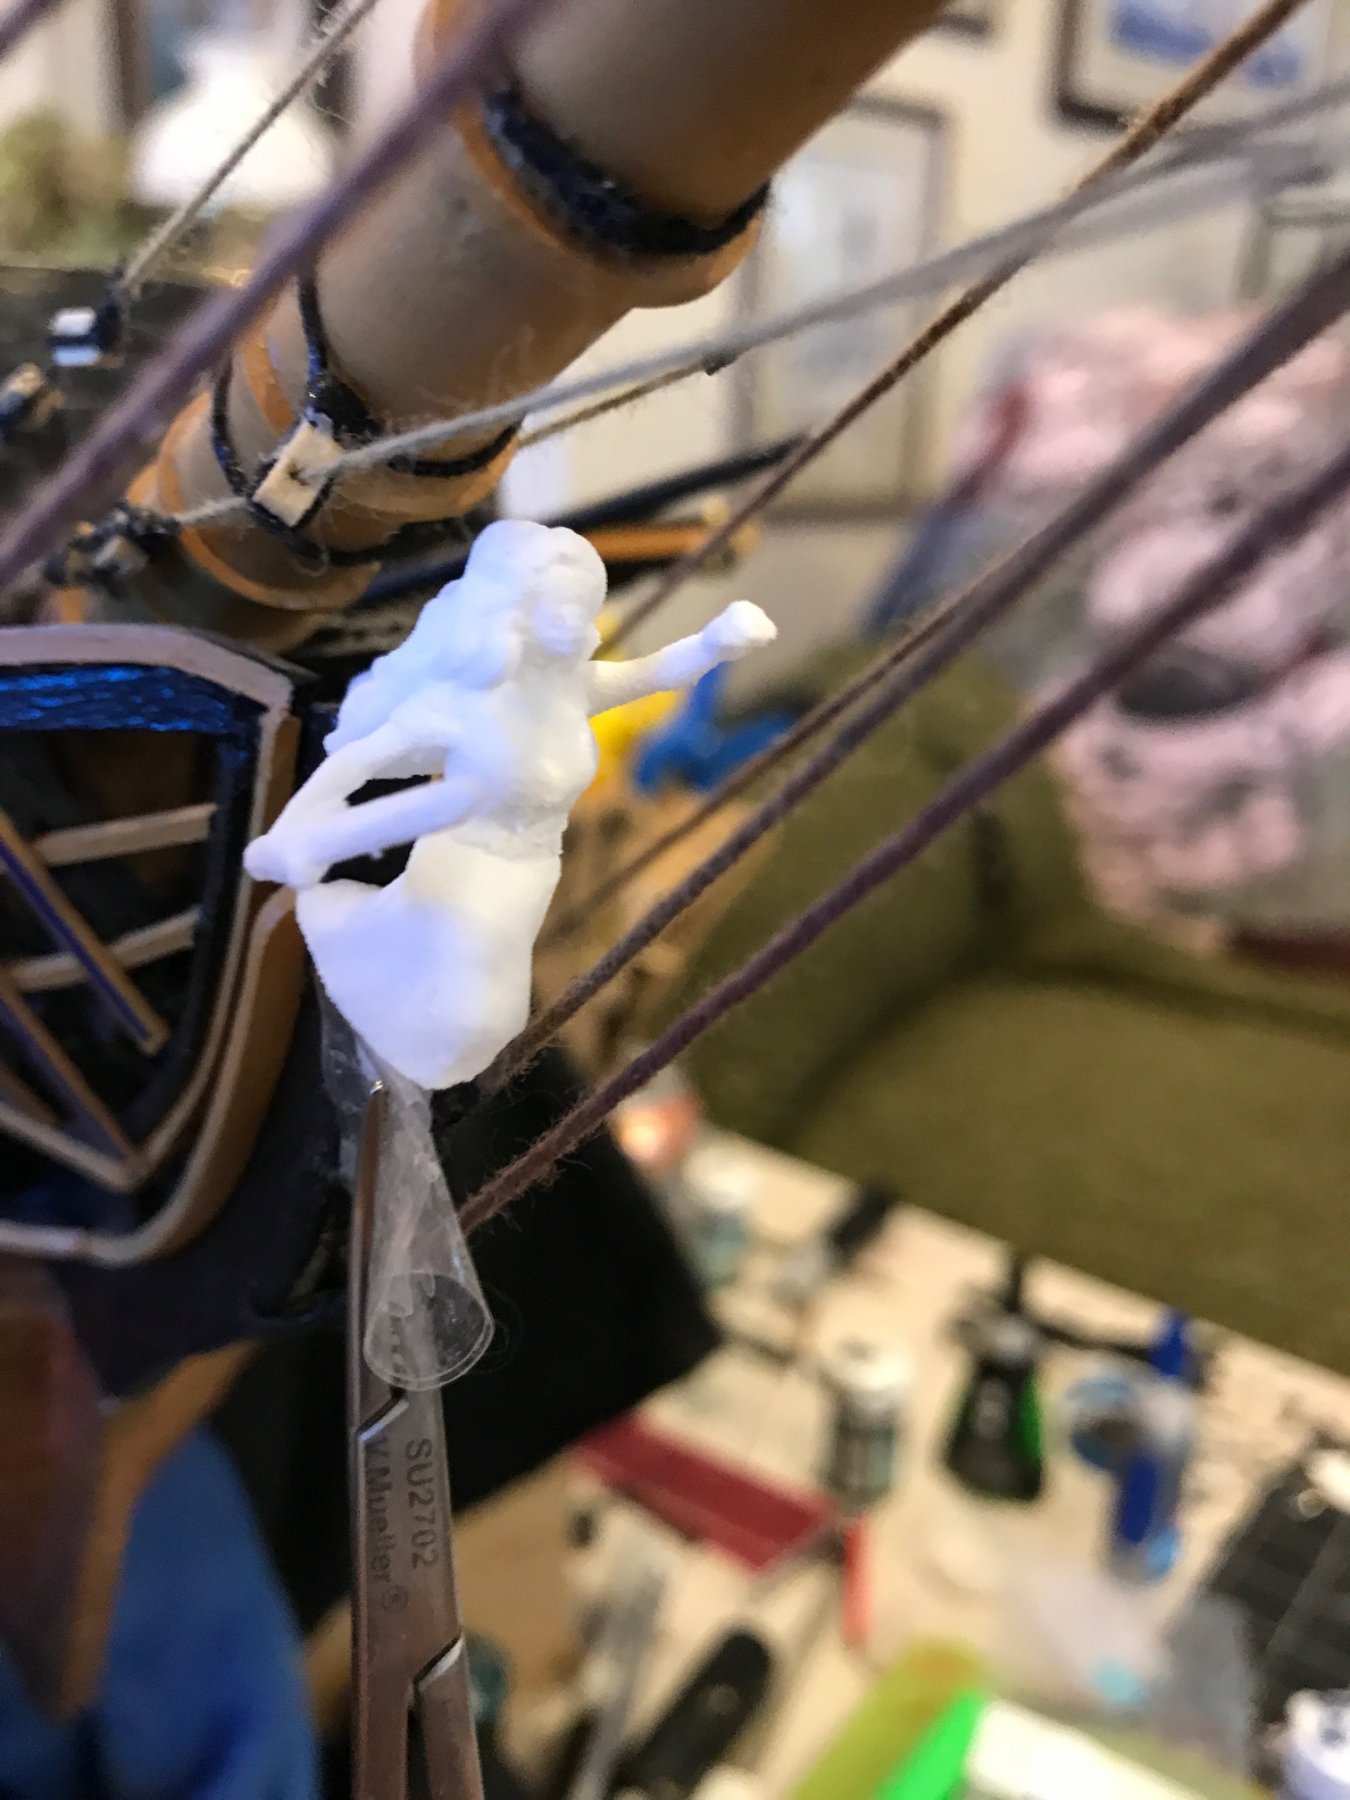
Found a source for a figurehead called Hero Forge, They make customized miniatures in a variety of poses using injected plastic. They seem to be perfect size so I chose a figurine with long flowing hair carrying a sword wearing a blindfold ("Surprise": get it?). Attached are my attempts to paint the figure. Will gild the sword at the end.


- zappto, billocrates, mtaylor and 1 other
-
4
-
Hrs 1066-1070
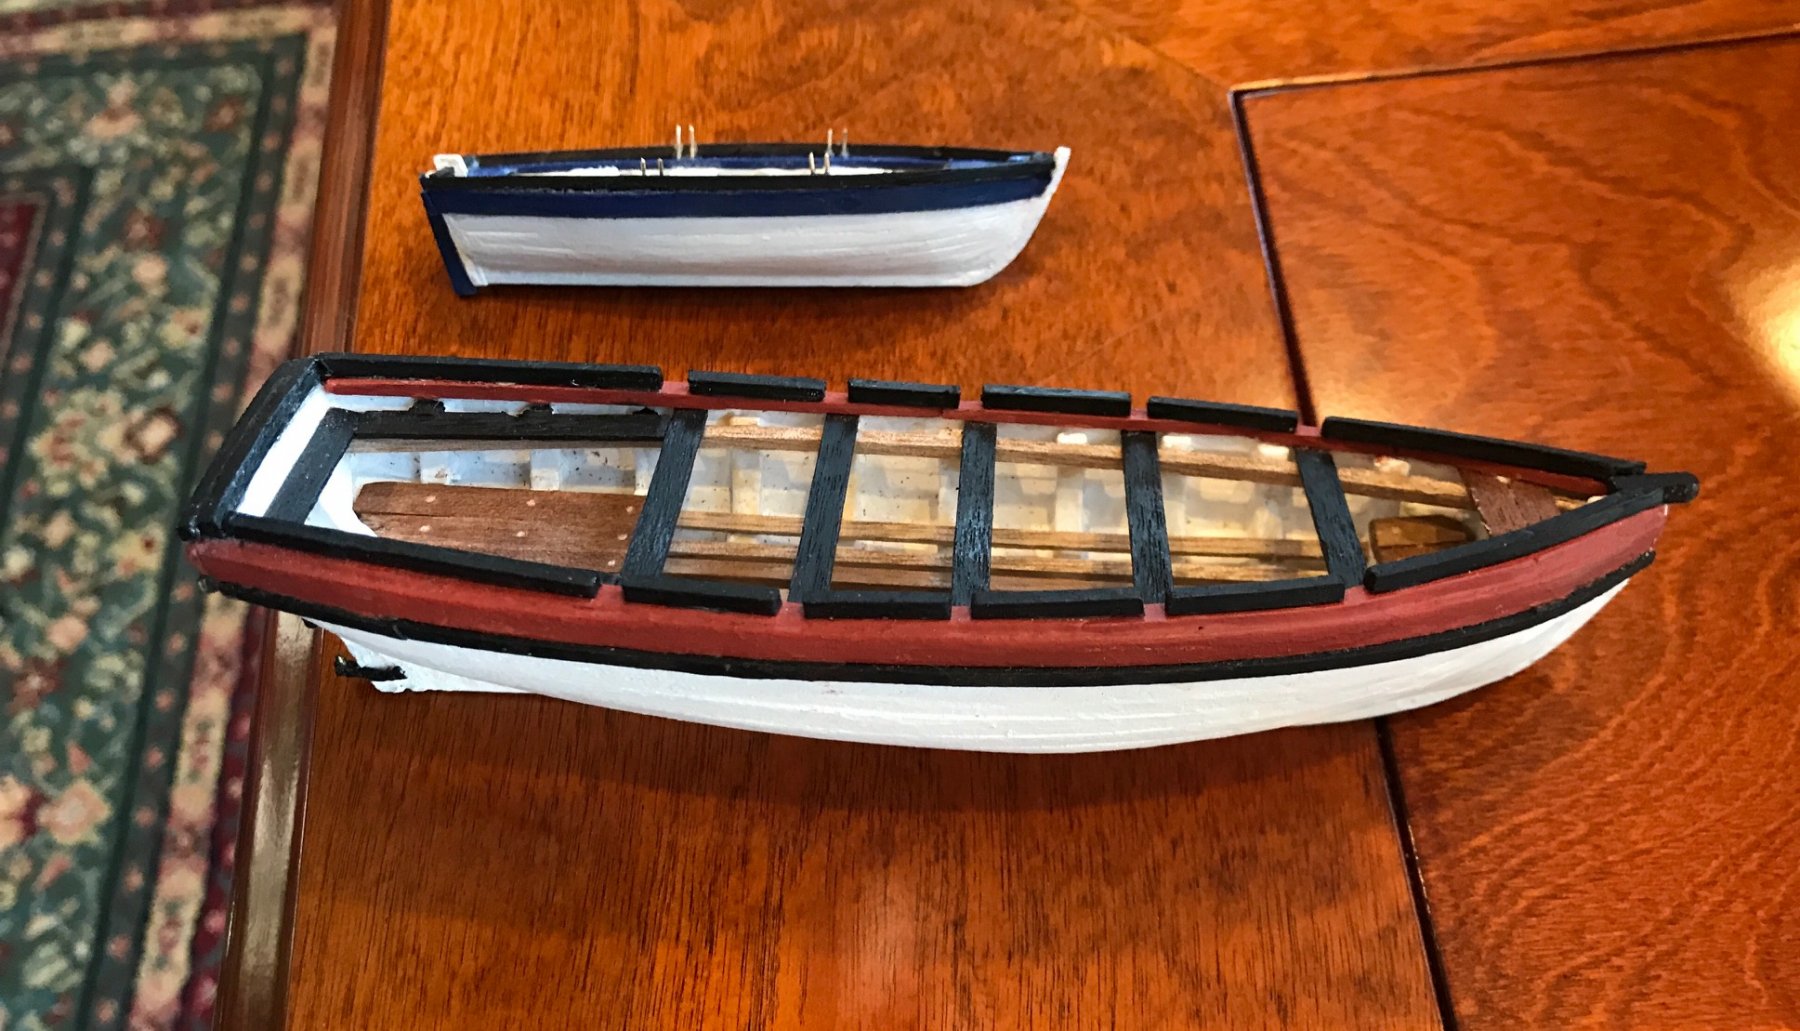
Finishing off the red cutter and captain's gig. Needs a bit of clean up. Note thole pins on the blue gig. Working on the rudder and then the oars...

- coxswain and billocrates
-
2
-
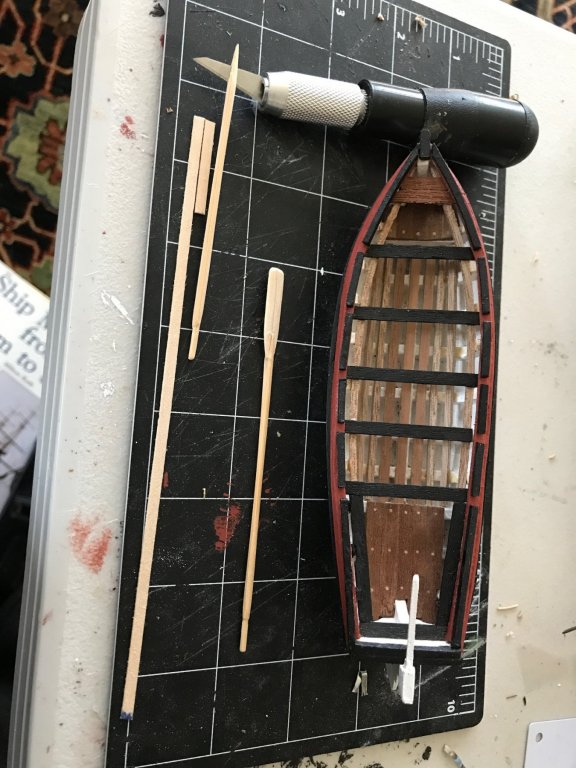
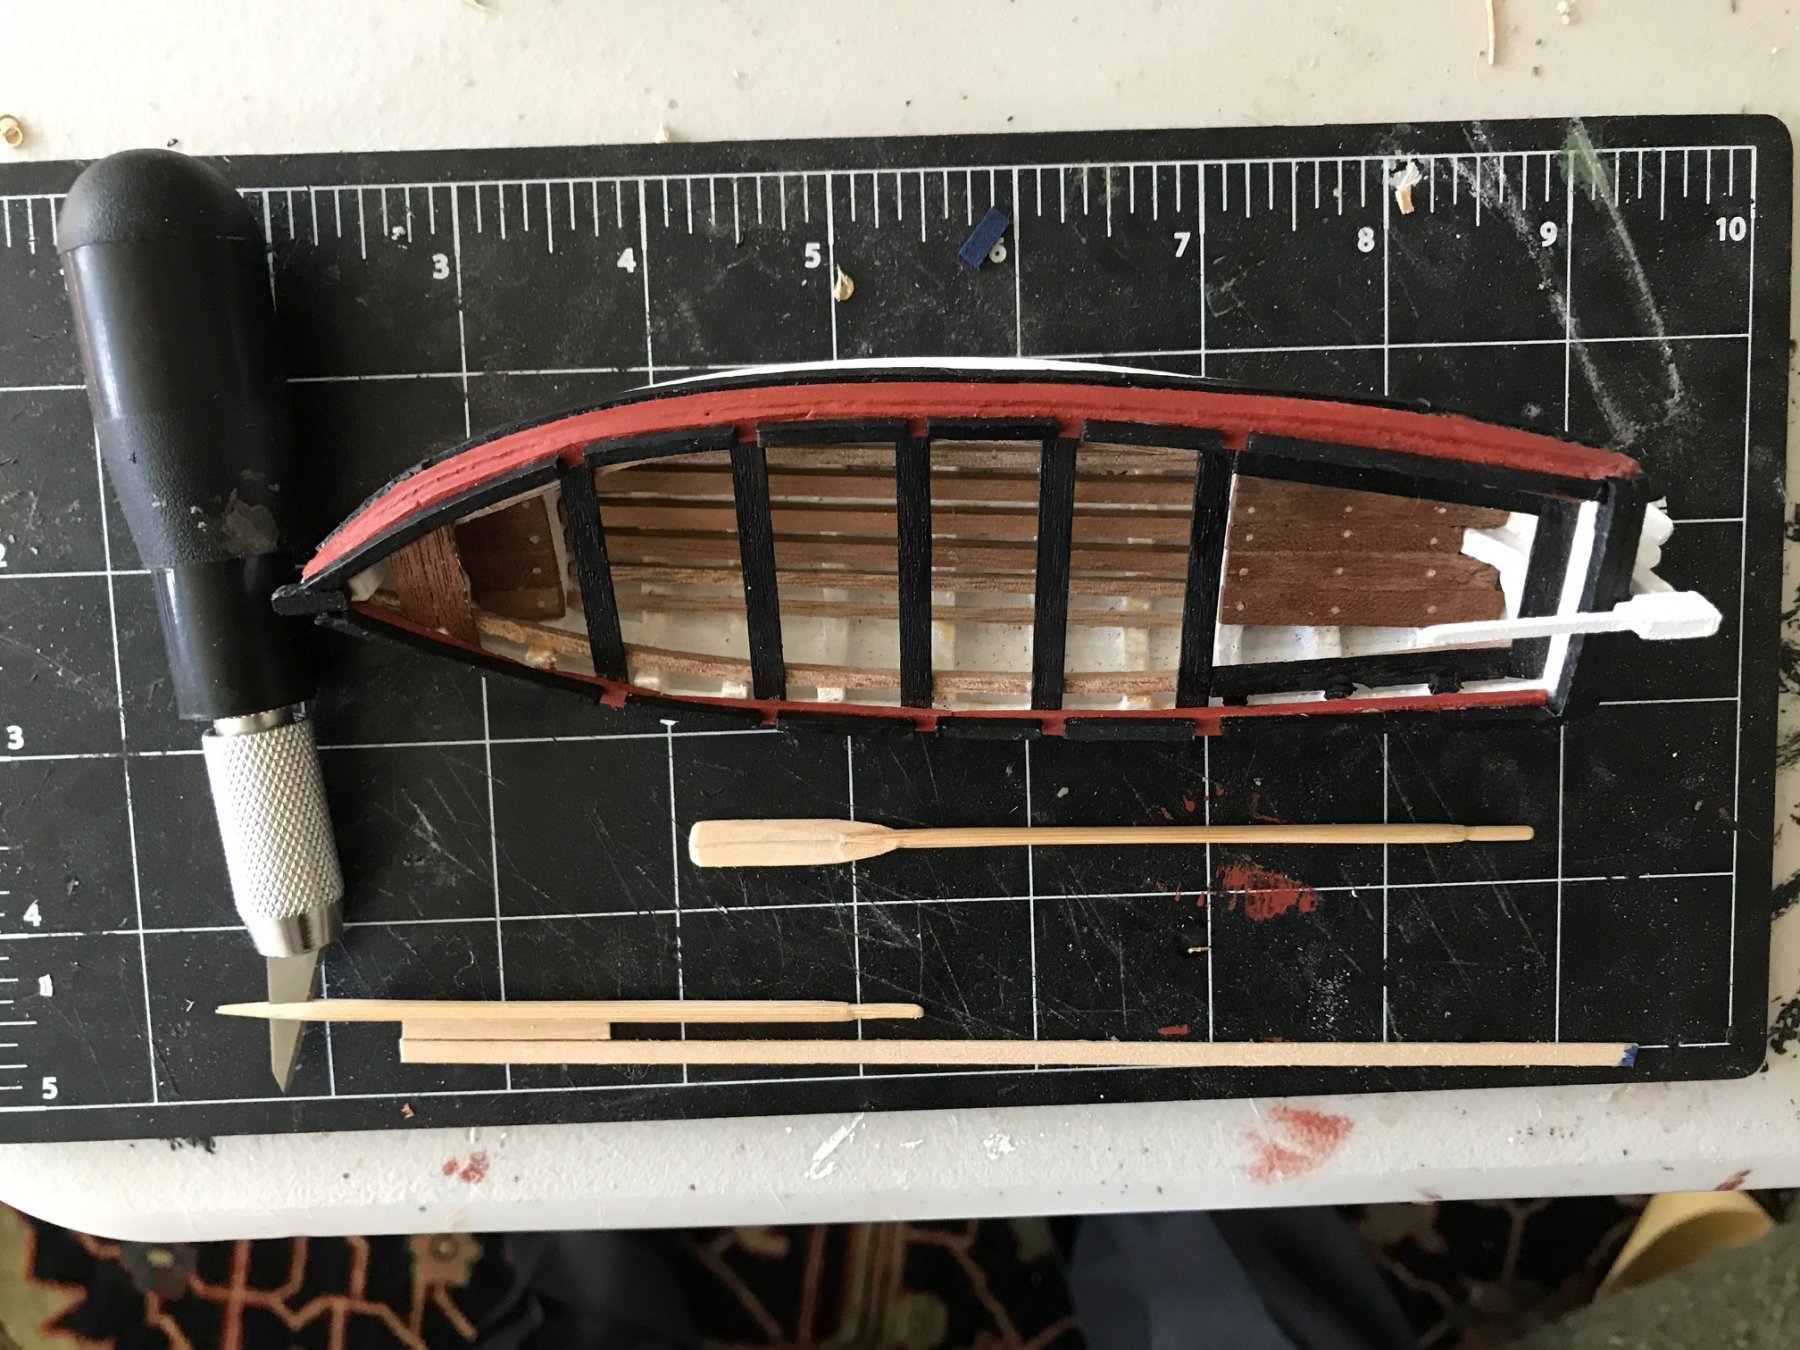
Hrs 1053-1065
Getting there...
Finishing the Red cutter, 28 feet to scale. Plank on frame with cutouts for oars. Working on rudder assembly now.
.thumb.JPG.7acce16ce3d6bb00e6216bcebe099ff5.JPG)
- coxswain, reilly, billocrates and 2 others
-
5
-
Just saw your note on stern windows problem. I think it’s going to require some ingenuity. There are seven windows going across so you will need to find the center and then place the three columns evenly across each side to create the gaps for the windows on each side. The columns are at a slight angle. Once you delineate the gaps you can add decorative trim painted gold on top vertically or maybe cut out the metal from the kit to lie on it to create a 3D effect?
Then you can build individual windows. I used microscope coverslip glass to get the effect I wanted but have seen cellophane used. I hinged some of my windows to open.
See bottom of page 1 of my build. Sorry, I’m on vacation using my phone so can’t transfer pics in...
-
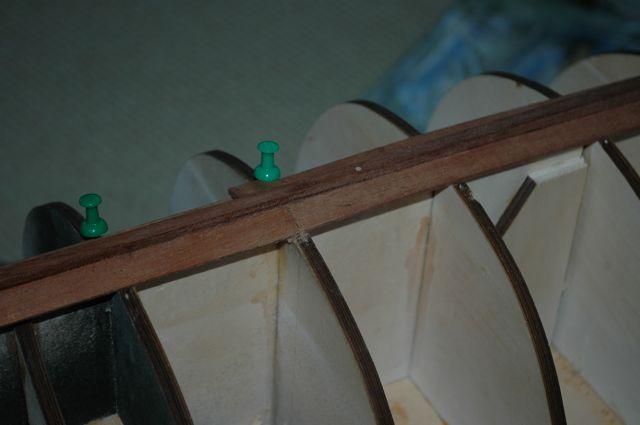
And using push pins (different location, but the same idea). The holes will go away with sanding or a drop of water.
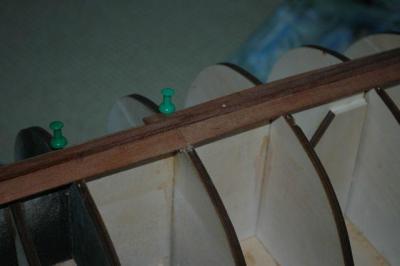
-
Kind of like this:

And this, using some nails that I pull out later
-
-
Hrs 1044-1052
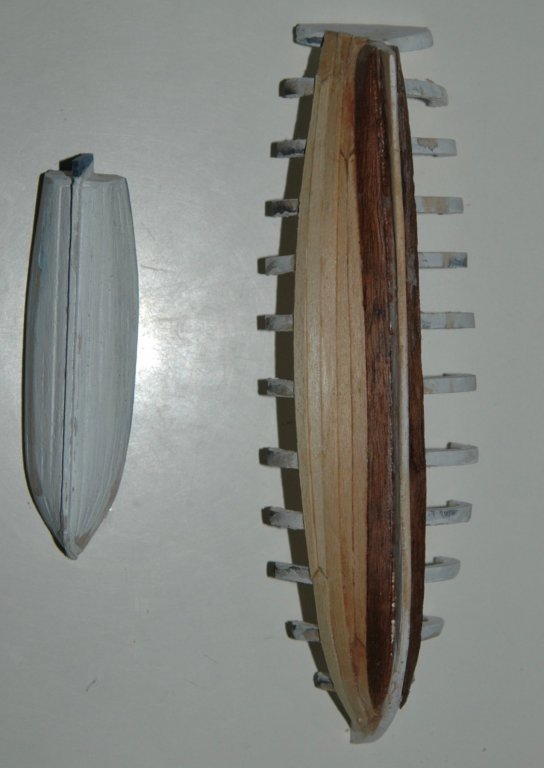
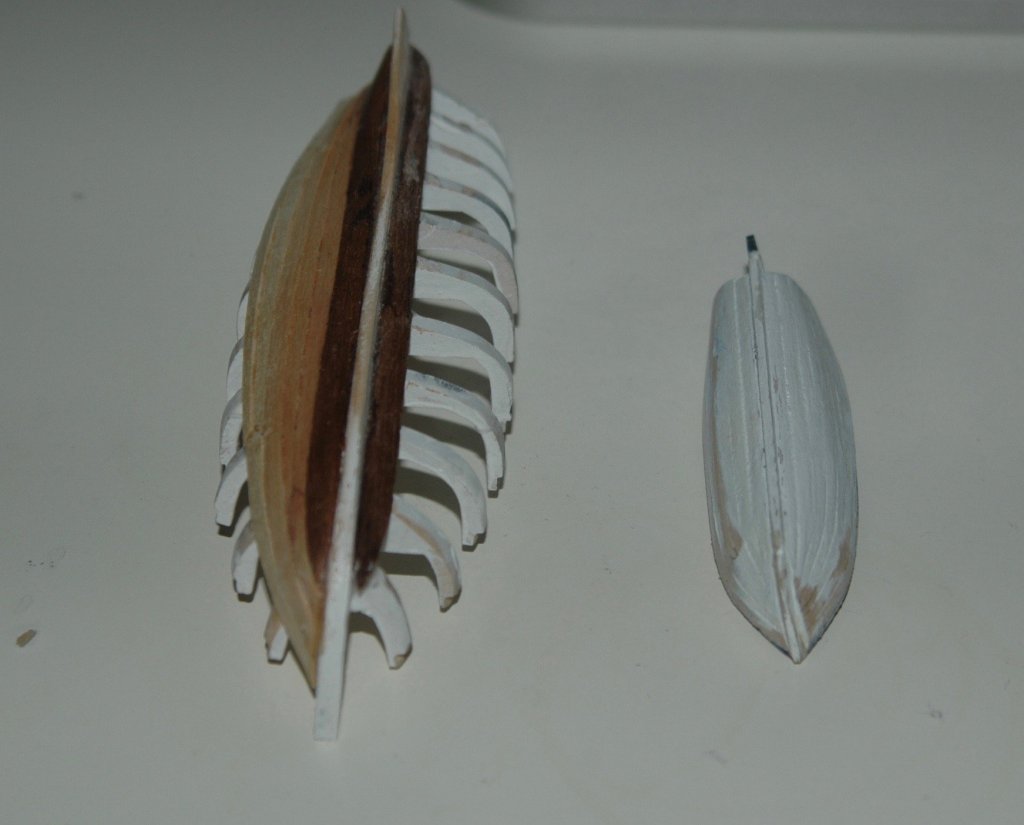
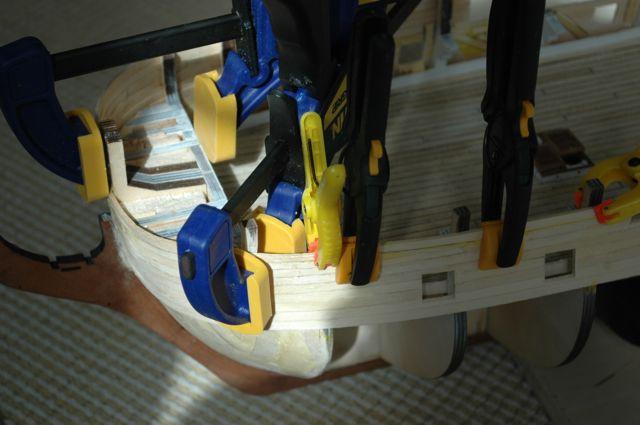
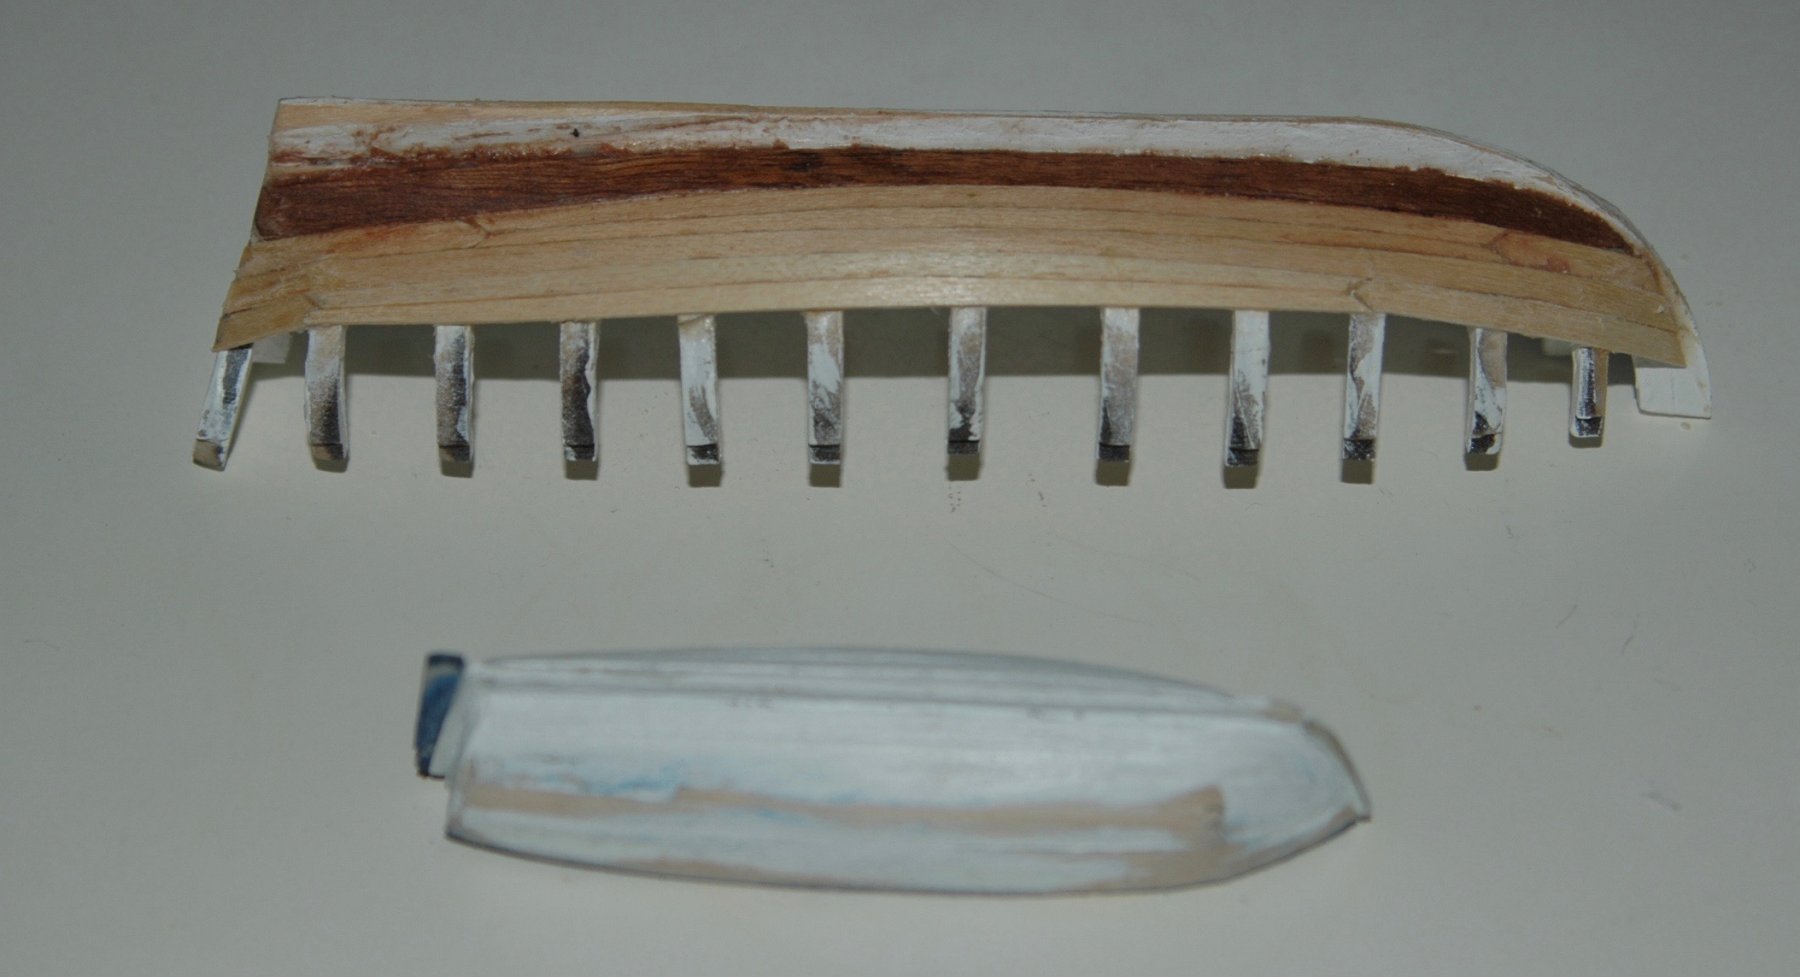
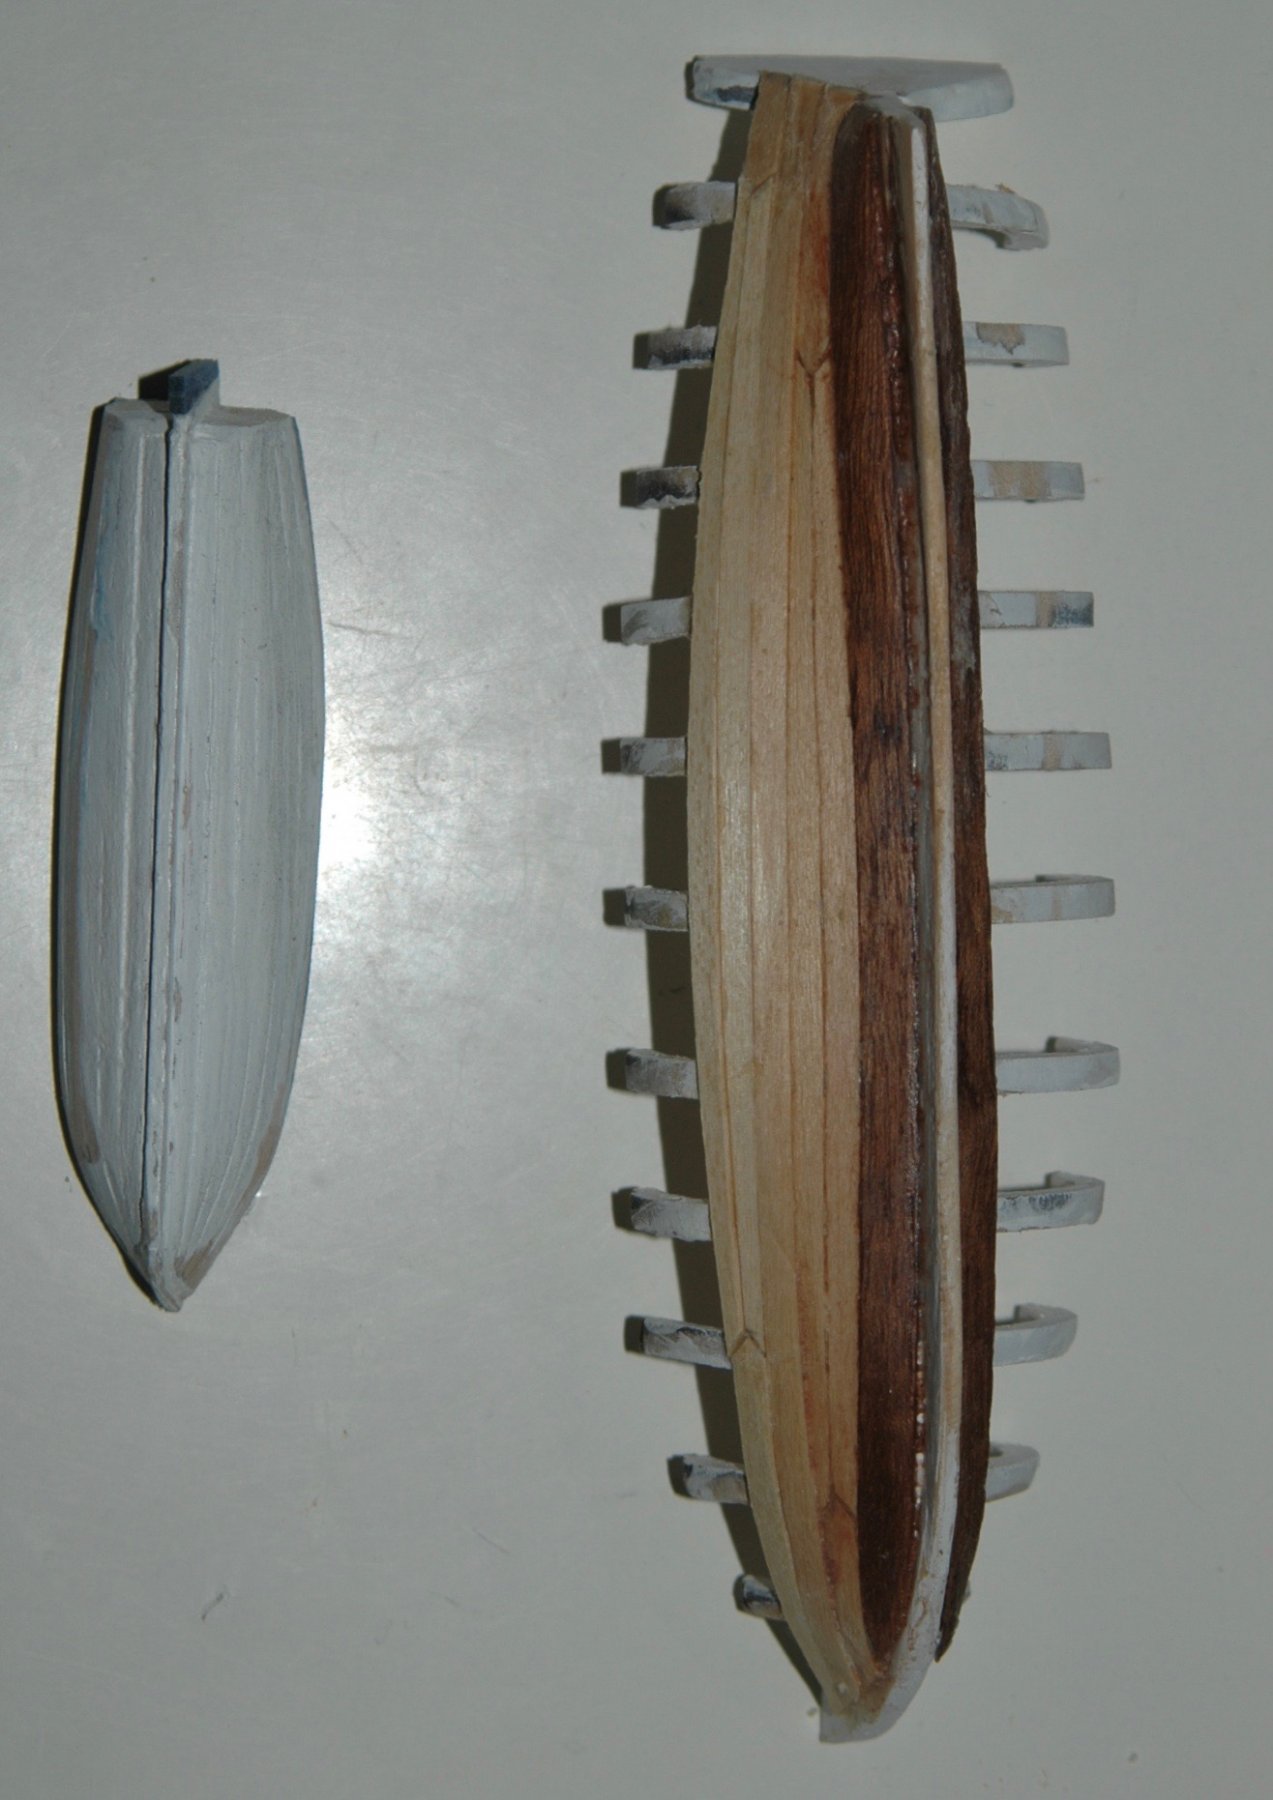
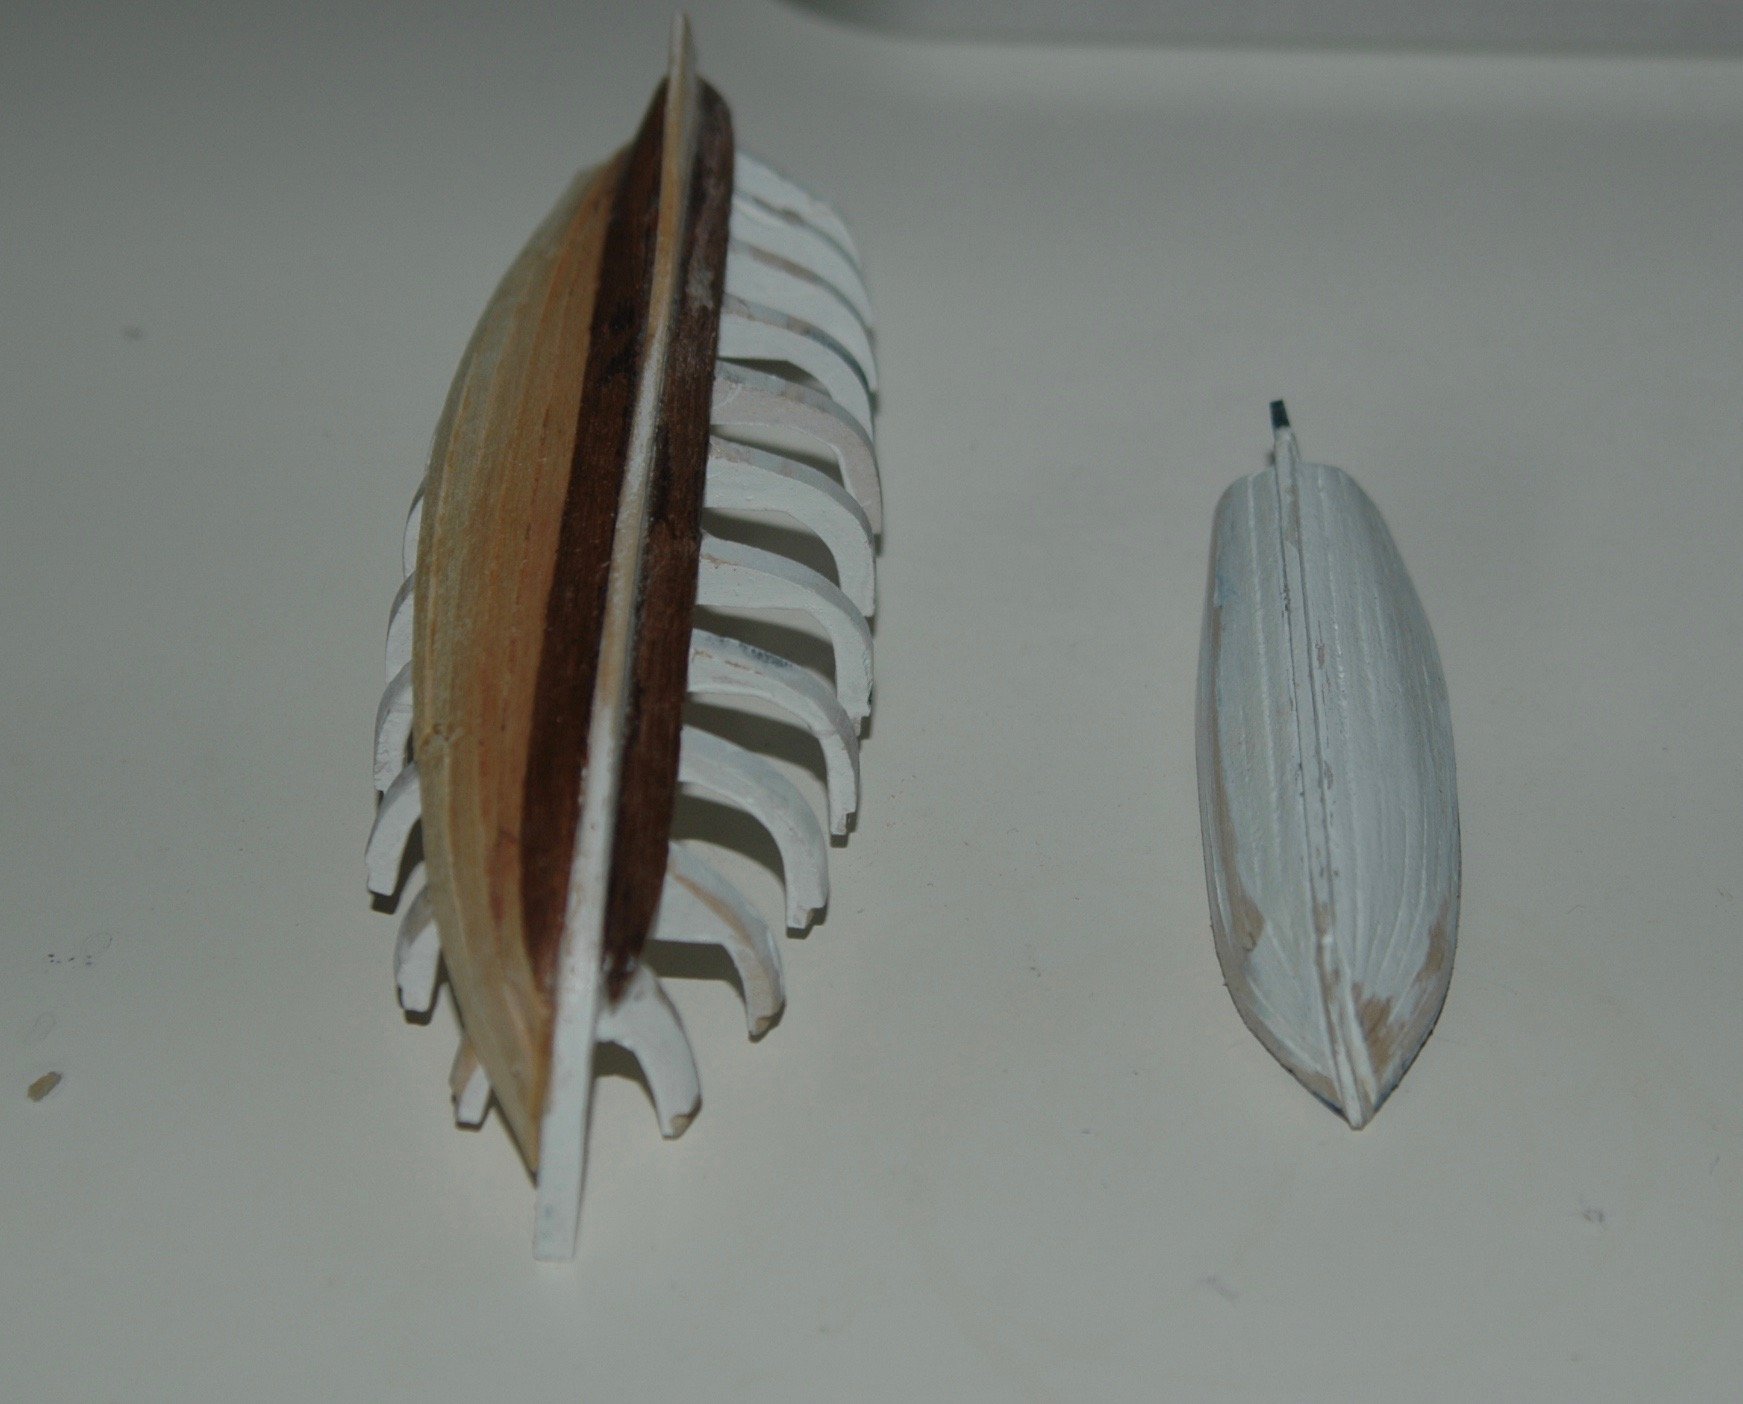
Waiting on the Lion to be cut out and have started working on the ship's boats.
Only one boat comes with the kit so it will be one of the scale 24 foot cutters. Doing plank on plank construction. Am also taking the cut out basswood part sheet and photocopying the part openings. Will use photocopier to expand to the 28 foot pinnace and also reduce to the other 23 foot cutter using basswood plywood and the laser cutter.
Used a separate model kit I found to make the jolly boat, which by scale is 18 feet long. This will be mounted on the stern.
Although there are supposed to be 5 ship's boats, I may stop at only 4 as they will completely obscure the waist opening of the ship with the cannons, stove etc.
Maybe Maturin is off looking for birds...

Still a loooong way to go....
- billocrates, Waitoa and coxswain
-
3
-
Have visited the HMS Rose/Surprise in San Diego. It is a little run down now and needs some TLC. I had some pictures of it in my build log that are helpful. You might want to see the USS Constitution in Boston for a better preserved ship. And of course the HMS Victory is outstanding in Portsmouth.
I have found the Lavery book on HMS Surprise very helpful for diagrams if you want to bash your kit in that direction. You can likely get one at the library and photocopy some of the pages. Otherwise it is $$$.
https://www.amazon.com/Frigate-Surprise-Complete-slipcased-hardcover/dp/039307062X
Good to see you making progress.
-
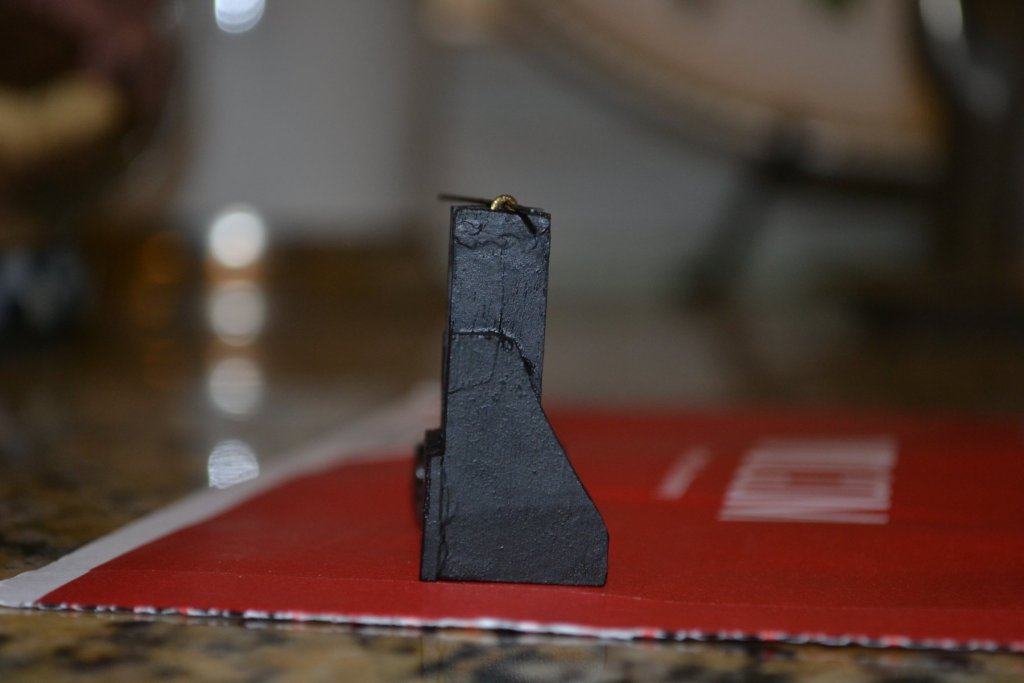
HRS 1040-1043
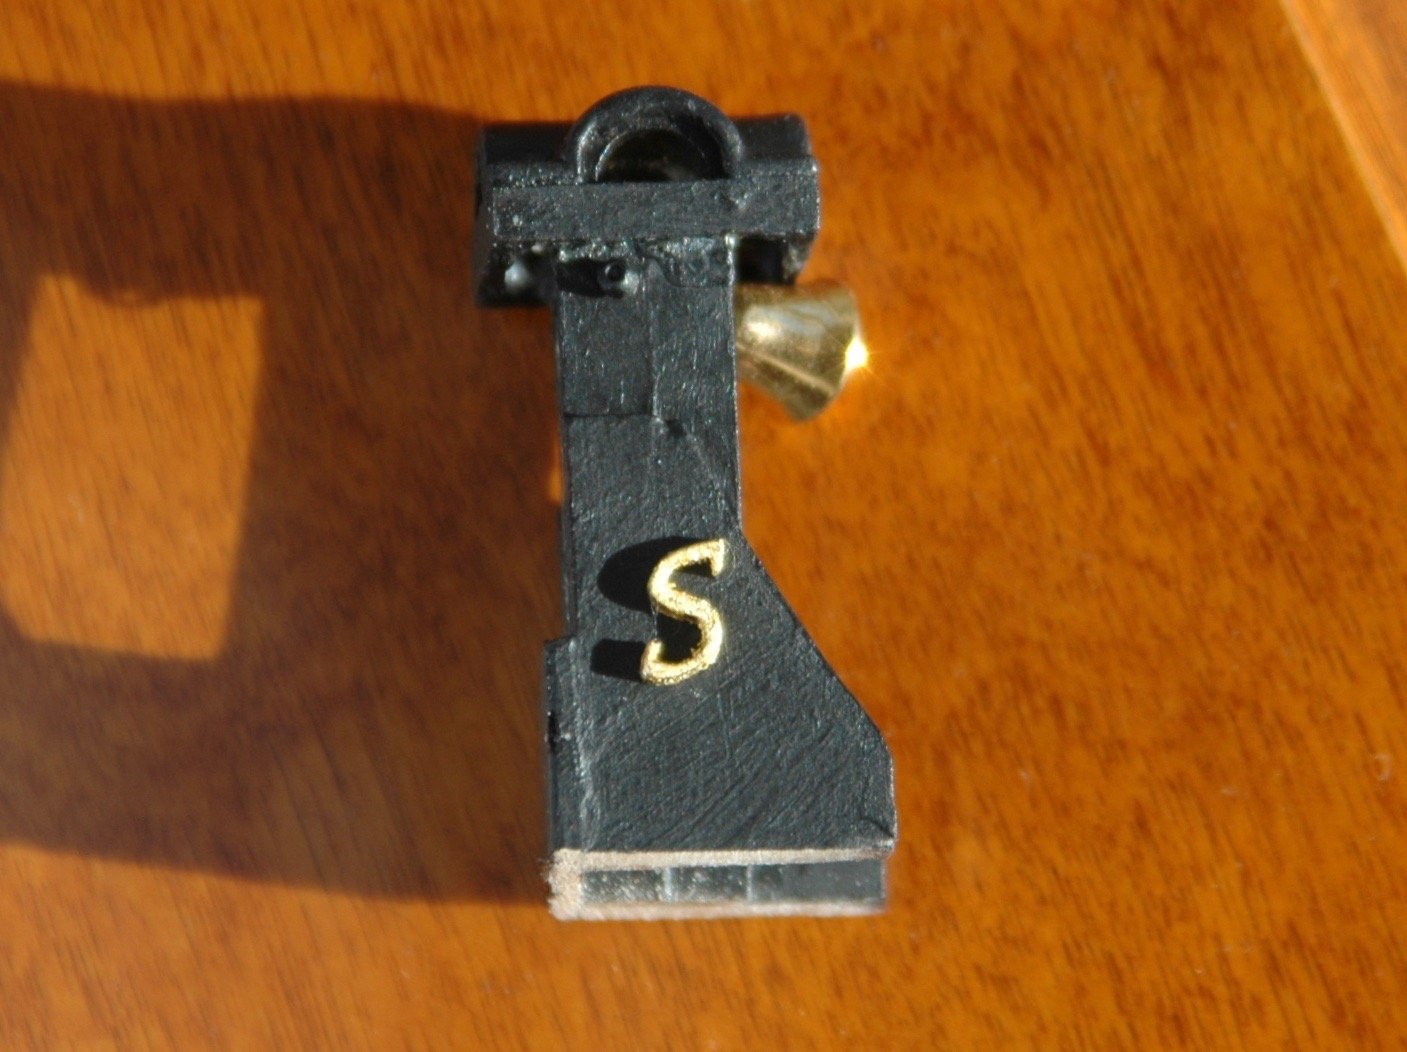
So once again accessed the laser my friend has (nerds rule)... He layered out several script S in 7, 9, 11 mm. I am going to place on side of completed bell tower. Oh,they are going to be covered by 24k gold leaf...

Bell tower...
And dry placed on bell tower.

I am going for a different insignia on the other side... hopefully a lion rampant...
Onward!
- mtaylor, billocrates and coxswain
-
3
-
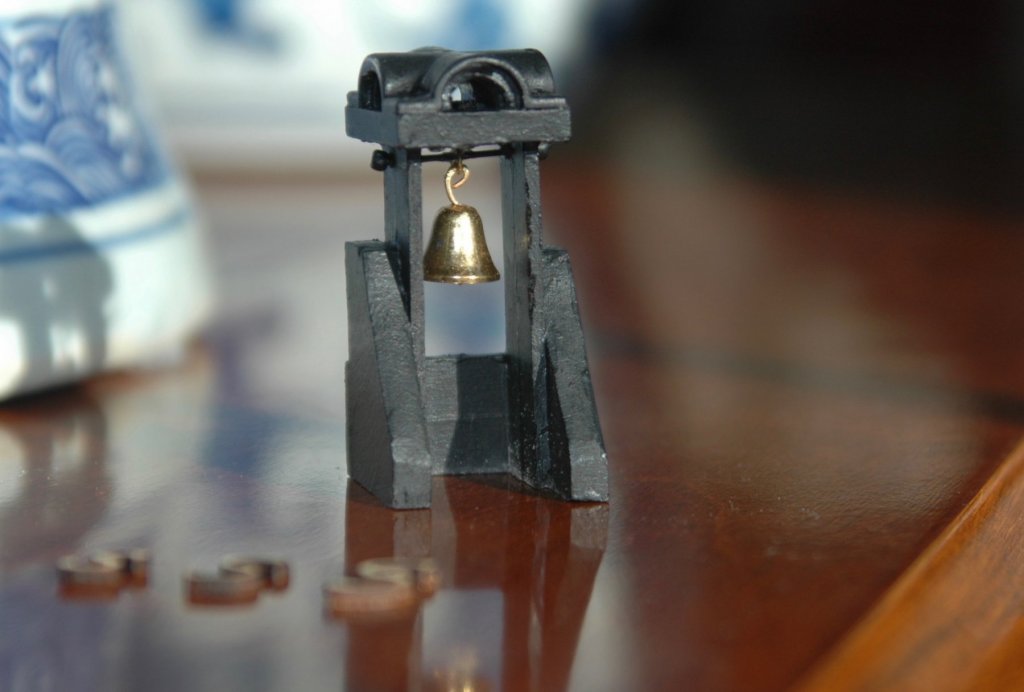
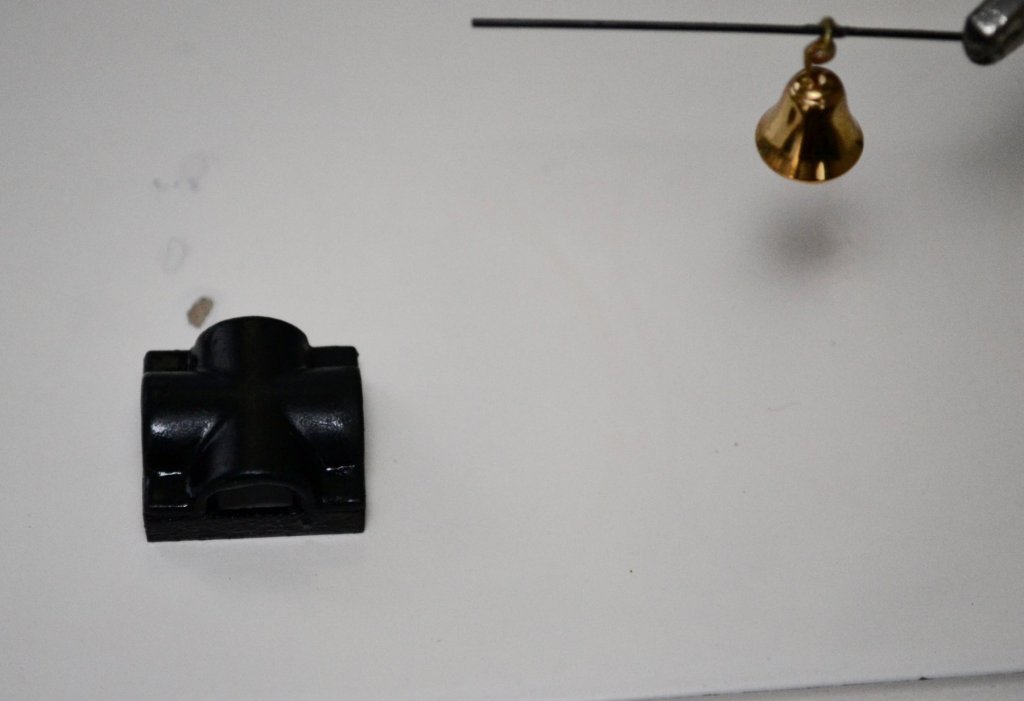
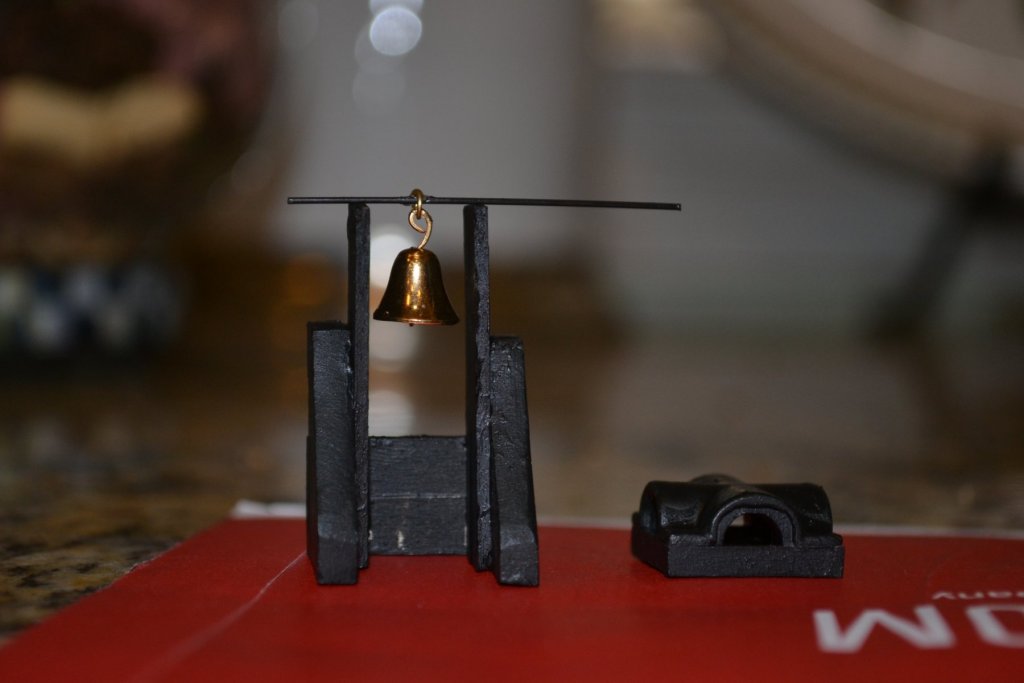
Hrs 1031-1039
Bell tower: After looking at the included bell (lame looking) decided to order some on-line. Found several but really liked the shiny brass ones I found at Etsy. Works out to be a about 15 inches in length to scale. Mounted on a metal bar so it can be rung by swinging the handle. Just need to drill holes and then add roof before mounting on the ship.
- billocrates, coxswain and mtaylor
-
3
-
-
Hrs 1021 -1030
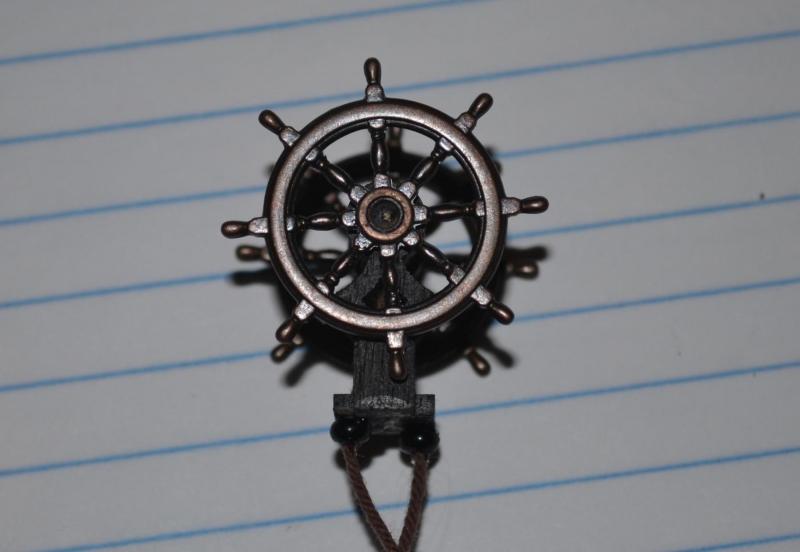
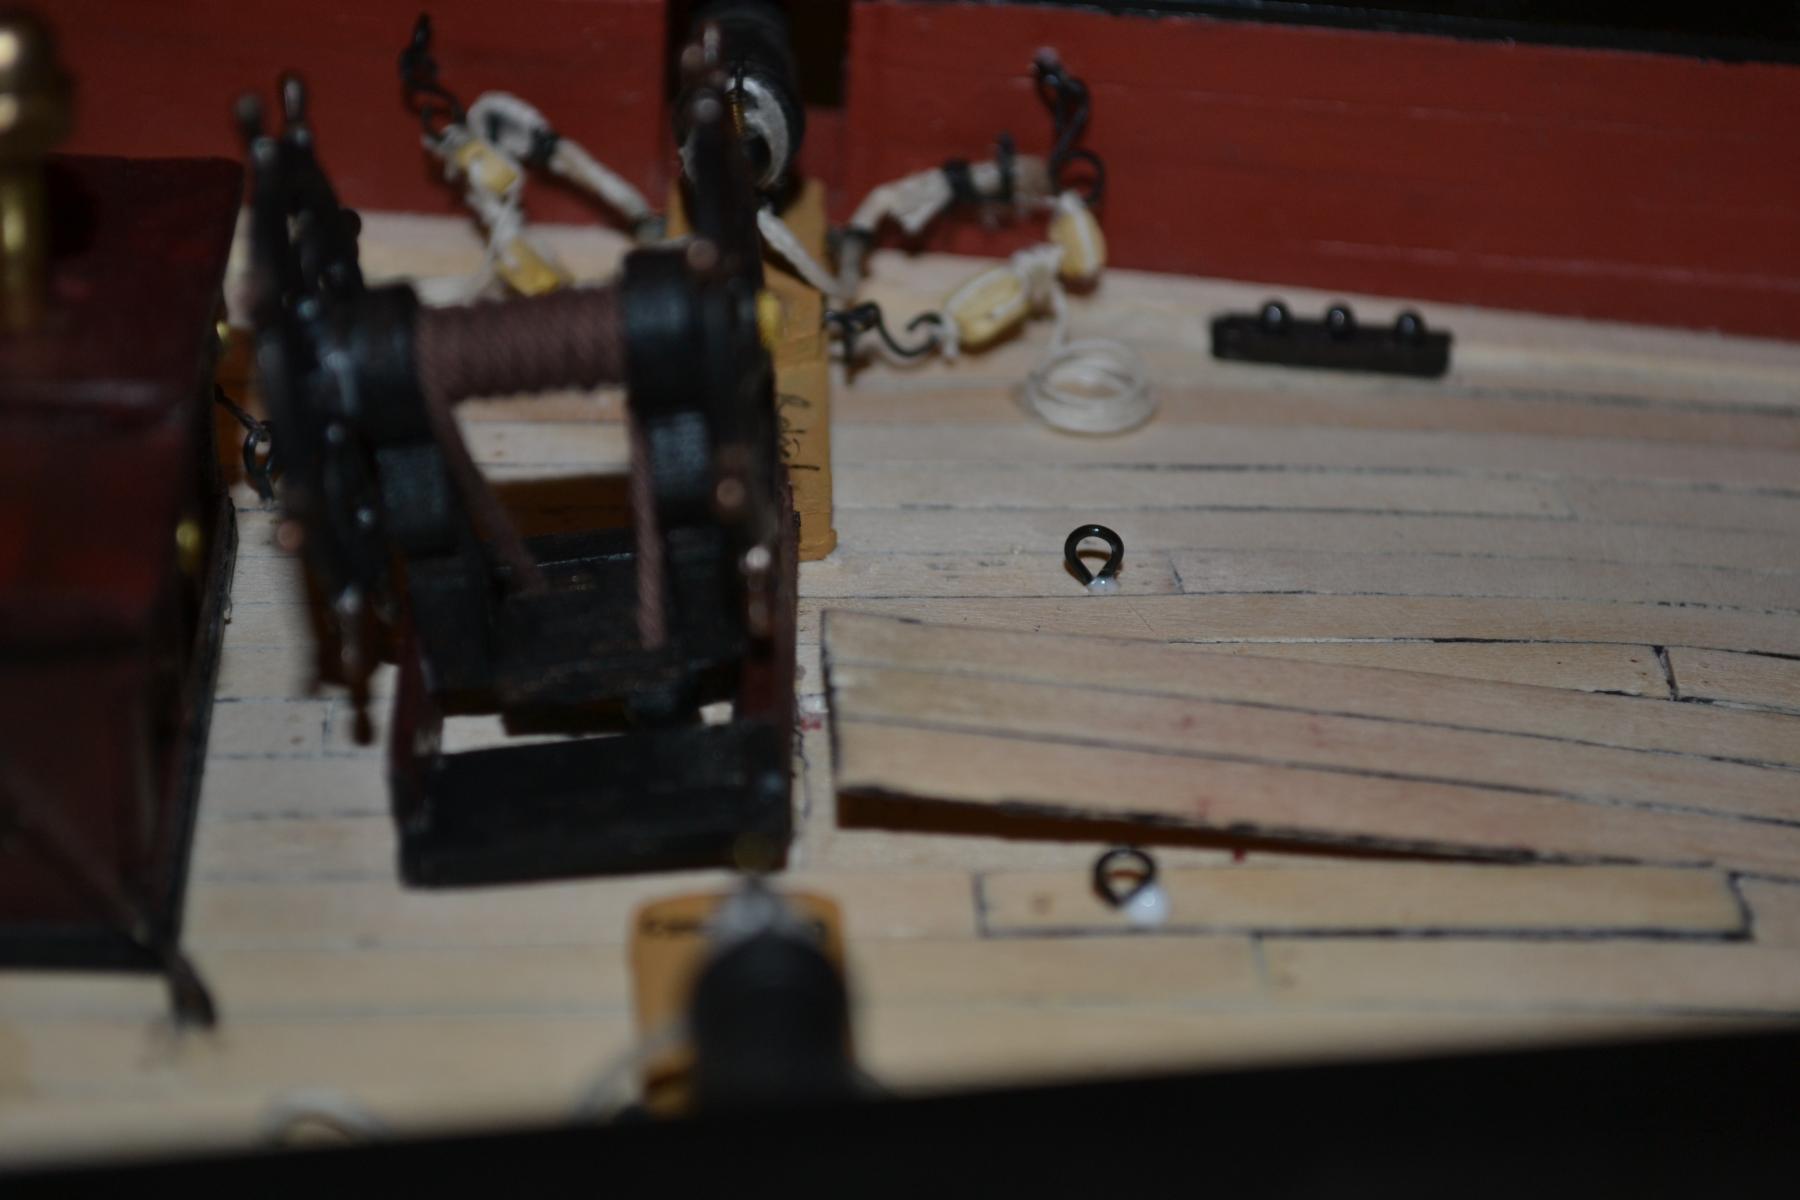
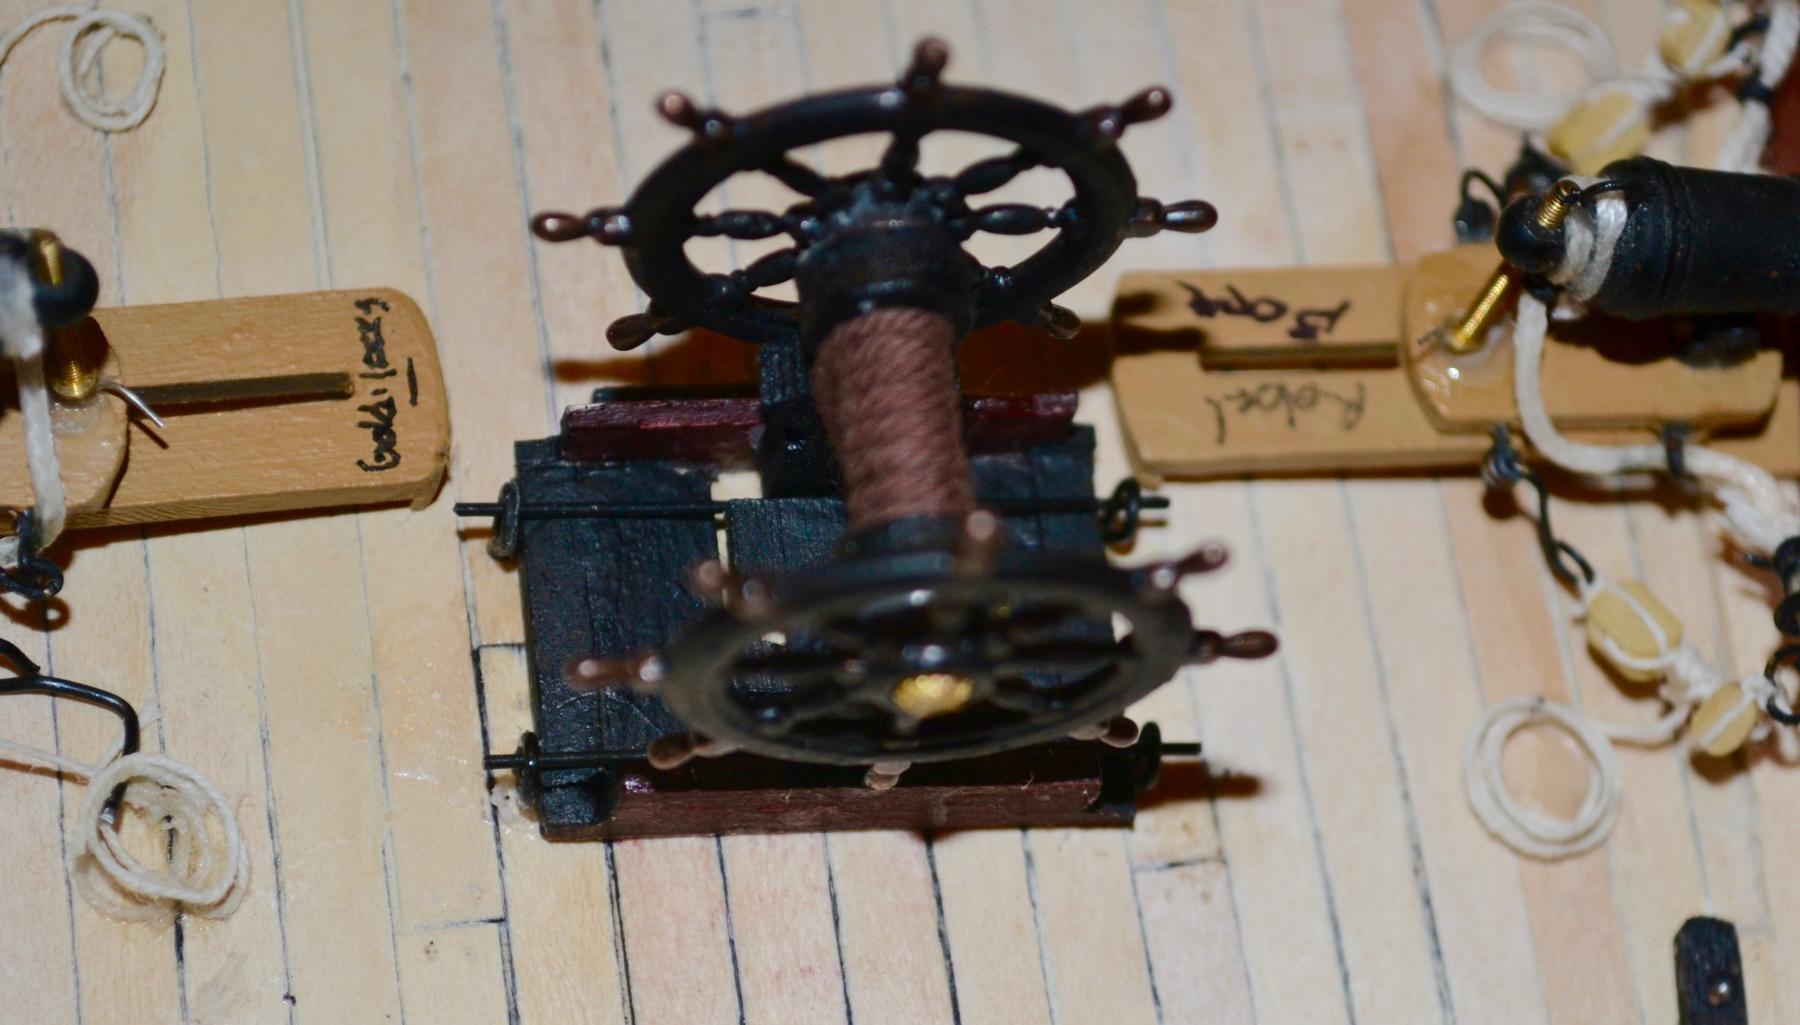
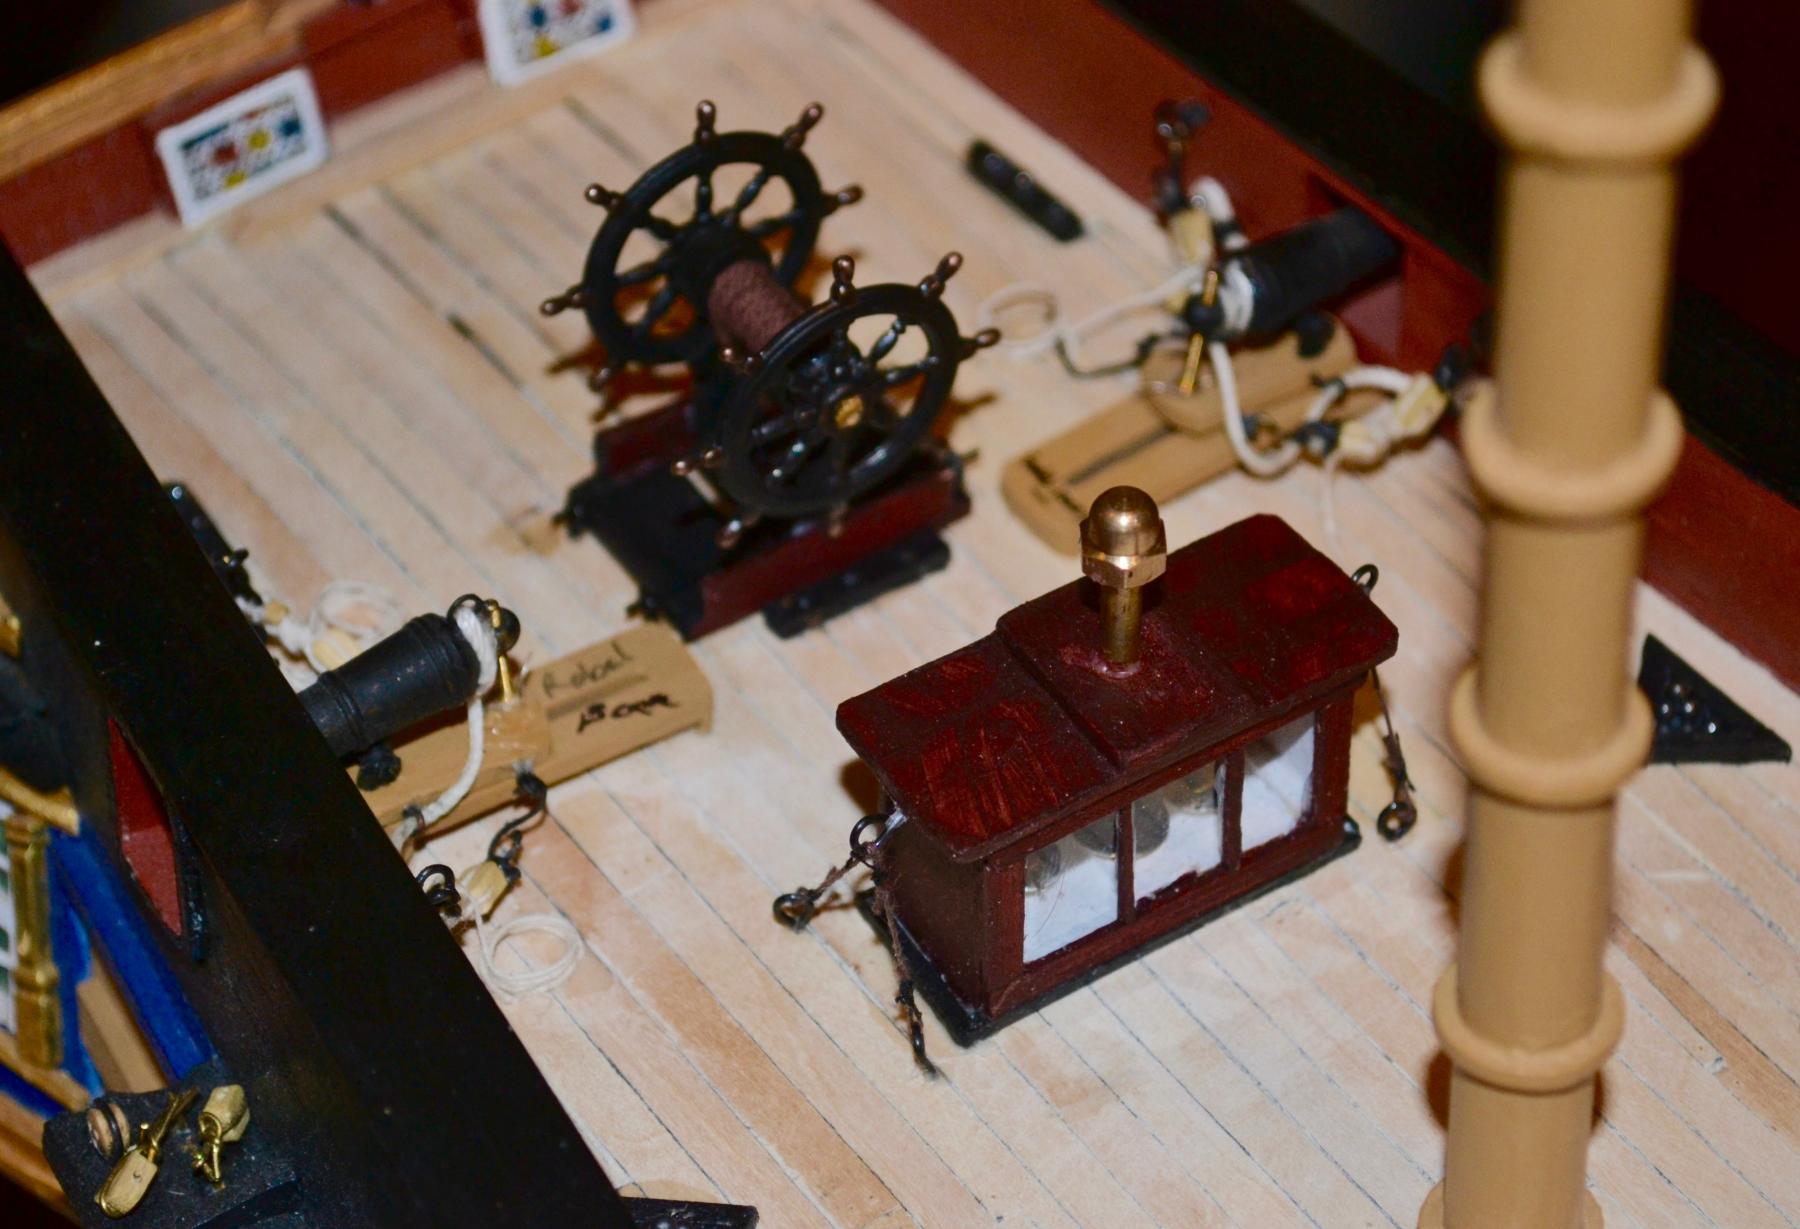
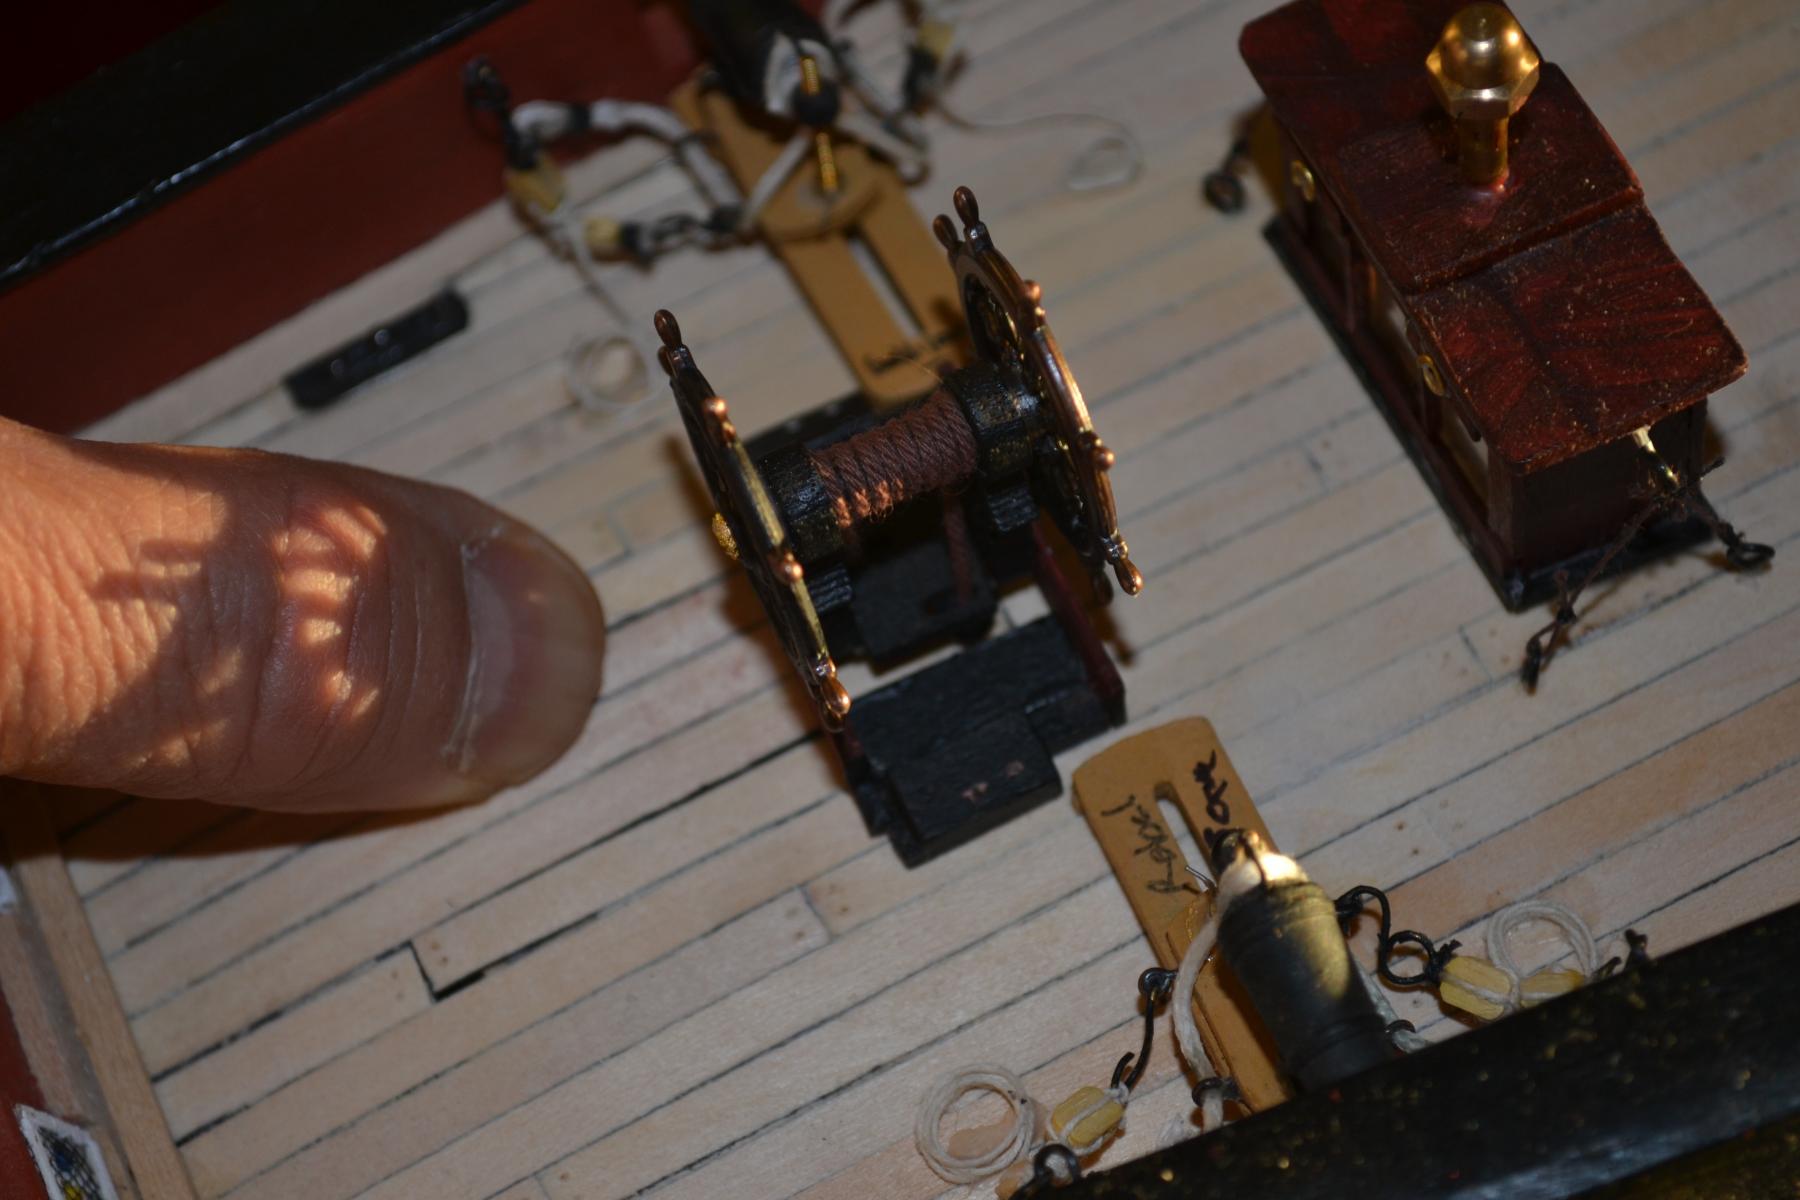
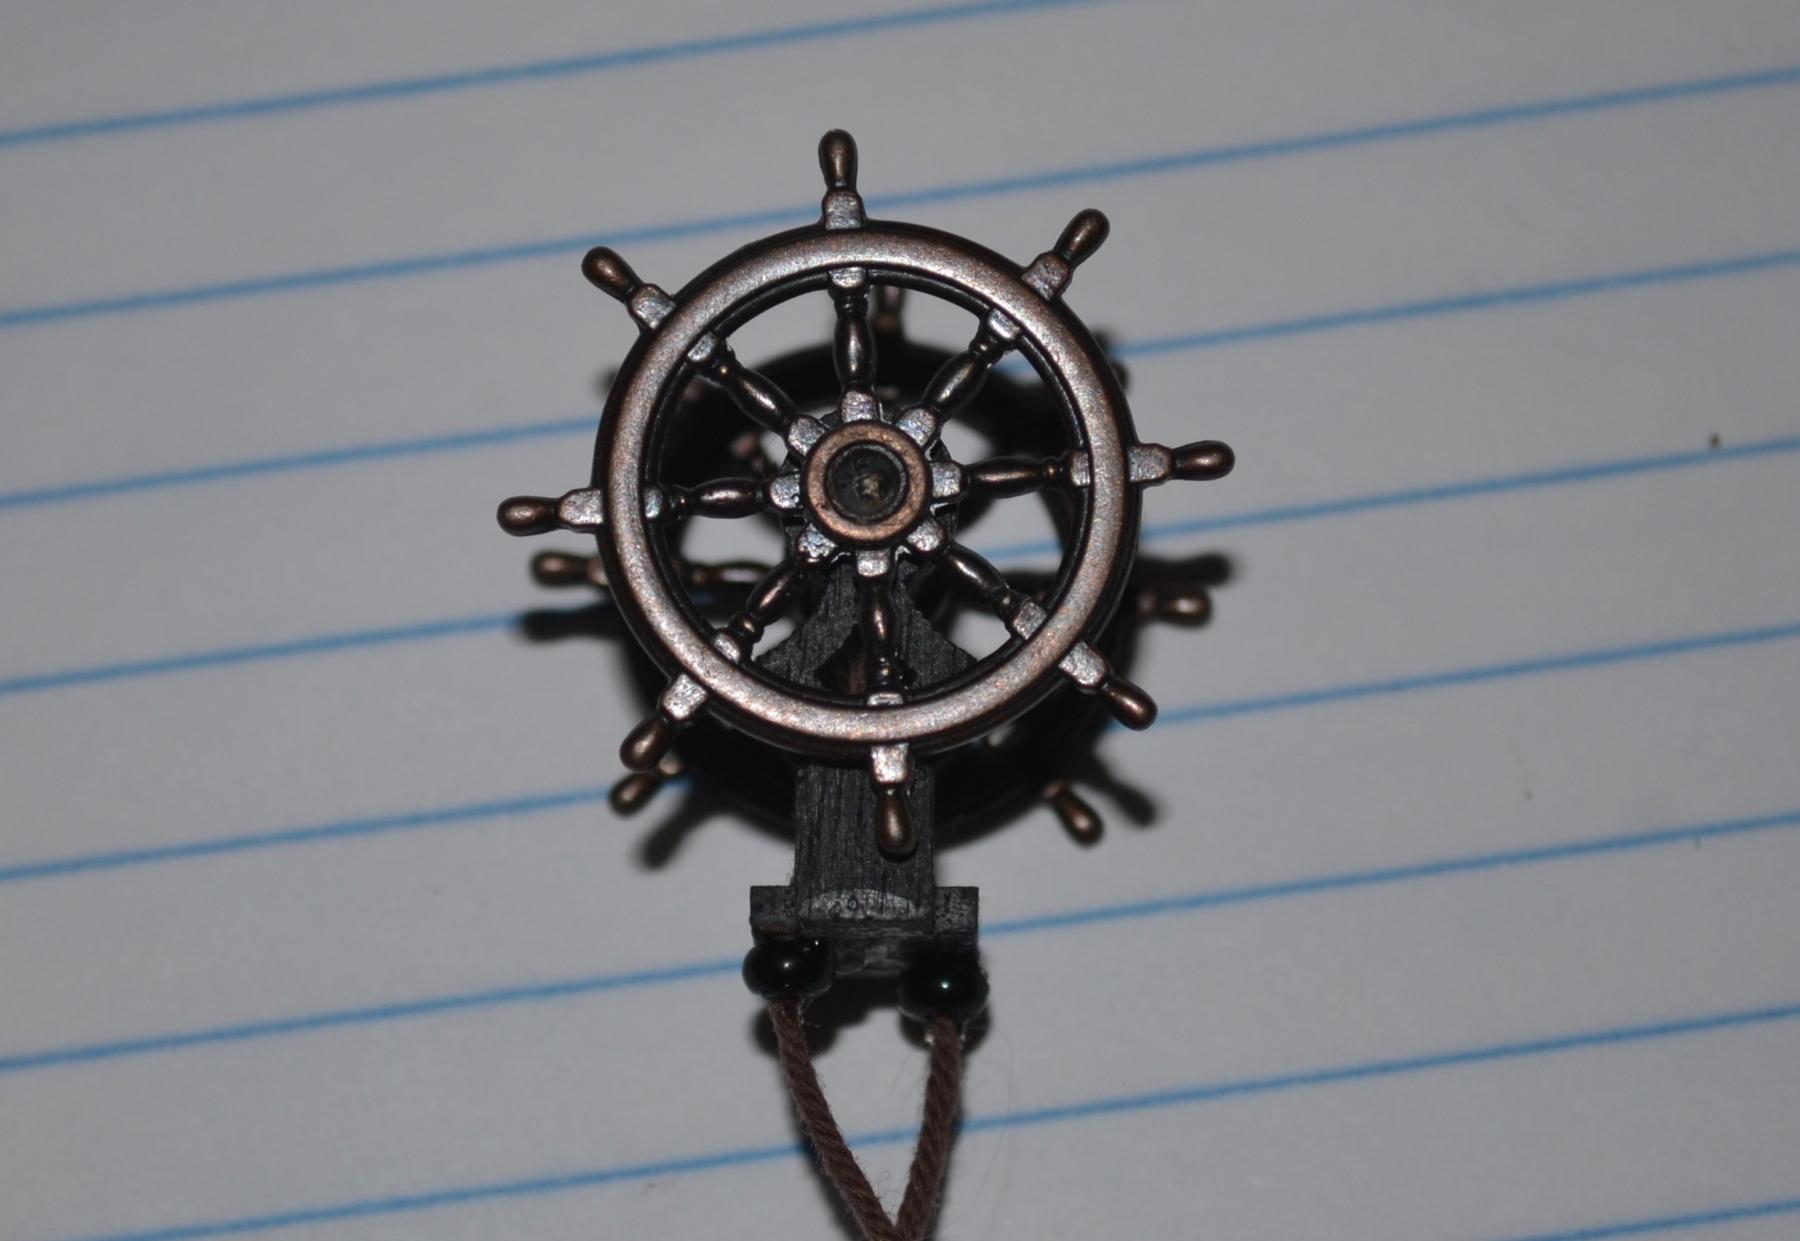
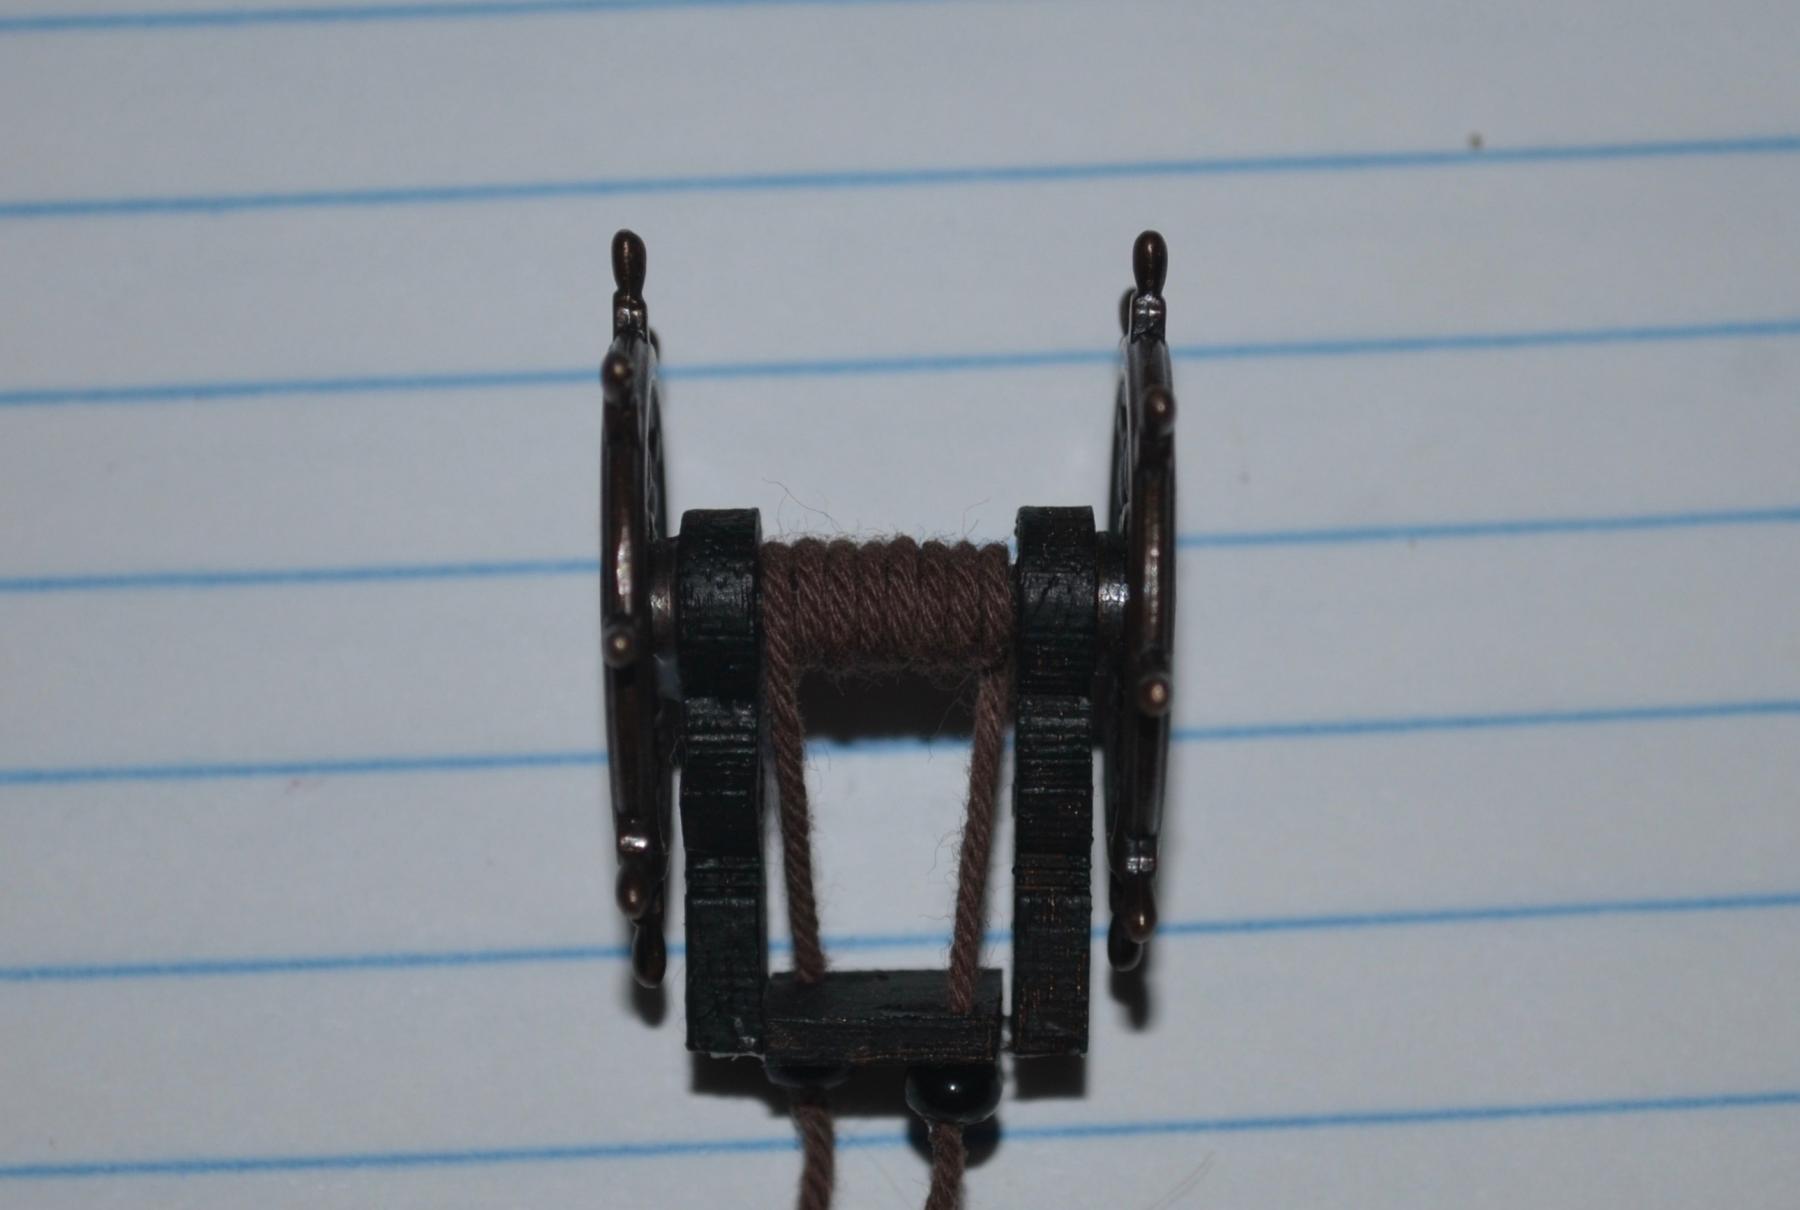
Finishing the Binnacle and Wheel (also preserving the trap door to look in the cabin from the deck).
First the Binnacle. I decided to attach to the deck with ropes similar to what I found online but more secure.
The wheel and the trap door are in place being held in place by my thumb. Note gold leaf on the hub of the wheel.

View into the cabin with books on the desk.
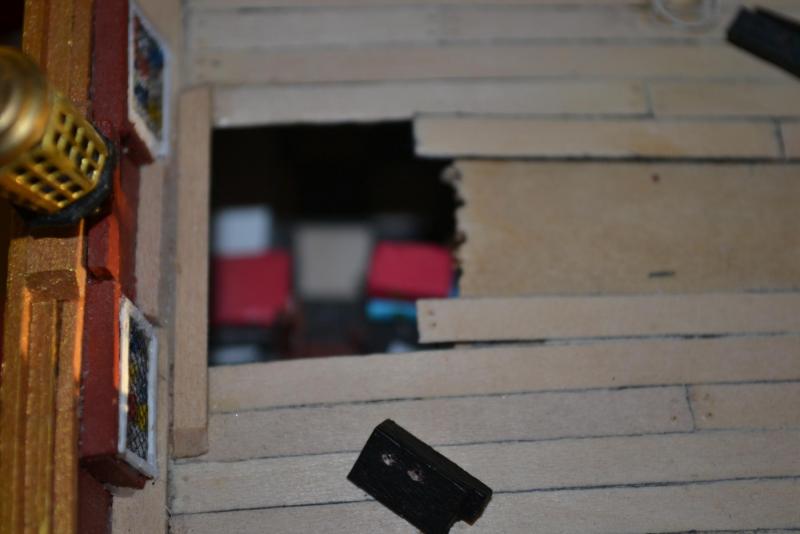
Initially, I thought I would use wood constructs to hold the wheel down against the flexible deck. However, they looked too bulky.

So I designed a more streamlined version. using wires. See next panel.
- billocrates, mtaylor and reilly
-
3
-
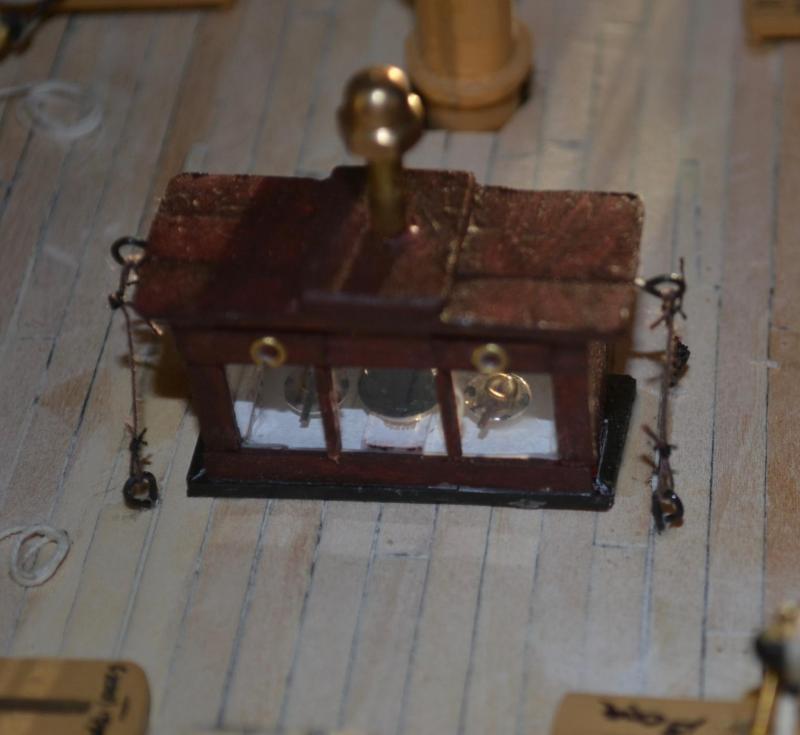
Hrs 1001 to 1020
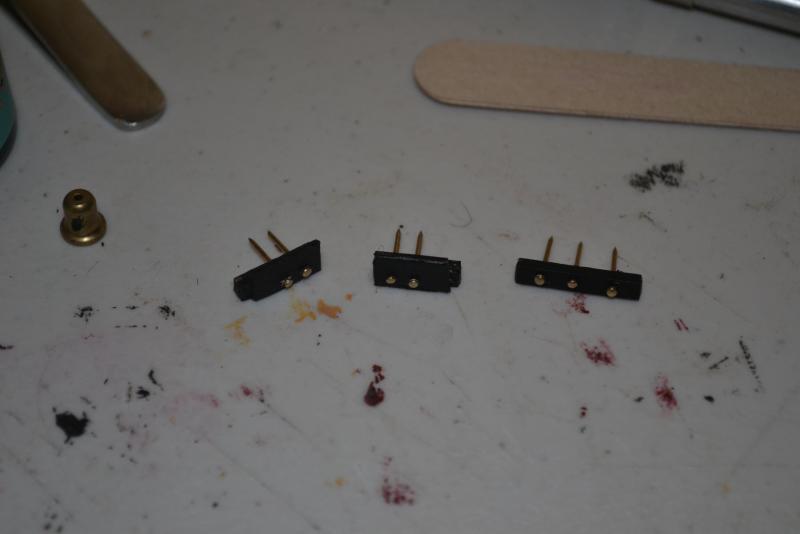
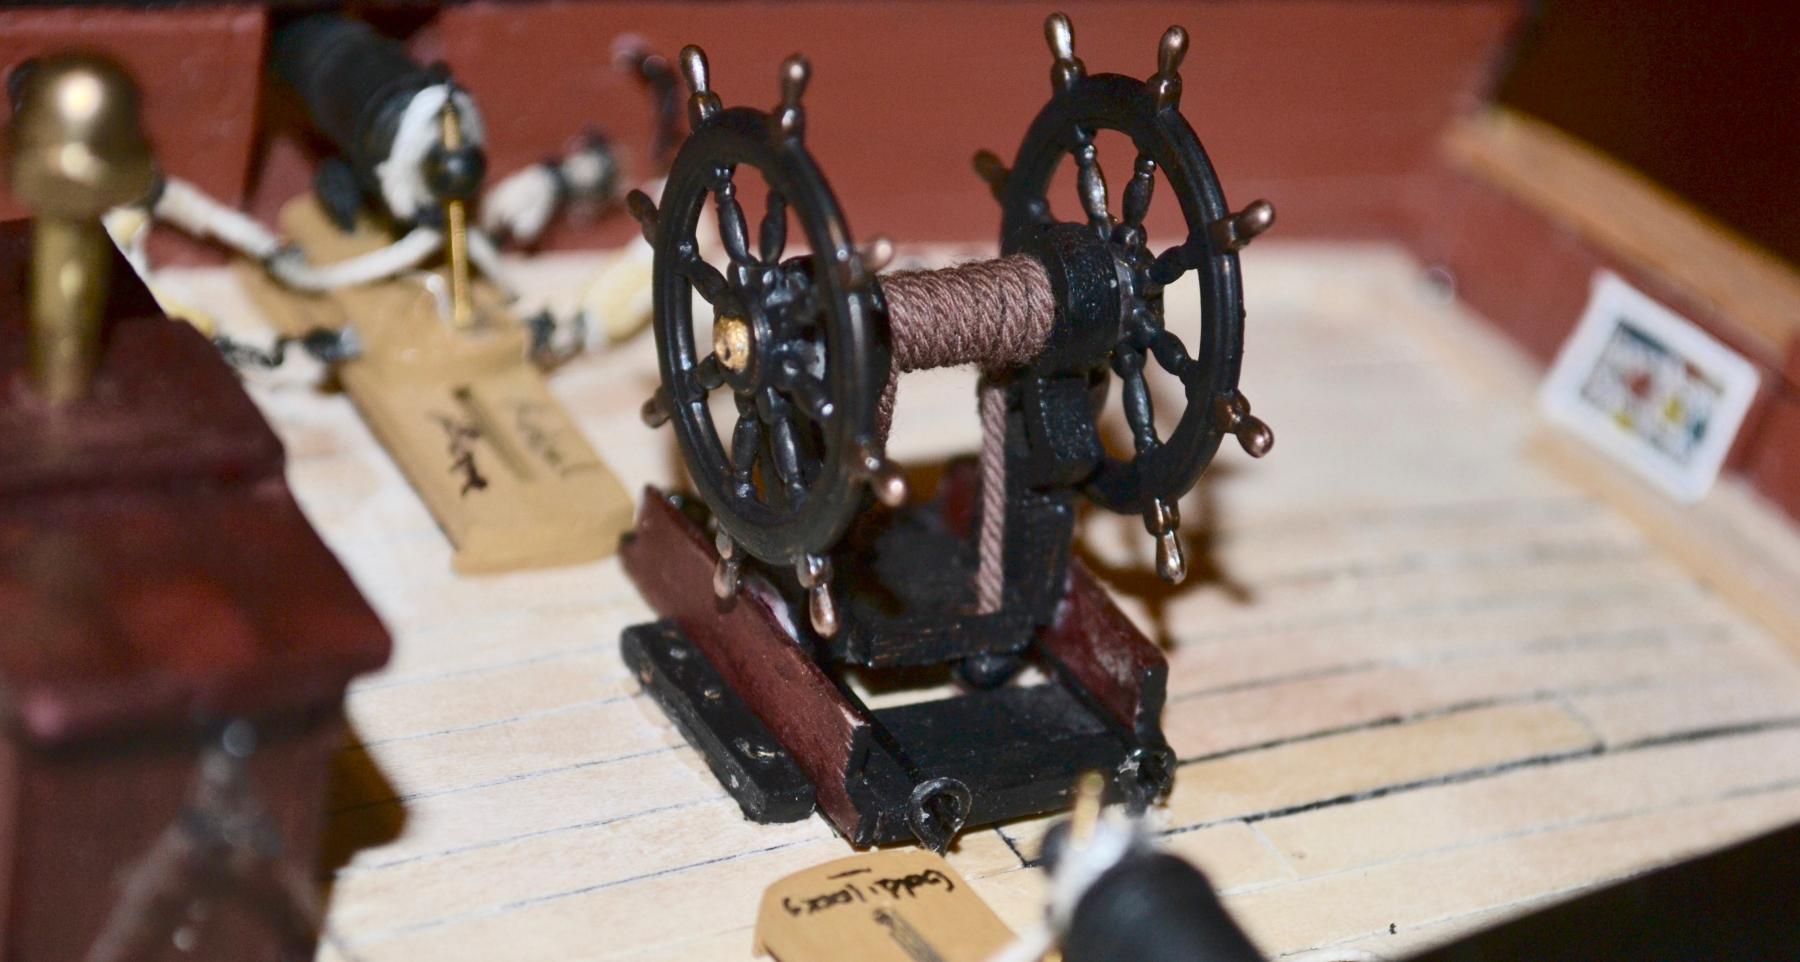
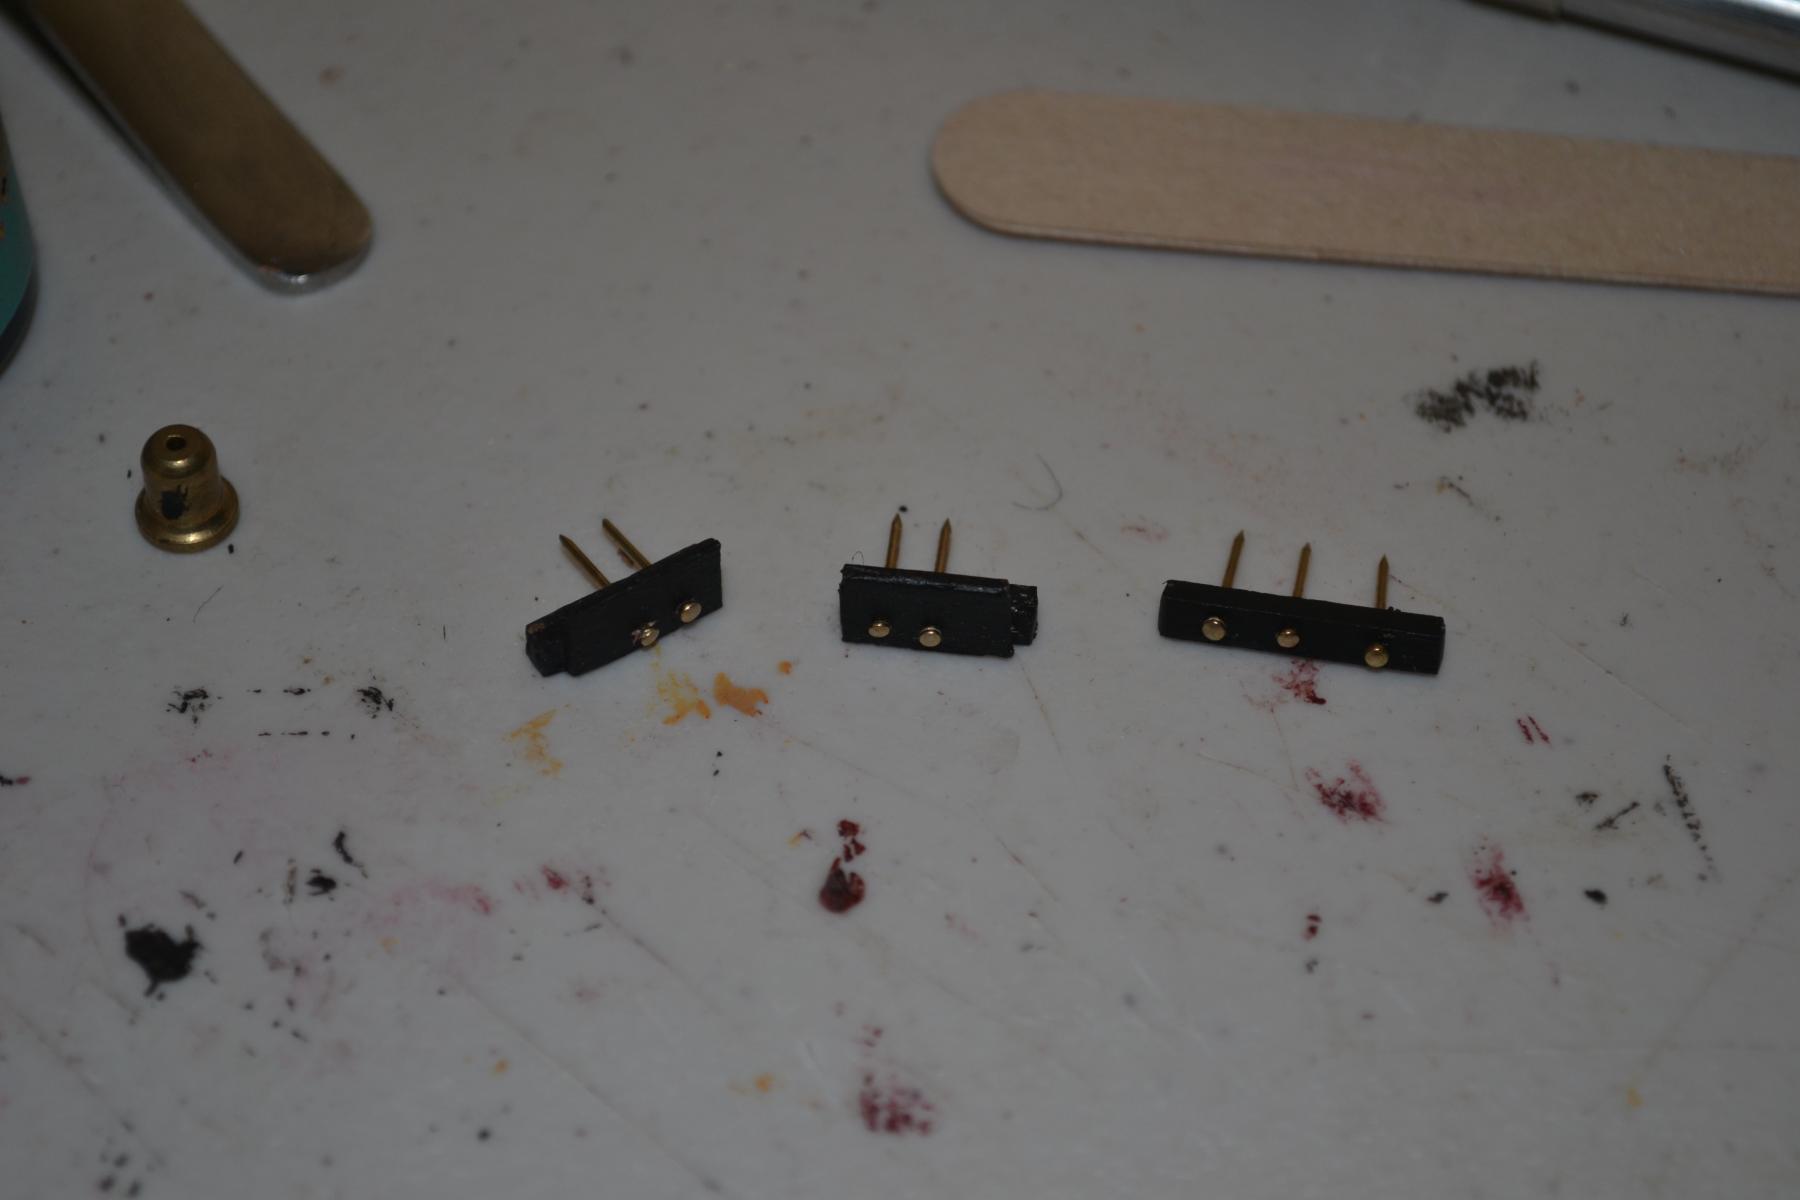
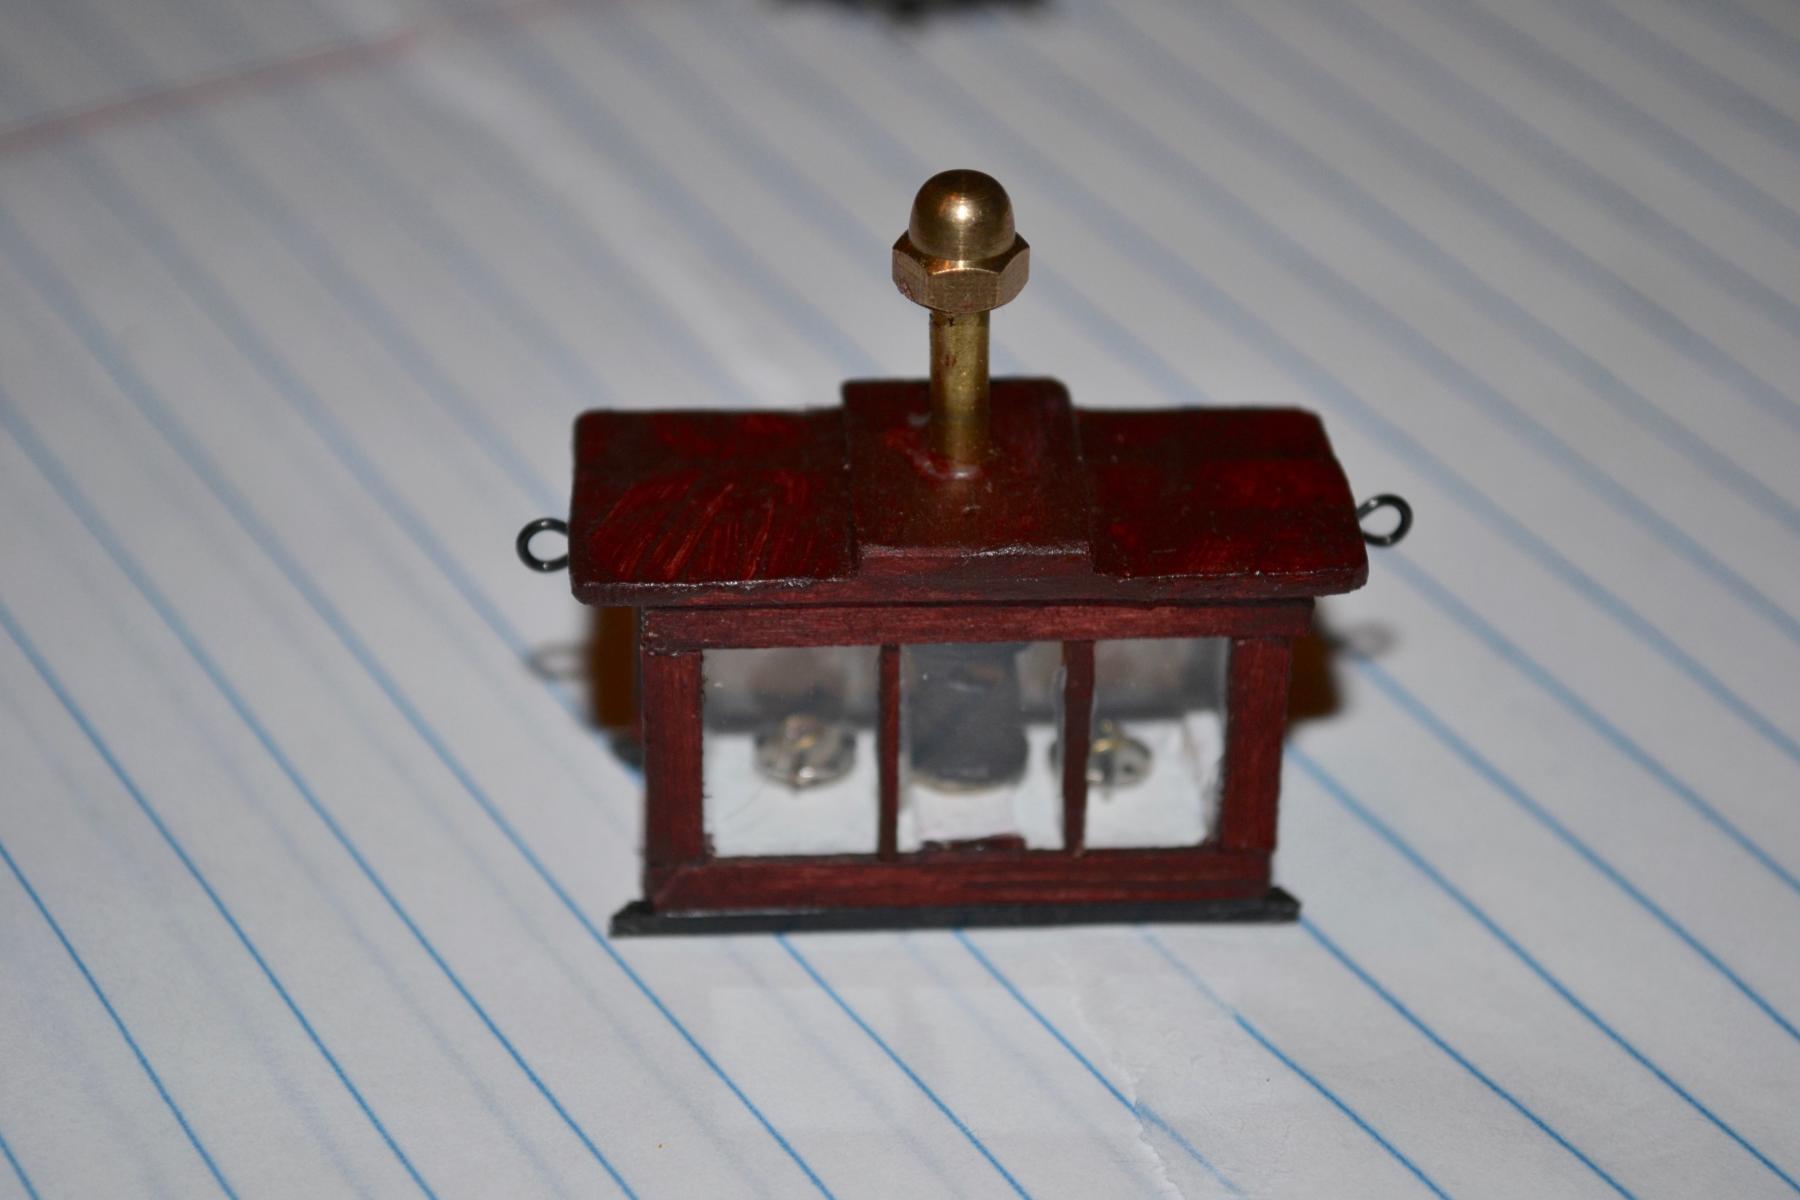
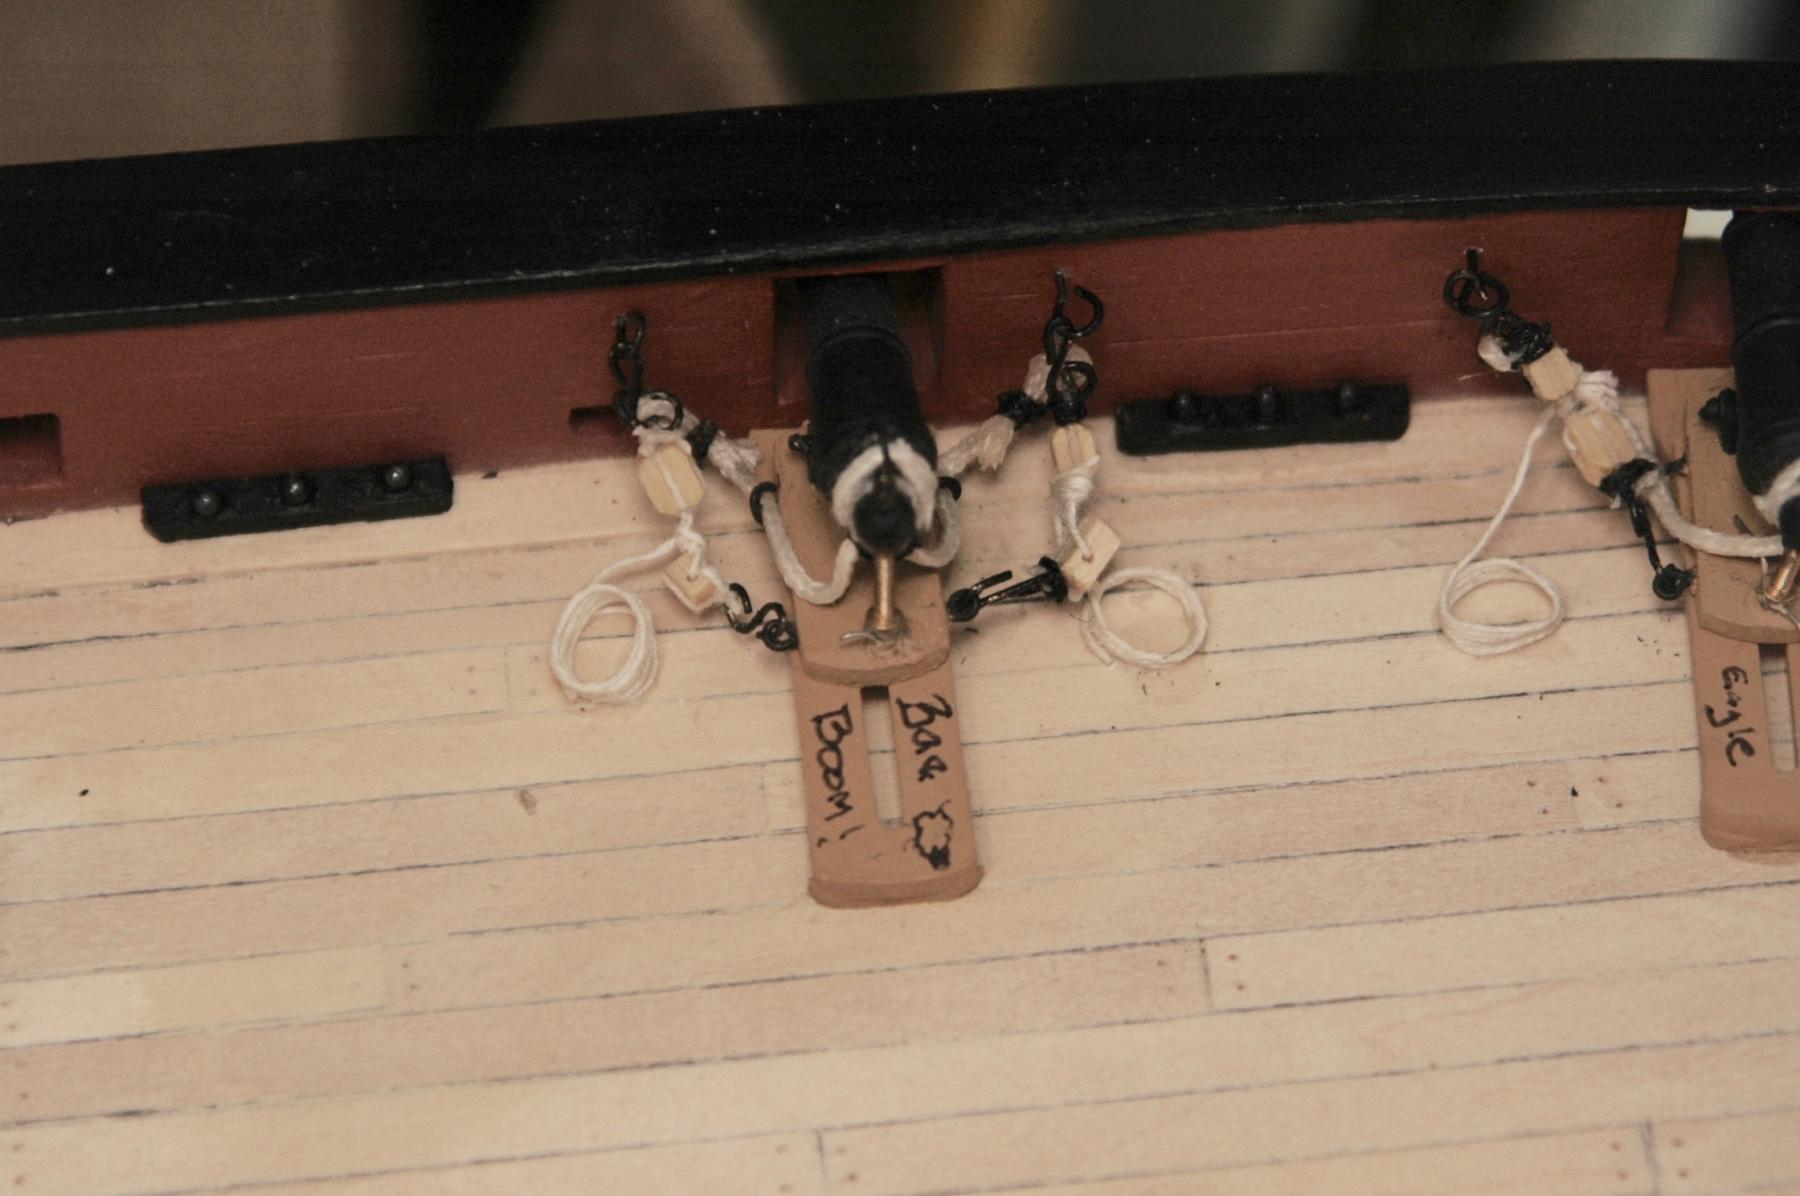
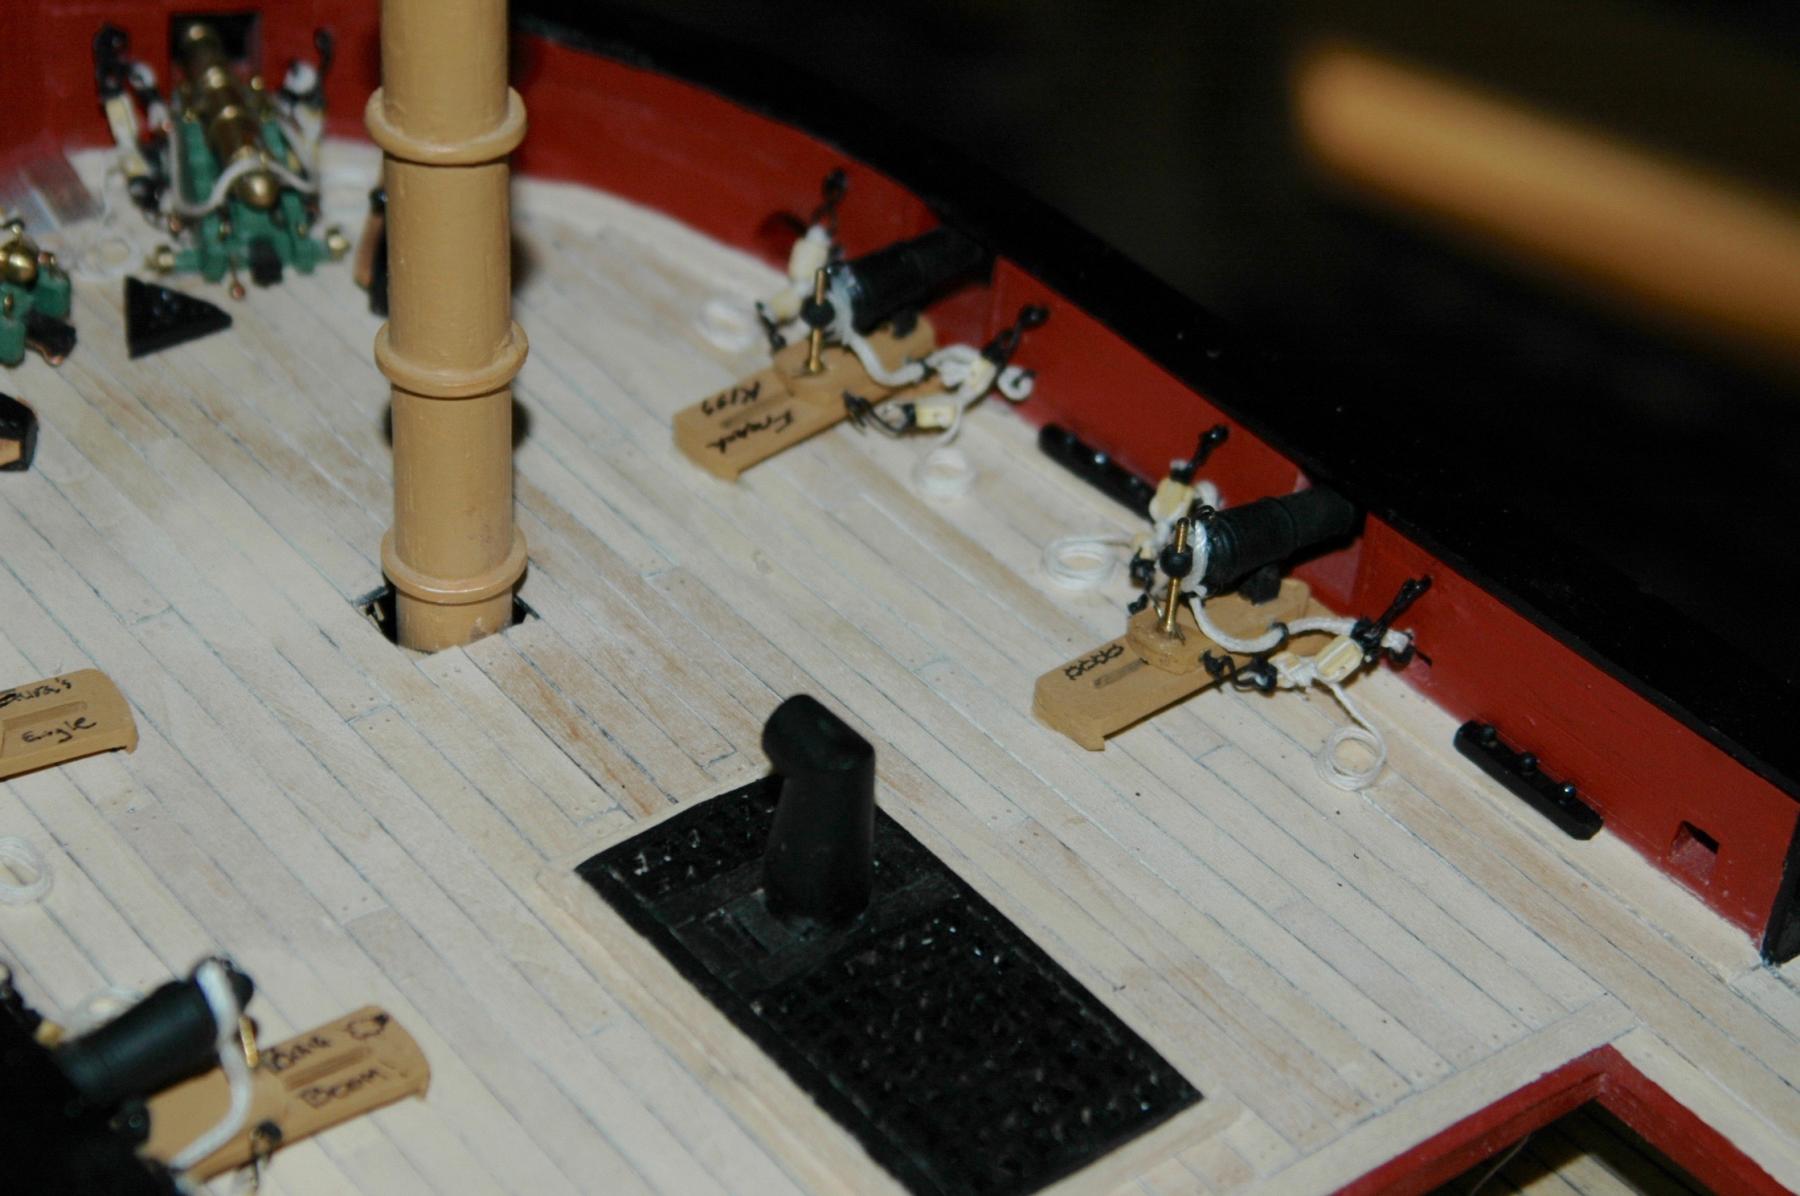
Finished the carronades and garlands and added shot holders all along the deck. Began working on Binnacle and Ship's wheel. The Binnacle contains a lamp and two compasses inside a glass wood framed cabinet topped with a brass chimney. Used a convenient brass nut from he hardware store. Still finishing the base of the cabinet.
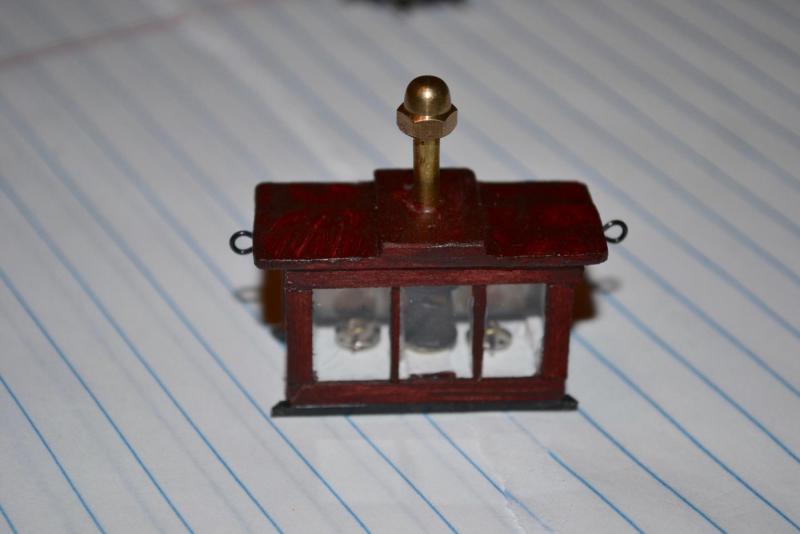
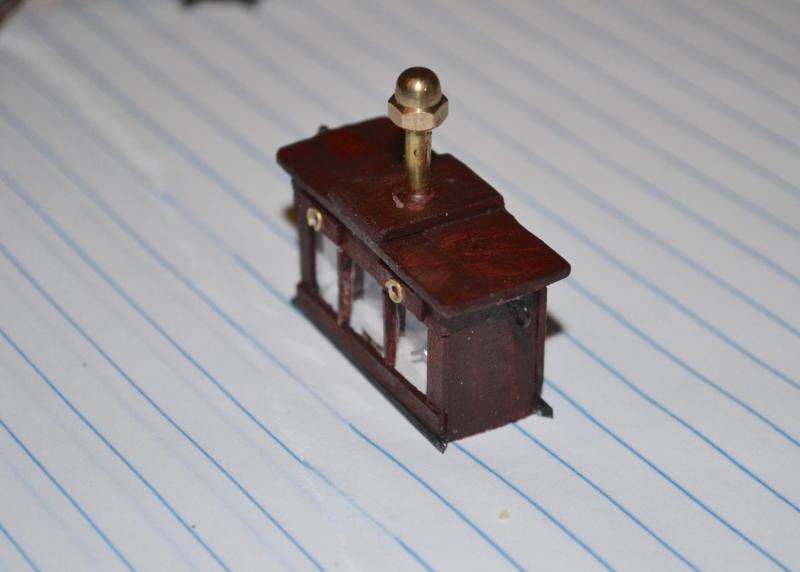
The Ship's wheel will also serve as a way to cover and secure the removable trap door I built into the deck so as to see inside the Captain's cabin. Still working on the engineering of that...
Used two beads to serve as stops for the cable for the steering mechanism. Developing a frame for the entire device.
- mtaylor and billocrates
-
2
-
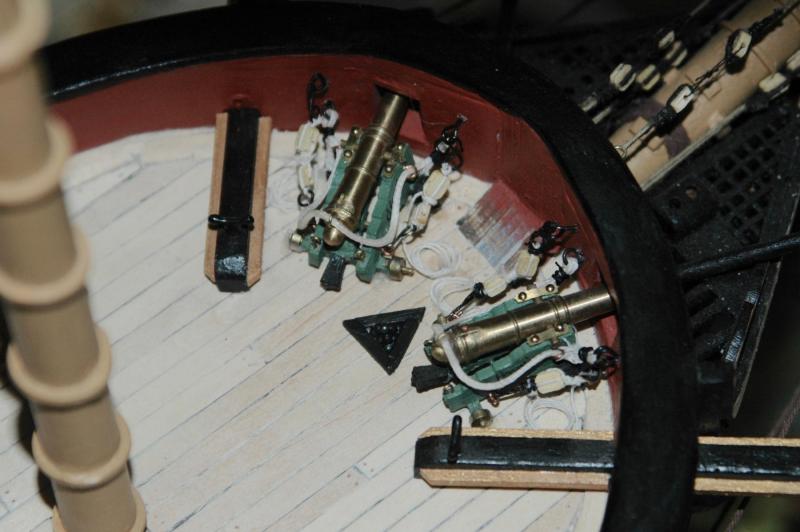
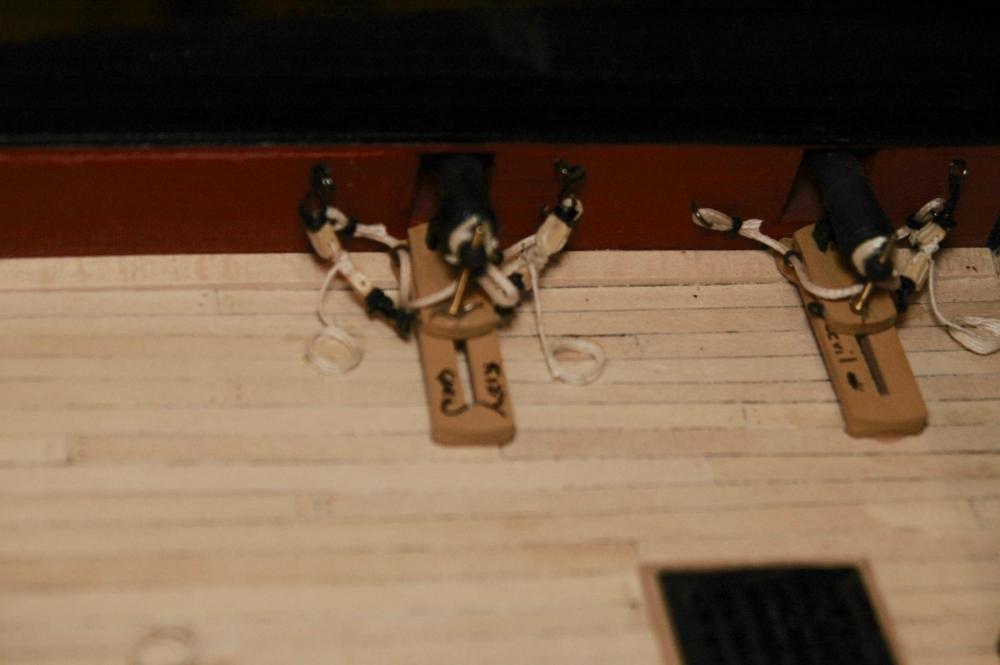
Hrs 966-1000
Finished the carronade rigging. Now working on cannon ball holders (12 gauge shotgun pellets). I think they are called garlands?


Added small stack of firewood from the Rome sanitation workers brooms (see above) next to the oven (hard to see as it is under the deck).

- mtaylor and billocrates
-
2
-
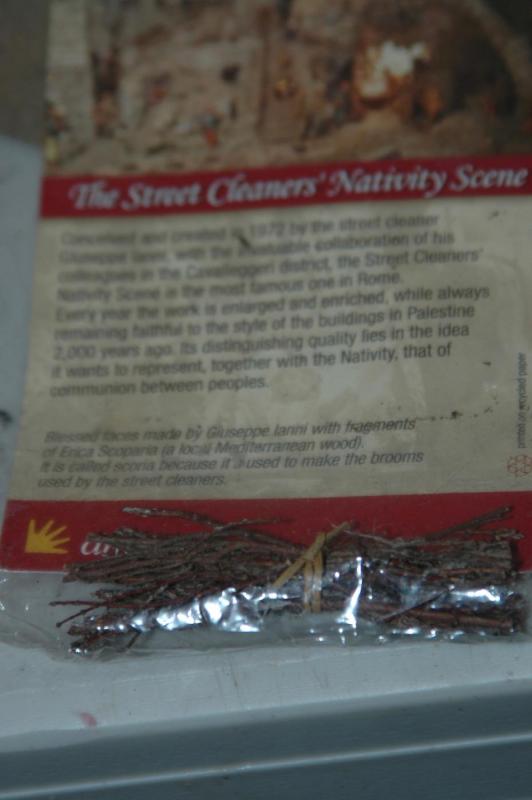
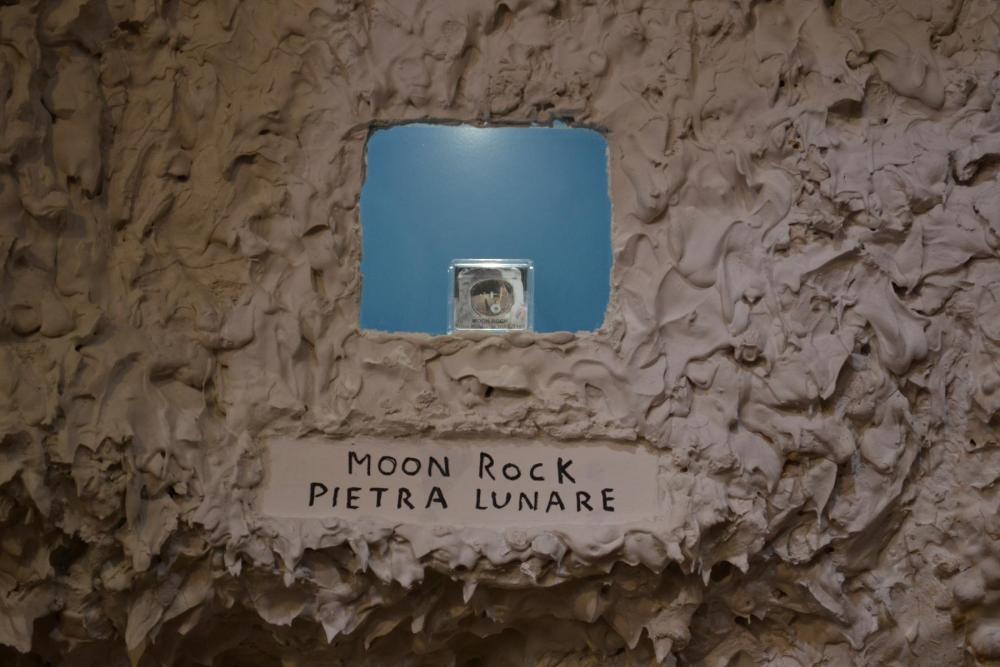
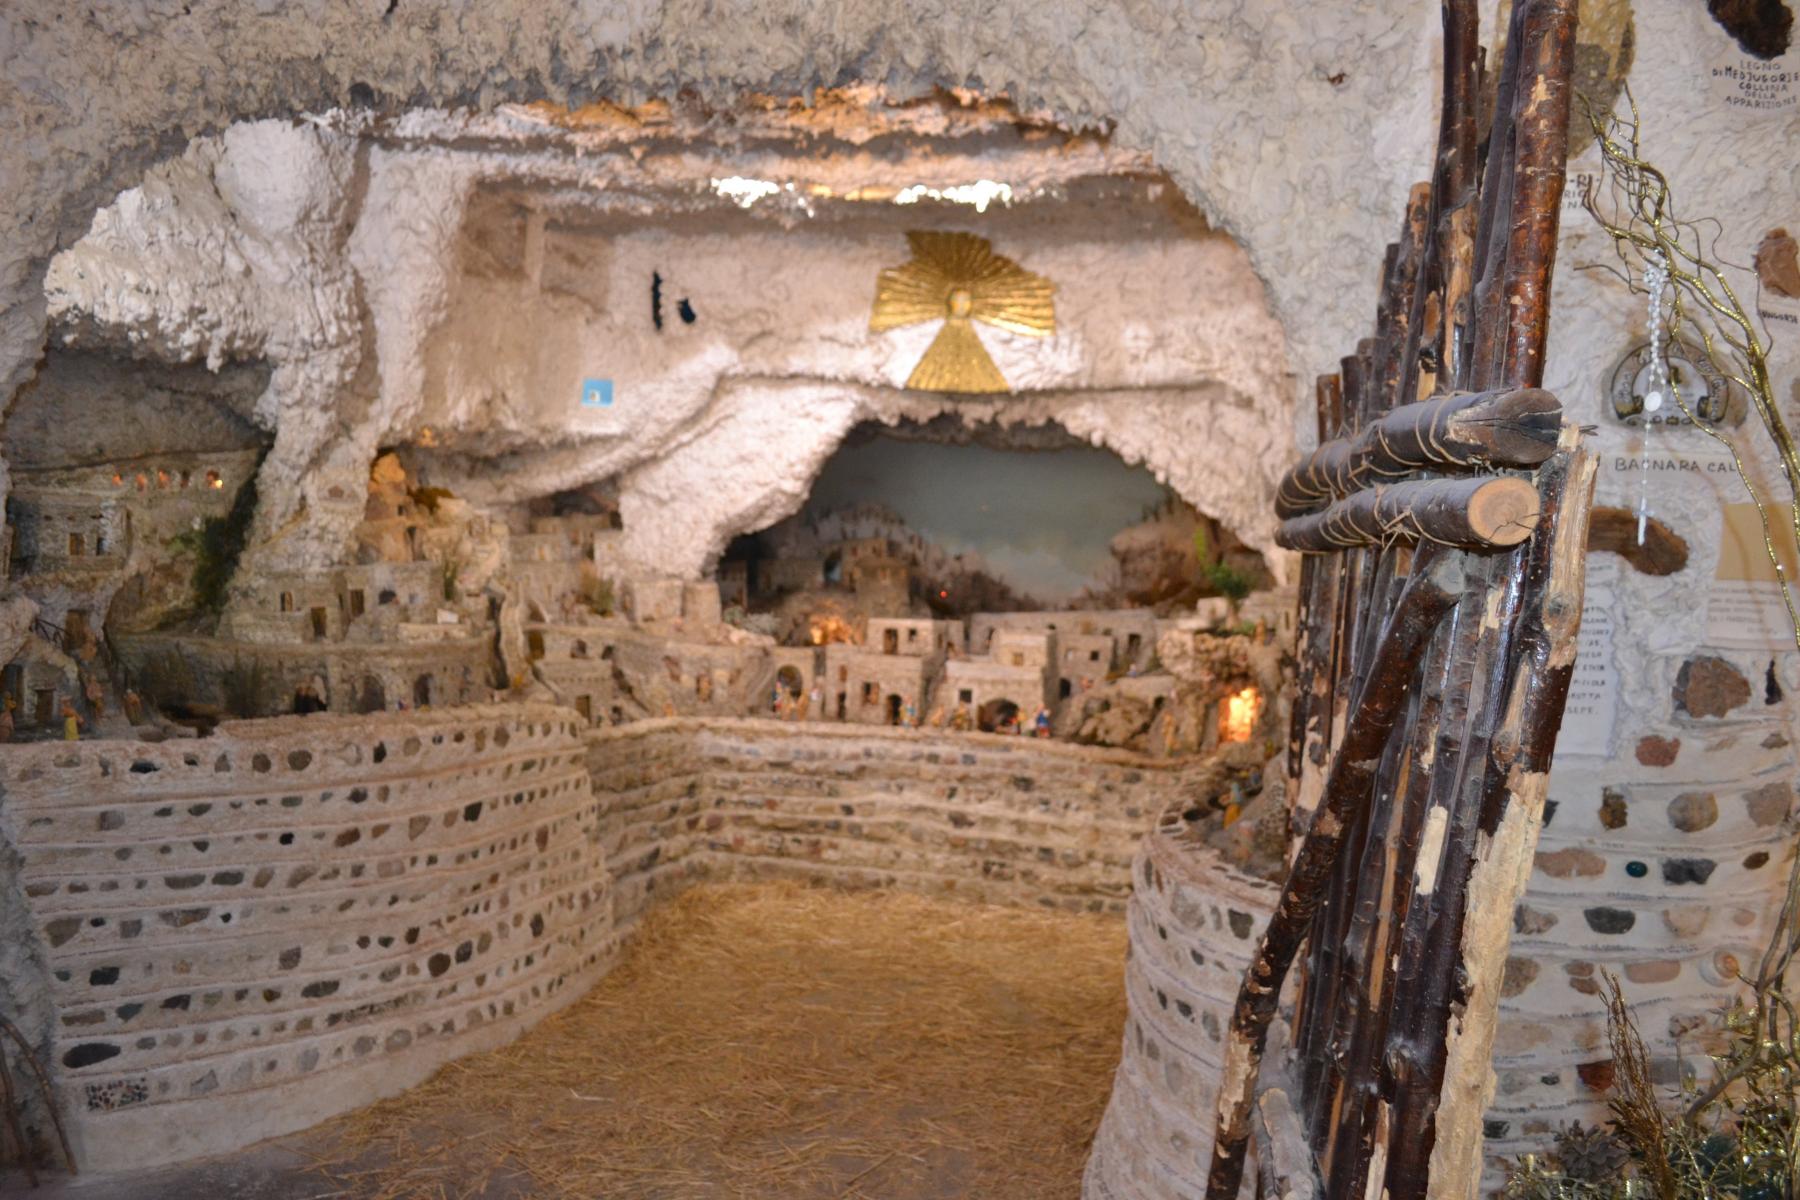
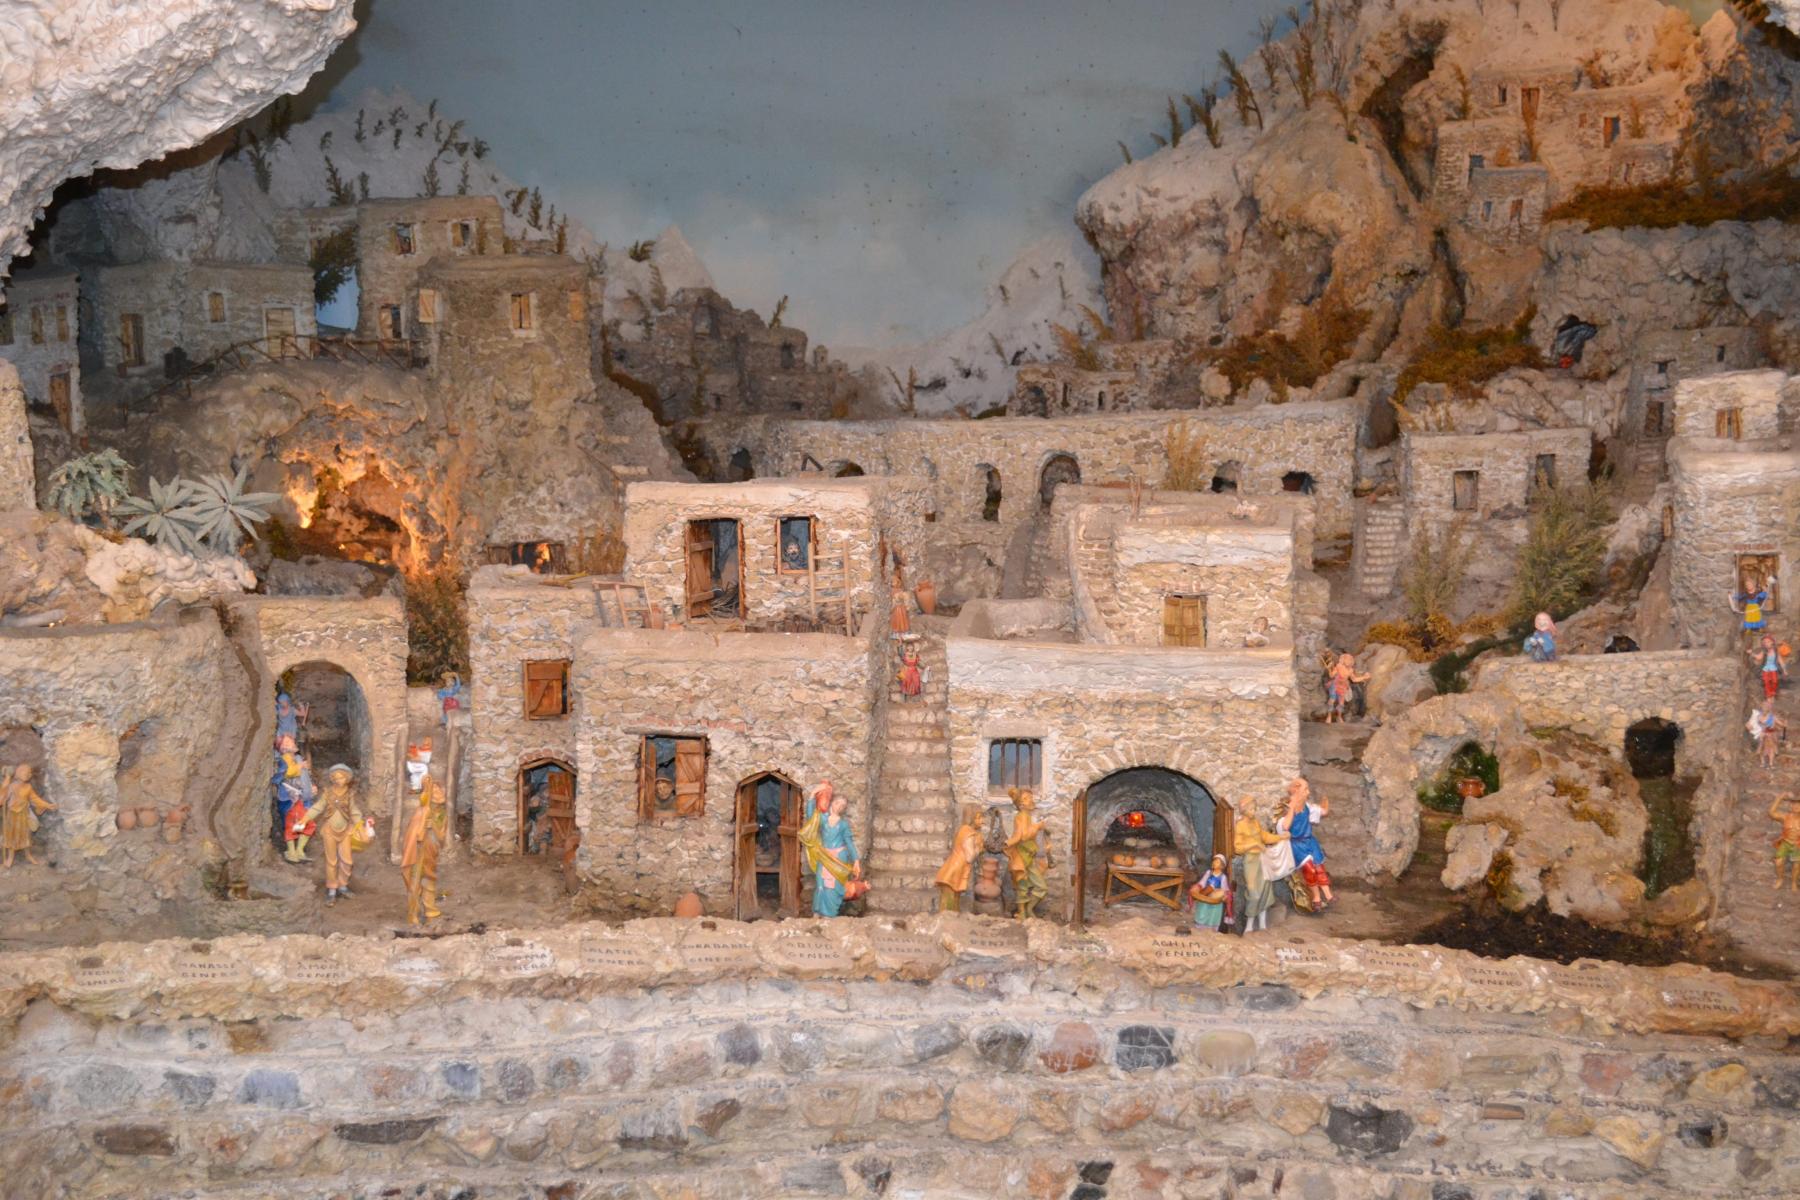
Back from a long hiatus. Am finishing the carronades and their rigging. Also found some unusual wood from a display in Rome. There is a hidden Nativity scene that was built by the Sanitation Workers of Rome. A tour guide from the Vatican got us in to see it... lot of detailed work including a piece of lunar rock.
As souvenirs, they gave us some of the street broom pieces, which I am going to put by the Galley oven like firewood.


- GuntherMT, mtaylor and billocrates
-
3


.JPG.3cb38392f72fb7d1dec95309a9ff84c7.JPG)


HMS Surprise by Mayohoo - Artesania Latina - Scale 1: 48 - after Aubrey-Maturin series - First wooden ship build
in - Kit build logs for subjects built from 1751 - 1800
Posted
Hrs 1111-1150
So have started the rigging. Burton Pendants (2 to foremast, 3 to mainmast, 2 to mizzen mast), Fore, Main and Mizzen channels and shrouds, Mizzen backstays and Mizzen Stay. Working on the Ratlines.