


Eddie
-
Posts
441 -
Joined
-
Last visited
Content Type
Profiles
Forums
Gallery
Events
Posts posted by Eddie
-
-
Hey howya goin Steve mate, here are 3 kit build logs. They are the only 3 on these forums. They are in the Build Logs for SHIP MODEL KITS section.

- Ryland Craze and mtaylor
-
 2
2
-
Hey howya goin Mike mate, thanks for following along and np mate anytime.
- Canute, mtaylor and popeye the sailor
-
3
-
16 hours ago, Eddie said:
I've started the lining of the inside of the cabin they want you to put the cabin together before the lining there is no way in bloody hell I can get my big hand inside of something that small to line the inside like they want you to do in the manual.
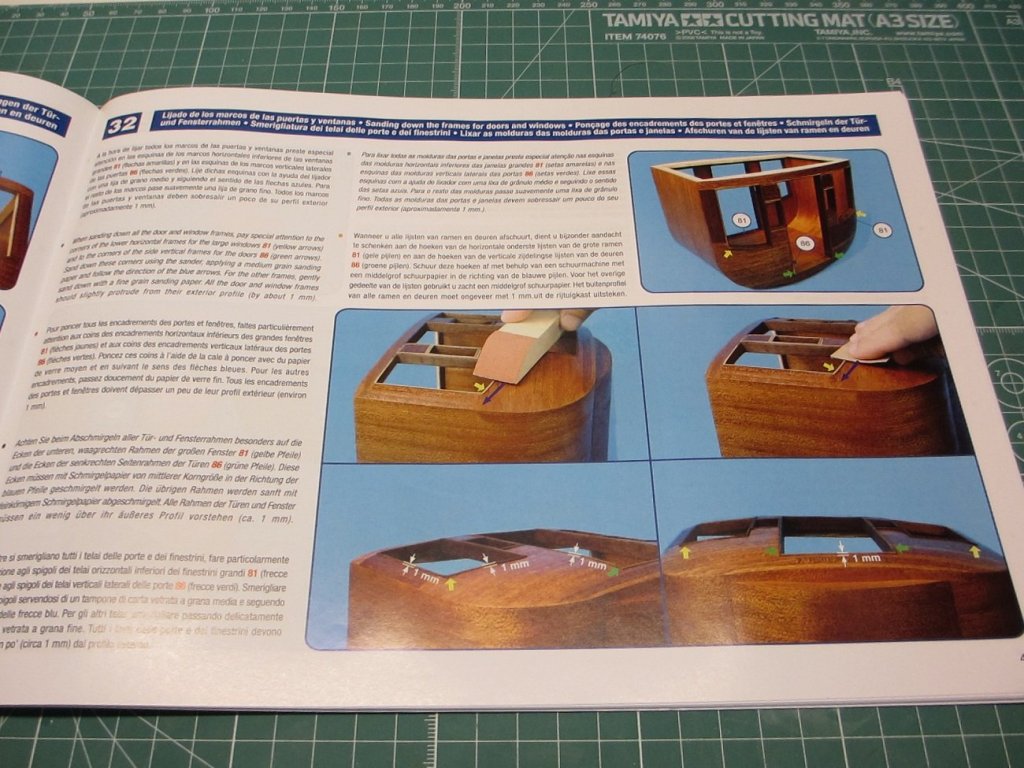
Hey howya goin all, for new people starting out with model kits, what I said ^here^ in post 15 don't always follow the instructions manual step by step just use it as a guide, try to plan out what you need to do first.
-
Hey howya goin Danny mate, thanks for the info, I'll be painting the same way as on the box art.
-
-
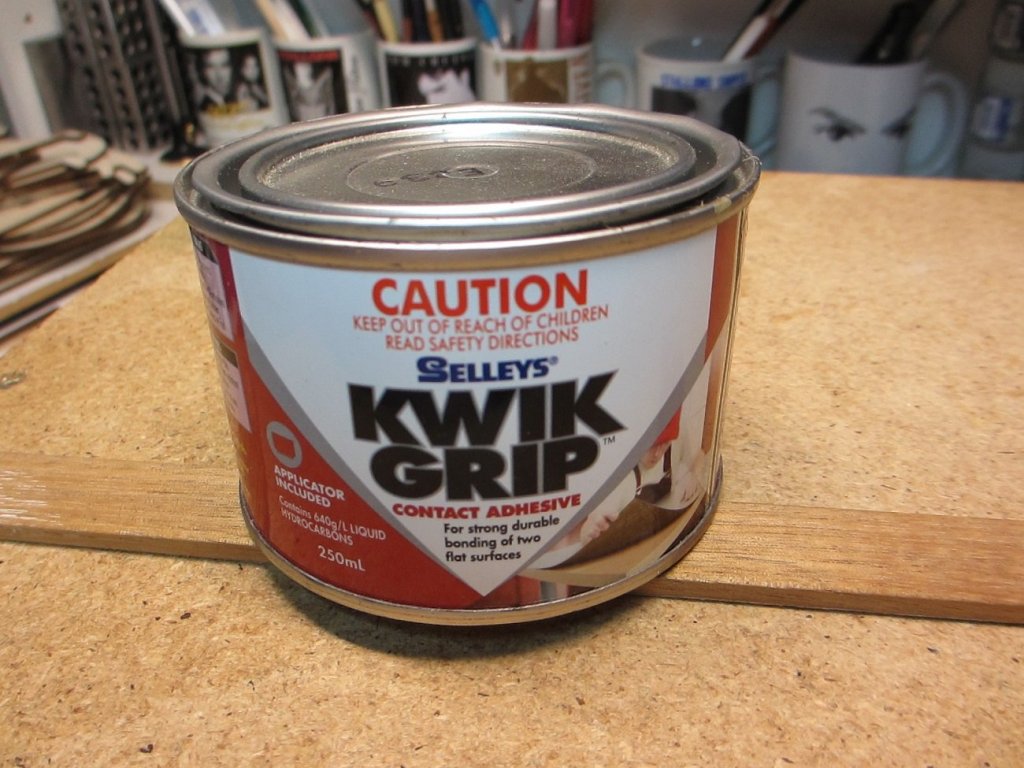
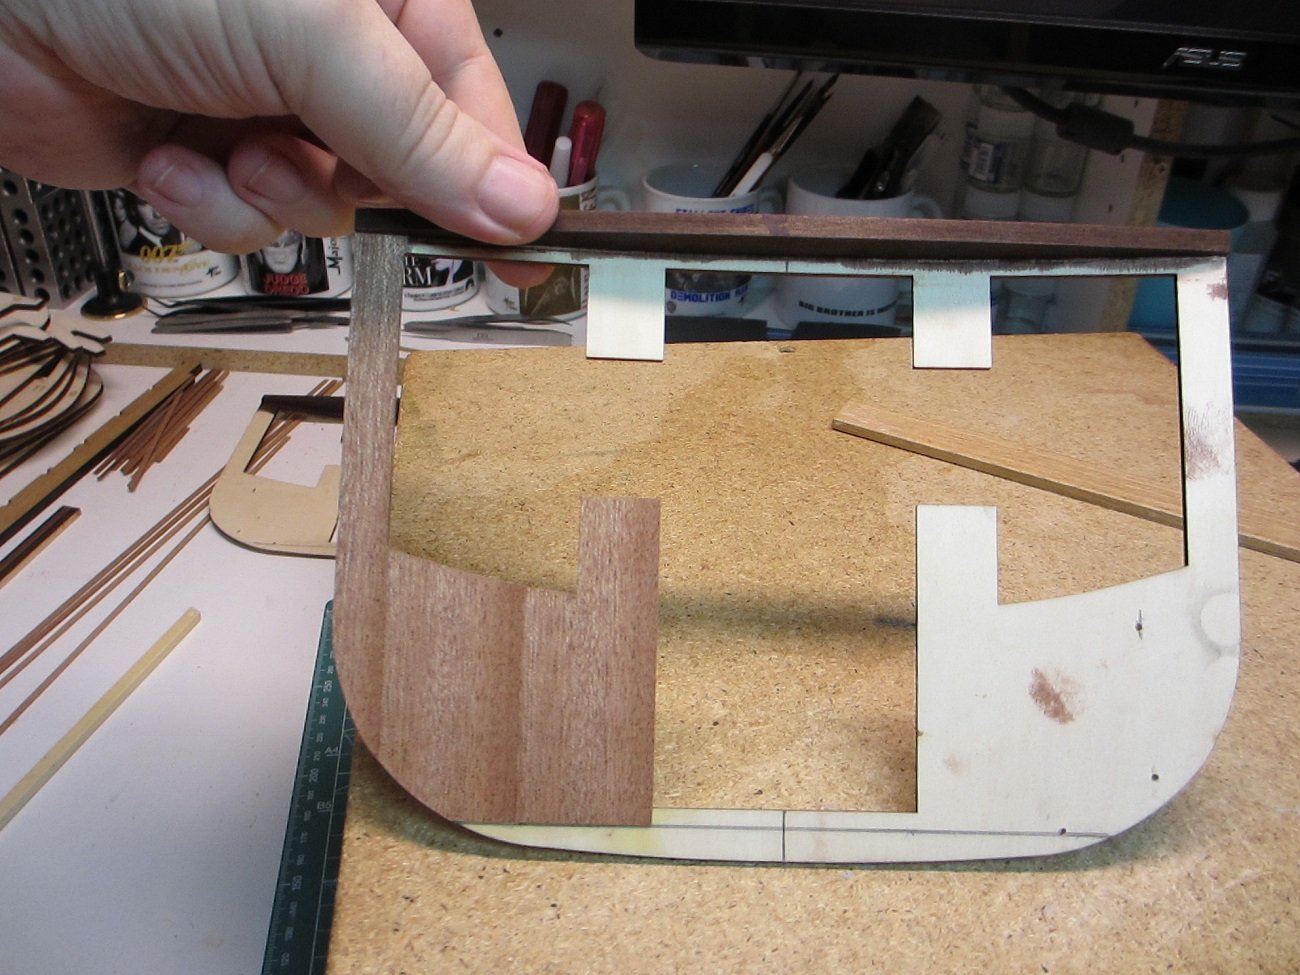
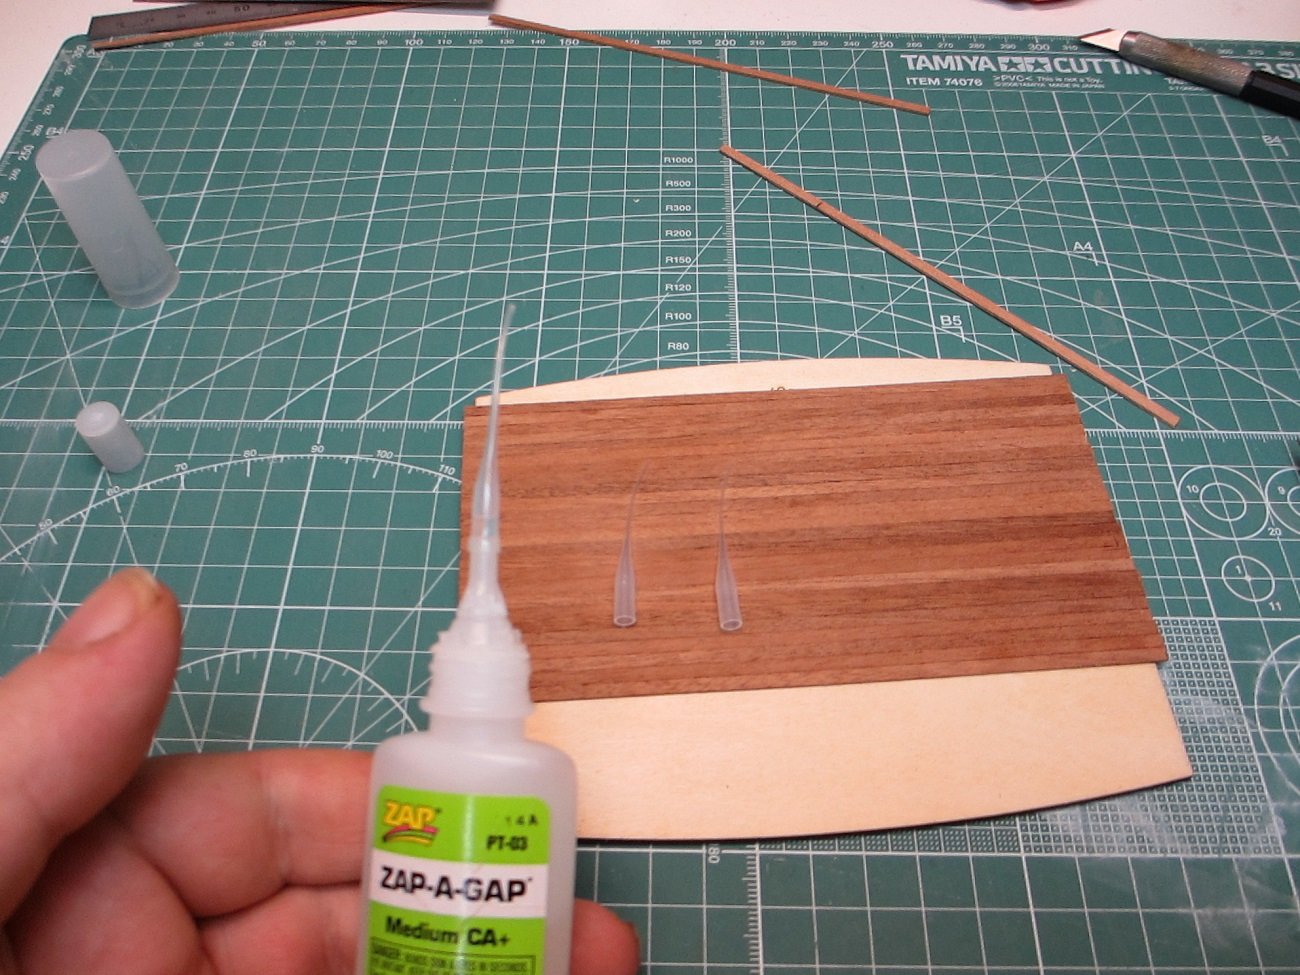
Hey howya goin all, here I've started the lining of the inside of the cabin they want you to put the cabin together before the lining there is no way in bloody hell I can get my big hand inside of something that small to line the inside like they want you to do in the manual, also in the manual they show you where my thumb is they show you that they lined it but the don't tell you what to use I wasn't going to sit here for a couple of hours going through everthing to try to work out what timber I had left over to use so I said WTH and use some walnut stain I had left over from another job.

This is the glue I'm useing to line the cabin with.
- popeye the sailor, Jack12477, Red and 3 others
-
6
-
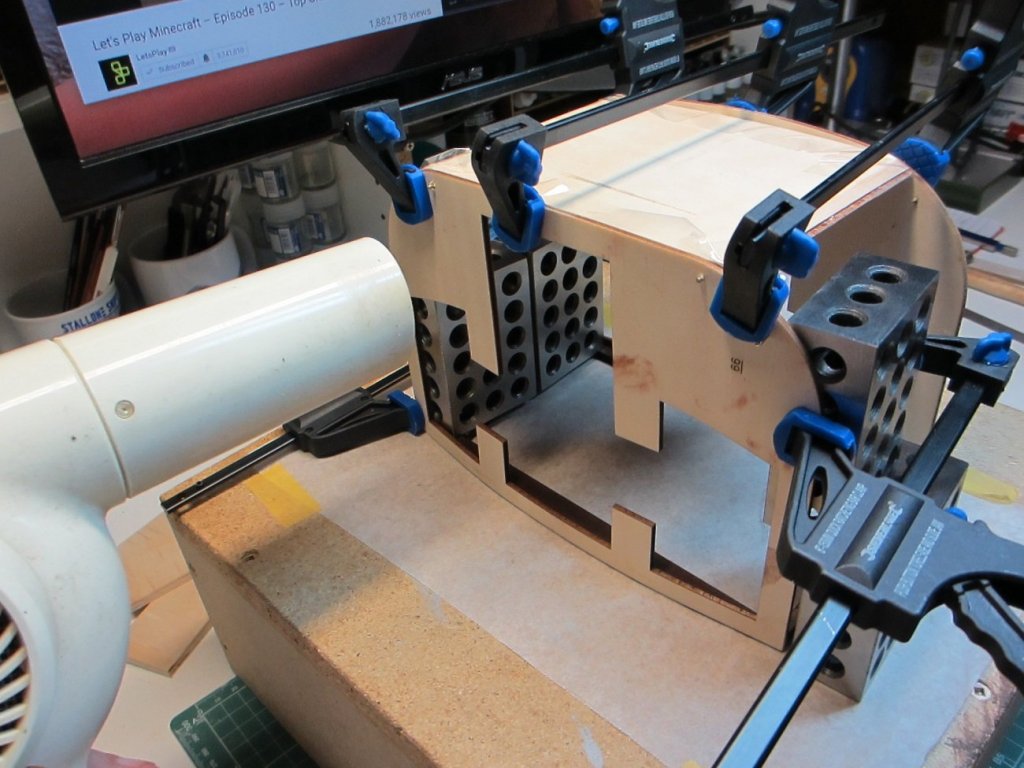
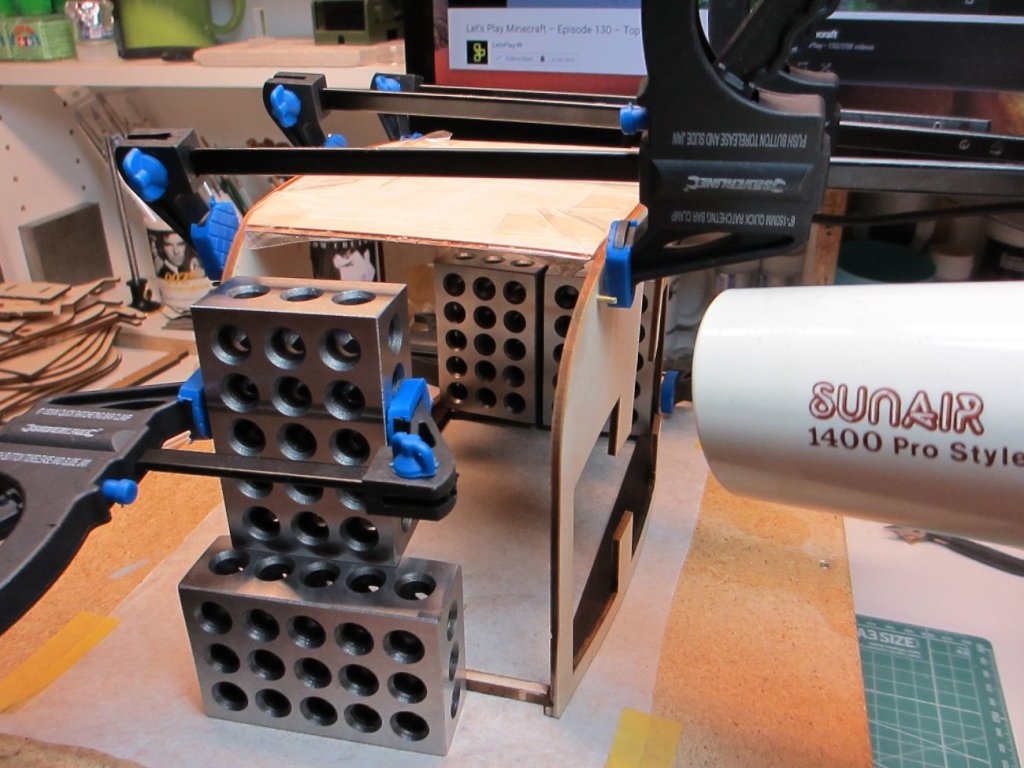
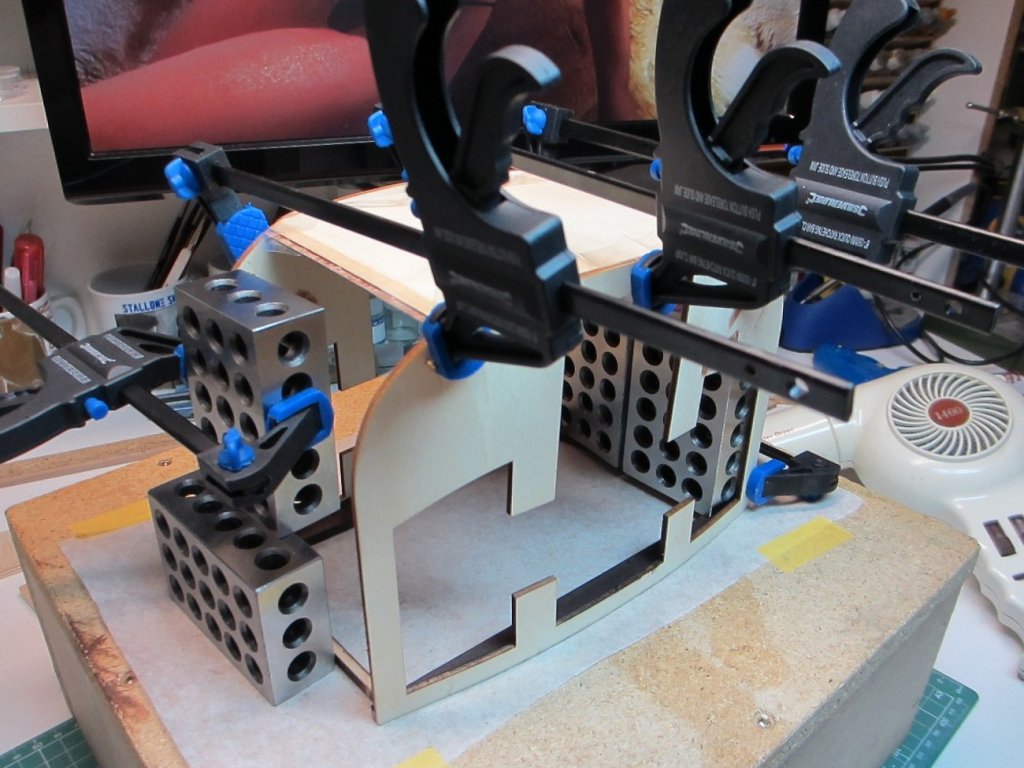
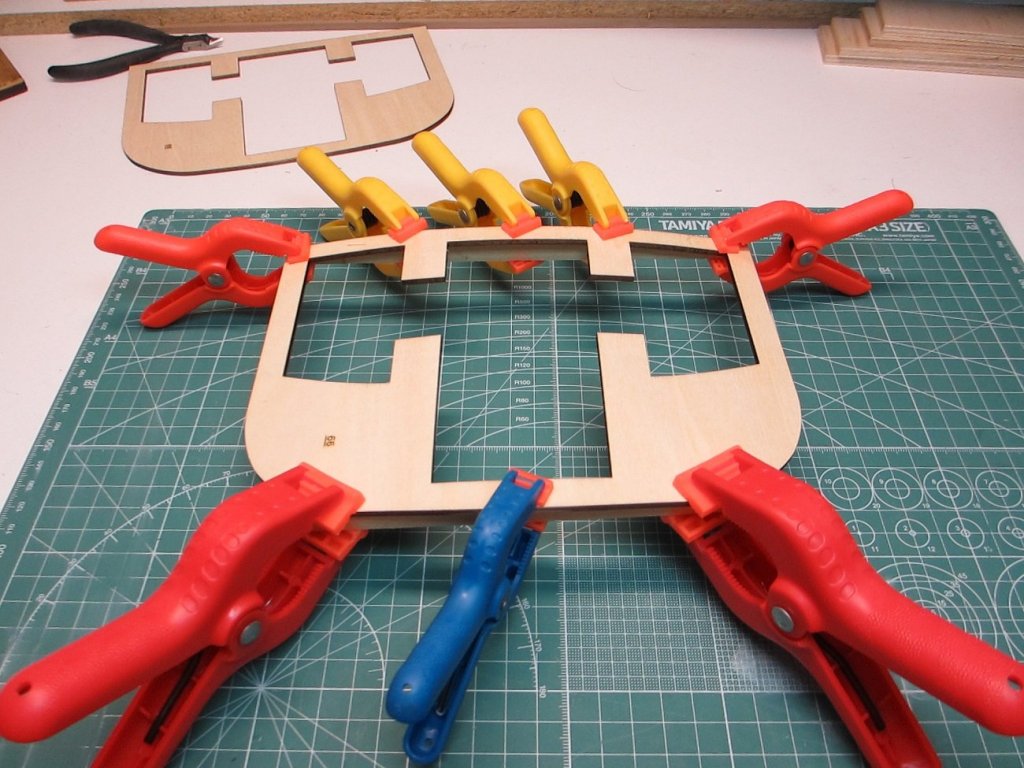
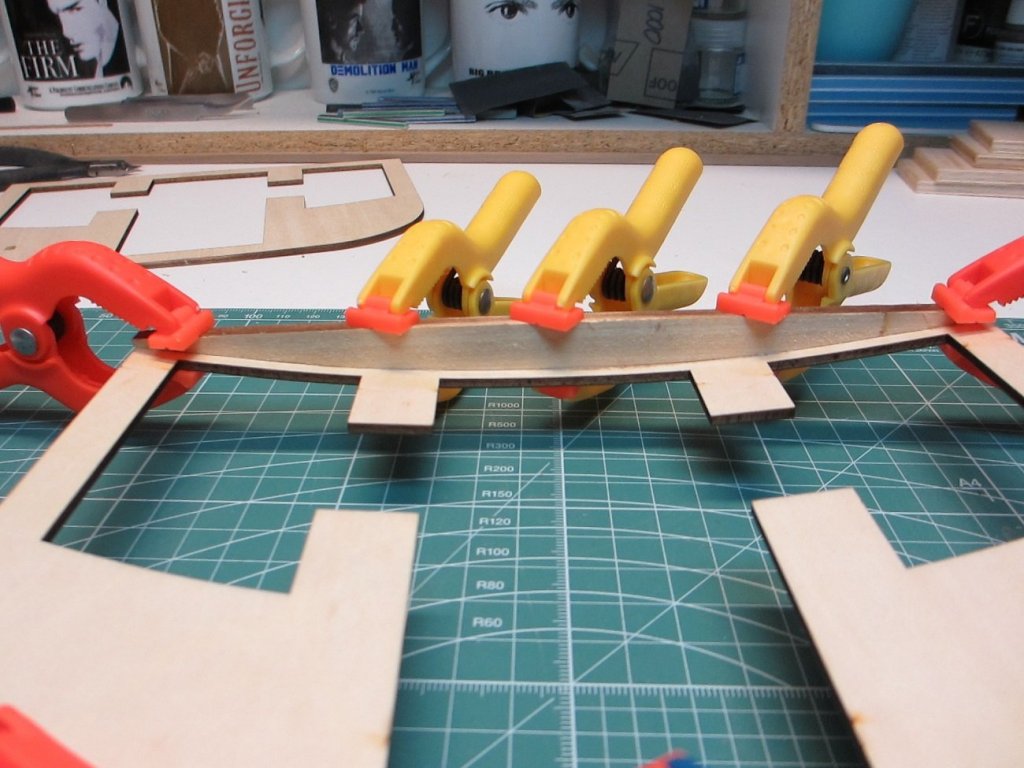
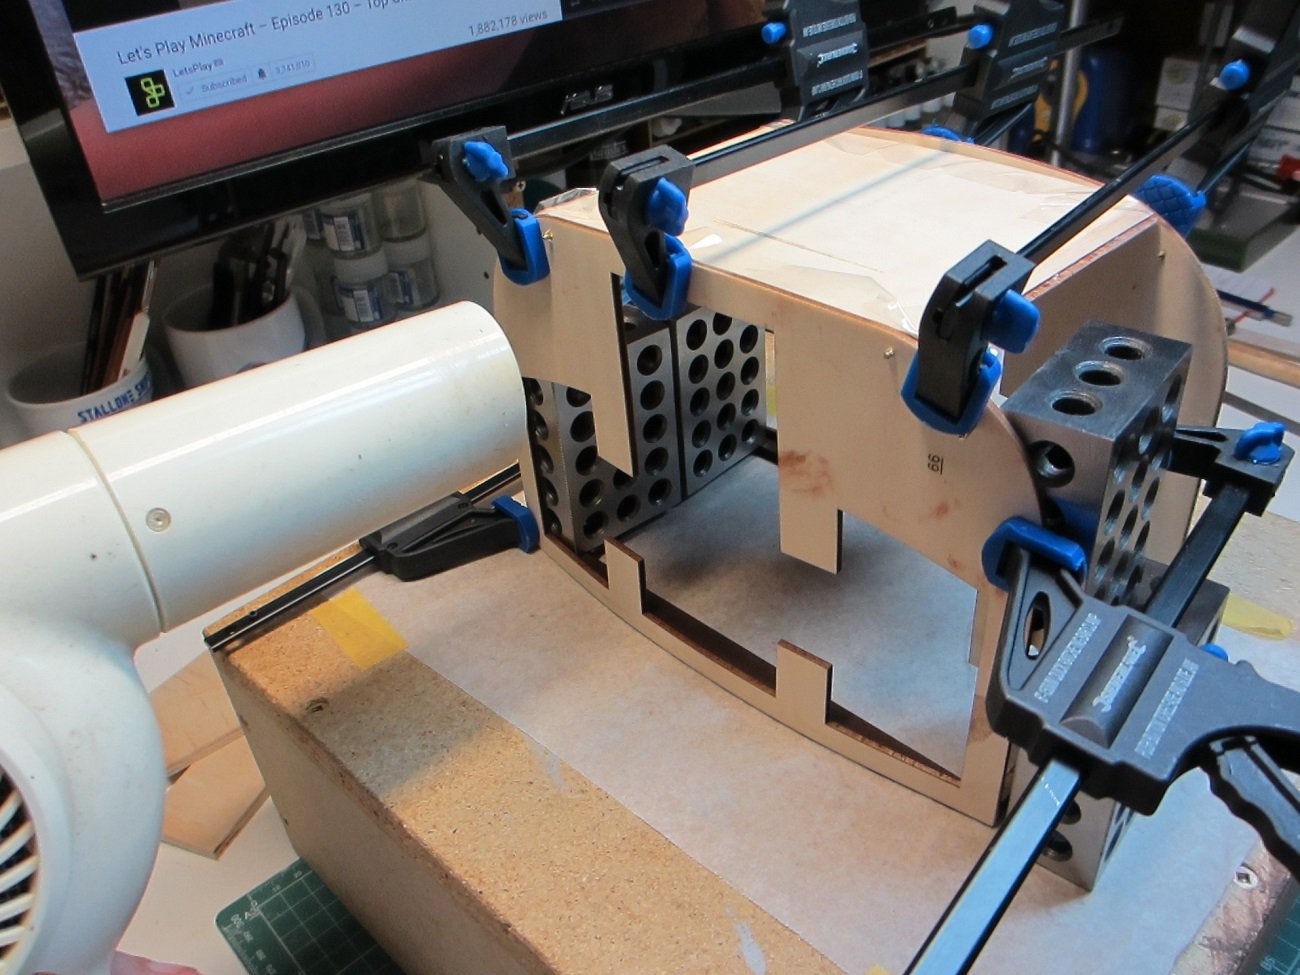
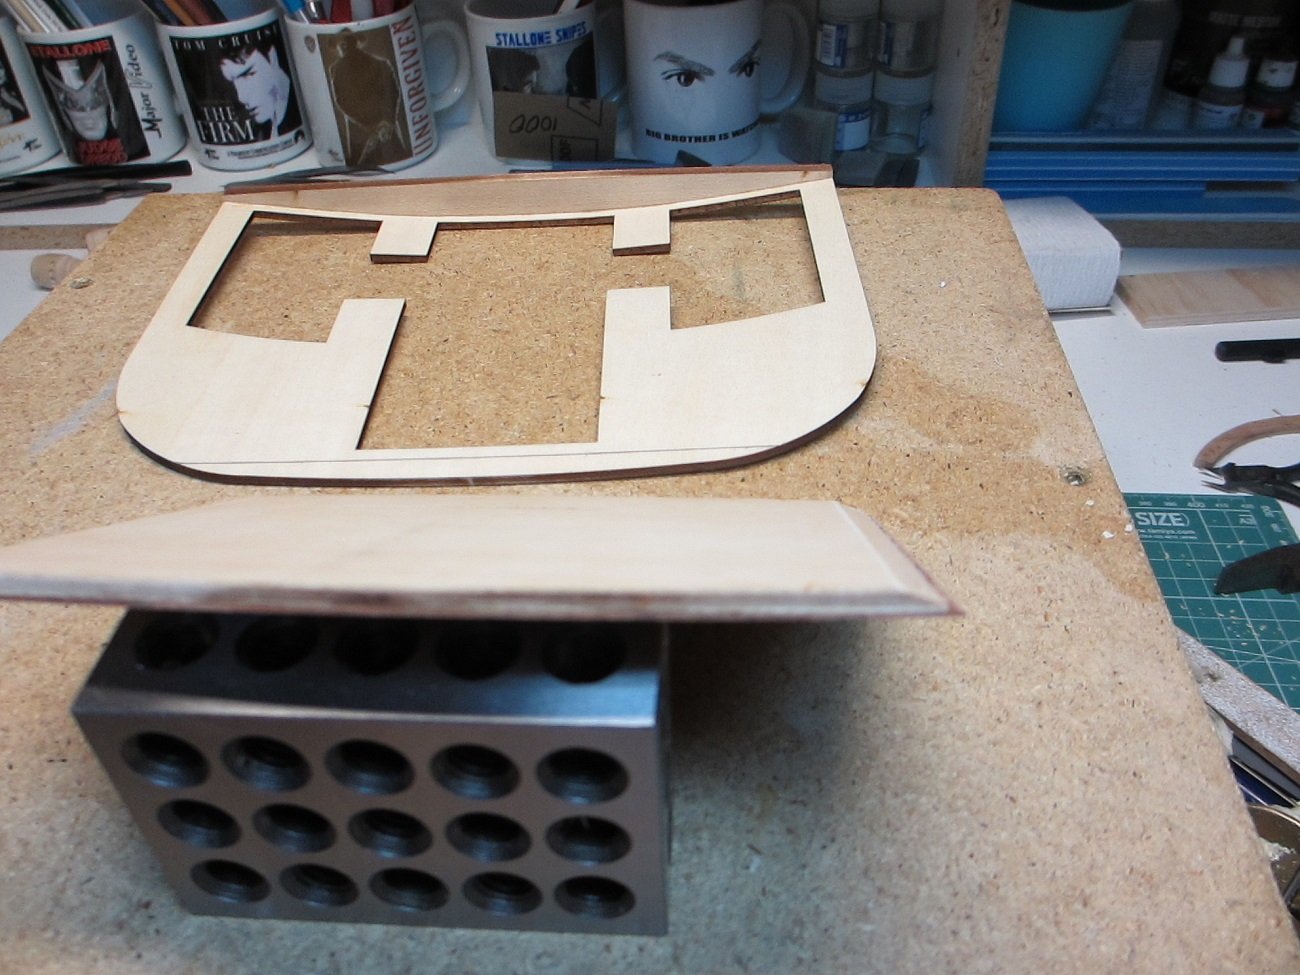
Hey howya goin all, now to heat bend the bottom of the cabin, I had some brass rod lying around and decieded to put some pins in the cabin to hold the floor up and keep the clamps from slipping off, by the way DON'T BUY THIS BRAND OF CLAMPS that are in the last 3 pics THEY ARE CRAP they are cheap chinese made they dont even hold that good.

-
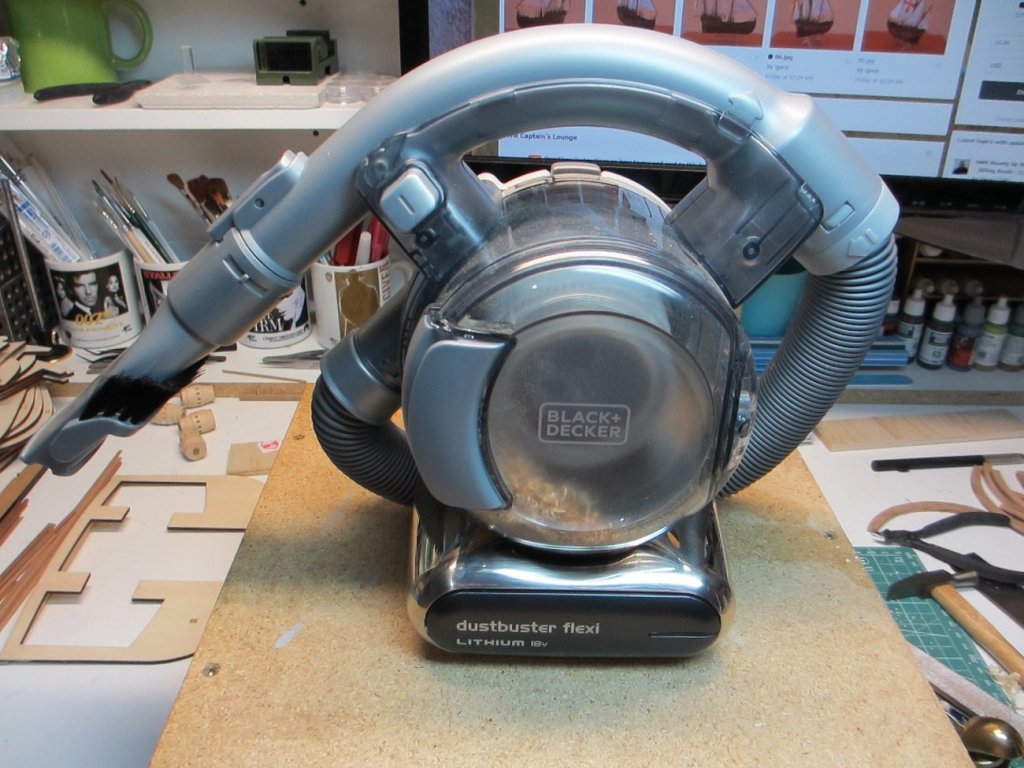
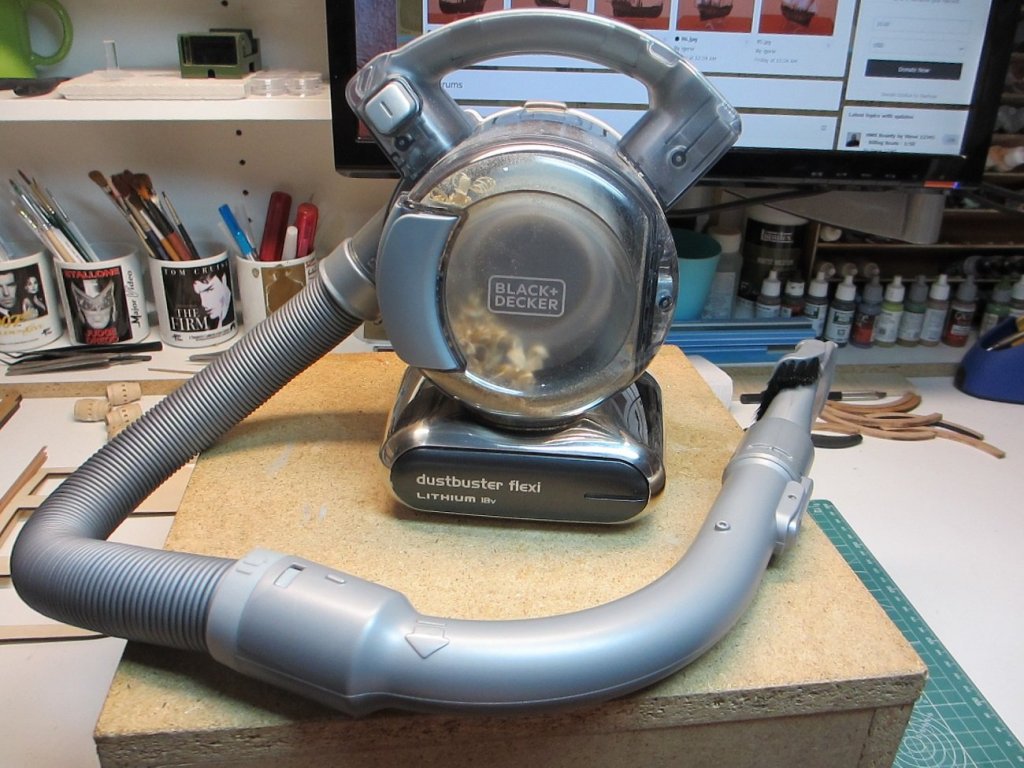
Hey howya goin all, a little something I got for my work area awhile ago its cordless.
-
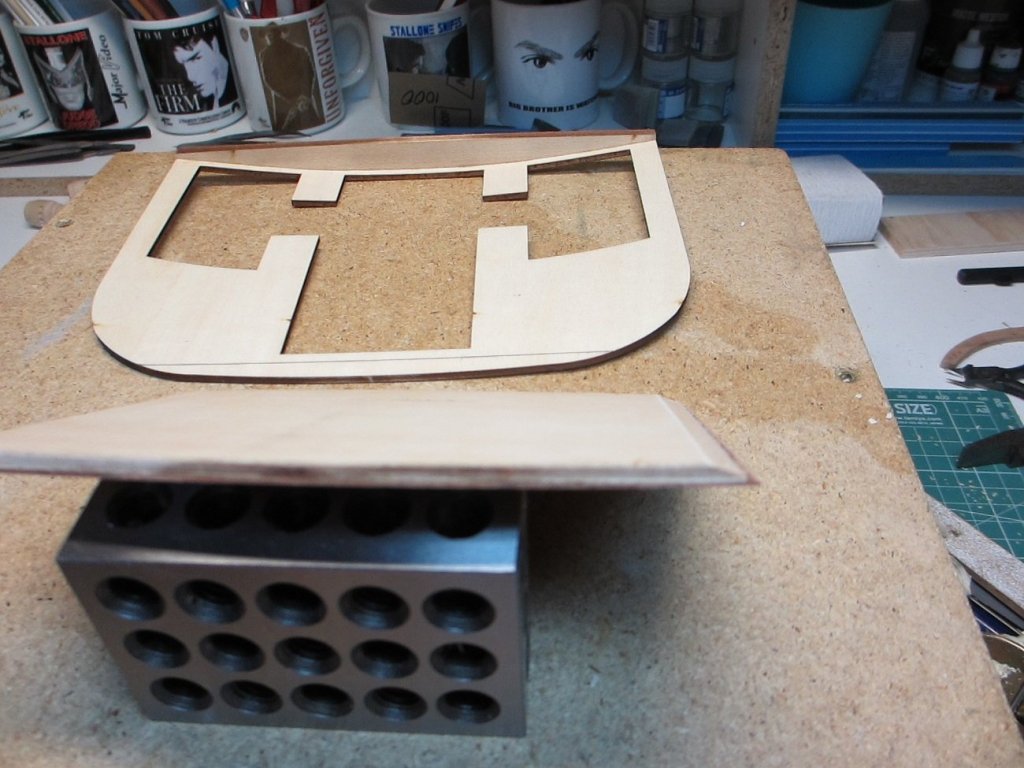
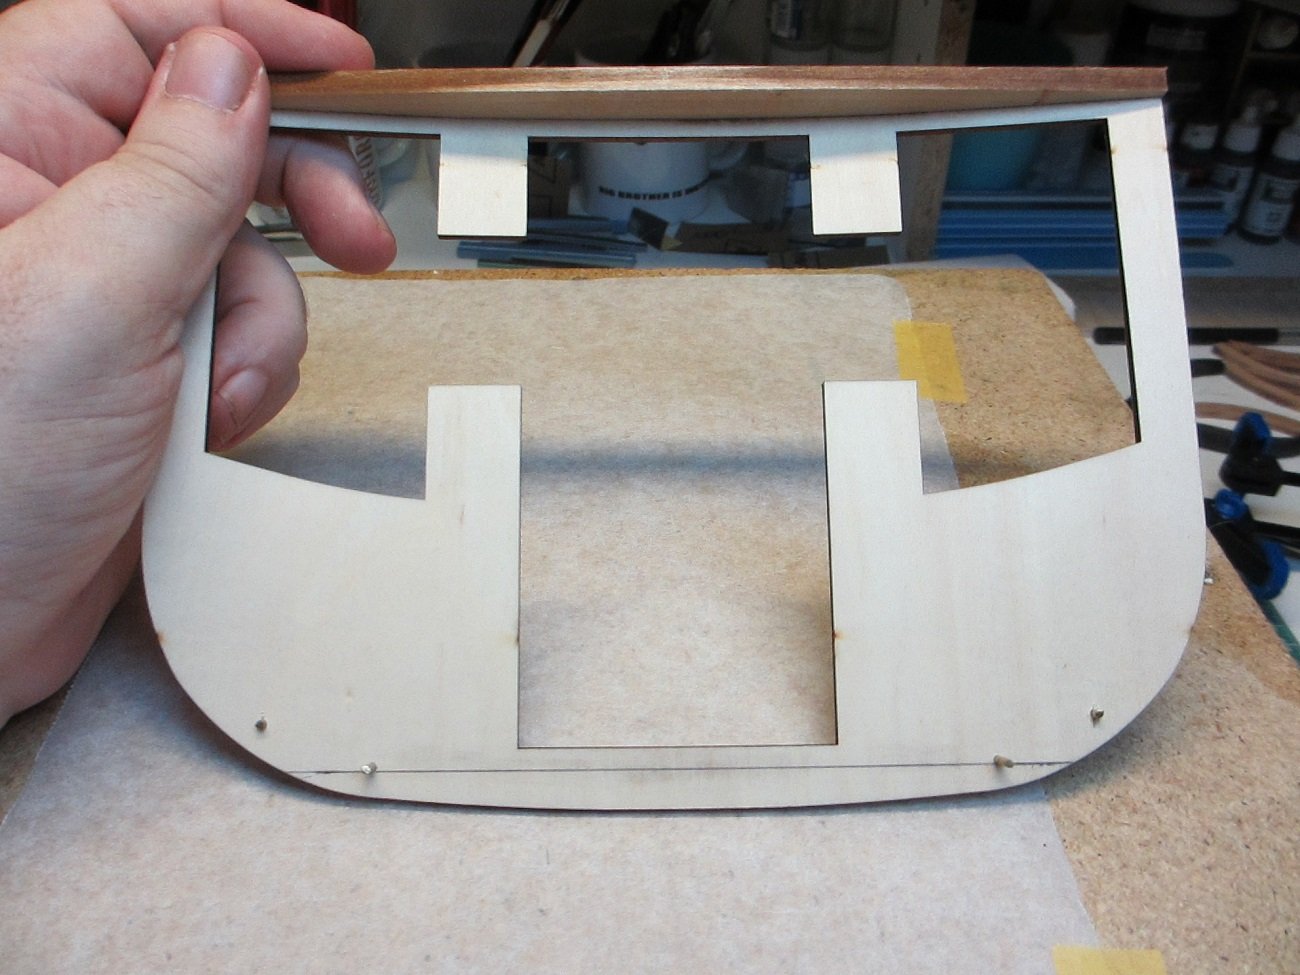
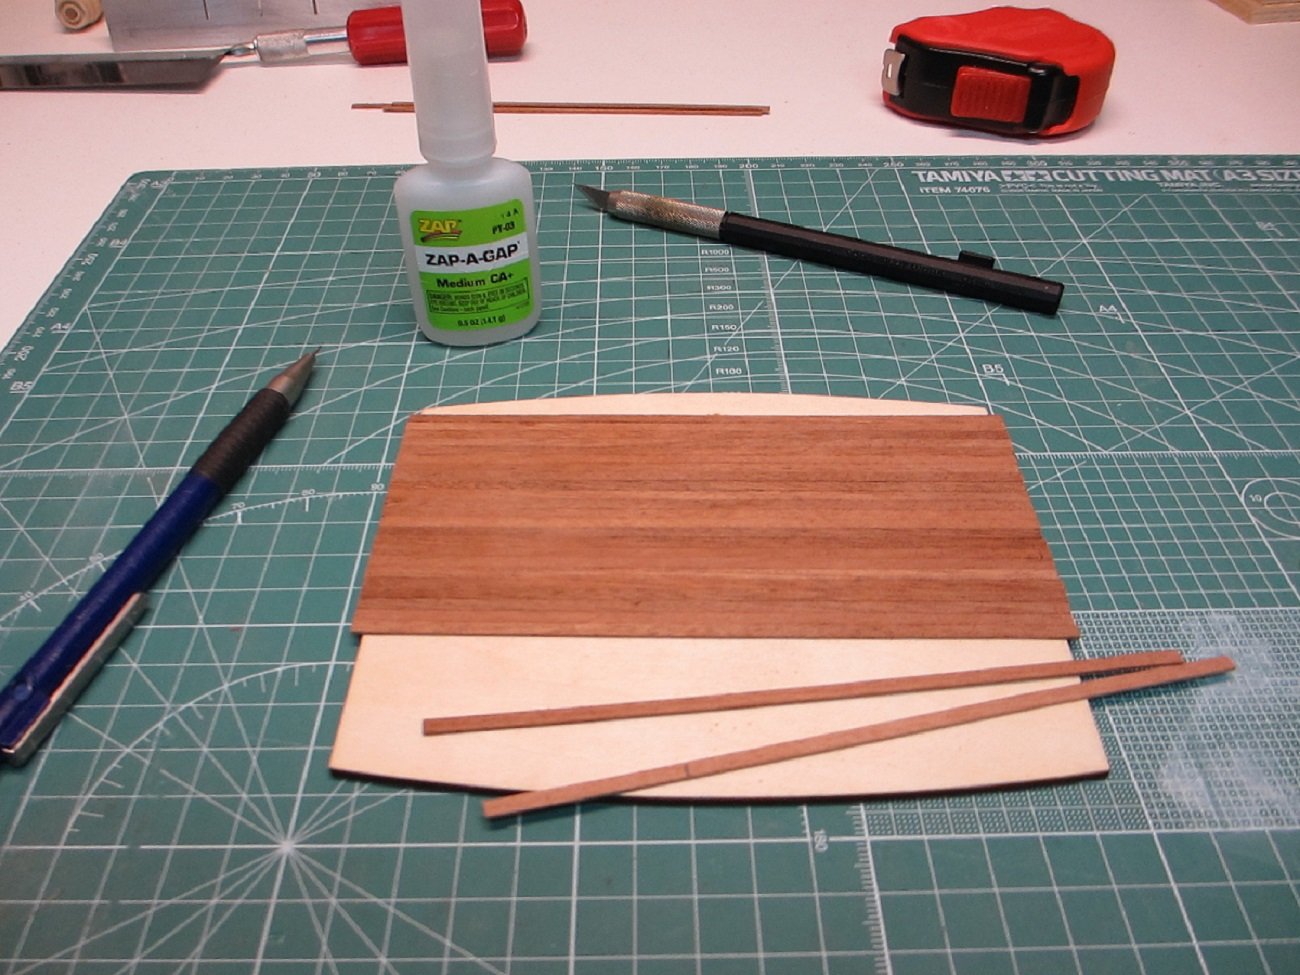
Hey howya goin all, ever now and then you have to get out the handsaw and just start hacking into the wood hahaha. I'm starting to work on the floor for the cabin.

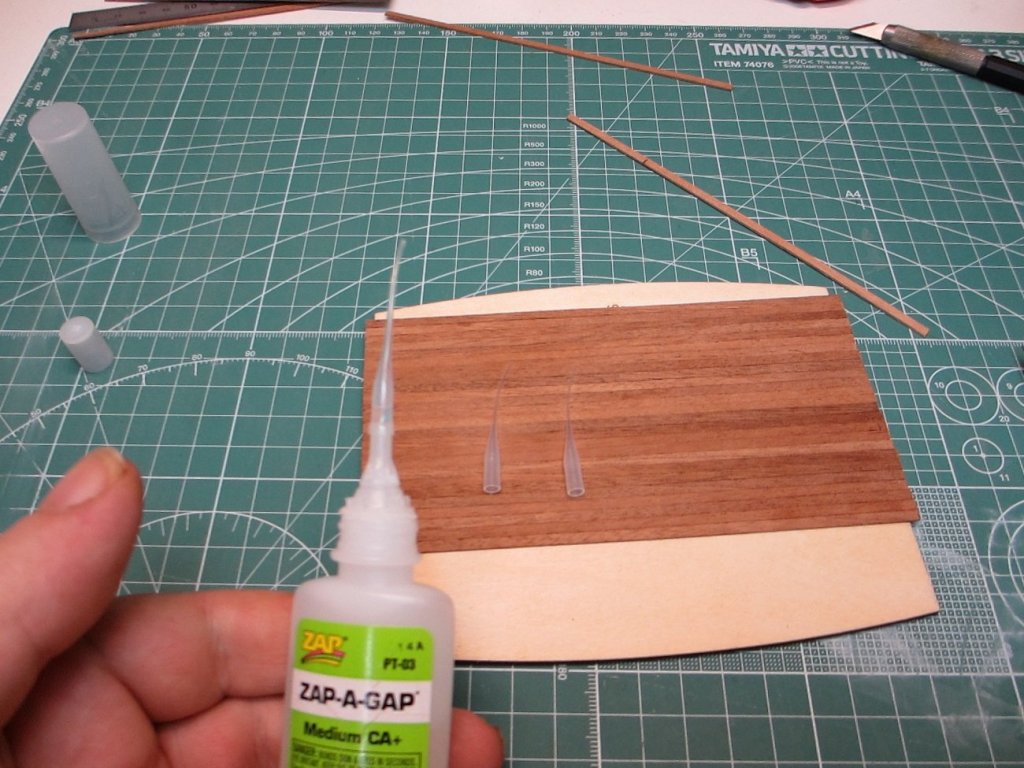
Here is a little something some people might not know you can get little dispoable tips for your CA glue bottle that can give you better control on how much glue comes out of the tip, these ones are made by Zap the same brand as my CA glue I think they come in packets of 12 i got a couple of packets so long ago.

-
Hey howya goin all, here im working on the wheels while the glue drying on the cabin. Here I have the frames of the wheel in a vise to sand the joints a little on the angel because they dont join up tight together.
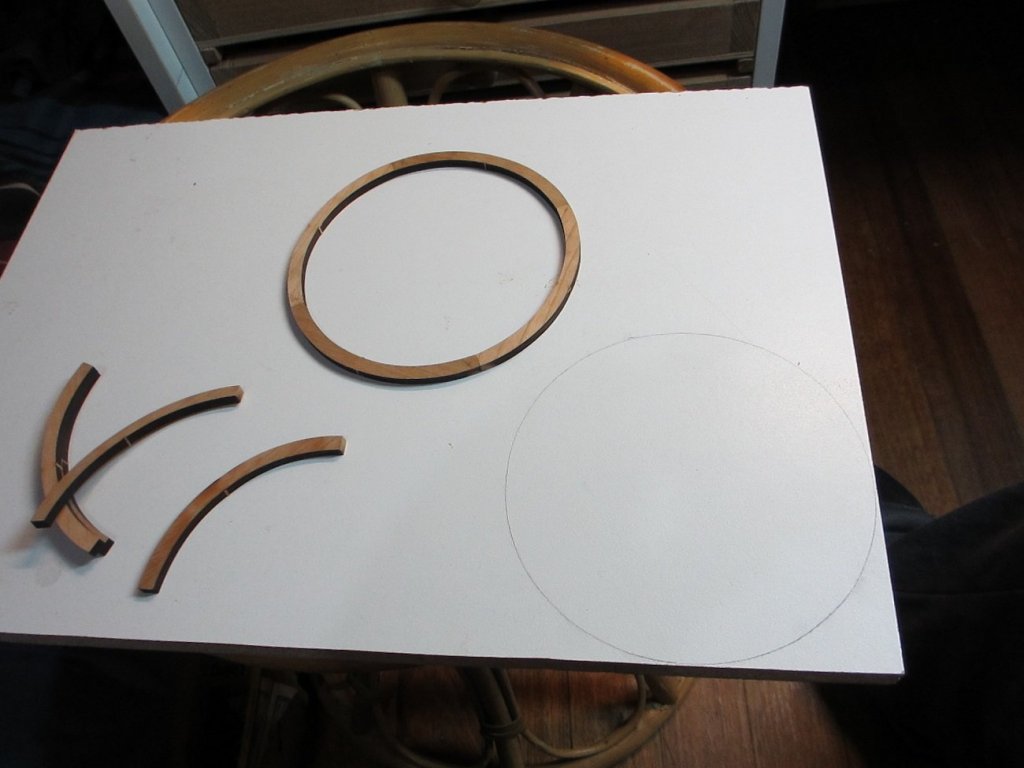

Here you can see the wheel axle housing the hole through the housing is not drilled straight so I filled it with a peice of dowel and will redrill it later, you can also see one of the spokes slot in the axle was drilled in the wrong spot so I filled it and redrill it later aswell.
-
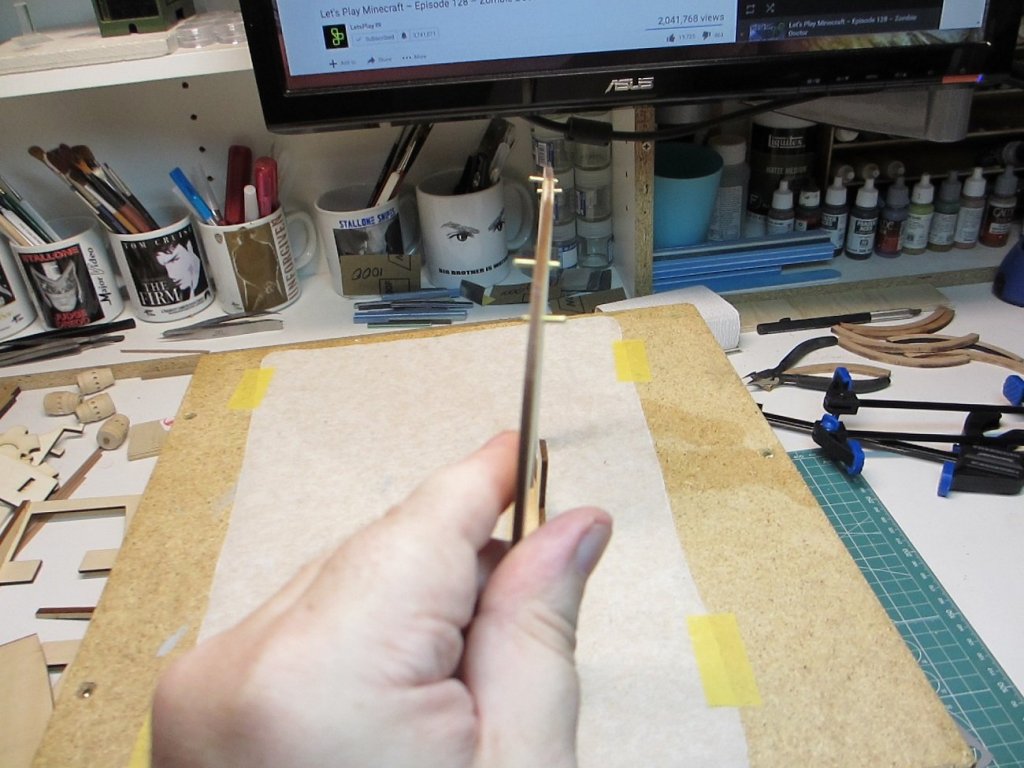
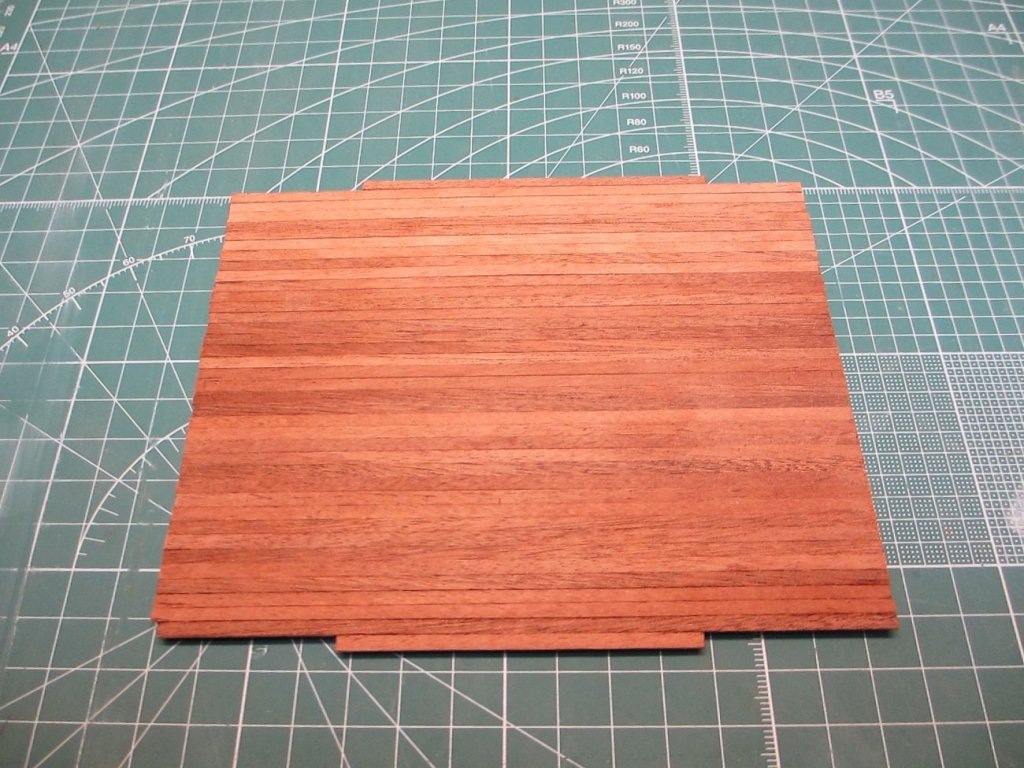
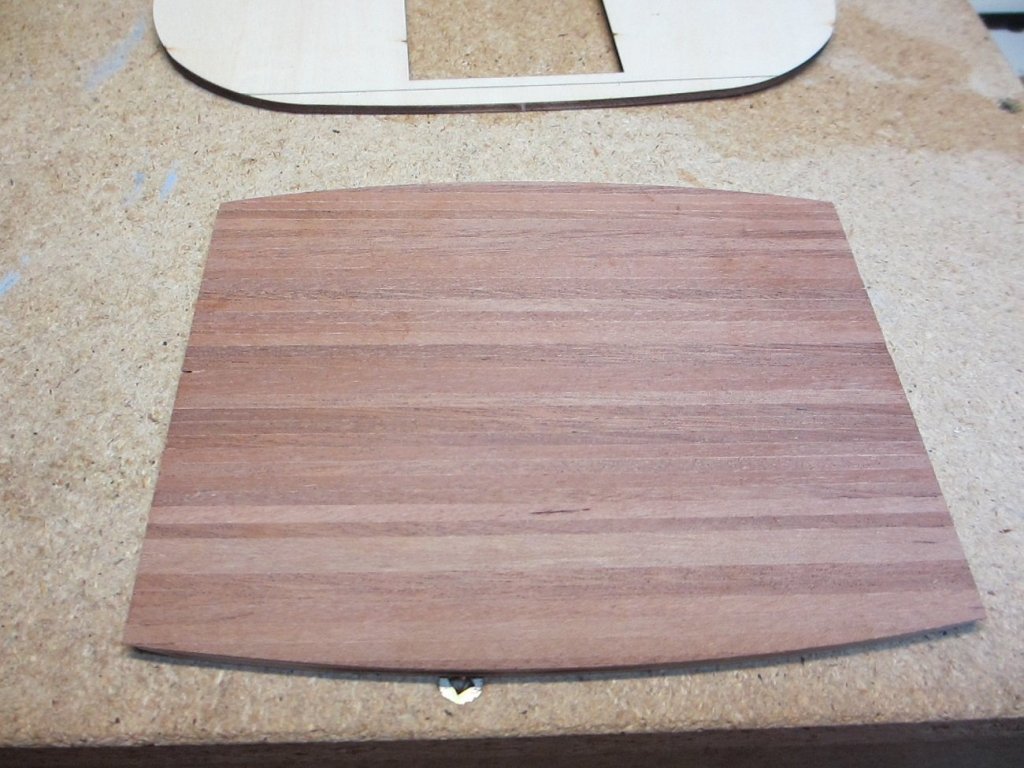
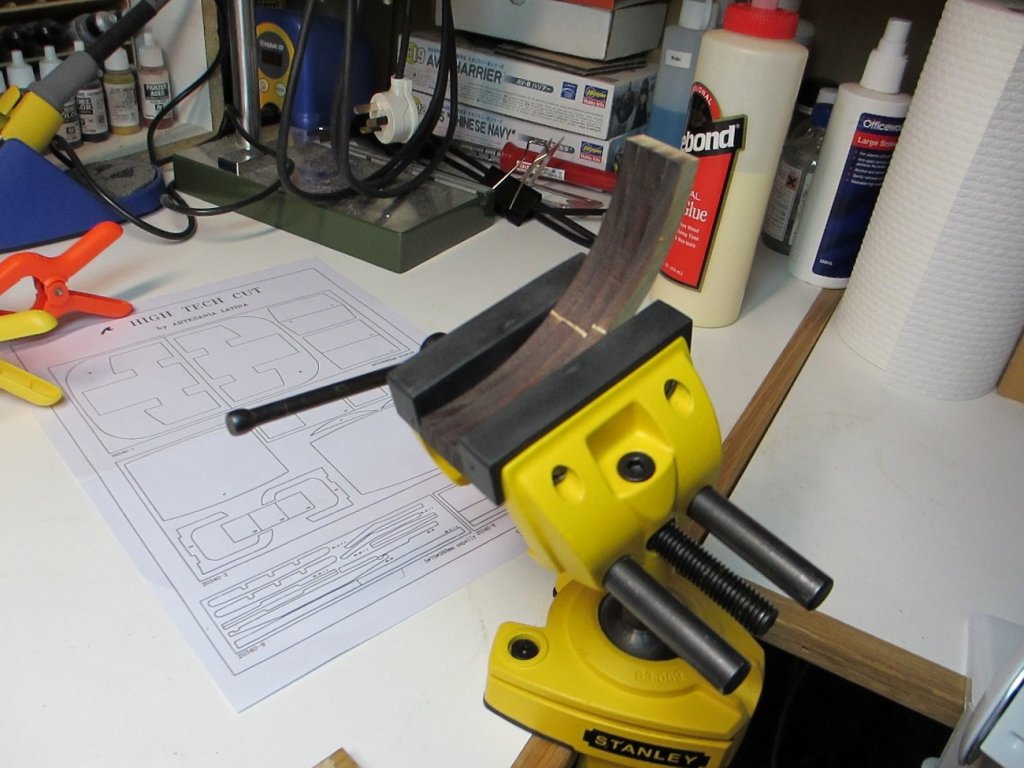
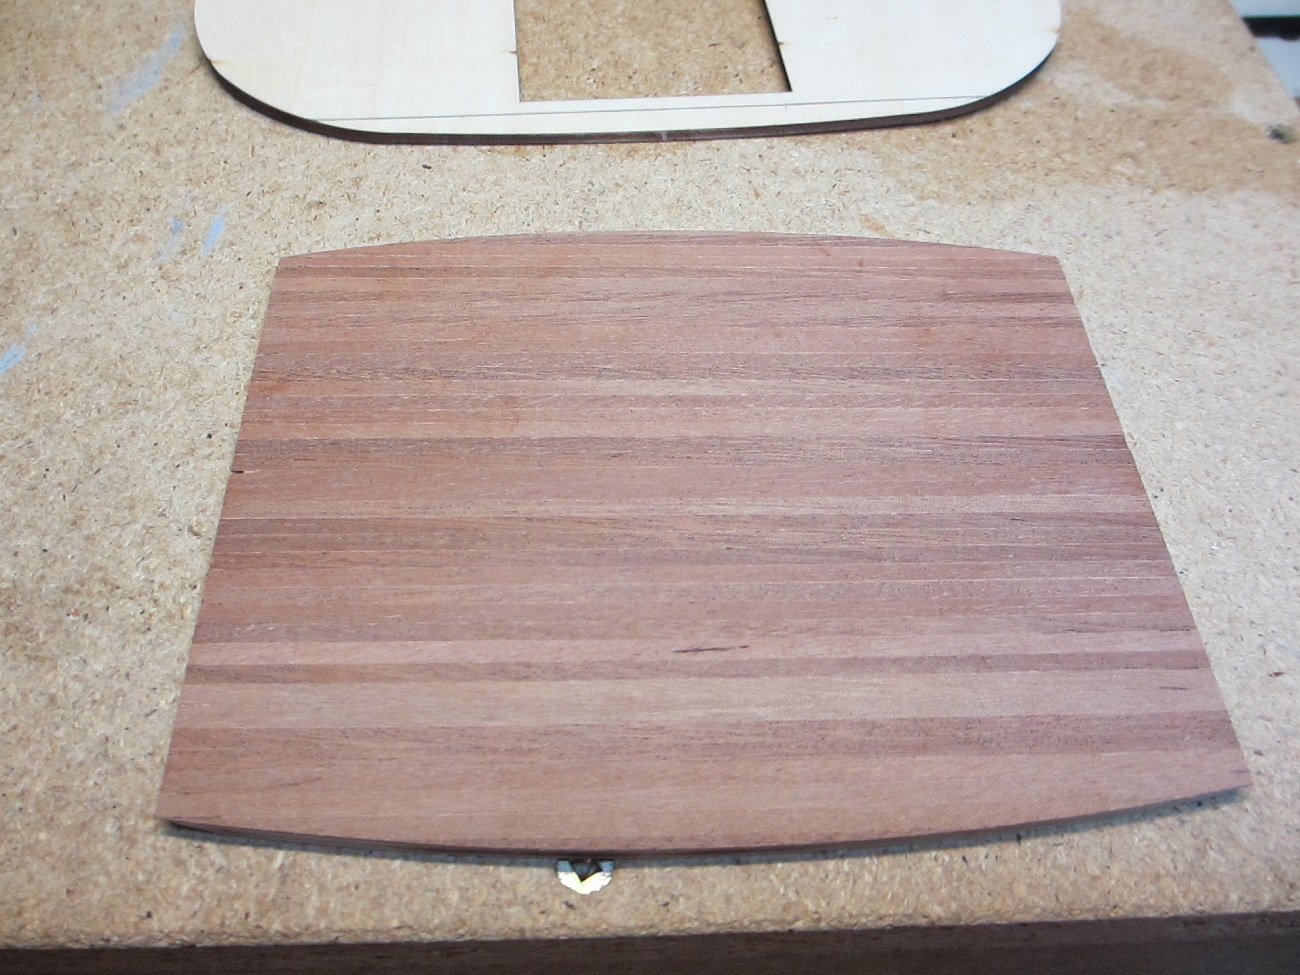
Hey howya going all, I've decided to start on the cabin first there is a little tension in the wood but I think it will be ok to bend it a little the glue should be enough to hold it. The bottom part of the side of the cabin there is a little more material so I'll need to heat bend that part when I got to glue on the floor.
-
Hey howya goin Bug mate, yeah its not my first experience with Artesania Latina kit I just had to order more wood for the hull lining on my Mississippi build. I usually heat bend my wood or soak in hot tap water before drying it with a hair dryer. Thanks mate.
- Canute, mtaylor, popeye the sailor and 1 other
-
4
-
7 minutes ago, Canute said:
I'll get some pictures at the wagon-makers shop
That would be great Ken, can't wait.
- popeye the sailor, mtaylor, Canute and 1 other
-
4
-
-
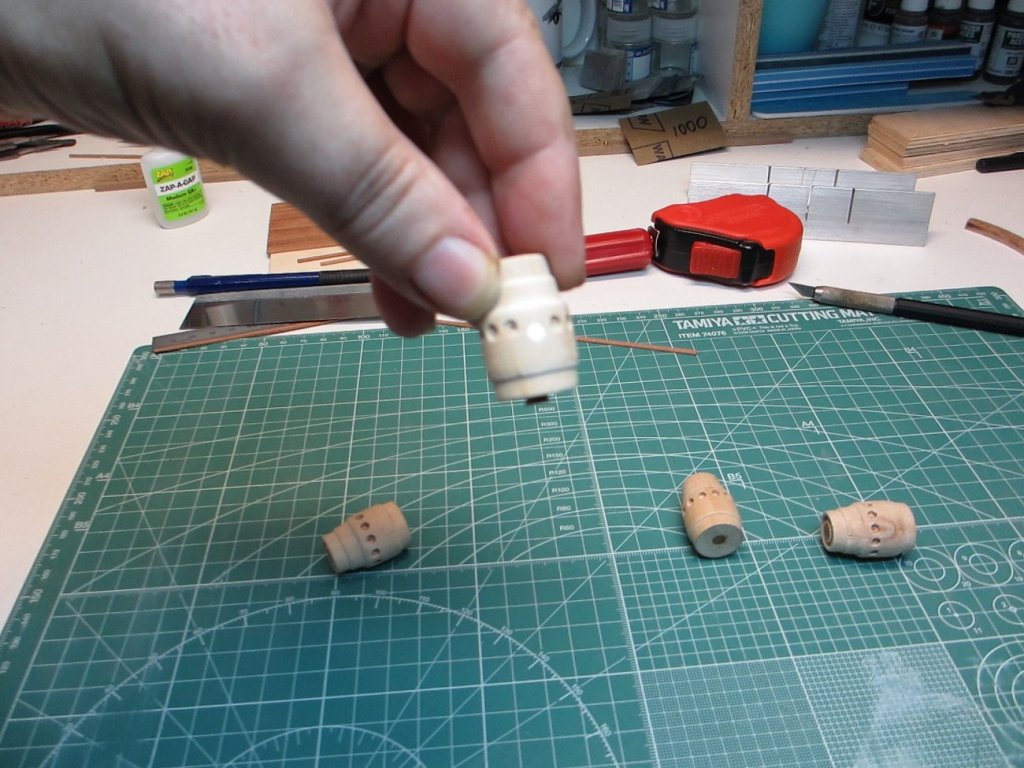
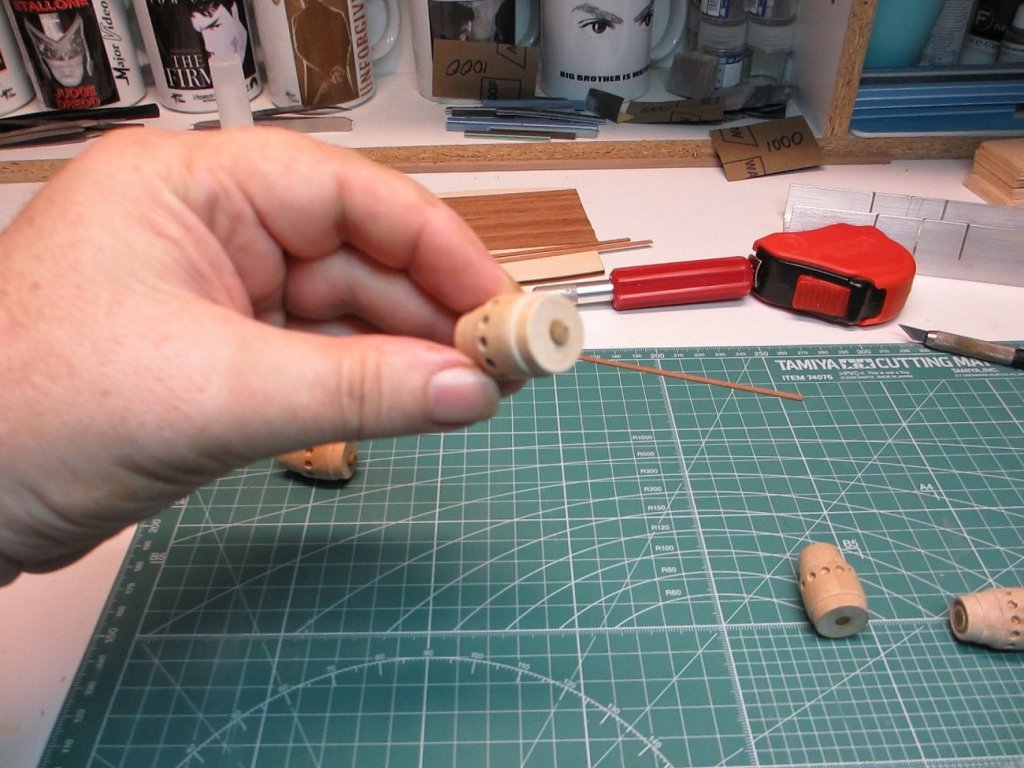
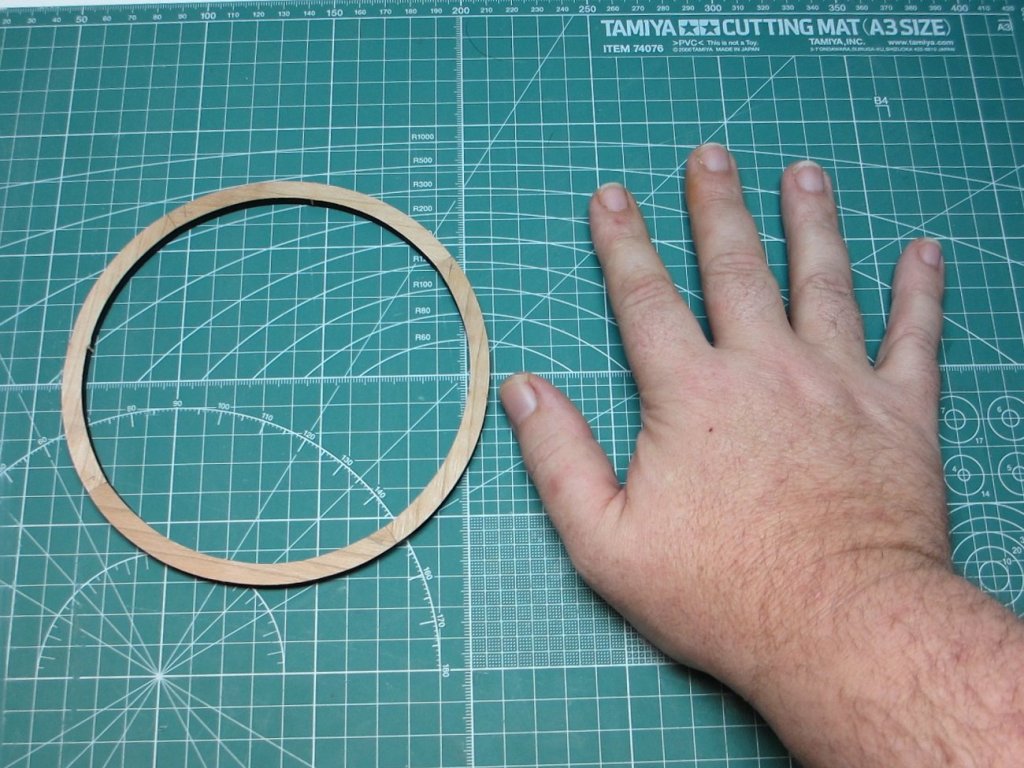
Hey howya goin all, built this back wheel on the first day I got the kit just to see how big it was thats 1:10 scale for ya.
- Ryland Craze, Canute, mtaylor and 1 other
-
4
-
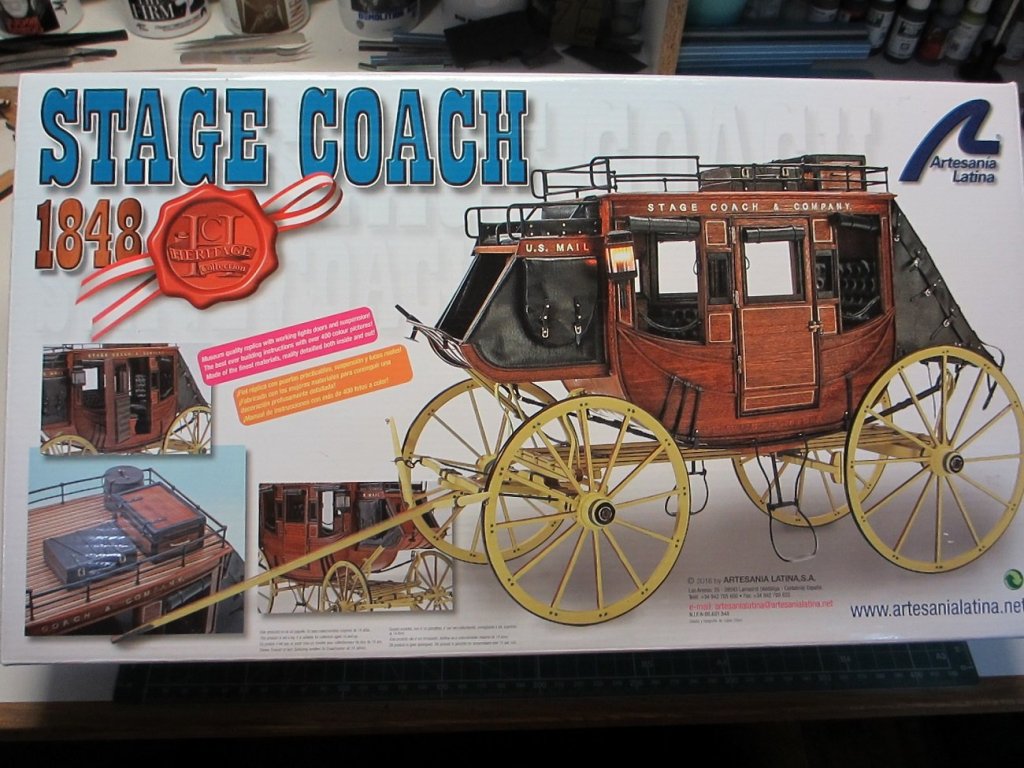
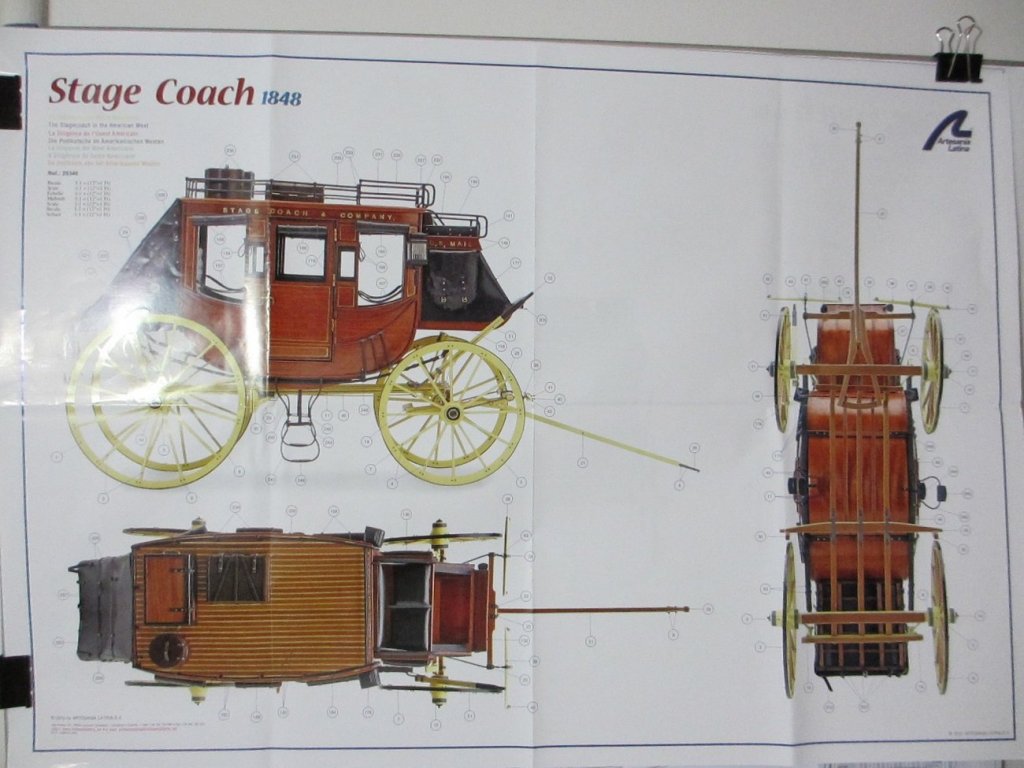
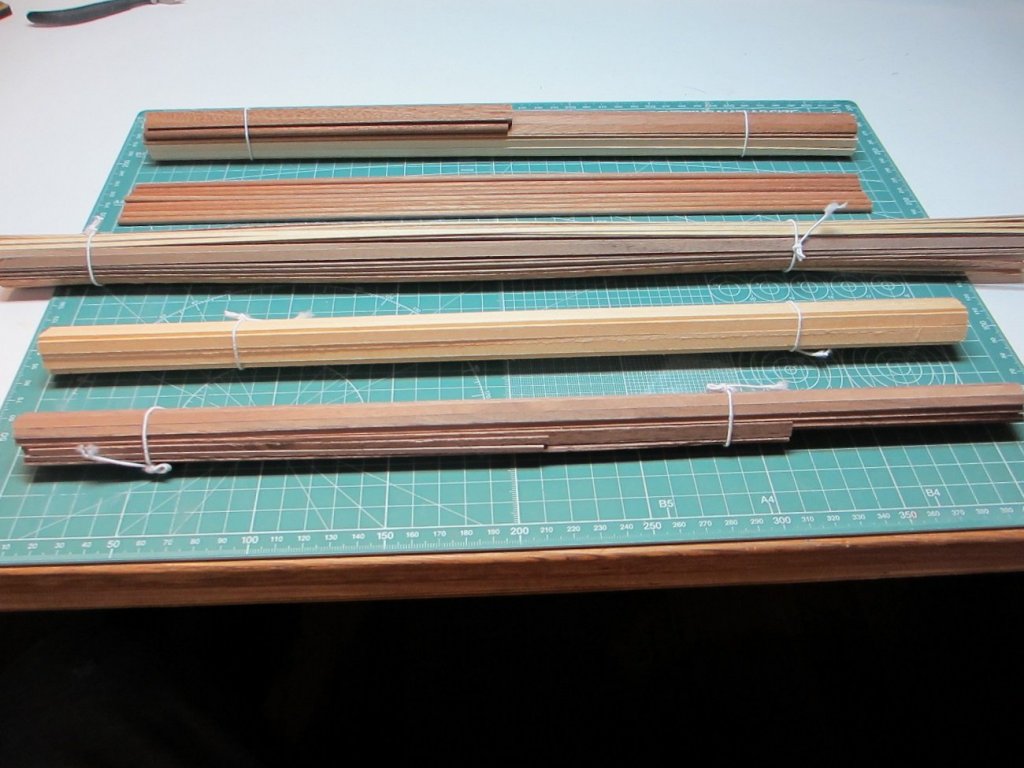
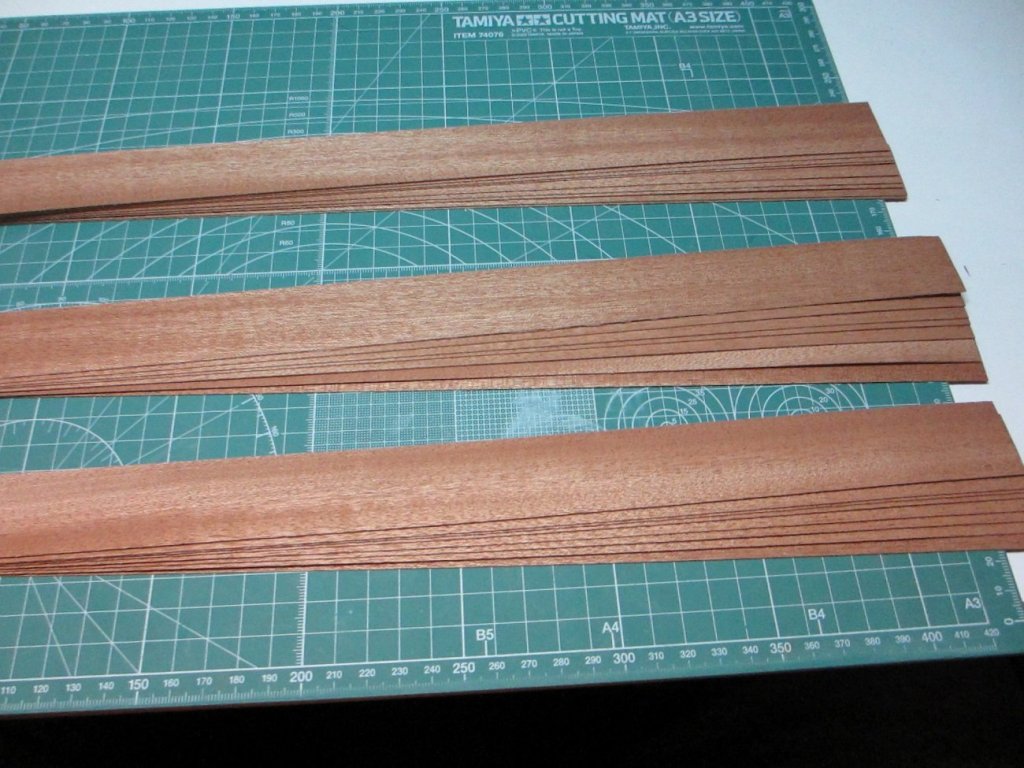
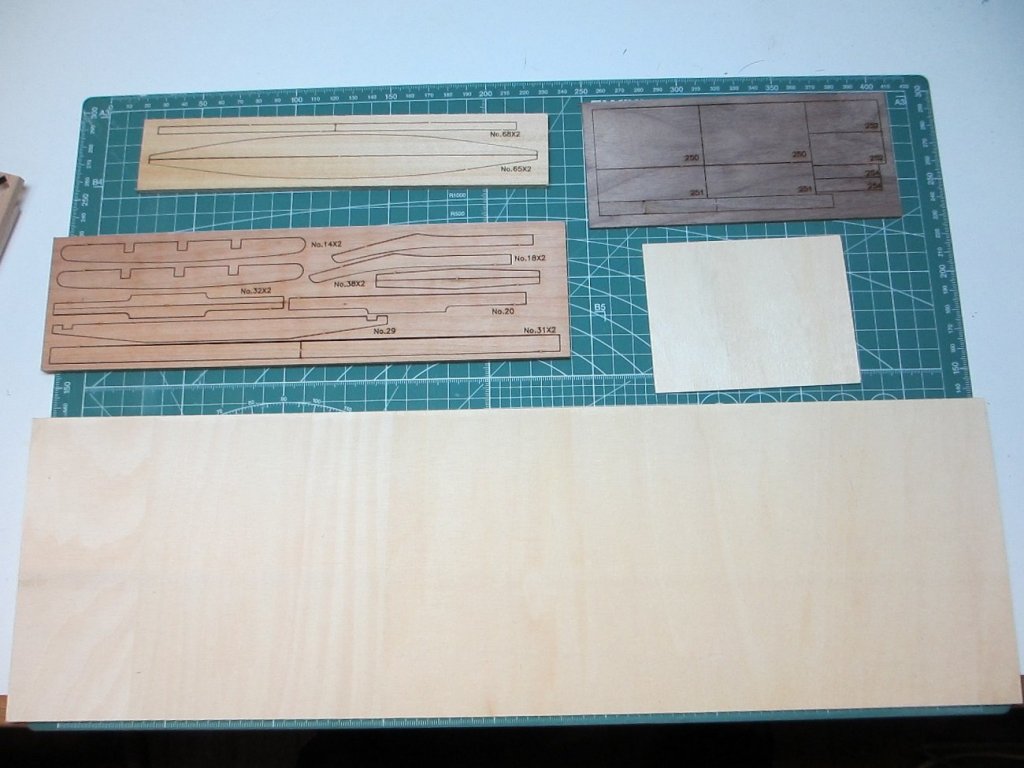
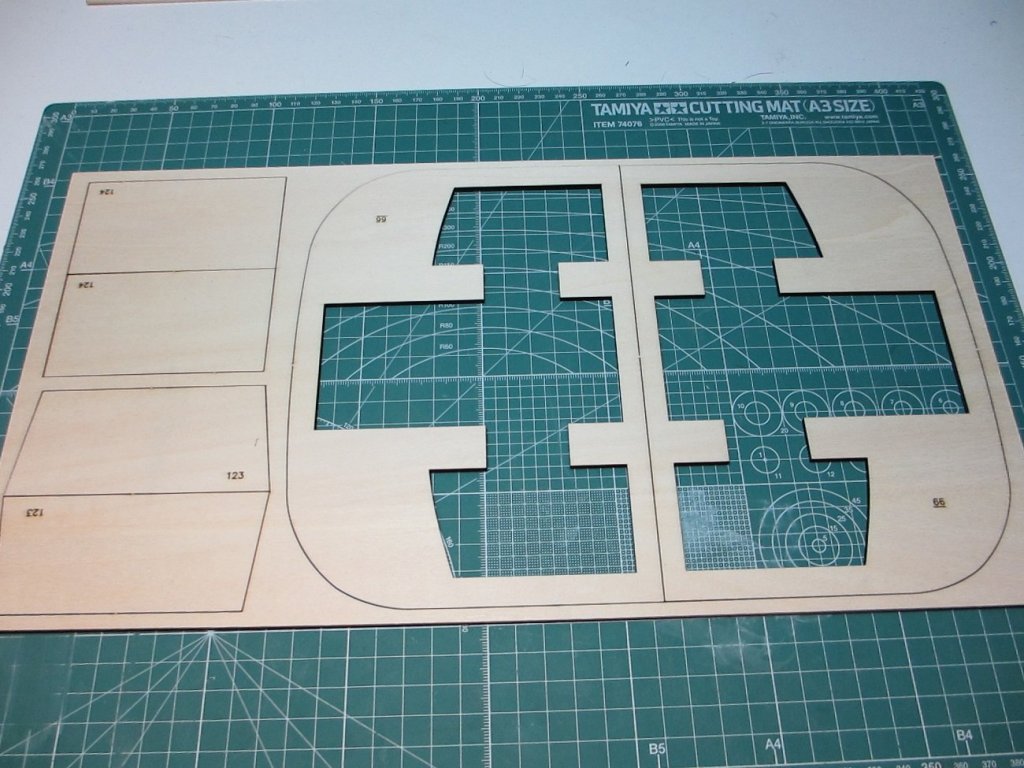
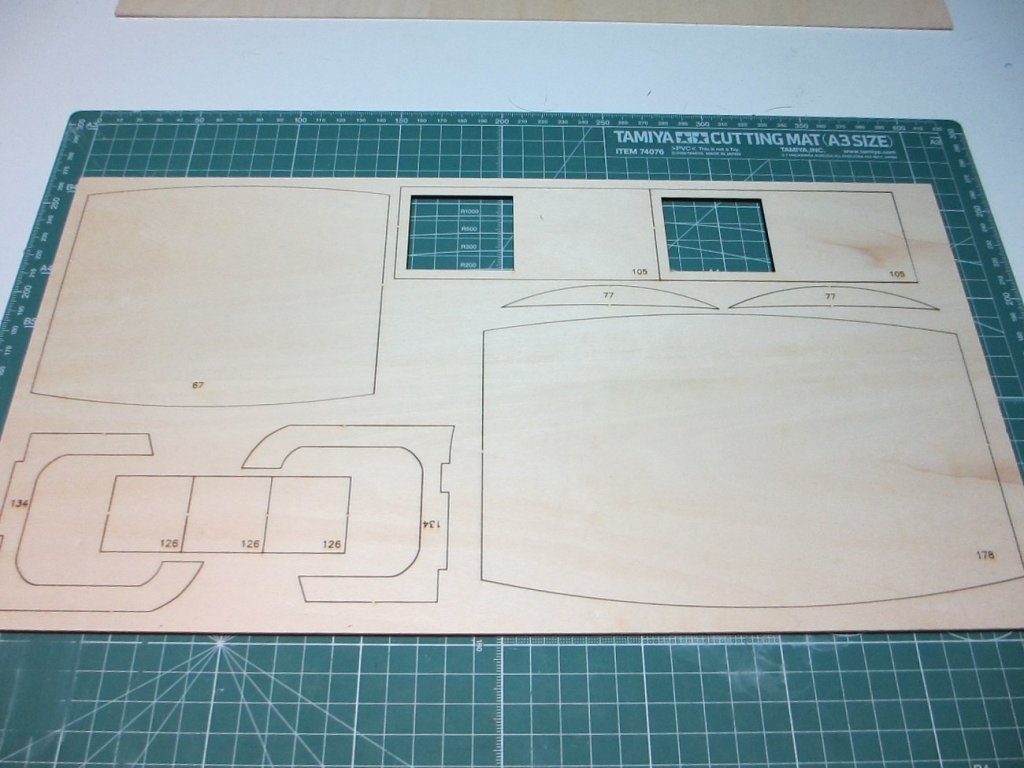
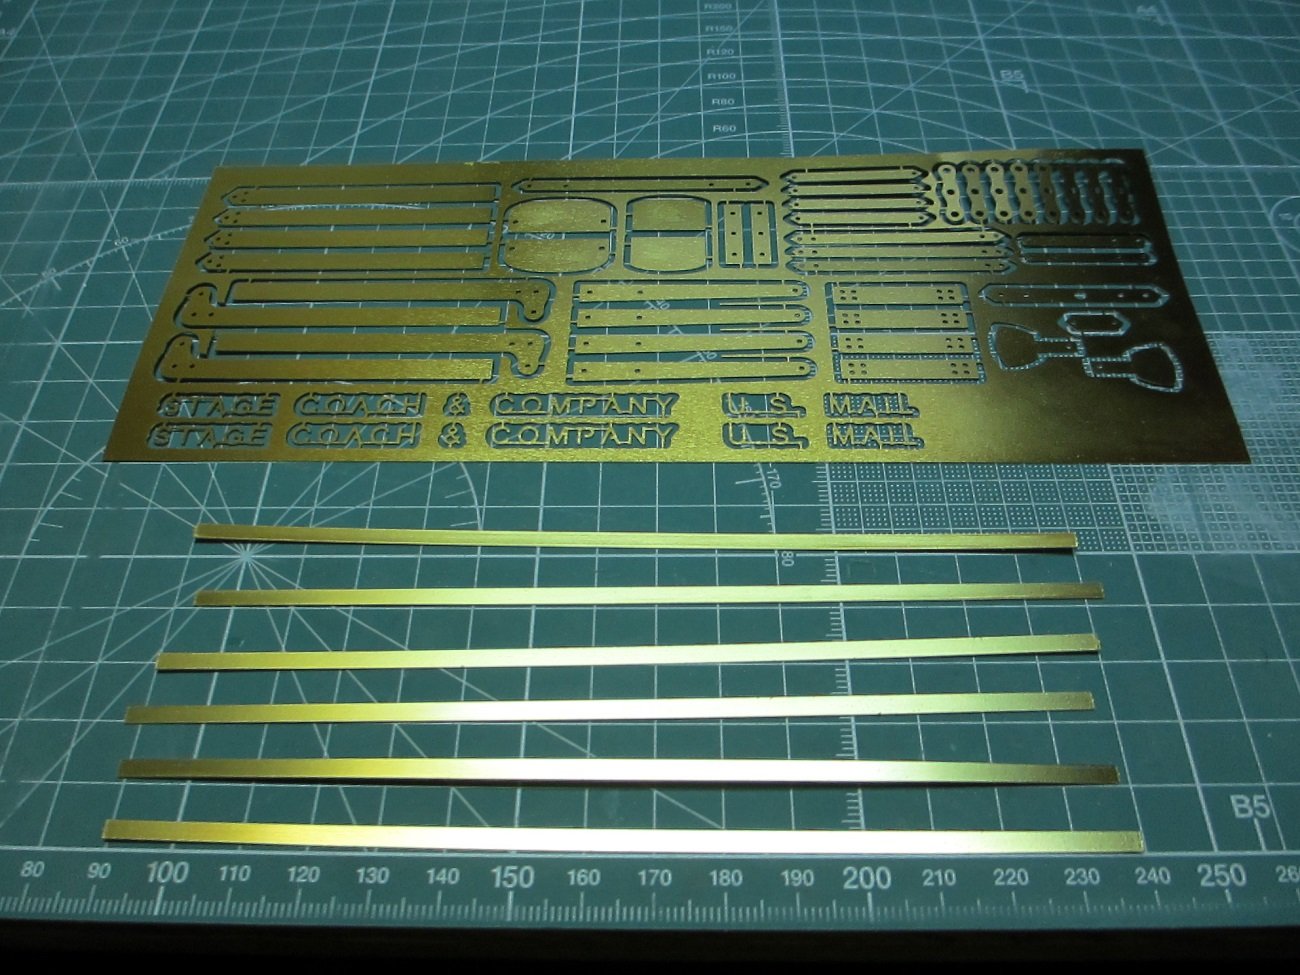
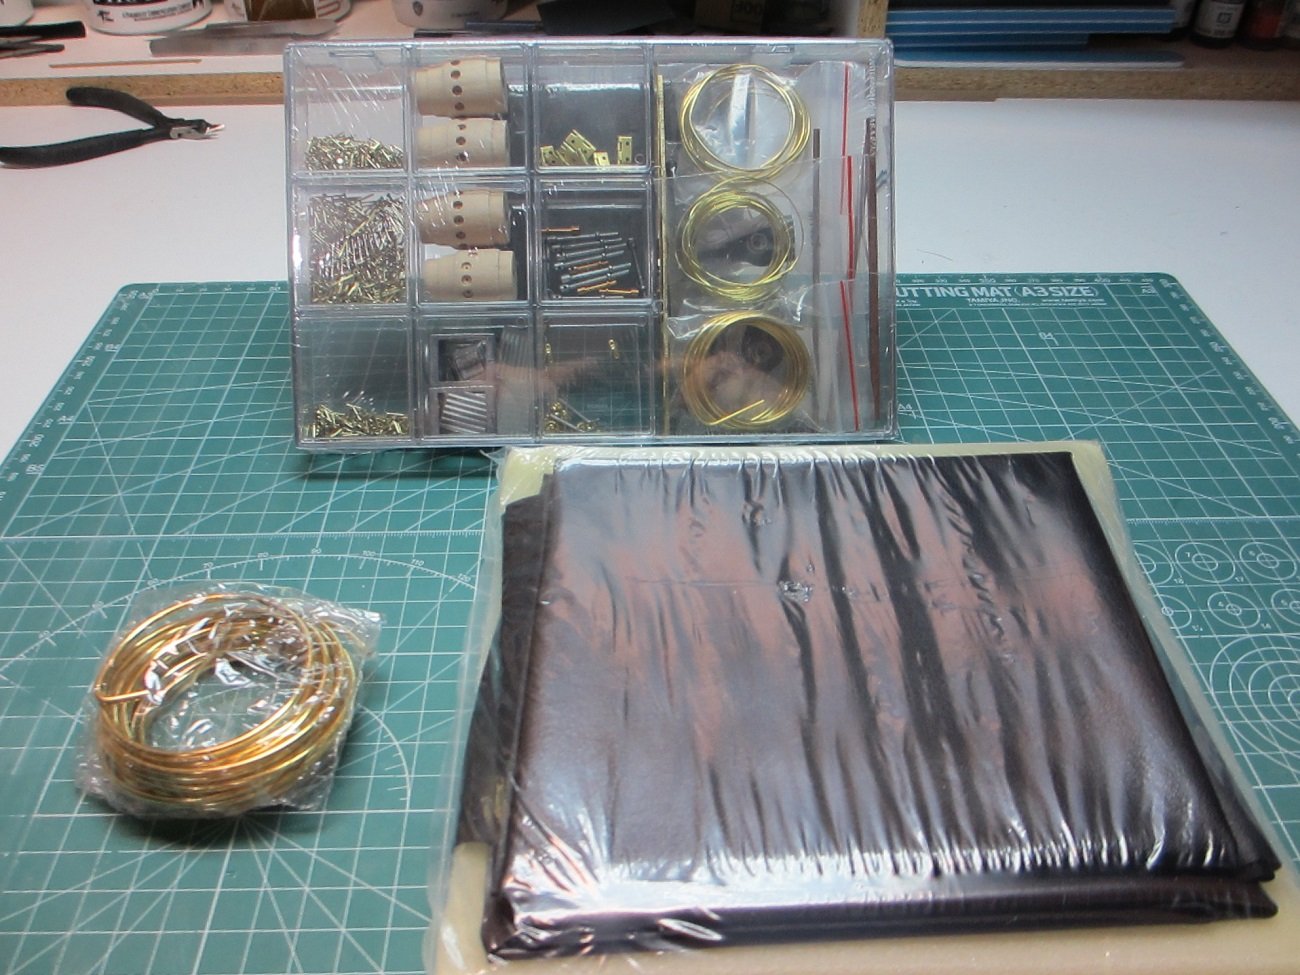
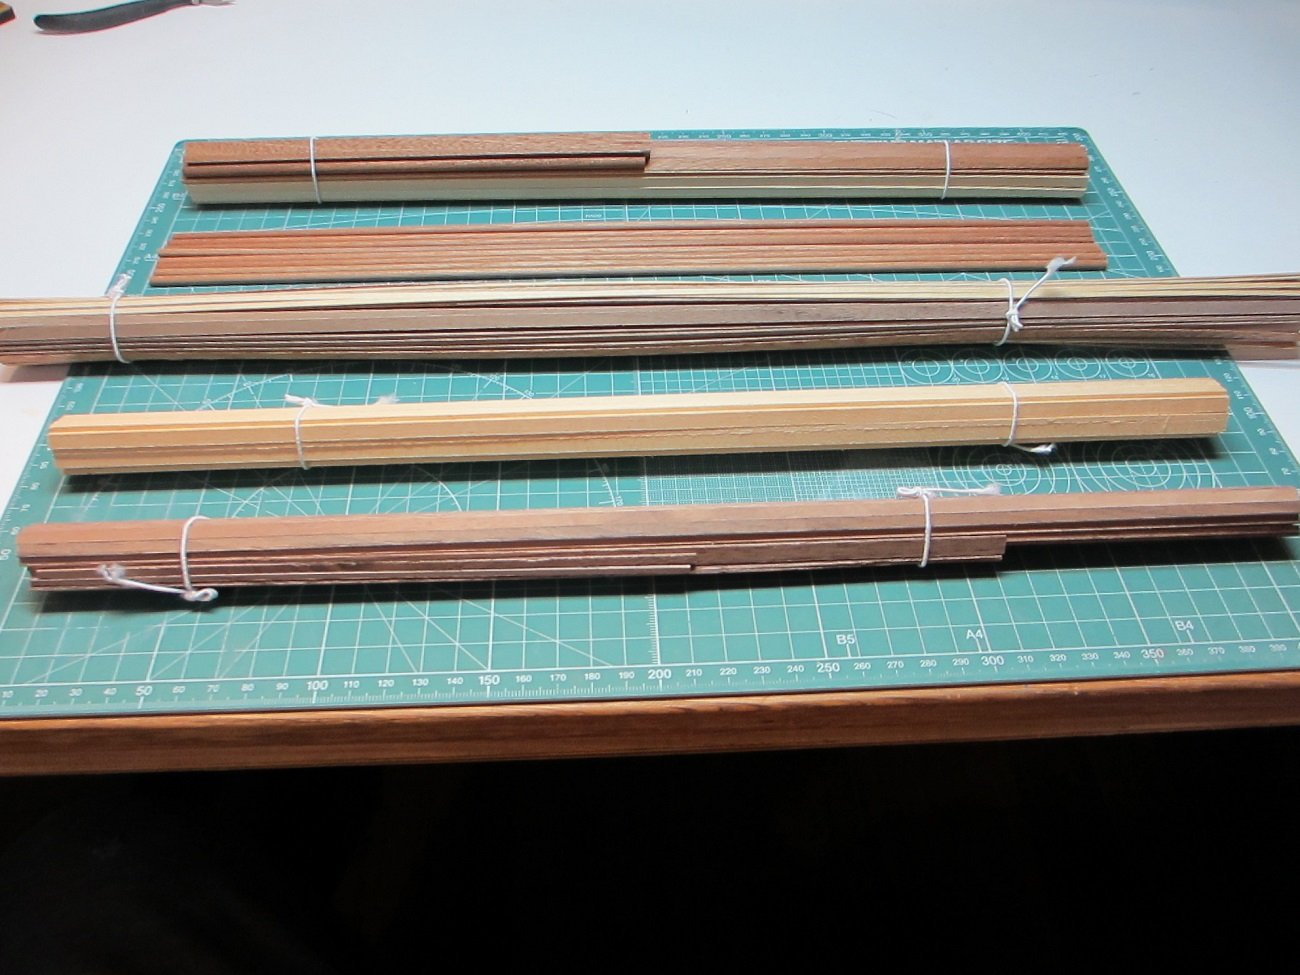
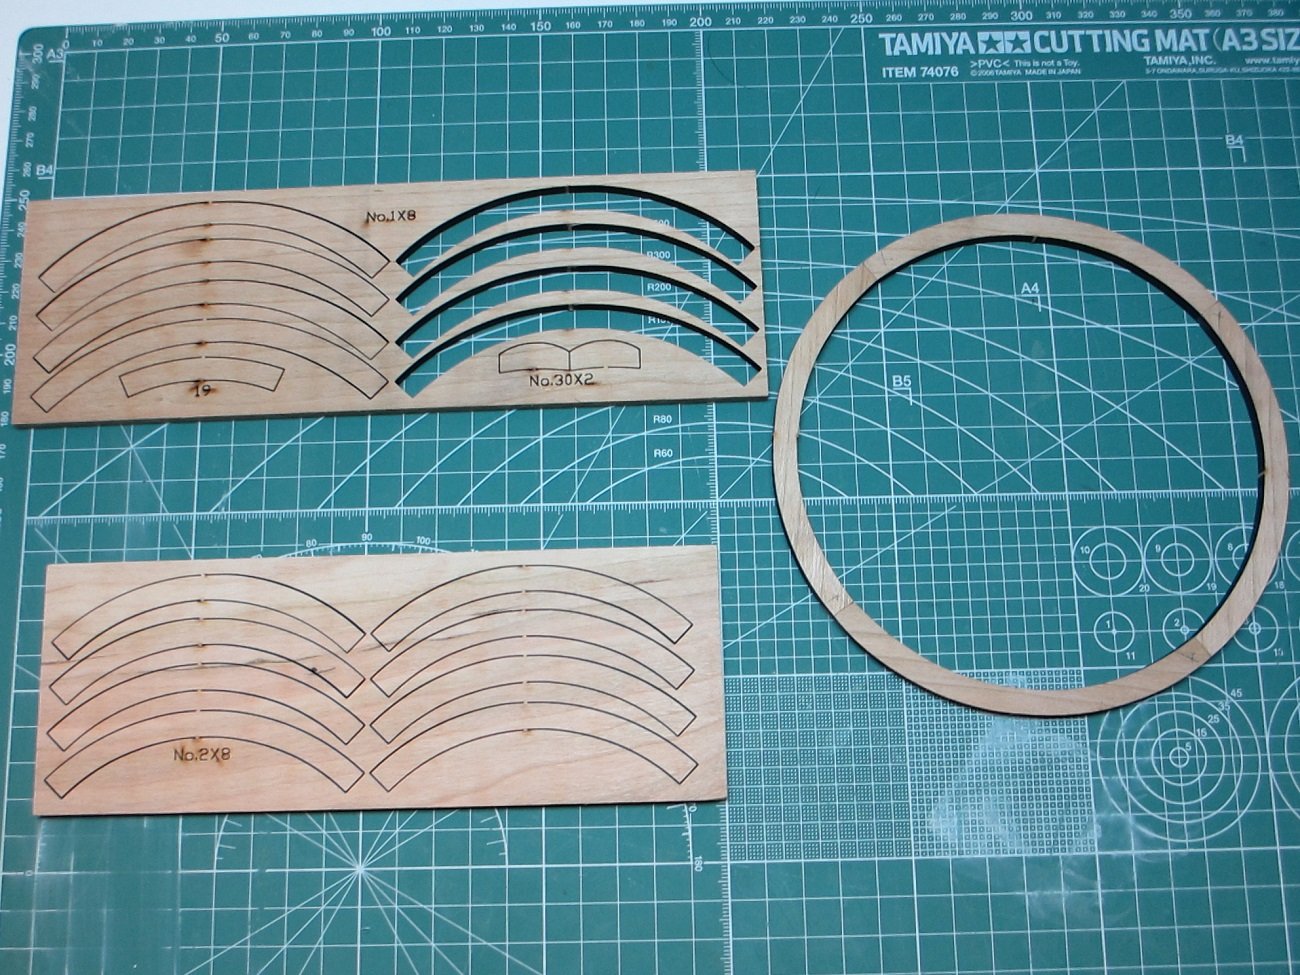
Hey howya goin all, this is my first non ship build log. I've always wanted to build this long ago but forgot the company that made it then I forgot about it all together till not long ago I saw a pic of this in someone ship build log so I bought this the next day. Here is what is in the Kit.
Size: Lenght 410mm = 16-1/14"
Height 290mm = 11-13/32"
Breath 160mm = 6-310"
Scale 1:10 6/5"=1 Ft
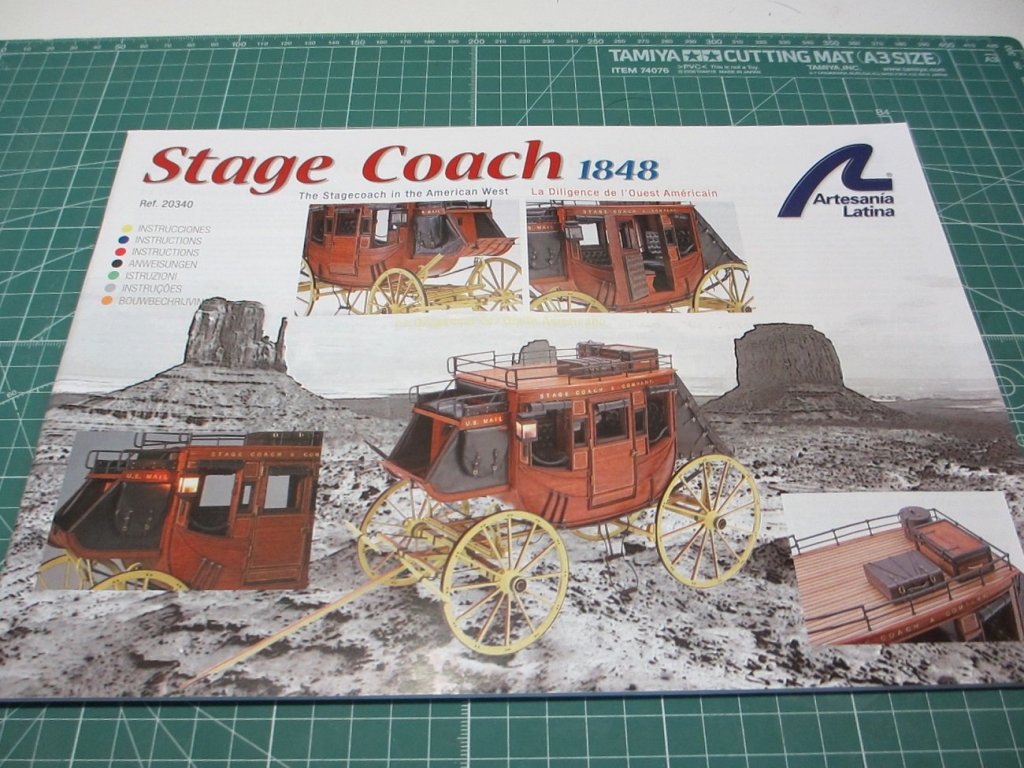
Stagecoaches in the United States’ from 1716 onwards, used to cover the route from Boston to Rhode Island, although the design was not developed until the mid-18th century. The stagecoach as we know it today was developed much later. In 1820, its oval-shaped box, with a round roof, a door on each side and a seat outside for the coachman. Suspension was also added, reinforced by a triple spring. Some ten years later, an employer of “Concord Coaches”, namely J.S. Abbott and the company “Troy Coaches”, came up with almost identical modifications at the same time. They were virtually the only means of transport in existence for most of the populace when it coming to travelling across the country. But it was during the growth of the West when they really came into their own, long before the arrival of the railroad. Most of the stagecoaches in the West were under contract with the Government of the United States to carry the Mail and news of the new laws, but passengers would travel in other stagecoaches. The company “Wells Fargo” used many of these stagecoaches to carry not only passages, but also money, gold and silver. This type of stagecoach was to be produced and used in the United States up to 1910, and in the more outback regions, it was still being manufactured 10 years later.


- Canute, Ryland Craze, Dan Vadas and 6 others
-
9
-
-
-
-
-
-
Hey how ya goin all, well its time for me to buy another book looks like it.
- thibaultron, MEDDO, mtaylor and 1 other
-
4
-
34 minutes ago, Rat-Fink-A-Booboo said:
I was thinking I would not take the first skin into the rabbet and sand the planks down to the barding line. Then only put the outer skin into the rabbet. This, however would probably mean single thickness only in the dead wood area at the stern.
Hey howya goin Rat-Fink-A-Booboo mate, you are right Rat-Fink-A-Booboo just do it that way.
- thibaultron and mtaylor
-
2
-


Stage Coach 1848 by Eddie - Artesania Latina - Scale 1:10
in Non-ship/categorised builds
Posted
Hey howya goin Danny mate, sorry mist that question mate they are plastic if they get cloged I just cut the cloged part off they are long enough so you can cut it quite a few time.
What would you or someone else recommend to get for this here in Aussie Land or somewhere in the world?