MORE HANDBOOKS ARE ON THEIR WAY! We will let you know when they get here.
×


Craigie65
-
Posts
477 -
Joined
-
Last visited
Content Type
Profiles
Forums
Gallery
Events
Everything posted by Craigie65
-
 Happy to input if helpful. Unfortunately I did not keep a build log. @AJohnson has a very good log of his build of Nisha, in particular the bulwarks and first planking. I am sure we will all help as much as we can.
 -
Hi Glomar, Don’t be disheartened, we all sometimes feel out of our depth. Well maybe not Chuck Look at @Dave_E build of Lady Nelson. He had similar planking issues and made the brave decision to remove his first attempt. He is now going great guns. I believe Isopropyl alcohol is the preferred method on MSW. Personally I have never had to use it - I have removed the offending planks with warm water as the glue had not fully cured. The difference in height on the planks could be just the thickness of each. As good as the quality of the materials Vanguard use there is always some variation. I have just had a similar problem on my current build but managed to sand it out. If not then it could be a high or low spot on the frame - a bit more sanding if a high spot or a shim if low will sort that out.
-
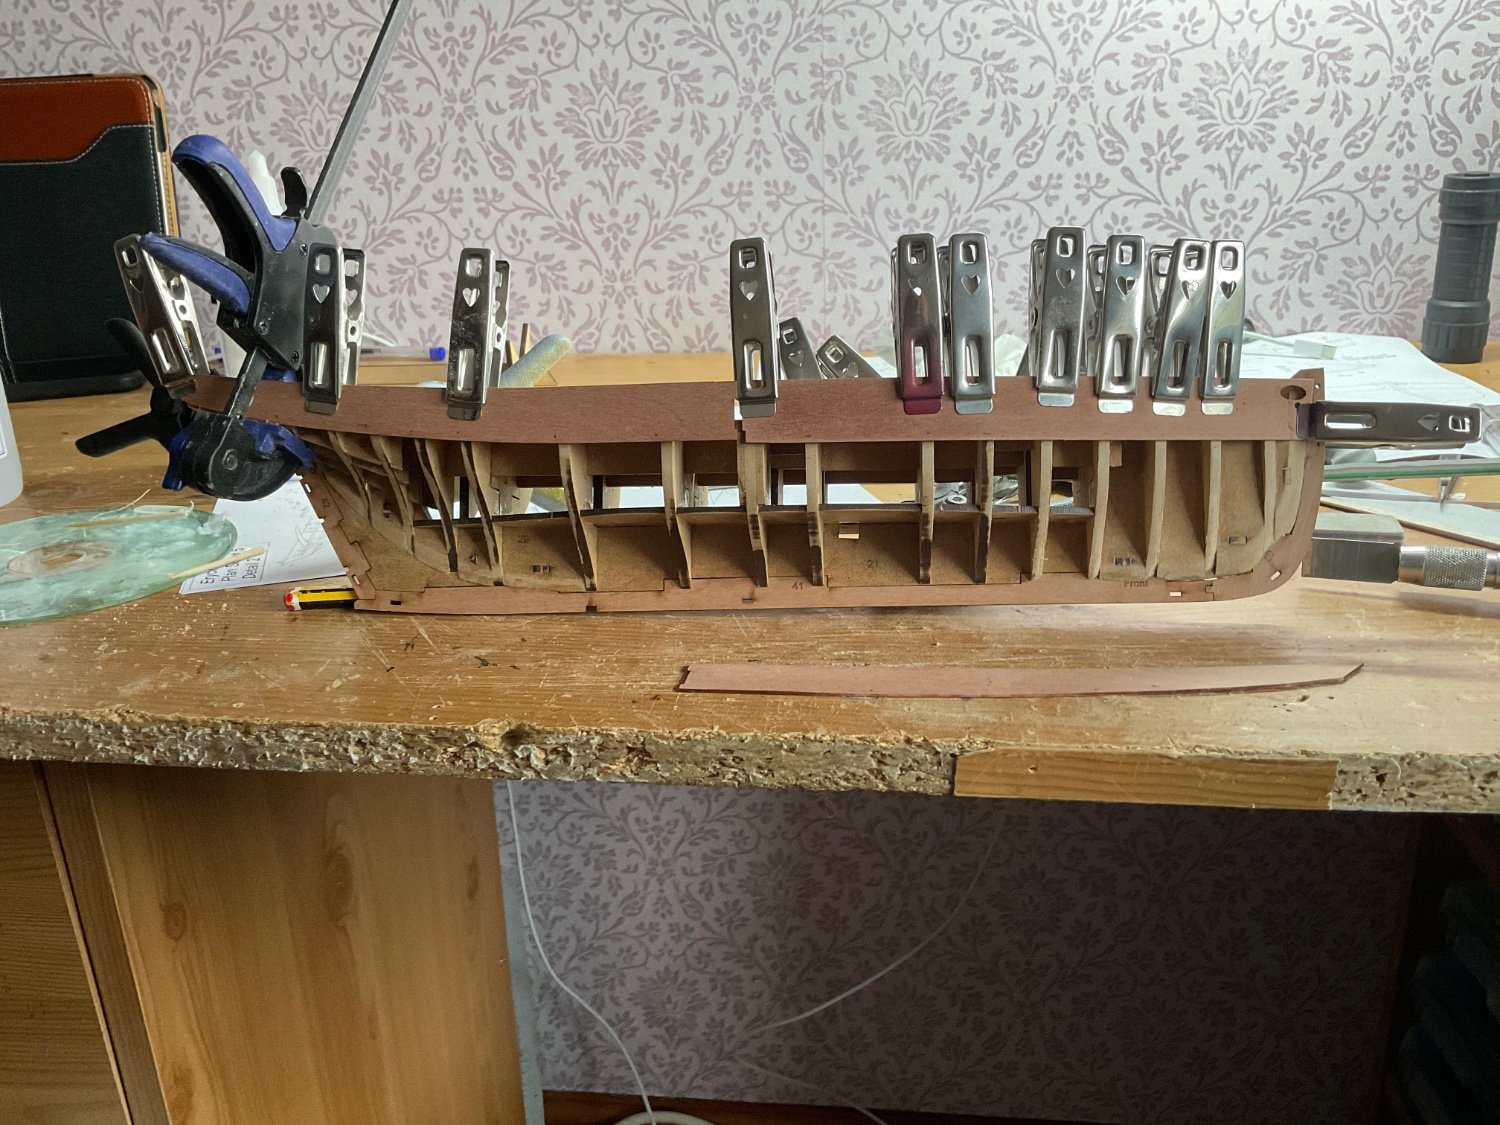
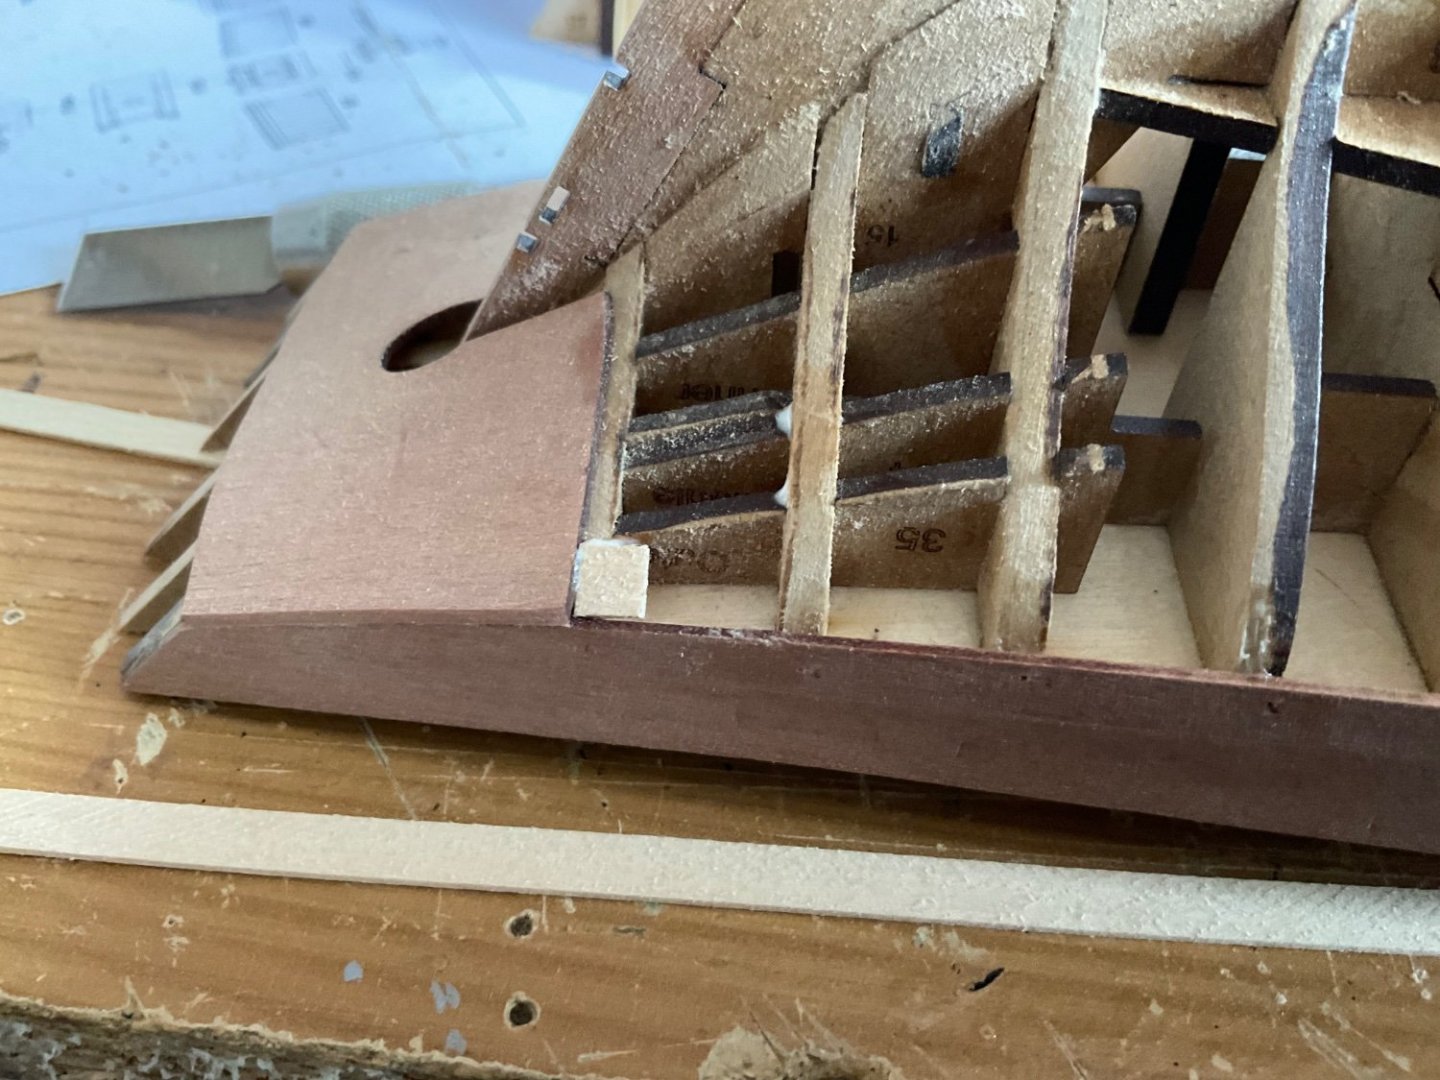
If part 58 does not fit, then as painful as it maybe, then yes I would. Otherwise I think your second planking will be a bit of a struggle. You will not be the first to strip off bulwarks. I have often removed offending planks. For my build of Erycina, I drew in the position of the equivalent of part 58. I used this as a guide to make sure my first planking did not encroach. You can see the pencil line.

-
Productive Easter weekend. First planking on, needs a bit of sanding, but reasonably happy with this. I did crowd the planks at the counter. For my next model I will split the hull into bands to give me a better idea of the run of the planks.

-
Looking at the front edge of your bulwark and planks. They look to be too far forward. Part 58 needs to fit on the stem to act as a rebate for your second planking. From the last photo it does not look as if they will fit. Step 72 has a good photo of how the front edge of your first planking should sit.
-
Hi, A couple of things come to mind, which may help you. First is edge bending - have a look for Chuck’s video of this in the planking techniques. Second is bevel the top edge of your planks. As planks are covering a curve they create a gap if the back edge is not bevelled. Hope that helps
-
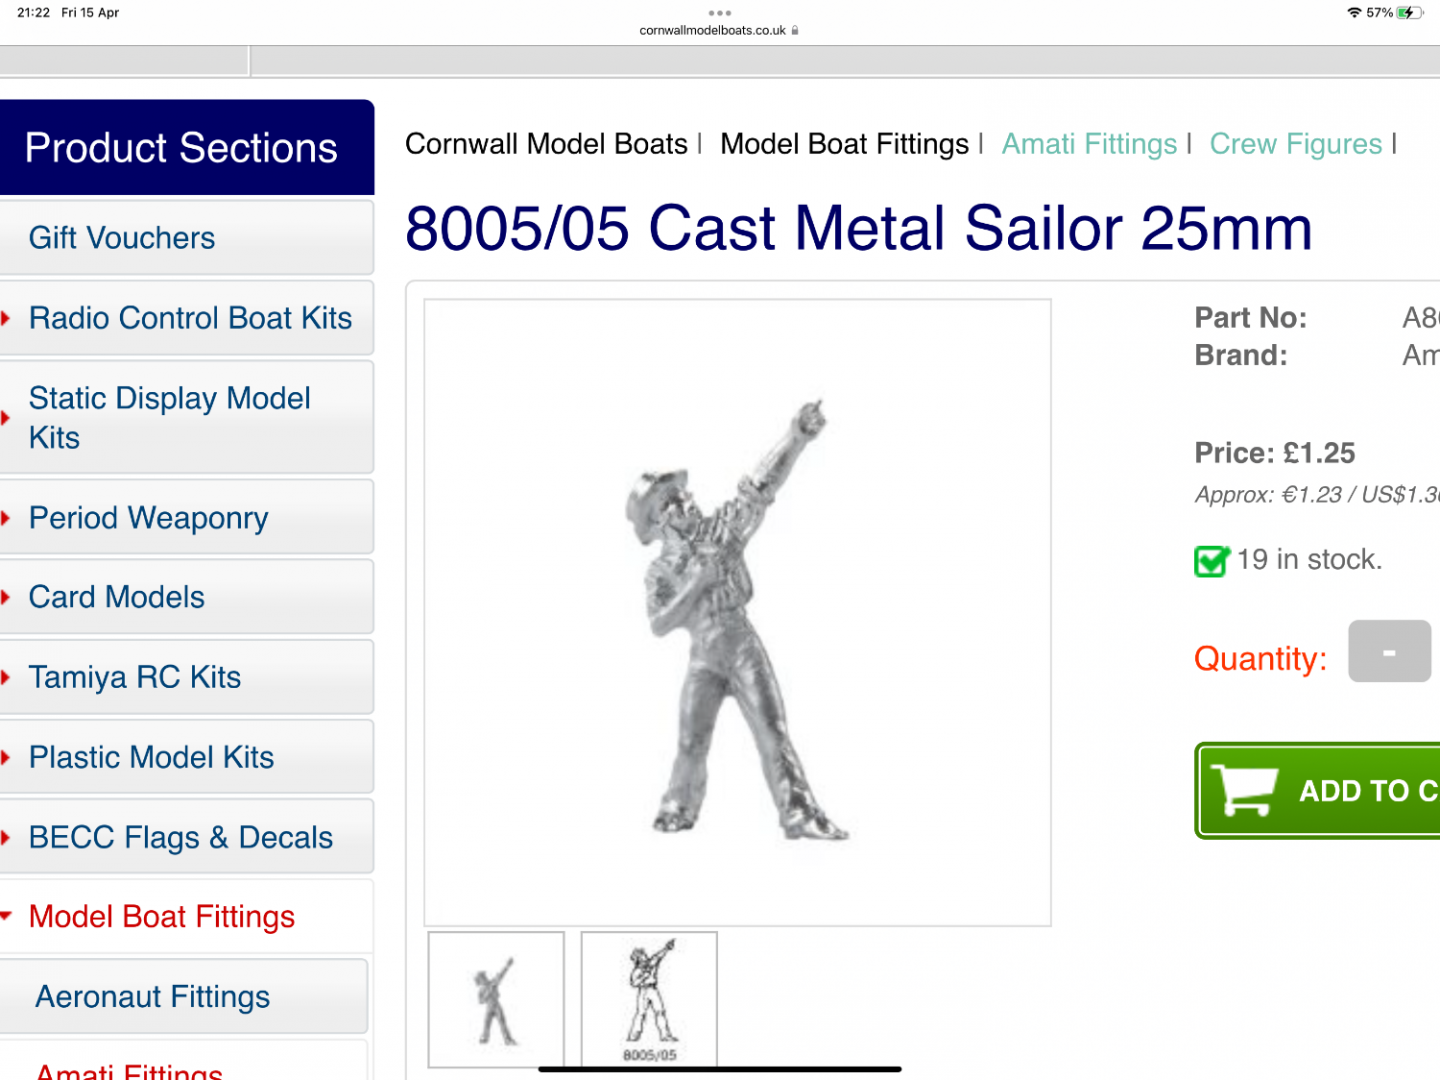
Amati have a range of crew in various sizes. 25mm is the close to 1/64, depending on the original height of the crew member.
-
Hey we all have our moments. The main thing is you went the extra mile and fixed the problem.
-
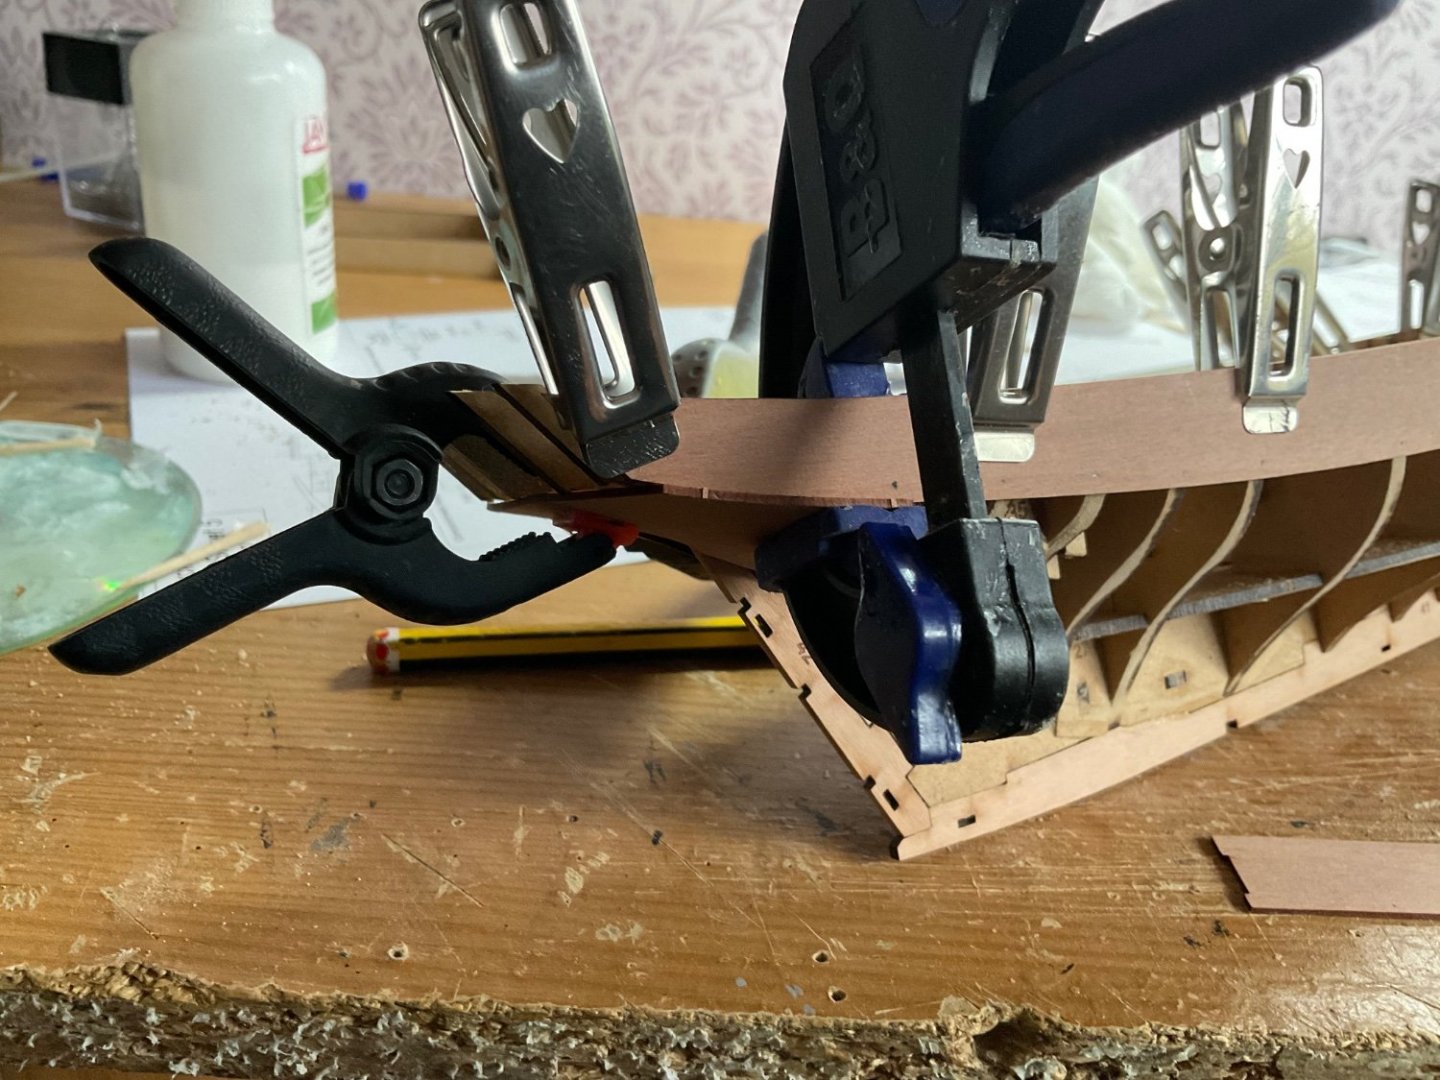
On Nisha I did not have that problem, not sure why! I did split one of the bulwarks - let’s keep that between us The counter was pre soaked twice. The first time I did not clamp one of the rear corners properly and induced a bit of a wave. Nailed it on the second attempt.
-
Time for the first plank. However when I offered up the plank it was below the level of the counter. A shim was added to fix. A bit of plank bending and the first one is on

-
A little progress. Counter now glued and drying. Next step planking!
-
Andrew I think it is a testament to frustration we have converted the garage to a home office. I have a proper desk on order. Purely for work - no way my Admiral would let me use that as a workbench.
-
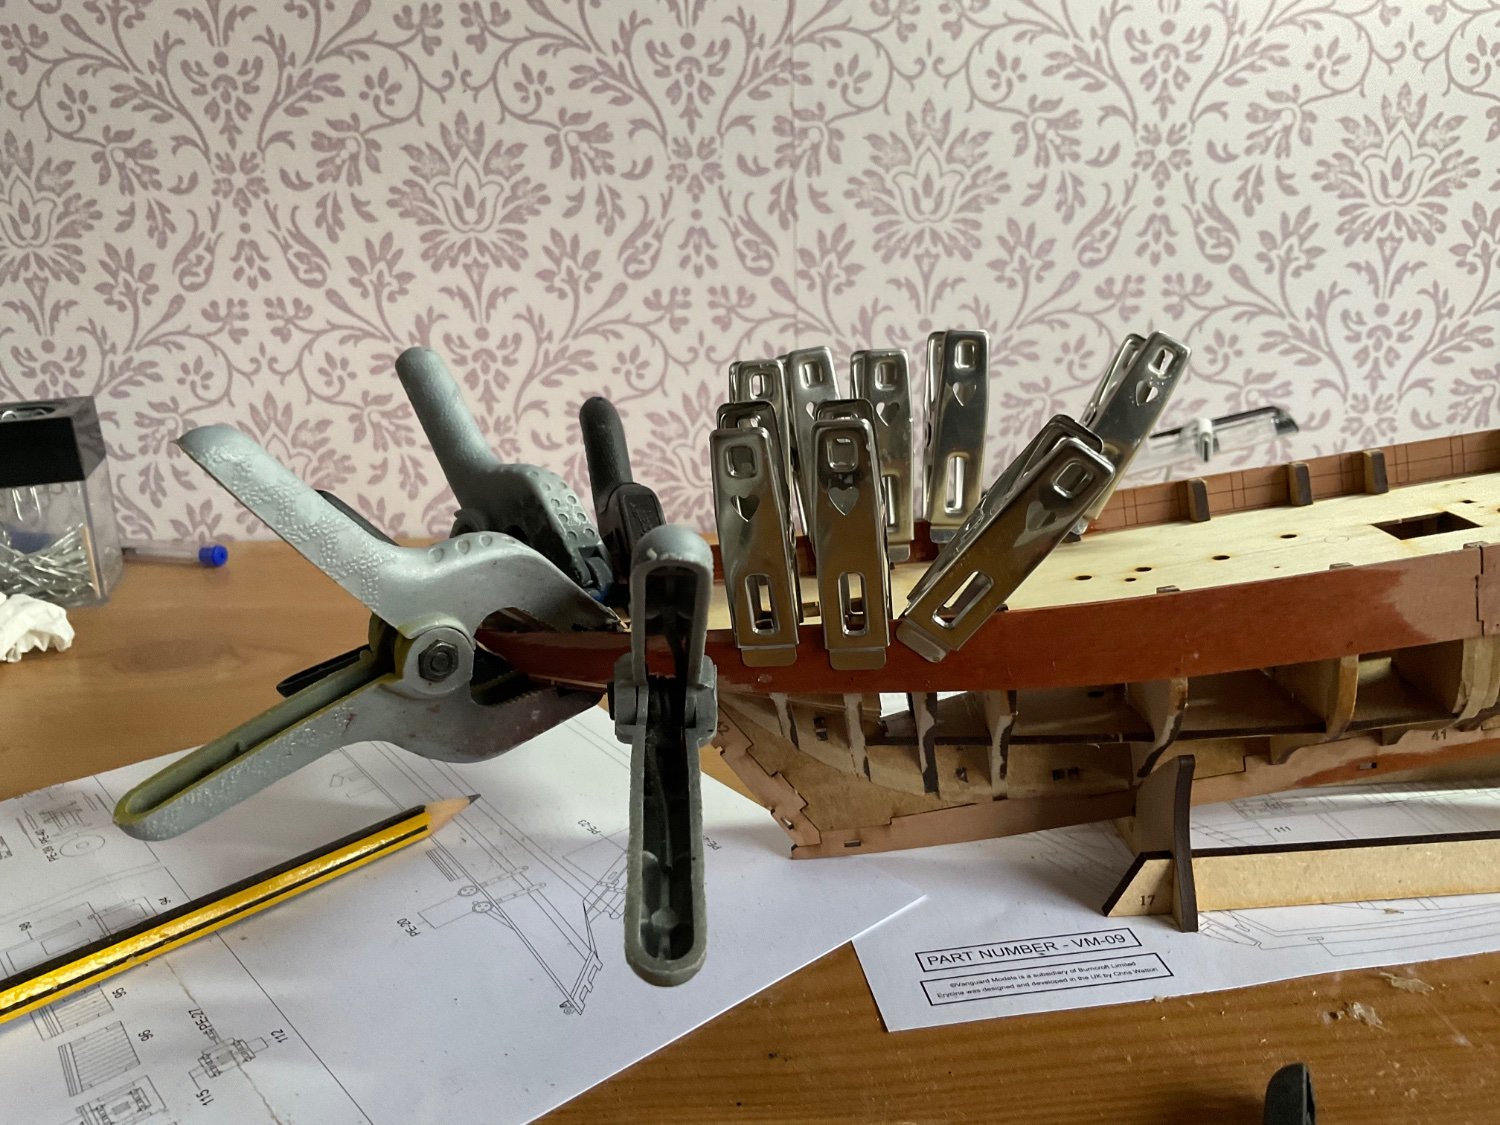
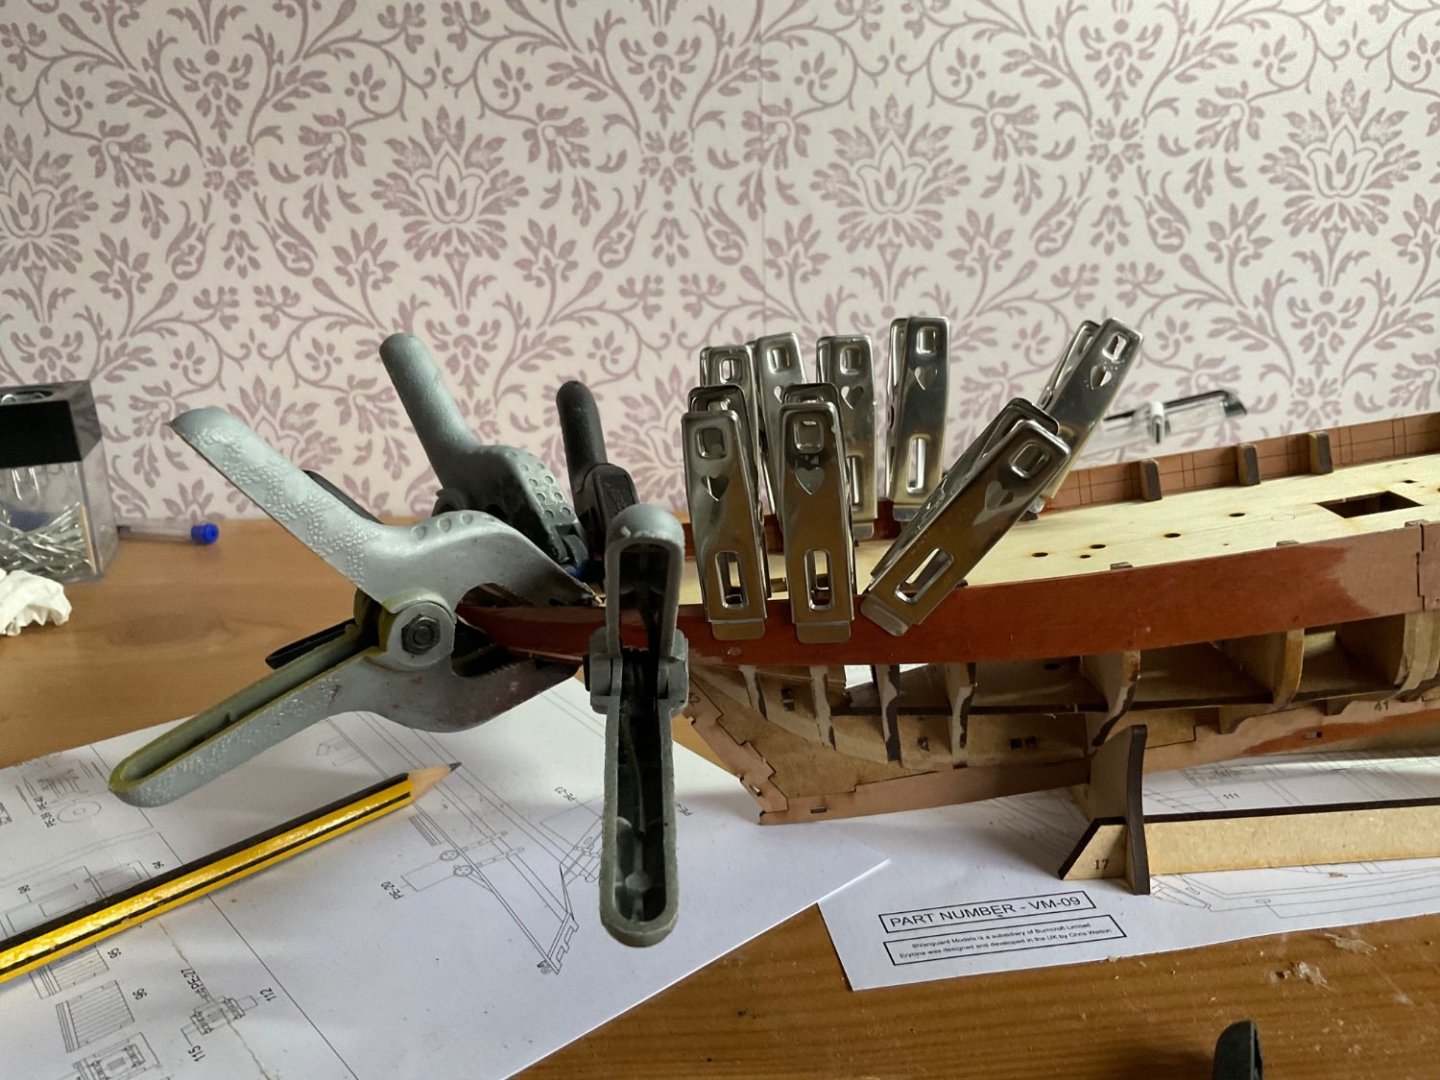
With the frames all faired and checked it is time to add the inner bulwarks. These parts do no seem to go fully into the slot as I first envisaged. Looking closely at the build manual and at other logs it seems as if the forward edge of the bulwarks barely rests inside the slot. I decided to soak the forward bulwarks to put less strain on the stem as the top of the stem cracked just above the slot whilst dry fitting the bulwarks. I will wait a few hours before glueing and pinning given the amount of swelling pear seems to have. Also took the opportunity to clamp the pre soaked counter to get the shape. PS forgive the desk - it has been my office and shipyard throughout the pandemic.

-
When adding the bulwarks (parts 45 and 46) you may need to fair part 24 just a touch to get a smooth run.
-
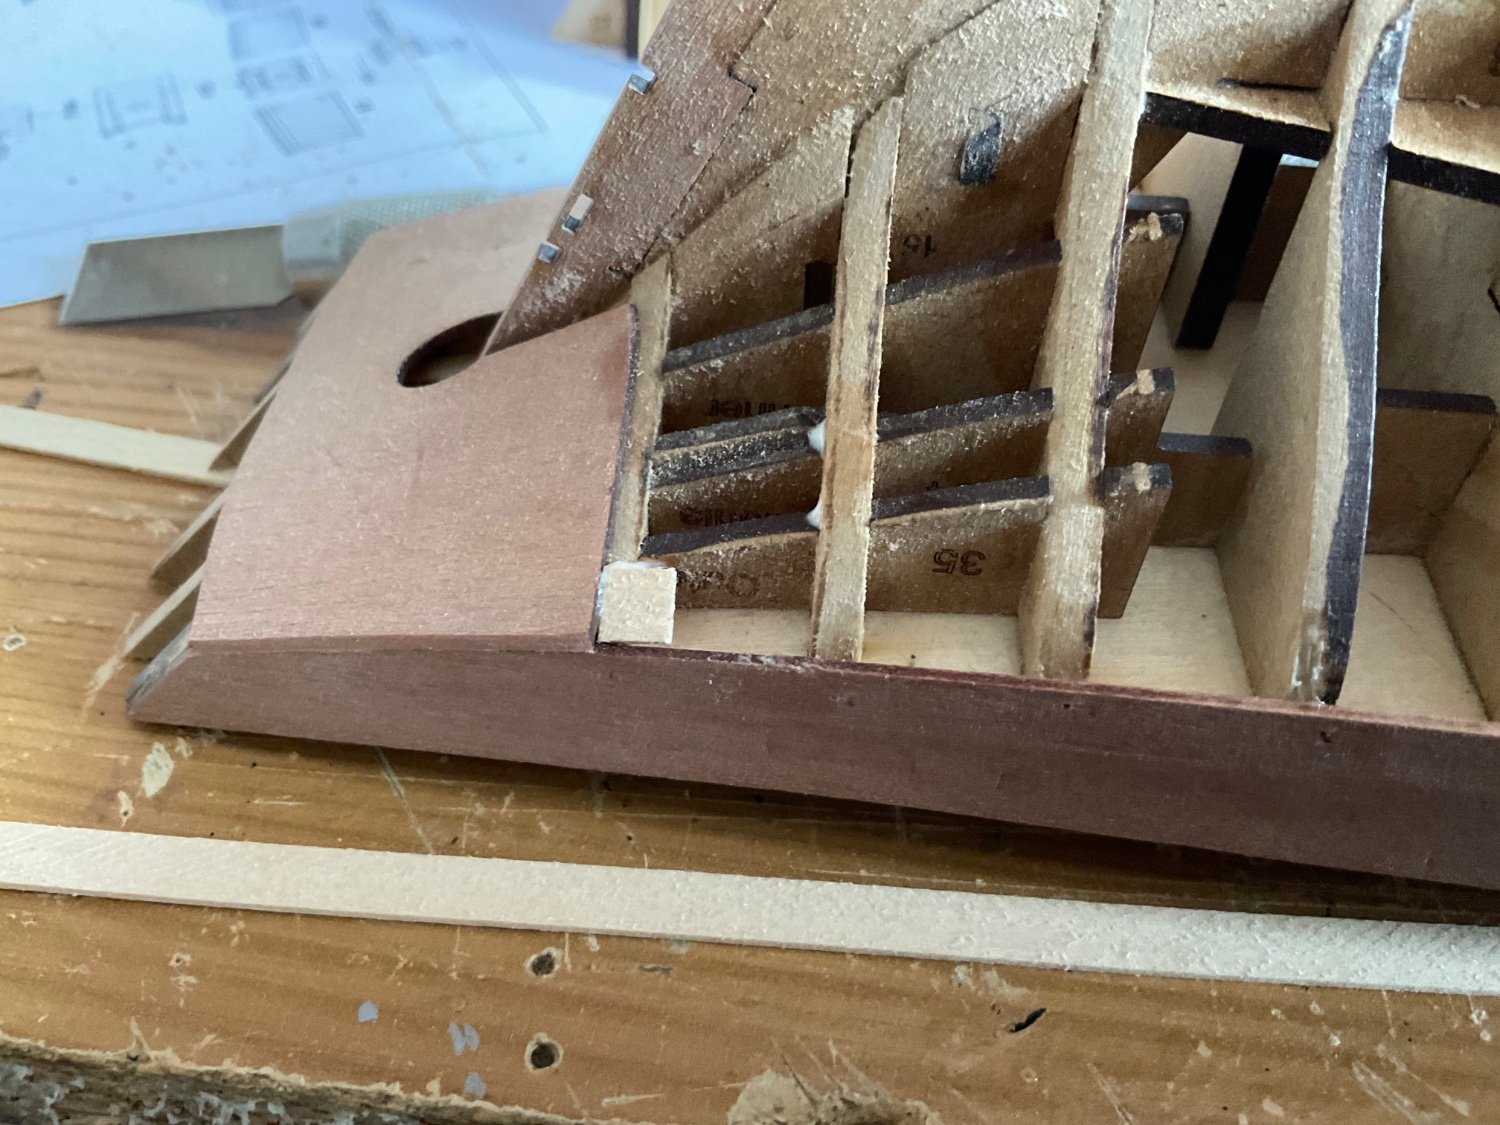
This is a lovely and straight forward model - I have just finished mine and started Erycina. Your fairing looks spot on. You will also need to fair the stern parts. Look at step 49 and you will see that they need to be faired before adding part 60. Otherwise the counter will only sit on the edges.
-
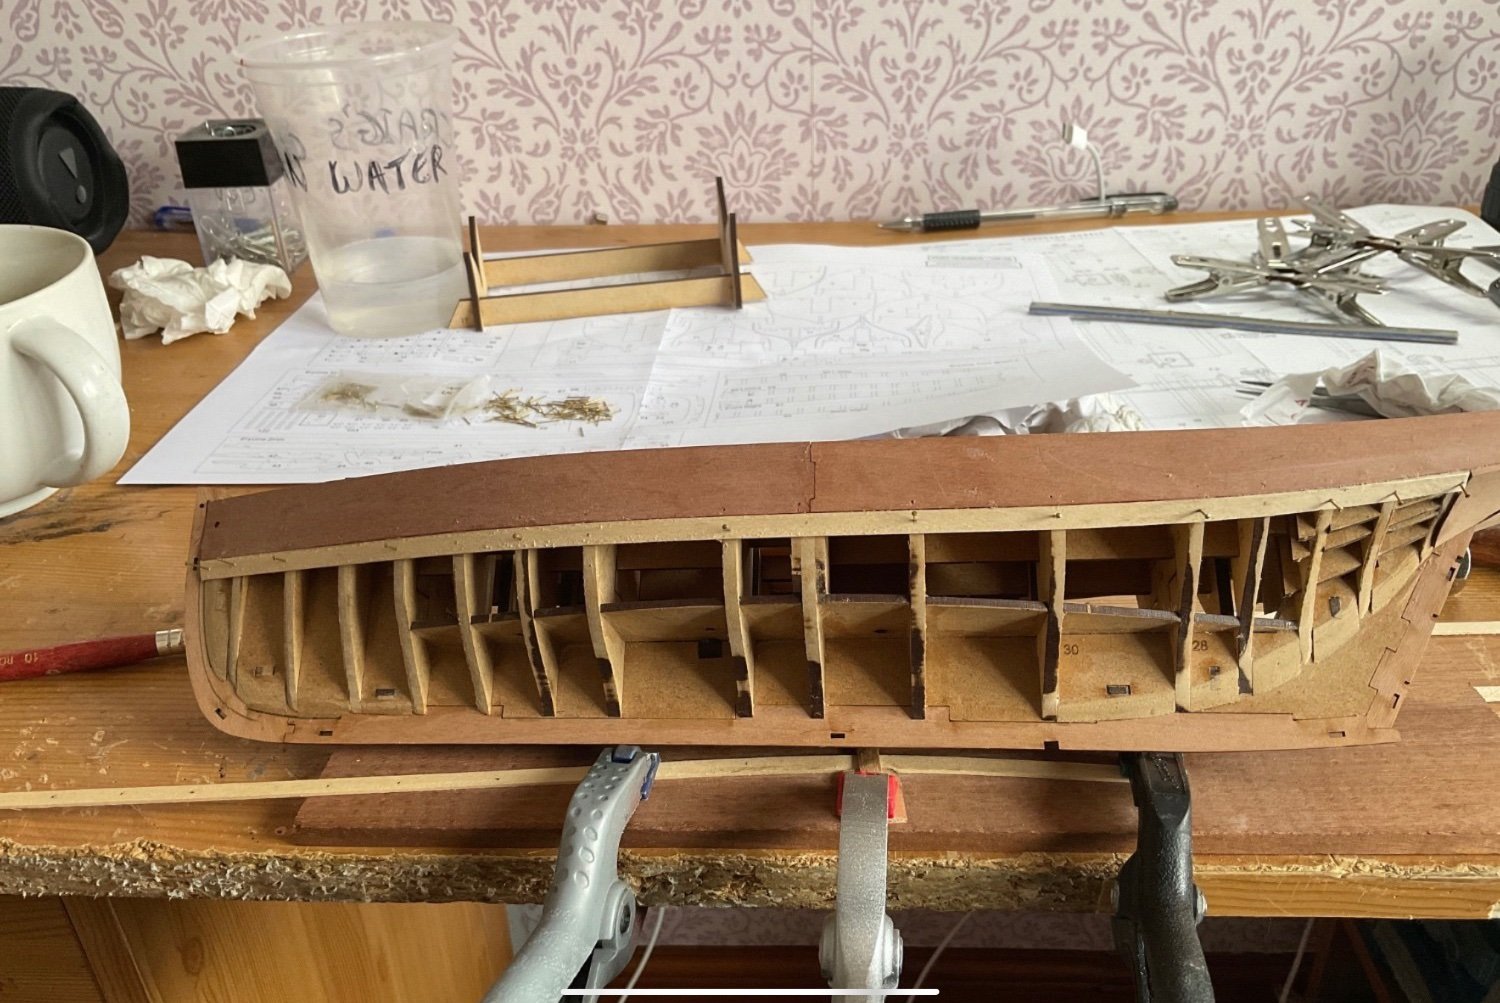
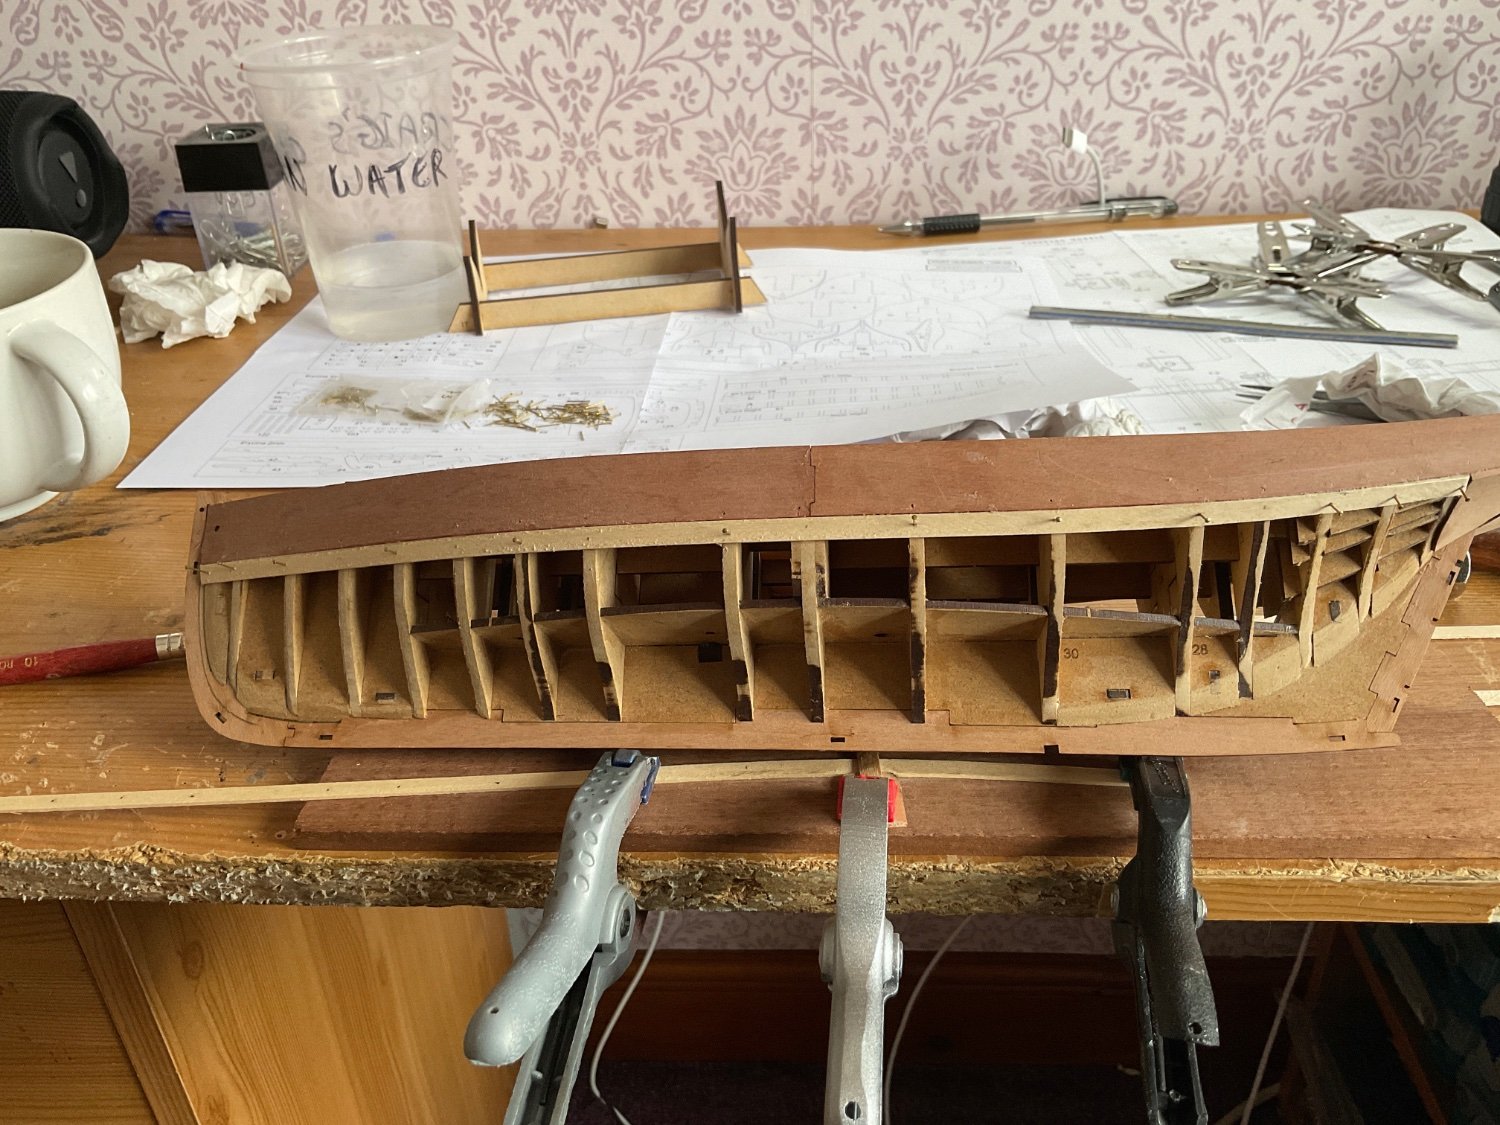
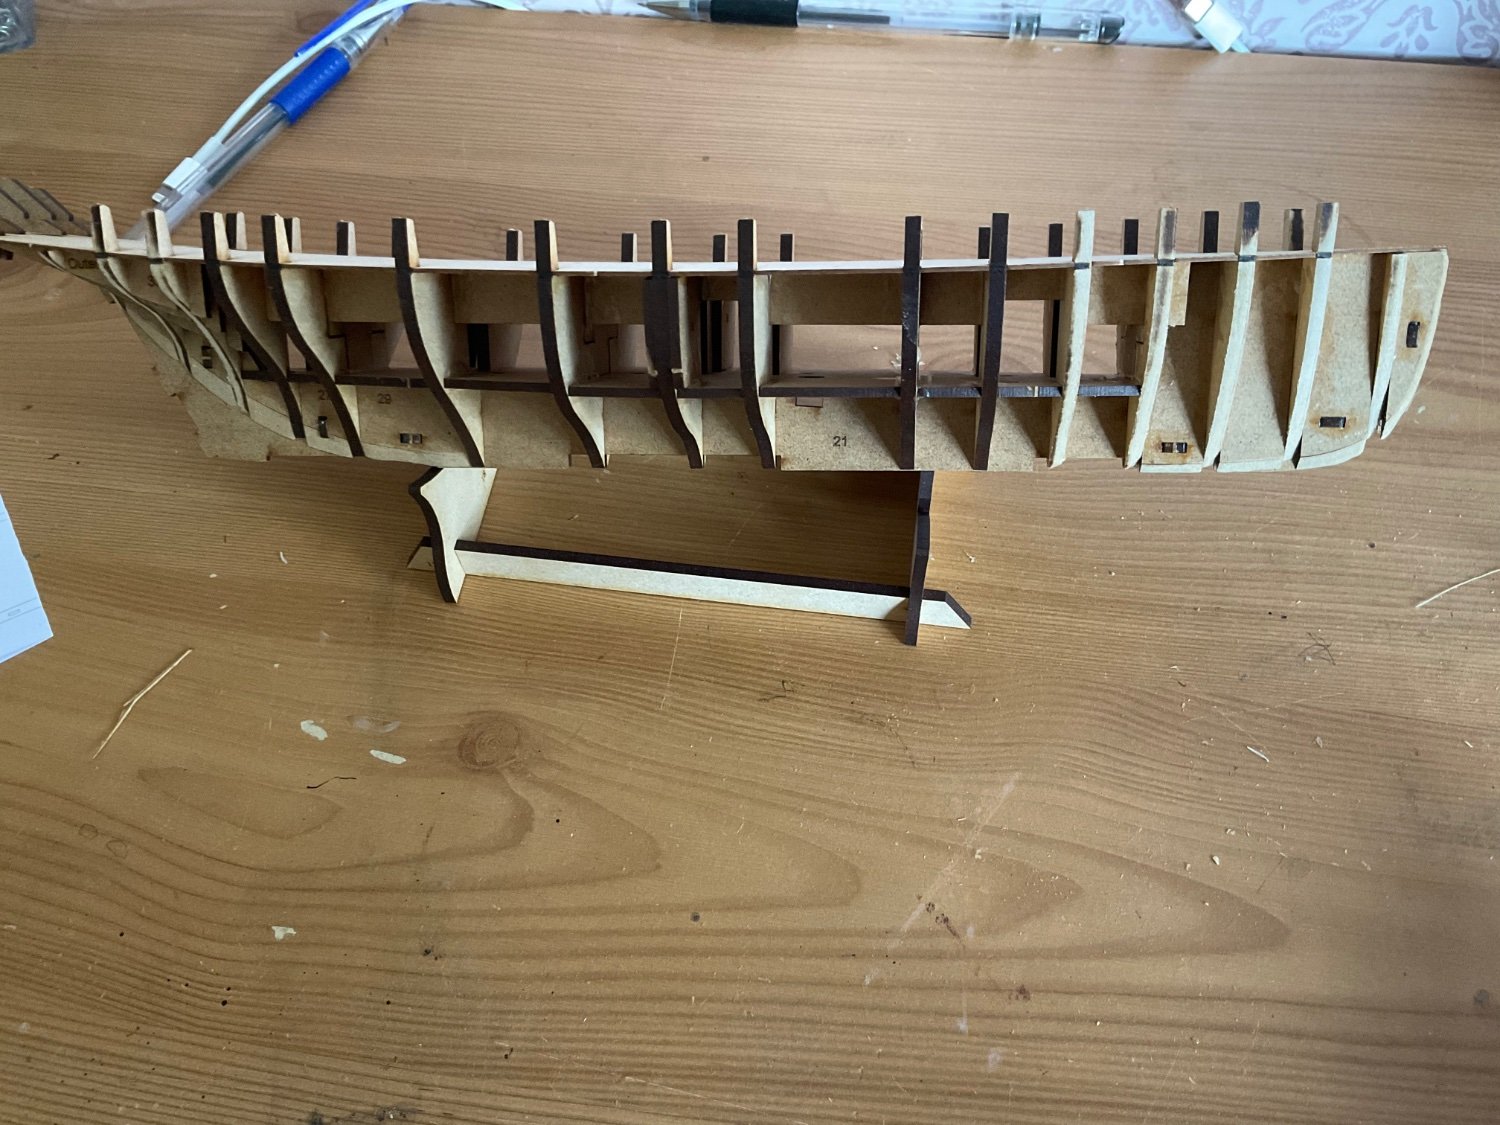
After about an hour or so the basic hull shape and false deck was done. No dramas getting to this point. The stern frames are delicate and I was a more careful than I was with Nisha to make sure I did not snap off the outer frames. There is still a bit of fairing to do, but the sun is out and that will have to wait until tomorrow.

-
The first step is to pre fair the frames - a simple exercise with the guidelines to follow. I heeded the warnings in the comprehensive instructions and wore a mask while using my proxxon.

-
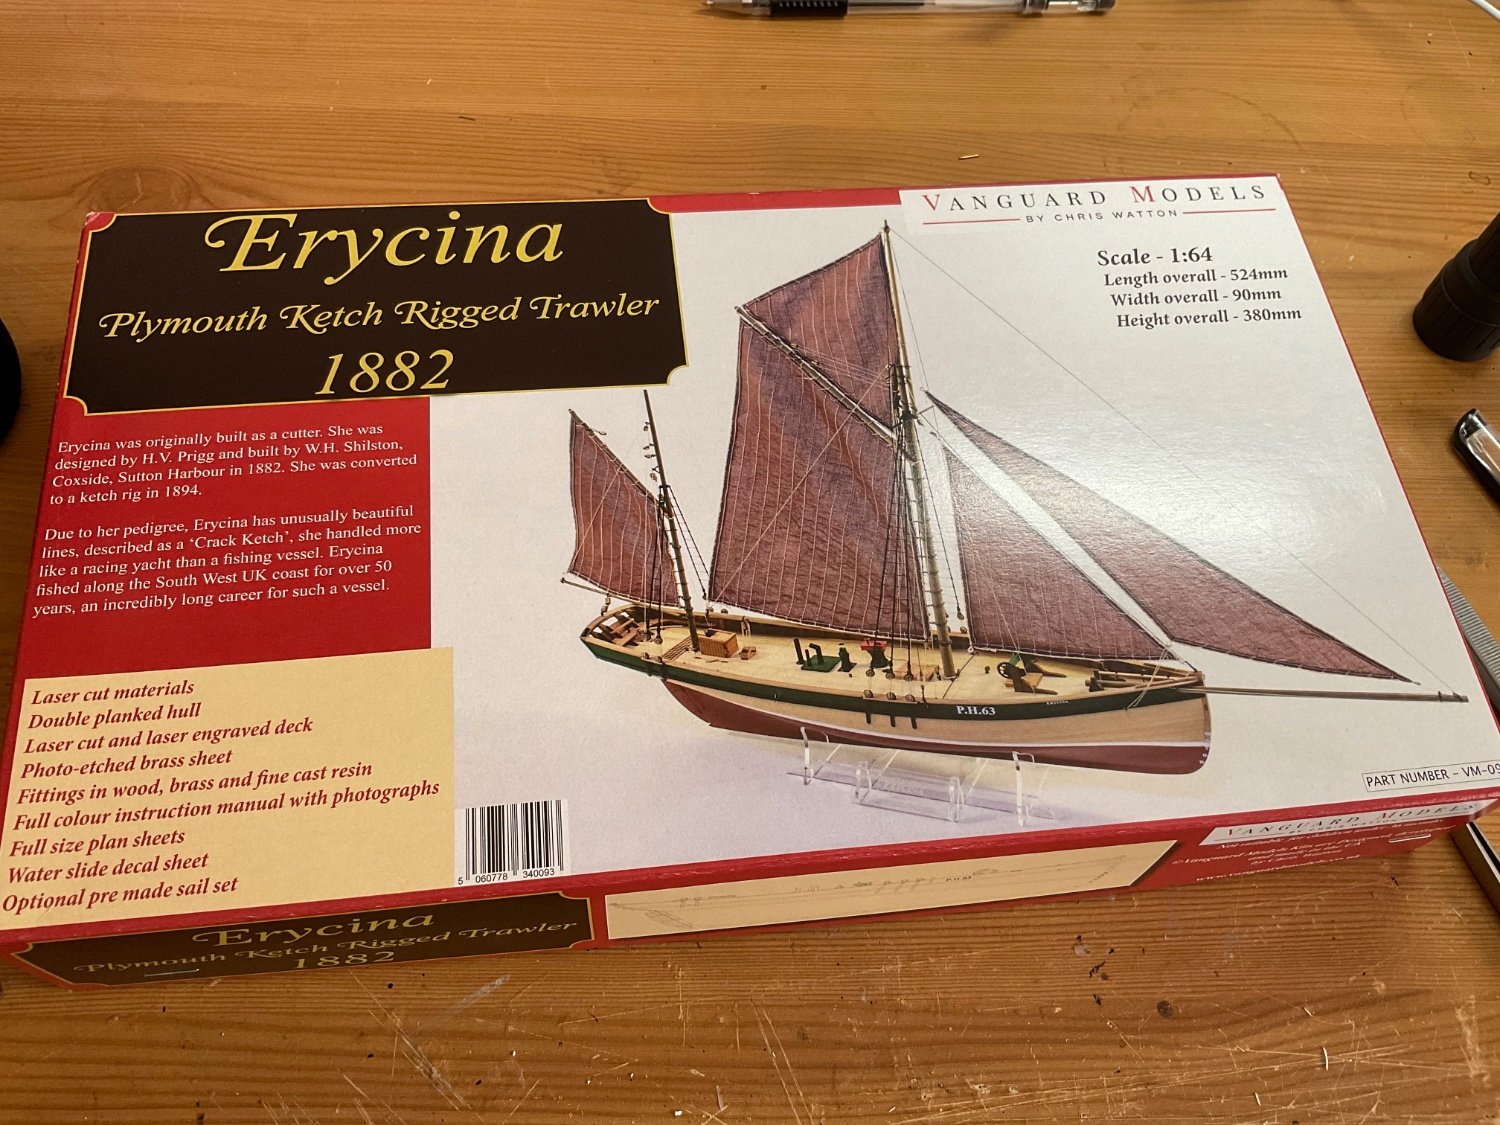
It is with some trepidation that I have decided to start a build log for Erycina. Thanks @AJohnson for the encouragement. This, along with Nisha, was a Christmas gift. I have finished Nisha and will post some photos of that one later. I am undecided whether to build out of the box or to do some bashing to modernise her to emulate the Pilgrim or Vigilance of Brixham. Anyway, there is time to dwell on that. Not too much mind you as Nisha took shape very quickly. A testament to the designer not the builder.

-
Thanks Andrew. I had great intentions of starting a log. After a week of building in the Christmas break I realised I had finished and painted the hull and had not taken a single photo. Maybe I will for Erycina
- 206 replies
-
- 1
-

-
- Vanguard Models
- Brixham trawler
- (and 2 more)
-
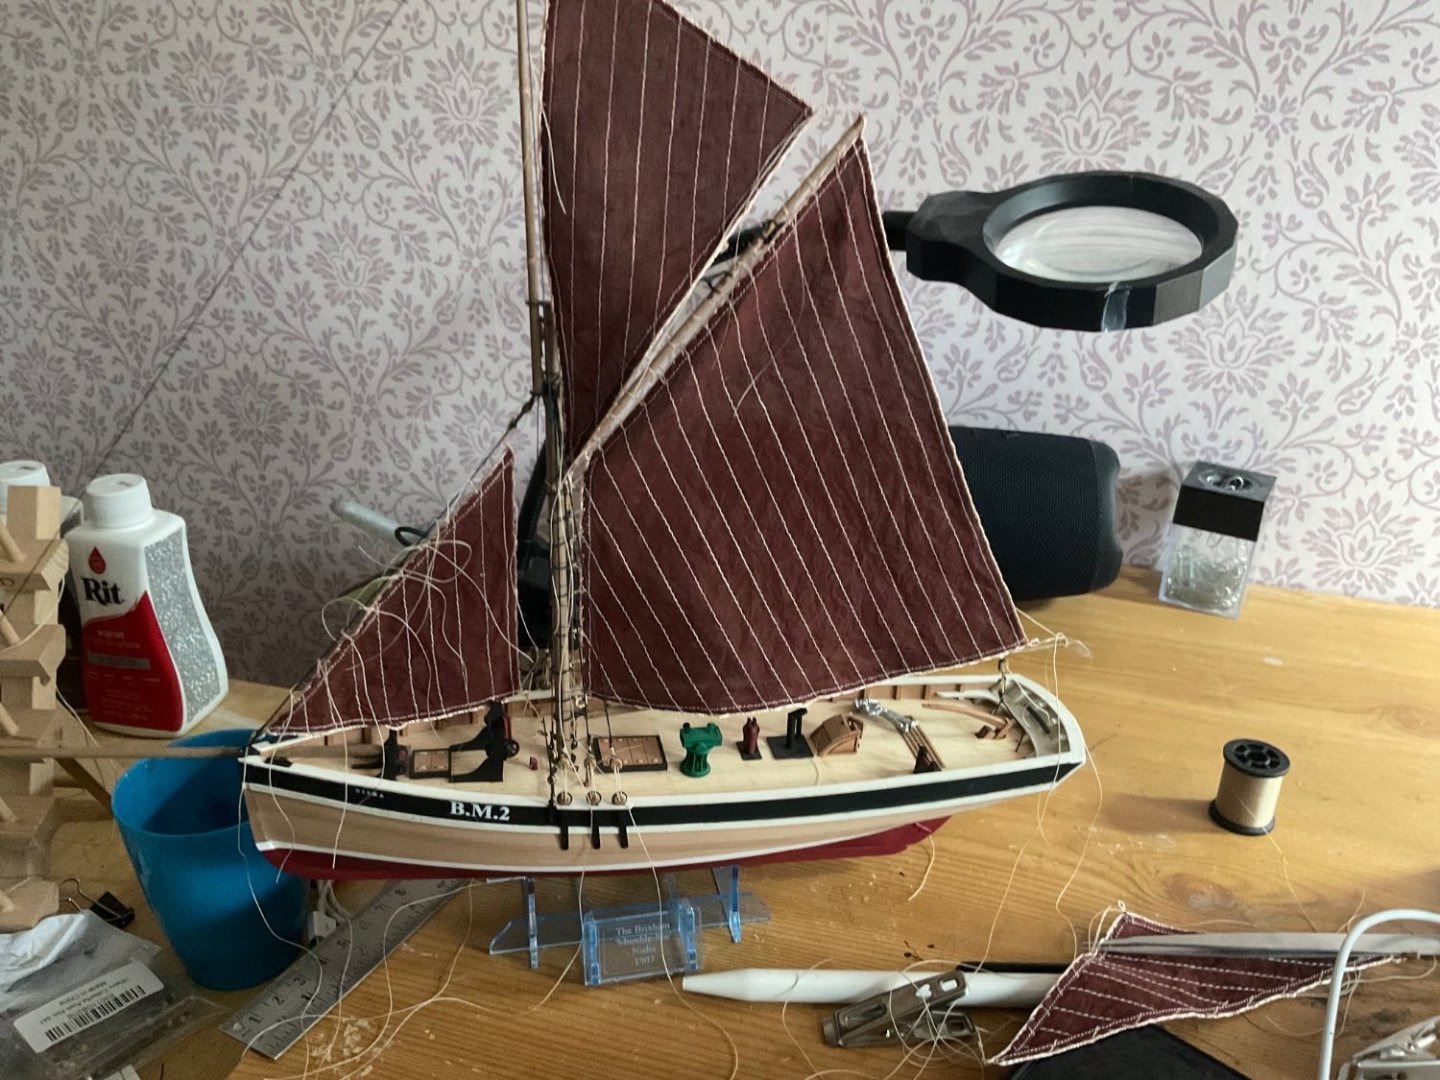
Very nice! I took the easy way out and bought the pre made sails. Very good they are too!
- 206 replies
-
- 5
-
-
- Vanguard Models
- Brixham trawler
- (and 2 more)
-
Wow, glad I ordered mine straight away!
-
HMS Diana by Caldercraft Inflation and the price of kits.
Craigie65 replied to DaveBaxt's topic in Wood ship model kits
Dave, The Vanguard site has links to the various instruction manuals. Have a look and you will see the difference. As well as the manual there are the usual plans for masts, rigging, etc. -
HMS Diana by Caldercraft Inflation and the price of kits.
Craigie65 replied to DaveBaxt's topic in Wood ship model kits
Dave, To respond to your original post! I have Diana in my stash. She is an older model and with that she has her flaws. The plywood for the keel extends to the stem and knee of the head. I have seen a few conversions which replace this with boxwood or similar. Same issue for the stern. My version has the latest cannon and carronade - none of the bulbous cannon. The instructions are typical of early Caldercraft and by today’s standards are poor. Mind you Chris at Vanguard has us spoiled by the standard of his instruction booklets. I had been thinking of starting her. However with the Indy on the horizon (fingers and toes crossed) I am back filling with a couple of Vanguard’s trawlers and will go straight to the Indy when launched. Perhaps that is the most telling point of all for (against?) Diana. -
HMS Diana by Caldercraft Inflation and the price of kits.
Craigie65 replied to DaveBaxt's topic in Wood ship model kits
You could buy Cornwall Model Boat’s online discount card beforehand. It is £10 and gets you a 5% discount. A net saving of £20 on Diana at current prices. Useful if you also buy lots of supplies from them. -
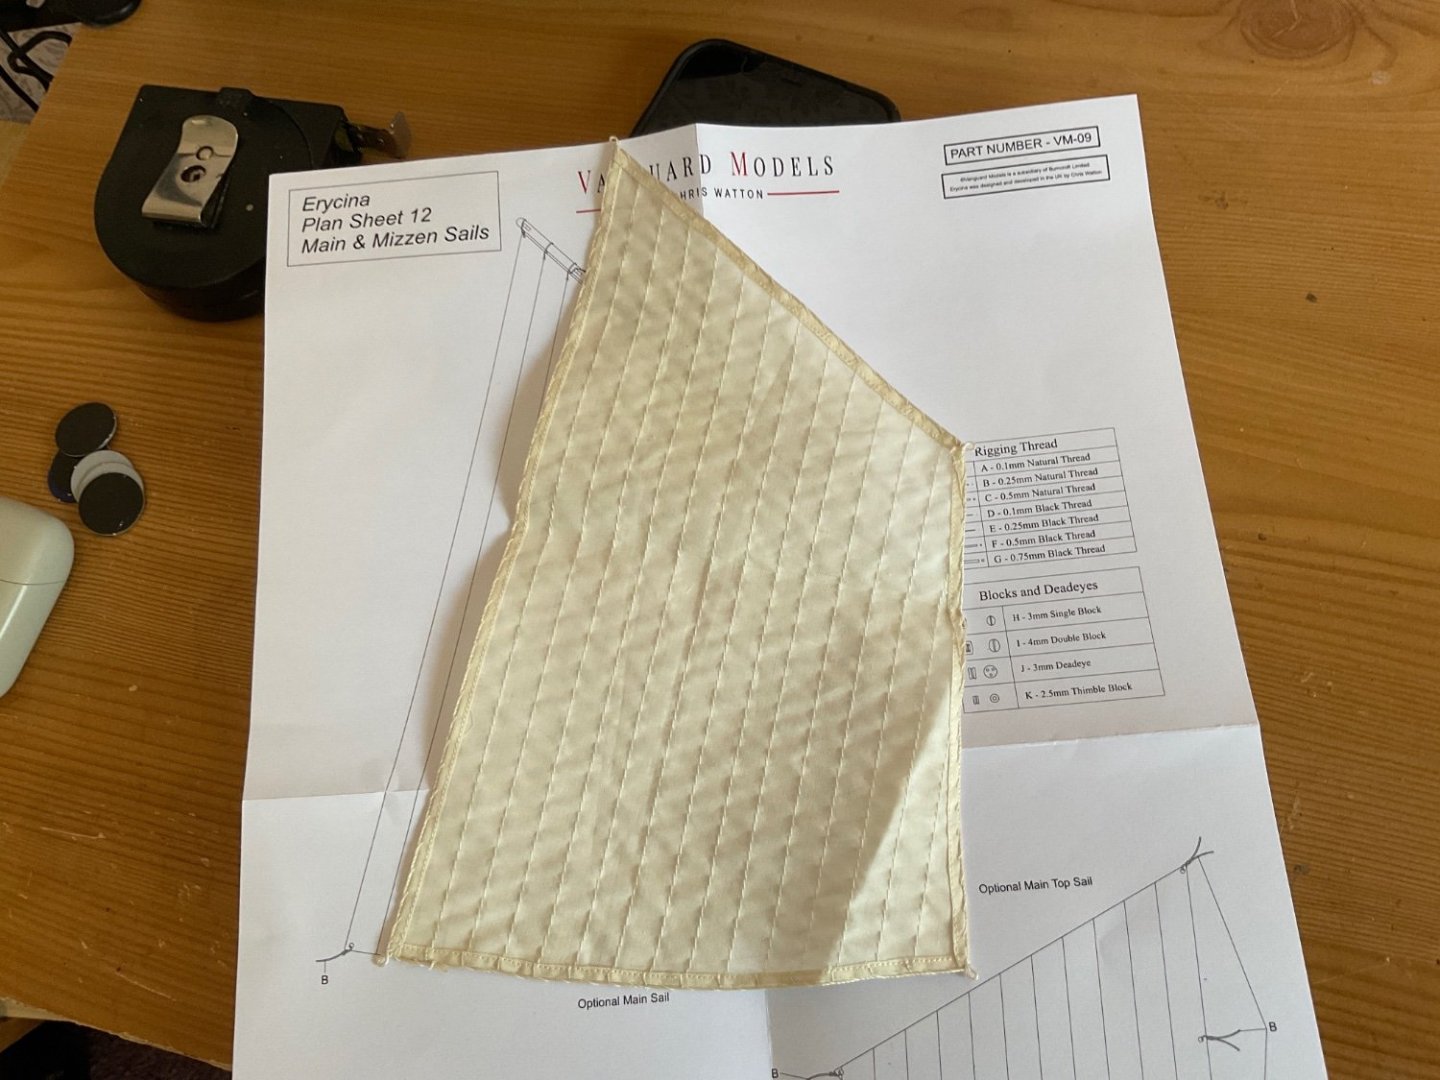
I have Erycina in my stash. I had a quick look at the main sail against the plan. The sail is about 15% larger than the plan, as Andrew found with his Nisha.
- 206 replies
-
- 3
-
-
- Vanguard Models
- Brixham trawler
- (and 2 more)