HOLIDAY DONATION DRIVE - SUPPORT MSW - DO YOUR PART TO KEEP THIS GREAT FORUM GOING! (Only 13 donations so far - C'mon guys!)
×


ASAT
-
Posts
619 -
Joined
-
Last visited
Content Type
Profiles
Forums
Gallery
Events
Everything posted by ASAT
-
Well it took me two days (nights) to build a windlass - this is the first one I have ever scratch built - I used some gears out of my rc servos and found a handle/lever in another kit I have for parts - I can't decide if the overall size is too big, I didn't have any plan to go by, so I used the pictures from Kruginmi and Blackies Harvey build logs....I reduced the size 3 times and I think I am just gonna go with it -maybe I could reduce the height of the side posts? Also do the spindle ends need some kind of "cap" or are they OK sticking out like that? Comments appreciated.......


-
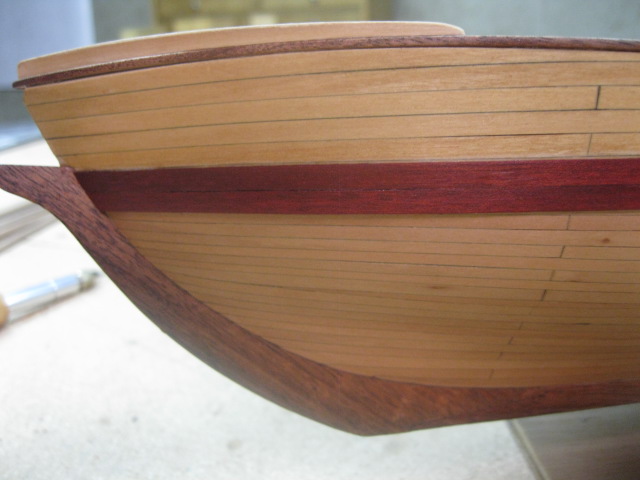
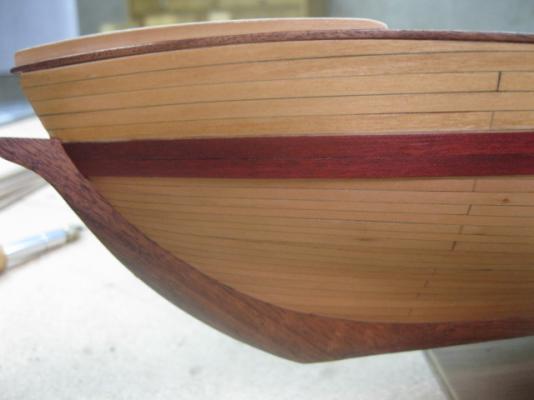
Jim, those strakes are looking great, the nails look awesome and the symmetry of their spacing really enhances the look. Nice work!
-
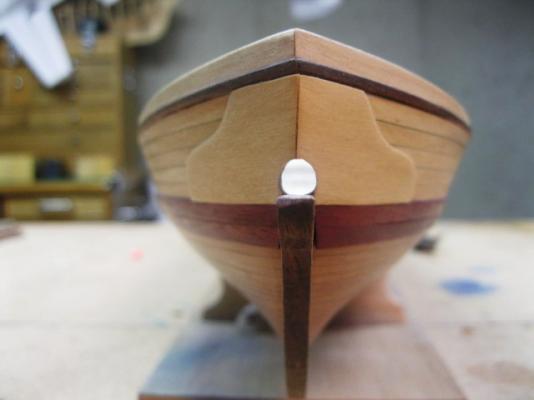
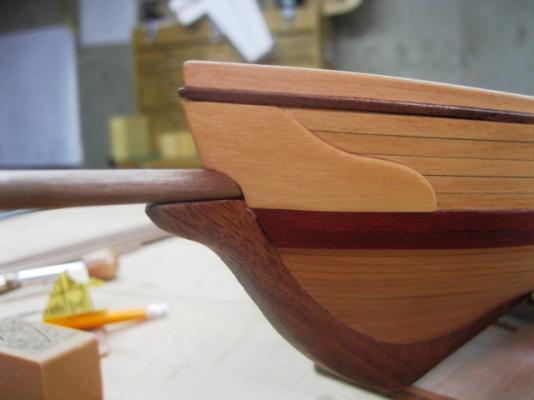
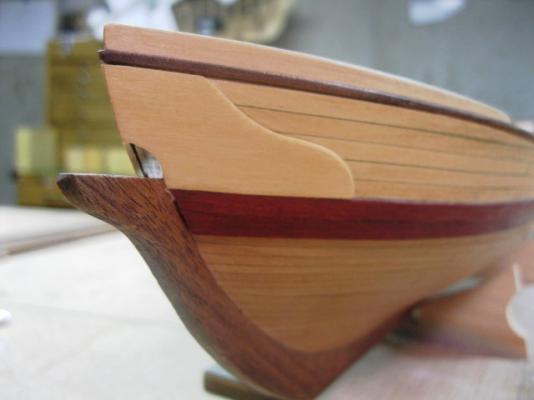
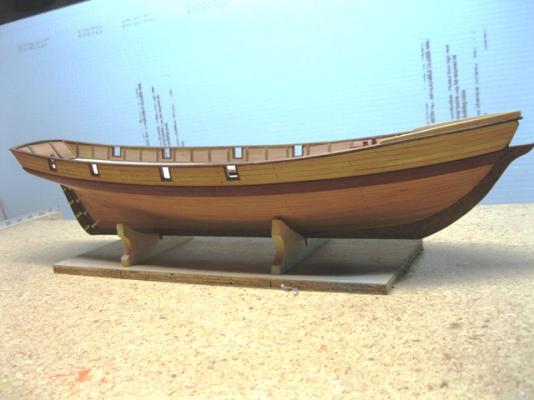
Yep, I added them after the second planking, still need to sand the wales a bit more...Tonight I drilled/carved the bowsprit hole and made the hawse cheeks (is that what they are called?) and fit them.
-
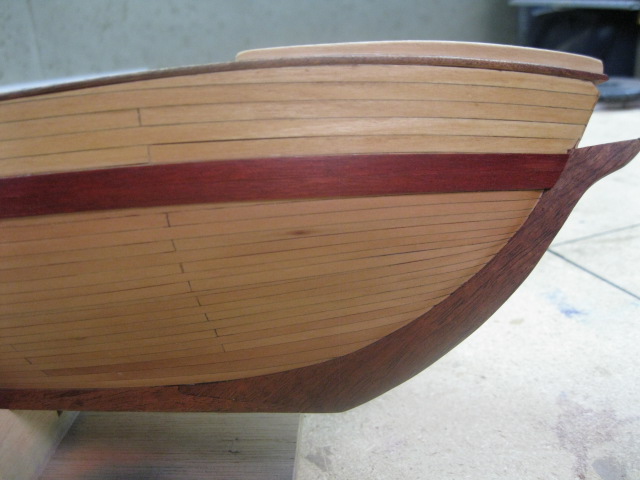
And here you can see all my mistakes.....
-
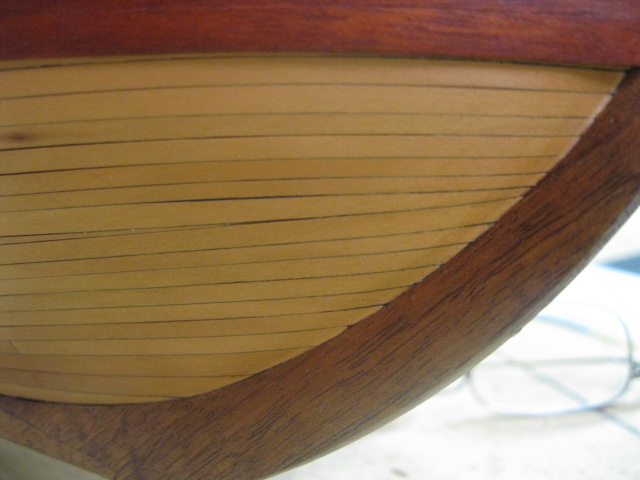
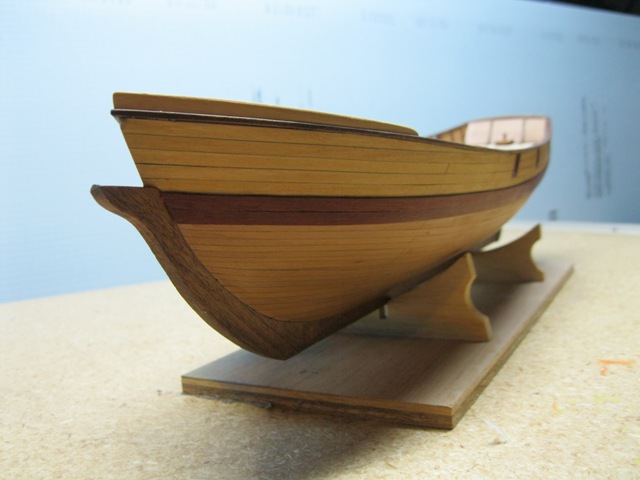
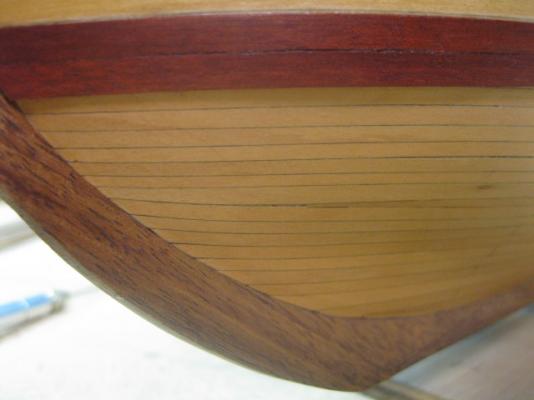
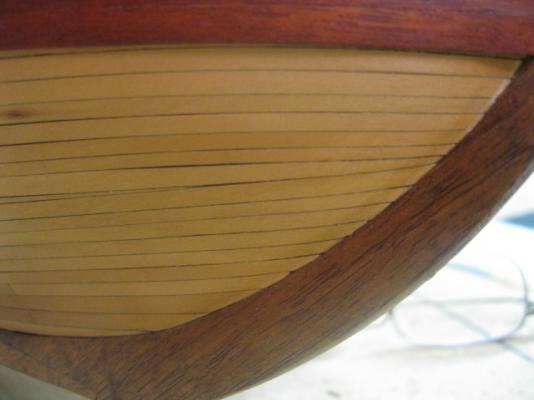
Floyd, here are the bow shots you asked about.....

-
Jim, I saw your post yesterday and I have been thinking about you - hope I don't offend you but I have been praying that you will find peace and be comforted in this time of trial.... that your doctors ease your suffering and that you will have more days of joy than not. Also that you have loved and have been loved, and that you will still be able to celebrate life with those that are nearest to your heart and for all of you to have strength and courage as you persevere through this formidiable time. Lou
-
Floyd, I will post a few pics when I get home tonight, the false keel was cut that way from AL
-
Mark, I thought that the stove was actually "offset" to starboard under the deck and there is a 45 degree flue that connects it to the exaust stack on deck which needs to be out of the walkways - those designers are most creative!
-
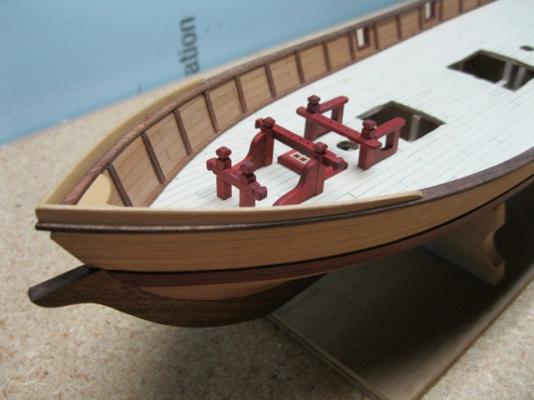
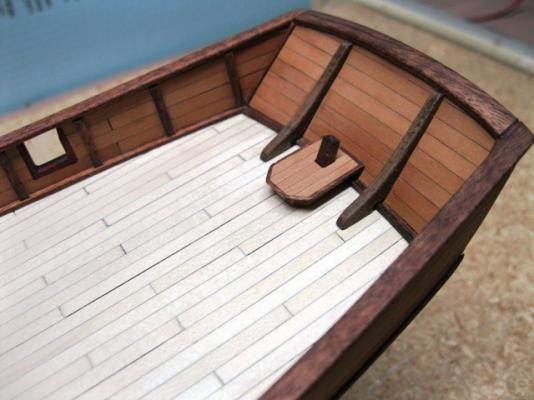
Thanks Guys, appreciate the kind words. The rudder box was just a way to cover my mistake when I drilled the rudder stem hole incorrectly I could have used a large diameter ring but I thought the box looked better. I saw something similar to that done on Fly or Pegasus and thought it was a good solution for my ham fistedness - I will probably put a "lid" on it after I replace the kit tiller with a carved one and rig it. And yes, I have been putting off drilling that bowsprit hole, although the planking is boxwood with pear bulwarks so it will carve fairly clean if I go slow! Not sure about your planking curiosity Floyd, it's pear which is a treat to work with and finishes beautifully - bends fairly easy too. The "depth" was just the way the center keel was cut in the kit - probably because the kit supplied gratings are more like window panes than grate holes - I plan on replacing the gratings as well - those fittings forward in the pics were just placed there, not glued yet... but I like the stairway shaft idea Mark used - I may borrow that as well! Lou
-
Mark, I know you are having fun with your Lady Anne, but your results sure are appealing so I hope you don't mind a little "flattering imitation?" Wow, those pens are cool! I love wood and the neat stuff you can do with it. I made my kids some memory boxes using exotic inlays for Christmas one year - was a great project. Hopefully I will be able to give them all a shipmodel to remember me by as well.... That bow area is sharp! I love that decking reinforcement and that windlass just looks good from any angle. I think I will do a combination of chamfering and using the stub bits as well..... hopefully I will have some more to post on my build soon. Thanks again! Lou
-
Mark, I thought I would work on the bowsprit before doing the windlass, to see how much room is available for it. I am wondering how you have the bowsprit located? I cant really tell in any of the pics if the end of the bowsprit penetrates into the deck or is it just trapped by the stub bit? Also is the deck end of the bowsprit chamfered to match the deck if it does not penetrate into it? Lou
-
Mark, that is what I like about MSW as well, lots of info shared by all. I was hoping to do a windlass similar to yours but Ithink I may have to go with something a bit simpler, something like Blackies(another harvey builder) I don't have a lathe so I will start with a dowel and see what emerges. Keep posting your great pics, that's one area I need to work on,my pics don't come out near as well as yours. Any tips for that? Lou
-
Glenn, glad you are back at the workbench. I agree with your sentiment on the loss of your FA and Pegasus logs - they were an unparalleled definitive work with beautiful results. Shame to lose that resource. BTW - are you going to post any FA pics in the gallery? I prefer the use of wood over paint on my models, influenced greatly by your FA work. I am looking forward to your rendition of Vanguard, I think the stub masts will enhance the beauty of the wood choices and allow the eye to be drawn to the details you are so good at producing but sometimes get lost in the midst of the rigging. At the end of the day, we do this to enjoy the process as well as the result, and in my mind there is nothing wrong with "pretty".
-
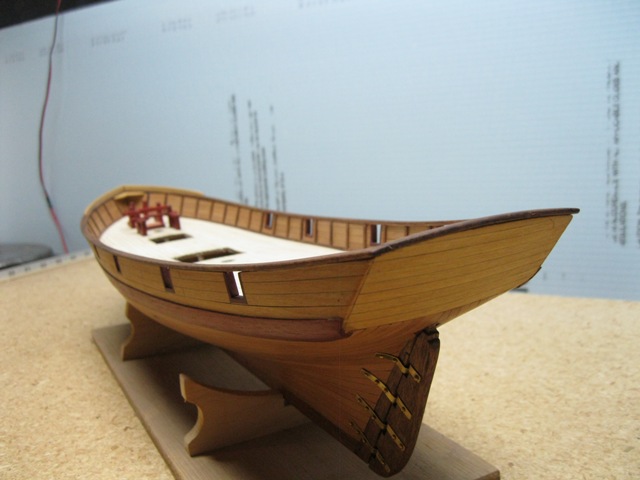
Here are some deck shots/detail.... need to work on my camera skills....
-
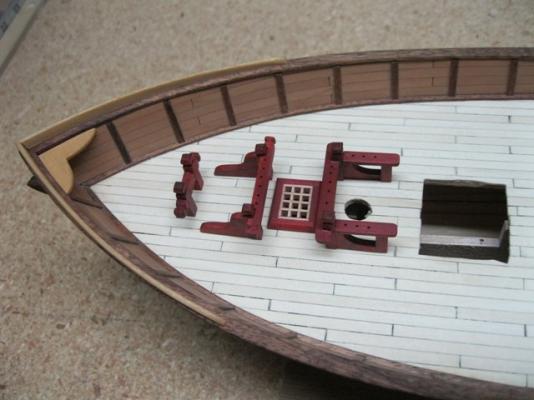
Well I asked KruginMi to re post his Harvey kitbash as it inspired me to do one, and he did, he also asked if I was going to post a log so here it is. I bought the kit in a kind of online garage sale - it must be a new version as about the only thing I wanted to use is the bulkheads and metal work/fittings. The kit came with alot of stuff pre made which looks pretty shabby so I am taking free licence to do it the way I want..... besides I am not a real stickler for historical accuracy - I like the way the woods look together and I give most of my models away to people that wouldn't know or care about the accuracy but they seem to enjoy the models..... I have substituted the kit wood with Boxwood, Pear, Holly, Bloodwood, Redheart and Bubinga so far. I'm still trying to work out the deck layout - this is where I was awed by Krug's version and I am deciding how much of his ideas I want to borrow? currently the model is at this stage....


-
Thanks for posting this Mark, I just may have to get that Crothers book, awesome to see what can be done with the application of talent. I don't know if I want to show mine now