Check out our new MSW Sponsor Innocraftsman
×


ASAT
-
Posts
619 -
Joined
-
Last visited
Content Type
Profiles
Forums
Gallery
Events
Everything posted by ASAT
-
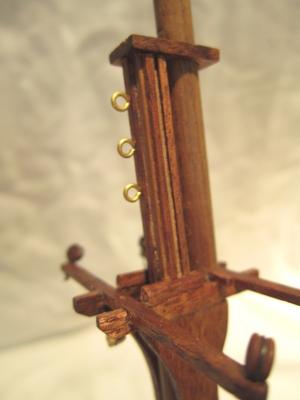
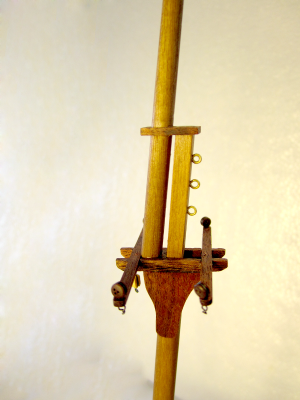
I reworked the masts to incorporate the details that Mark outlined, I think they look alot better! Thanks Mark!! Foremast: Main:

-
Thanks Joe, appreciate it. Mark - I like your ideas, I will put in the bolster and strips, I went the other way on contrast and used a darker wood (bubinga) for the cheeks and 'trees, so I will probably continue that theme. Did you put single strips on the fore/aft portion of the mast or are they doubled as well? Also is the fid that little dowel shape on the bottom of the top mast? What was it's purpose? Lou
-
Floyd, the kit I have only has three jibs... I am using a combination of what the kit "plans" show and the ME Pride of Baltimore plans.... not sure if I will put cannonballs on deck, they might be stowed under the midships deck grating Lou
-
HMS Druid by Krug - FINISHED - 1:48 - Hahn
ASAT replied to kruginmi's topic in - Build logs for subjects built 1751 - 1800
Mark, maybe you could use one of the Celtic Druid gods or goddess's - not sure if any verified images exist but I think some of them were "antlered" gods of war... or maybe a water / sea goddess? BTW - I am envious of your metal work.... gonna have to tackle that someday.... your rudder is excellent!! Lou -
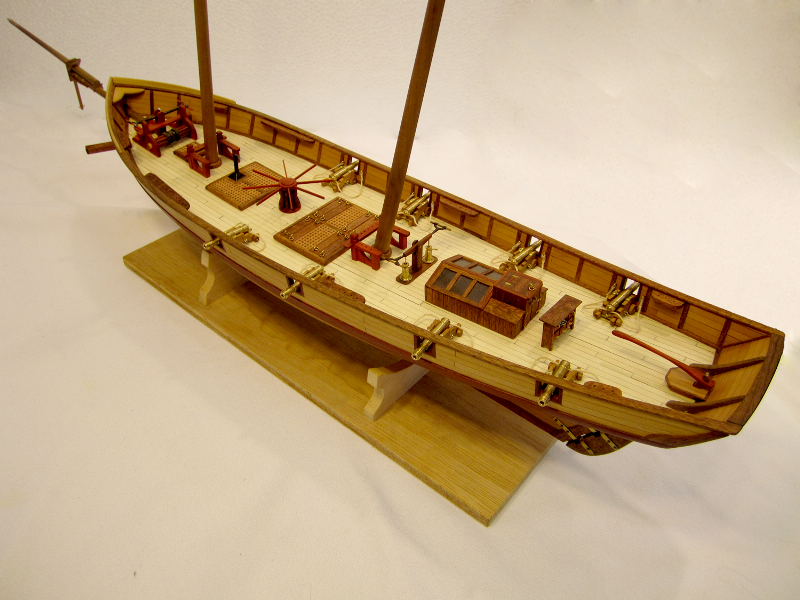
Also been working on the masts and starting to do some rigging, they are just stuffed in the holes for a pic - still need to do a bunch of rigging prior to gluing them in, hopefully I will have this done by Christmas - I am planning to make it a present for somebody....

-
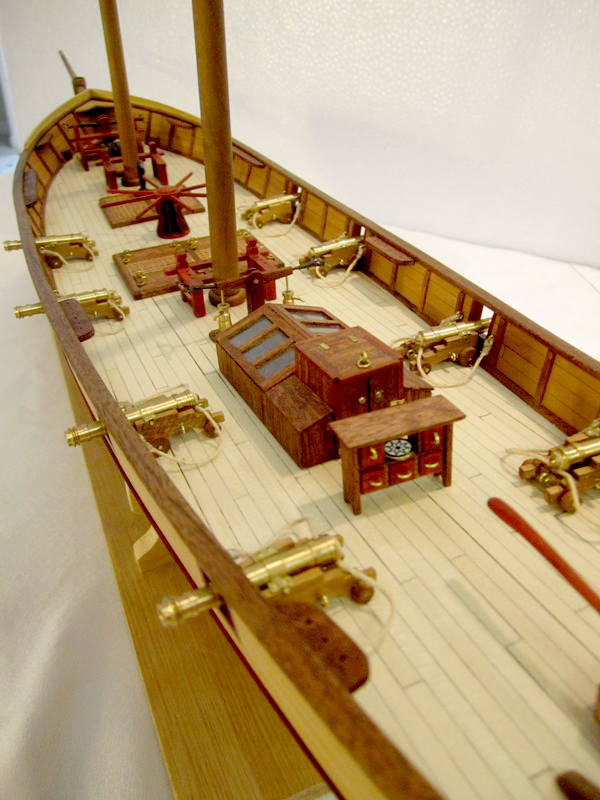
Another little update on my Harvey, I didn't like the guns provided in the kit so I used some out of an old Pandora kit I had laying around. they are a bit smaller than the kit ones and had wooden carriages vs. the cast metal ones that were in the kit, even at that they look a bit large for this ship but I had em so they are in there now. I'm only going to rig the breeching rope to keep a cleaner look to the guns.... it's starting to get a bit crowded up on deck but I'm still happy with the look....

-
Hi Bill, welcome aboard!! get yourself down to Harbor Freight and get some needle files, a bunch of small clamps, the really small drill index they offer, and a set of the mini pliers.... it has a pair of nice needle nose, dikes, curved and long-nose pliers etc, and if you want to splurge they have a pretty good combo sander - disc and belt - it's no Byrnes machine but it will do ya for a while.... if you haven't checked out Byrnesmodelmachines.com you need to, if you are gonna get serious about this hobby you will be a customer of his sooner or later for the price to buy ready to use upgraded wood for a behemoth like Confederacy you could probably get his saw and thickness sander (well maybe) and they will last you for the rest of your modeling career - all you need to do is buy the wood.... but that is only if you want to mill and replace the wood that comes with your kits.... or heaven forbid, join the dark side... which judging from your prior posts about passion and excellence .... you will....just say'in. Looking forward to joining you in your journey.... Blessings to you and your bride..... Lou
-
Floyd, by now you have figured out that you can edge bend and taper or spile - I took the easy road and edge bent and tapered, I started at the wales and worked my way down, admittedly, I had to add a "filler" plank but it is low enough on the hull that you would have to pick up the model or bend down real low to see it..... to me, it still makes for a pleasing planking job, symmetry and consistency being the key. The overall look is what the eye is drawn to, I would say the rigging and deck fittings will attract the eye more than the planking. Only the most discriminating eye would ever know that you did not follow the rules.... unless that is the audience you are trying to please.... good to see you are making progress though, look forward to more... Lou
-
Richard, I have never used peach but before the crash there was a guy that was using it on a Chebec I think and it looked awesome to me.... close grained and kind of pinkish/tan - I thought it worked well on his planking... Lou
-
Sorry for the Go Back, but what support are you guys talking about? just some scrap to support the fwd edge of the false deck behind bulkhead G or what? Thanks, Lou
-
HMS Druid by Krug - FINISHED - 1:48 - Hahn
ASAT replied to kruginmi's topic in - Build logs for subjects built 1751 - 1800
Looks great Mark, that's one of those areas when someone looks closely they will be able to see the level of effort applied. Well done! -
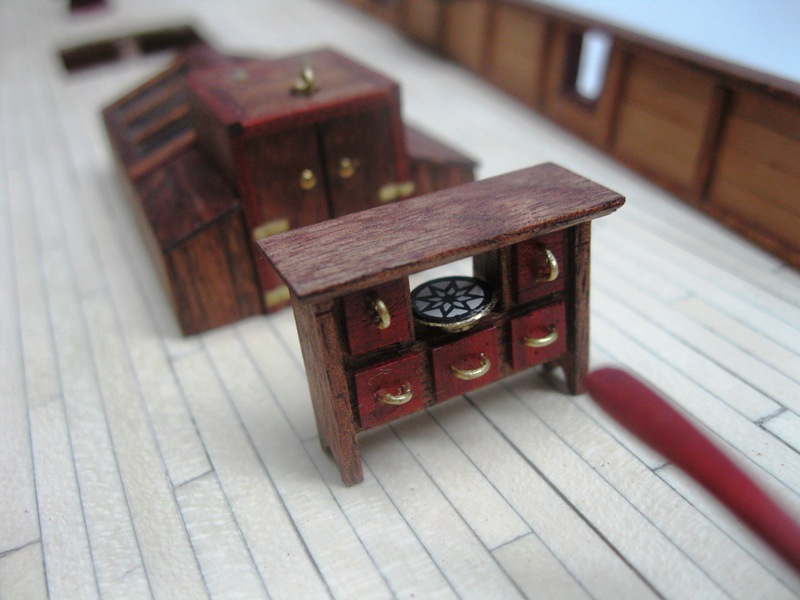
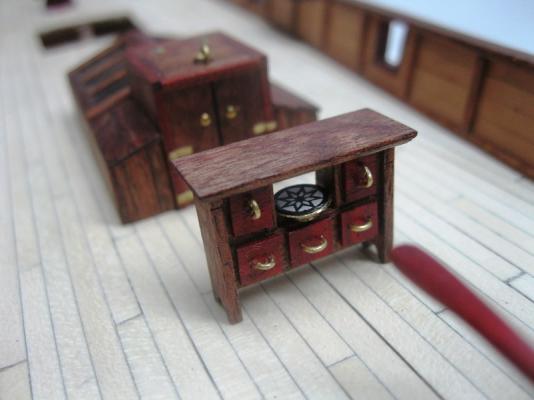
Thanks Floyd, nope my kit didn't have the sheaves and every thing I tried to make came out way too bulky..... but I was trying to use brass. Then I saw a post on one of the Confederacy logs I think where they used a tiny disc of wood and I think that would have worked but I had already installed them - learned something new for next time I guess.... The binnacle is done and now the crew is not doomed to being lost at sea - they wish to extend a big "Thank You" to Mark.... Now back to waiting for the plans from Model Expo......
-
Thanks Mark, Guess I'll start on a binnacle. I am planning on doing a "revised " version of the rigging... more than the chintzy "plan" sheet shows but not a full PoB rig.... the standing rigging on the AL sheet is severely lacking, and there isn't much detail on the masting, I looking for it to be believable but not necessarily 100% accurate. I'll have to wait till I get the plans to see what I want to include/delete.
-
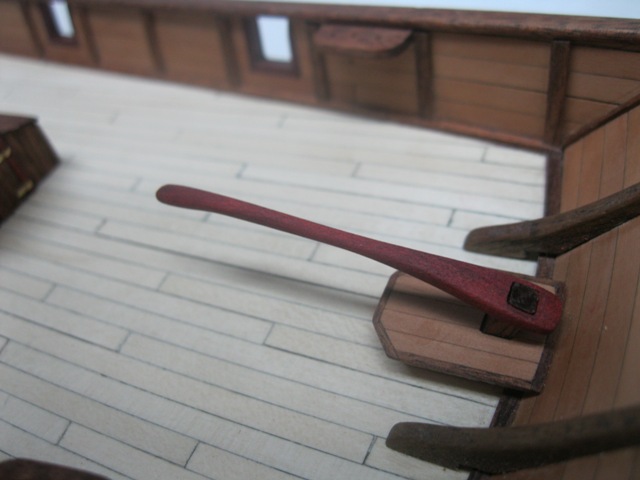
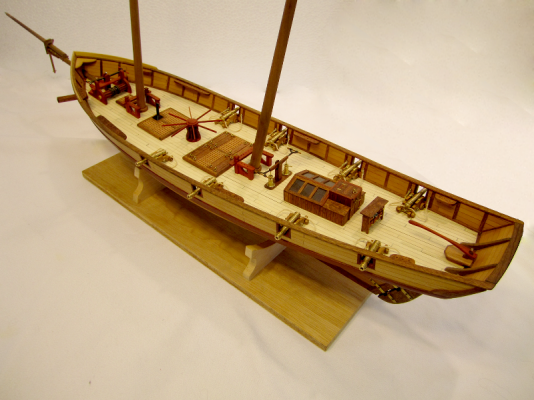
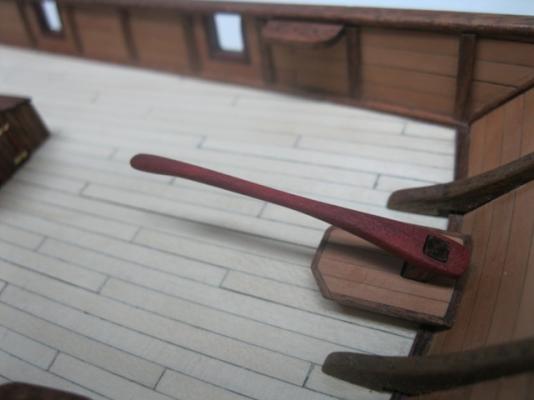
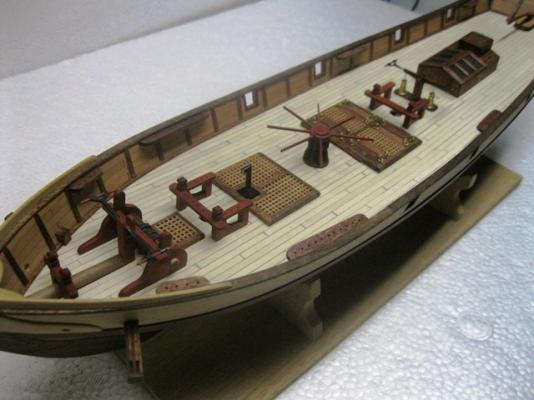
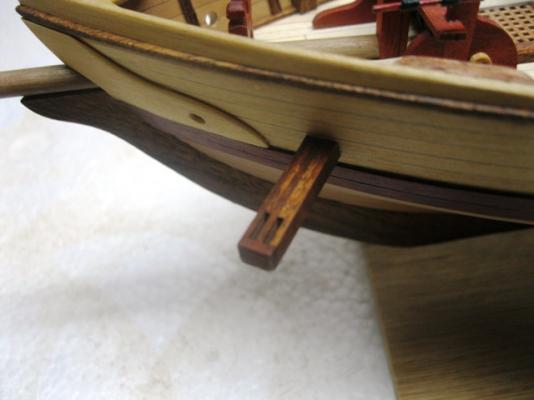
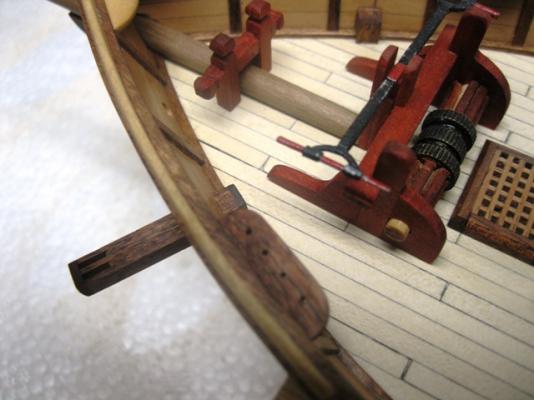
Also made and installed the pinrails and carved a tiller out of some redheart - didn't like the look of the painted casting. I'm thinking the deck layout is done.... I am considering a binnacle but I think it might get too crowded between the tiller / companionway area - what do you guys think? In any case, I am waiting for a set of Pride of Baltimore plans to arrive before I do the channels and the masting / rigging. Lou
-
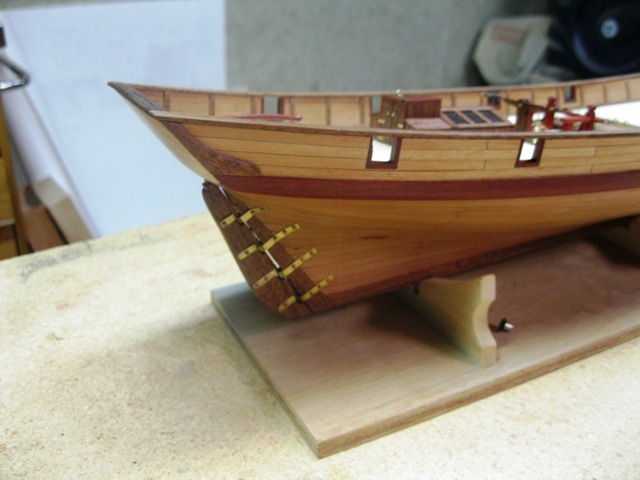
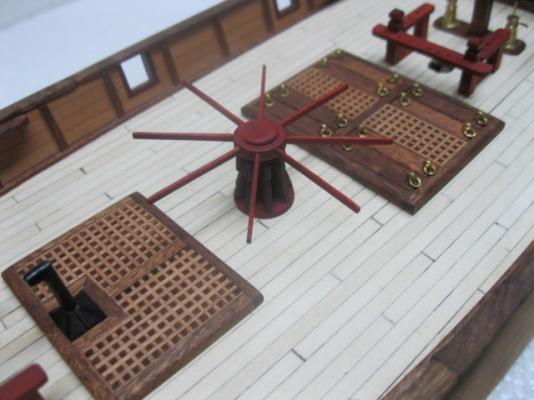
Finally got the capstan built, sandwiched some redheart discs together and made the whelps out of bubinga, also made the catheads and installed them.
-
Rusty, beautiful work as usual, what is that plan behind that big stack o frames?
-
HMS Druid by Krug - FINISHED - 1:48 - Hahn
ASAT replied to kruginmi's topic in - Build logs for subjects built 1751 - 1800
Beautiful! Great chisel work... -
Thanks Mark, lots of things seem to compete for our hobby time right? Elia, good to hear from you, your Oneida has always been a benchmark build for me- I hope to get to a POF build one of these days.....
-
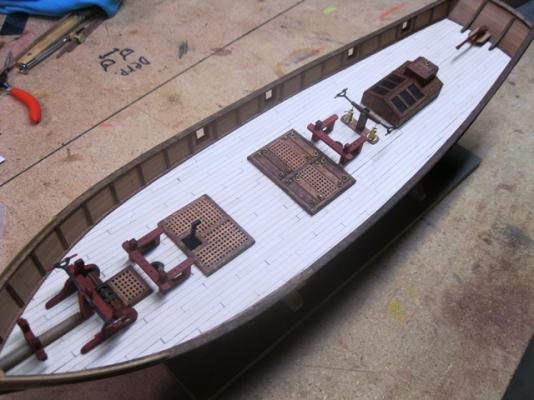
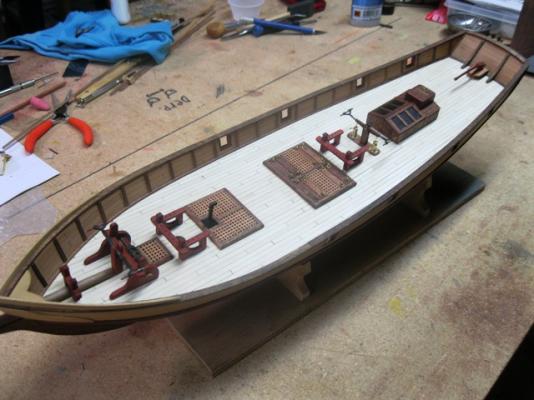
Also added some "fashion" pieces to the stern area to kinda tie that all together - and a few shots of the current full deck layout..... Still need to build a capstan for it - will be placed between the two grates....

-
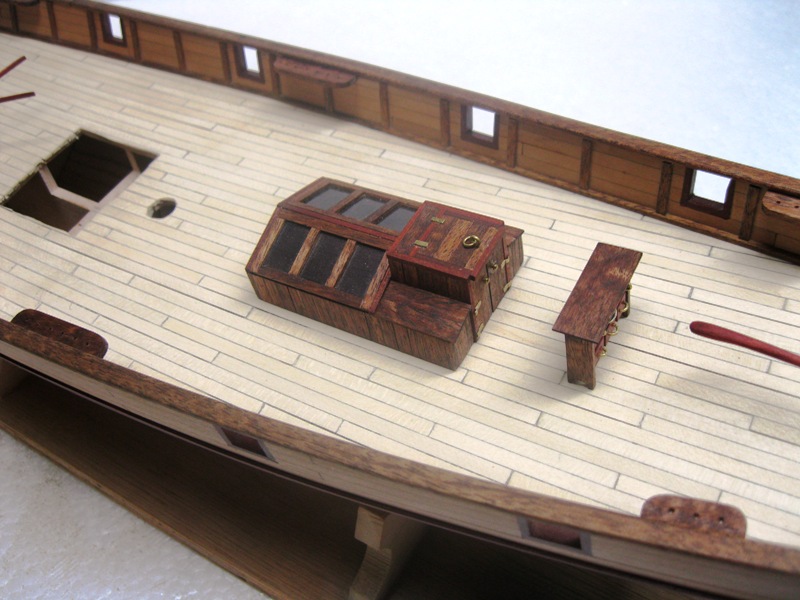
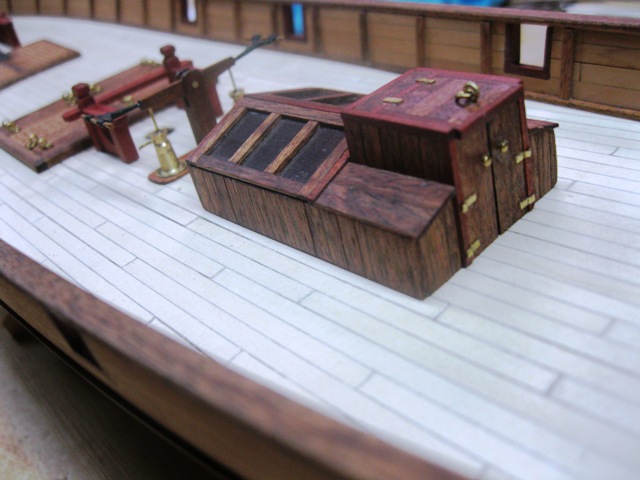
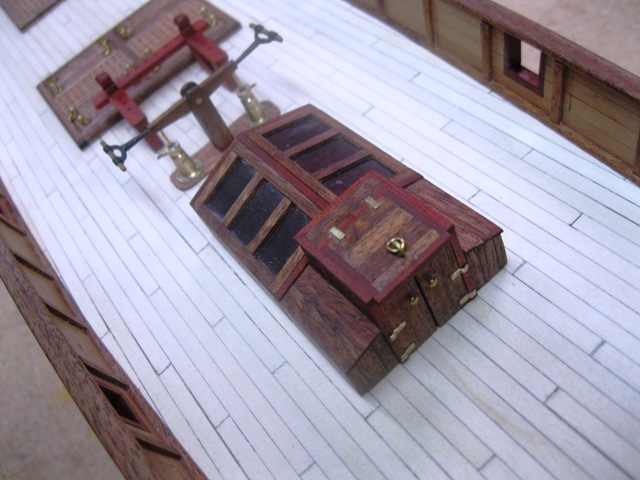
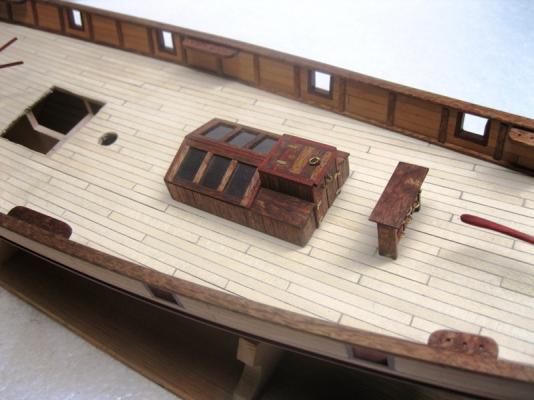
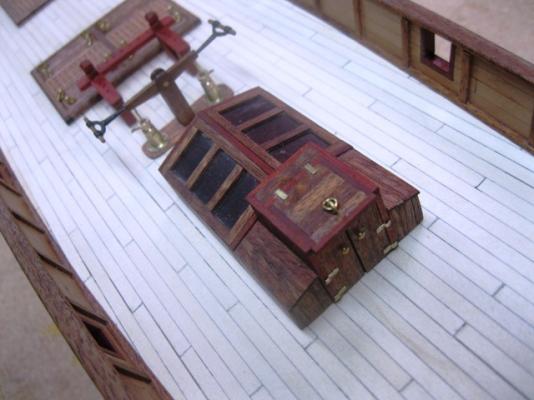
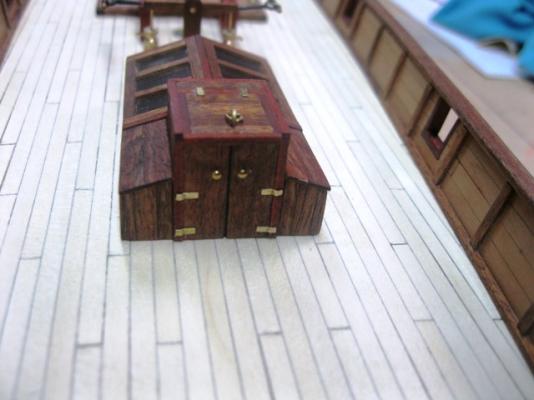
I then started on the deck house / companionway - made a drawing and shamelessly stole the one from Blackies build, not sure if that style is in the older kits or not but I liked it so I went with it. It took me the better part of a day to do it, made a shell from some 1/16" ply and then planked over it with bubinga and redheart framing accents. Was a pretty fun little piece to do...

-
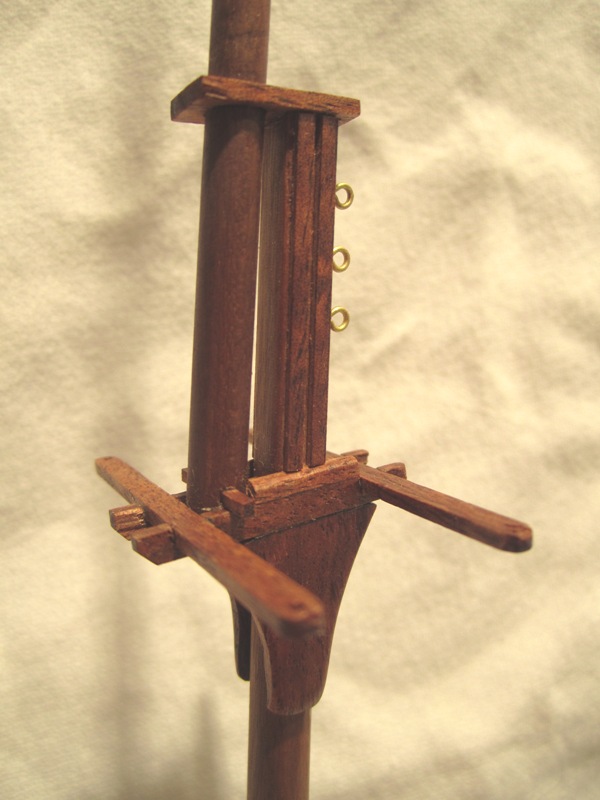
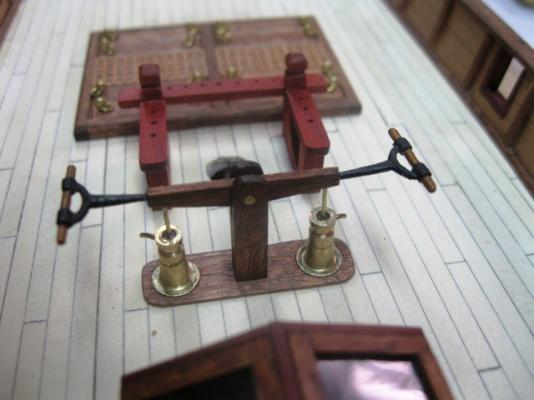
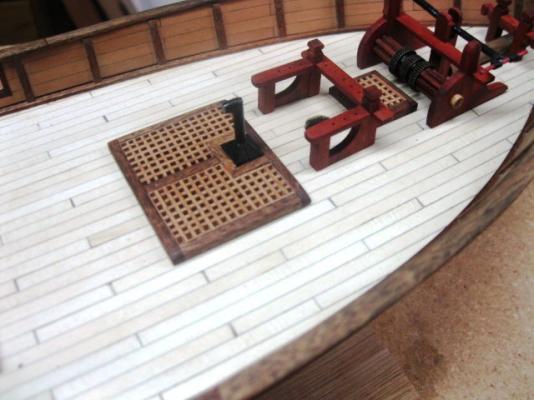
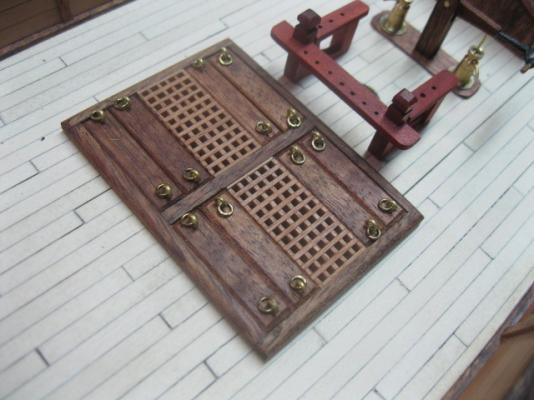
Been working on the the deck layout some more, I made some more gratings with smaller grate holes .... and made a pump setup from some various parts I had laying around. I used some brass eyelets and straightened the flange for the lower section and glued a little brass fitting on top of that then drilled it for the output pipe and the actuator rods. I decided the stove location would be under the fwd hatch/grate so I stuck the kit chimney pipe in that one and made the large middle hatch a combo grate and solid removable boards....
-
Shawn, you can try wetting it and weights, it will need to be pretty wet depending on how twisted it is. You could also try blocking the keel/bulkheads aif the twist is not too severe. If all else fails, make a new one from some plywood available at hobby stores. maybe post a pic of the keel twist to give a better idea how to best proceed....
-
bevel the edges of the plank during the fitting process, soak em, use CA and force them as close as you can when gluing, and then sand the sh1te out of them...
-
I use my Byrnes table saw the most.... I also use the thickness sander alot. The disc sander is a jewel.... I also have the proxxon wood mill and I have only used it a handful of times... If you ever progress beyond kits, or want to use upgraded wood to enhance a build you will be glad that Jim Byrnes is around. I have abused his equipment for 10 plus years and they are still precision pieces of machinery - cant say enough good things about them. To see what is possible to achieve with those tools, see this thread,..... http://modelshipworld.com/index.php?/topic/3345-harvey-by-asat-al-scale-150-kitbash/ all that wood was made using Jim Byrnes tools....