HOLIDAY DONATION DRIVE - SUPPORT MSW - DO YOUR PART TO KEEP THIS GREAT FORUM GOING! (83 donations so far out of 49,000 members - C'mon guys!)
×


BLACK VIKING
-
Posts
481 -
Joined
-
Last visited
Content Type
Profiles
Forums
Gallery
Events
Everything posted by BLACK VIKING
-
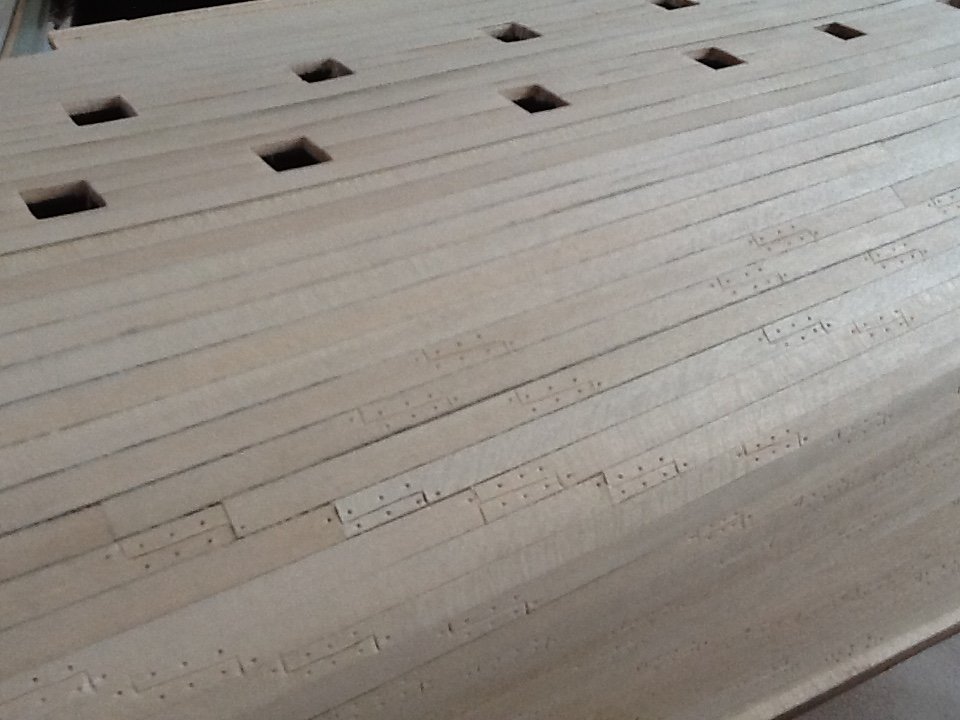
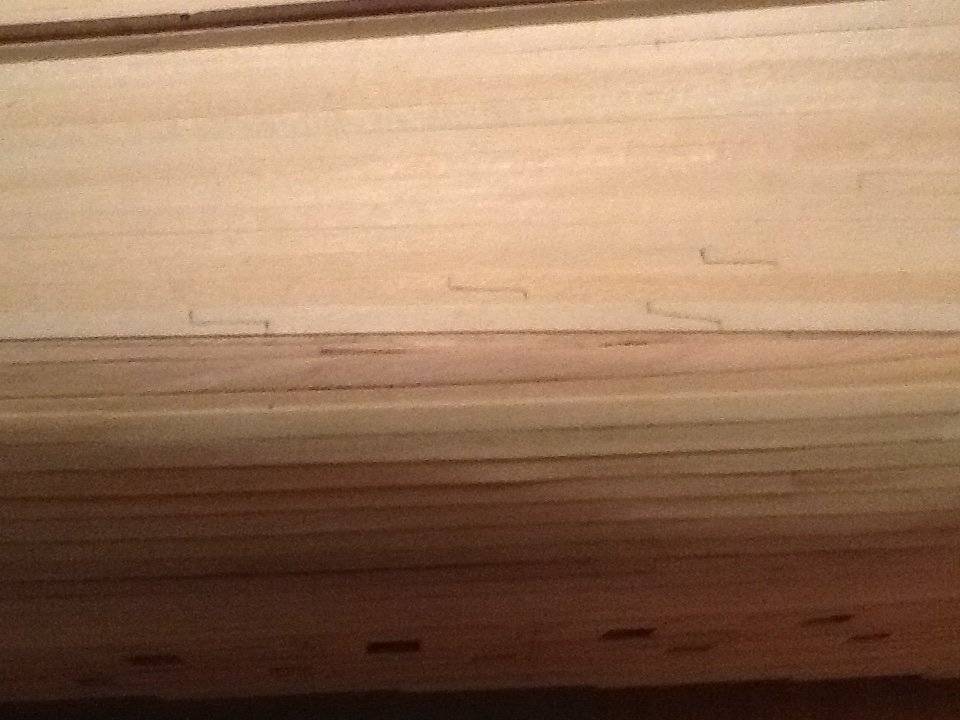
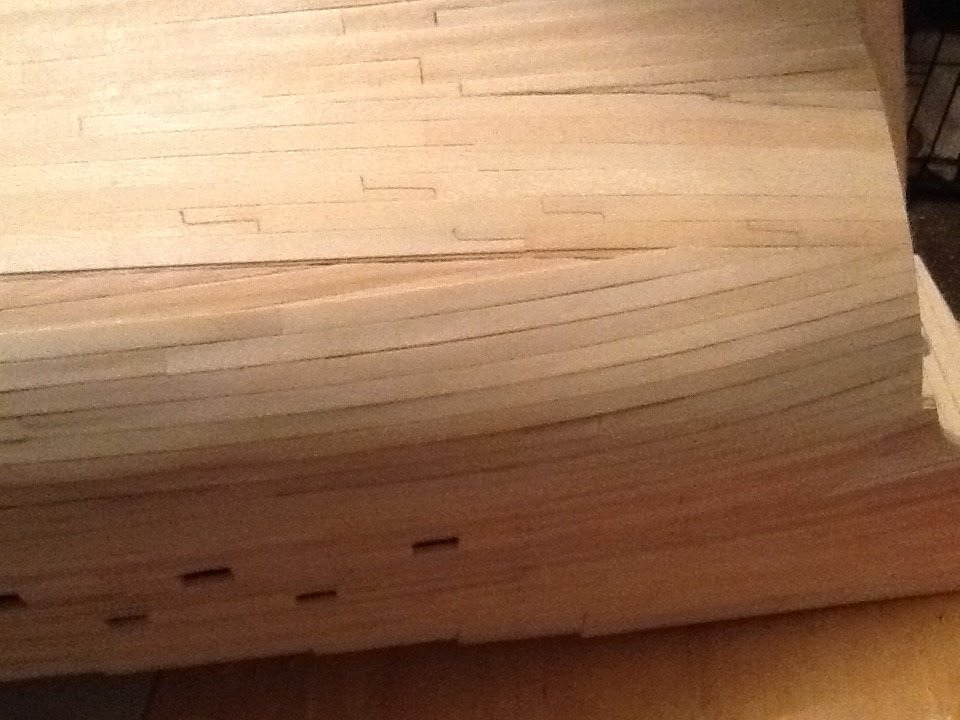
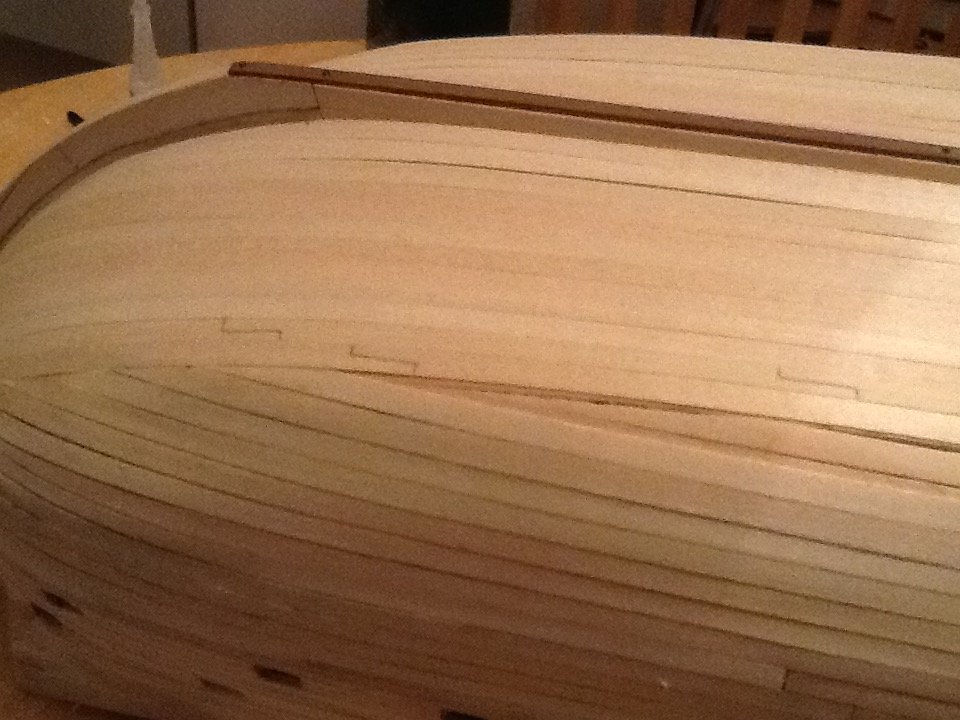
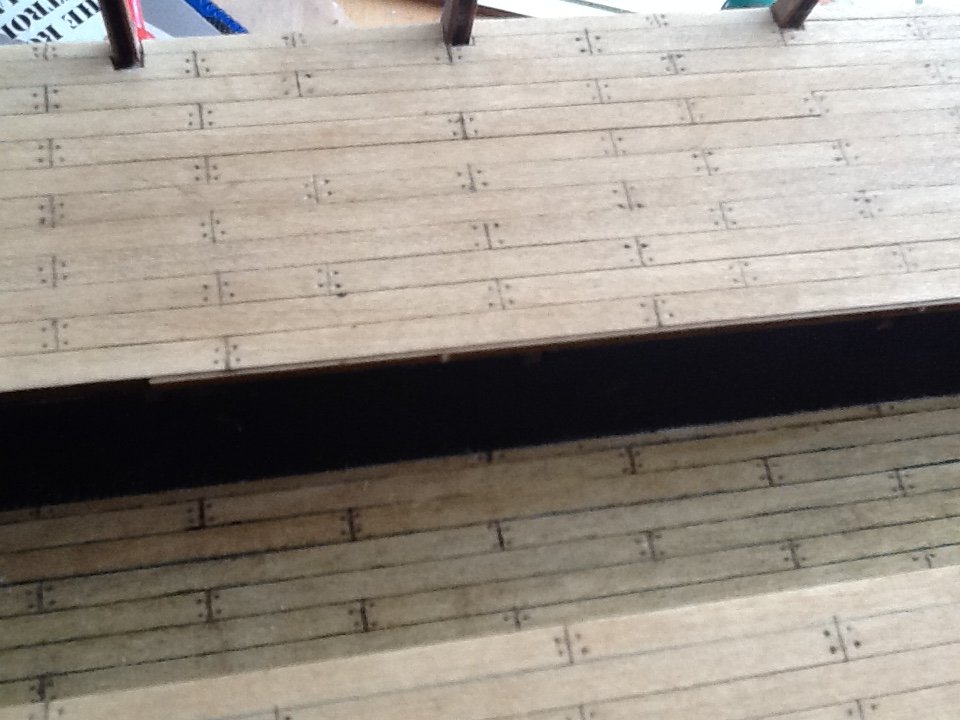
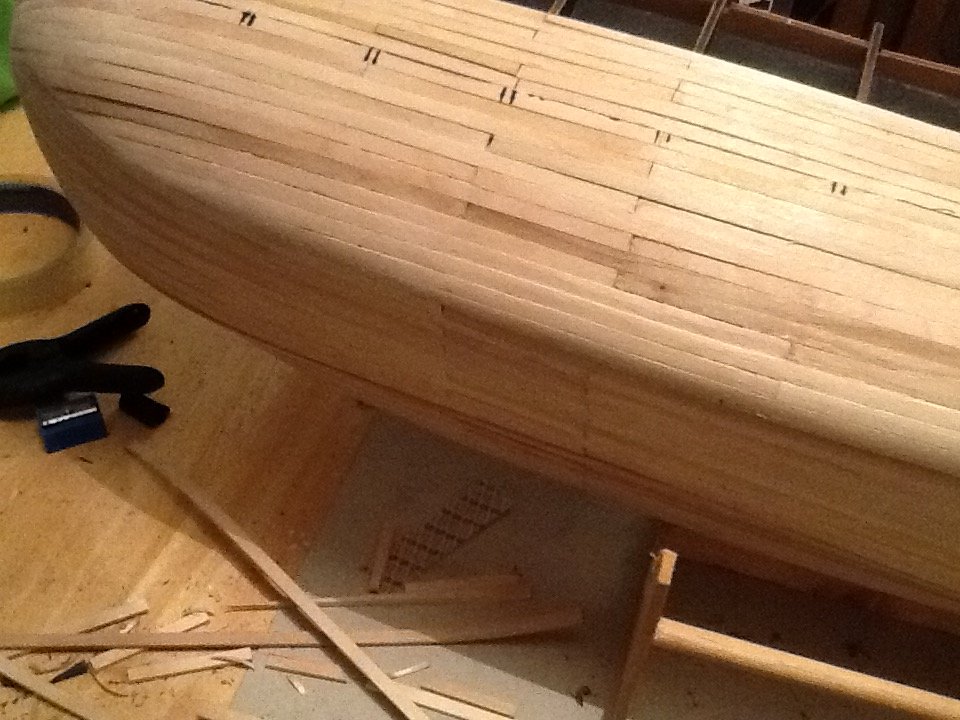
 Hi Michael glad to have you back m8 and thanks for the comments. The second planking has now been completed and sanded down and I have started marking and cutting the scarf joints and loads of them to do so this might take a little time. Thanks again for looking in and the likes Martyn
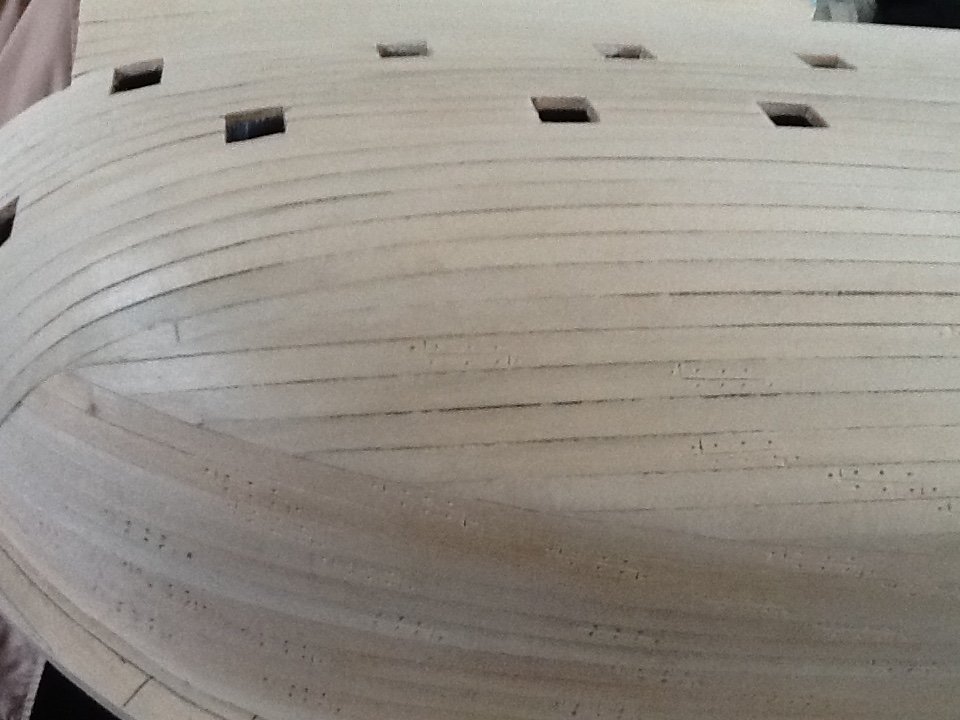
- 91 replies
-
- 10
-

-
- deagostini
- vasa
- (and 1 more)
-
Opps sorry it's the trick of the camera Eddie . Very nice planking m8 Martyn
- 106 replies
-
- 2
-
-
- deagostini
- finished
- (and 2 more)
-
Looking good Snoepert. Looking at the planking on the top section there should be a 1mm overlap that looks like a clinker built ship . I don't know if it's the angle of the camera but the planks look butted up . Martyn
-
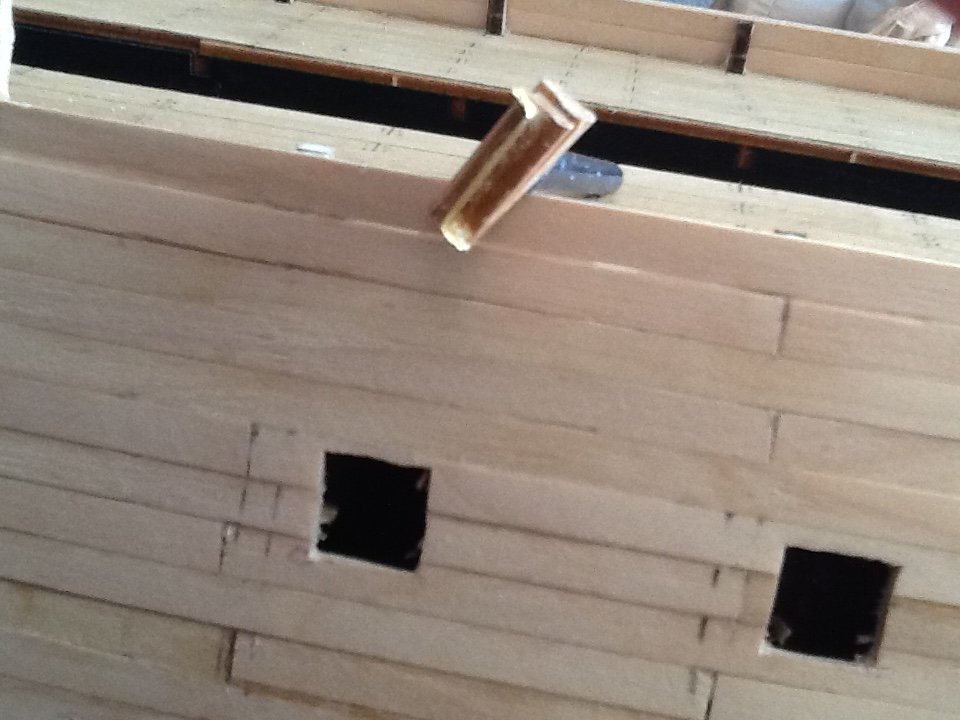
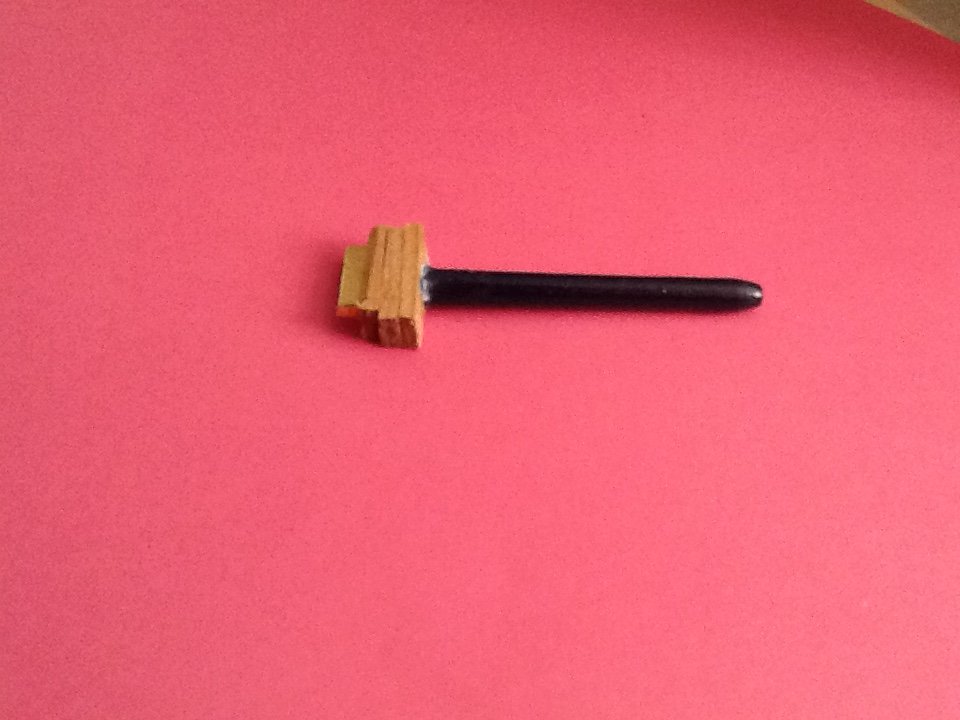
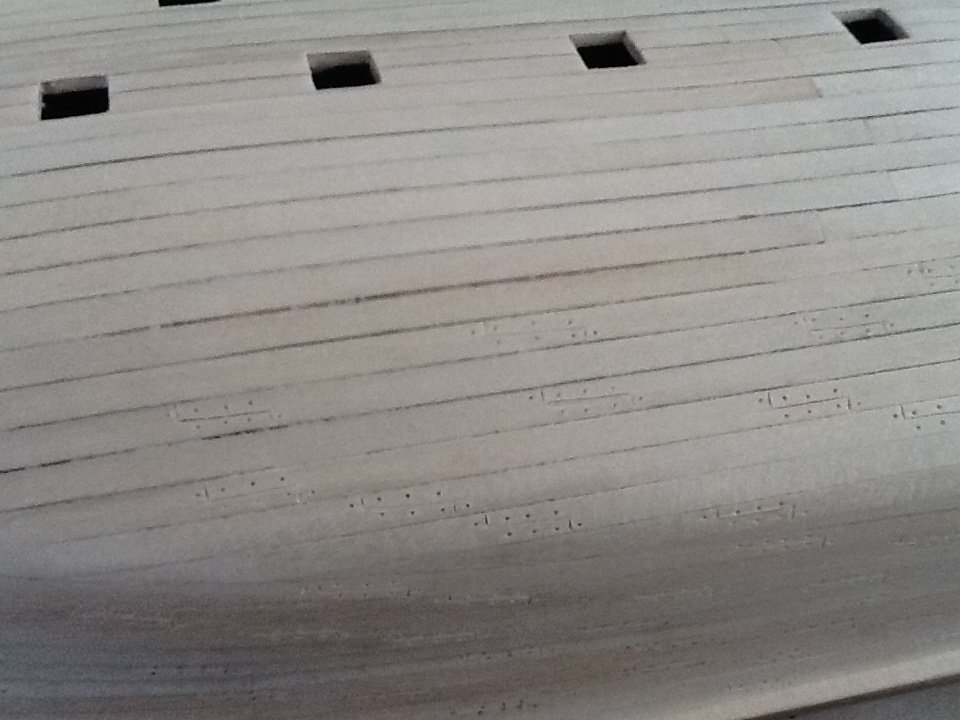
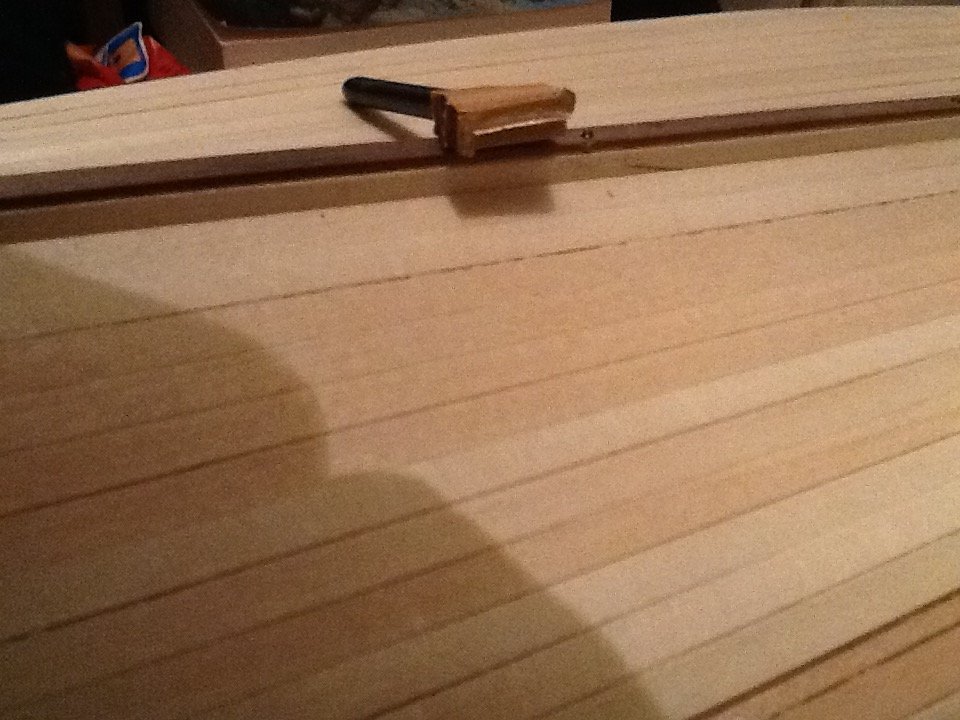
Hi Nirvana.The tool I have made is very simple. I had some thin brass strip which I bent into shape of the scarf joint and glued it to some left over planking from the first layer with some CA glue and then fitted a handle from a cut down paint brush. The edge of the strip was sharpened with a file so it leaves a impression in the wood when pressed into it . I will take some more pics tomorrow in some better light. Thanks for the comments Martyn
- 91 replies
-
- 3
-
-
- deagostini
- vasa
- (and 1 more)
-
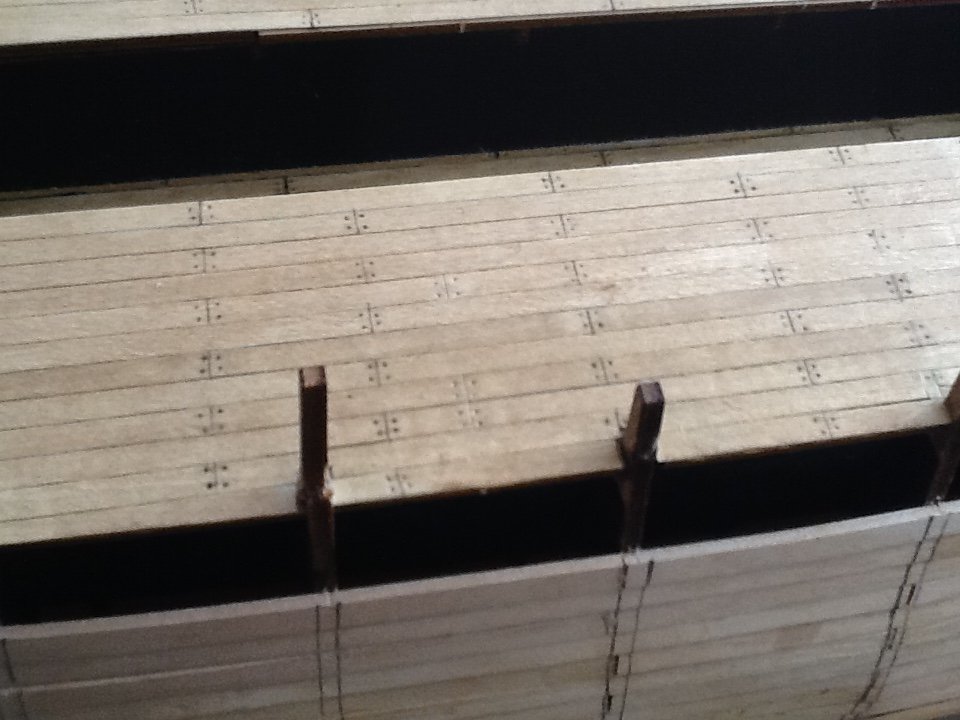
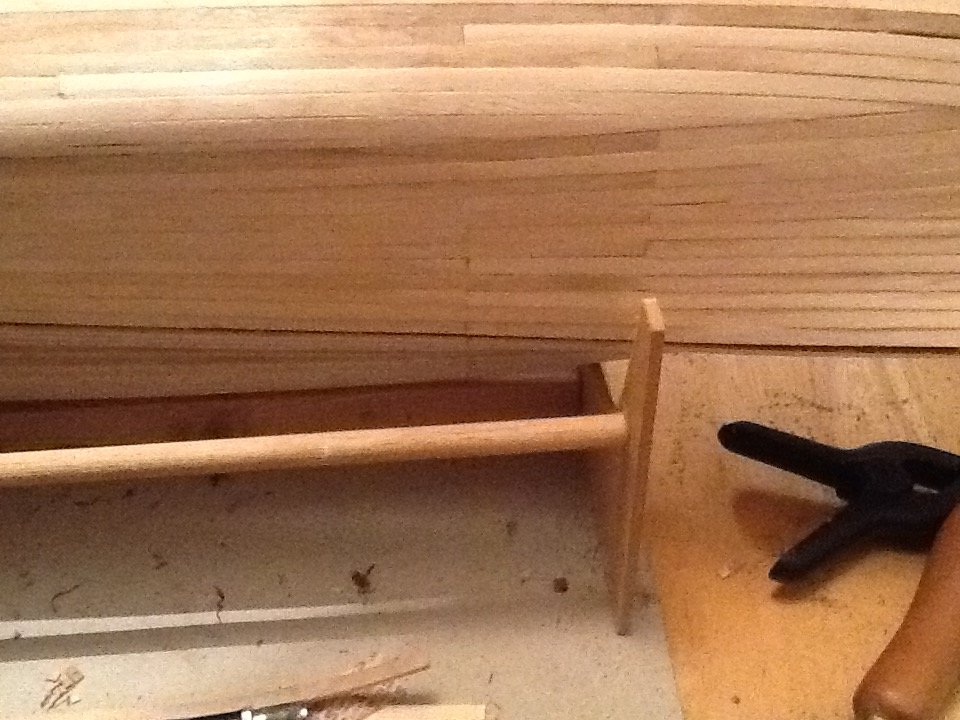
Thanks for the comments and the likes A bit more done on the Vasa . The second planking has now been started and after a conversation with Fred Hocker from the Vasa museum the planks have scarf joints and not butted up so after a lot of head scratching I came up with a little tool . The wood of the second planking is quite soft and the tools sharp edge marks the wood quite well and it gives a uniform joint . All I've got to do is plank the rest of the ship Thanks for looking Martyn
- 91 replies
-
- 9
-
-
- deagostini
- vasa
- (and 1 more)
-
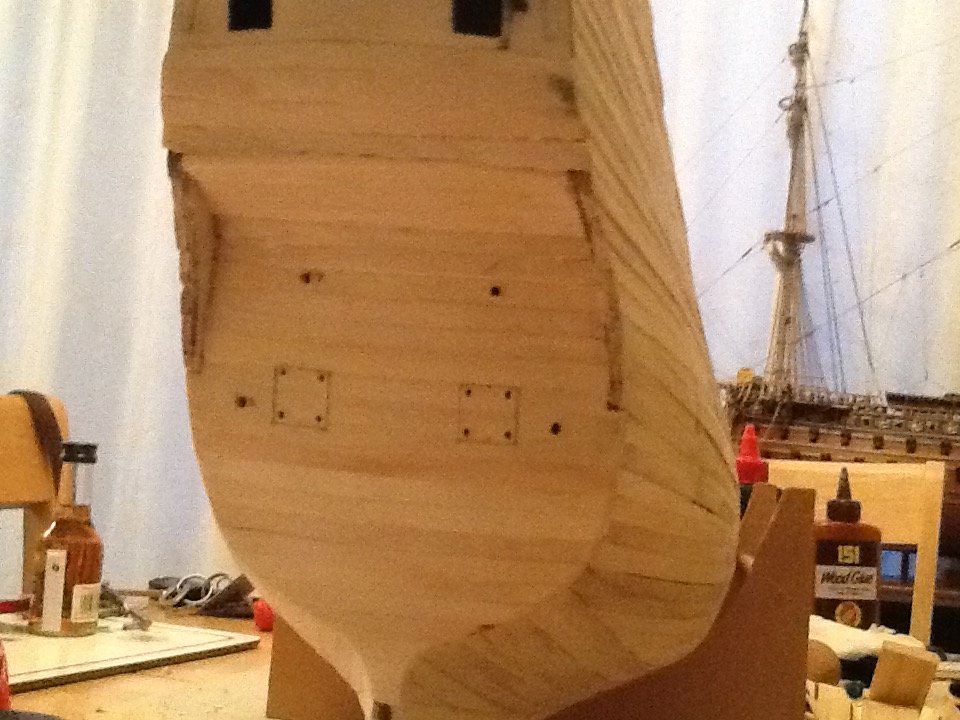
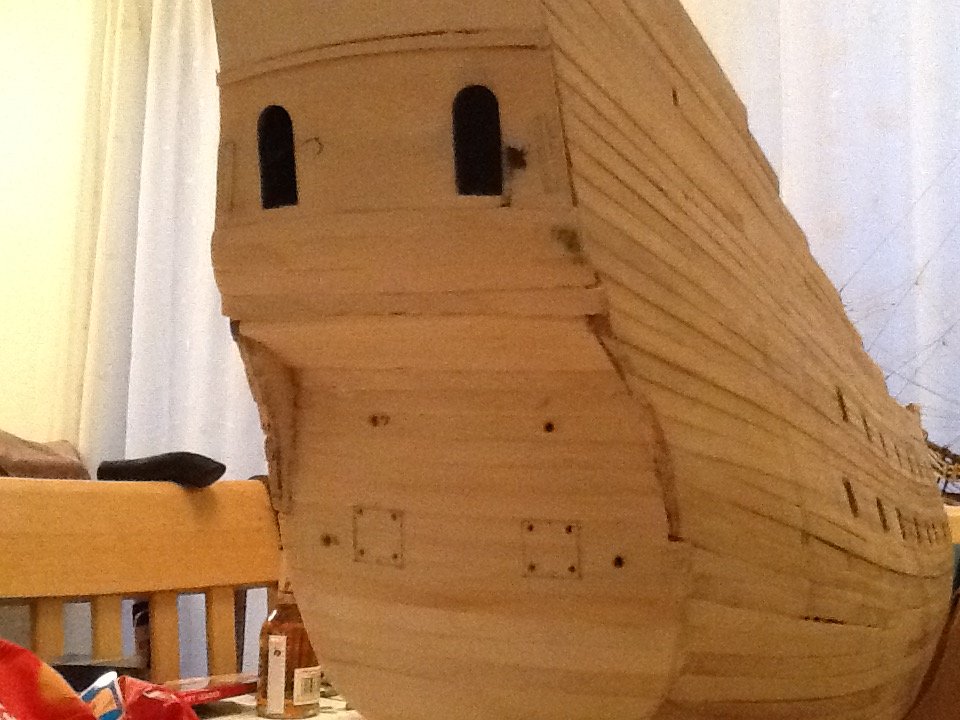
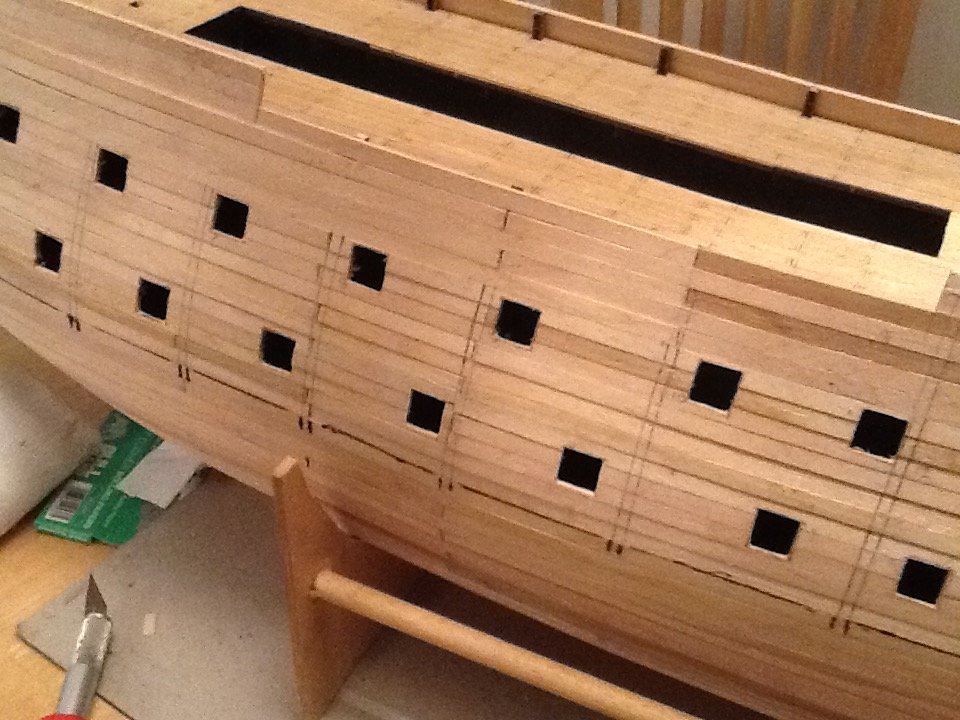
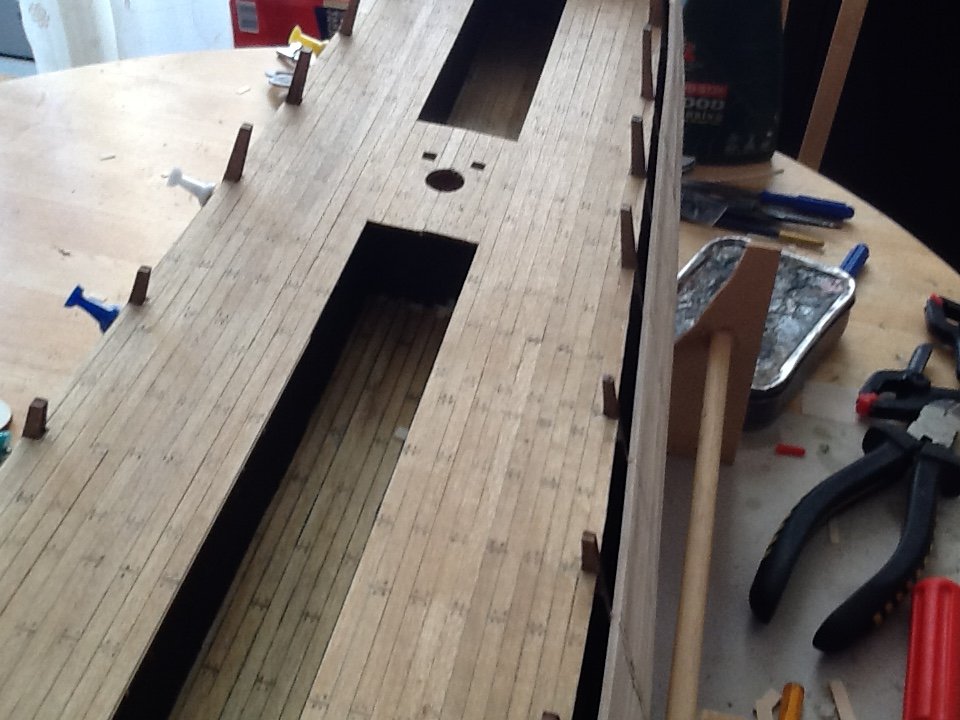
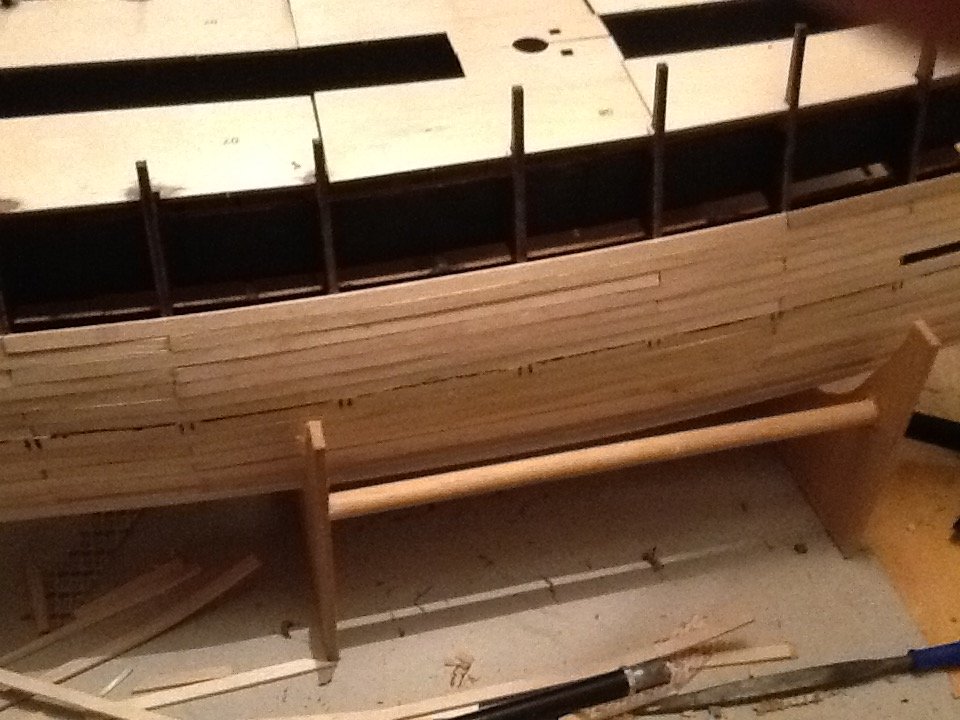
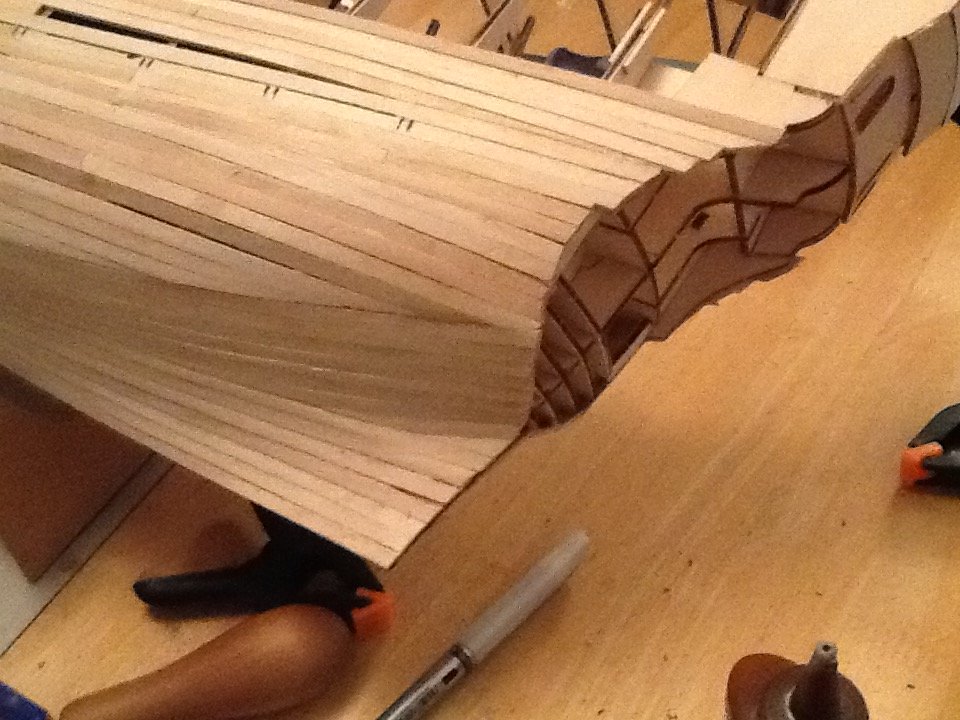
Hi all and I hope you have had a great xmas. The hull is now finished with the first planking and the gunports marked out and cut . The gunports where slightly tilted to follow the whales as on the real ship. The stern was the next job . It was planked as per instructions and the stern chasers marked out ready for cutting. And its now for a mammoth sanding job. Martyn

- 91 replies
-
- 12
-
-
- deagostini
- vasa
- (and 1 more)
-
Vasa deck shift
BLACK VIKING replied to BLACK VIKING's topic in Building, Framing, Planking and plating a ships hull and deck
Oh well that's me off the forum trouble is mine is still to neat Martyn
-
Vasa deck shift
BLACK VIKING replied to BLACK VIKING's topic in Building, Framing, Planking and plating a ships hull and deck
Cheers for all the feedback guys and looking at the plan of the decks omg that's really all over the place but I can see how it happened as Mike said they had two different measurements from the different rules one being 12 inch to the foot the other 10 inch to the foot certainly made for confusion Martyn -
Hi m8 the model that Deag shows is the 1-10th from the Vasa museum and the nails are the ones that hold the planks to the ribs on the real ship . After I have put the second planking on mine I will be reproducing these on the side of my hull. Hope this helps Martyn
-
Thanks for all the comments and likes guys A bit more done on the Vasa . The decks have been fitted and rubbed down then the planks glued over the top. Once dry the random size of the planks were marked with a sharp pencil quite difficult to do as I wanted to get them all the same. The planks were given a coat of mid oak stain. Next job finishing the hull. Thanks for looking Martyn

- 91 replies
-
- 8
-
-
- deagostini
- vasa
- (and 1 more)
-
Vasa deck shift
BLACK VIKING replied to BLACK VIKING's topic in Building, Framing, Planking and plating a ships hull and deck
Thanks Mark the link works fine and have joined. Nothing like first hand knowledge. Martyn -
Vasa deck shift
BLACK VIKING replied to BLACK VIKING's topic in Building, Framing, Planking and plating a ships hull and deck
Thanks Mark and druxey for the help. If you could put up the link Mark I would be most grateful. Thanks again for the help. Martyn -
Hi all I am just about to start planking the deck of my Vasa and having trouble finding the proper shift of the main deck. The references I have found seems to contradict each other one is a three shift and another one looks like four. Very confusing. Thanks for any help Rgd Martyn
-
Looking at the shape of the hull I am not surprised she fell over as their doesn't seem to be enough depth to the hull for their to be enough ballast to counter the forces of the sails 😕
- 91 replies
-
- 4
-
-
- deagostini
- vasa
- (and 1 more)
-
Thanks for the comments and likes all I have been slowly planking up the sides of the hull and I must say it has been a challenge as its such a weird shape more like a barge. Plus the dreaded four letter work getting in the way . Still off to do some more planking. Martyn
- 91 replies
-
- 10
-
-
- deagostini
- vasa
- (and 1 more)
-
Nice work m8 I am building the same kit . Just a little heads up, I don't know if you are painting or staining the hull but the top of the ribs are painted or stained later in the build after the deck is planked but if you do it now you won't have to mask of the deck . Looking forward to your next update Martyn
-
With all these colours logged and a picture painted during the time how come she is now painted in that horrible salmon pink and not yellow just wondering Martyn
-
Sitting back and watching this one, by the way where's the popcorn seriously will be following this Elj. Martyn
-
kit review 1:100 Santa Maria 'First Step' - Amati
BLACK VIKING replied to James H's topic in REVIEWS: Model kits
Nice looking kit and some brilliant ideas to make it very straight forward to build. And the future of the hobby needs the younger ones. Iooks like the young lad is having fun with the build Martyn- 7 replies
-
- 3
-
-
- beginner
- santa maria
- (and 1 more)