Dfell
Members-
Posts
251 -
Joined
-
Last visited
Content Type
Profiles
Forums
Gallery
Events
Everything posted by Dfell
-
Thanks Blue Ensign, ccoyle, Martin W for the comments Martin - not surprised your build is taking longer - you're putting so much more effort and creativity into your build. I find it hard enough to do the basics and my knowledge about these ships needs to be better. ccoyle - I guessing some of the Fly build logs on here are incomplete due to the site's problem awhile back as well for some perhaps life getting the way. Blue Ensign - again thanks for advice / help from you and from your incredible Pegasus build. Thanks Doug
-
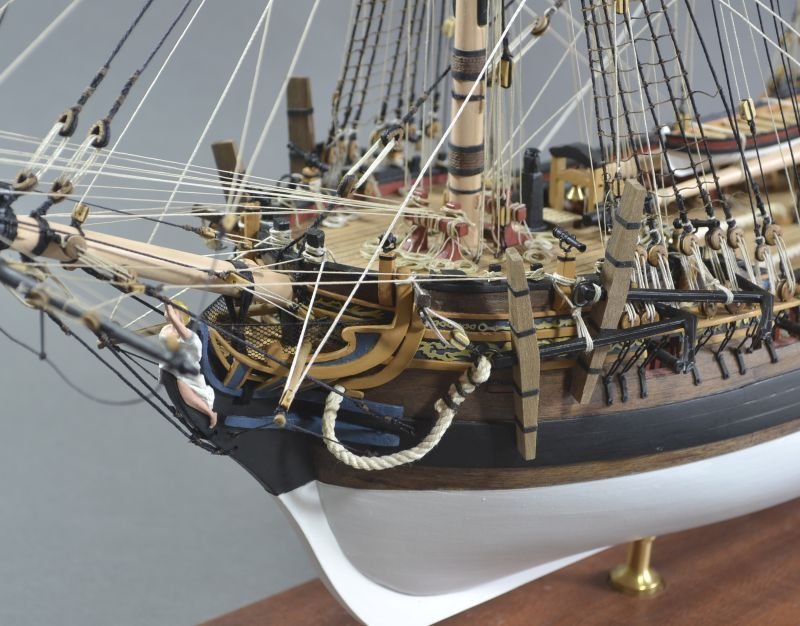
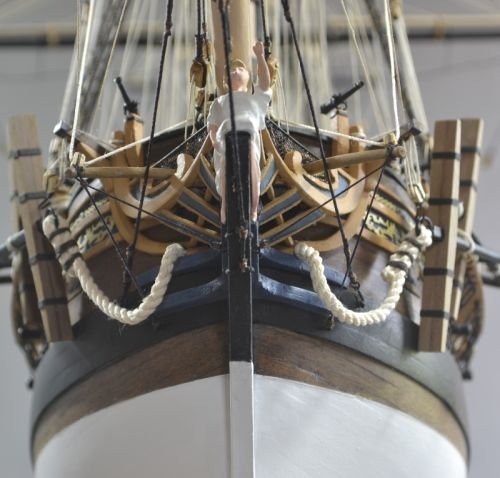
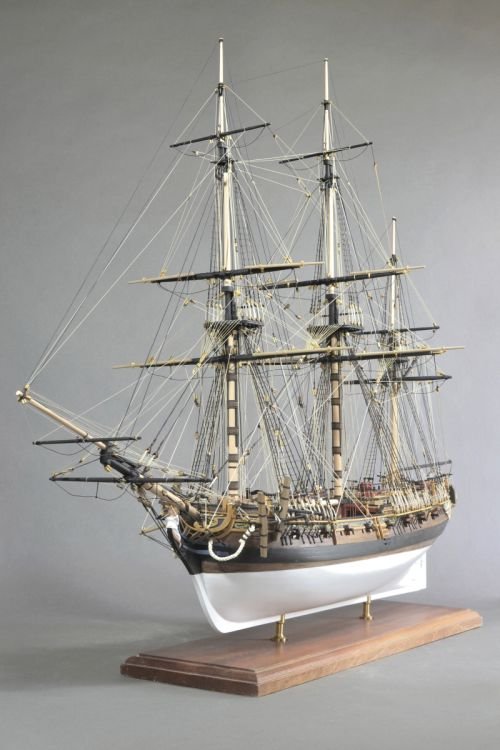
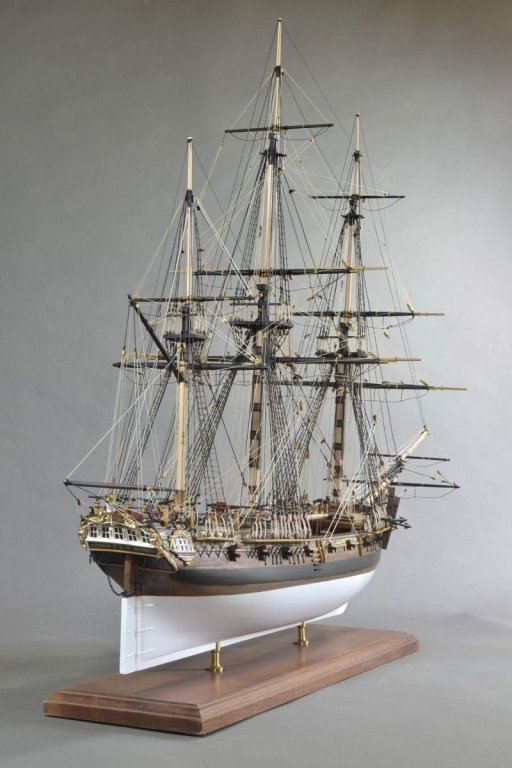
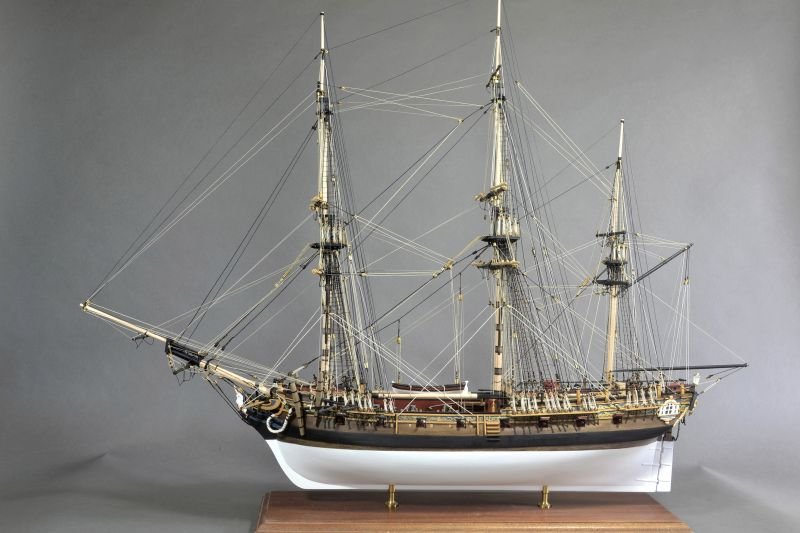
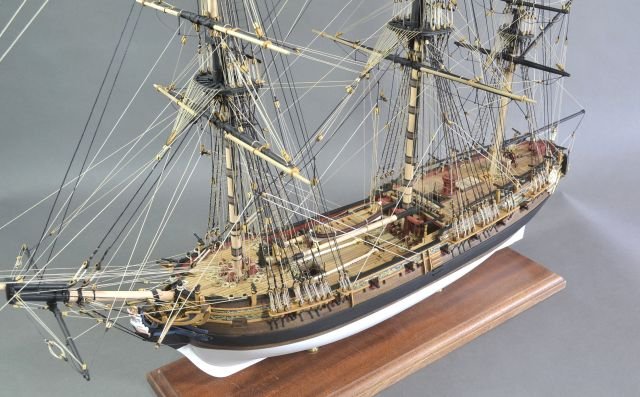
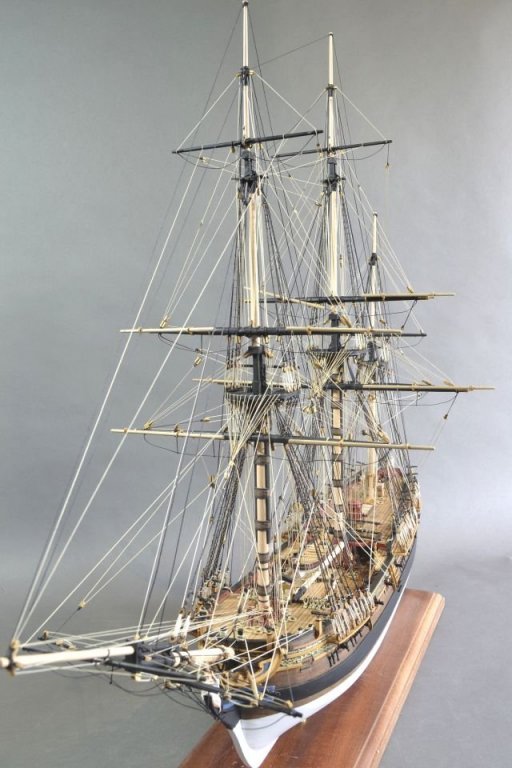
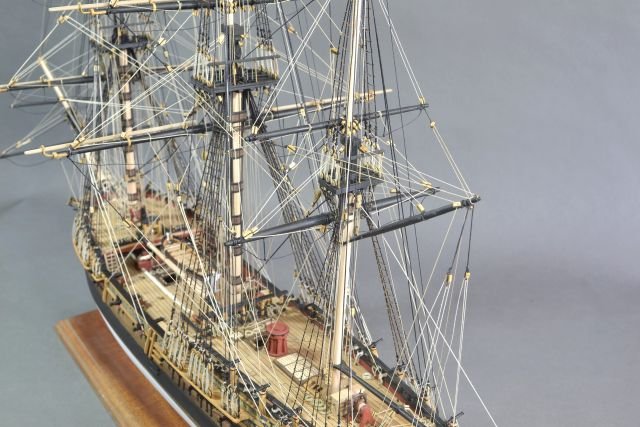
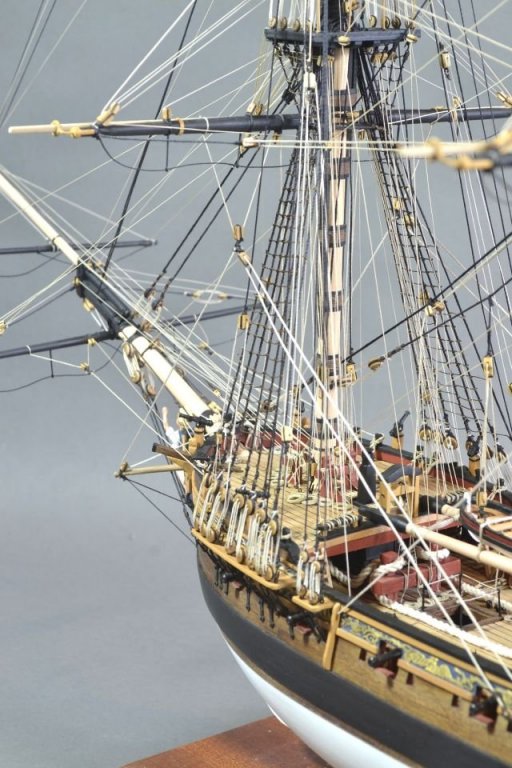
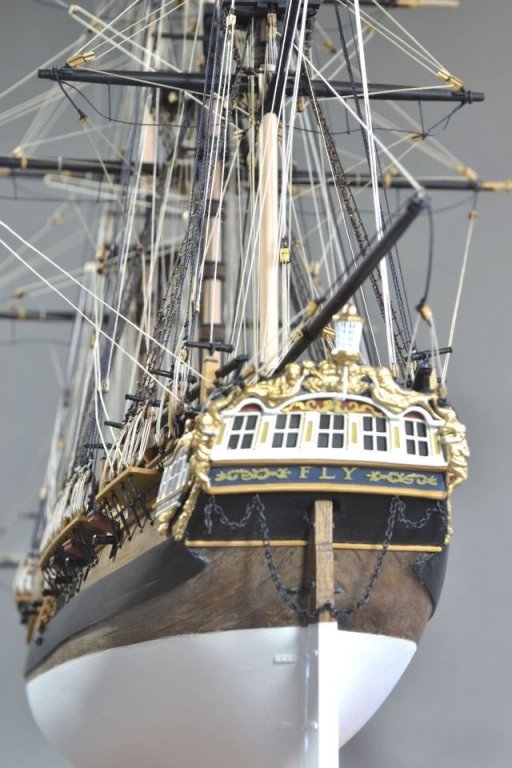
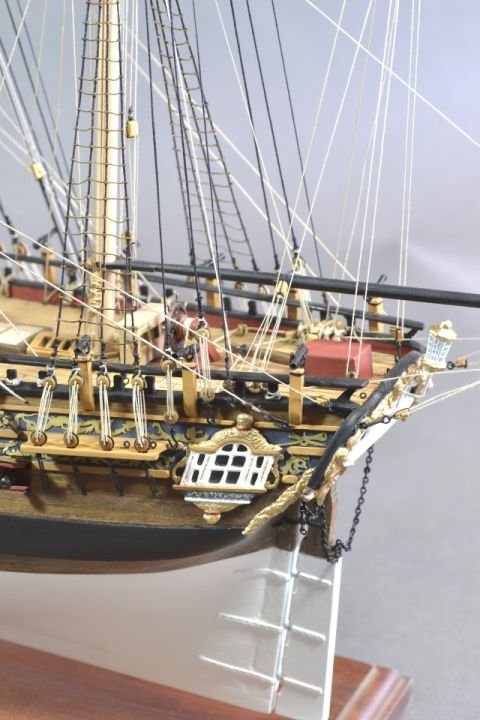
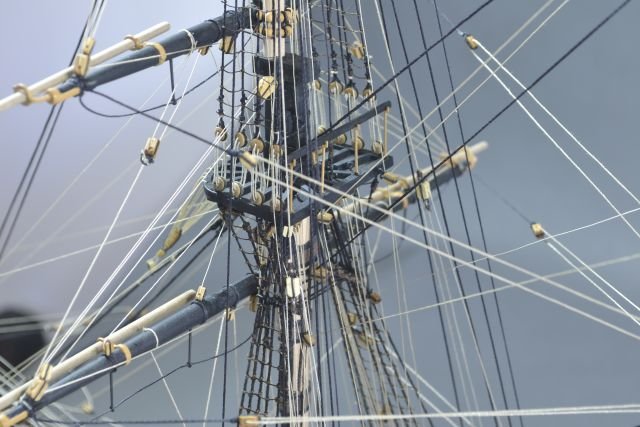
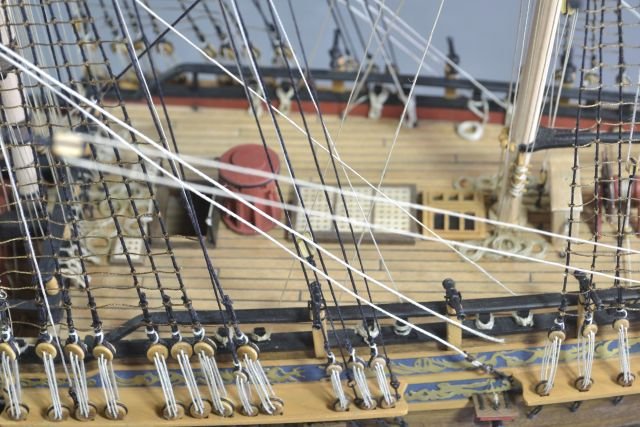
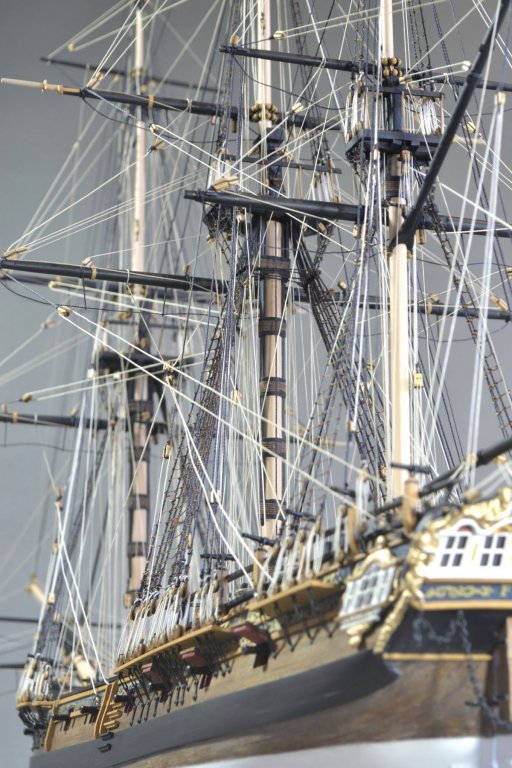
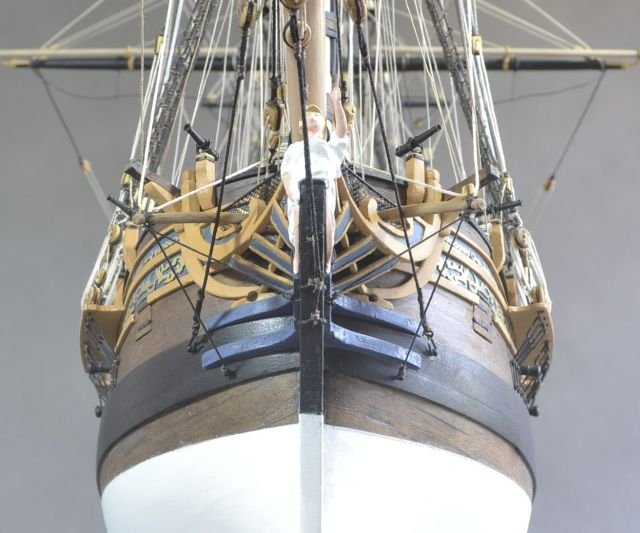
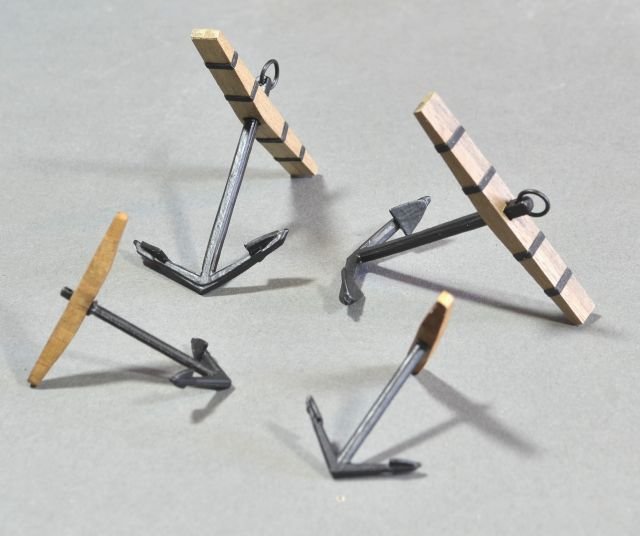
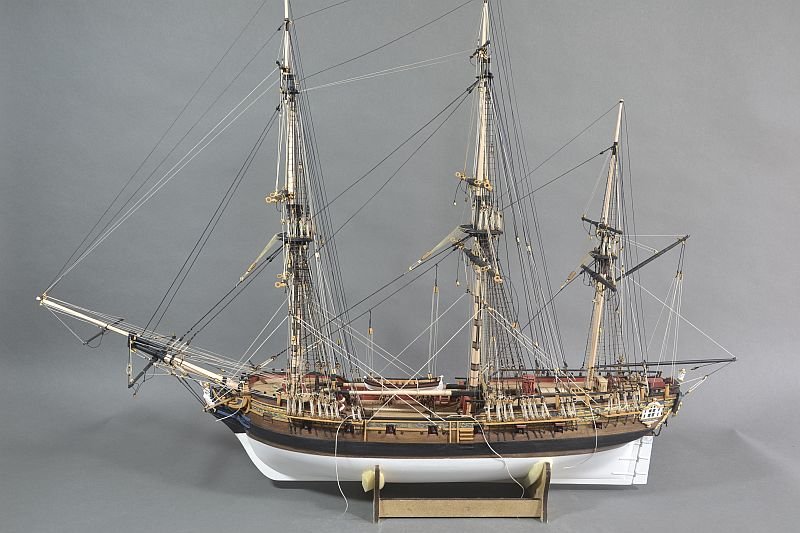
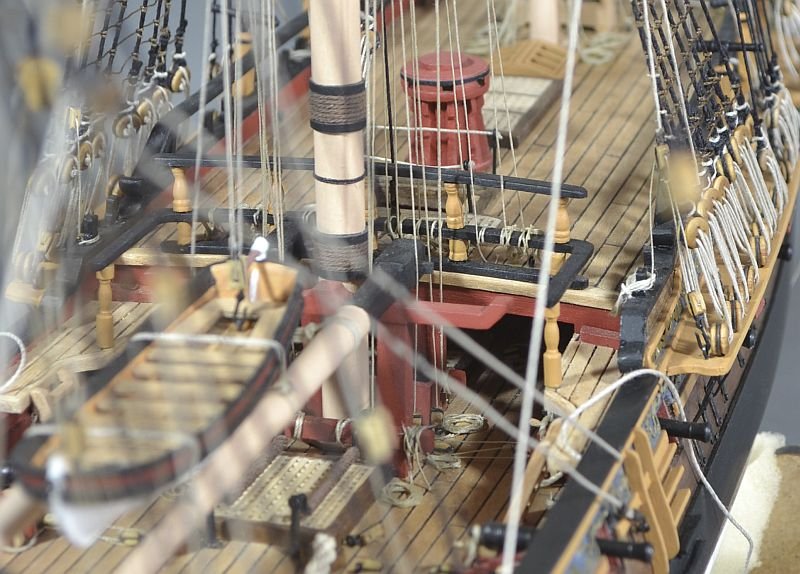
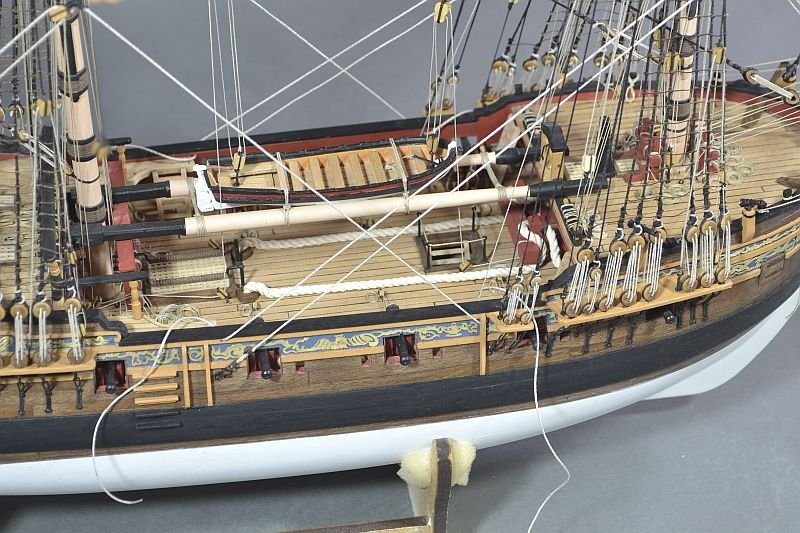
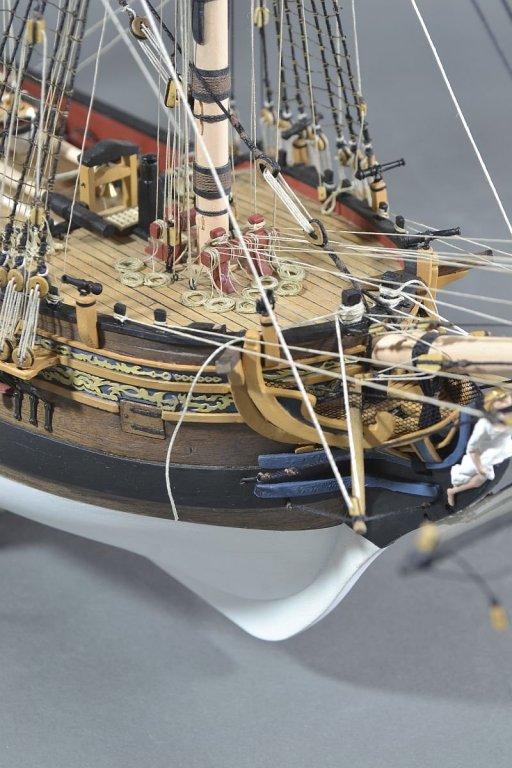
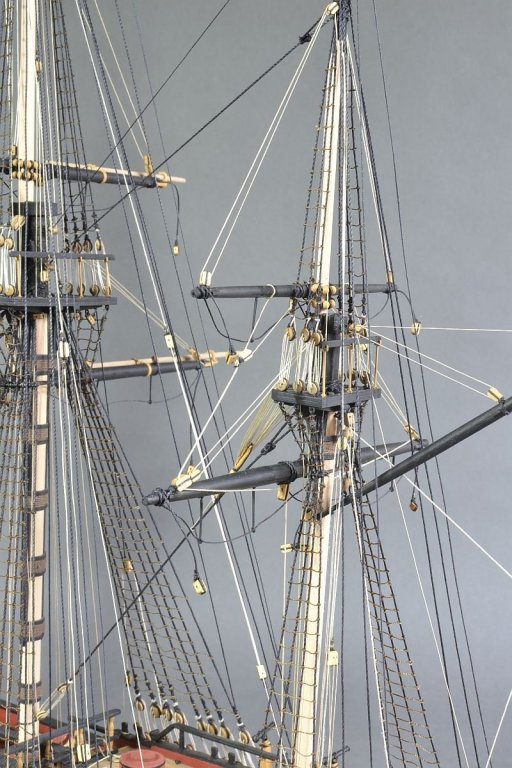
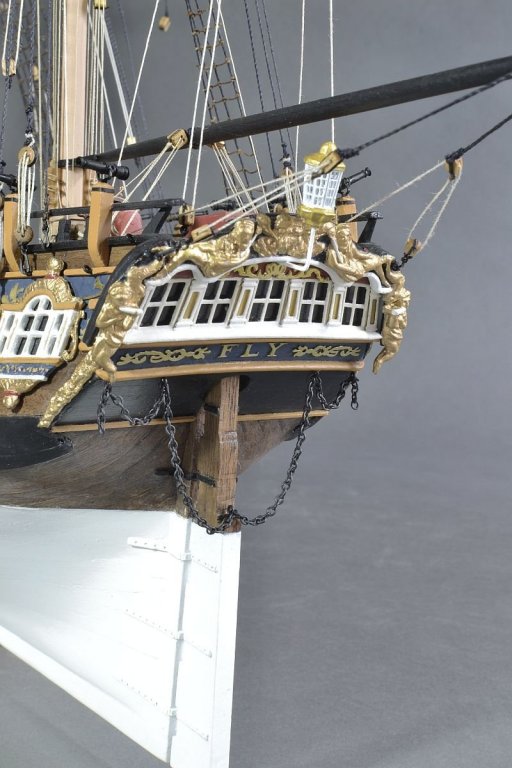
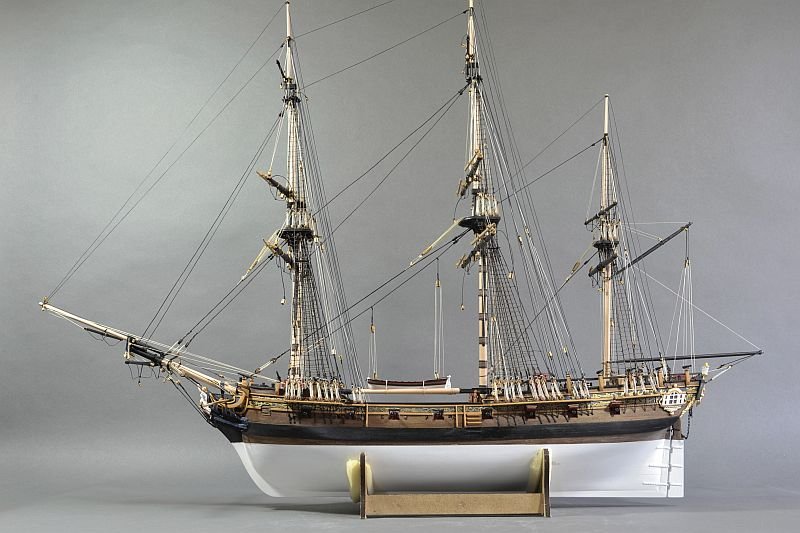
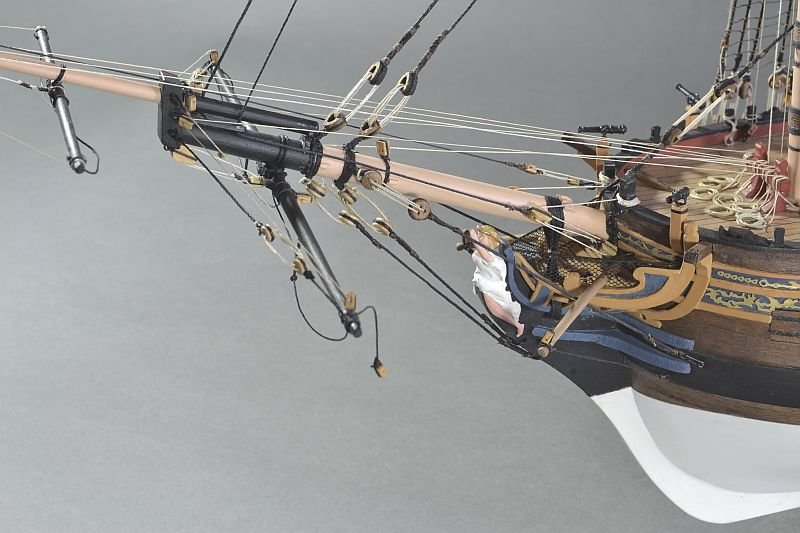
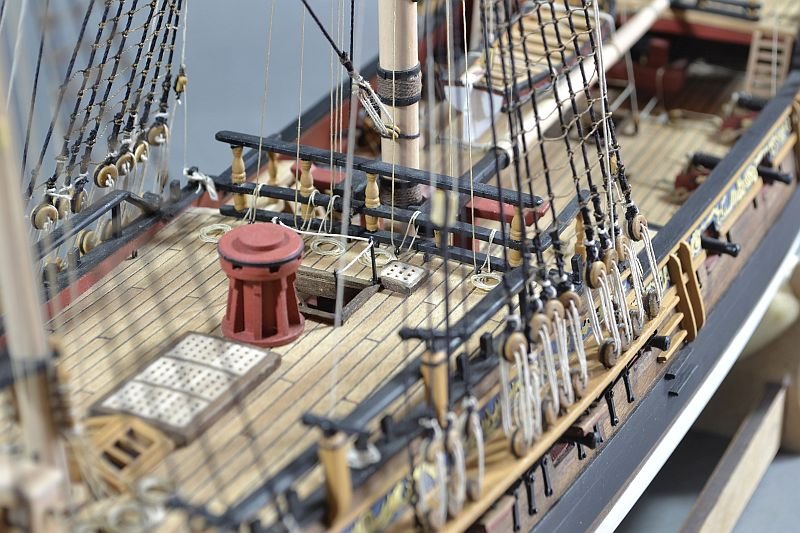
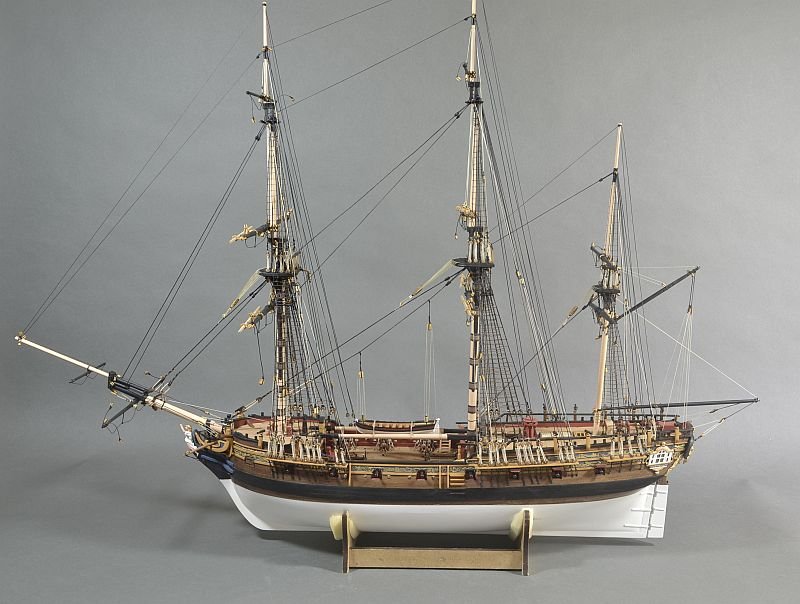
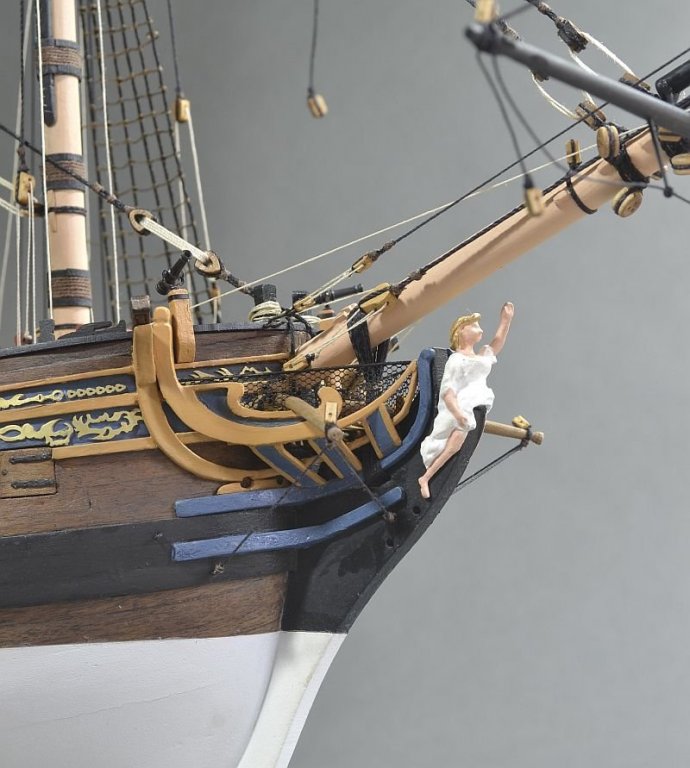
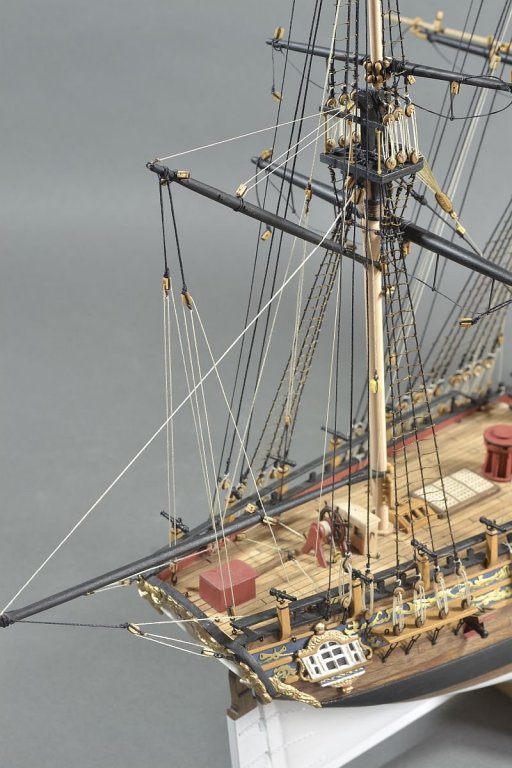
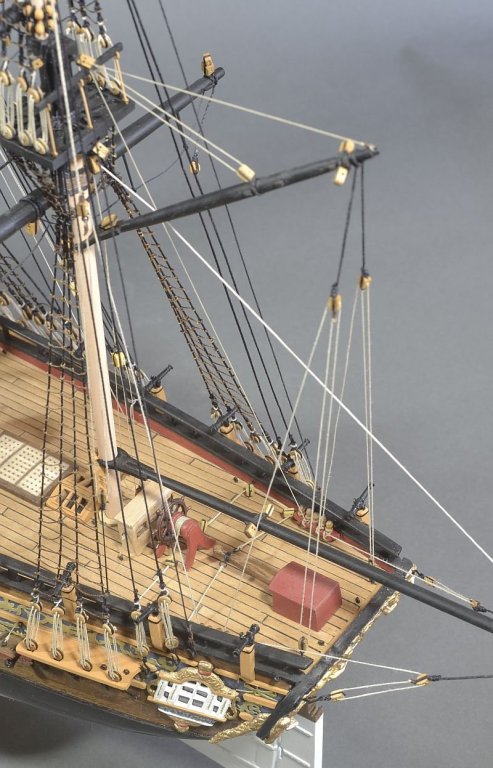
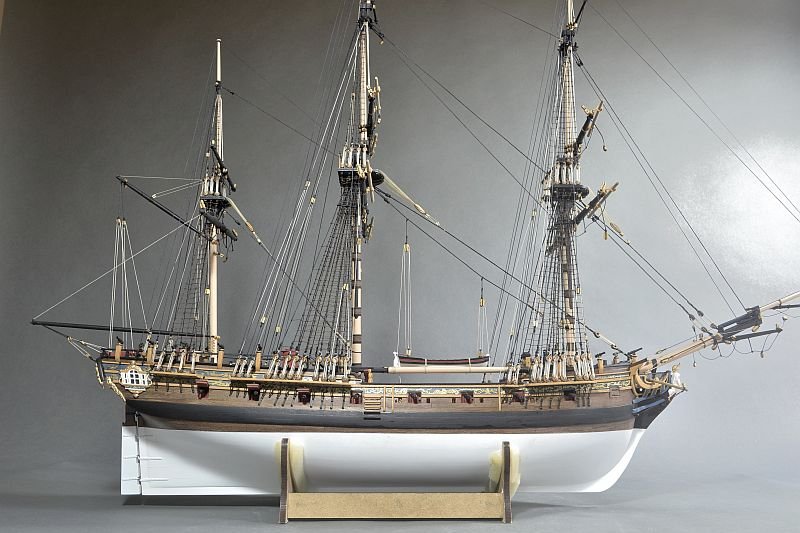
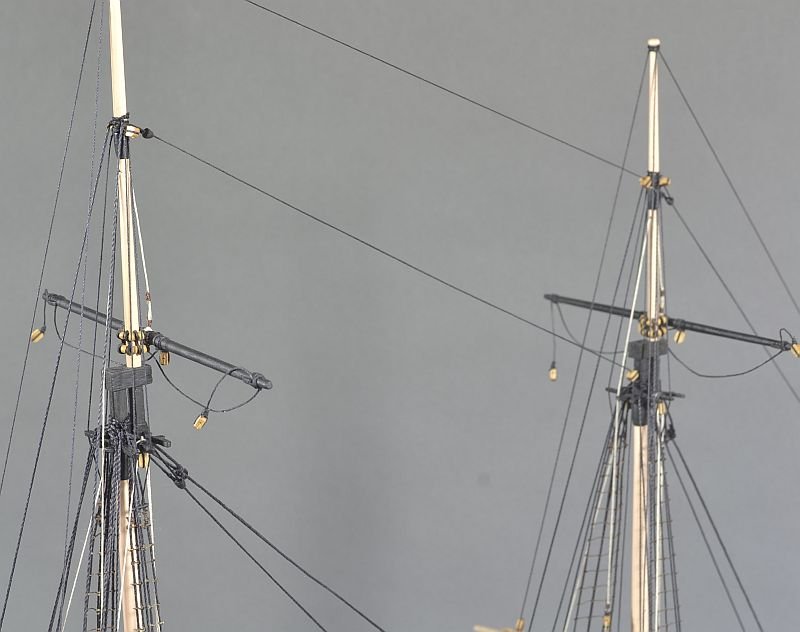
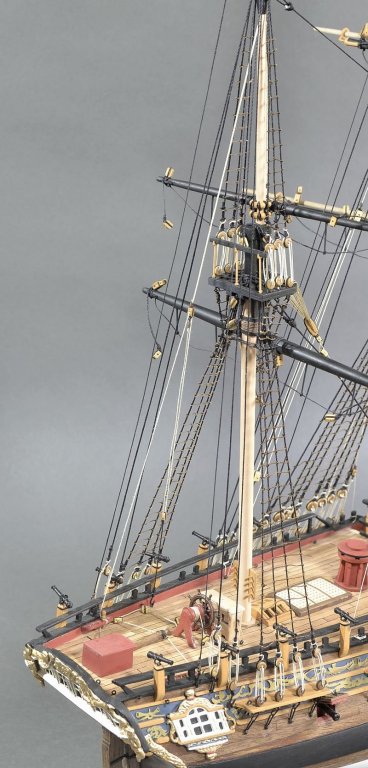
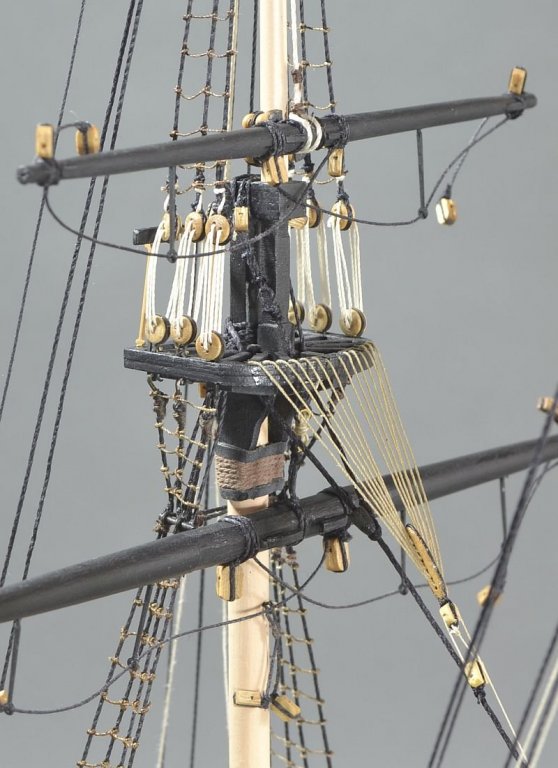
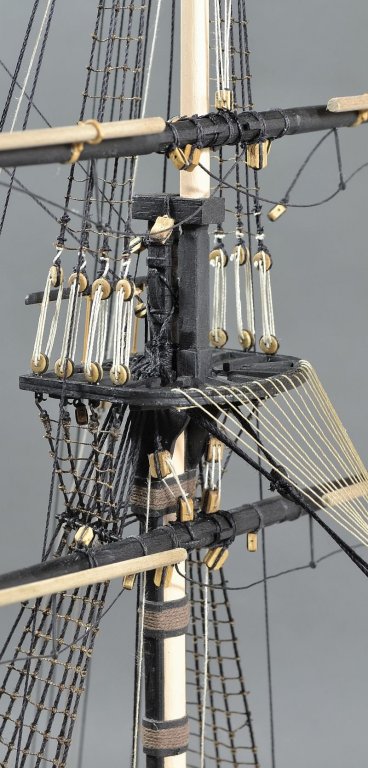
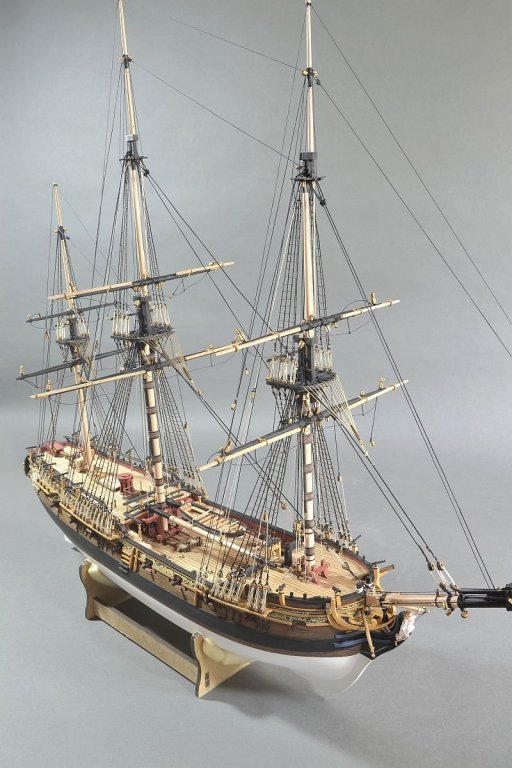
IHello - I think I have finished as I cannot find anymore to do and besides there is no more room to do anything. Seems there is only one other finished Fly on this present site but would be happy to be corrected. Being my second build this kit has been harder as obviously there's more to learn and do especially in the rigging department. A delicate kit to work on - easy to break things. Anyway hopefully this log will help other Fly builders even it's not how to build it. Anchors in place and secured. Overall views. Slightly disappointed with the pull on the stays. Now to sort out a new plinth and glass case. Thanks for looking and the nice comments throughout the build - much appreciated. Would like to add a thank you to Blue Ensign for his help and I got a lot from his Pegasus build Regards Doug
-
Hi - finally finished last rigging sheet (Number 8). Quite a challenge as it got harder to get to or do anything. Thank you landlubber Mike for your comments but in reality this built has not turned out as well as I would like. For example some yards are not aligned perfectly and the Stays are distorted due to attached rigging. Base is temporary while I sort a more suitable sized one and in oak. Sorry if some things I have done are not historically correct. the plans I think show lines to be belayed to the rails but have done them to the Timberheads. Also added a another Cleat as I could not understand how in practice two lines would be tied to one cleat. Next will be the Anchors. Did not think the kit supplied ones were the correct size so bought larger ones. Thanks for looking. Regards Doug
-
Hello Blue Ensign - okay I will run the sheets and tacks on the outside. Did that at first but thought it wrong as they rubbed up against the standing rigging. SkipW - thanks for looking and your comments. Hope your Pegasus is going well. And thank you Martin for comments. Regards Doug
-
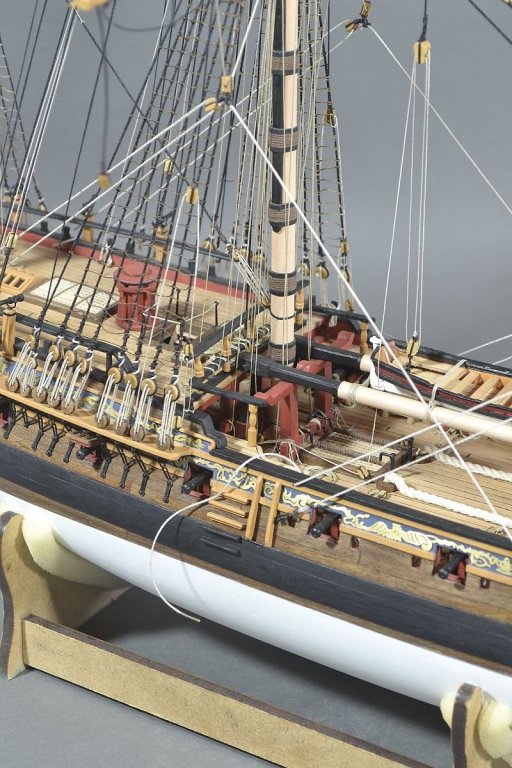
Hello - things are getting rather harder to do. Having to move slowly with concentrated effort with the rigging and it is harder to tie lines off. Some lines not tied off as they will have to be loosened so as to do the rest of the rigging lines. Some photos. The anchor cables in place. As I did not think far enough ahead and prepare the hatch cover to take the cables I have done the same as in my HM Brig Supply build and put the cables through the deck. Thank you for looking in. Regards Doug
-
Martin - you are certainly making life difficult for yourself but it’s all looking good. Regards Doug
- 467 replies
-
- fly
- victory models
-
(and 1 more)
Tagged with:
-
Hi - can anyone please help. Not clear as to how the lines are attached to blocks on the yards? Are they tied to the blocks or go through the block with a knot tied to stop them passing back through? The lines I am referring to have the numbers 48 and 49. Thank you. Doug
-
Thanks SpyGlass for the explanation. Had to make a correction to my last post - the lantern was a Caldercraft item. Doug
-
Hello - and thank you for the likes in the previous posting and thank you Busby for your nice comments and I wish you well with your build. Had a go to slightly improve the dip in the Main Stay. The lantern (Caldercraft) and rudder chain. Bobstays and Bowsprit Shrouds done and so that is Sheet 11 all done. My heart sank once I studied Sheet 12 as there was so much more rigging and it was already getting hard not to lean on existing lines without a fair chance of some damage. Start of Sheet 12 with a Tack Toggle. Not sure if you can see it clearly in picture and not sure what the Tack Toggle does. It looks like a quick release system perhaps. Lines to the rail have all gone through a deck ring before being tied off to the rail. Have added more eyelets than were originally asked for. Thanks for looking. Regards Doug
-
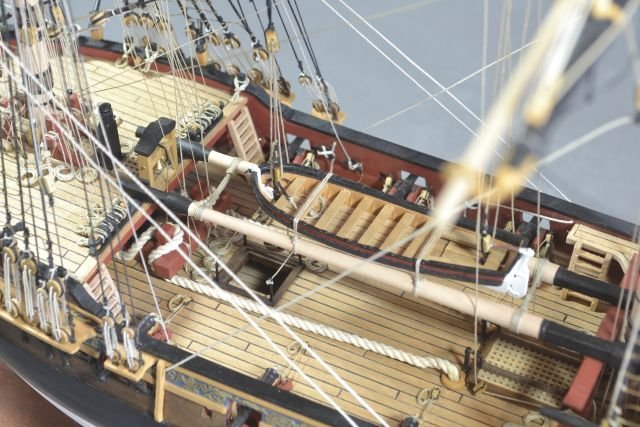
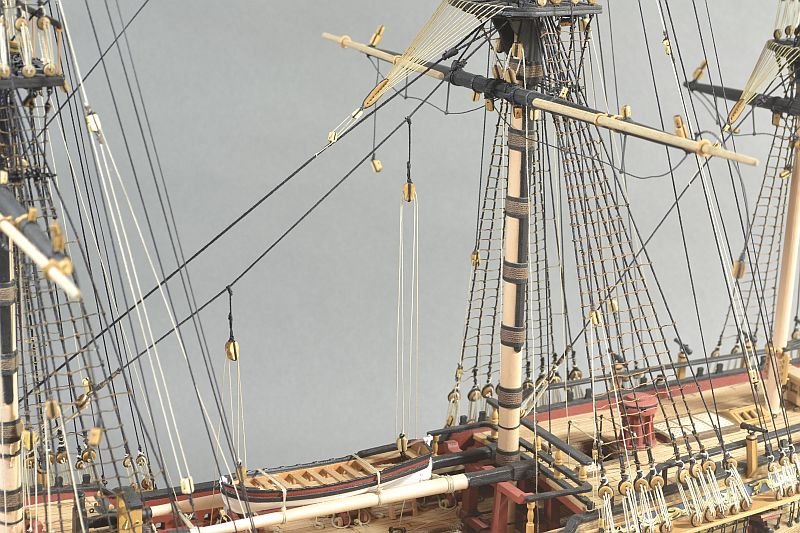
Hello - further steps forward. Top yards attached using smaller Parral bits from my Supply build. Netting in place. Not sure about the style of the netting. Hoist for Ship's boat. Annoyed that I was not able to keep the Stay from sagging. Boom and Gaff are now in place. The Gaff lift line has been tied off to a belaying pin to the side on deck and not as plans to the belaying set up at base of mast. Another overall view Thank you for looking and the 'Likes' - much appreciated. Regards Doug
-
Hello - the progress so far is some yards are up and in position. Not exactly parallel as yet but hopefully will be once fully rigged. Parral set up - seems slightly on the big size. For the top yards will use some left over from my Supply build which are smaller. The Crossjack Tie on the mizzen mast was done slightly different from instructions. Took the centre block off and tried to copy what was illustrated in my book. the Thimbles were made from copper tubing. An overall picture. Thank you for looking and the ' Likes' Doug
-
Now where was I? – Have now completed sheet 10. Had mistakenly headed a photo in my last update (now corrected) as Shifting backstay - not sure why as I had not done them as I had a problem understanding the plans. The photo below shows plans with the Shifting backstay for the Fore mast which as I can see attaches to the Crowsnest area. Anway ignored this and attached as it is for the Main mast. Also was concerned how the lines would interfer with the Shrouds / Ratlines but it turned out not too bad. Did not use the kit supplied Euphroe brass blocks but made some up from a bit of walnut planking – possible they are a bit big. The Boomkins with a slight downward turn. Did in the end find on one of the plans the measurements for them. Thank you for looking and the likes. Regards Doug
-
Hello SkipW - good to see you have started a log. The thread I used was Gutermann (CA02776) 100% linen - little to no fuzz. Good luck with your build. Regards Doug
- 47 replies
-
Hello Skip - I stick the planks down with a few drops of super glue and the thread is dipped into diluted PVA glue and pulled through a small sponge to get the excess off before laying up against plank. It obviously will be one piece of thread running the full length of the deck with small strips of thread for the end joints between the planks. These small bits will need to have dried before you can cut them so you can do do the next full length. Doug
-
Hello SkipW - the balsa is not supplied as part of the build - it seems a things that a lot of builders on this site do as it does help with the tricky extreme curved sections. Good luck with your build - you will have have plenty of good examples for guide in your build especially Blue Ensign (I expect you have seen his Pegasus which probably inspired you to have a go) Regards Doug
-
Hello - Thank you for the generous comments and 'likes'. Martin - just get on with it Sheet 10 nearly done with the Crowsfeet to do. So that is all the Stays and Preventer Stays. Have this book which has been a great help as the plans at times are hard to see what's what. Clear illustrations. Mouses shaped from bits of dowel turned on a Proxxon lathe. Fore Topmast Stay and Preventer Stay secured. Ends will be sorted with a rope coil later. Overall pictures. Thanks for looking. Regards Doug
-
Thank you Blue Ensign. The shrouds maybe not tight enough - odd wobble here and there. No way can I achieve what you do with all the historical accuracy - it’s hard enough just to do the basics Doug
-
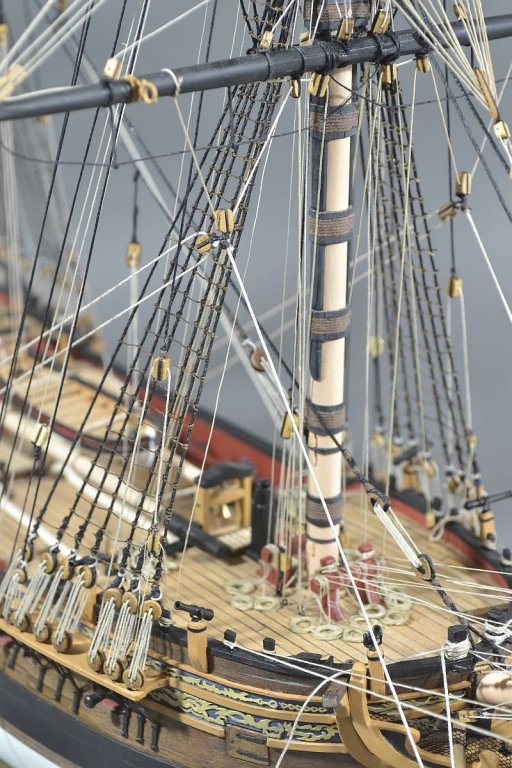
Hello - have just completed shrouds and ratlines. had realised that I had forgotten the supports under the quarter deck. There should be two - one in the middle and one on the end. At this late stage just put one on end as the other is not seen. Used pieces of balsa wood to help with the spacing between deadeyes. The futtock staves are attached to eyelets bent over to make a hook. The ratlines are natural thread dyed with diluted walnut stain and the spacing between is 5mm or at least meant to be. Felt I could have done better with the rigging - not completely happy with it. Anyway the main preventer stay I guess next. Thanks for looking in. Regards Doug
-
Looking good Johnnyreg. Make sure the grate (under quarter deck) is okay to allow the steps to be positioned down from the quarter deck. I made mine slightly smaller to allow room for the steps. Regards Doug
- 110 replies
-
Okay - Thanks for the information Blue Ensign. Wont worry about seats of ease but may put a rail /netting and as you say no need to do the Boomkins yet. I take it a length of 40 mm will be fine? Thank you Doug
-
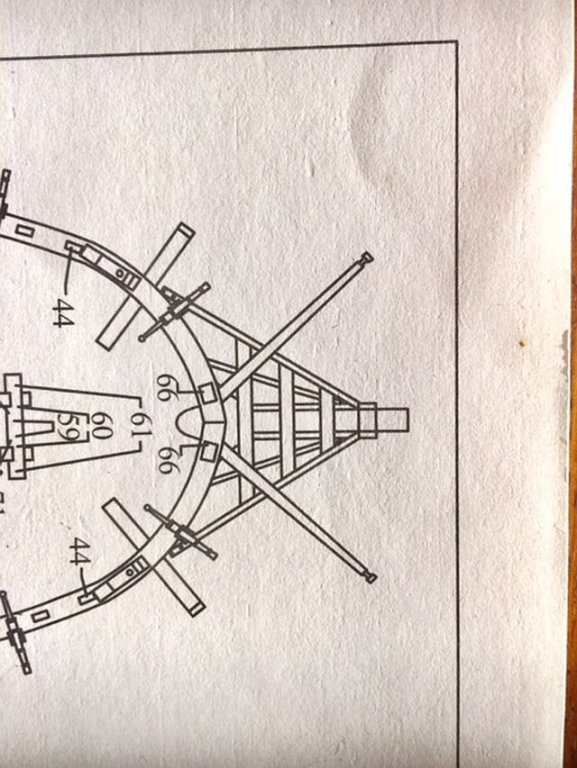
Thanks Blue Ensign - sort of glad to get them done but it now means the rigging is next The plans look difficult to see precisely what is happening in regards to some of the rigging. I do have a question concerning the 'tusks' on the bow - they are shown on the rigging plans but no construction details. Am guessing they made with 2mm dowel or maybe 3mm and about 40mm in length? Thank you to those looking in the the 'likes'. Regards Doug
About us
Modelshipworld - Advancing Ship Modeling through Research
SSL Secured
Your security is important for us so this Website is SSL-Secured
NRG Mailing Address
Nautical Research Guild
237 South Lincoln Street
Westmont IL, 60559-1917
Model Ship World ® and the MSW logo are Registered Trademarks, and belong to the Nautical Research Guild (United States Patent and Trademark Office: No. 6,929,264 & No. 6,929,274, registered Dec. 20, 2022)
Helpful Links
About the NRG
If you enjoy building ship models that are historically accurate as well as beautiful, then The Nautical Research Guild (NRG) is just right for you.
The Guild is a non-profit educational organization whose mission is to “Advance Ship Modeling Through Research”. We provide support to our members in their efforts to raise the quality of their model ships.
The Nautical Research Guild has published our world-renowned quarterly magazine, The Nautical Research Journal, since 1955. The pages of the Journal are full of articles by accomplished ship modelers who show you how they create those exquisite details on their models, and by maritime historians who show you the correct details to build. The Journal is available in both print and digital editions. Go to the NRG web site (www.thenrg.org) to download a complimentary digital copy of the Journal. The NRG also publishes plan sets, books and compilations of back issues of the Journal and the former Ships in Scale and Model Ship Builder magazines.


