Joop-Ham
-
Posts
17 -
Joined
-
Last visited
Recent Profile Visitors
1,090 profile views


-
 flying_dutchman2 reacted to a post in a topic:
First carving attempt by Joop
flying_dutchman2 reacted to a post in a topic:
First carving attempt by Joop
-
popash42 reacted to a post in a topic:
First carving attempt by Joop
-
NovaStorm reacted to a post in a topic:
First carving attempt by Joop
-
Joop-Ham reacted to a post in a topic:
Chebece 1750 by Jeronimo - FINISHED
-
Joop-Ham reacted to a post in a topic:
HMS Triton Cross Section by Derek C - FINISHED
-
Joop-Ham reacted to a post in a topic:
La Renommée by JOUFF - 1/48 - French Frigate - by Patrick JOUFFRIN
-
Joop-Ham reacted to a post in a topic:
Bristol Pilot Cutter by michael mott - 1/8 scale - POF
-
Joop-Ham reacted to a post in a topic:
Pelikaan 1999 by kees de mol - FINISHED - scale 1/75 - Dutch Beamtrawler
-
Joop-Ham reacted to a post in a topic:
L'Amarante 1749 by giampieroricci - FINISHED - 1:30 - French Corvette
-
Joop-Ham reacted to a post in a topic:
Pelikaan 1999 by kees de mol - FINISHED - scale 1/75 - Dutch Beamtrawler
-
PeteB reacted to a post in a topic:
THE 74-GUN SHIP by Jeronimo
-
Nirvana reacted to a post in a topic:
Workshop Advice
-
Omega1234 reacted to a post in a topic:
Fleet Biplane by CDW - FINISHED - Concept Models - 1:4 - Wood Construction
-
mtaylor reacted to a post in a topic:
Fleet Biplane by CDW - FINISHED - Concept Models - 1:4 - Wood Construction
-
CDW reacted to a post in a topic:
Fleet Biplane by CDW - FINISHED - Concept Models - 1:4 - Wood Construction
-
Canute reacted to a post in a topic:
Fleet Biplane by CDW - FINISHED - Concept Models - 1:4 - Wood Construction
-
 Hello, That thing is Huge. Do you have any clue abot the weight of the finished plane?. Nice to see a plane here, i have build and flown some 4 meter sailing gliders, old models as wel as modern ones.
 -
Hello Chris, I am a bit jealous about your nice workshop. One thing that come to mind with me is a place for your sharpning tools. If you have them ready all the time you actually use it far more and thus you work with sharper tools.
-
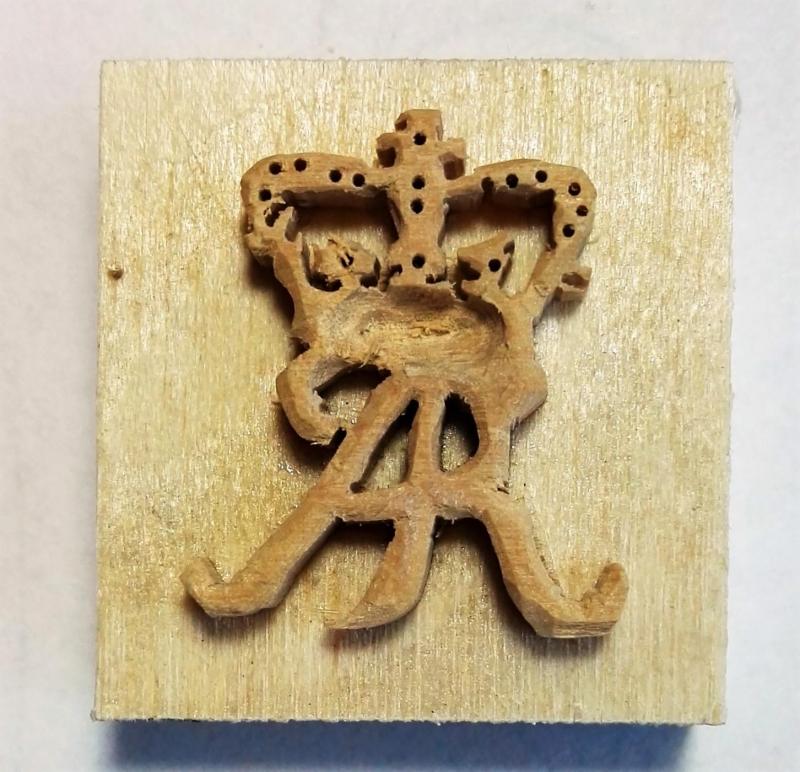
Disaster!! After working for 3 hours at the carving I tried to make a hole in the center of the crown. Because of the thickness of the wood I thought it might be clever to try it with a small routerbit and my trusted proxxon . It didn't work out at all . Slipped twice and decided after to quit. Next step as unsolving the glue. That also didn't work out well. After soaking in Isopropanol for 8 hours nothing happend . So in the picture is my first attempt to carve. Nice to do but I need a lot of practice .
-
Hello all, Thanks for all the likes and advice I recieved, special that of jaager. Thanks for that. Looking forward to start carving.
-
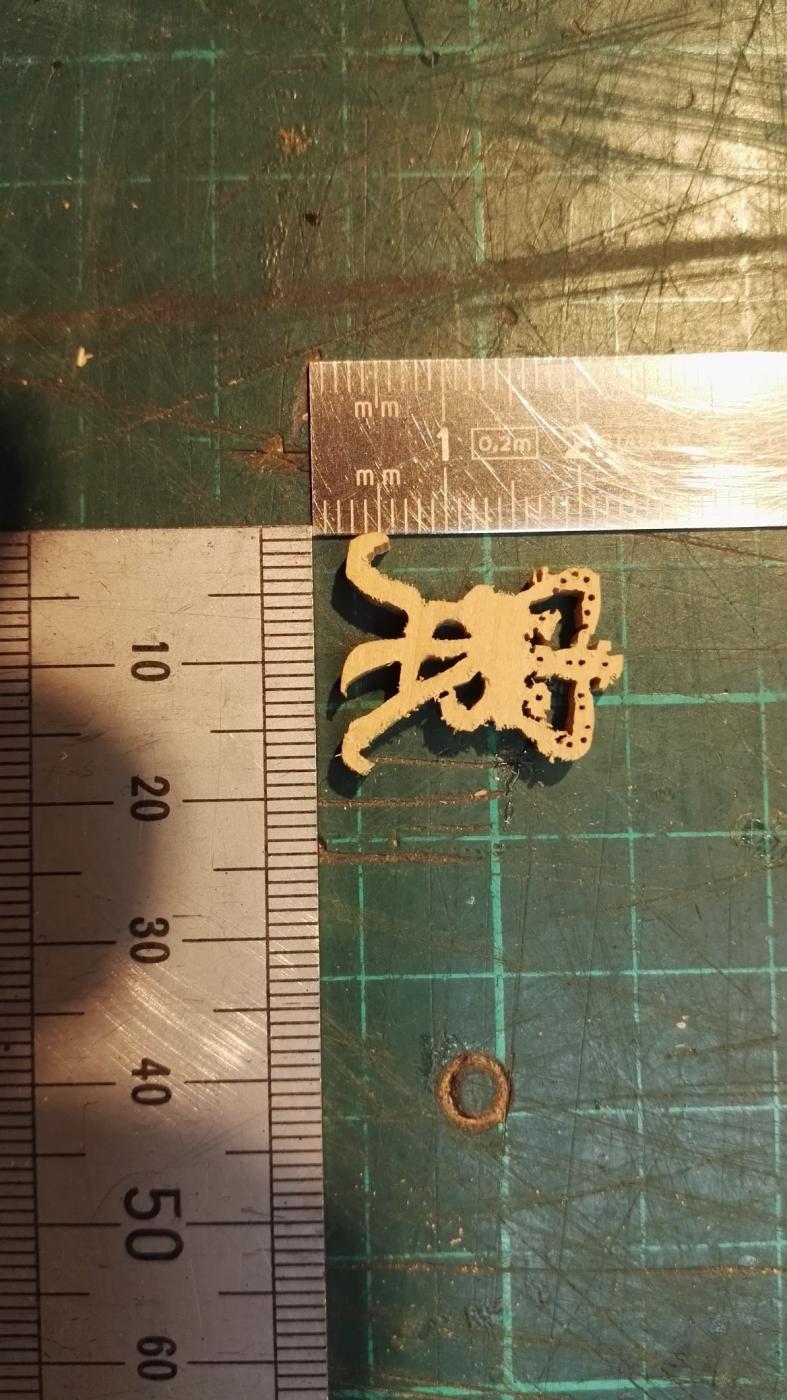
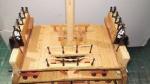
Hello all. The disadvantage of living in the Netherlands is that the postal costs for a little package is so enormous ( 15$) that I decided to try to make the blanks myself instead of ordering them at the NRG. At first I printed the paper on 100%. Glued it on a piece of pear of 3,5 mm(~9/64") and started sawing with my litlle proxxon scroll saw. With the help of my trusted loup I was able to make a neat example of a crown. The next very tricky step was to drill the holes with a 0.3 mm (~1/64") drill bit. With the help of some coffee and proper daylight this went well. all the holes went in on the right spot without breaking any drill. Next step will be to mount it on a piece of wood and start carving. The picture is the result of a nice couple of hours.

-
Hello all, thanks for the quick reply. Mike, I will look for that link and see if it is what I'm looking for. Gunther and Grant, think that is the method I'm looking for Will make some pictures while making them, although it might be in a couple of months. Joop Ham
-
Hello all, Surfing this wonderfull website for over 2 years and looking at all the wonderfull models that are made by true artists I have a question about blocks. Currentlly I am building a cross section of the USS Constitution from Mamoli and the blocks that comes with the kit are terrible. I'm thinking to make them myself and if i'm correct there are some tutorials about making them from Chuck or EdT, however I can't find them. Does anyone know where these tutorials are placed? I've spent a complete evening surching but iI think I'm doing something wrong. With regards, Joop Ham
-
THE 74-GUN SHIP by Jeronimo
Joop-Ham replied to Jeronimo's topic in - Build logs for subjects built 1751 - 1800
Speechless. A marvel of craftmanship. -
Help with Proxxon MF70
Joop-Ham replied to Bluto 1790's topic in Modeling tools and Workshop Equipment
Hello Bluto. Looks the problem is on the adjustment of the Y-axis. The hexagonal screws are on the leftside of the machine under the X table. Loosen the nut, tighten with the allen screw and tighten te nut again this should do the trick. -
ancre Le Fleuron 1729 by rekon54 - 1:24
Joop-Ham replied to rekon54's topic in - Build logs for subjects built 1501 - 1750
Hallo reckon54, I admire your eye for detail and craftmanship -
ancre Le Fleuron 1729 by rekon54 - 1:24
Joop-Ham replied to rekon54's topic in - Build logs for subjects built 1501 - 1750
Again speechless. I wish you lots of happy building hours on this project for the coming year. Joop -
ancre Le Fleuron 1729 by rekon54 - 1:24
Joop-Ham replied to rekon54's topic in - Build logs for subjects built 1501 - 1750
Pure craftmanship! Started to read this thread this morning and blown away by your skills and eye for detail. Thanks for the inspiration to continu my own sruggle with the san franciso. Joop Ham