Bedford
-
Posts
1,285 -
Joined
-
Last visited
Content Type
Profiles
Forums
Gallery
Events
Everything posted by Bedford
-
 Ah, I suppose I should have realised that you'd have the LED colour under control given your attention to detail.
 -
I've only just found this build because it was featured on facebook, wish I'd seen it sooner, exceptional work! I only add this because of your obvious drive for aged realism, as someone who is also from an electrical background the colour of the masthead LED really stands out as not fitting with the boat, it seems to be of the 5000 to 6000K colour range (daylight). It would look so much more authentic if you could get those LED chips in 3300K (warm white) because that is much closer to the old incandescent lamps.
-
I can see the logic in that design but pity the poor deck crew having wet feet all the time. Beautiful work as usual.
-
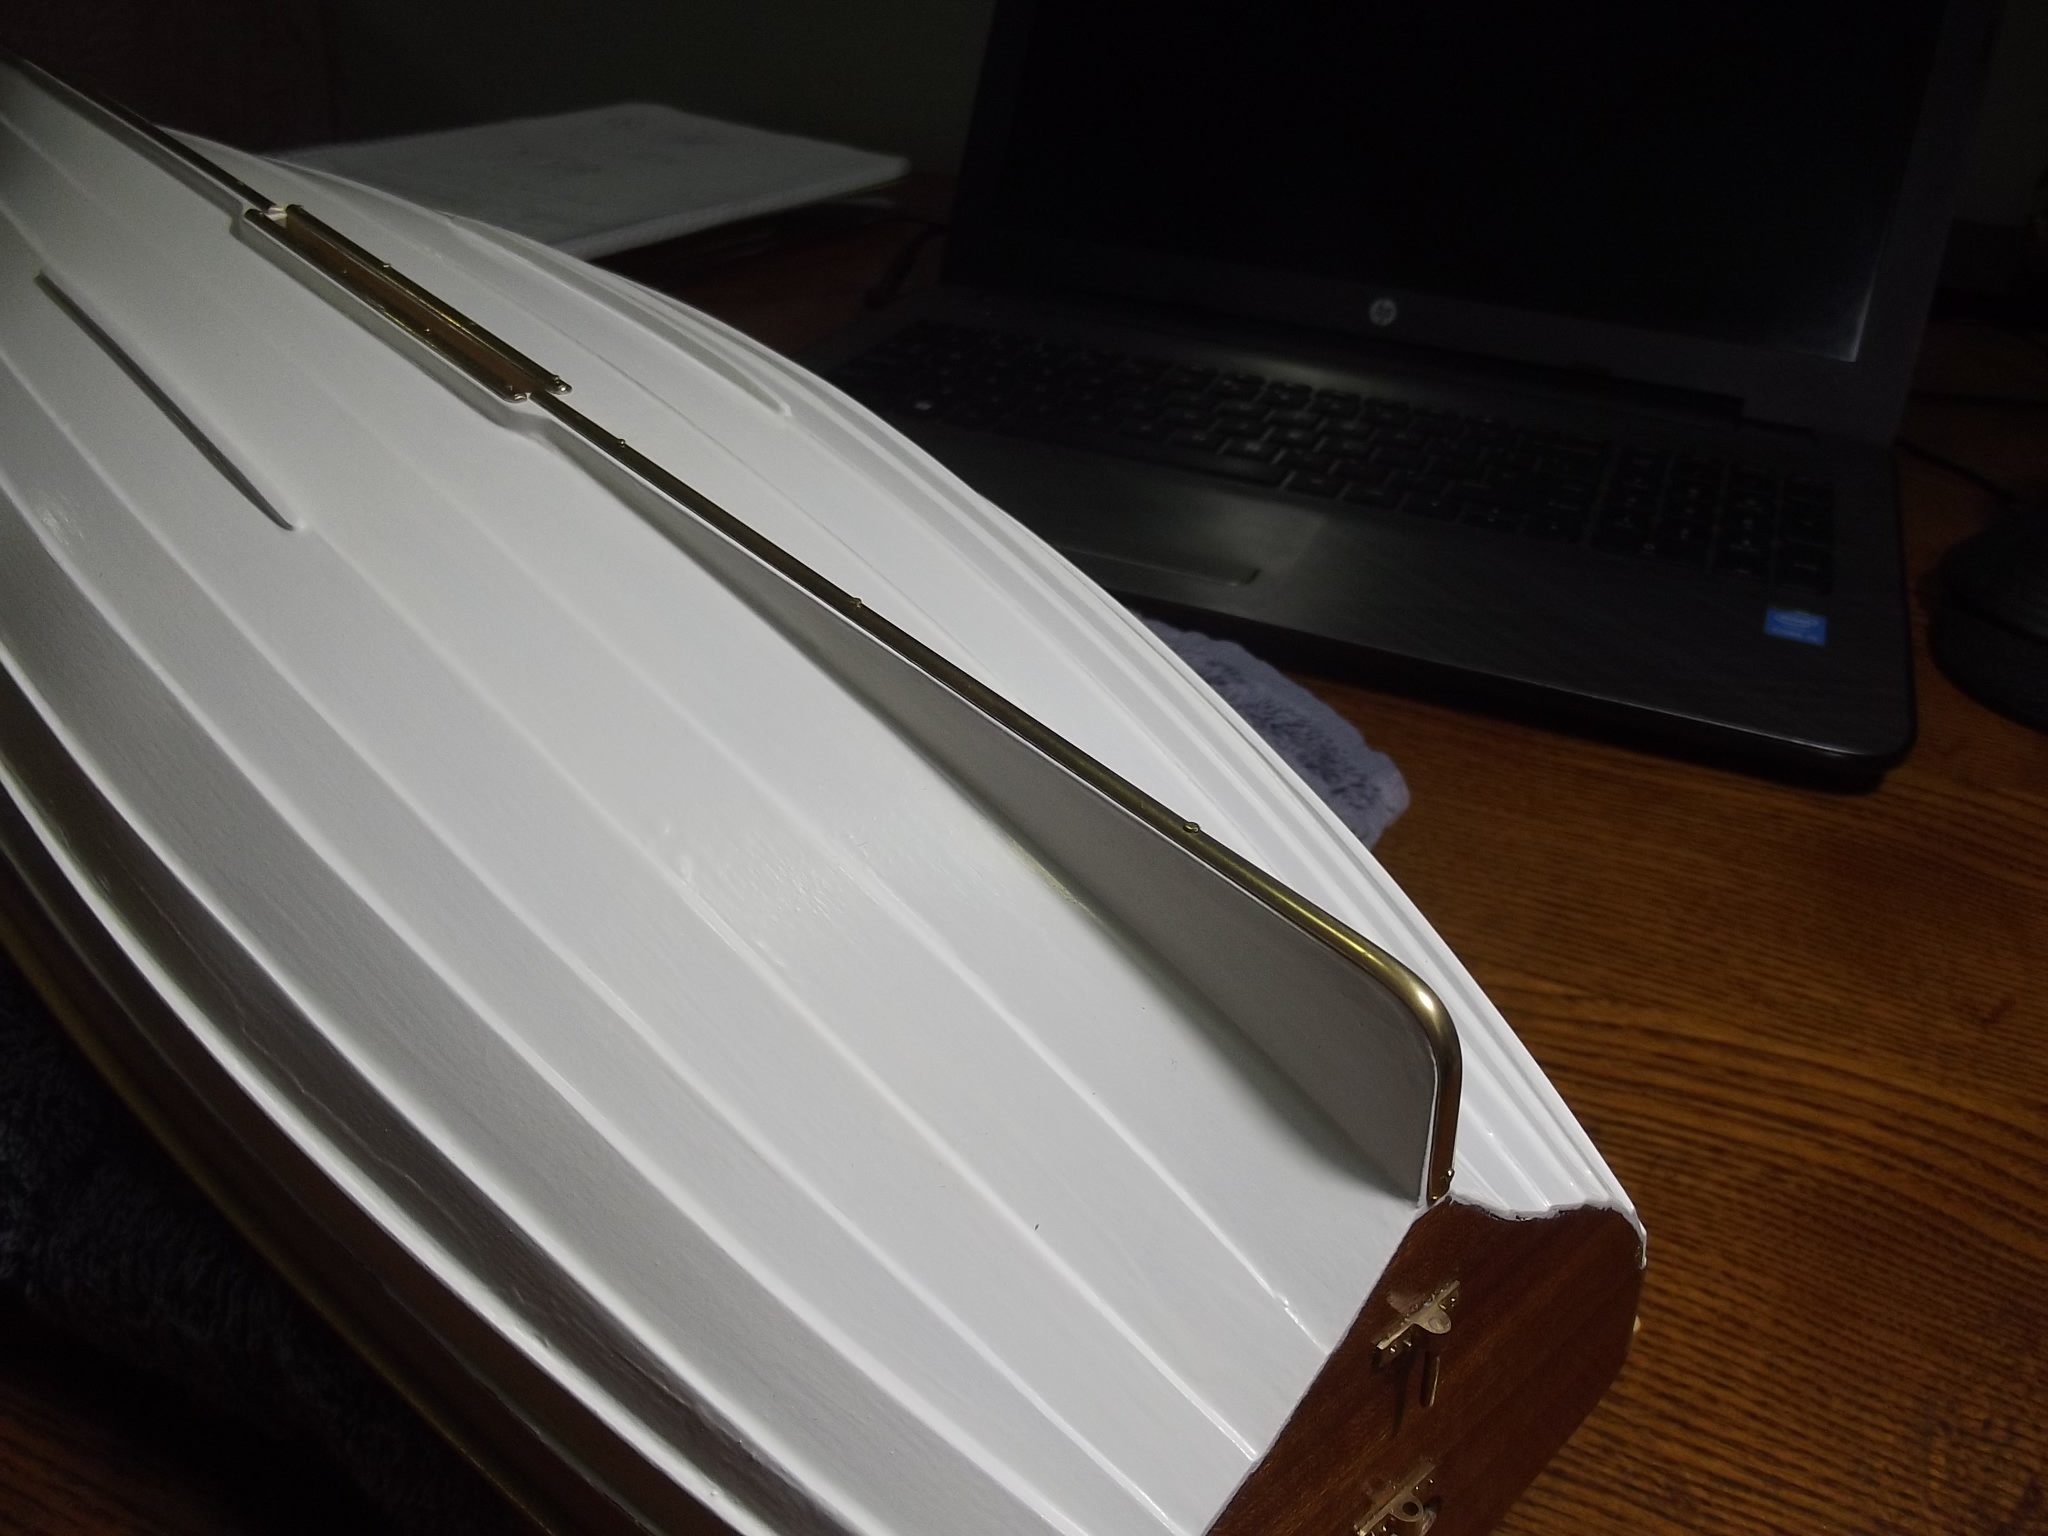
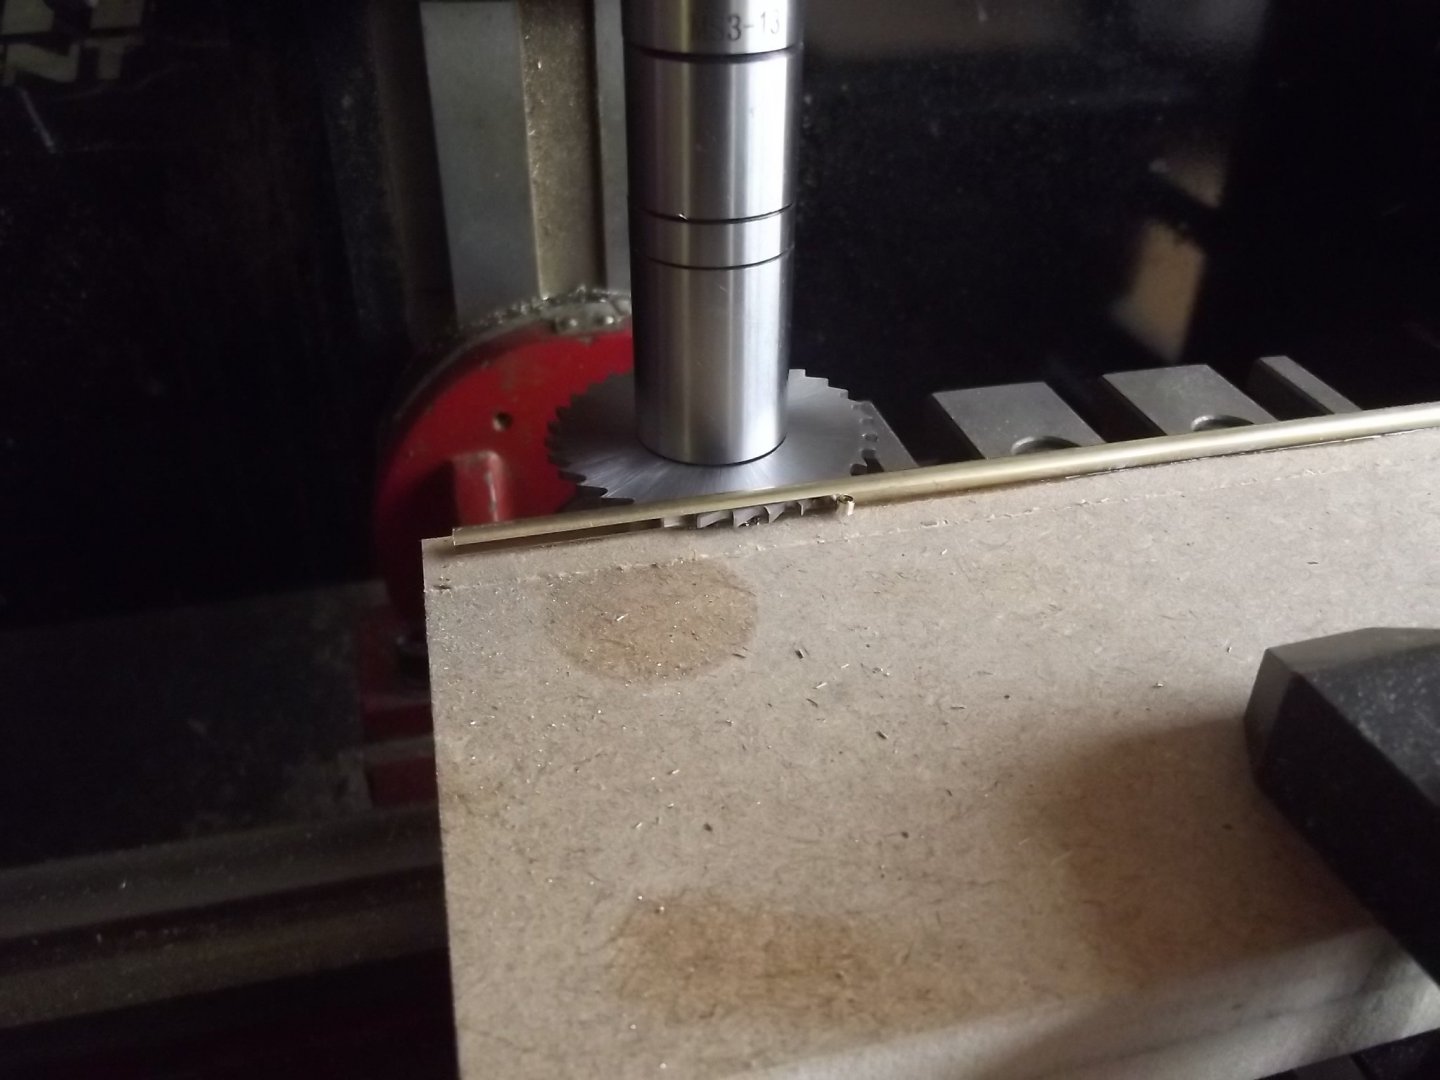
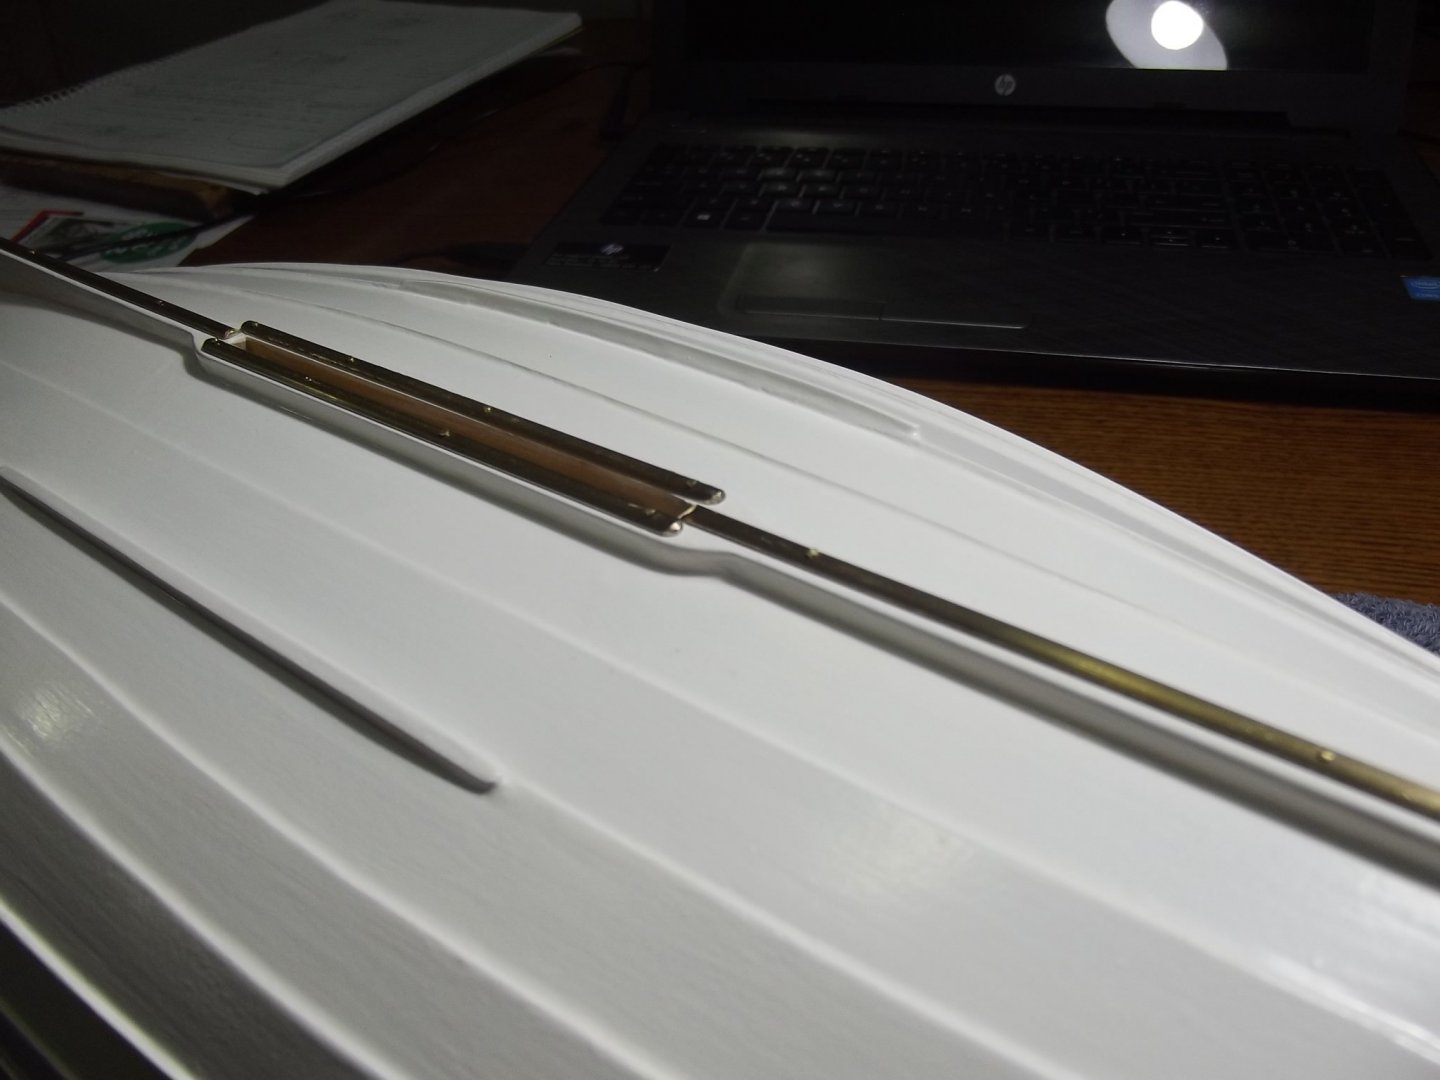
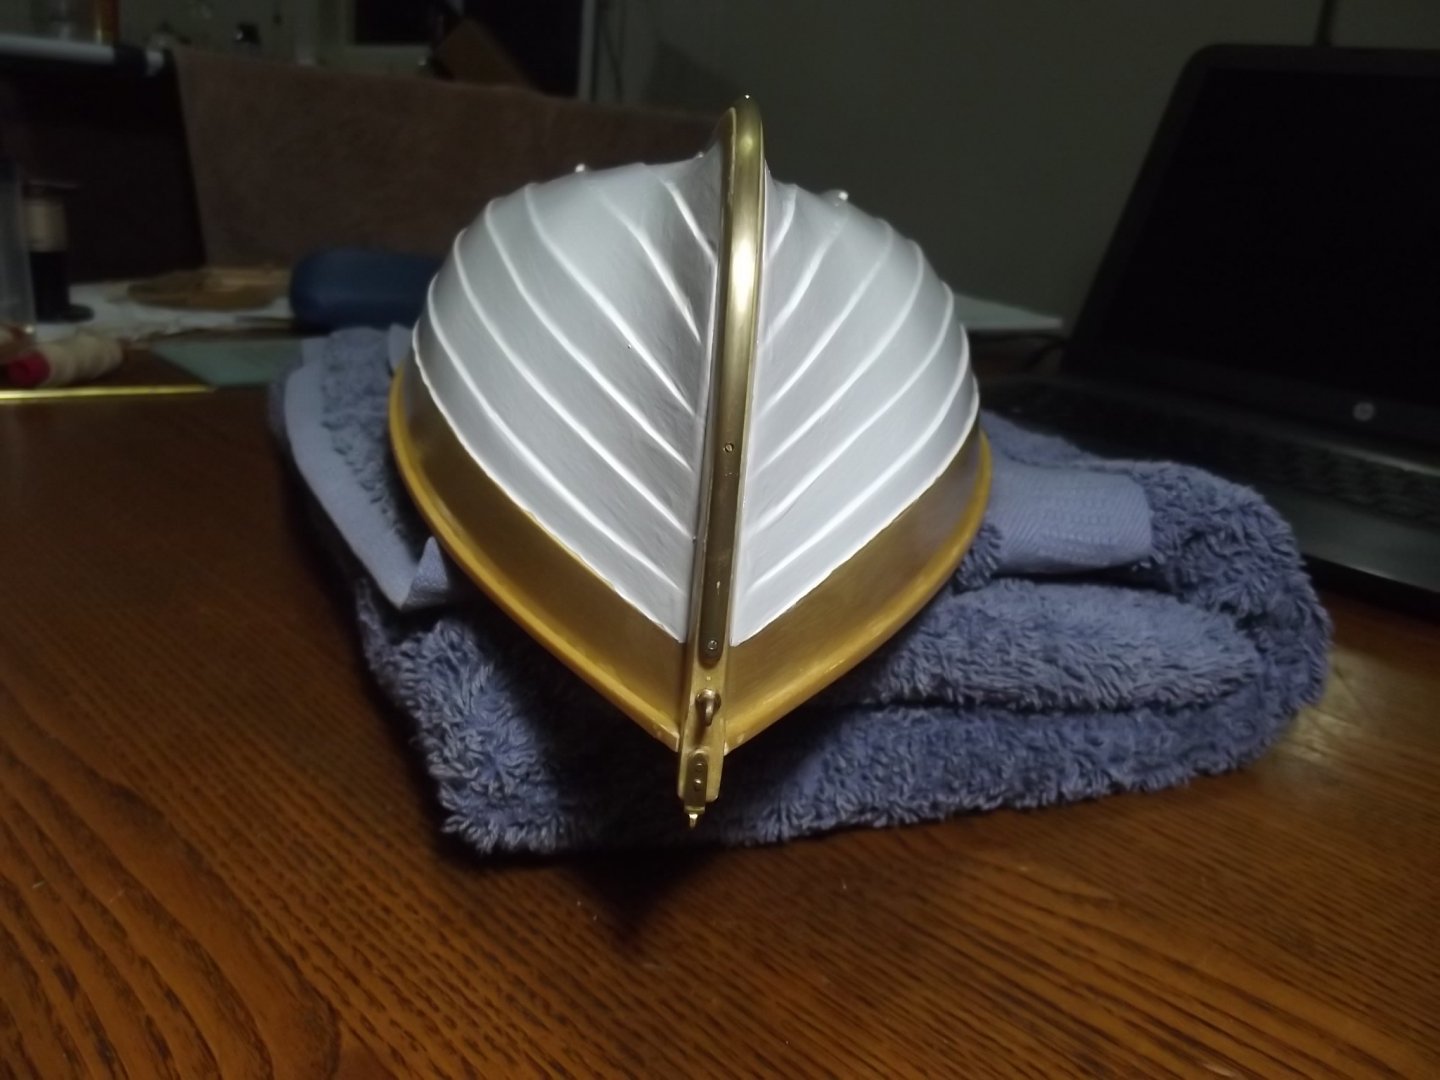
Your idea Keith, using CA to hold the brass while machining, wouldn't have been able to do it otherwise. I did consider just milling it but by slitting I got two pieces from one bar which meant I could get all I needed from one 500mm piece of rod, the 4mm rod less the 1,5mm cut gave two "D" profiles of the correct size. I did need to put a wedge under the free end of the top piece as the saw progressed to keep it from laying onto the saw as it went. For the 2mm rod that will form the protection strips on the bilge runners I'm thinking I'll mill a 2mm rebate in the MDF then glue the rod down and once I've taken the datum for the cut I'll glue another piece of MDF over the top of it and clamp that to the base, this way the top section of rod will be properly supported during the cutting process.
-
I got a new tool the other day and put it to good use. I decided the best way to make the "D" profile brass rubbing strips was to slice 4mm diameter brass rod down the middle with a 1.5mm slitting saw. First I glued up 2x 12mm MDF plates to make a 24mm base to work on, nice and thick and stable. I then ran the MDF under the mill with a router bit to make sure it was level and true to the mill. Then using CA I glued the brass down to the MDF and proceeded with the cut. It worked very well and I'm happy with the result. Next is to try it again with 2mm diameter rod slit with a 0.7mm blade but that's for another day. I have a photo exactly like the next one of the real boat

-
Great work Keith, that ship has a lot of serious metalwork doesn't it. Dorothea MacKeller wrote that Australia is "a land of drought and flooding rain" and in my 58 years experience I can vouch for that. Drought is always broken by flood and it's happening now, huge widespread downpours wiping out sporting events, concerts and the like but who cares, it's raining and a lot of the fires that were still burning are finally being extinguished. I guess what I'm going a long way around saying is, don't complain about the rain.
-
Keith, the only problem, well one of the problems because there are a few, of building at a larger scale is that you must build a smaller ship. Another problem is the fact that detail is much more evident although for you this is not a problem at all.
-
Yes I remembered that method and looked at using it especially since I have suitable brass strip but these are too small for a ball mill so had to come up with the alternative, the big problem and detail limiting factor is the softness of the annealed copper. It's hard to work without destroying it.
-
Thanks Richard, love yours too!
-
After your comment on my "Miss Caroline" build I thought I'd see what you're up to and wow, impressed! I've done a kit Bluenose II but it wasn't great quality, she's a beautiful ship isn't she?
-
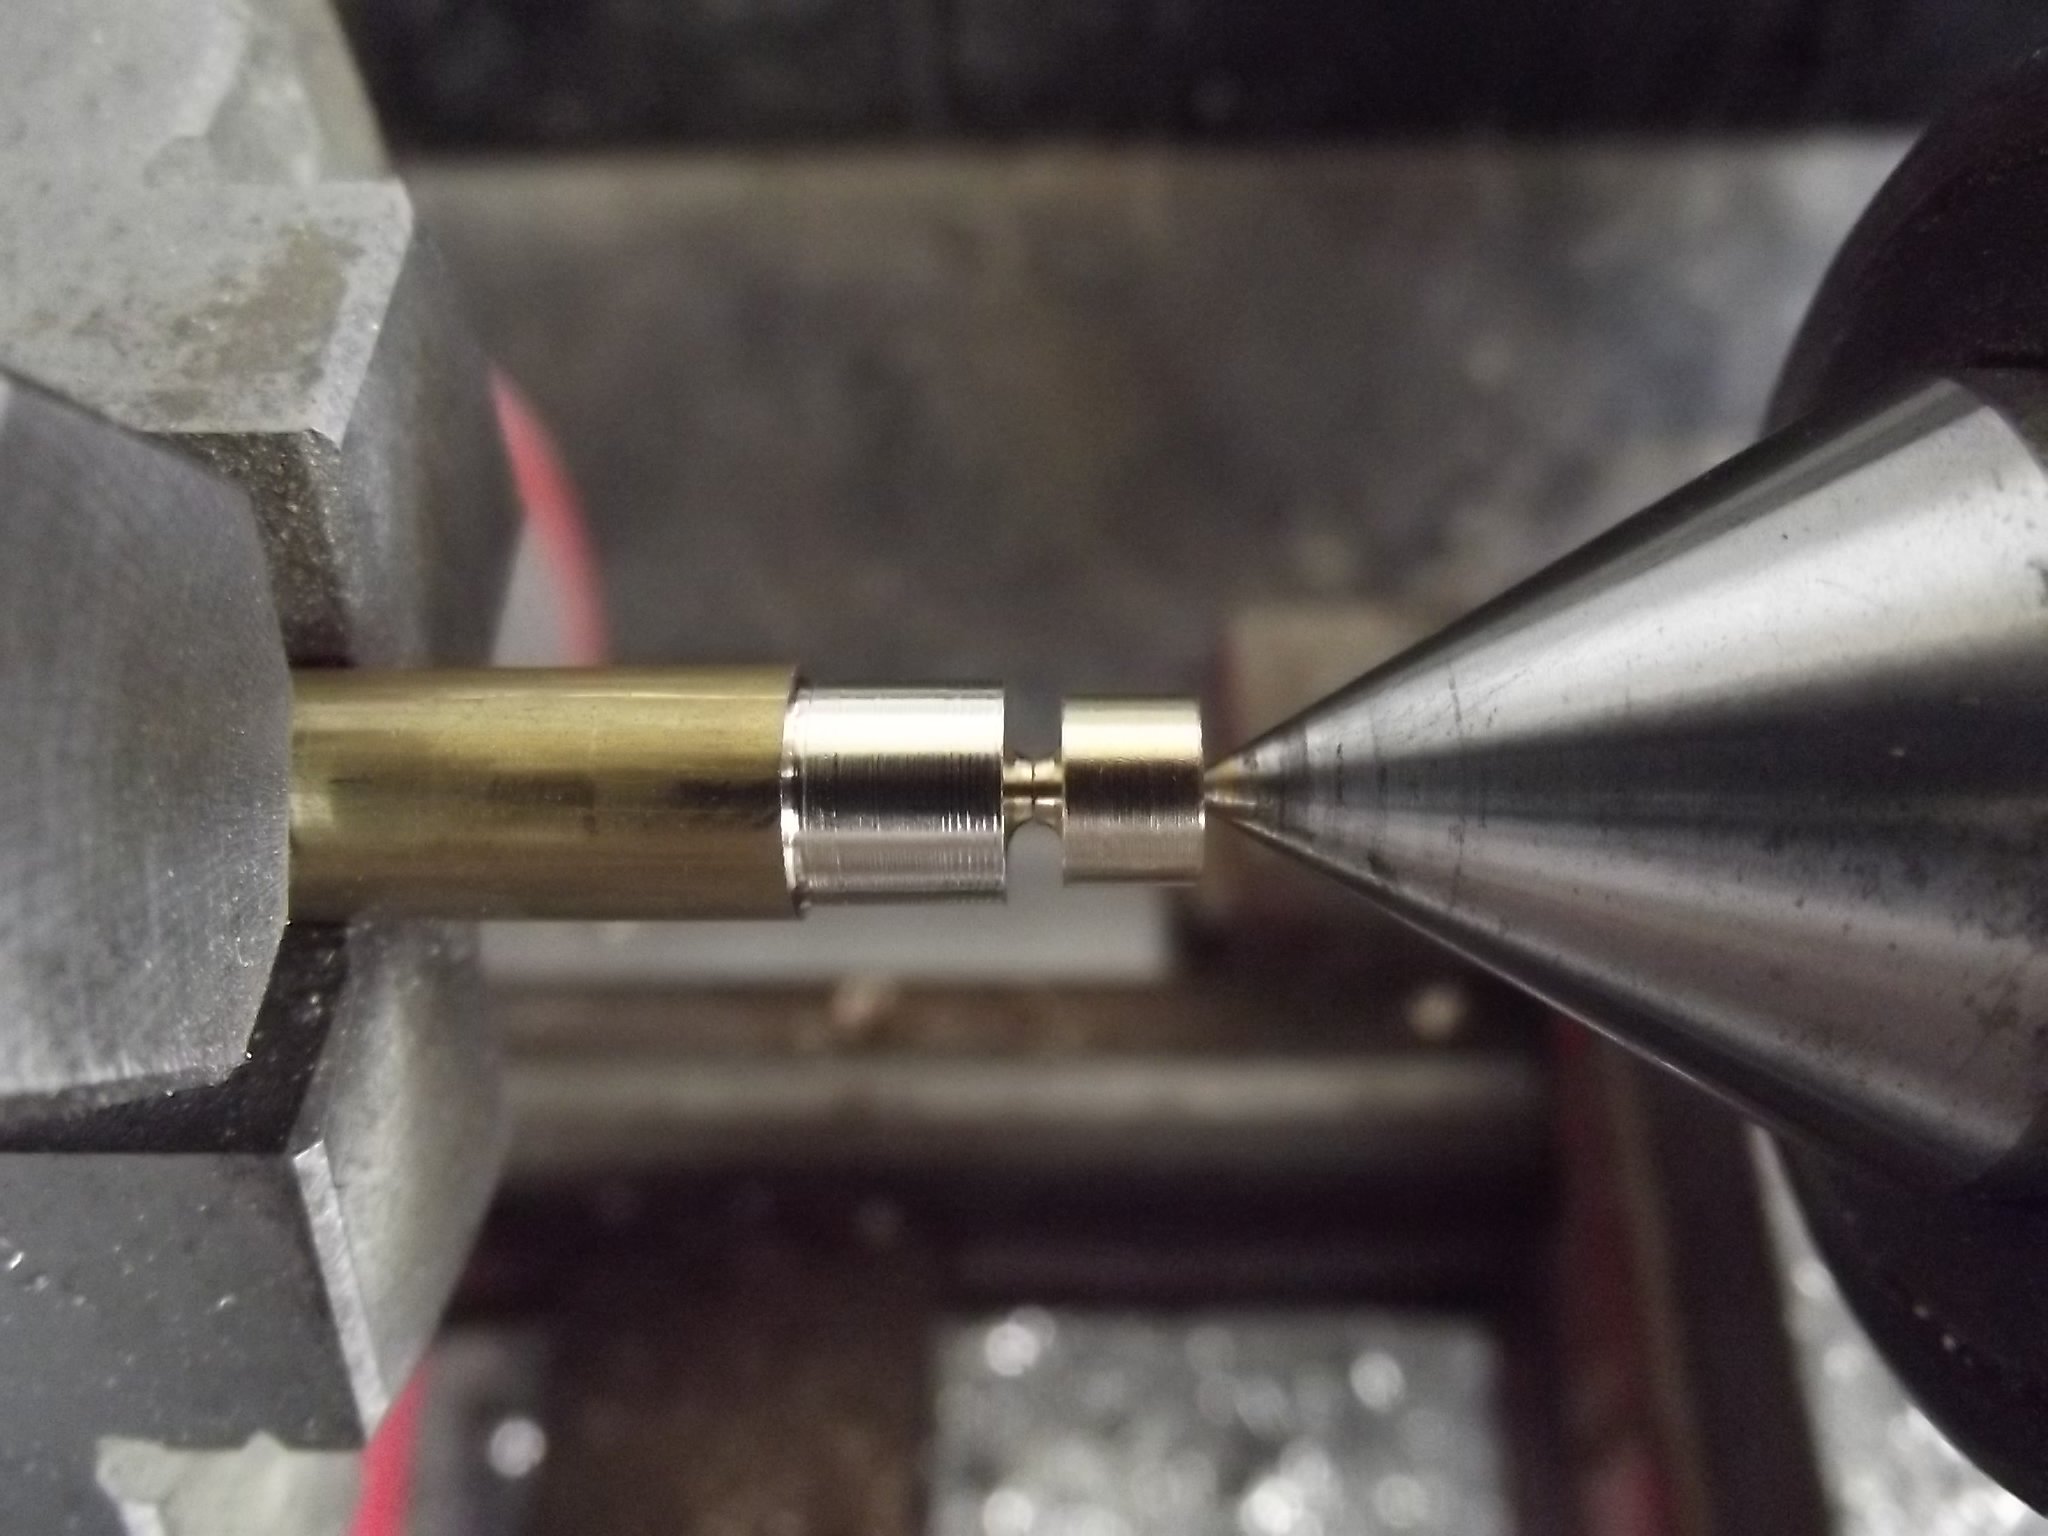
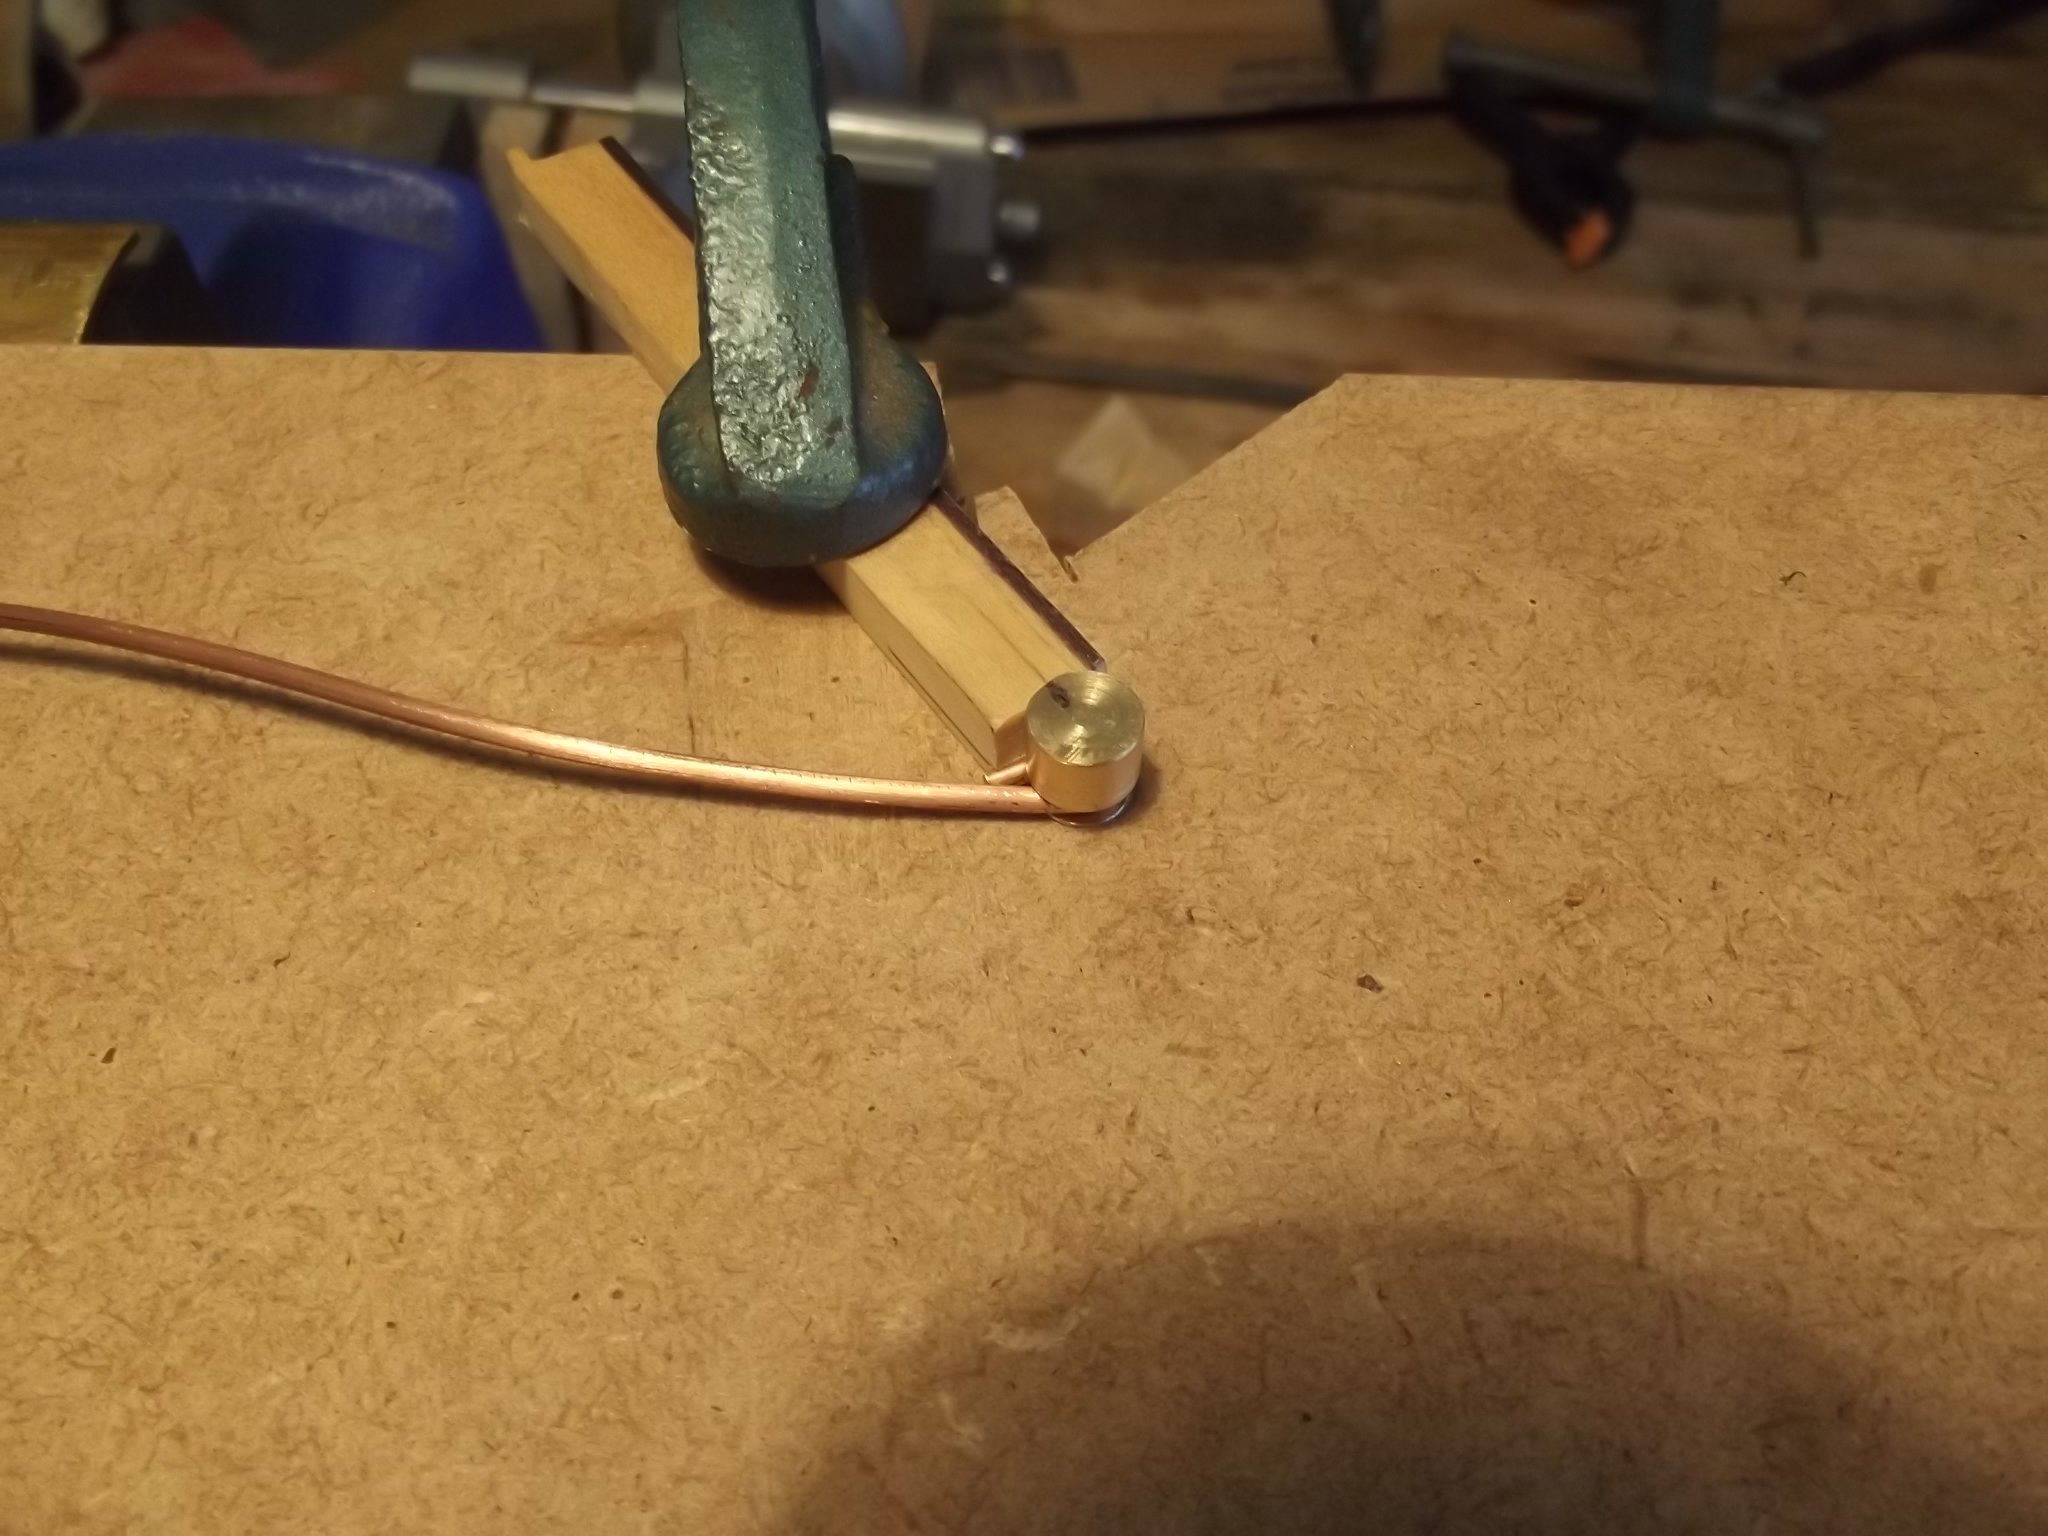
While I'm still not keen to try making shackles I have made thimbles of the modern variety. I had to buy some 1/16" copper tube with the idea of making a rudimentary pipe bender to form the teardrop shape and then carefully file away the outer half of the tube to reveal the thimble. I tried with un-annealed copper first because it would hold up to the filing better than the annealed tube but as I feared the tube wouldn't bend around a 1mm radius unless annealed. I ground a piece of HSS tool steel to give the 1mm radius then turned the bender in two halves so it could be separated to release the thimble. One side is female and sits in a milled hole in some MDF while the other has a 1.1mm pin to locate it properly. I only had to hold the top former down by hand while forming the curve. Next was clamping the material in the soft jaws and very gently filing away the outer half of the tube. The Dremel with wire wheel came in very handy for cleaning out the groove and finishing the thimble. Once finished it was cut off the stock and the ends dressed. The first pic shows the two parts held together in the lathe just to make sure they were right before finishing and parting off the second piece. The gap was perfect, the tube fitted very snugly.

-
Don't let them drag you too far down that rabbit hole John, you've got a boat to build!
-
You could get away with the base of a 22/250 bullet cartridge if you didn't mind it saying "Winchester" instead of Germania 🤣
-
Yeah Michael, 1/32" isn't impossible but with my tooling it's not yet something I want to take on. I might get to them at some point though, never say never! Meanwhile I'll just watch your beautiful workmanship
-
And here's me bailing on the idea of creating 1:8 scale shackles! Mind you the full size ones only have a 6mm pin
-
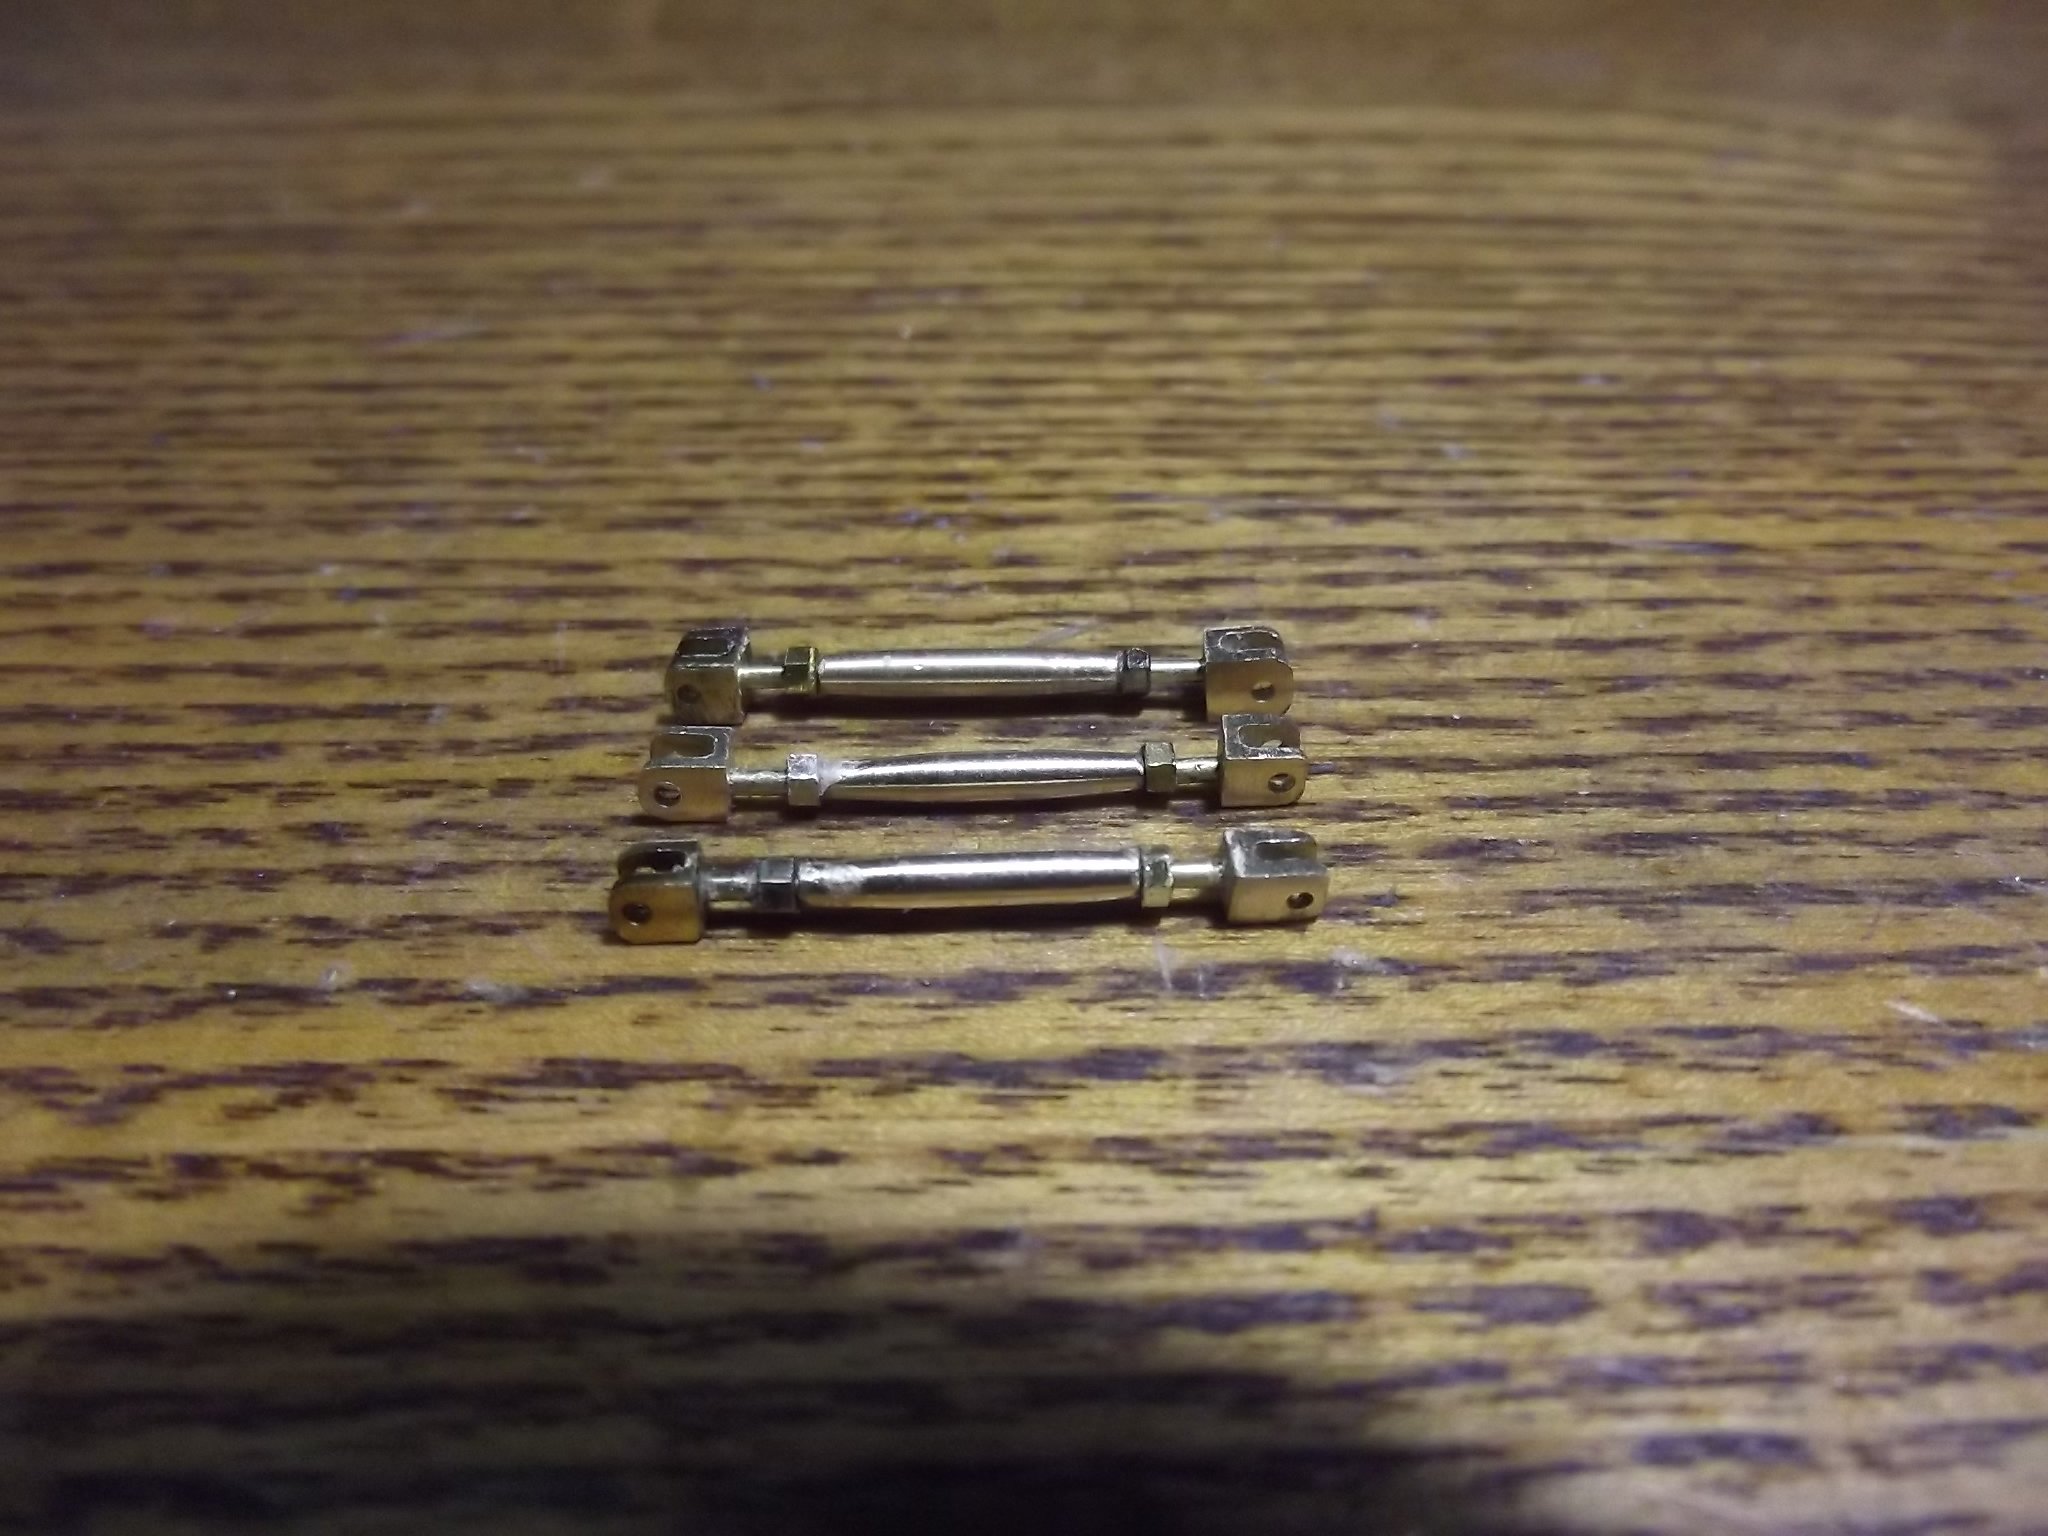
Yes I've been learning that trick from Keith and used it extensively in the production of my turnbuckles
-
Now you're expecting too much! The "V" block will have to suffice.
-
Yeah I expected that from you. I didn't even try looking for 1mm tap and die let alone left hand! Yes the first pic was the stock cut to a hex and drilled for the "thread"
-
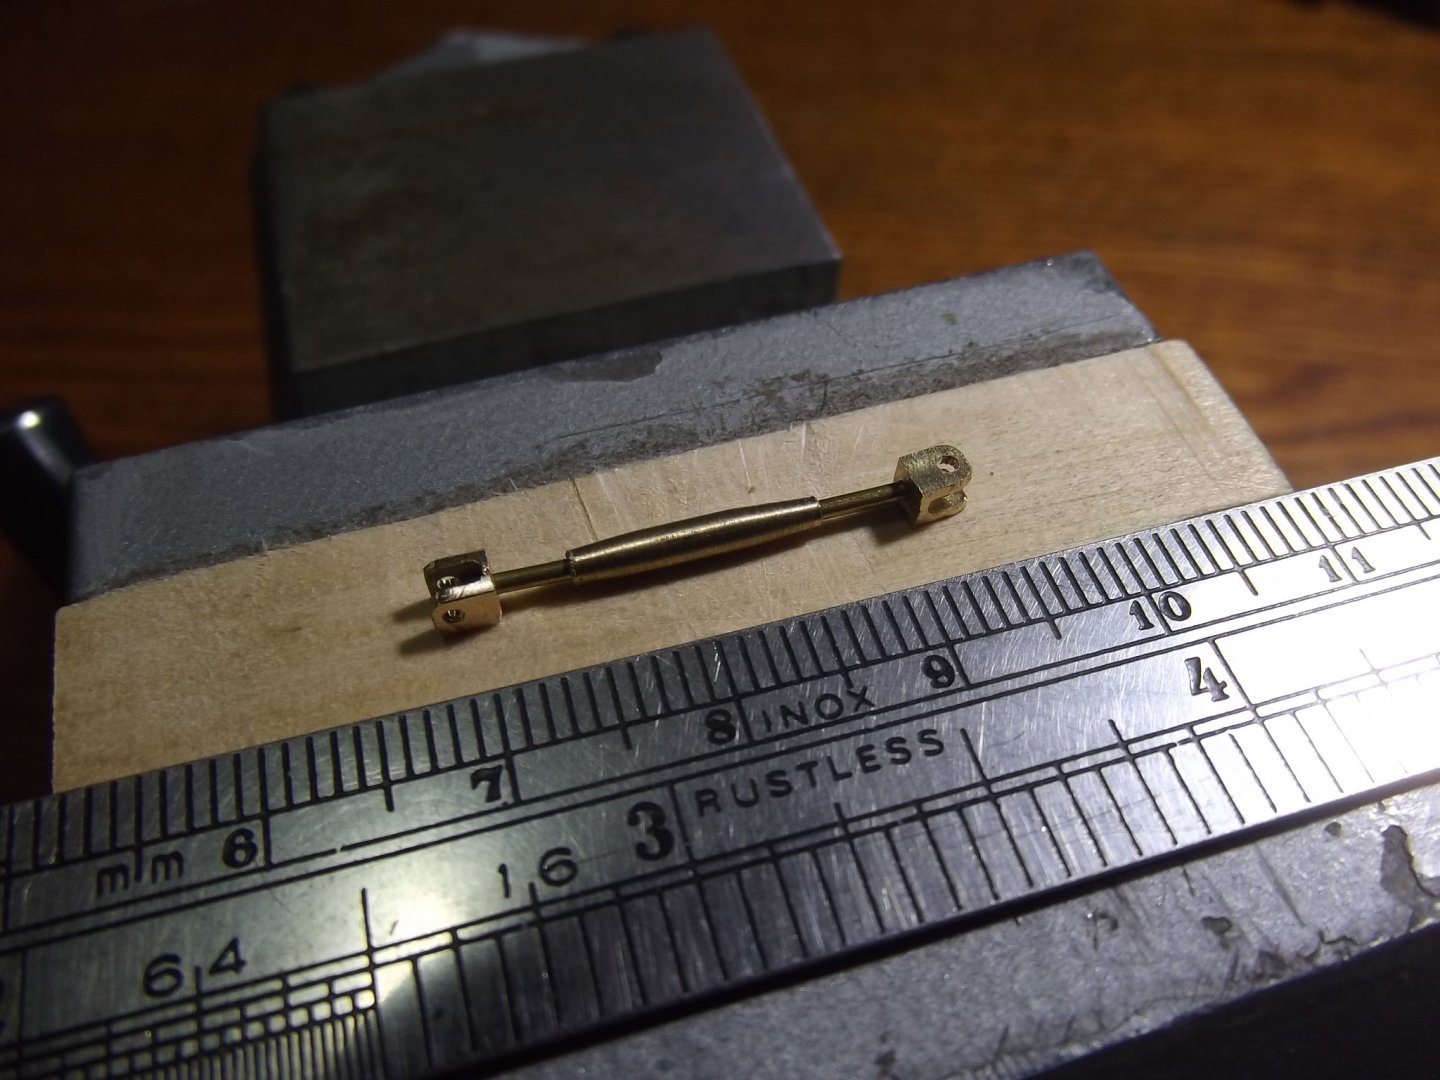
I've put the collet blocks to use and made the turn buckles for the standing rigging

-
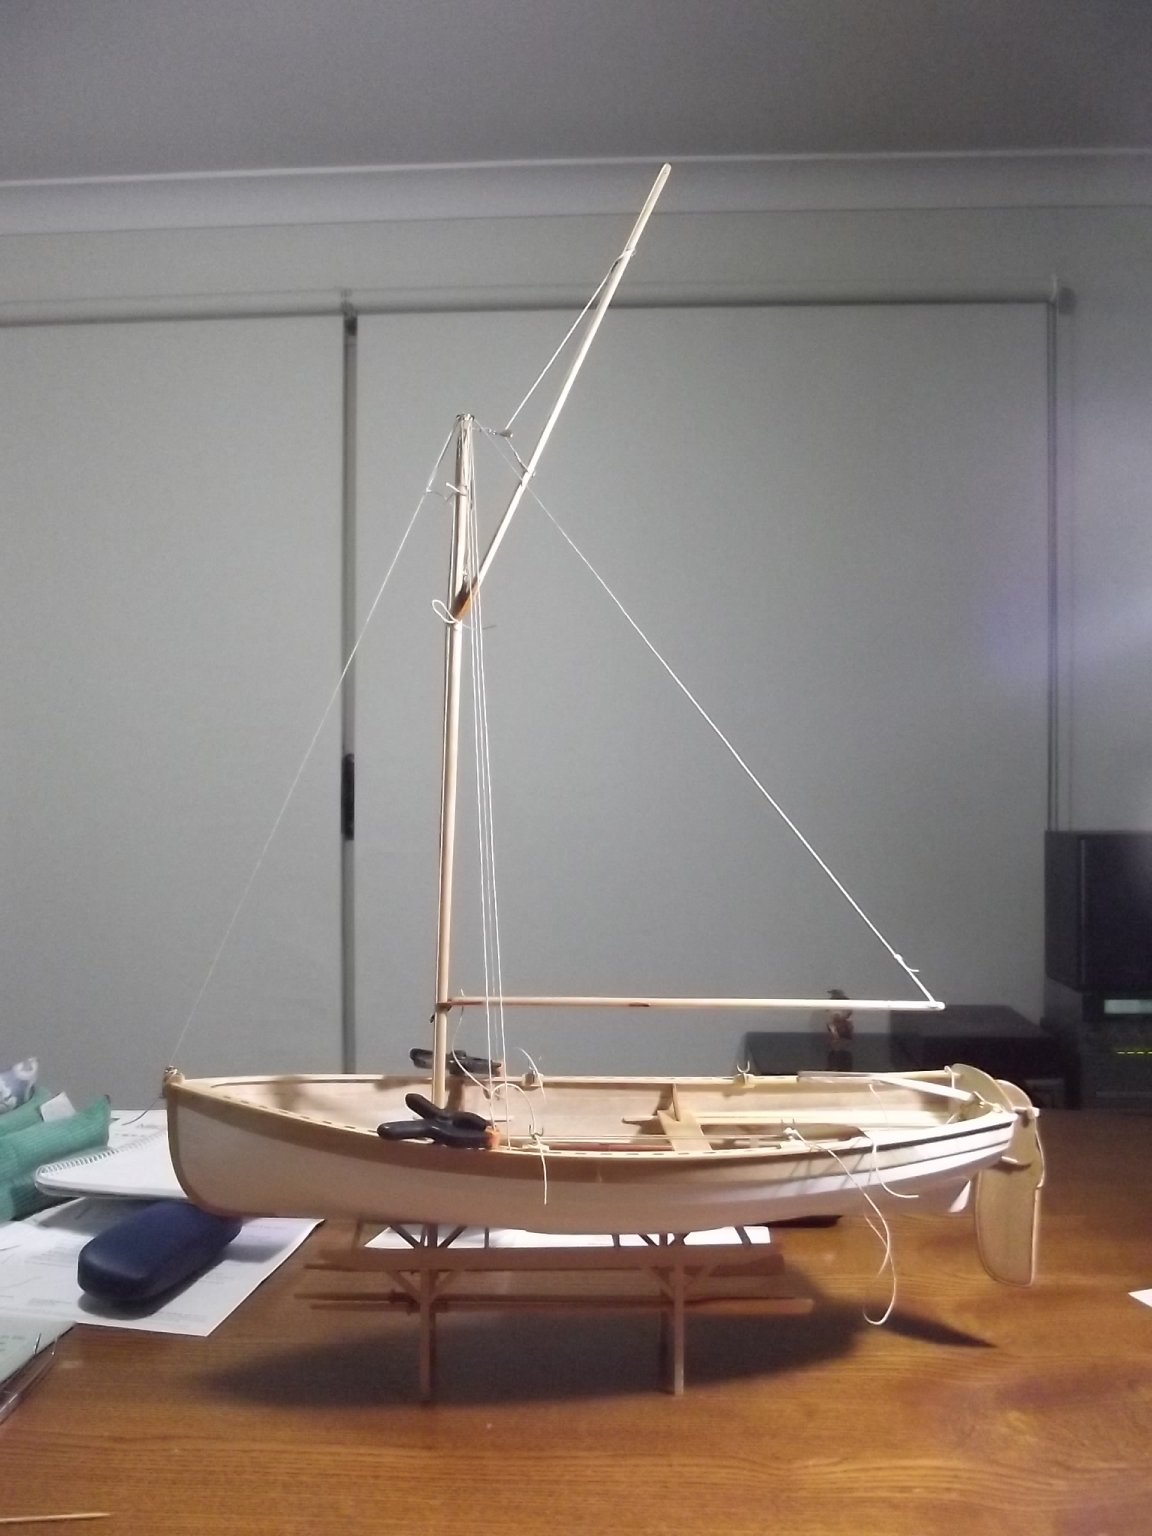
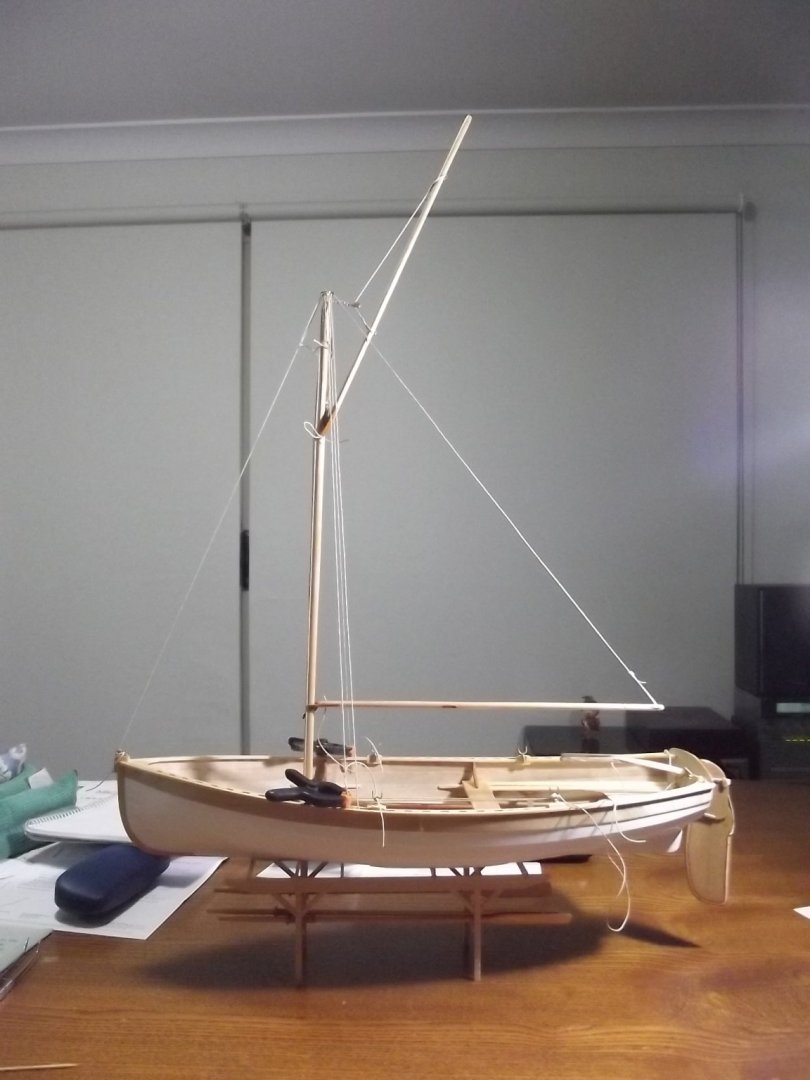
Mark, the designer Iain Oughtred designs his boats to carry a good amount of sail so they sail well in light winds and even with my limited sailing experience Miss Caroline does do quite well in very slight breezes. In his book he goes to lengths to tell the builder to make damn sure they set up the reefing pennants and halyards and practice using them because you'll need them when the wind picks up. As for the jib, yes the leech is roughly parallel to the mast with about 150mm clearance
-
And just to see how the rig will stand, for the first time I am really seeing just how much sail my little boat carries.
-
Michael, you'd have no trouble convincing me that this pic was taken in the full size boat! Spectacular work from the keel up, inside and out.
-
Yeah, decided to leave the rudder halyard as it is for a few reasons 1: The merest thought of making my own rope hasn't even begun to speculate about the slightest possibility of crossing my mind. 2: I like the way this stuff is lying 3: Without the closeup photo none of you over 45 would be able to see the twist anyway 4: It's pretty much the same colour as the rigging on the real boat