HOLIDAY DONATION DRIVE - SUPPORT MSW - DO YOUR PART TO KEEP THIS GREAT FORUM GOING! (89 donations so far out of 49,000 members - C'mon guys!)
×


Bedford
-
Posts
1,297 -
Joined
-
Last visited
Content Type
Profiles
Forums
Gallery
Events
Everything posted by Bedford
-
 In my "Miss Caroline" model build I used small brass nails to secure the keelson to the moulds. I also used them to secure the strakes as I went, the resultant holes are tiny and easily filled with a little wood filler. In my case the floor boards cover most of the holes in the lower hull anyway and I would assume the same would apply in your case but they are so small you have to look for them to see even the ones in plain view up the sides of the hull. My hull is more spartan than yours will be too so they'll disappear easily.
 -
Might I suggest that the indicator disc was probably connected directly to the elevation mechanism rather than the the drive gears for that mechanism. So it was probably mounted on a shaft that passes through the guns base and connects to the jacking (for want of a better word) mechanism itself, this would give a more direct reading and therefore greater accuracy. As usual I have run out of superlatives for your attention to detail, I always look forward to your updates.
-
I used to joke about my first build that it was amazing it didn't become a flying boat, ie flying across the room. These things teach us patience and the art of recovery.
-
I don't know how much you know about epoxy but there is generally a period when it has solidified but is still relatively soft. A saving grace when I build the full size Miss Caroline. You'll find a sharp chisel or knife will slice through the squeeze out quite easily and cleanly. If the epoxy has passed this point then the careful application of heat from a hot air gun will temporarily soften it and allow easy trimming but don't let it get too hot or the epoxy will fail.
-
Vaddoc, there is a gas strut at the forward end of the hatch to assist in the raising and lowering
-
Yeah you're hooked. You can't stop now so keep building. I'm working on modifications to the full sized Miss Caroline thankfully, it gives respite from the small stuff
-
Yes I have to agree, what ever happened to "A tall ship and a star to steer her by" Bark Endeavour has a comms&nav room in one of the small cabins by the aft companion way and it has one large screen mainly dedicated to wind and a few smaller ones for gps, depth etc but nothing like Germania
-
That's one hell of a comms/nav station, can't help but wonder how you're going to pull that off.
-
Well done sir and commiserations on the docking accident. It's a bugger when that sort of things happen but at least in this case you have all the skill to rebuild every part of it.
-
Mate, I can't help with tasks 1 & 2 but I've got plenty of room for it here! I had the highfield levers worked out incorrectly so it was nice to see how they actually work.
-
Like most modelers, it's not about who will notice when it's finished, it's about you knowing the detail is there.
-
Eberhard, I like the idea of a larger scale model of the gun and carriage. With your tooling and attention to detail it would be absolutely exquisite.
-
Finally found this build, very interesting indeed Michael
-
Mate, don't you hate it when you keep dropping small parts, the damn things never fall in plain view either and always seem to find their way under something.
-
As my dear old mum used to say "put it in water and see if it grows" It would make a really nice yacht, I'd love it in full size.
-
Yeah, I've only got three halyards, three sheets, a topping lift and a kicking strap and my boat looks like that when sailing.
-
Yeah, not disappointed! That's every bit a nice as I'd expected and I like the brass tube as a guide.
-
Not at all surprised it took all day. Patience pays off though and I'm looking forward to the finished wheel.
-
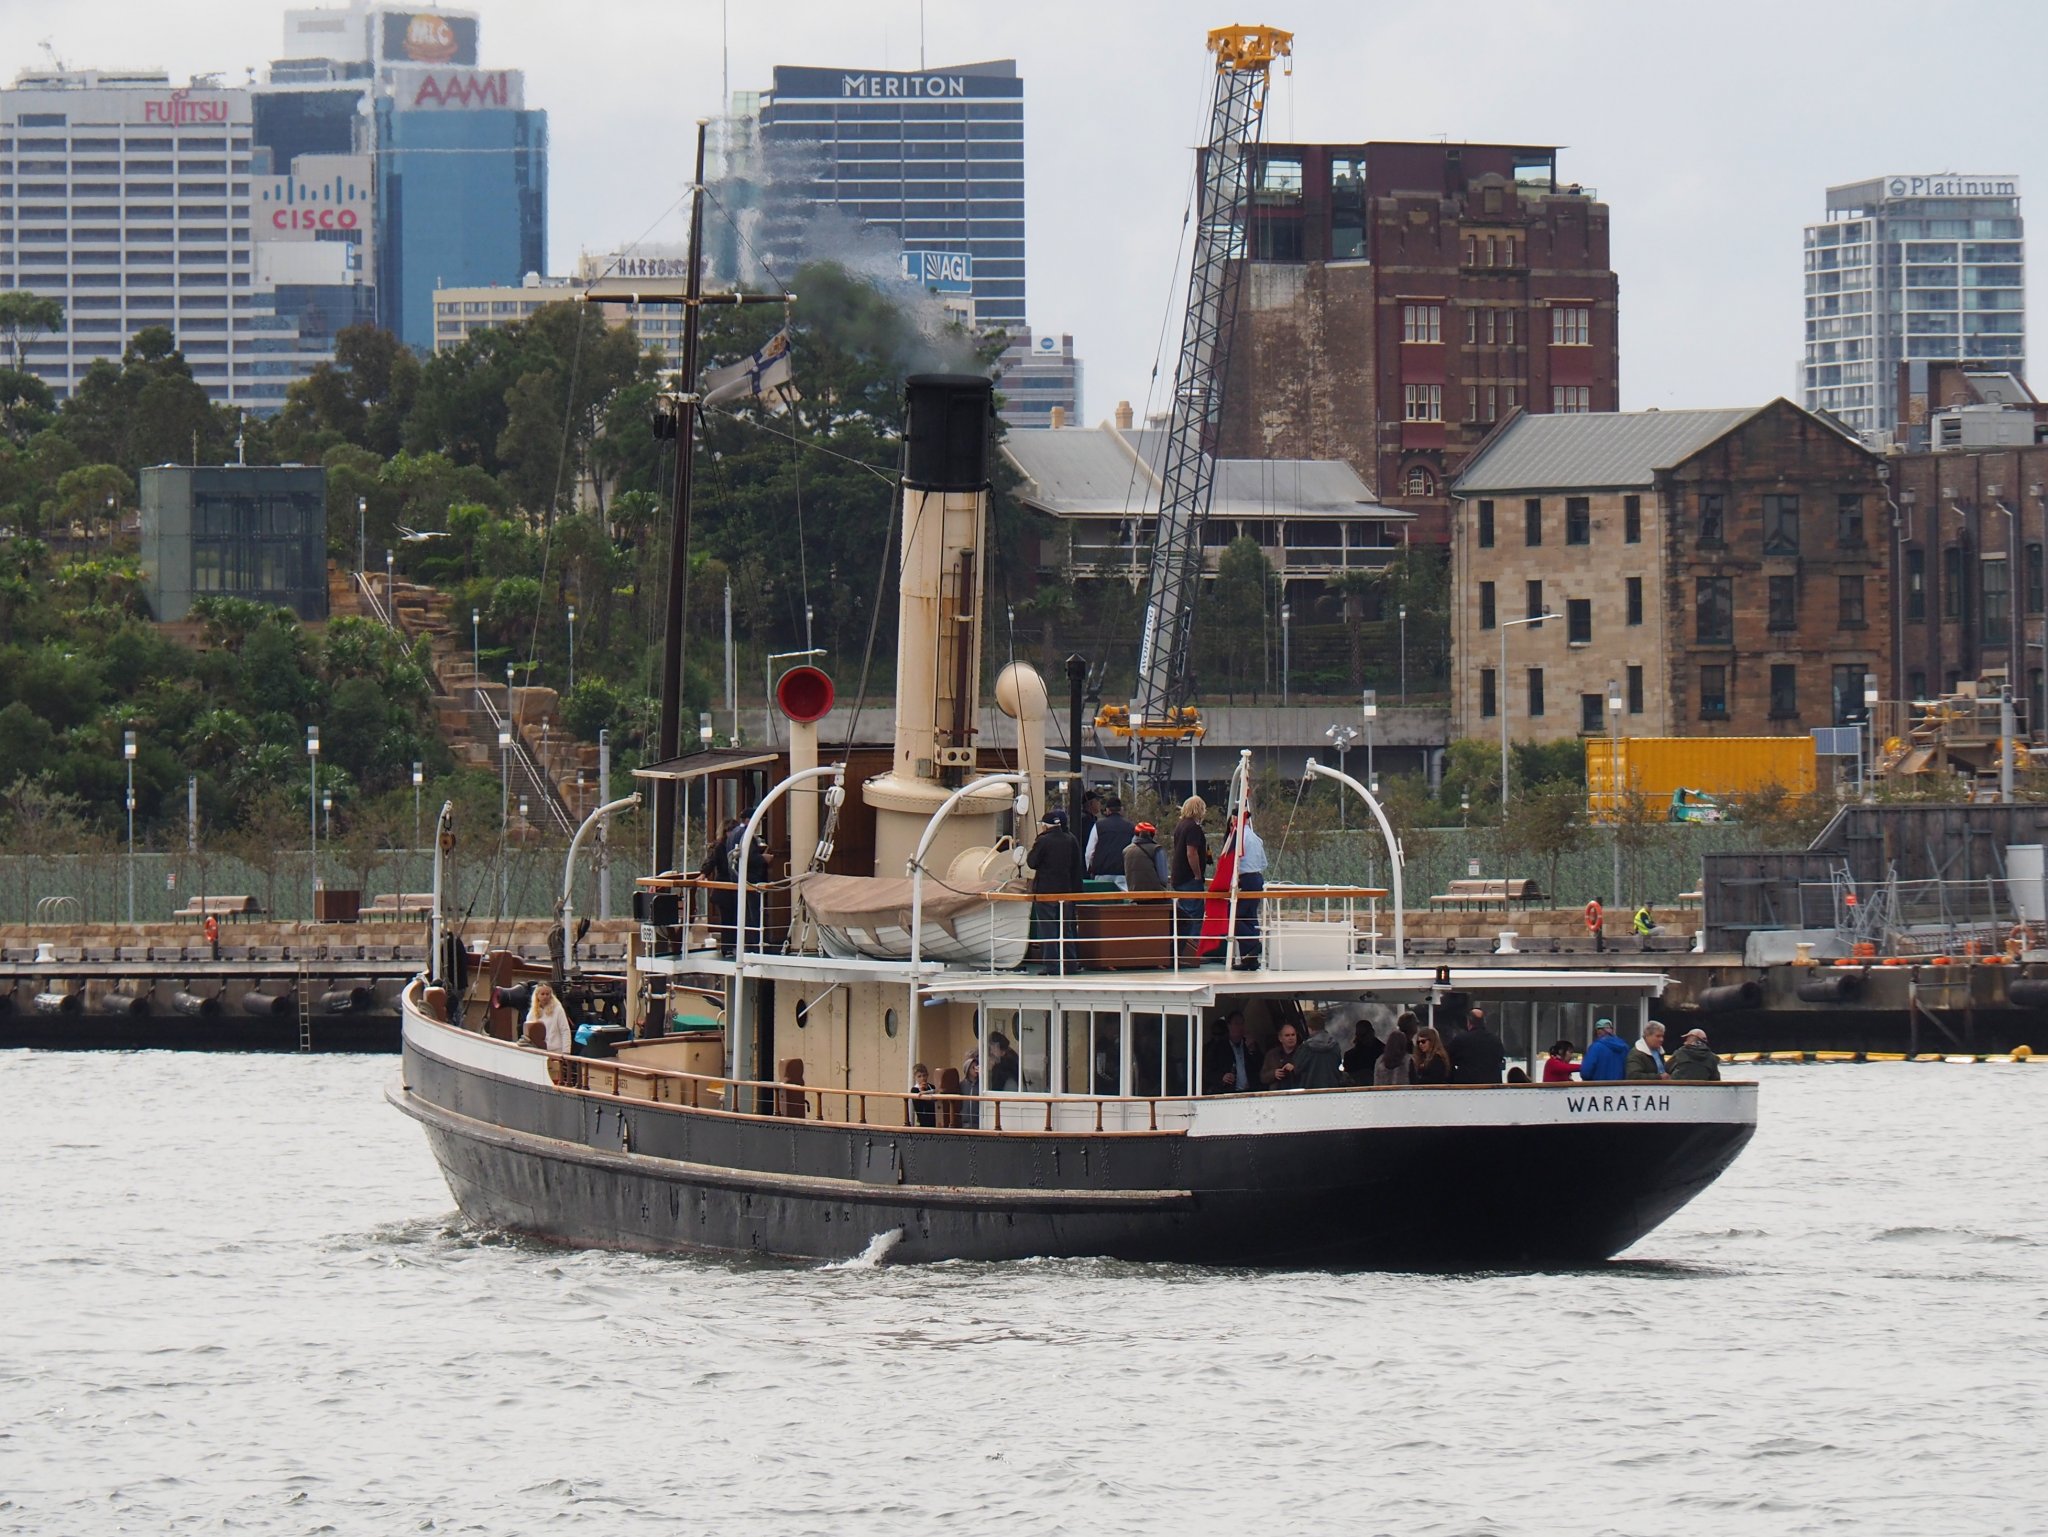
Dave, by pointing the windward vents into the wind and the leeward vents away from the wind you can get a nice cross flow below decks. You can see the vents on Waratah (which I crew and was at the helm when that pic was taken) either side of the funnel. One facing forward and one aft. This helps create a cross flow of air in the stoke hold so the poor stokers don't cook. Of course sailing vessels aim them differently than steamers for the reasons Kieth mentioned but in fair weather they'd have some facing to windward and the others away.

-
We never got so bad as to require masks, they were suggested but not required. We have had 100 deaths nation wide and for the last 8 days there have been no new cases of community transmitted covid in NSW
-
Geez Mark, give the man a break. You'll get it into his head and he'll go mad trying to make it all