Bedford
-
Posts
1,266 -
Joined
-
Last visited
Content Type
Profiles
Forums
Gallery
Events
Everything posted by Bedford
-
 Michael, I saw the loco and imagined something more common but then Iooked at Louisa and thought of course he would build a more obscure type, every man and his dog would want the flying dutchman or Britania. Very nice choice indeed!
 -
Love a Herreshoff and looking forward to being entertained again by your work on it
-
Happy new year to you and yours too Michael, yeah the stitching was reminiscent of some I've done before but a lot more fiddly The collet blocks etc are a pretty good investment!
-
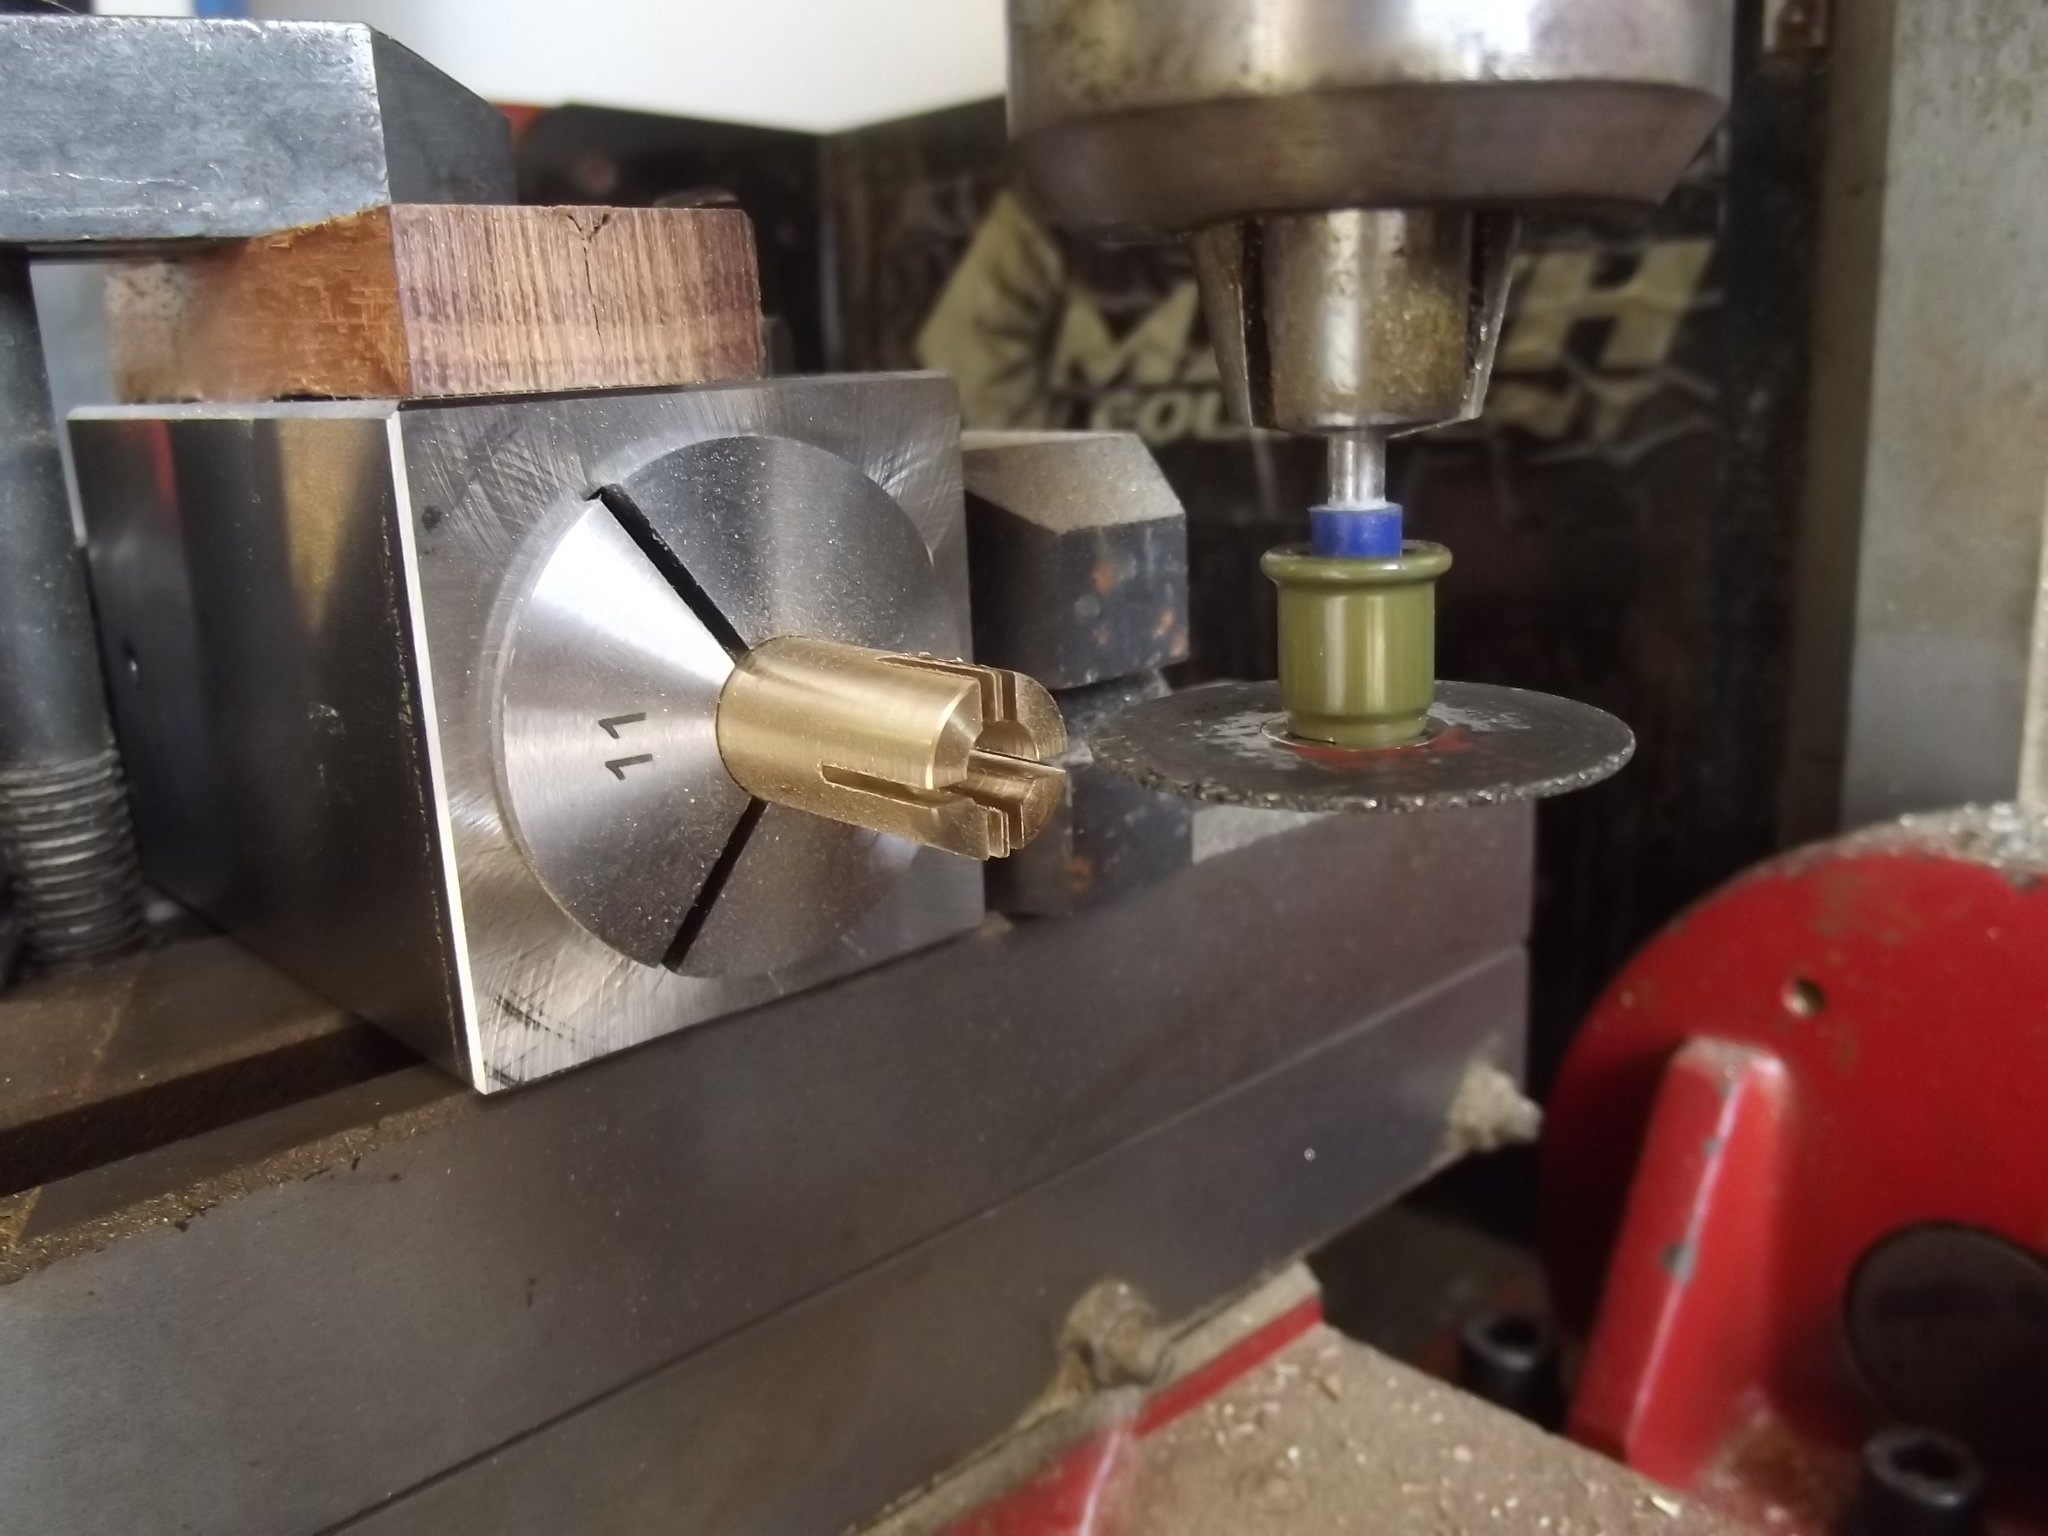
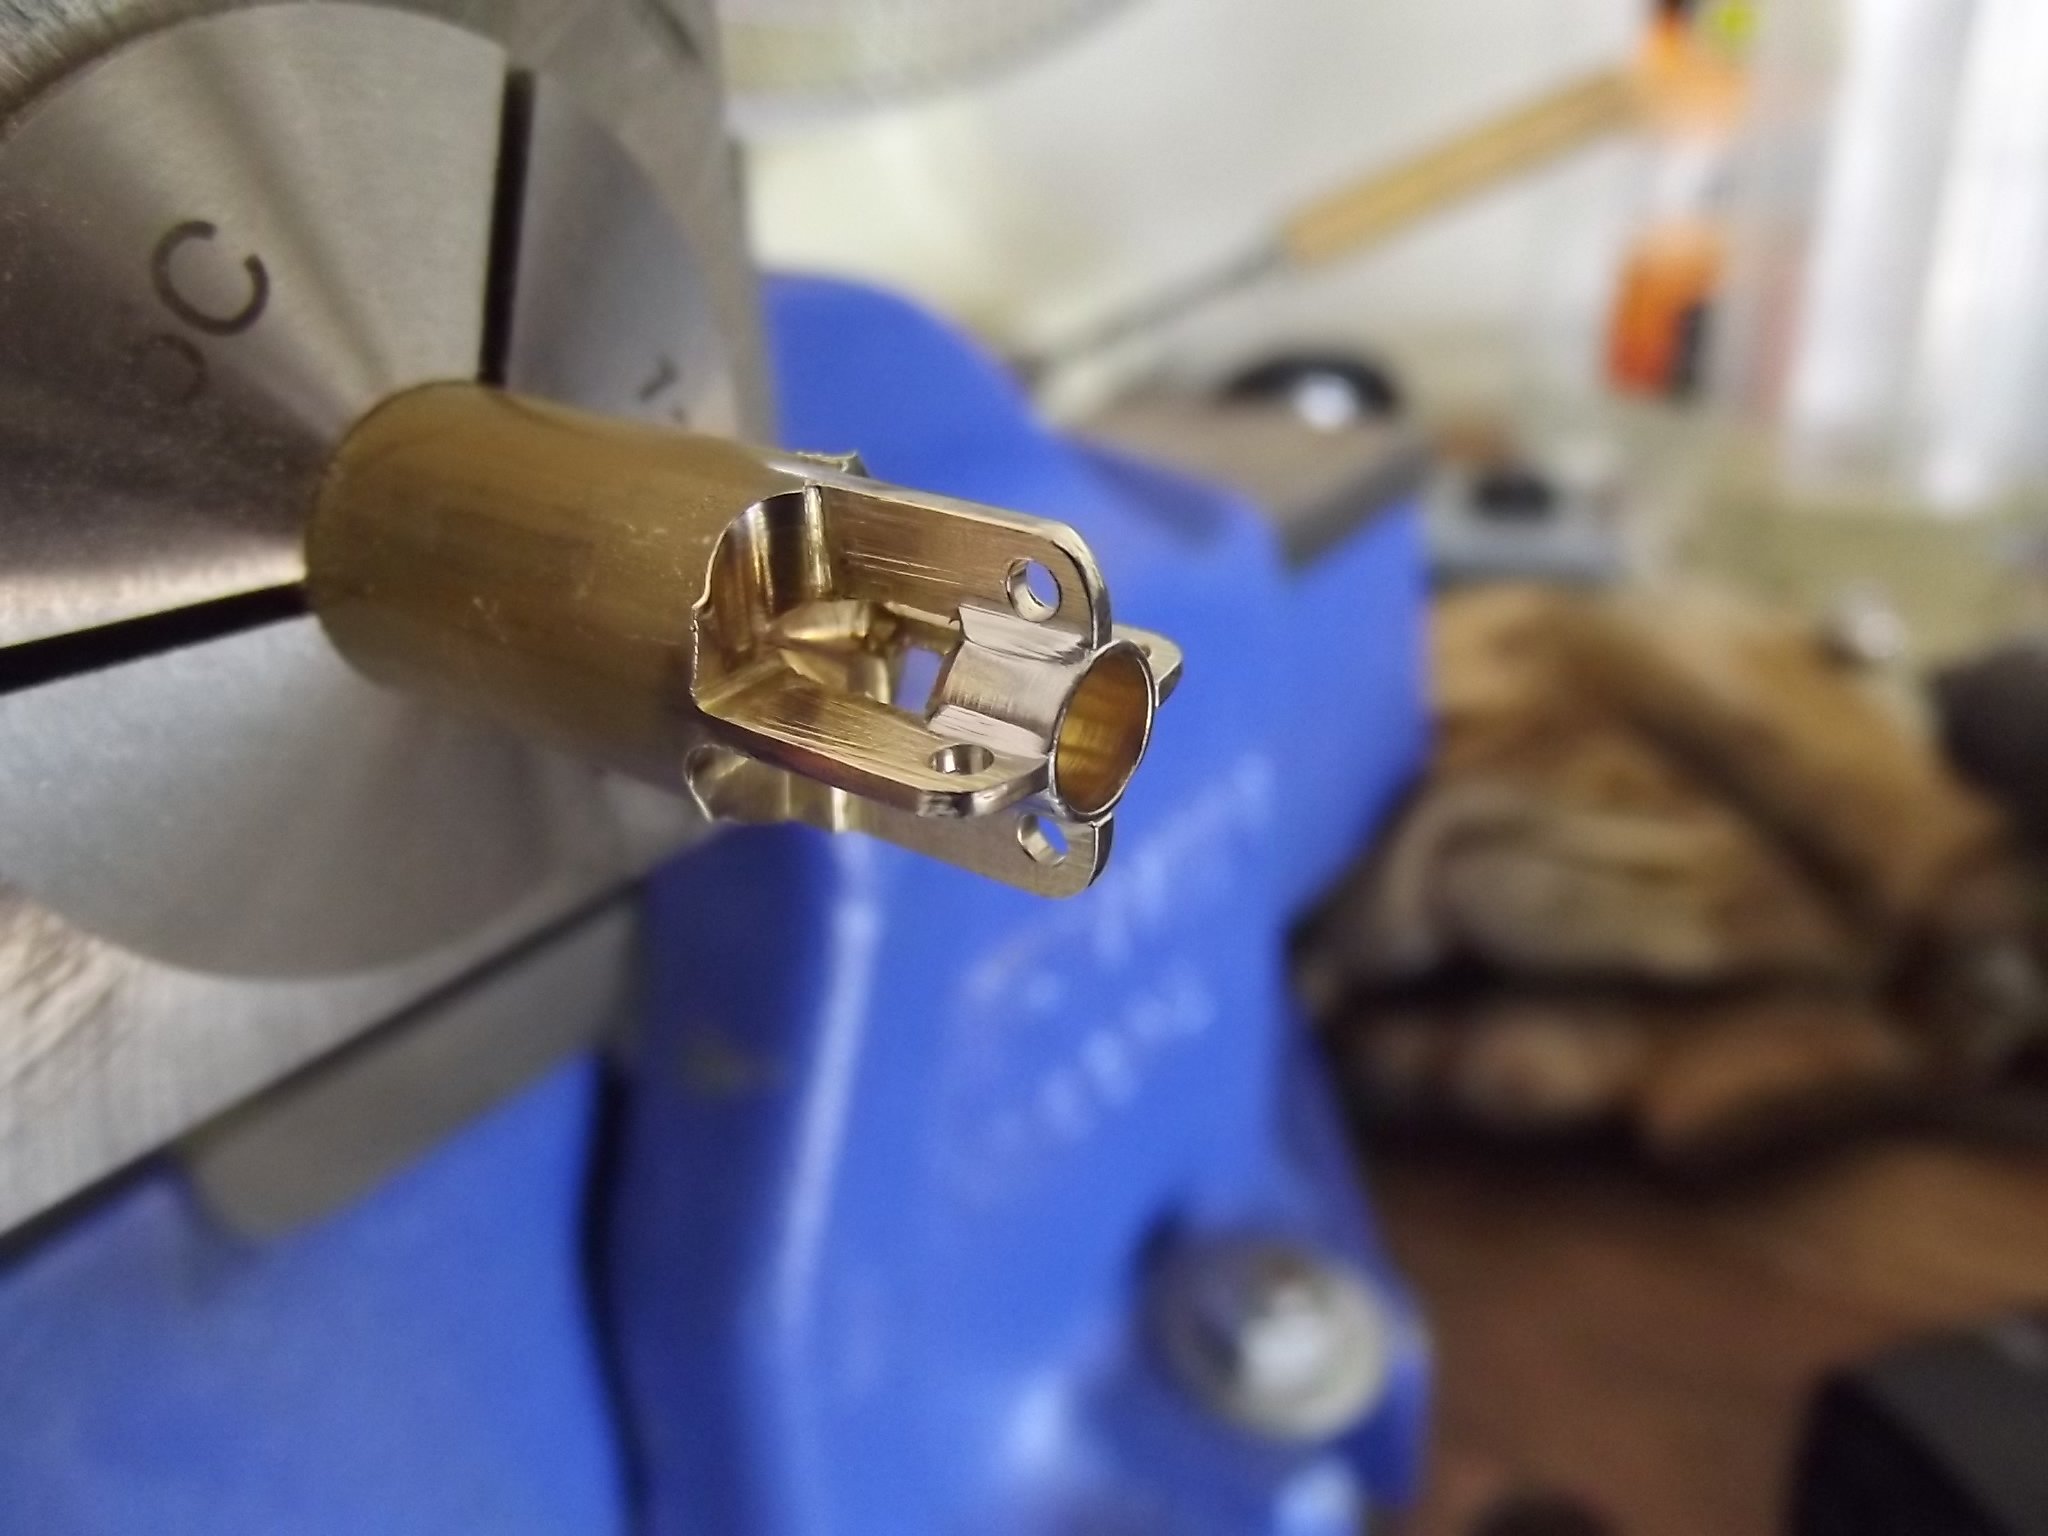
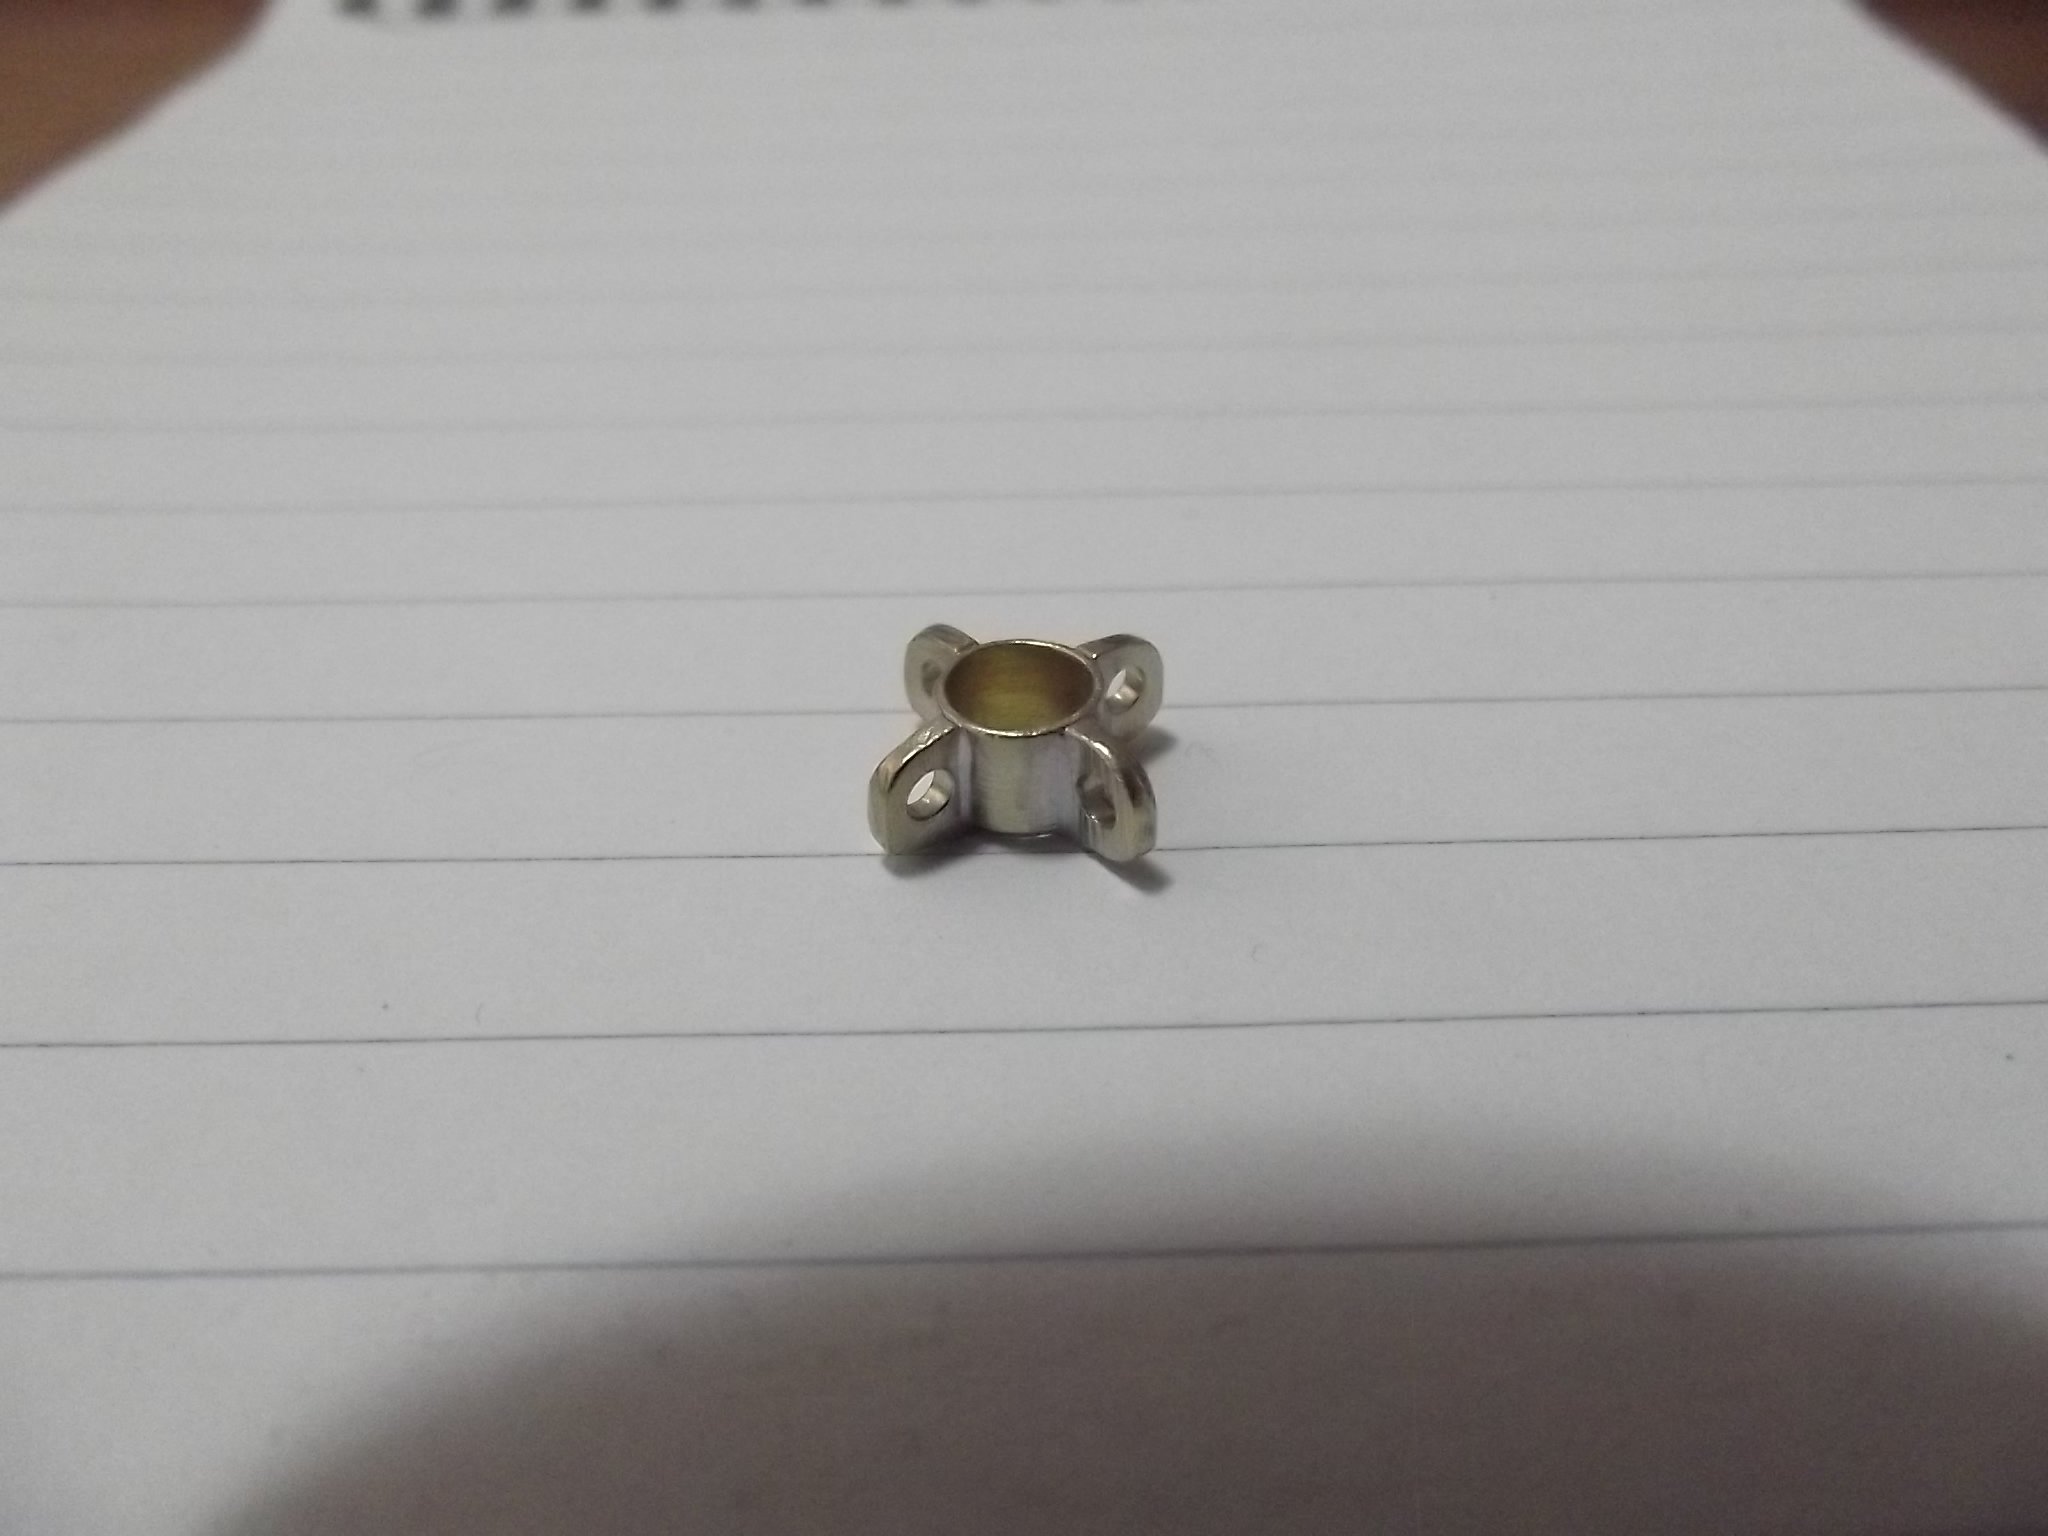
A little while ago Keith told me about ER collet blocks and I liked the sound of them so did some research and bought myself a Christmas present, I ended up getting 5C instead for a few reasons There is a machinery shop not too far from here that stocks them They were actually cheaper than the ER blocks Importantly the collet locking nut is on the rear and the O.D. of said nut is smaller than the block so the whole thing can rest flat on the mill table I am really enjoying the effortless repeatability they offer in either 4 or 6 planes. The first project was the 4 tab mast band. For more detail on how I make them here is a post I did on them a while back:-


-
Keith, I wonder if the ball valves (as we call them in Aus) might be for fire fighting. The handles are red which often indicates a specific use and is nearly always used to indicate fire related items on my side of the planet anyway. There would be a few outlets and probably a few redundant systems so that could explain the number of valves. Whatever they I'm looking forward to see how you make them.
-
15' Dinghy by Bedford - FINISHED - 1:1 scale
Bedford replied to Bedford's topic in Non-ship/categorised builds
Just for fun, this pic was taken from another boat at the Boats Afloat festival at Narooma. It's the first time I've seen the boat motoring, my son and his girlfriend are the crew and interestingly with them in the boat she went faster than ever before. previous full throttle was 6.3 knots but with the extra weight distributed evenly she made 7.4 knots!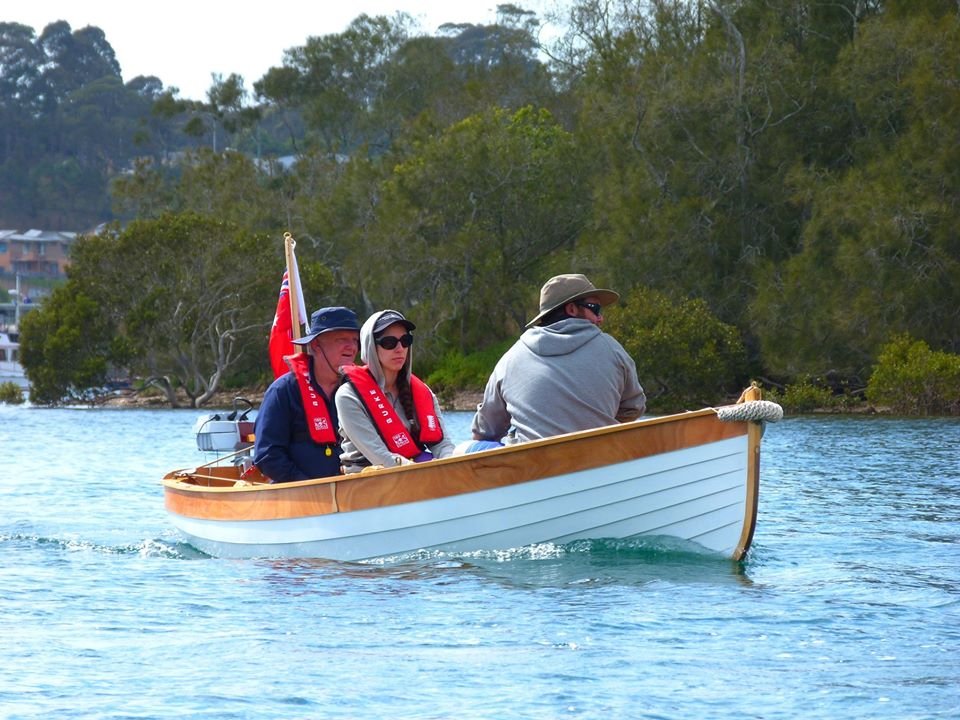
- 109 replies
-
- 12
-

-
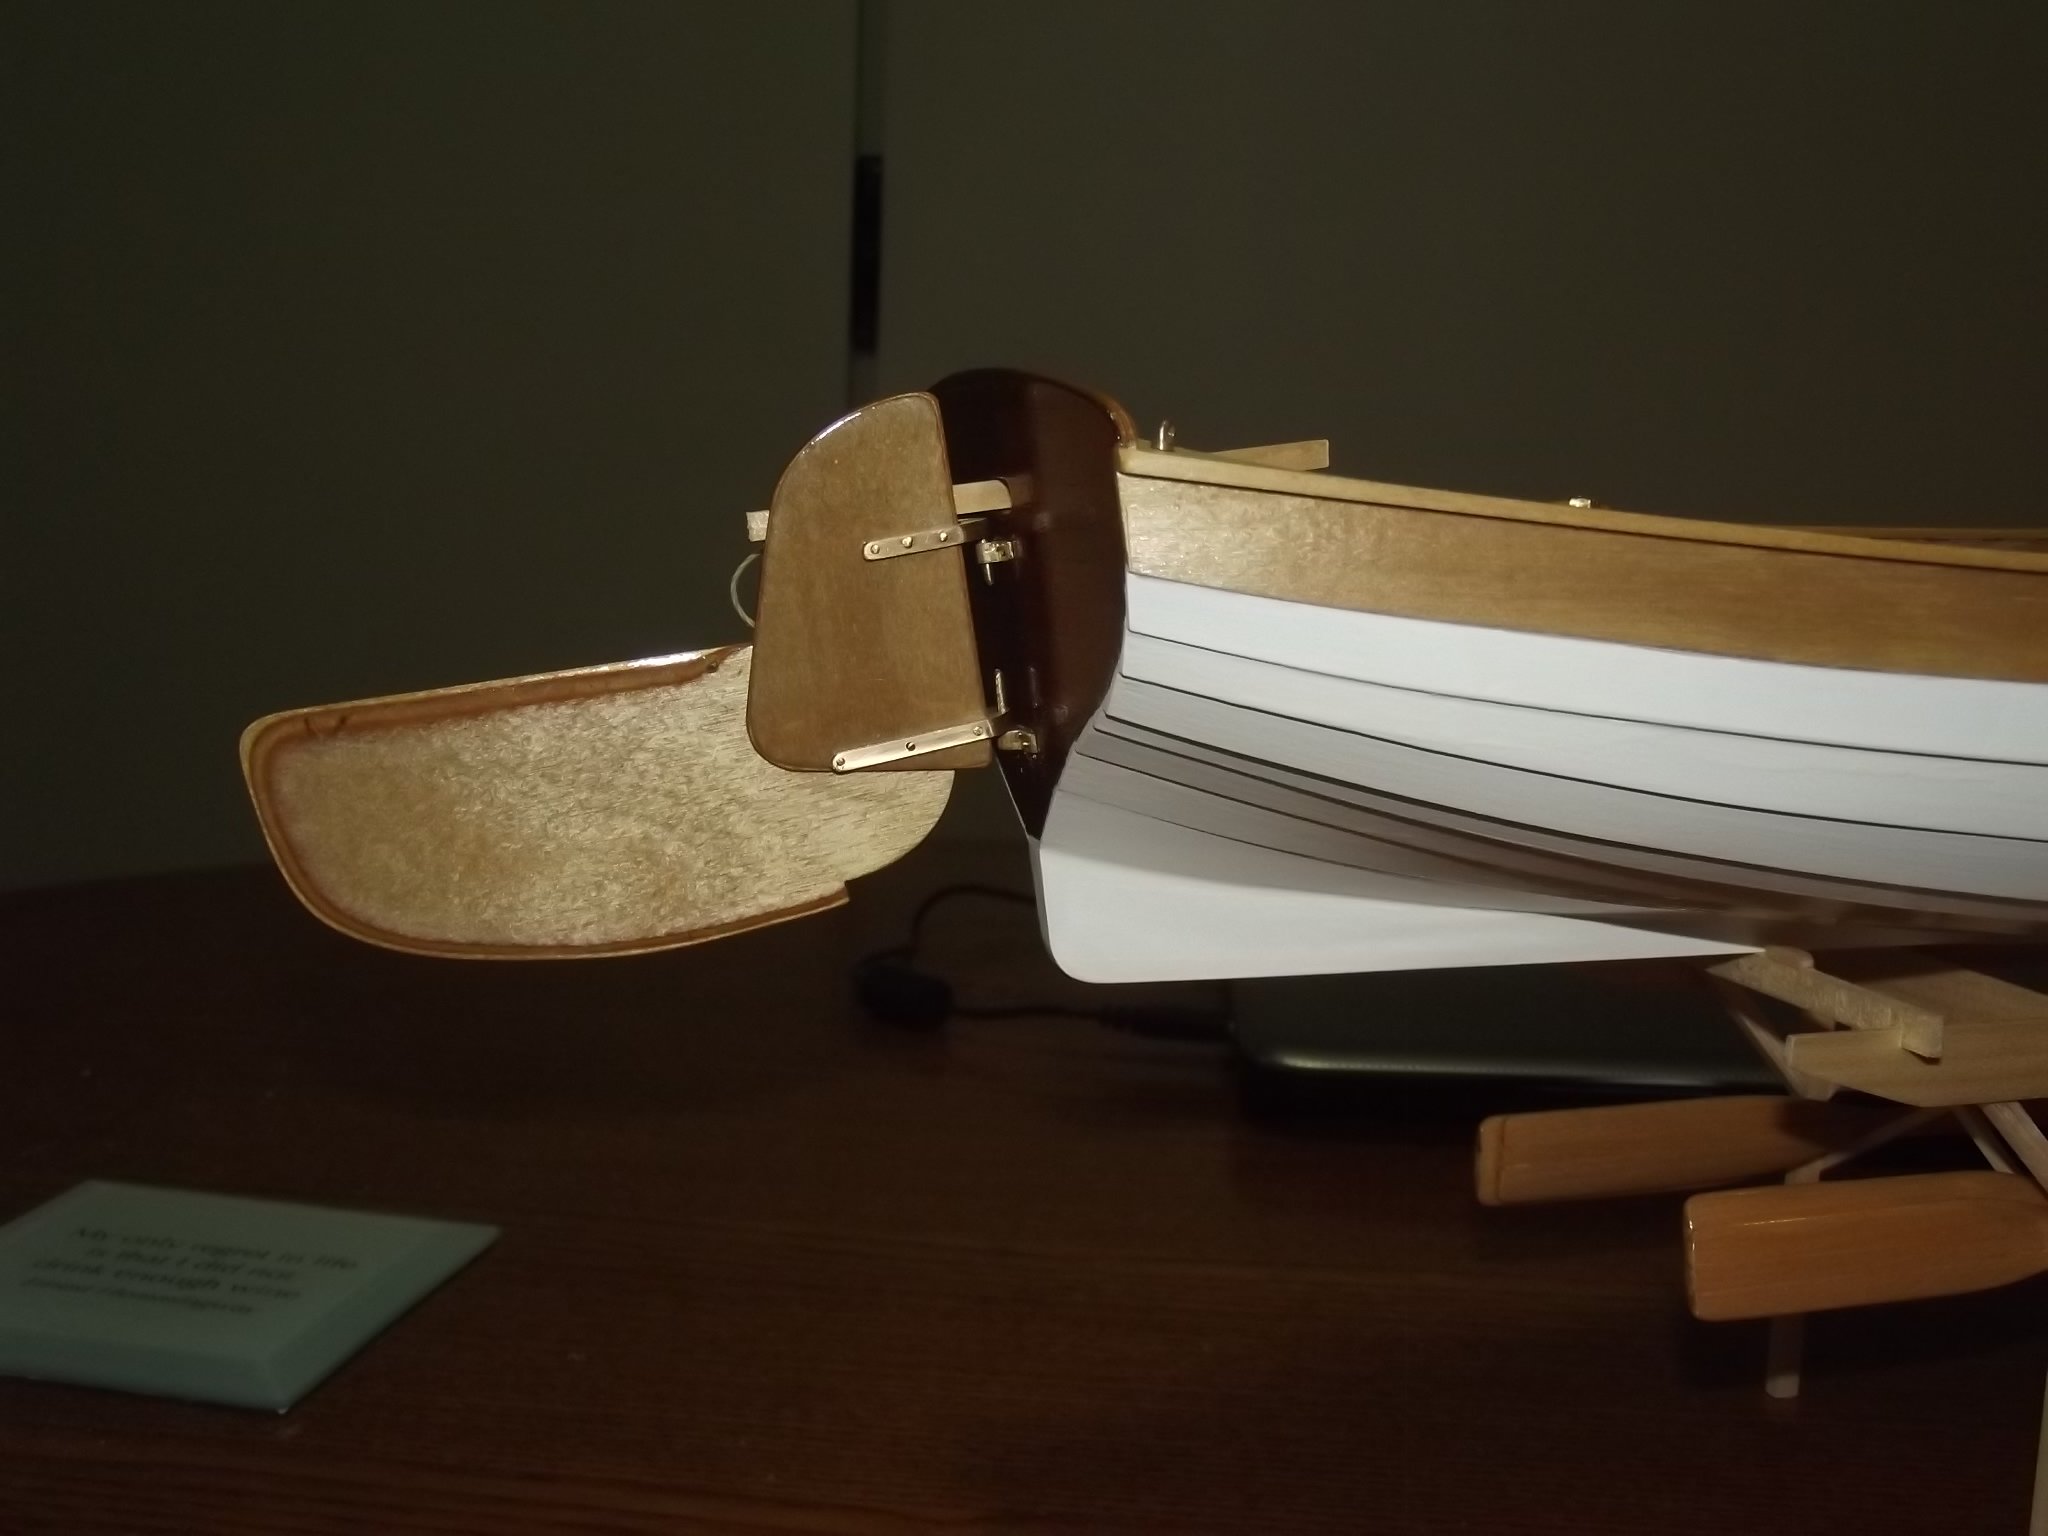
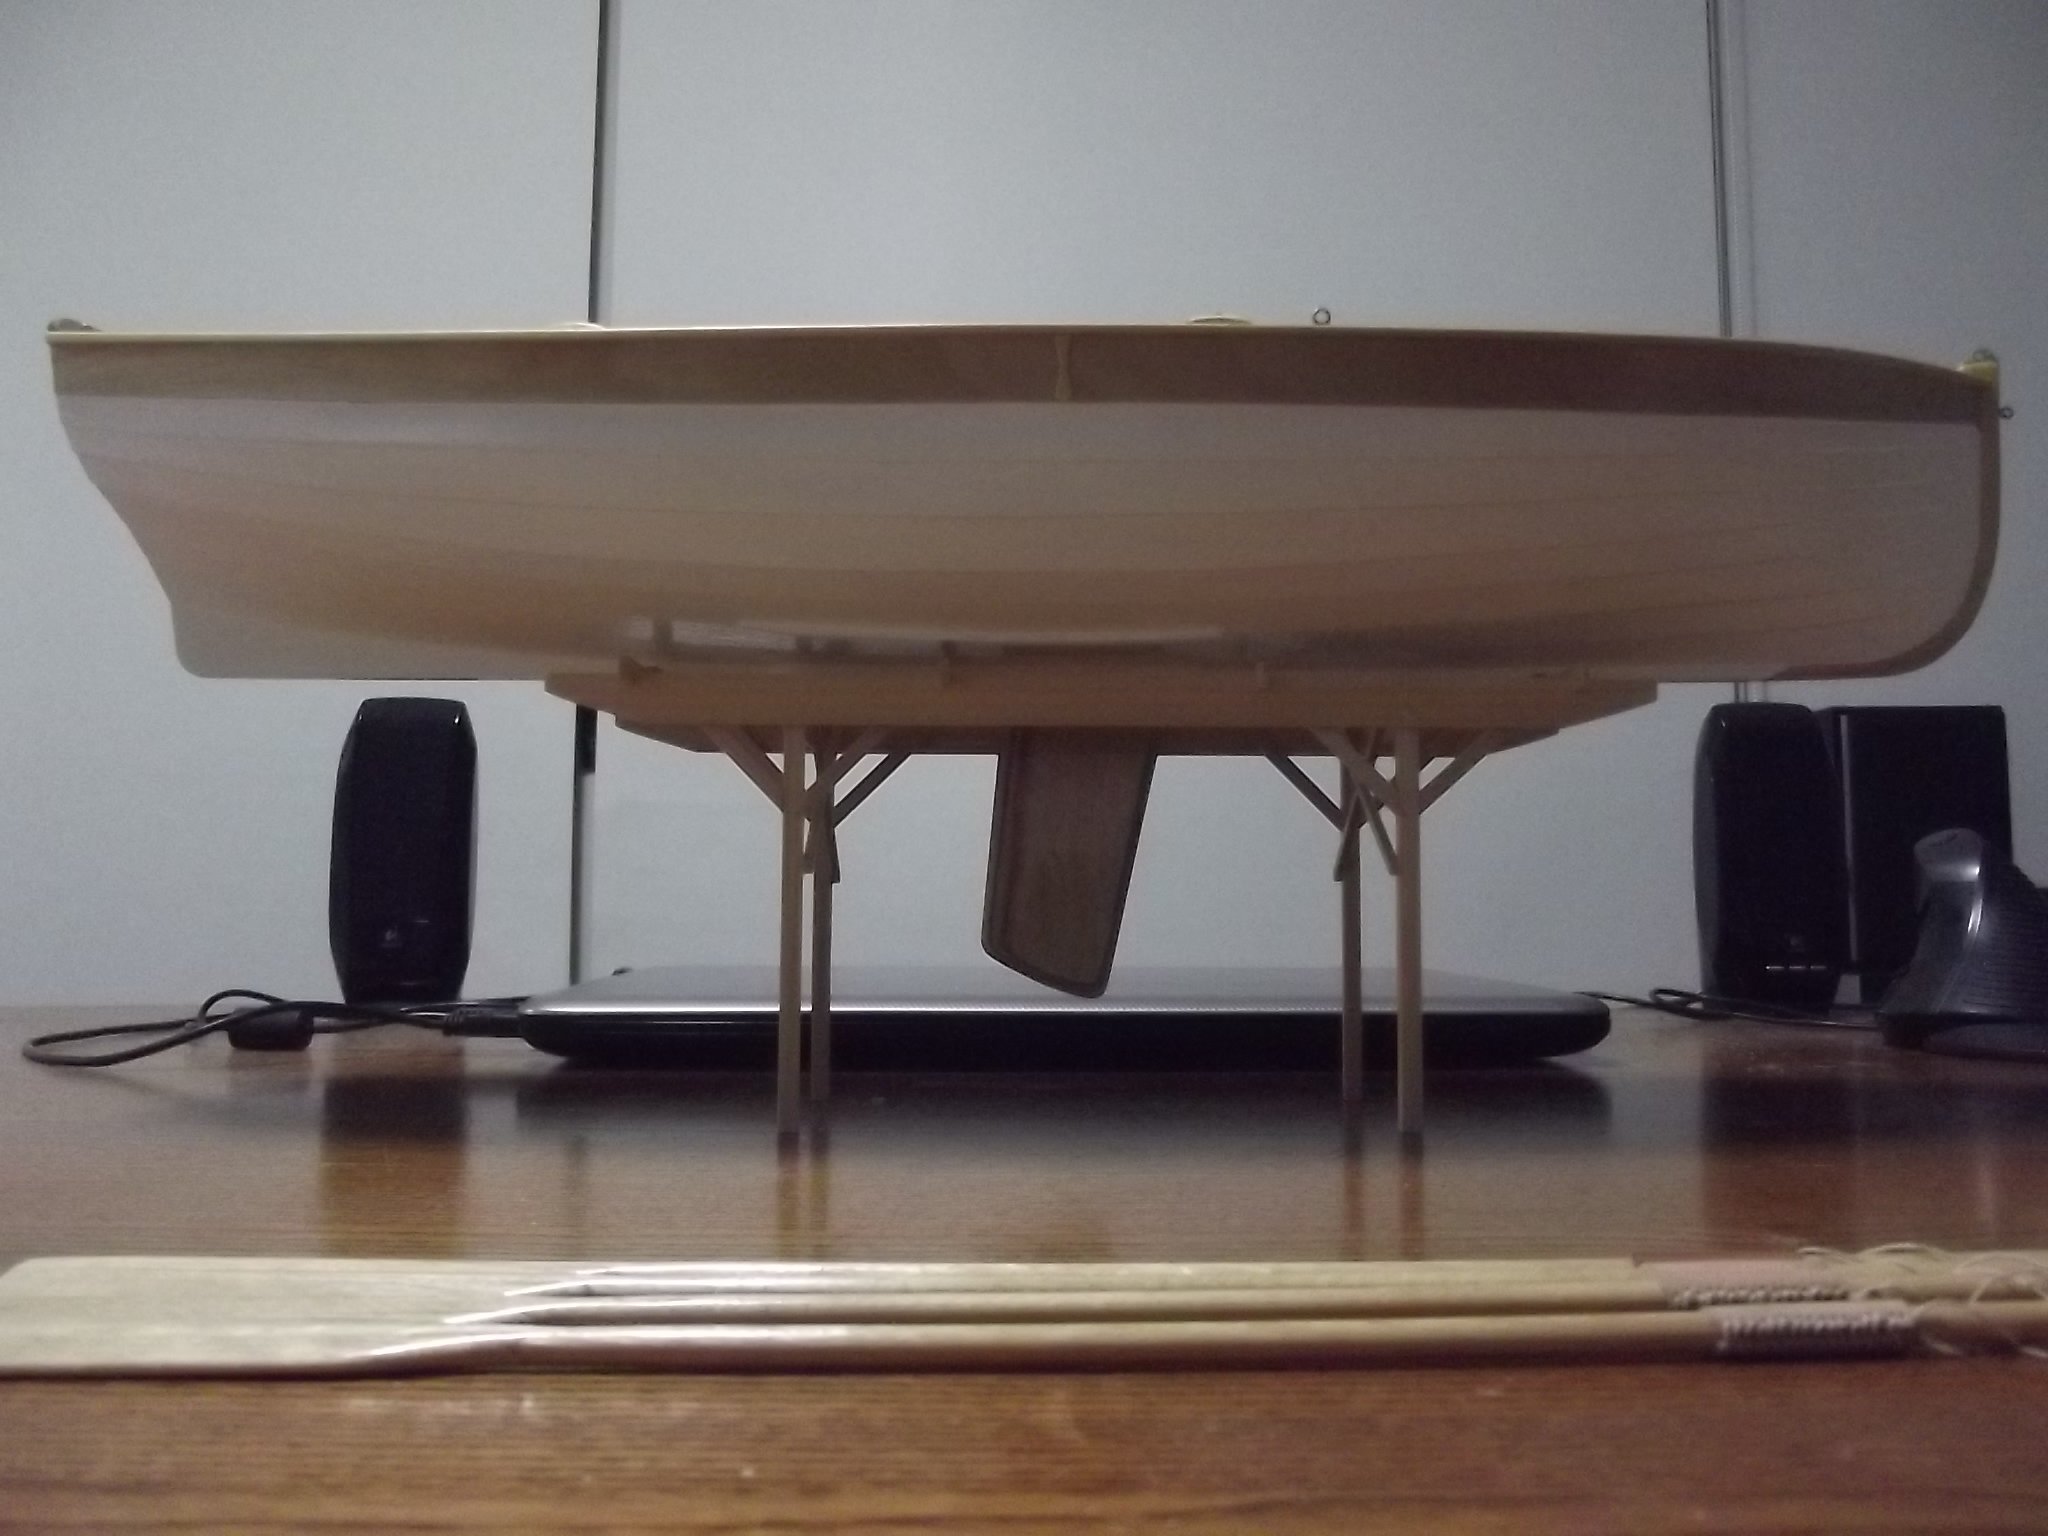
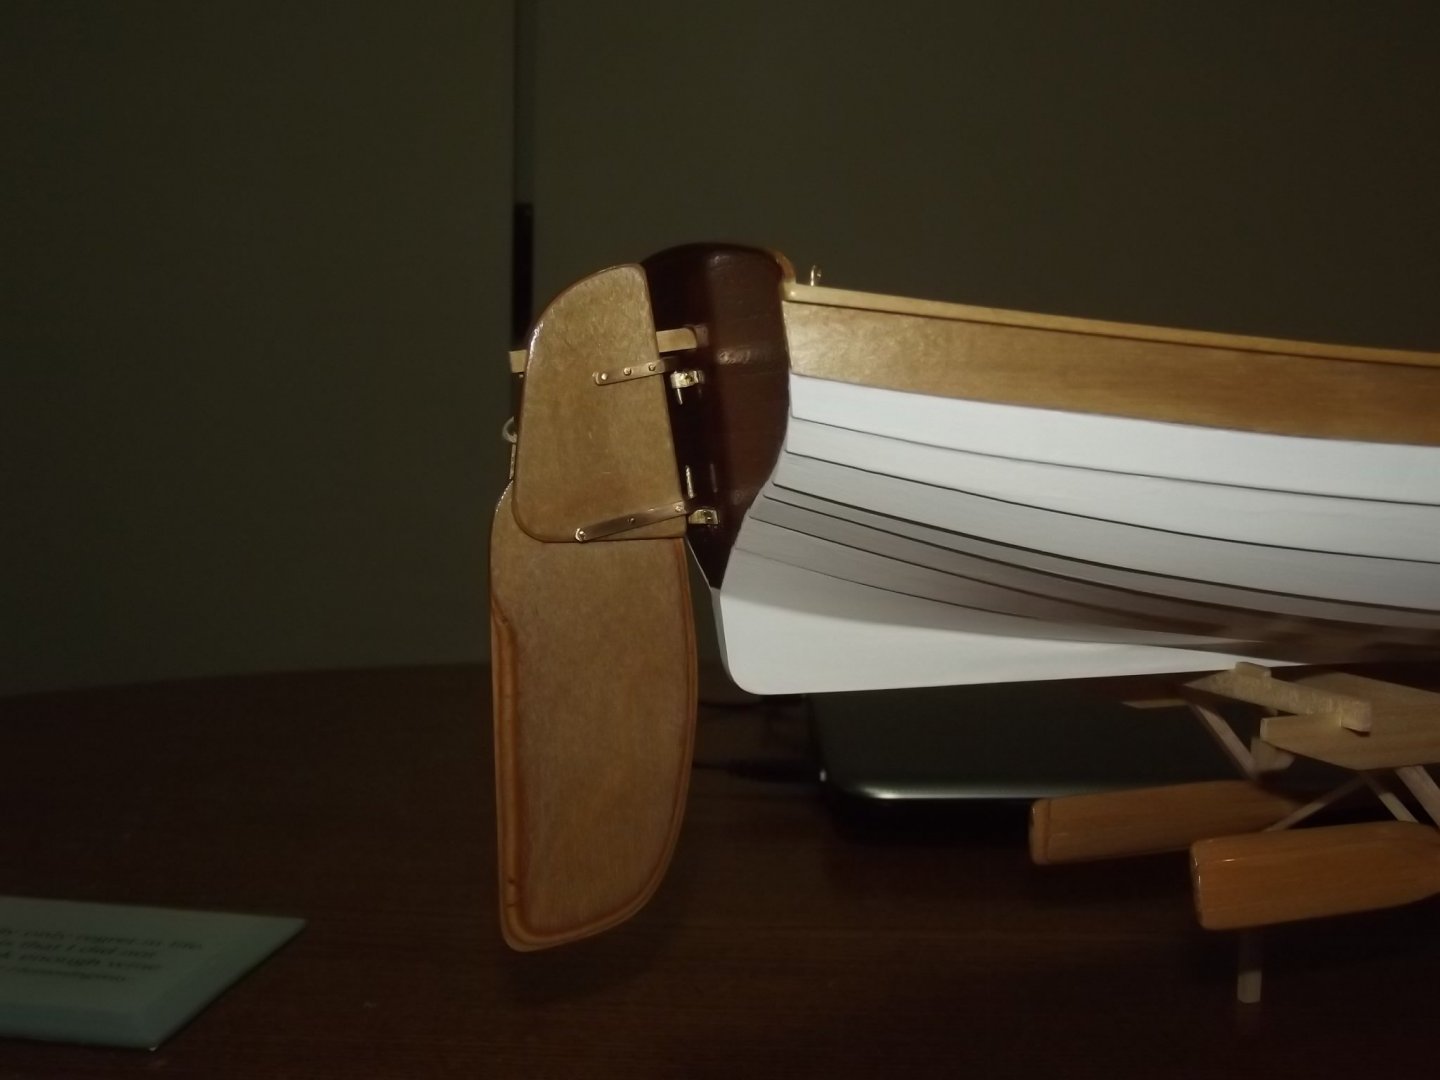
I've shortened the legs on the stand and it looks better, still seeing what I like. The rudder is fitted and it looks just like the real one. Tiller is next on the agenda.

-
Ouch! I feel for you Keith One of the most important skills of the modeler is the ability to overcome such an error and I know you'll come up with an interesting fix
-
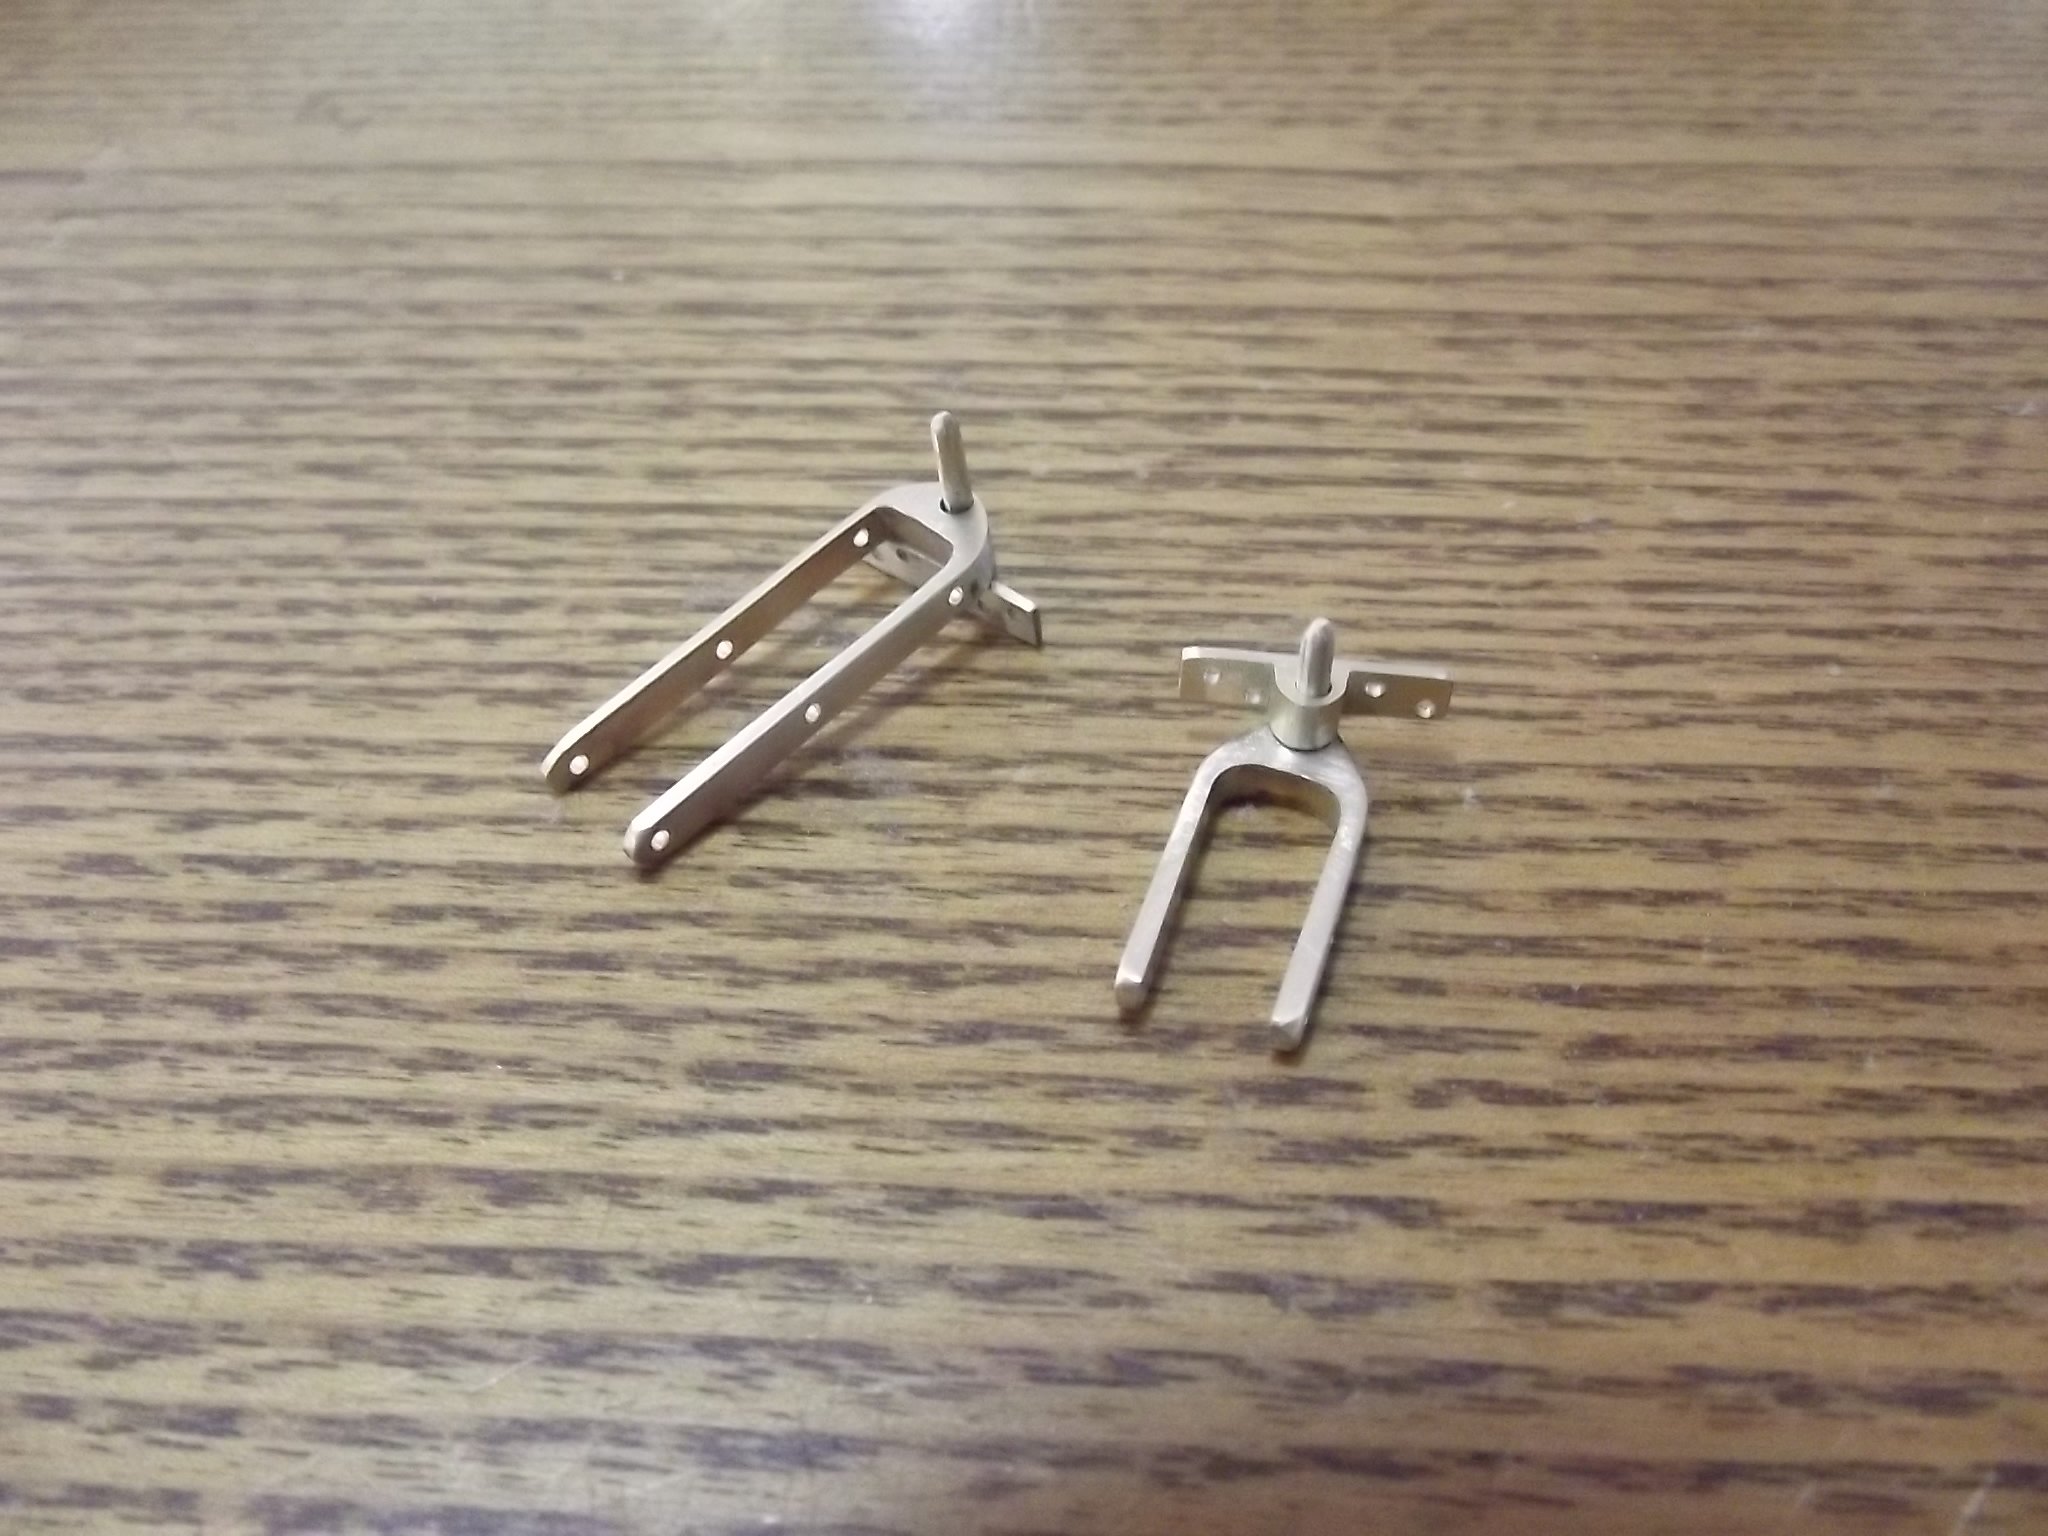
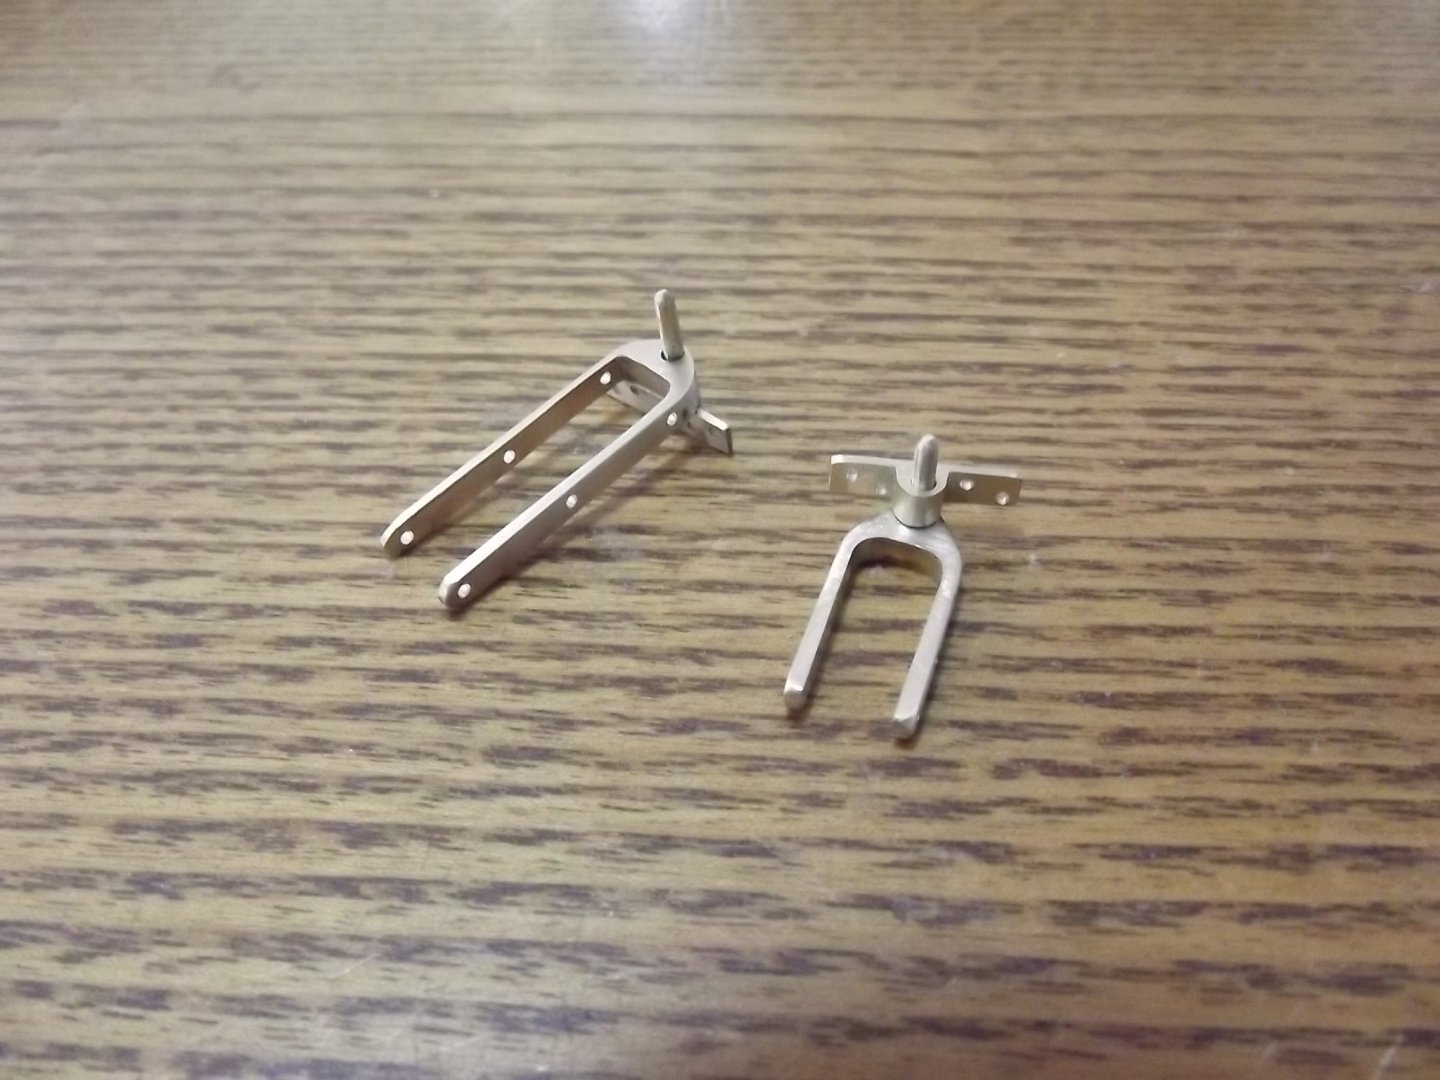
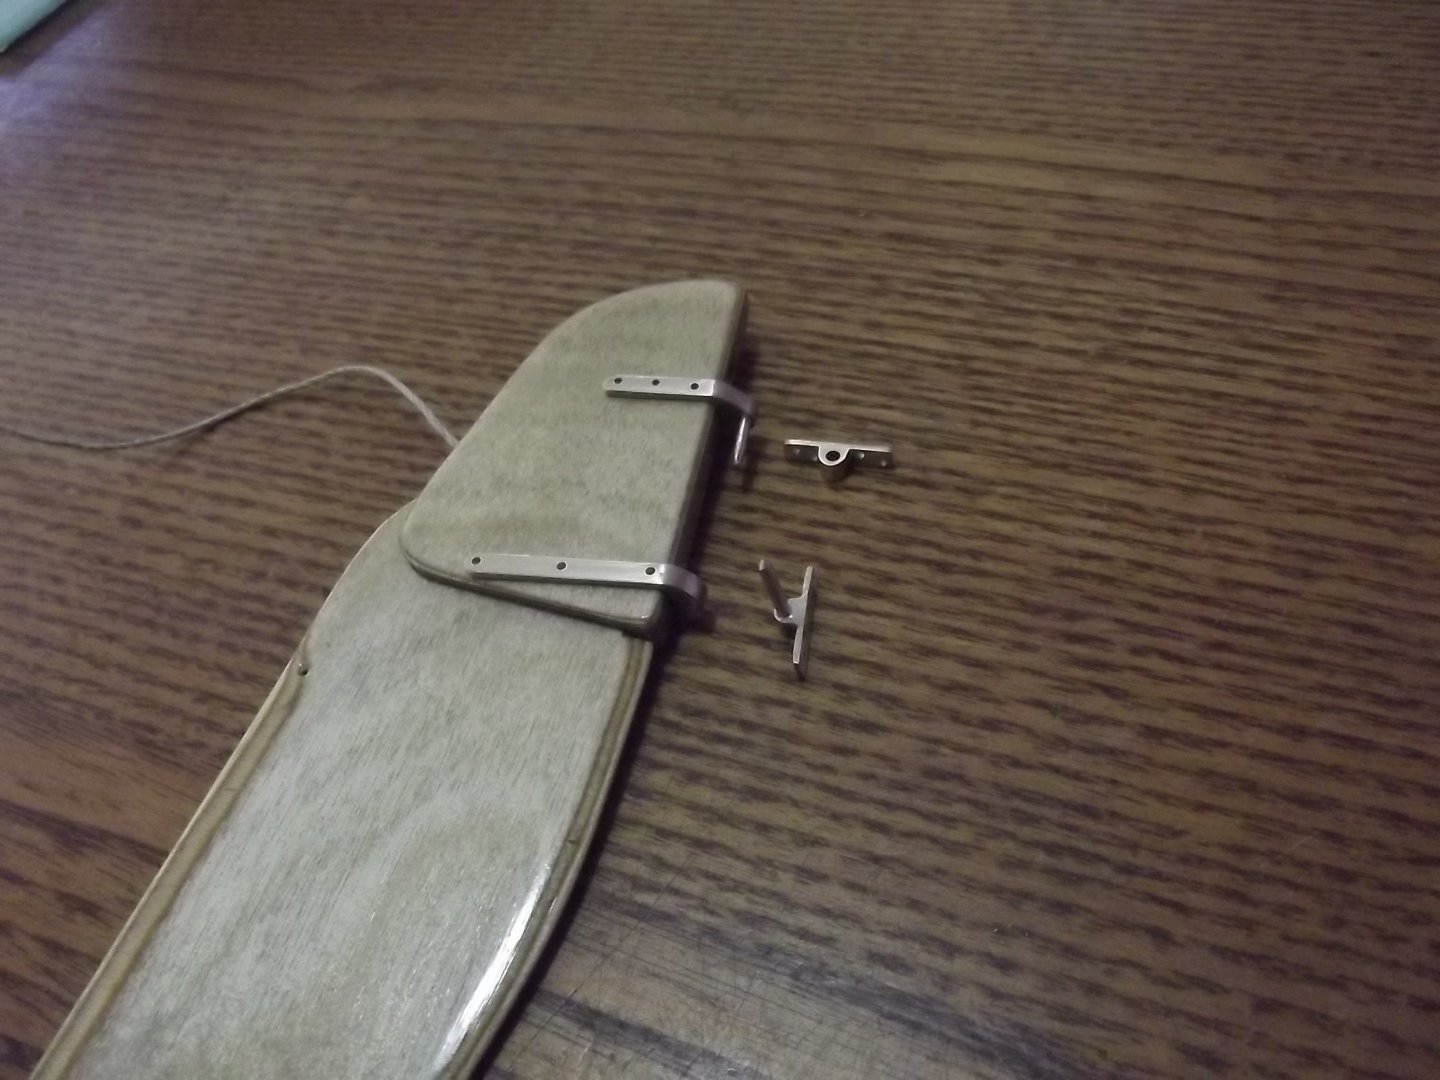
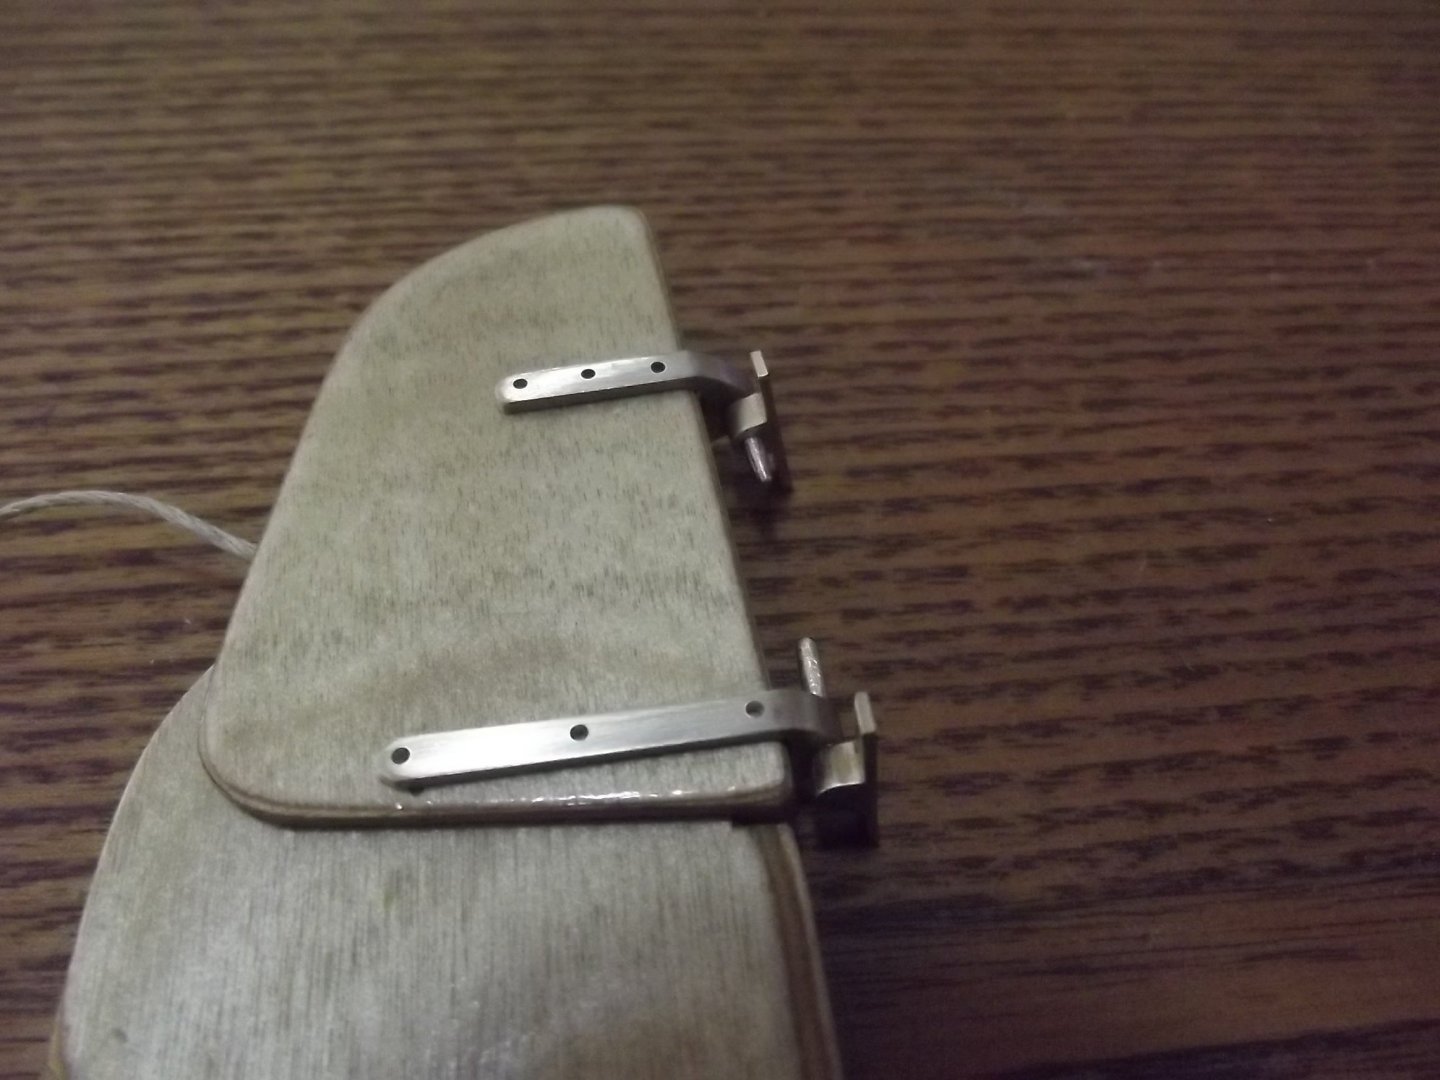
The rudder hinges
-
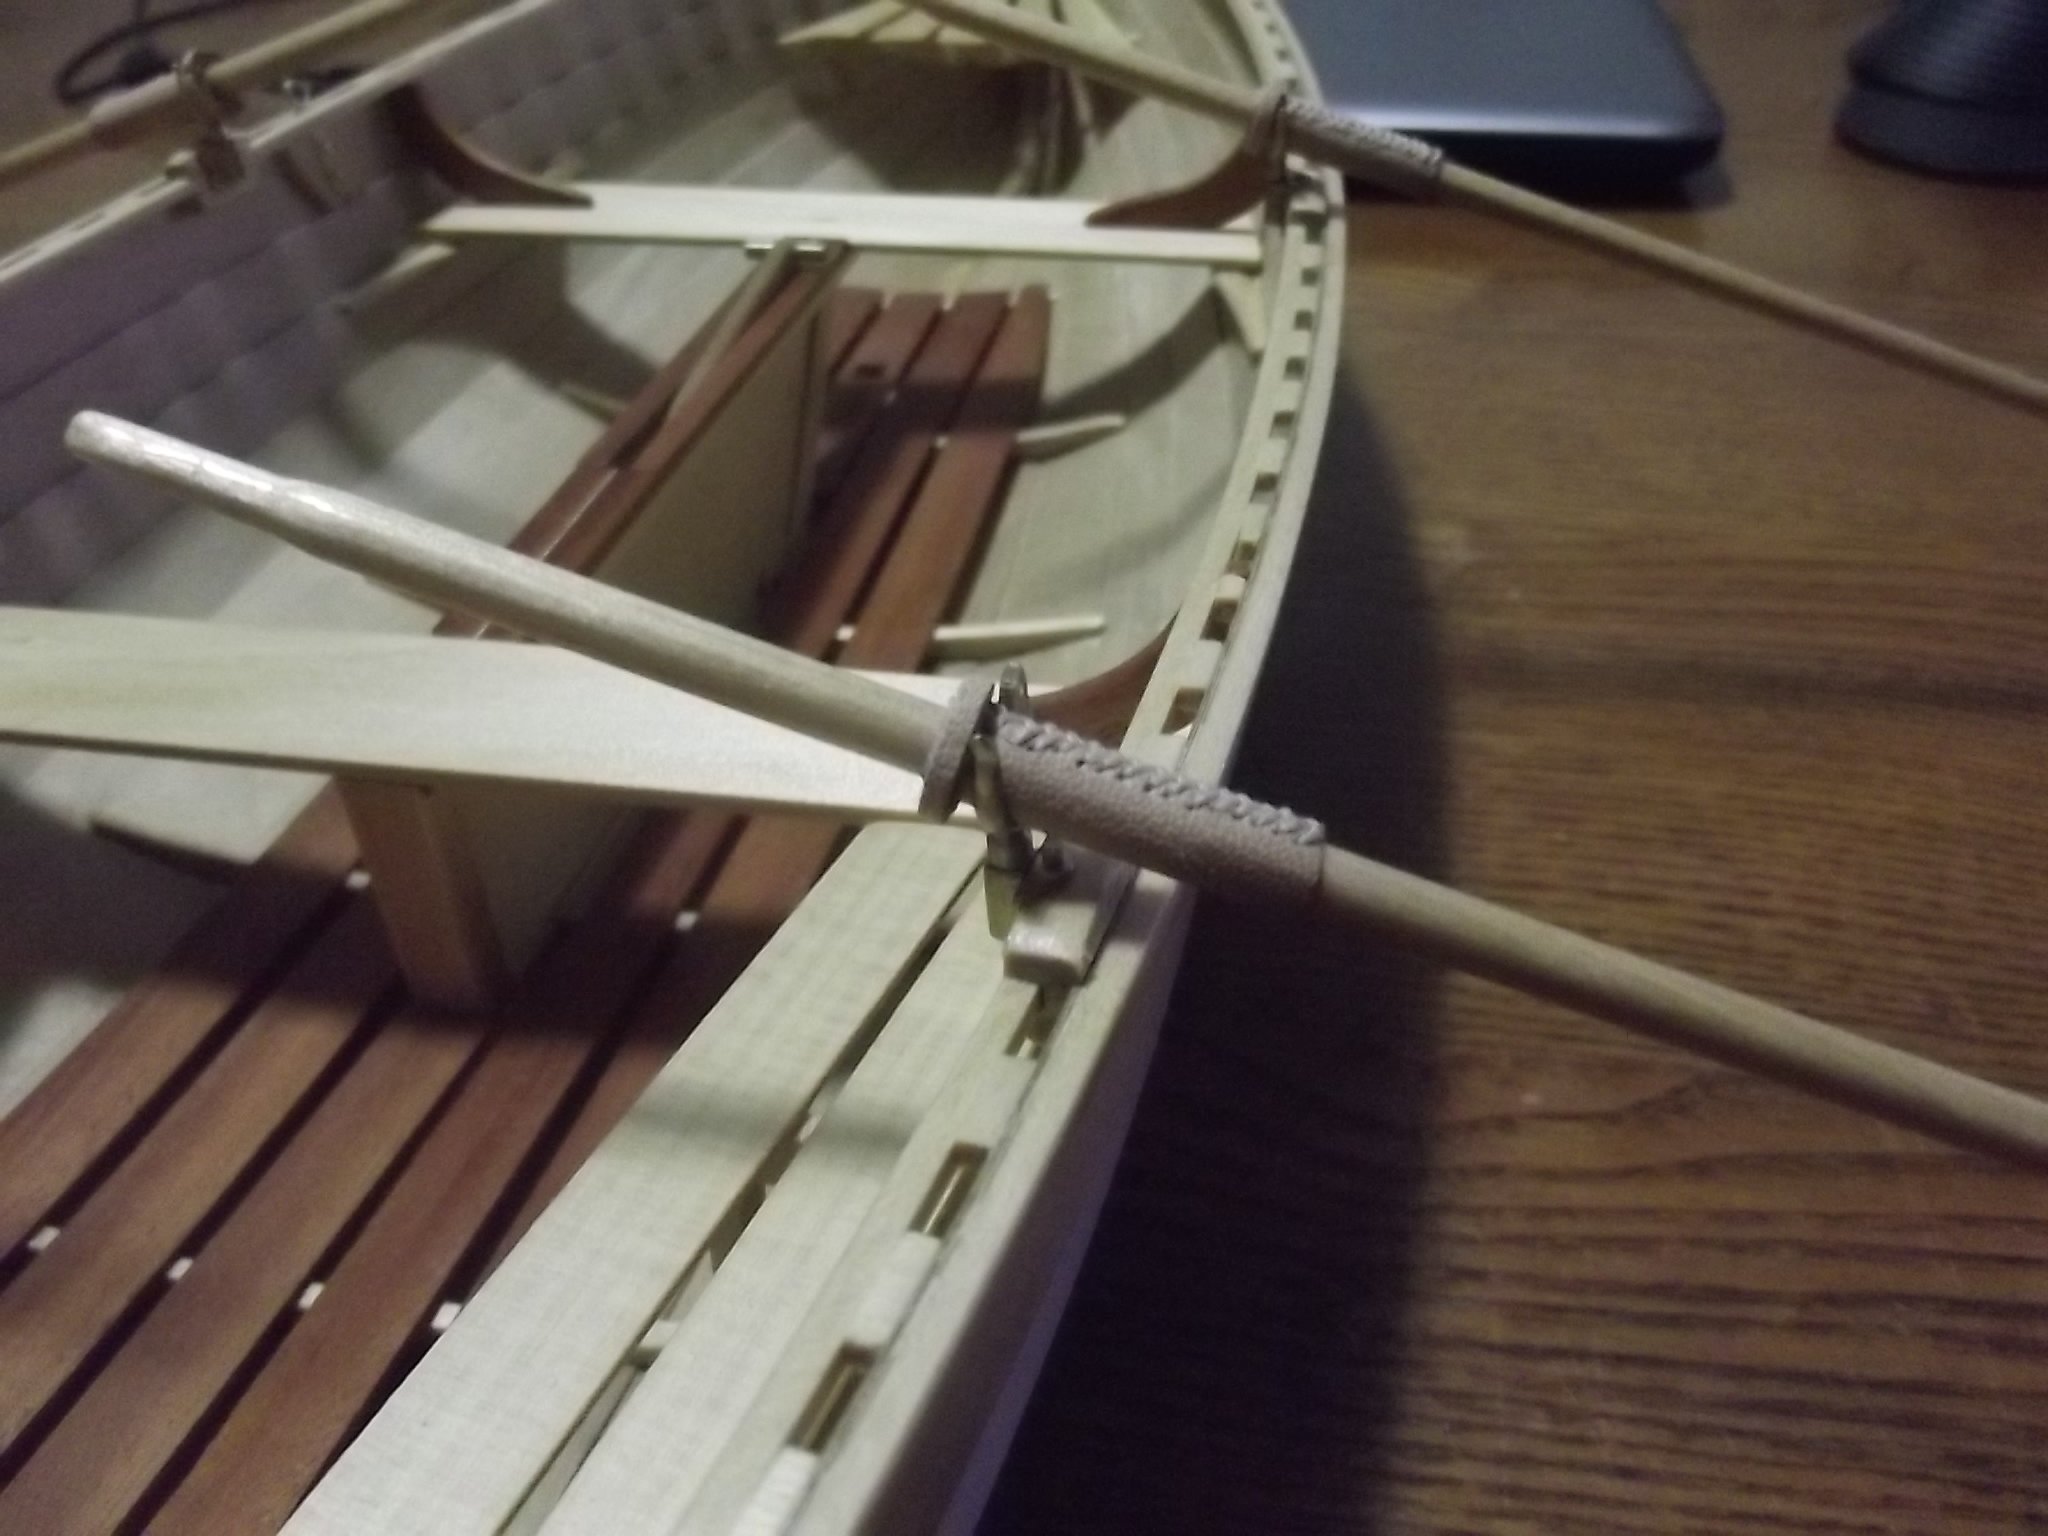
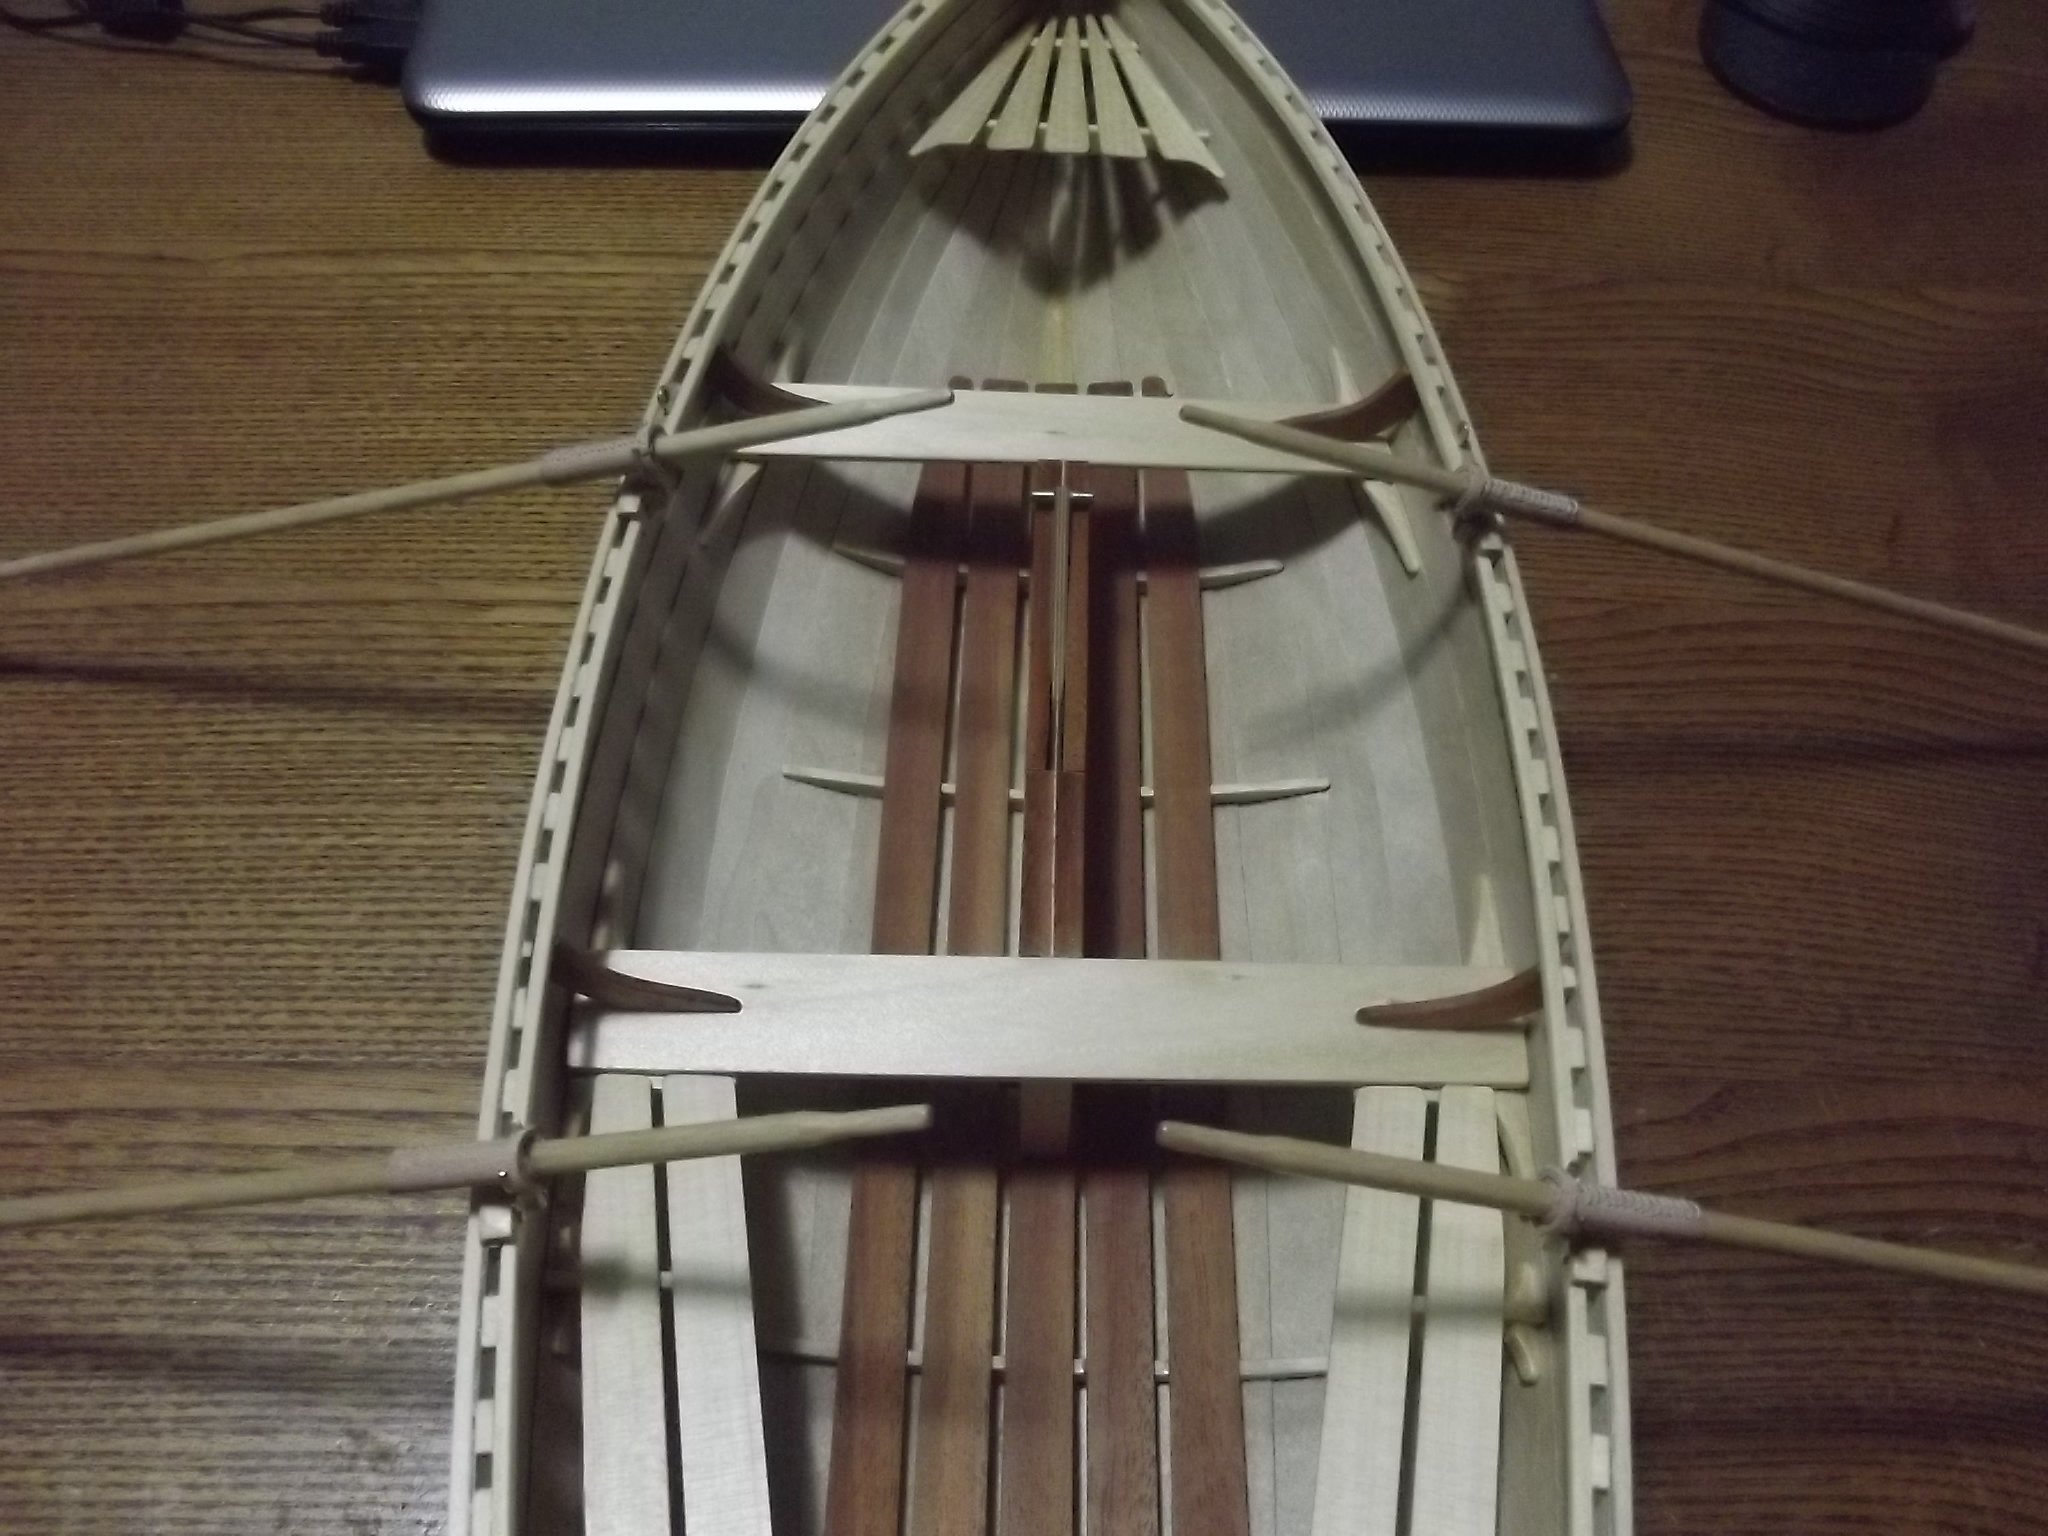
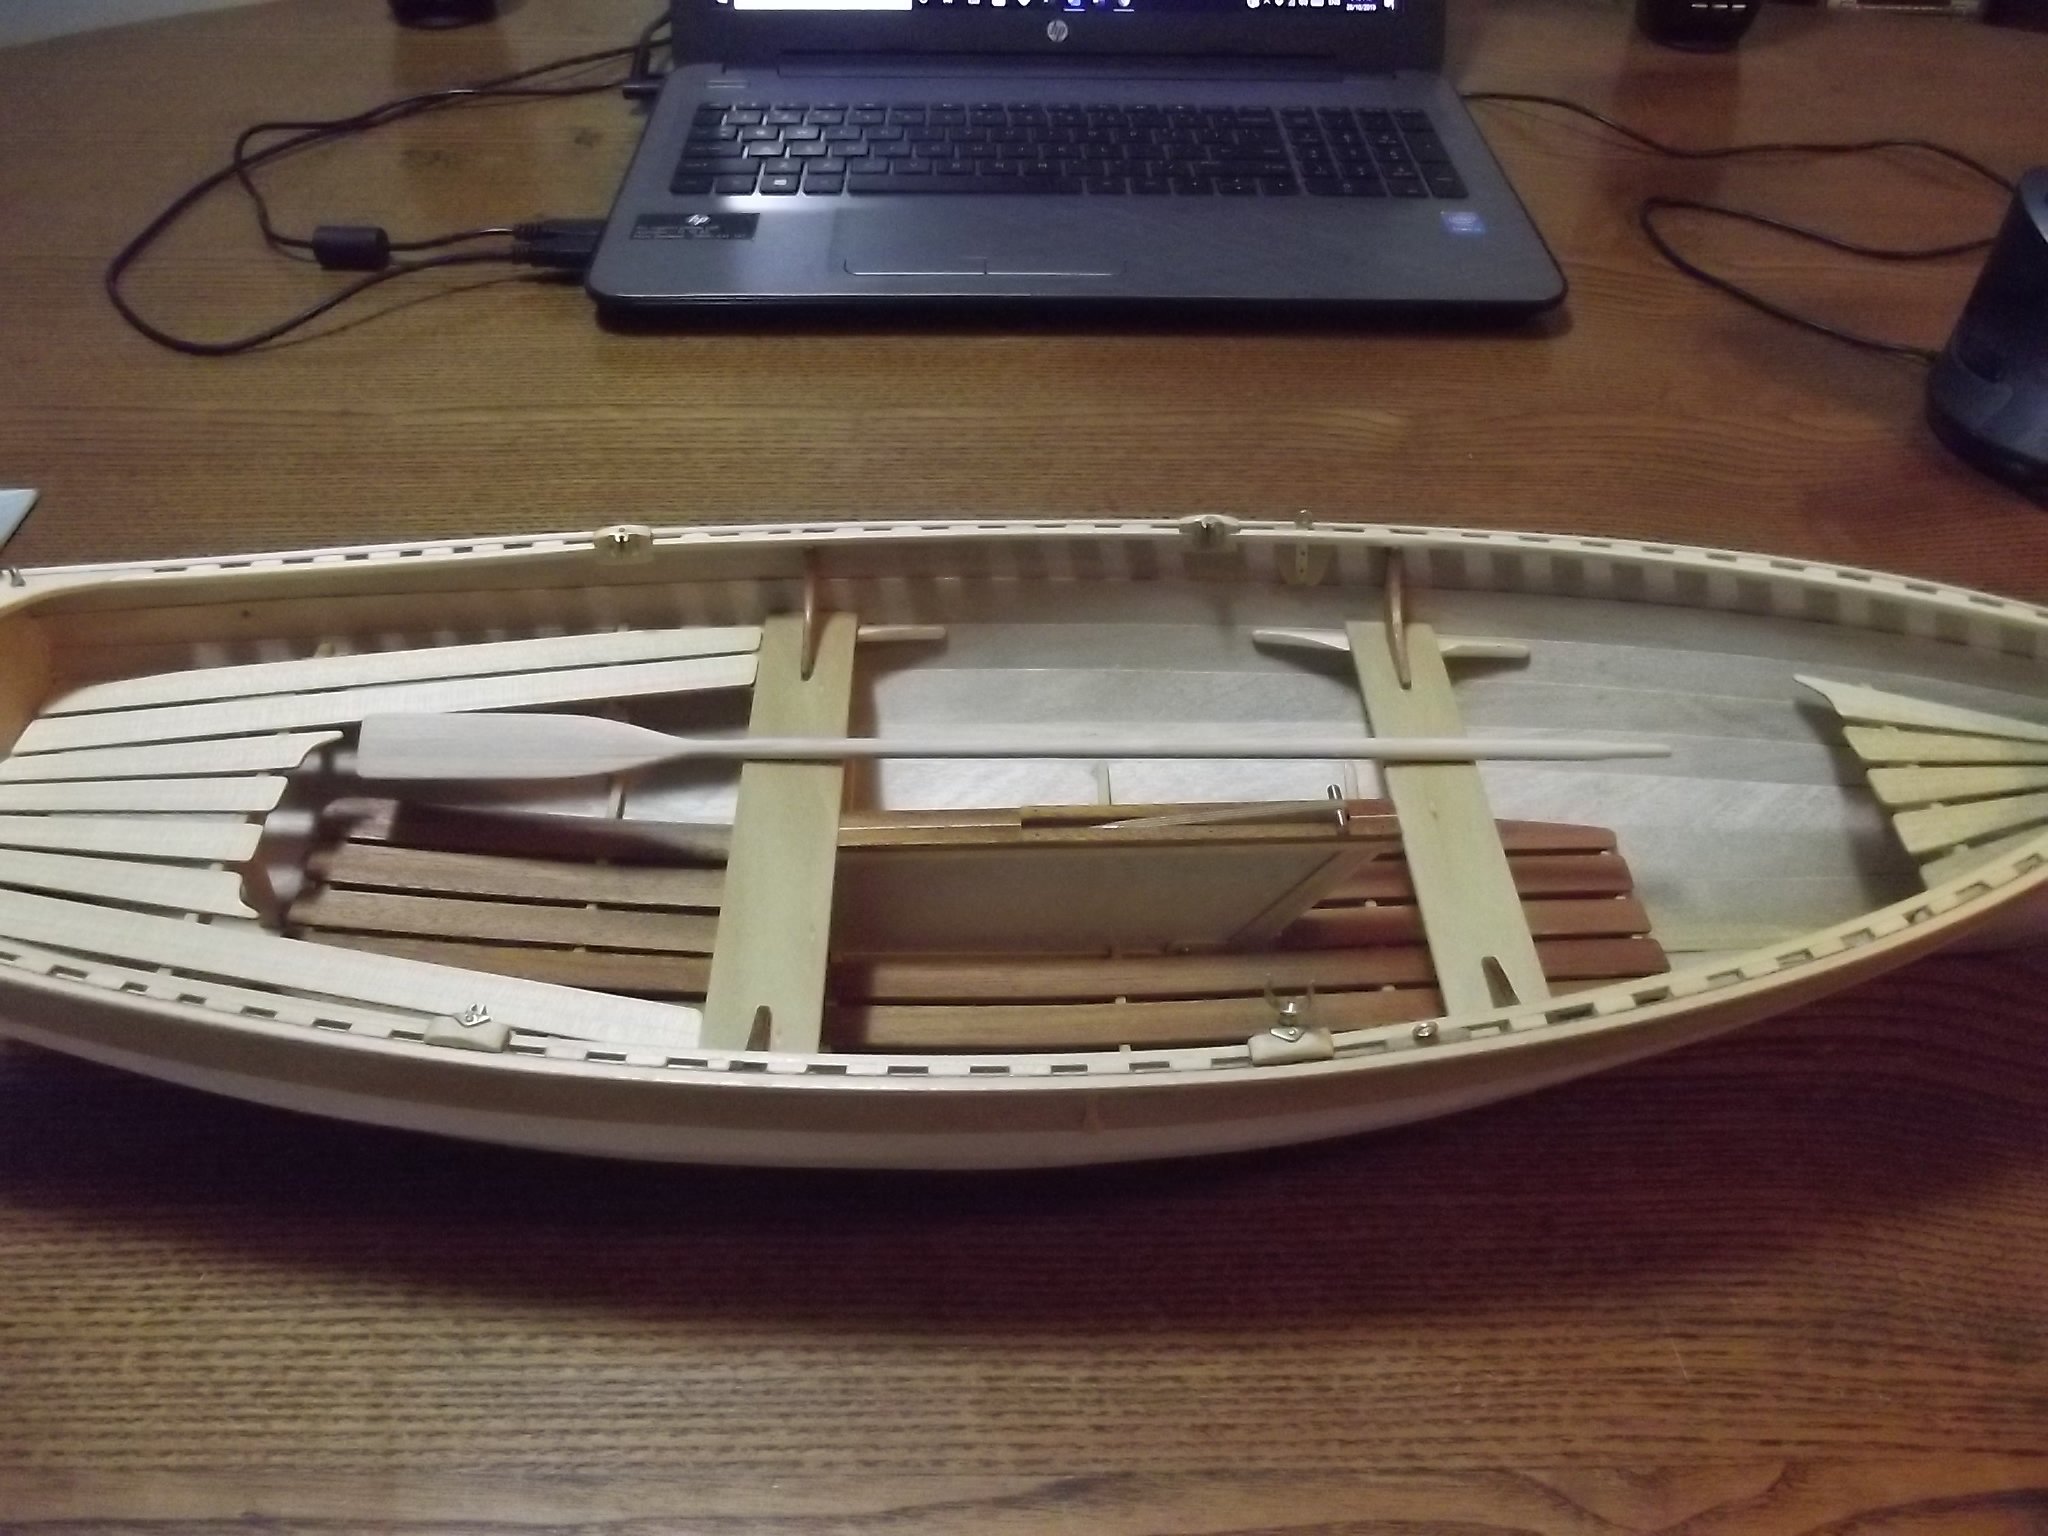
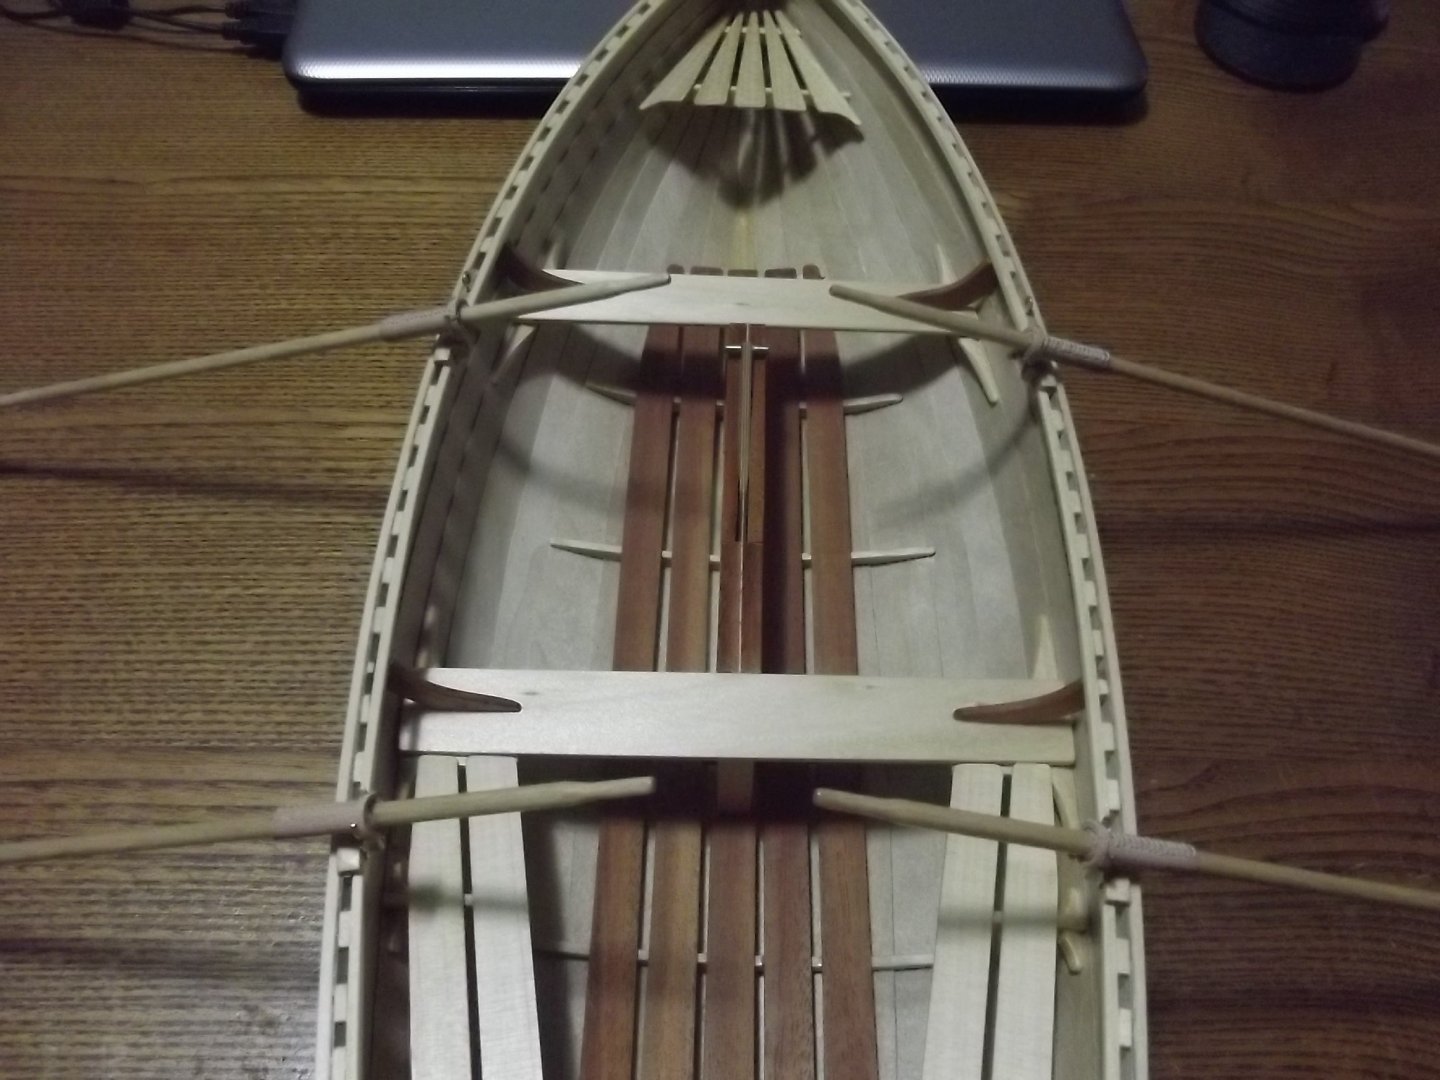
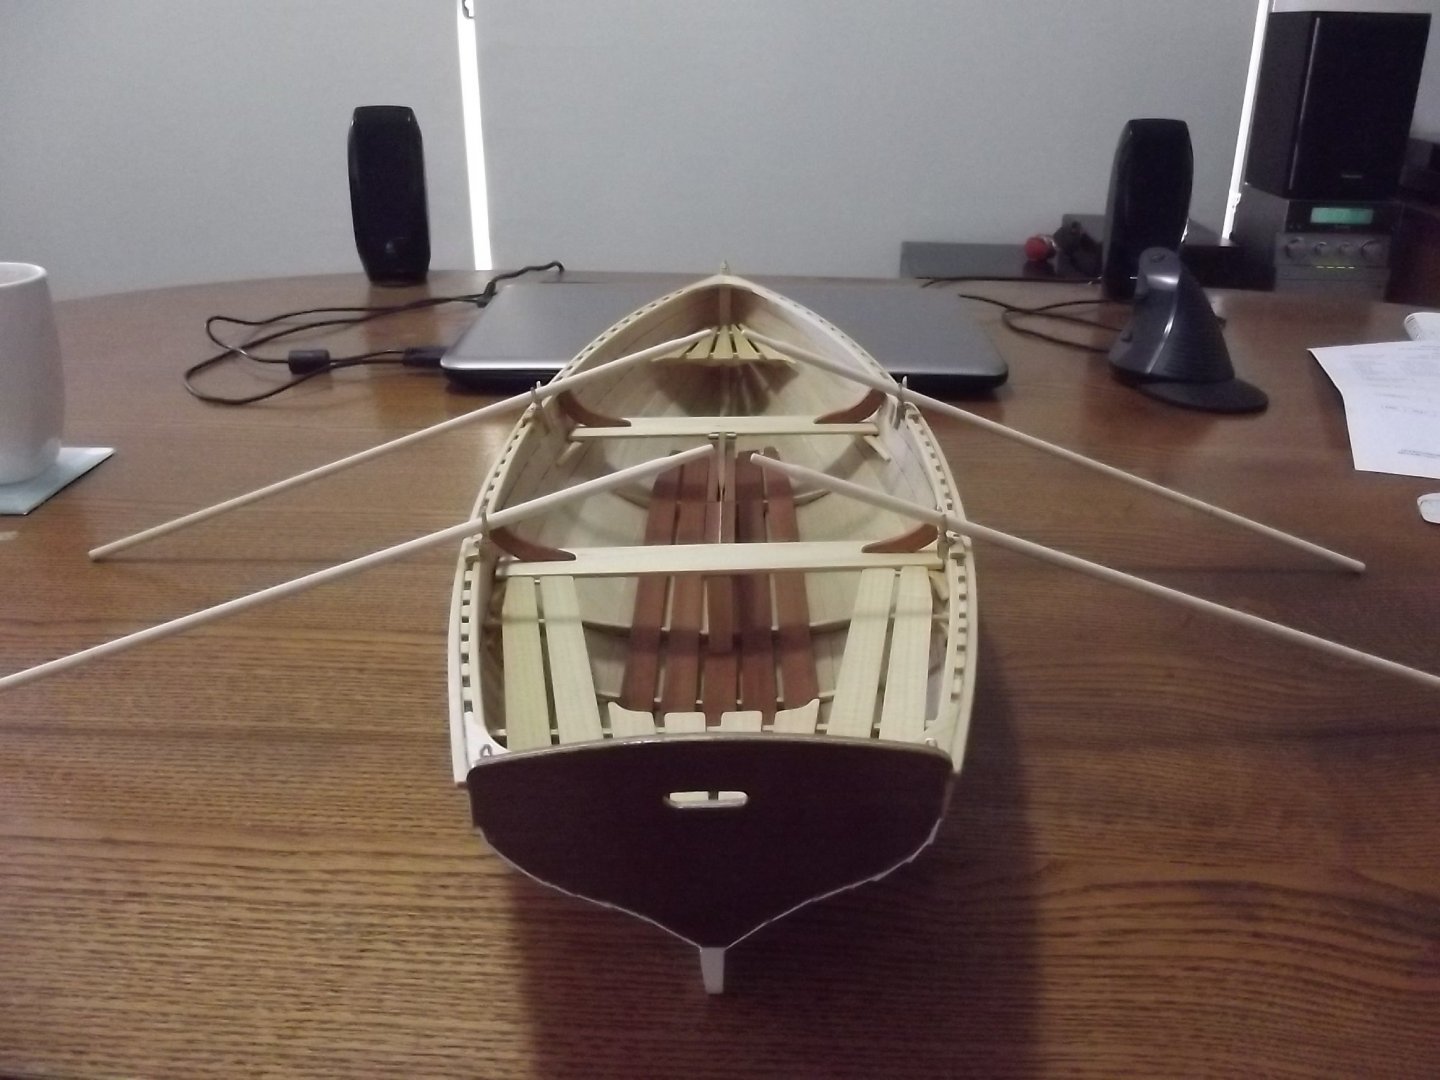
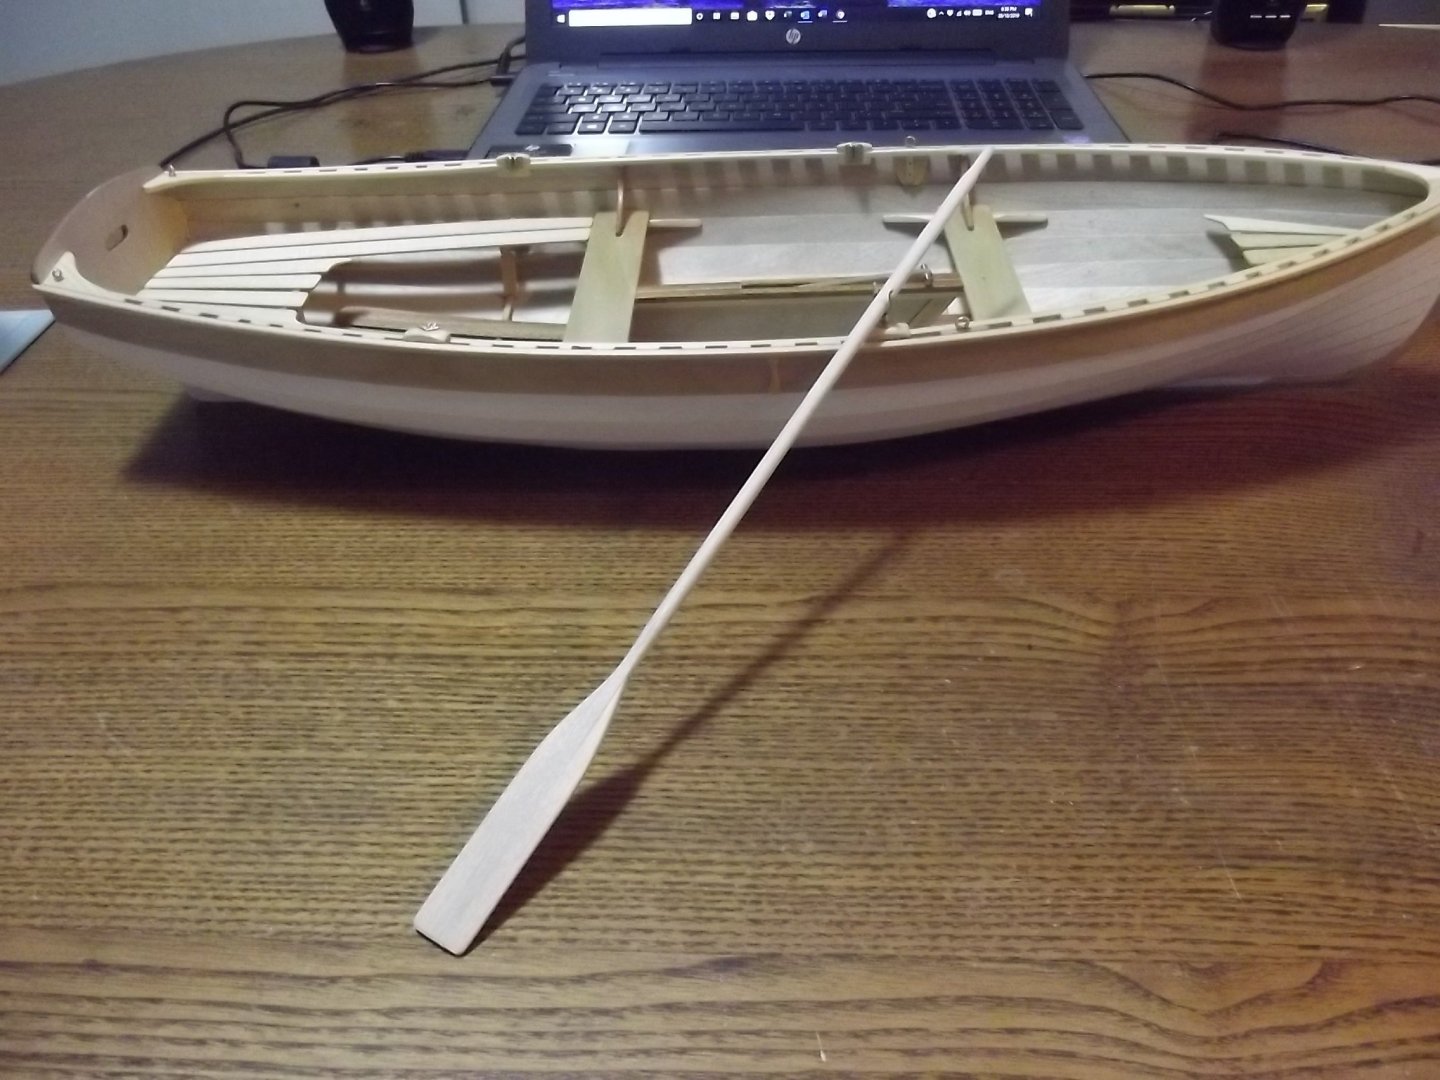
I love it when a plan comes together, the oars fit the rowlocks beautifully

-
Don't you just hate it when you put in the time and effort, get it right, then break or lose it.
-
Yeah John, I see what you mean.
-
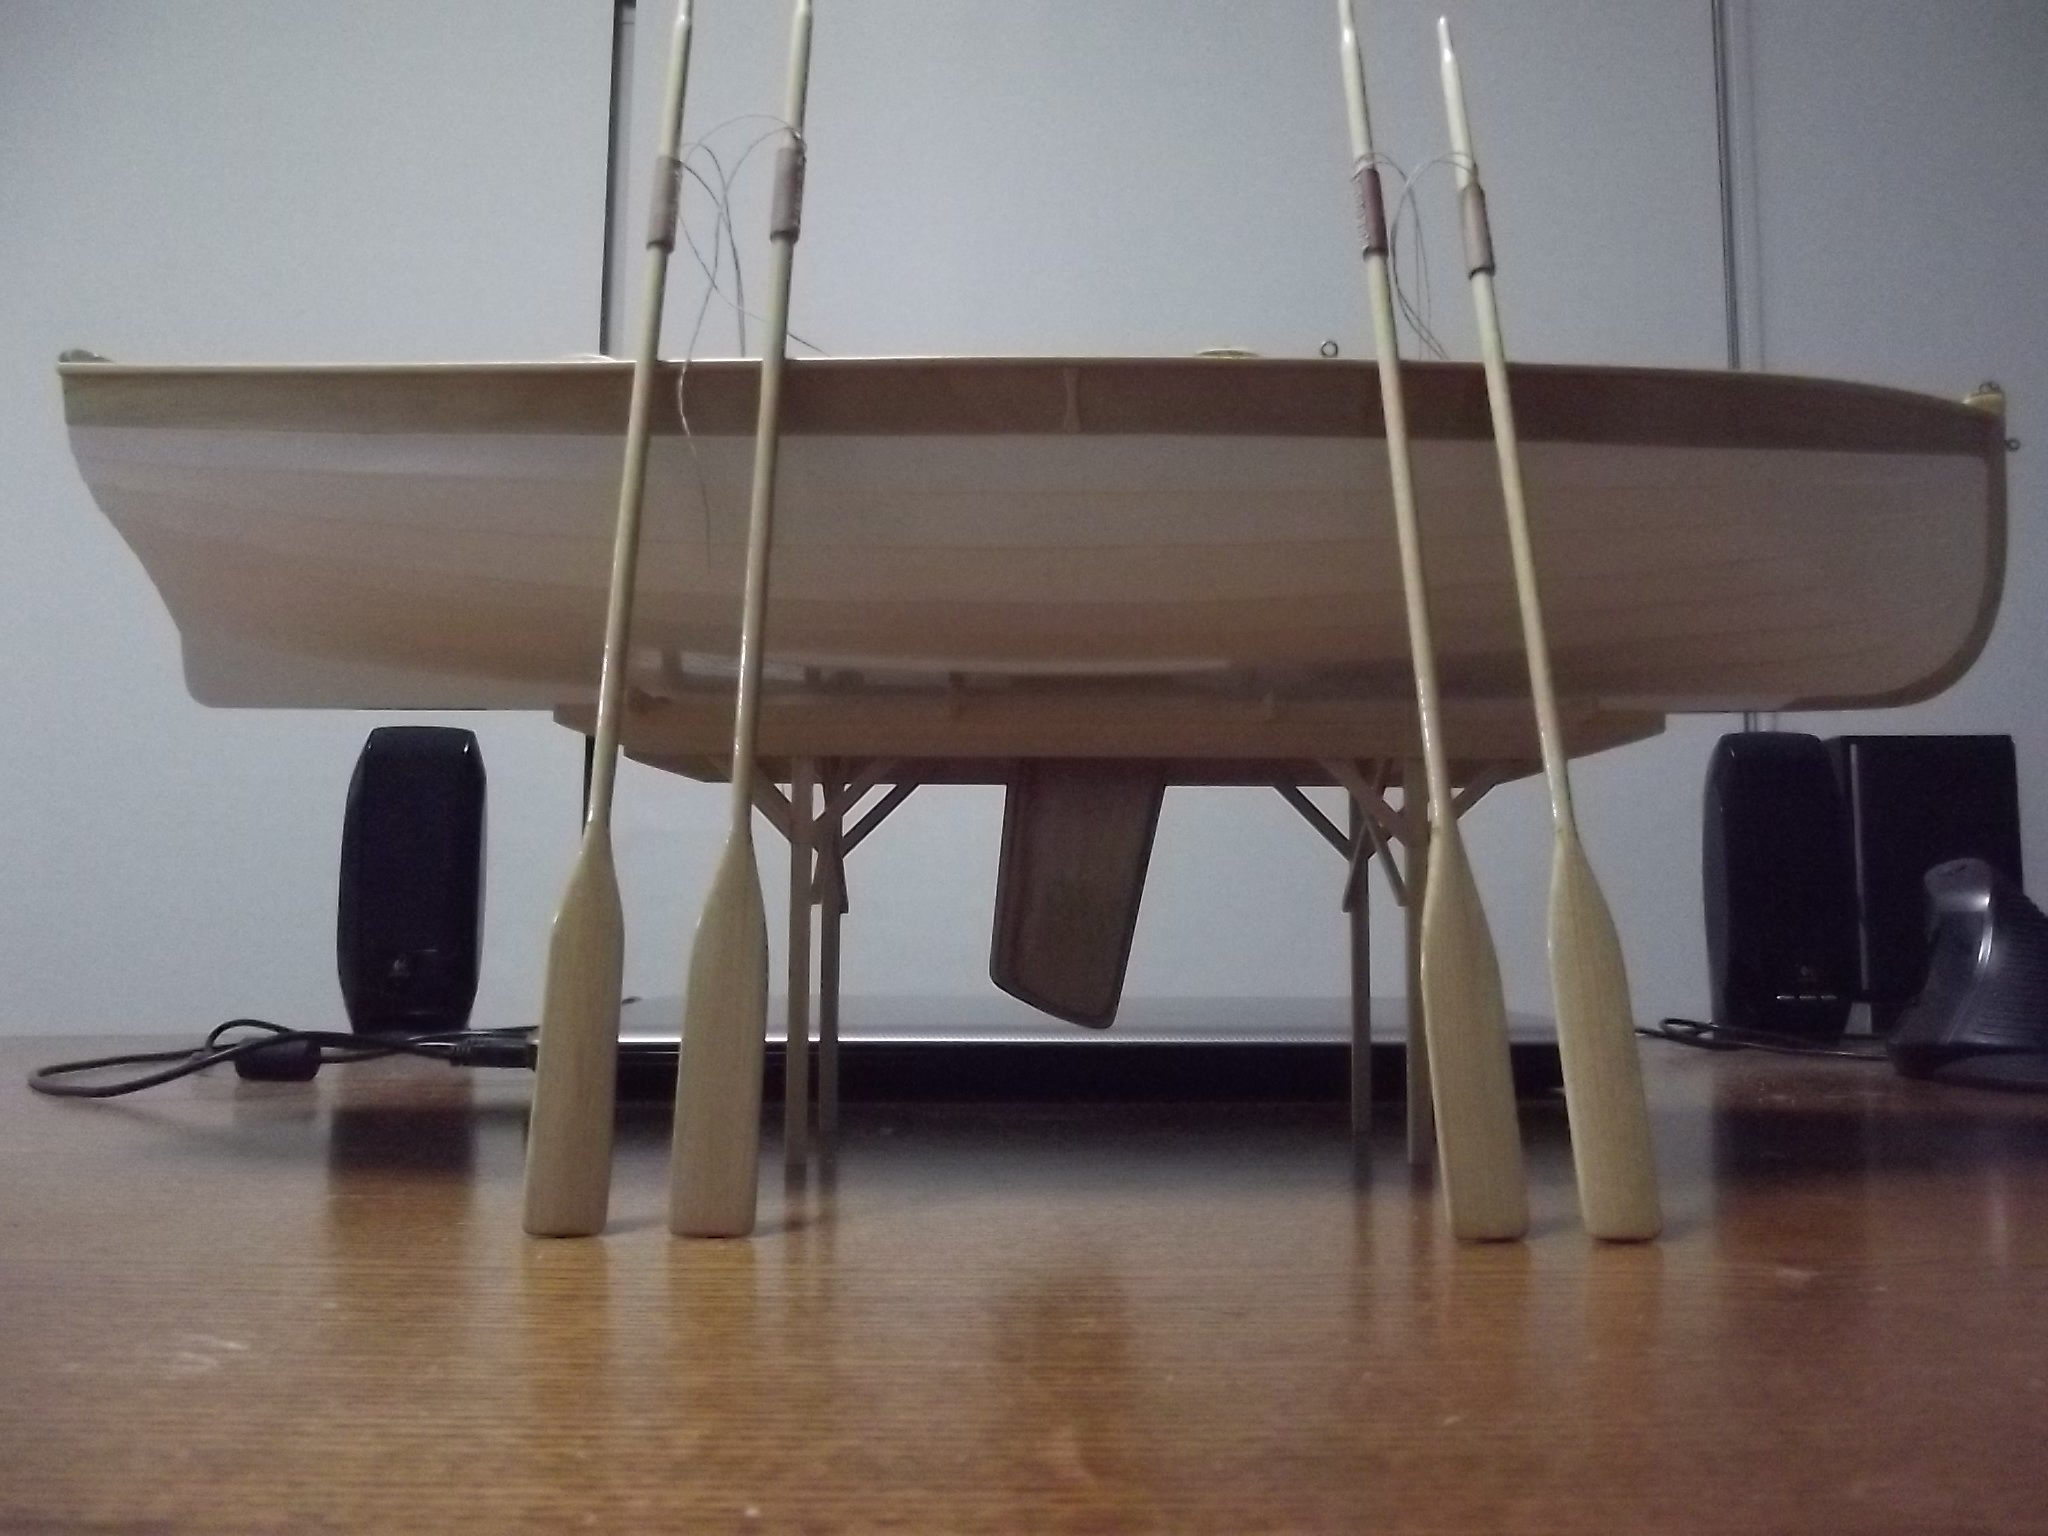
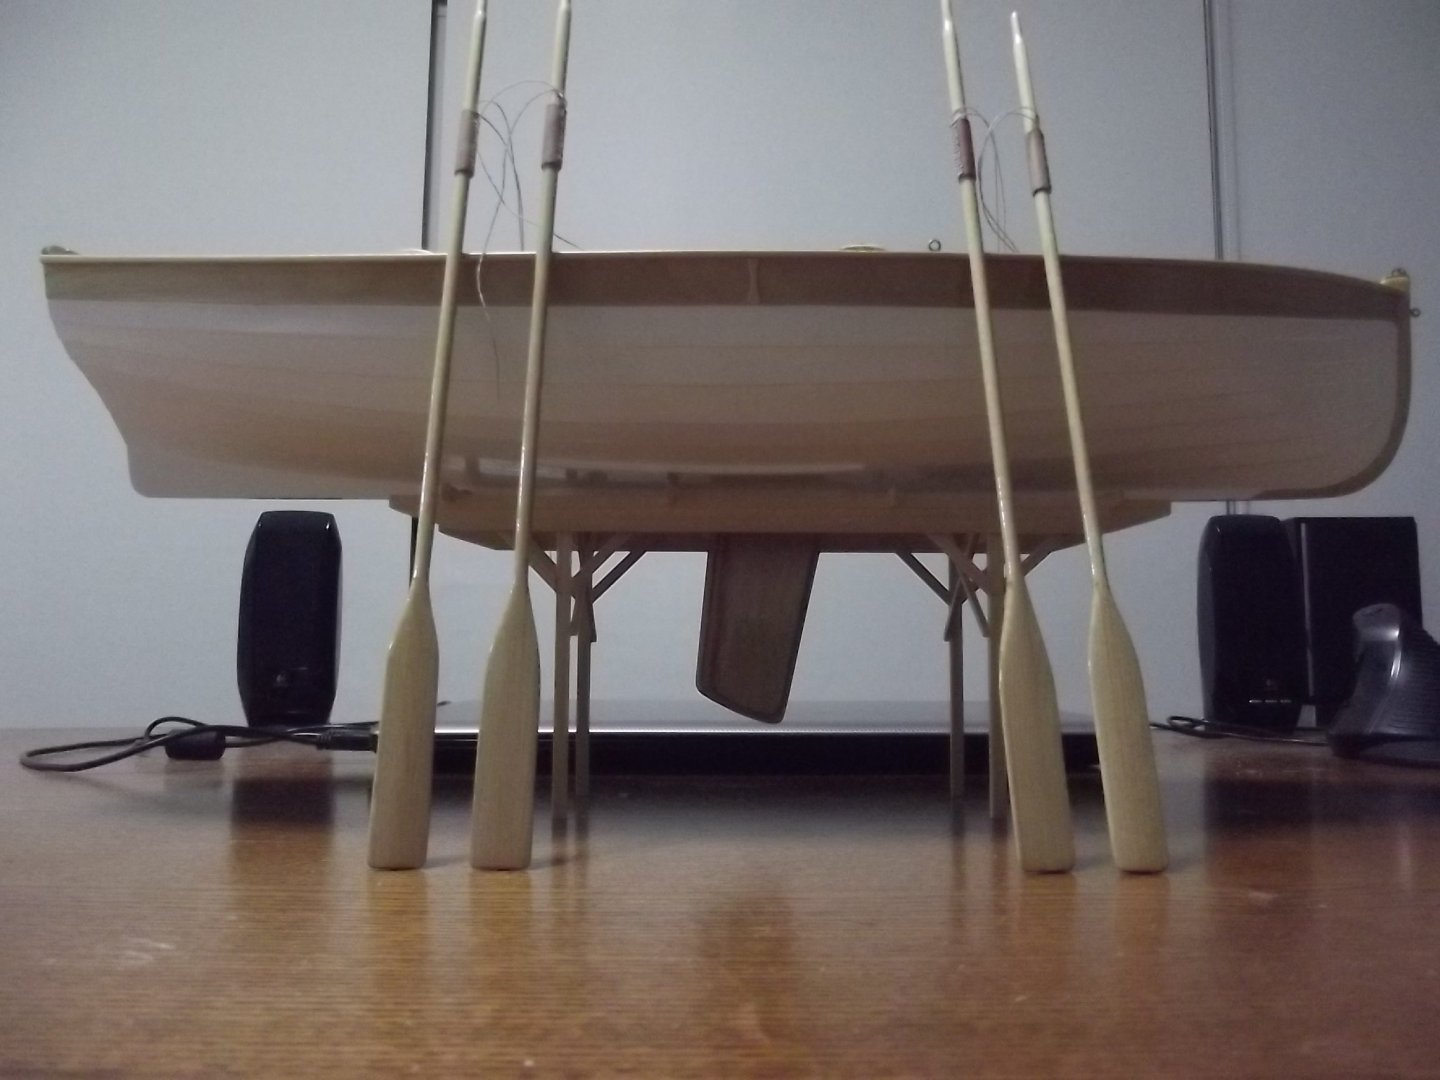
I'm trying to decide if I like this idea for a display stand. I want something that isn't flash so it doesn't detract from the model and I want it tall enough that I can display the boat with the centre board deployed. I came up with this stand which is inspired by the stand I built the full size boat on. The oars can be stowed on the stand below the boat.

-
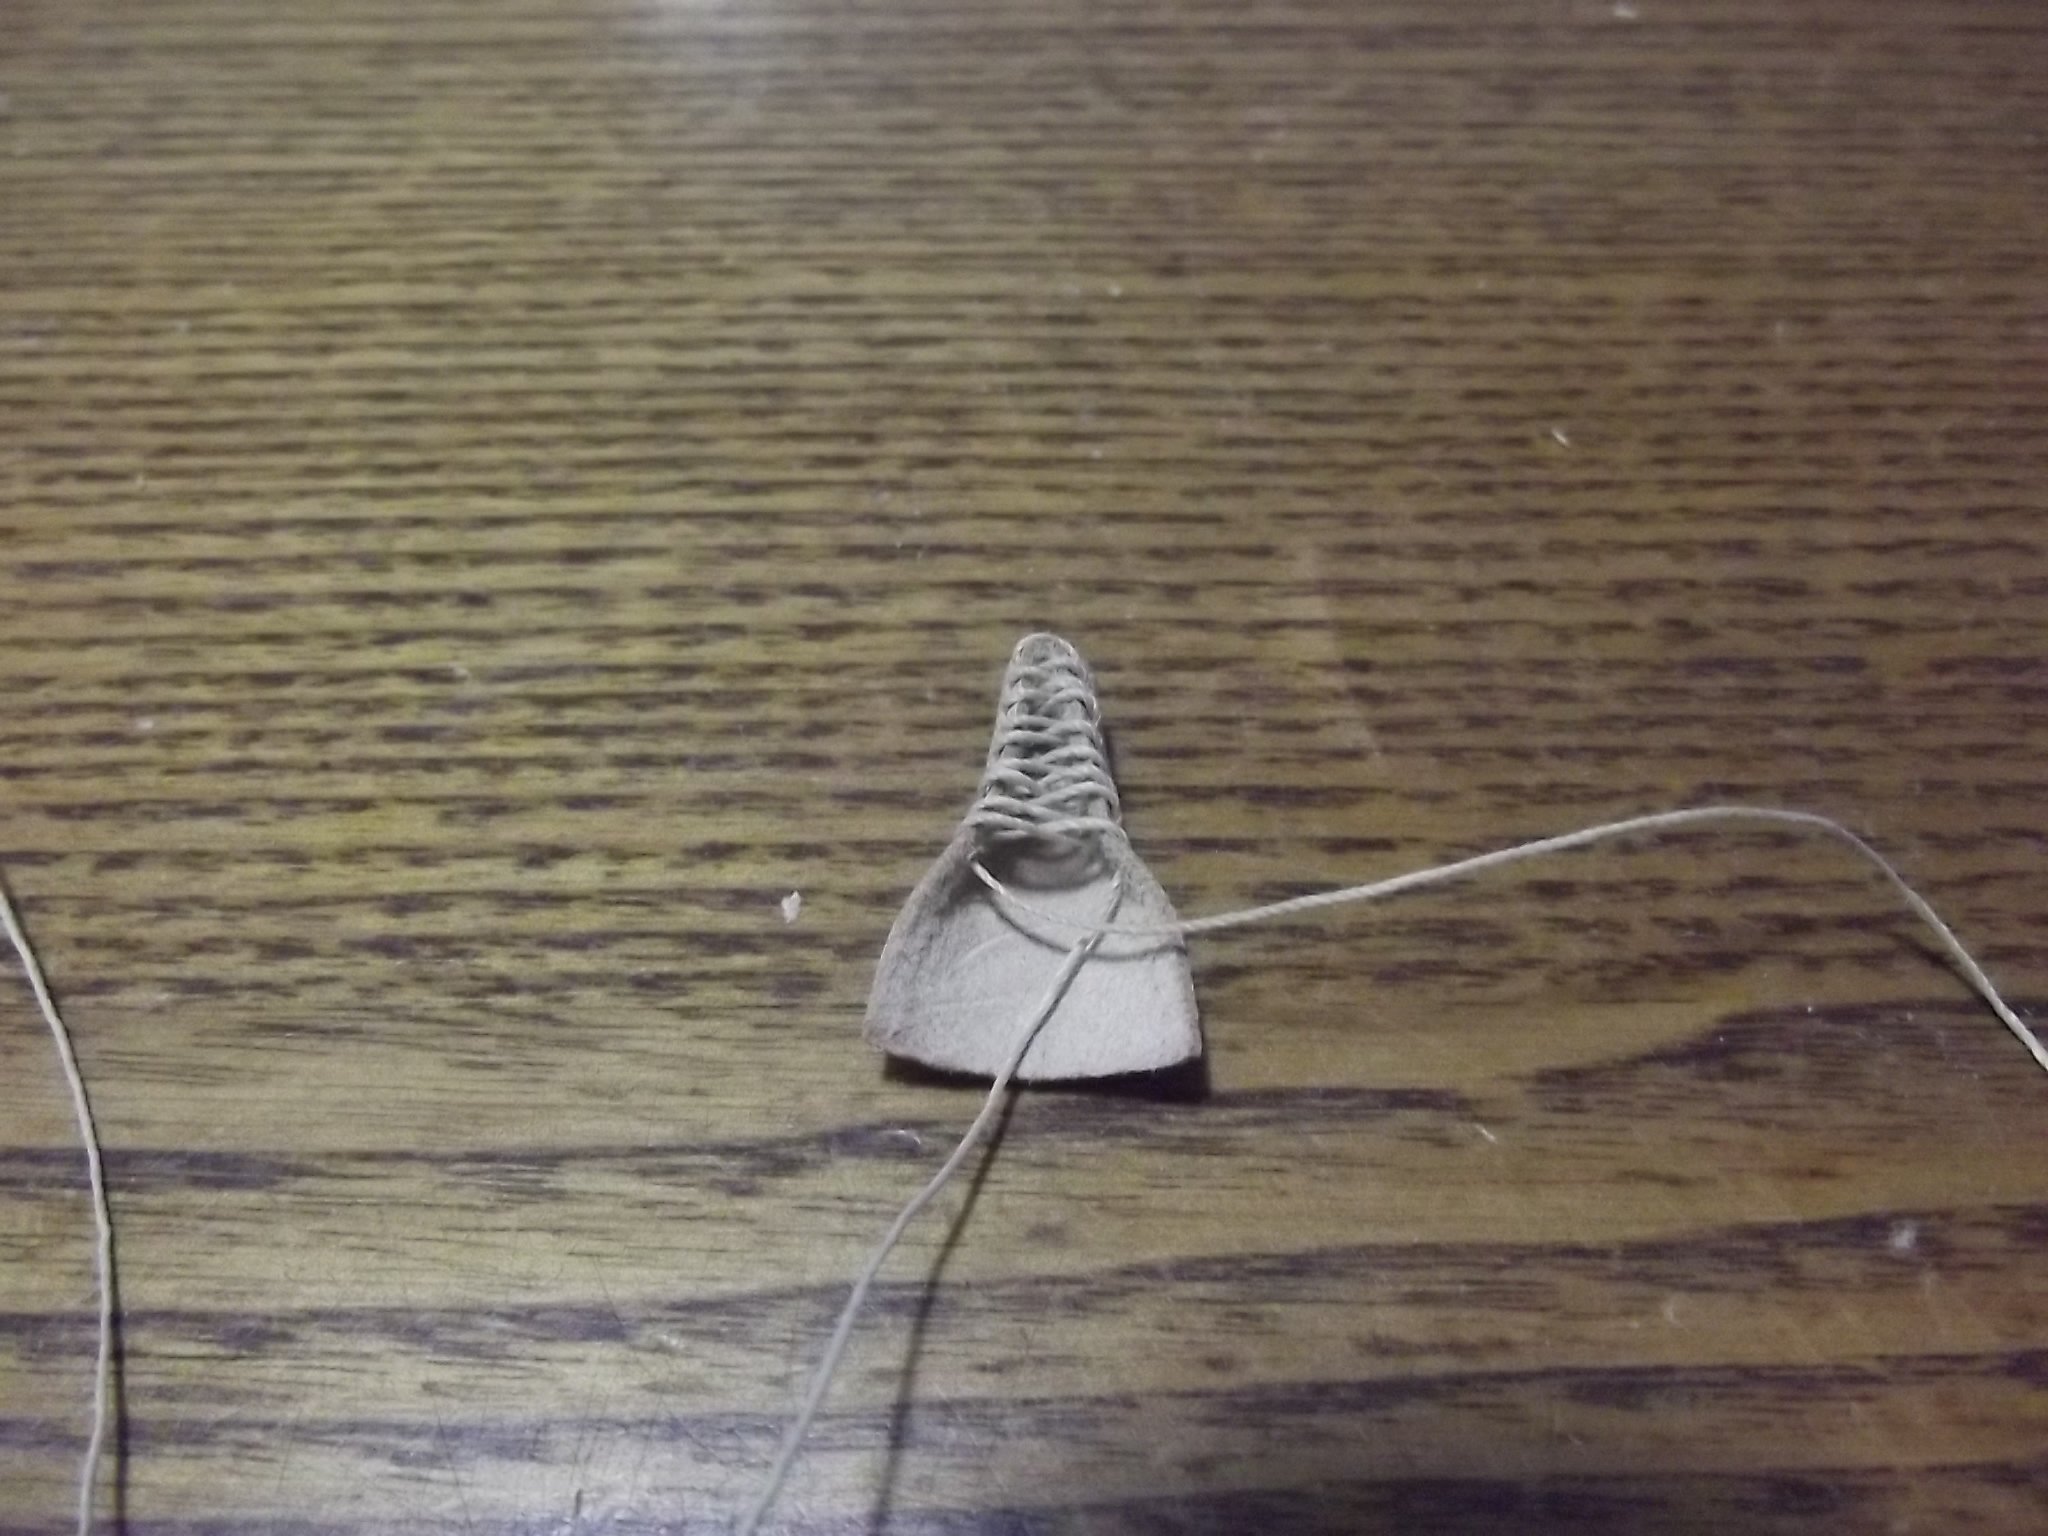
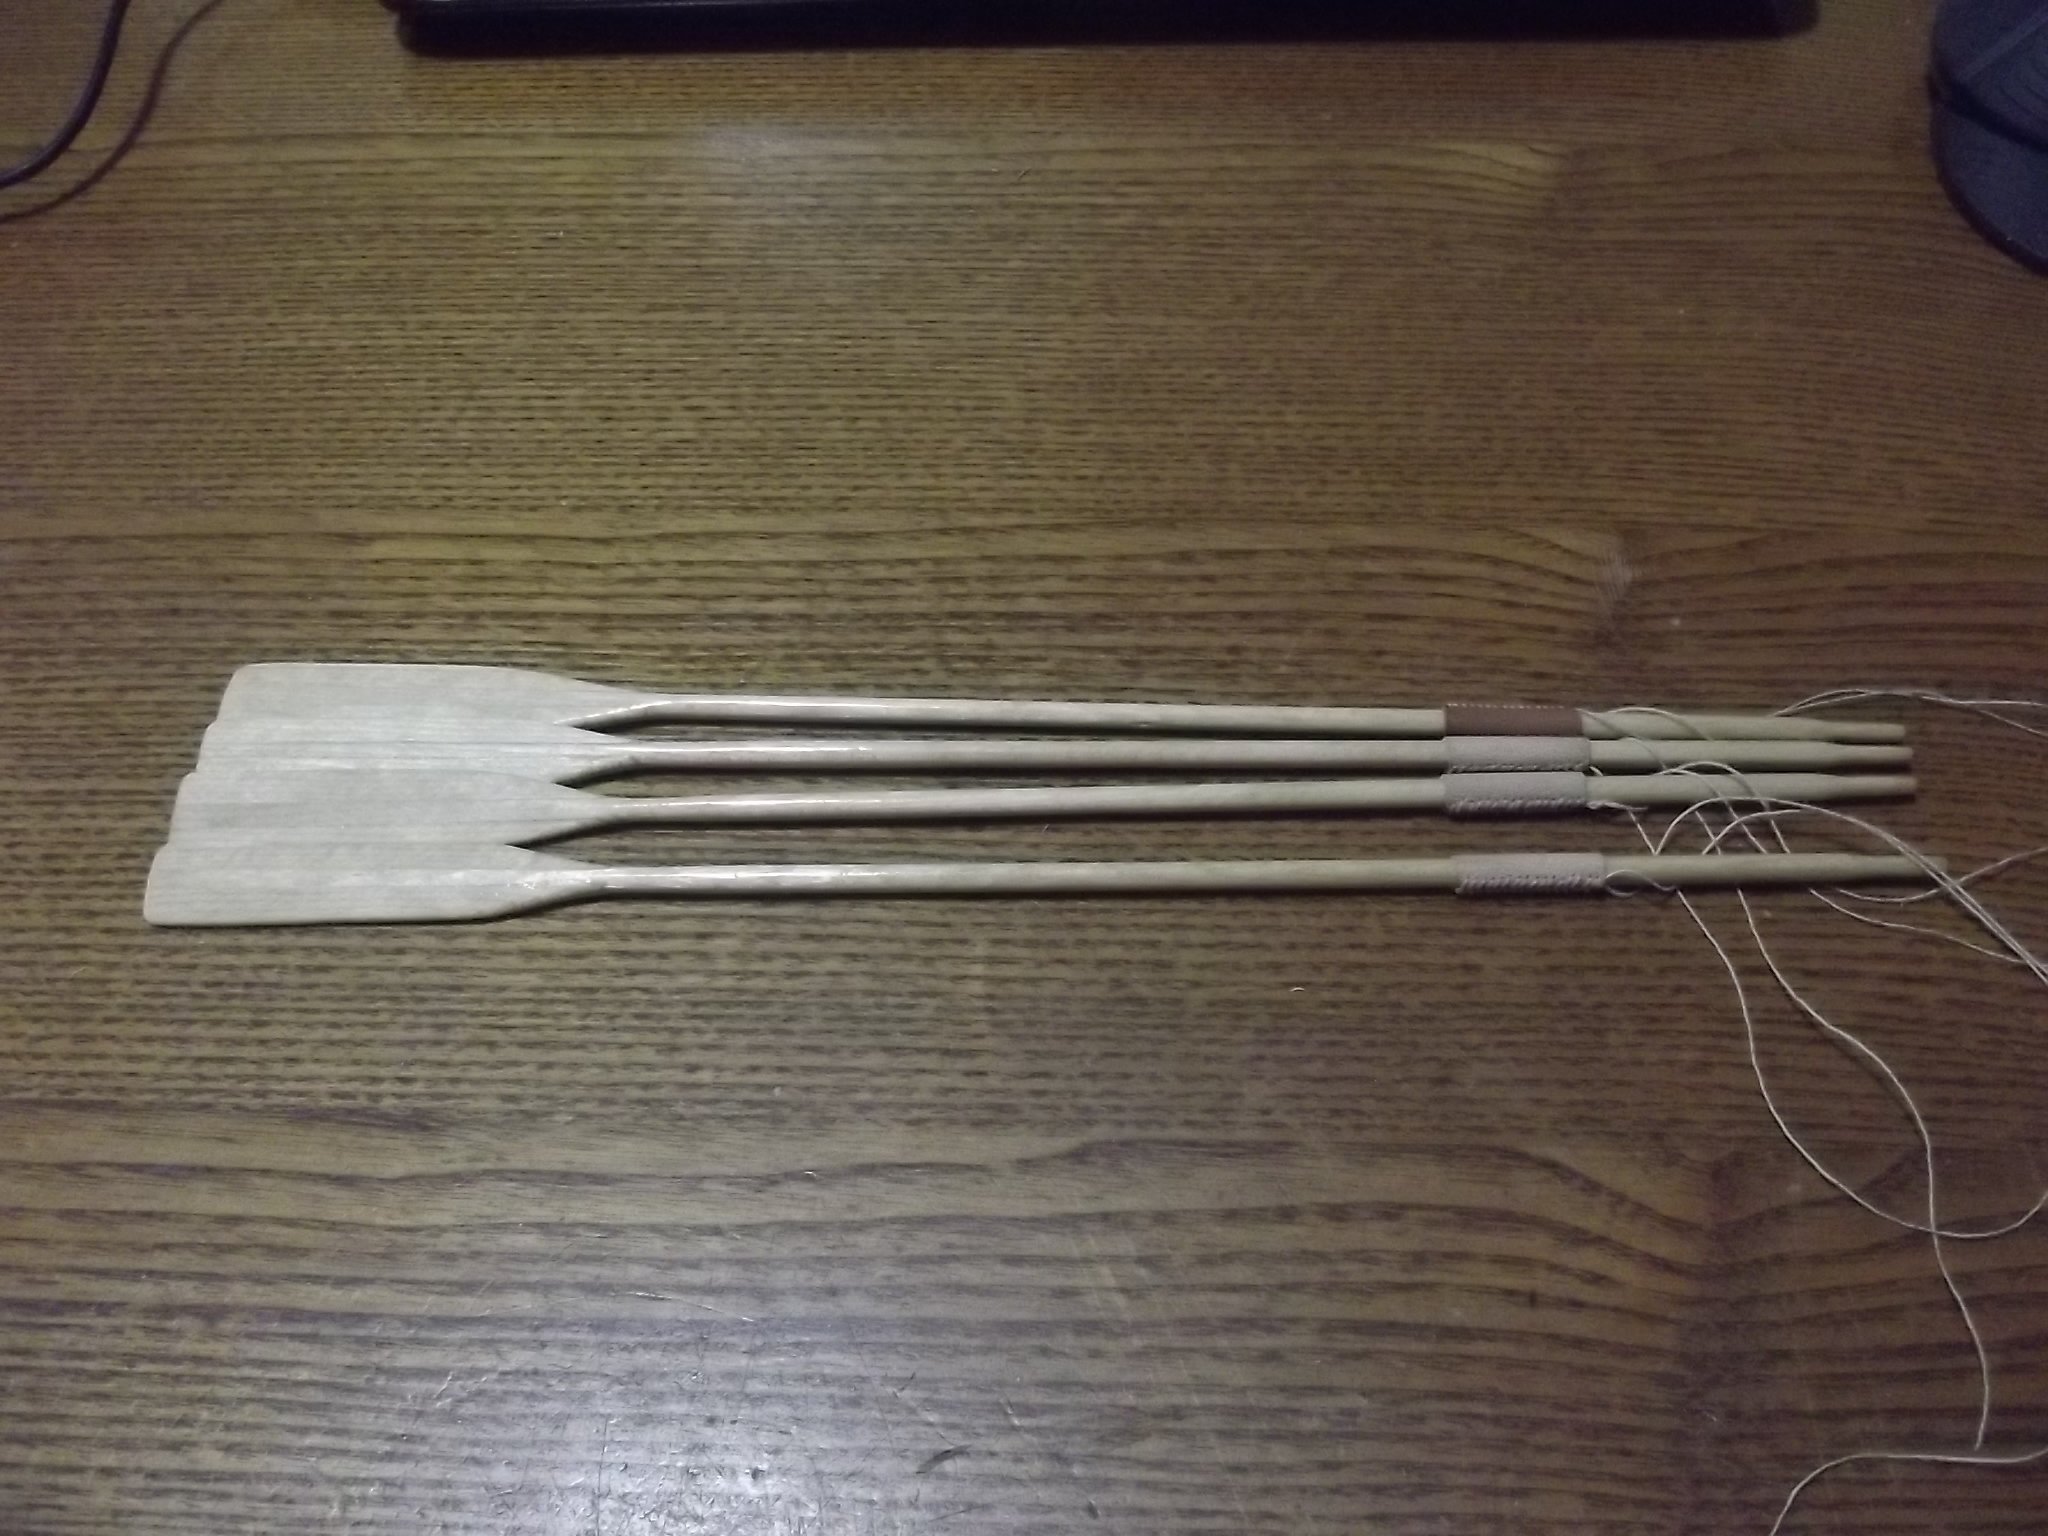
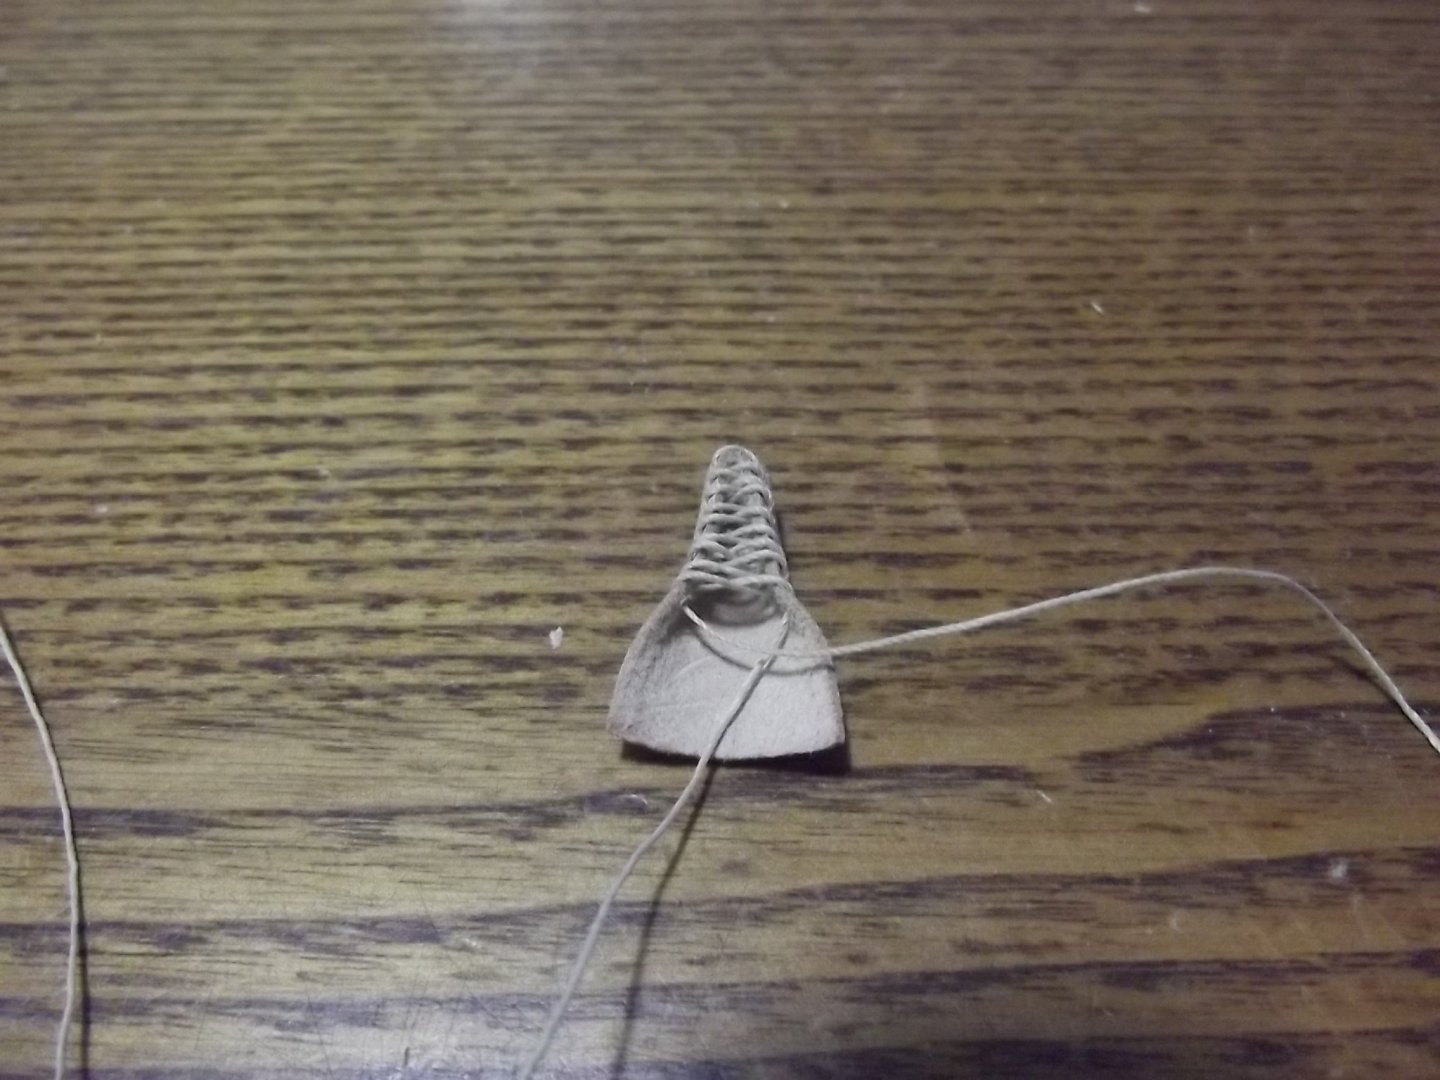
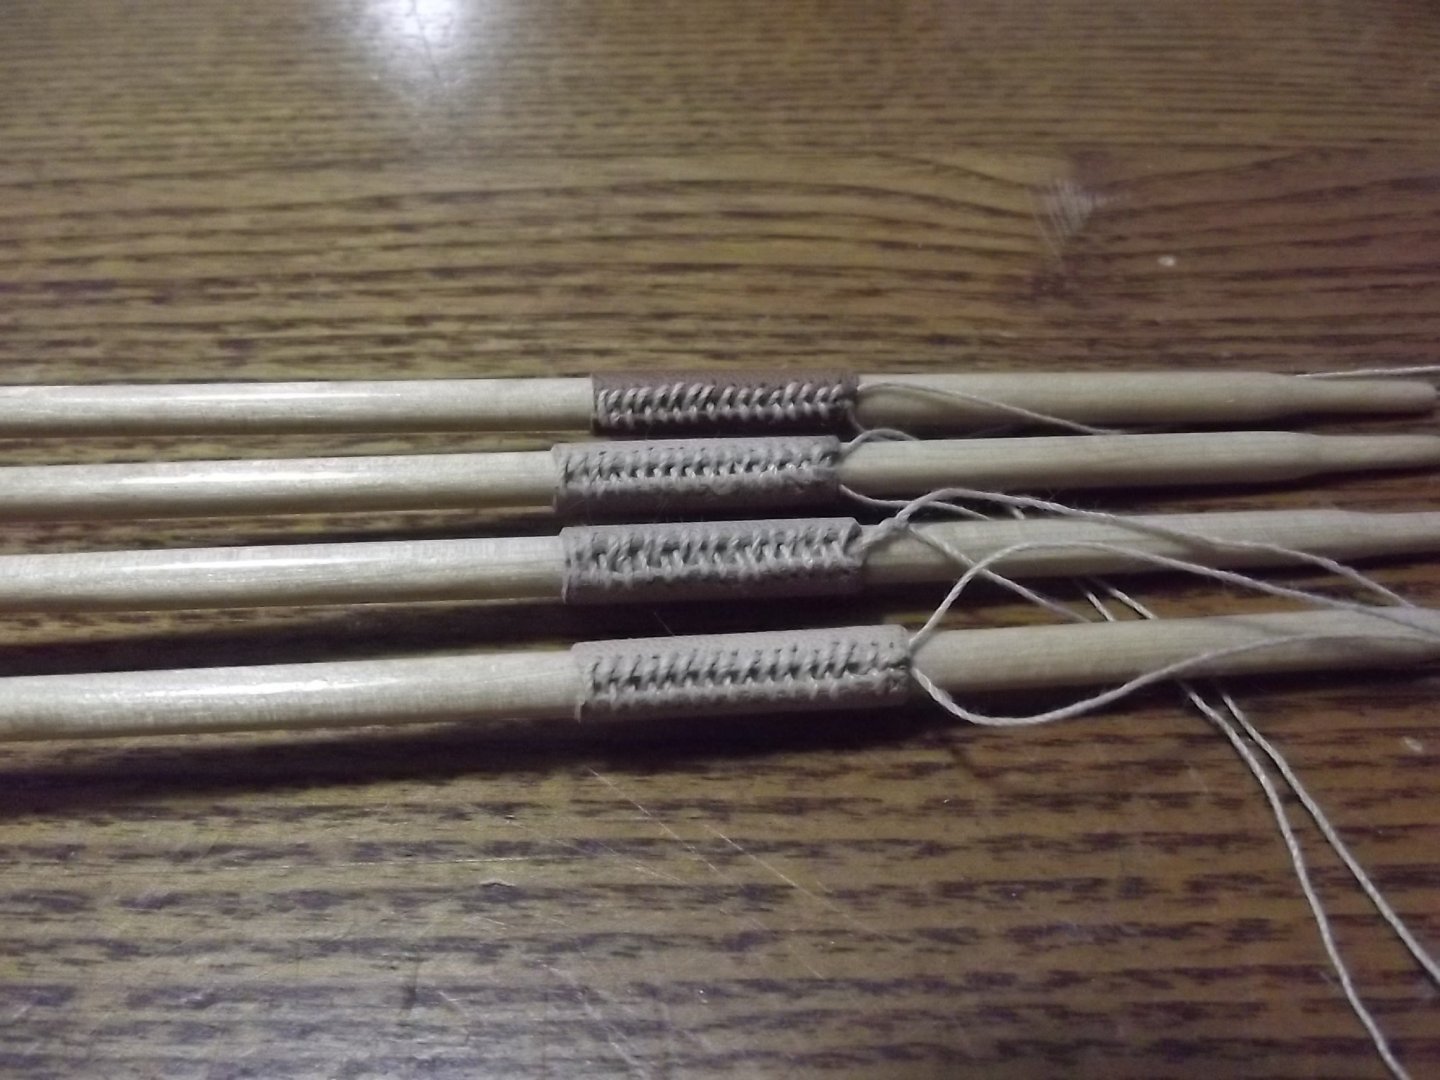
Can someone tell the four oarsmen of the apocalypse their oars are ready! I scraped the back of the leather to thin it down and it seemed to work reasonably well, made a clamp jig with all the holes in it for the lacing and tapped a brass nail through each hole to create the collar then applied glue to each end of the cord so I could poke it through the holes and lace them up.
-
Just a thought, what about using shellac to glue the pins in, it's cheap, easy to clean up with mentholated spirits AND you could dissolve the joint with metho if you need to remove the shackle.
-
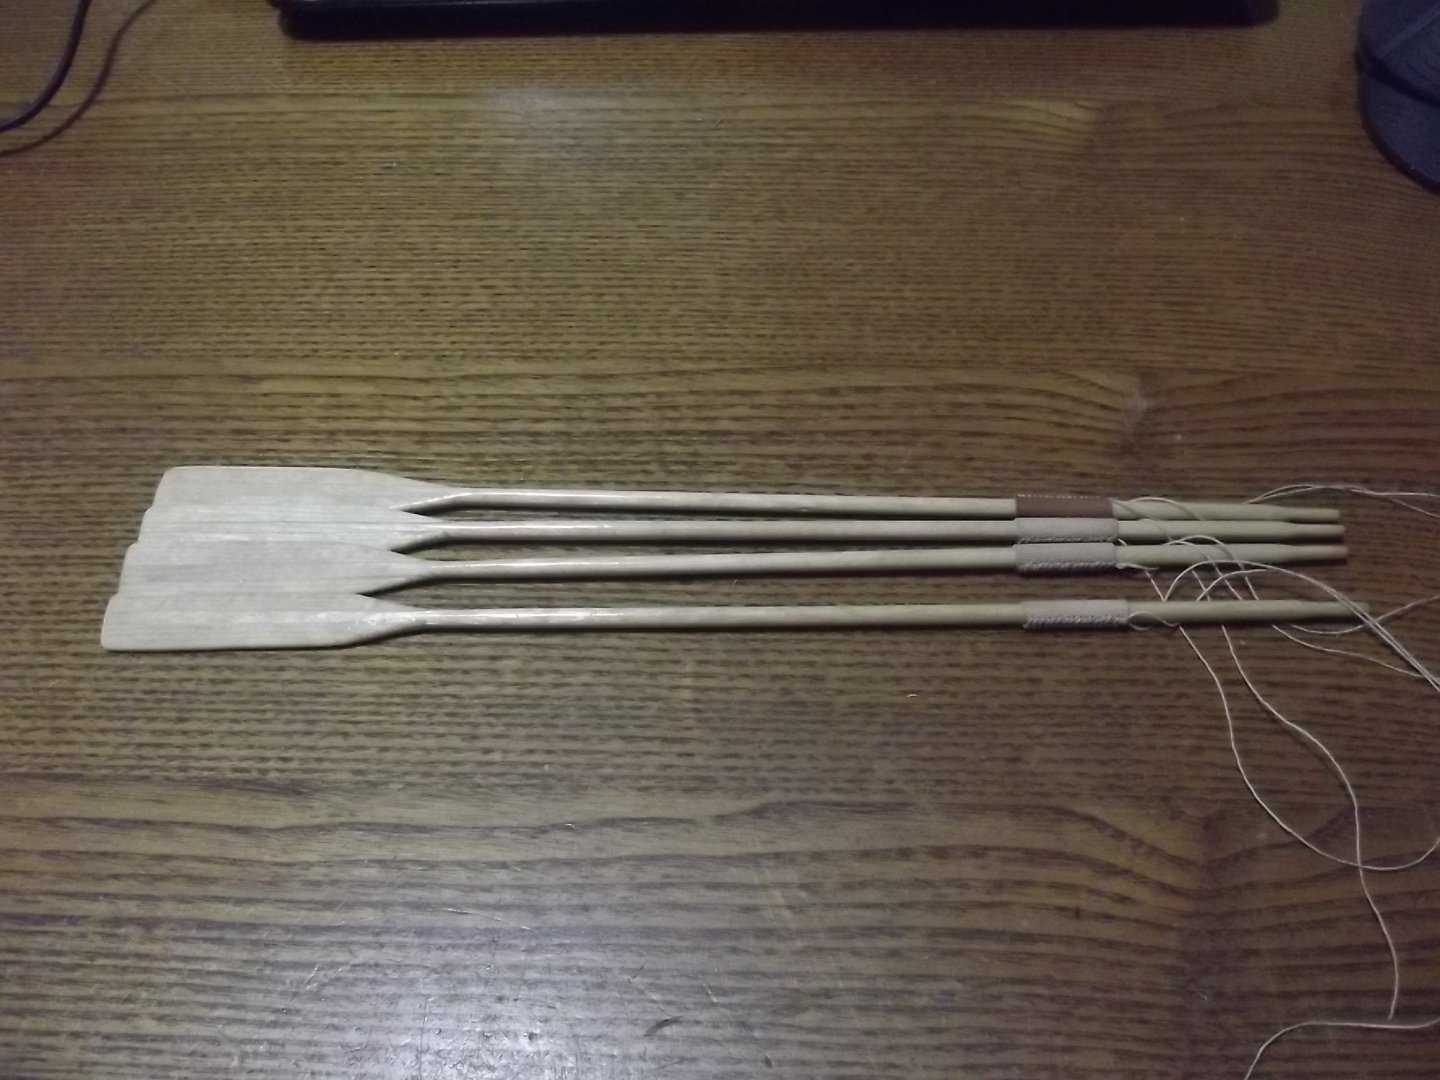
Four oars made, now onto the dreaded leather!

-
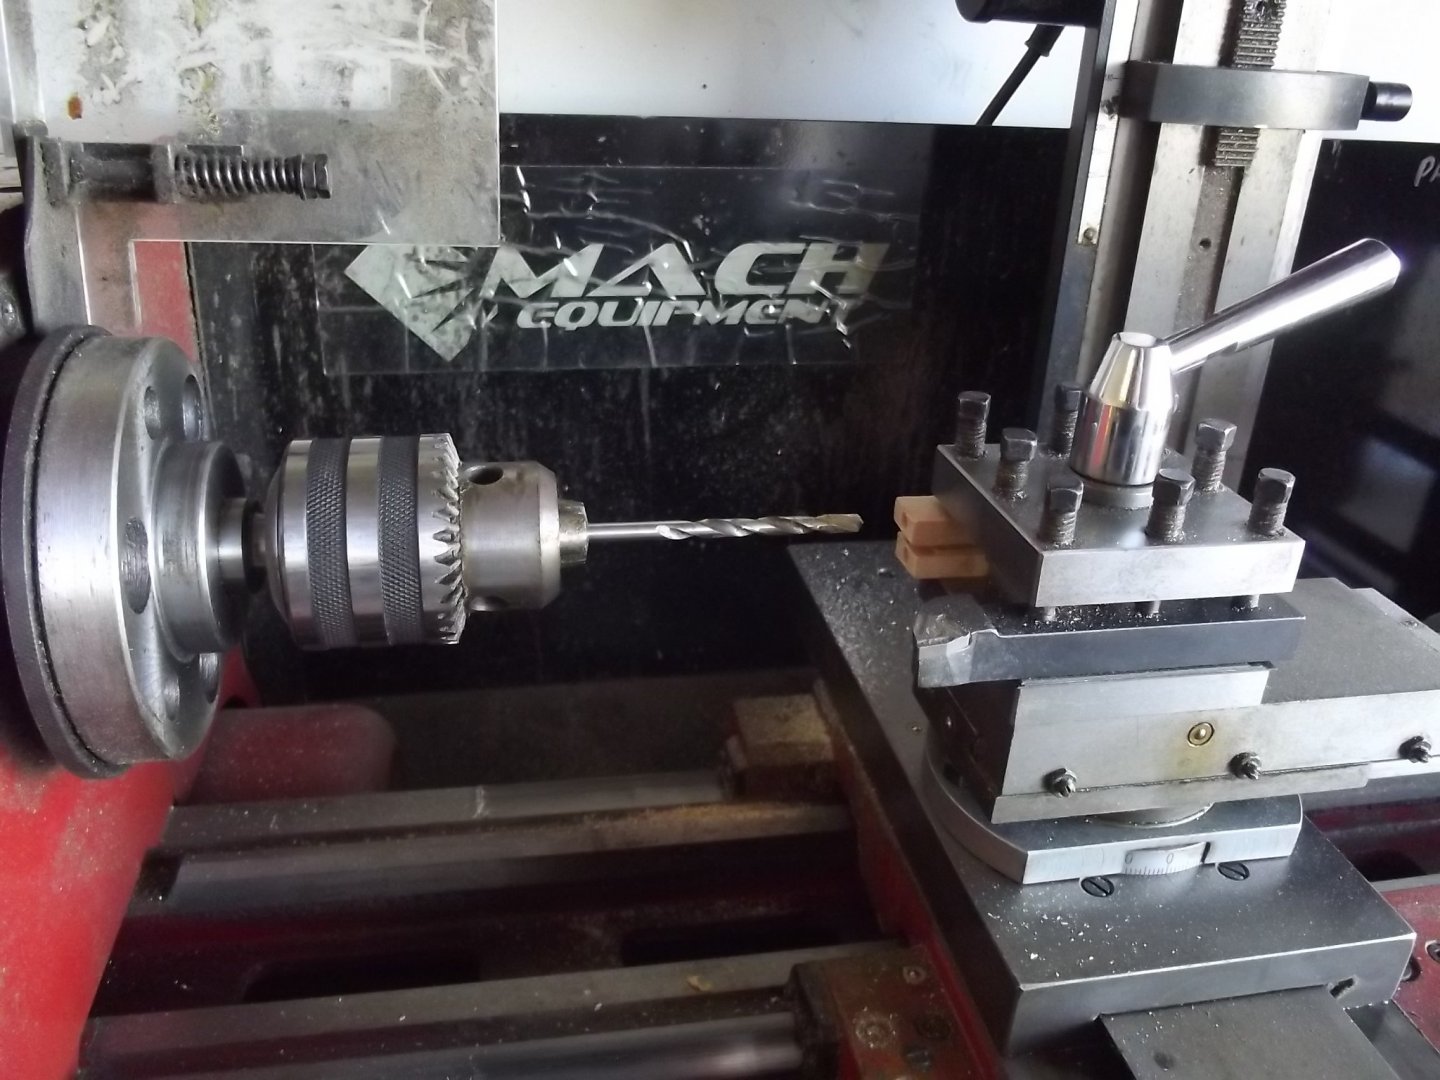
Time for the oars, first I cut the spruce to 7x7mm at 1 foot, yes I'm throwing in an imperial measurement because the oars are 8 feet long so at 1:8 scale... 1 foot! I beveled off the corners and sanded down until I had 5mm diameter shafts. Next was the blades and the shafts are too thin and flexible to plane 80mm long flats for the blades to attach to so I cut more spruce 7x 16x 80mm then had to find a way to accurately drill a 5mm hole through them. Answer, remember that the lathe headstock has a 3mt taper as does the mill so place the mill chuck in the headstock, insert about 5mm of the 5mm drill bit to leave enough length to go through the 80mm blade then pack up the blade blanks in the tool post and feed into the drill. Glue blanks onto shafts then a little planing and sanding.....

-
There's some very nice work going on there and I'm really enjoying the difference between your traditional type of boat and my modern glued lapstrake design.
-
What can I say mate, it's a tough gig but someones got to do it ! 😊
-
Thanks Gary Yes I love rowing her and can normally maintain 3.6 knots if the tide isn't against me, 4 knots with a tide. Still a lot to learn about sailing but I love it. One of the putt putt skippers came up to me after the parade on Sunday to have a better look at the boat and commented on how well it rode in the water and that it just "looked right" out on the water. I was motoring with the Torqeedo outboard and had 20 litres of water up forward for ballast so it's good to know I seem to have the ballast correct.