DONATION DRIVE - SUPPORT MSW - DO YOUR PART TO KEEP THIS GREAT FORUM GOING!
×


Bedford
-
Posts
1,297 -
Joined
-
Last visited
Content Type
Profiles
Forums
Gallery
Events
Everything posted by Bedford
-
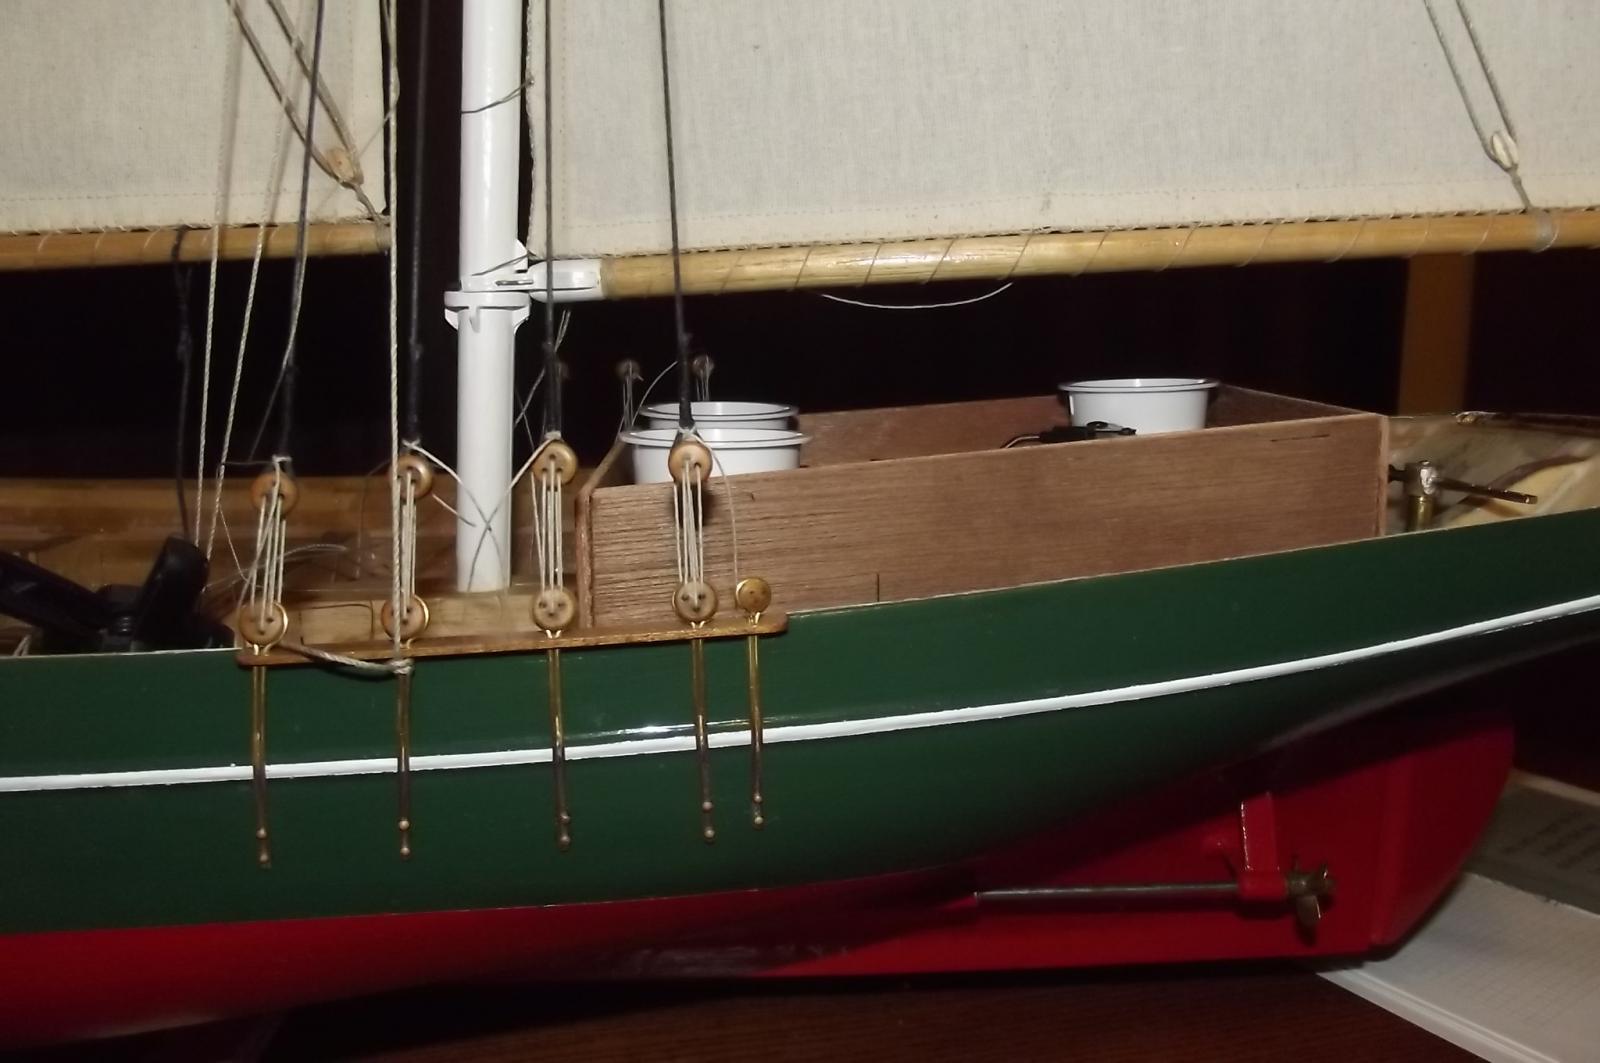
 I've started the "plumbing" in earnest. I tried getting all the bends right so I could run one unbroken pipe but it's not easy to do. I always knew I would probably need to cut and re-join to adjust angles and lengths and as you can see there are two such alteration points in this run. This is the line that will control tacking on the mizzen mast, the fore and main will share one line onto the same winch.
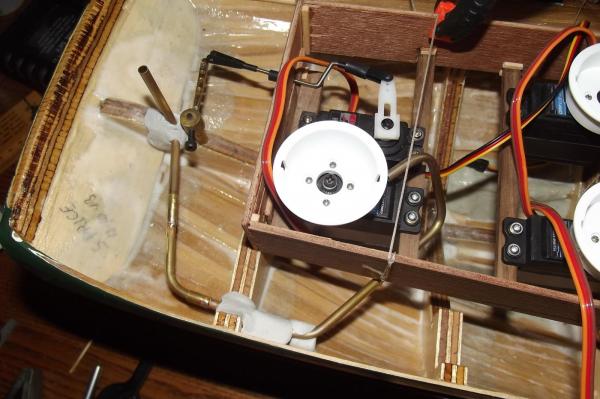
-
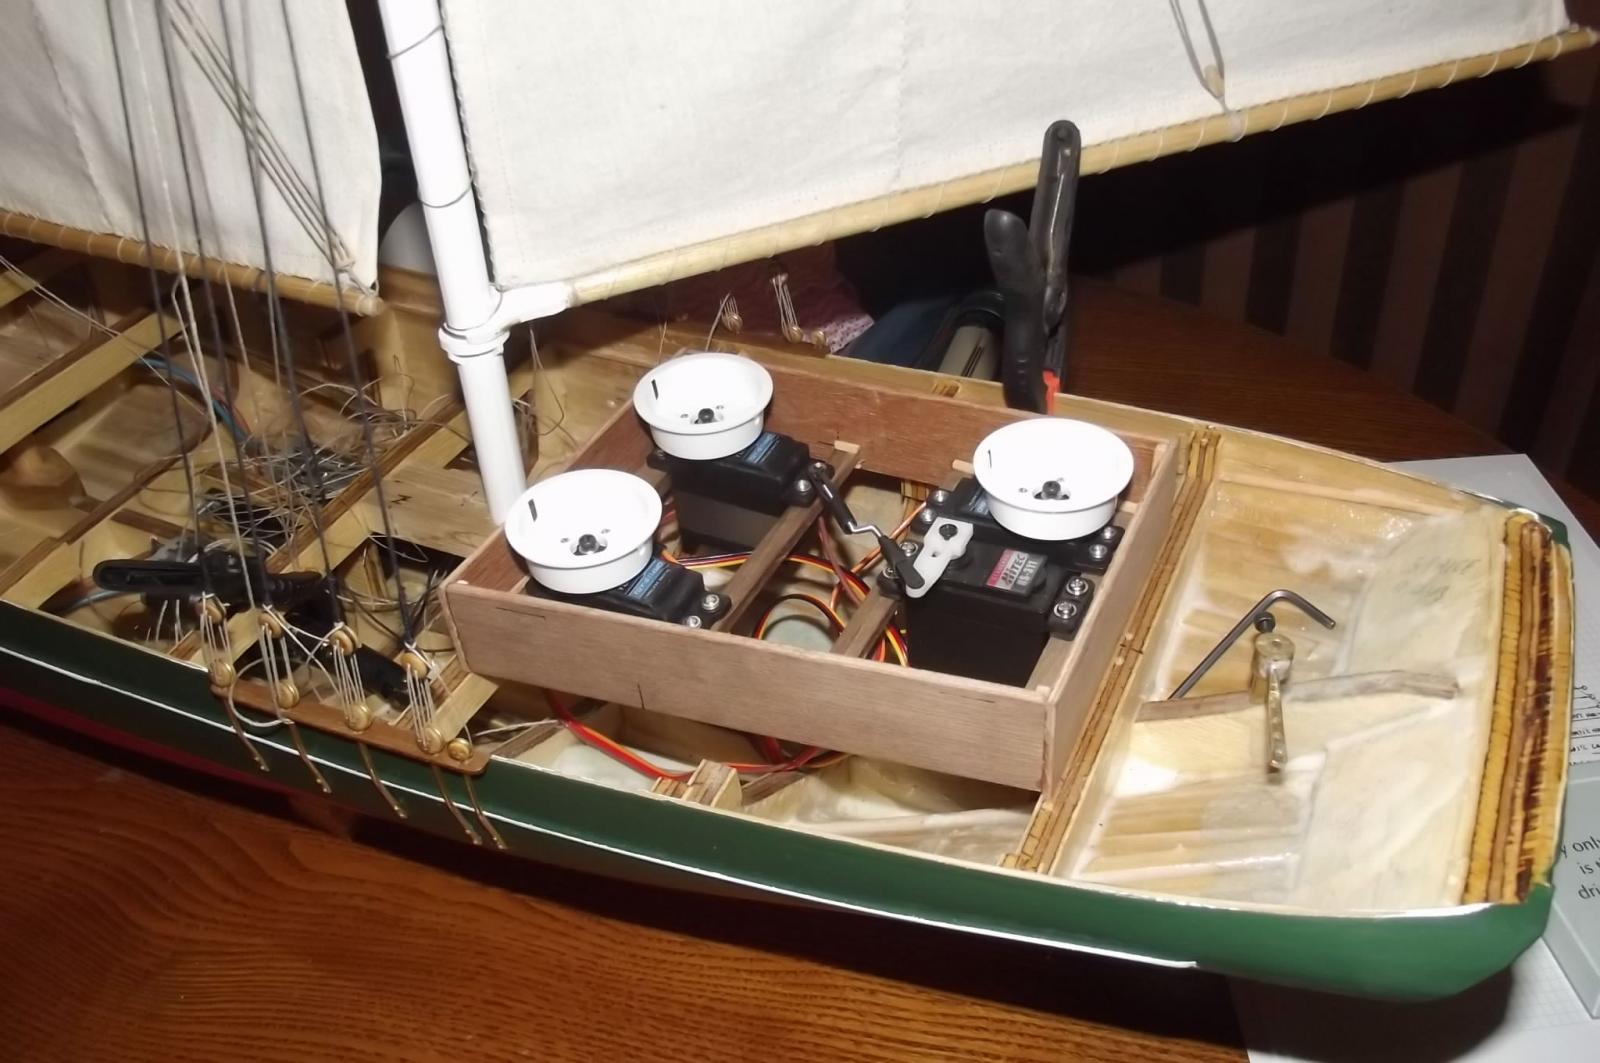
Progress at last! I have worked out how to mount the servos and have done so in the aft deck house. The "box" will be epoxied to the ribs below and it holds the servos. The aft deck will be over half way up the sides of the box. Once it is all done there will be a box lid in the form of the aft deck house that will fit neatly over the control box to close it.


-
Don't you hate that, you put all that effort into making a beautiful handle for the trolley then realise you overlooked something crucial. I've done that a few times on my build. The deck does look brilliant, love it !
-
Might I make a suggestion. The cradle on the trolley will easily allow the cutter to float off but when it comes to recovering her you are going to have a struggle locating the keel back in its slot. I would put longitudial v blocks the length of the cradle to help guide the keel home.
-
I reckon you'll have enough left over for your next project Michael. I wish my schooner had enough draught to just add ballast internally. You'll have her under sail well before my schooner I think.
-
Yeah, don't know how I stuffed up that calculation, I still guess about 10 Kg extra, maybe more!
-
Love the colours Michael, she looks bang on. That shot from the waterline is excellent, all it needed was a mooring line to a bouy and you would never know she was a model. Just guessing from my experience with the schooner, your 66lbs translates into roughly 13.3Kg and looking at the waterline I'm thinking about another 8 to 10Kg or 36 to 45Lbs. Given that I am looking at her from the other side of the world I will, of course, stand correction. I have just shown your build log to my 23 year old son and he is every bit as amazed and impressed as I am at your building skills. Steve
-
All I can say is that when I openned the first pic, the dark hull, it had a presence and a wow factor, the second pic with the white hull just didn't. Then again I am of the old school, she would have been dark when she was young so that is the way I would have her.
-
I'm thinking the dark hulls look great.
-
She looks like she is just waiting for the tide to come in and float her off. Great pics
-
Two things I take from that are that you have a MUCH easier rig to unship than I do and my schooner could almost be a tender to your cutter! That is a great pic, it really shows the size and her lines very well. She is beautiful !
-
Michael, the beads are not sperical, they are more cylindrical so that can't happen. Wouldn't be a bad idea though. Bob, I think a lot of people who build these models are terrified of breaking them so they don't tension the rigging enough, especially the standing rigging. When you think about it though all that rigging is designed to strengthen and support the masting and even in a model it does just that so my rigging is tensioned quite well on all my ships, I do tension it gradually and evenly so as not to over tighten one side which could lead to breakage. I did read once that you should soak all the rigging cord and hang it out to dry under tension to take all the stretch out of it but I didn't do it with the first ship, built in 1997, and it is still nice and tight. I did it with the second model but don't think it made any difference so I haven't done it since. I have more to do in the garage, ie make the aft deck house to mount the servos in, but again it is way too cold, snow is looming and they are experiencing what they are referring to as a megablizzard in the snowfields not that far south of here.
-
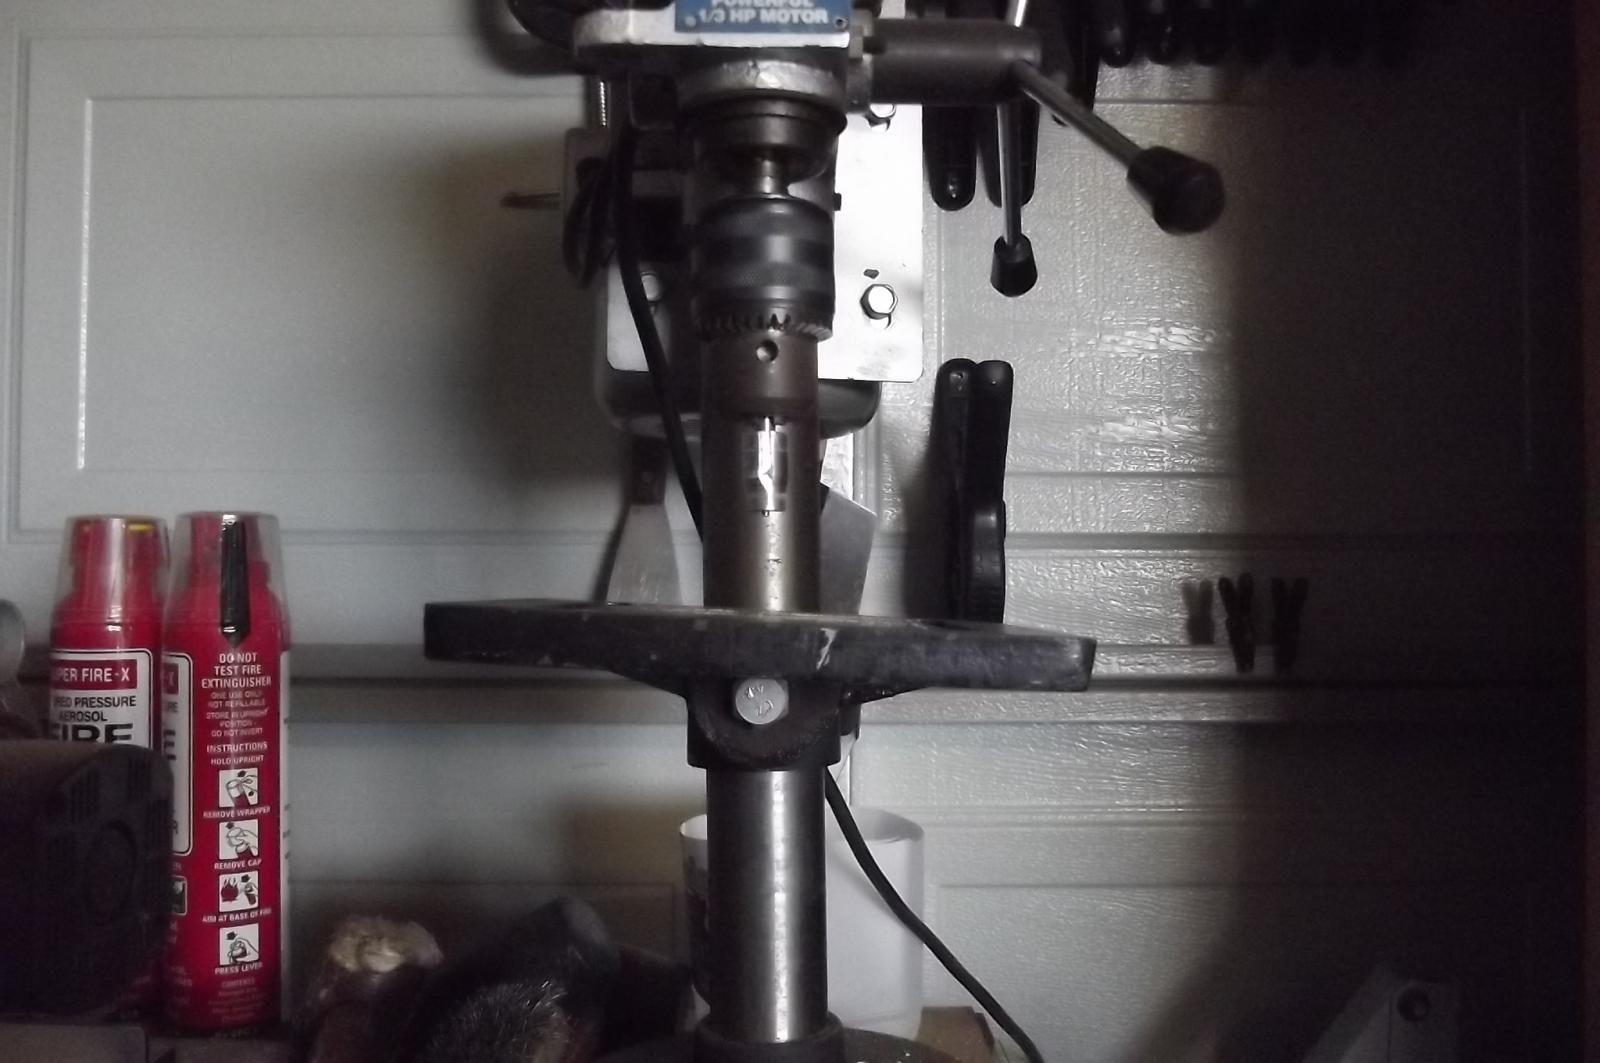
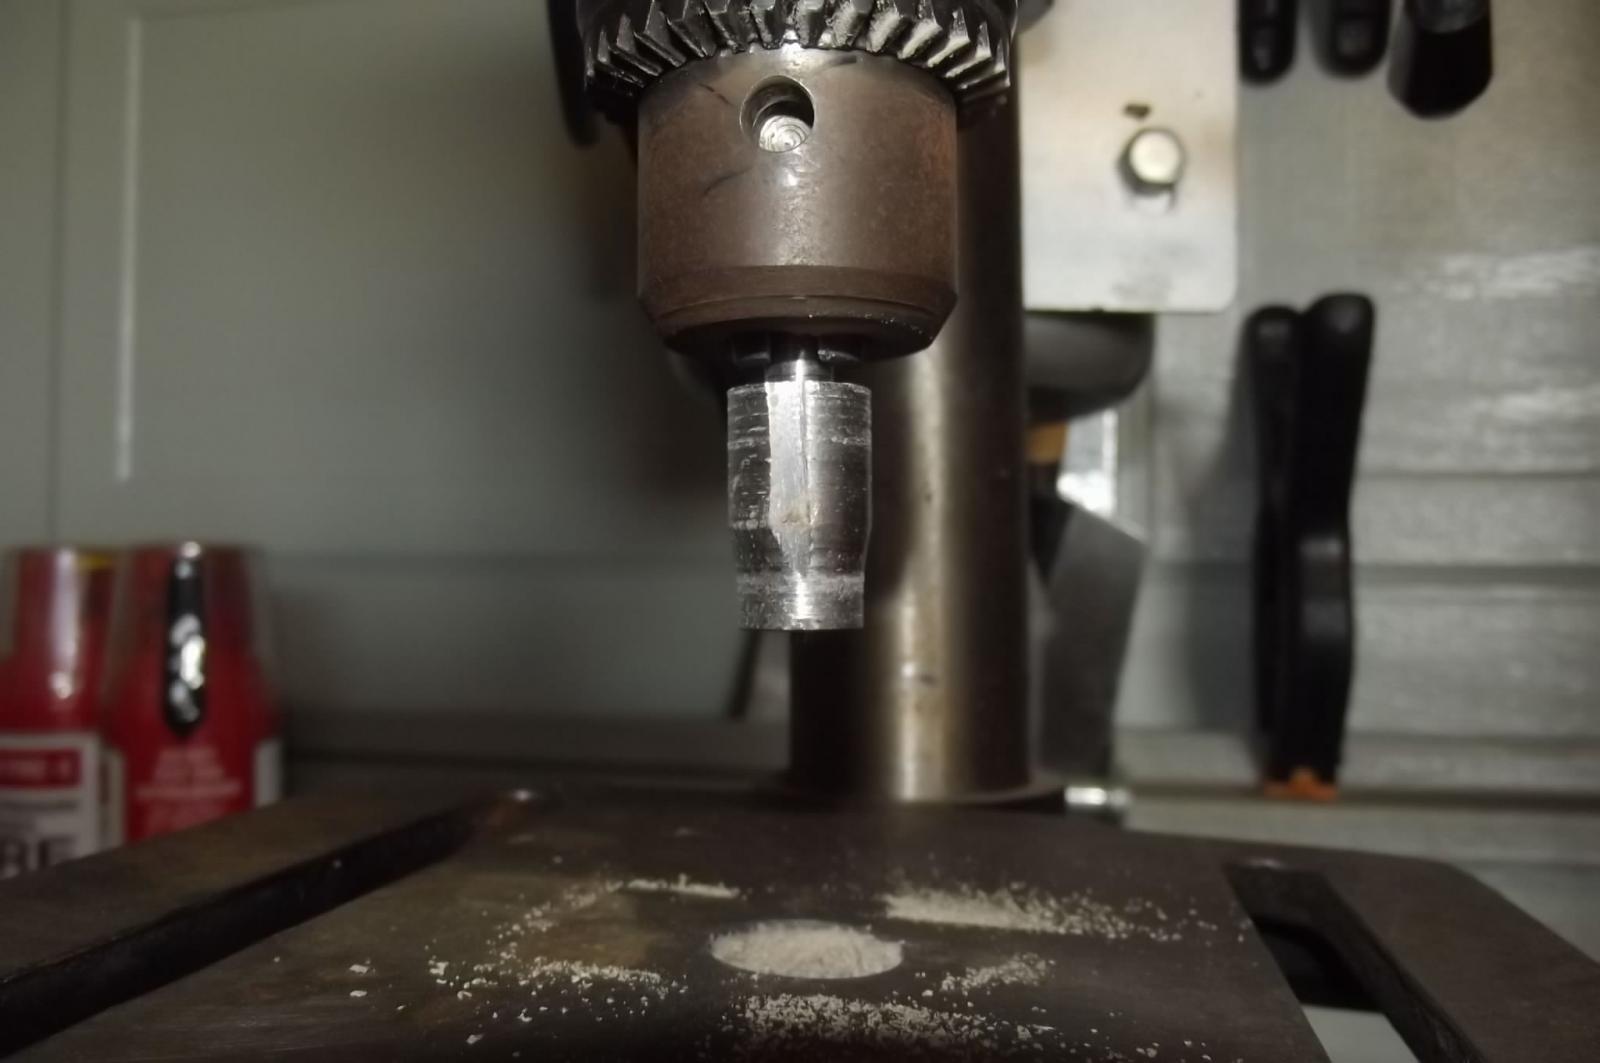
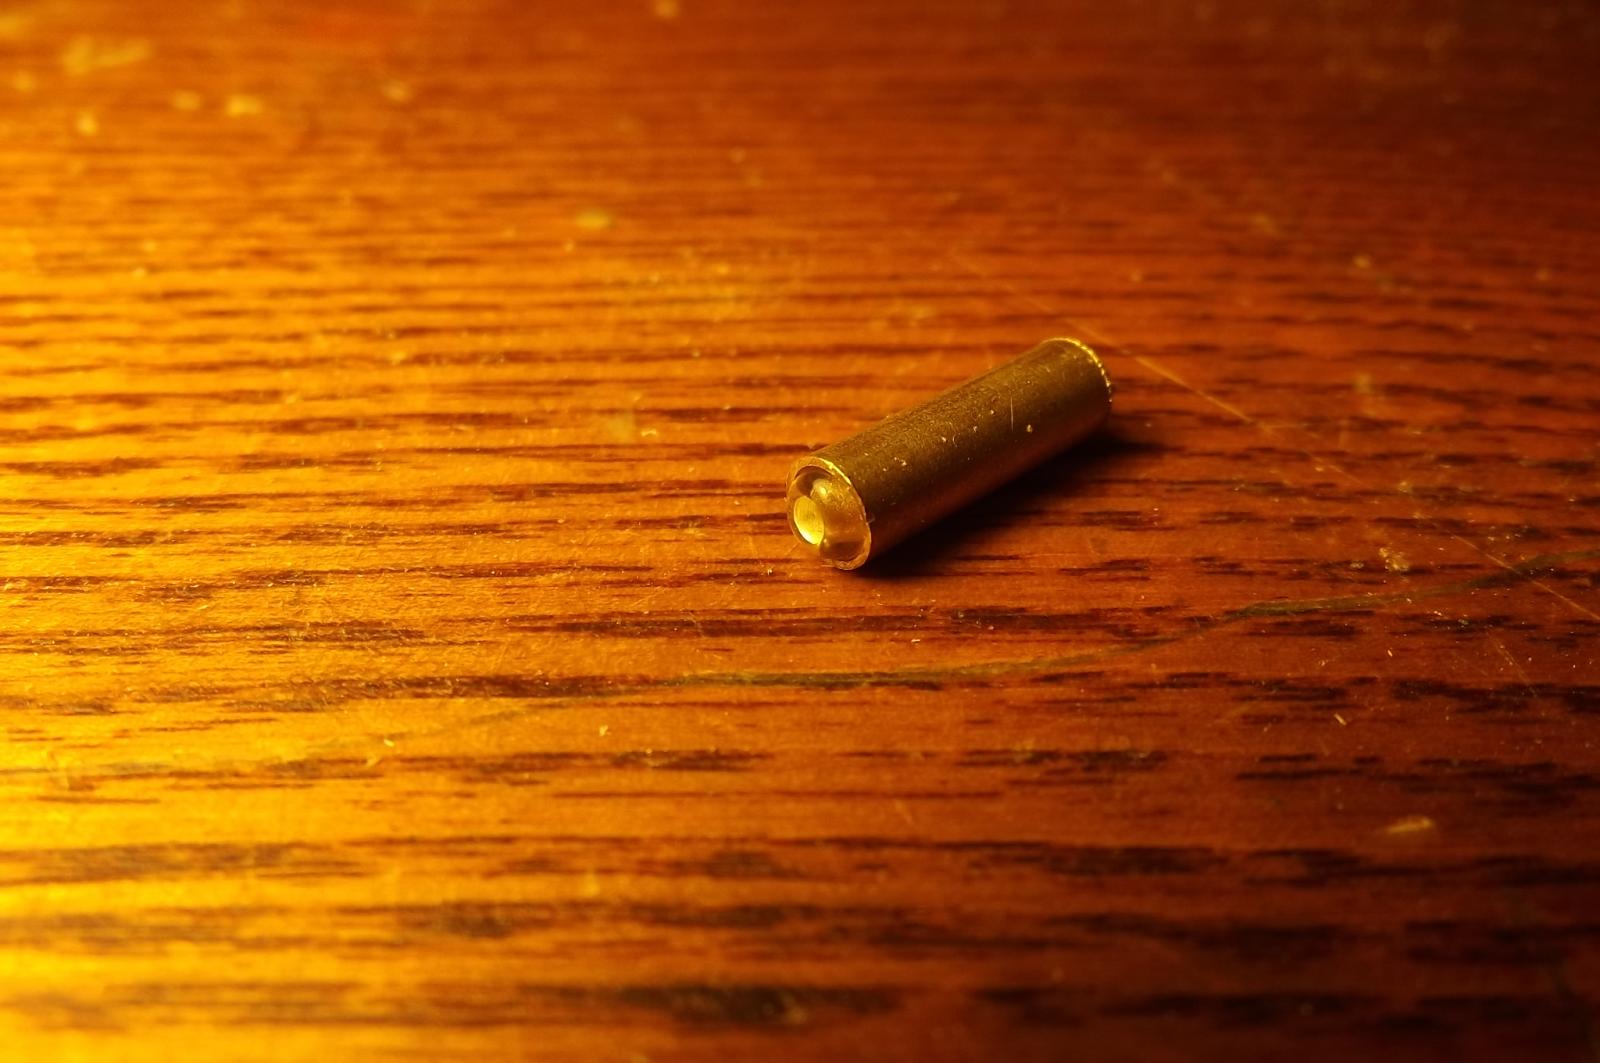
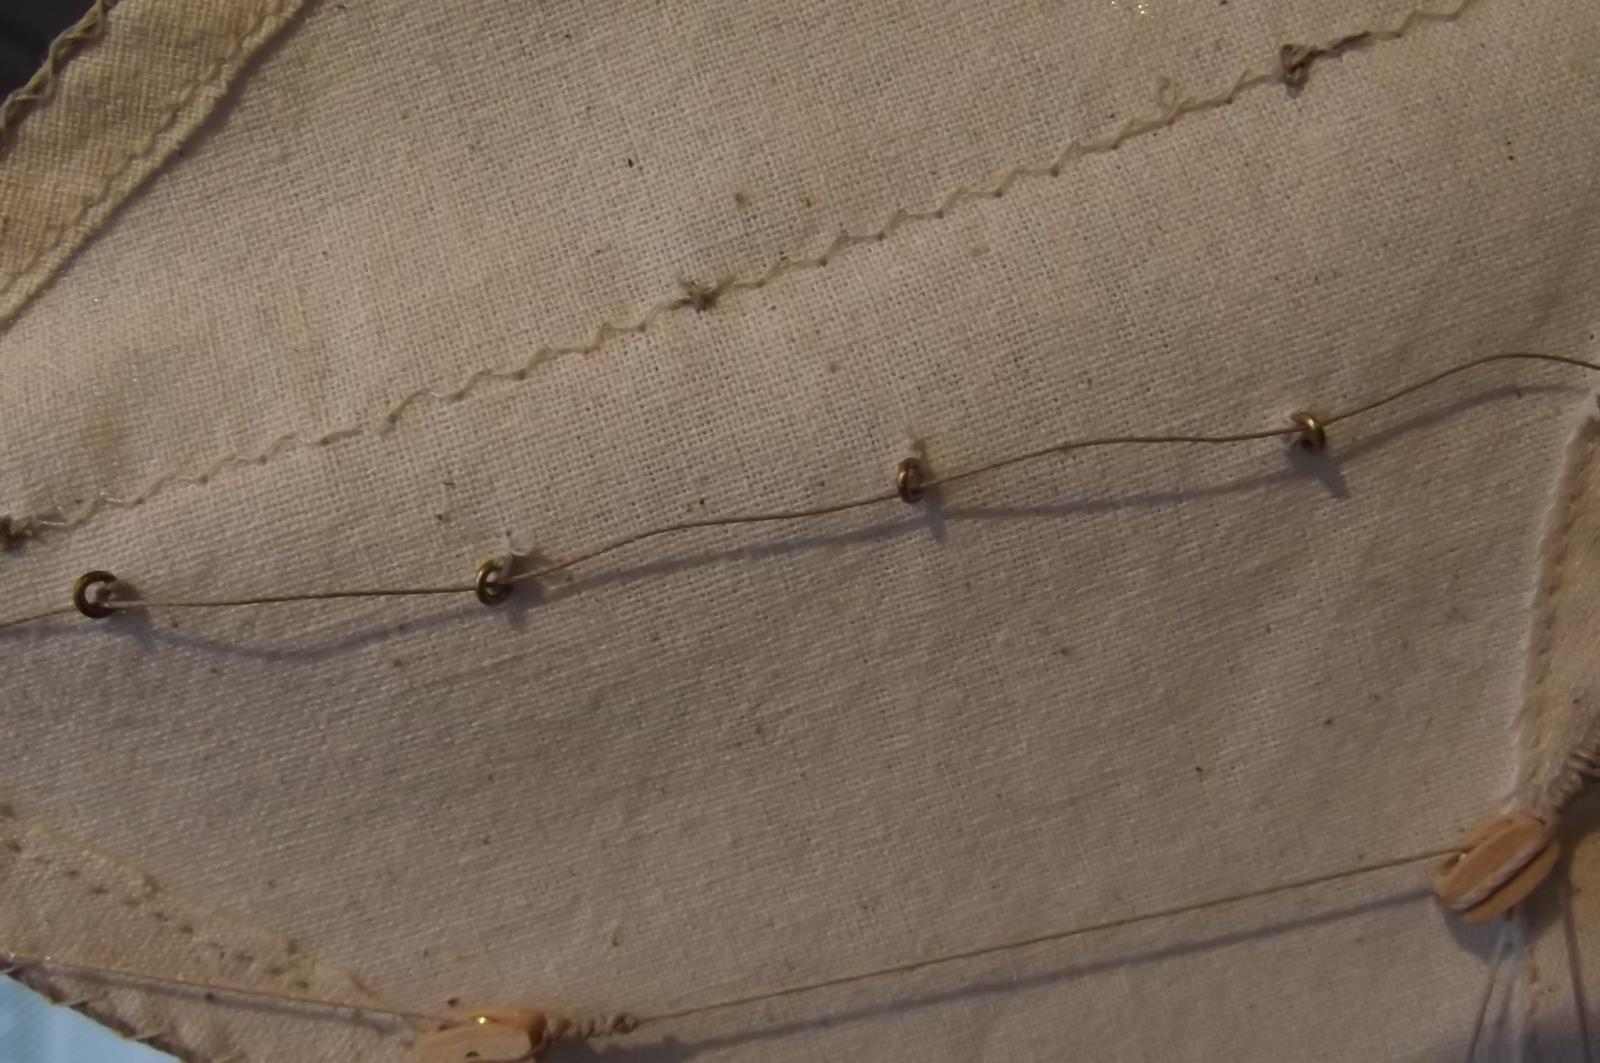
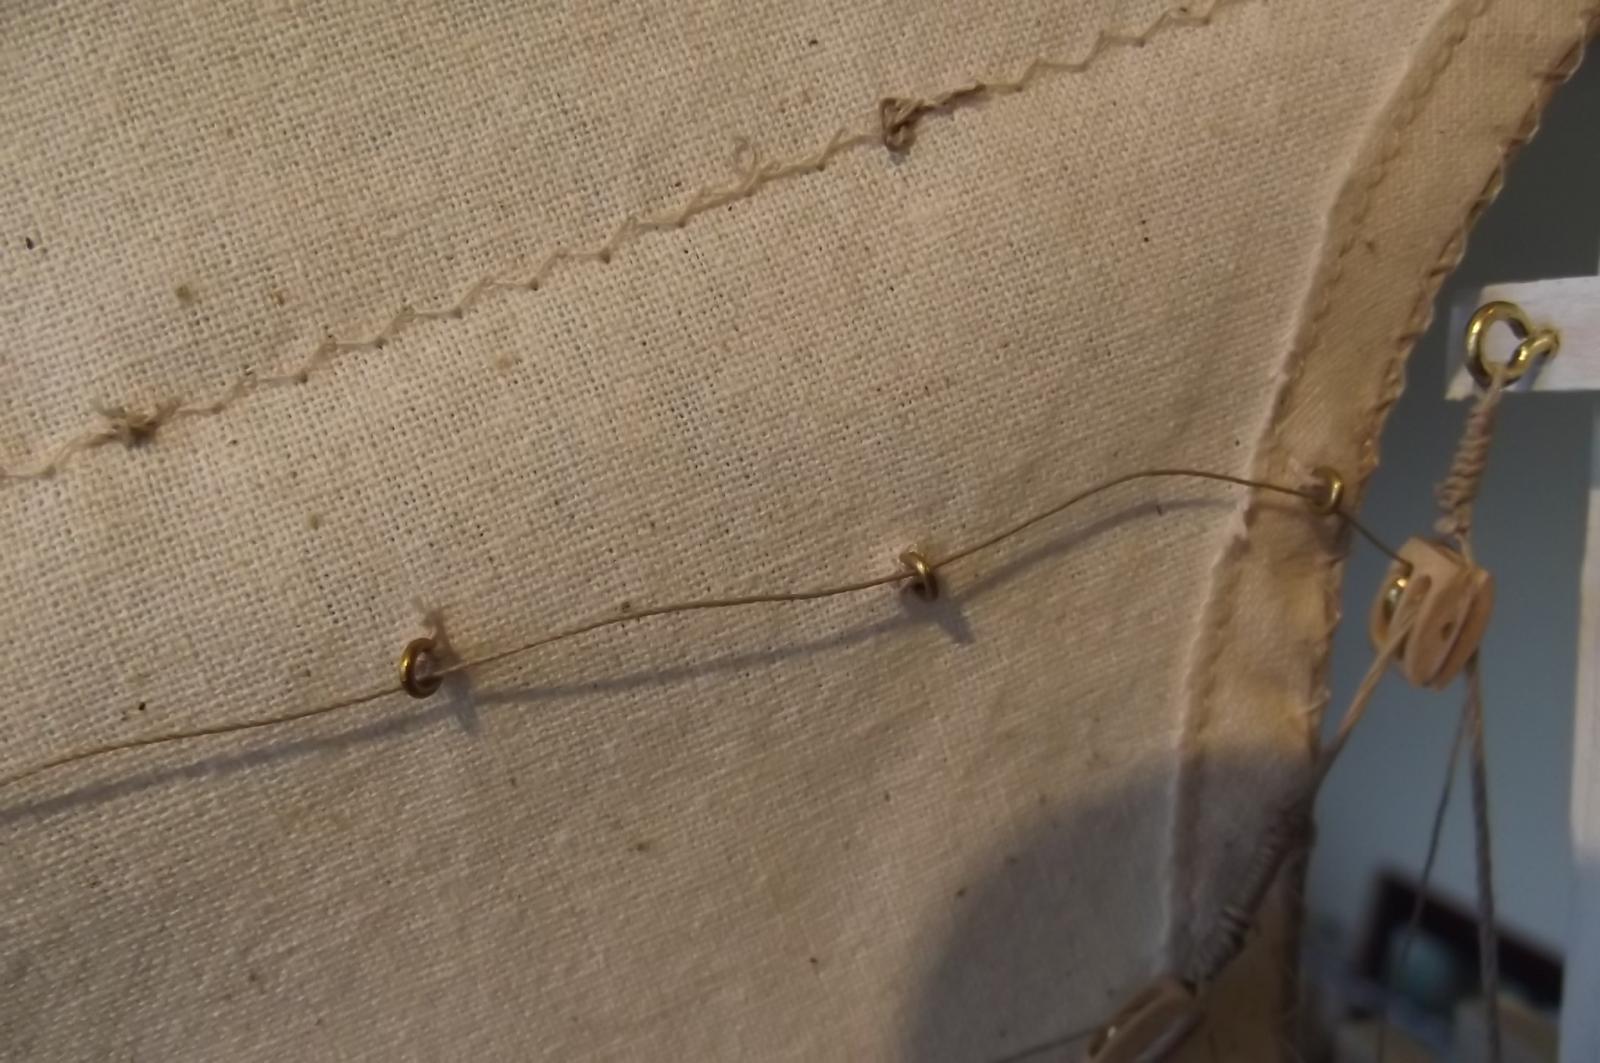
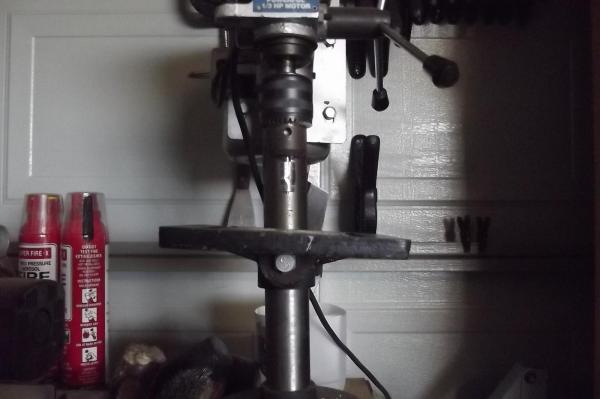
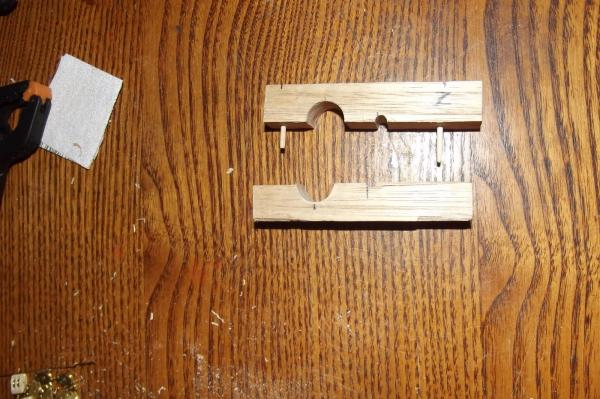
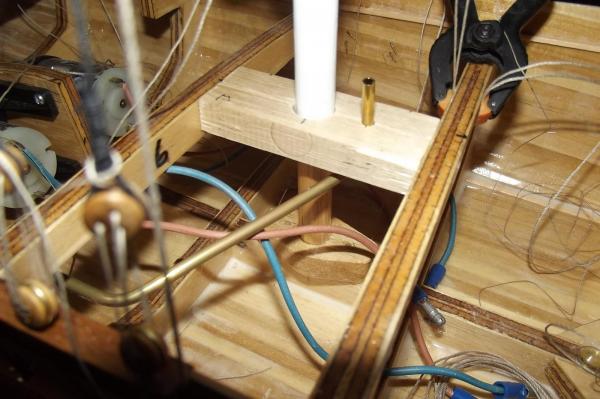
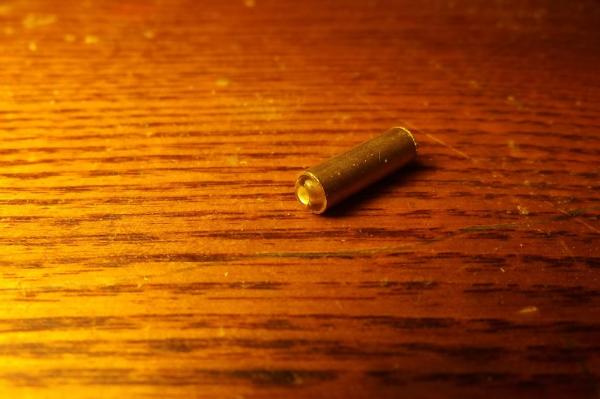
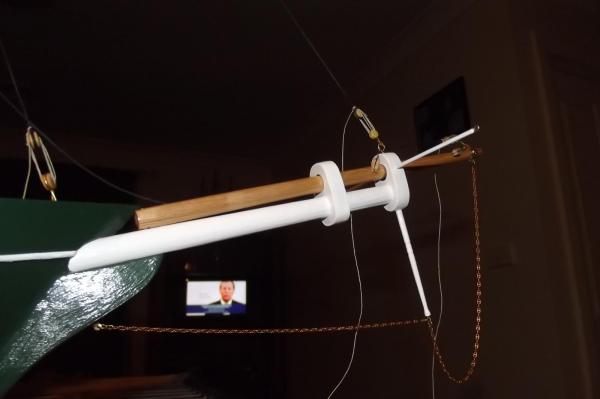
The weather was kind this weekend so I got the work done in the garage. I had to make them in two halves so I can fit them around the masts and glue them in place without having to unship the shrouds etc and lift the masts out, I have to do that later. I made the two halves for each station and drilled the holes for the masts at 86degrees and the holes for the sail controls vertically. The biggest drill bit I have is 12mm and I needed 14mm for clearance in the hole so after goning to the hardware store and seeing that they were over $70 I decided to give that a miss and find another way. Eventually the penny dropped, LATHE. I turned some bar down to 14mm and then a smaller shank to go into the drill chuck and because I already had 12mm holes I tapered the cutting end down so the bit would self centre in the hole. Then I just cut two grooves into the stock to form the cutting edges of the flukes and filed the excess away ahead of the flukes to provide a cutting edge. Set the drill bed back to 86degrees and bore out the holes to 14mm. easy. Bracket made In place around the mast with the pipe for the cord to run through back to the servo I was concerned about having a smooth fair leed for the line to run out and in this case it will run through a sweeping arc from side to side each time she tacks so I can't run the cord over a cut brass edge. Luckily I have glass beeds that fit very nicely in the end of the larger tube size I bought to use to make couplings for the control plumbing. I will cut the larger diameter piece into 15mm lengths and glue a glass beed into the end, this will then just slip snuggly over the smaller tube that protudes from the deck. The beauty of this is that I can remove it and attach a vacuum cleaner over the control tube to draw replacement lines through without it getting caught on a restrictive fair leed placed inside the control tube.

-
While Michael talks about it being warm enough to get stuck in and paint the cutter, Floyd you'll love this, the next thing I have to do is make the upper guides for the masts (immediately below the deck) this involves spending a few hours in the garage and even though winter has just started it is just too flamin' cold to go out there and do it. Hopefully a warmer weekend will grace us in the not too distant future.
-
Beautiful work John, I must get down to the Museum and see it for myself one of these days
-
Geez Robbyn, you should write a book on excuses !! Seriously, good to have you back and I hope all works out for you. Steve
-
OK then Bob, I'll do them. Get your passport in order, I will give you one weeks notice to get here for the launch !!
-
Love it Bob, want to do my deck fittings ??
-
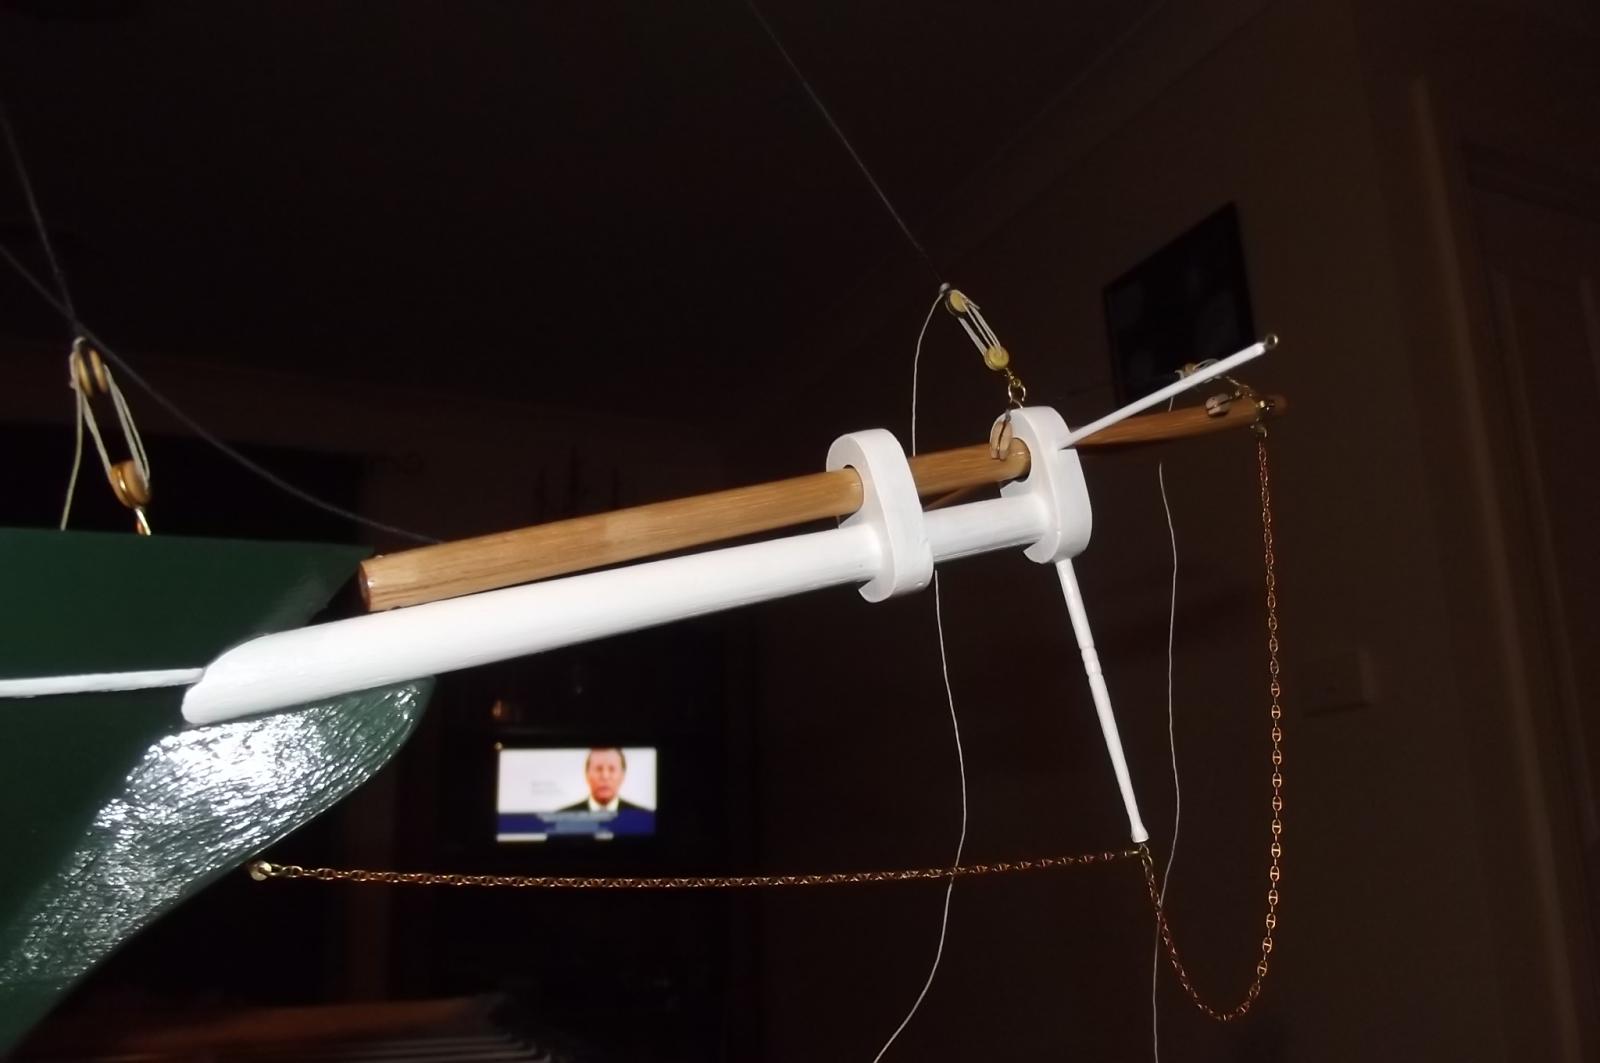
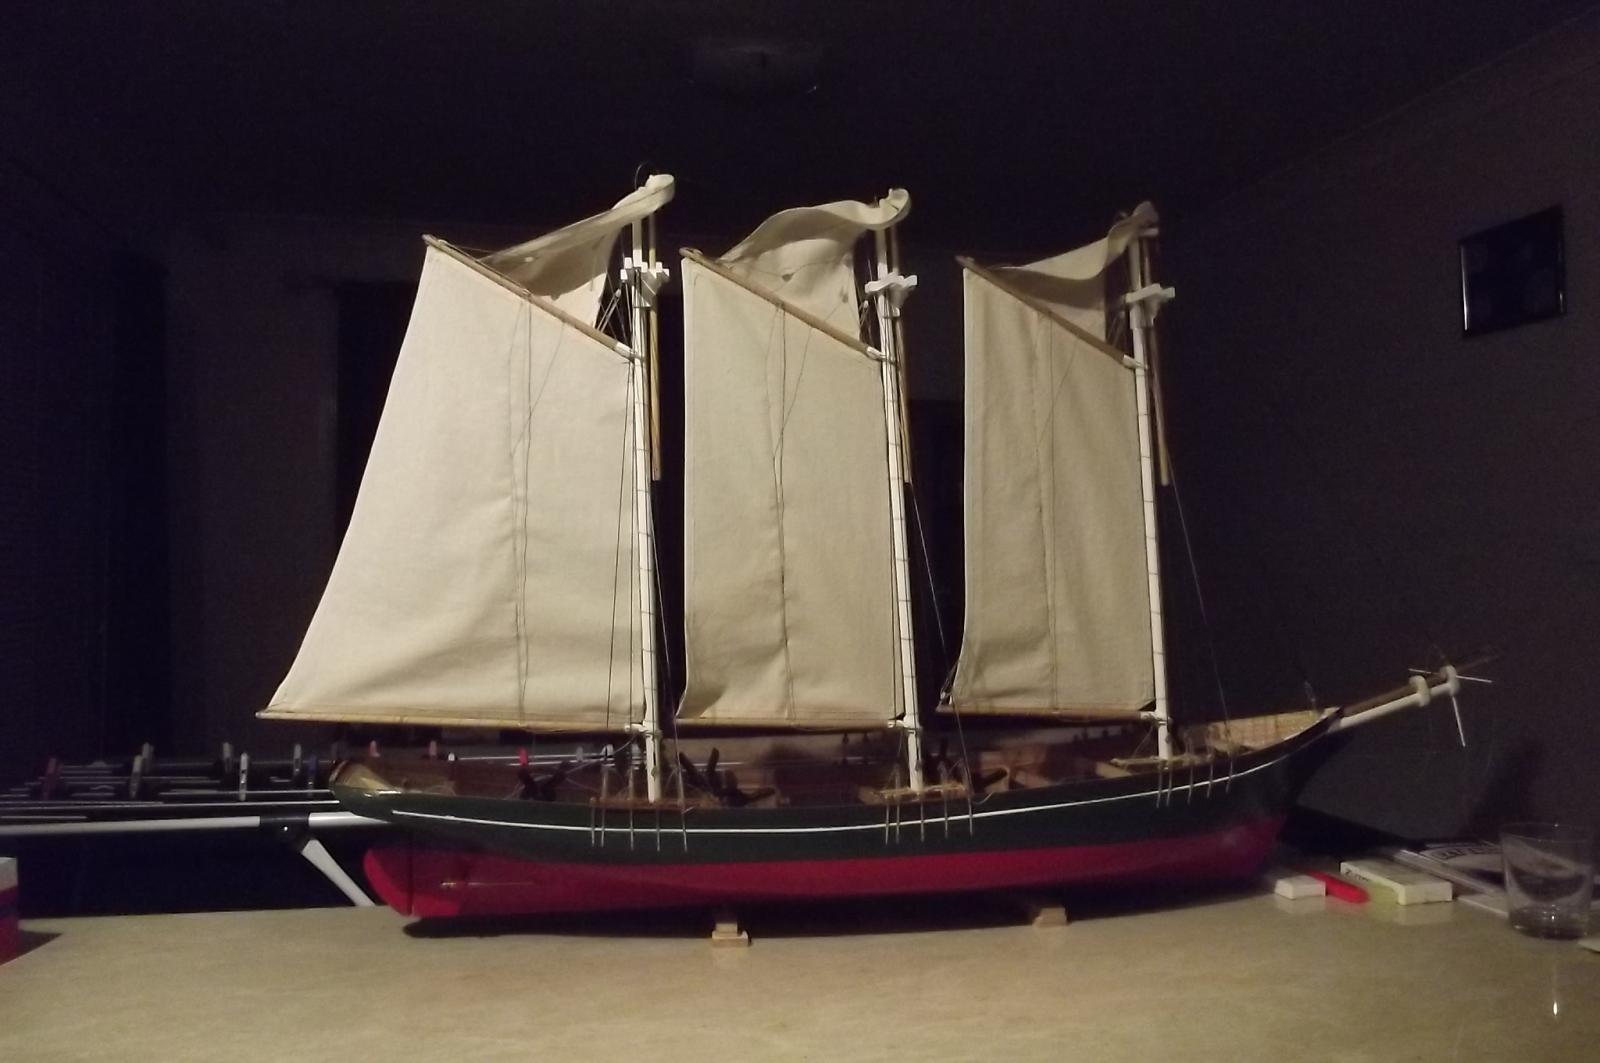
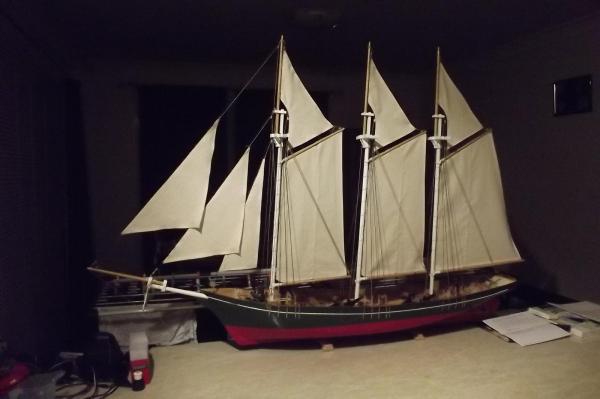
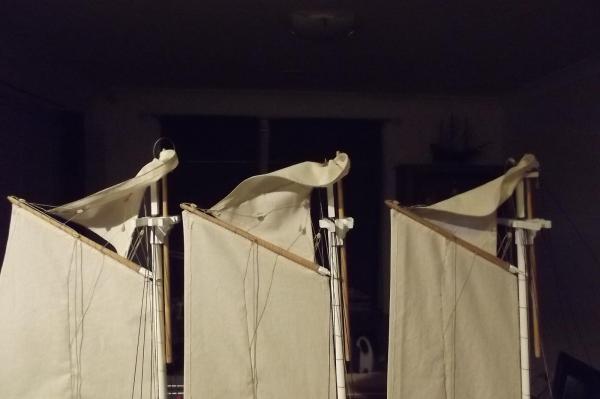
Stays'ls are finally on, now comes the long and probably tedious job of setting up the controls.
-
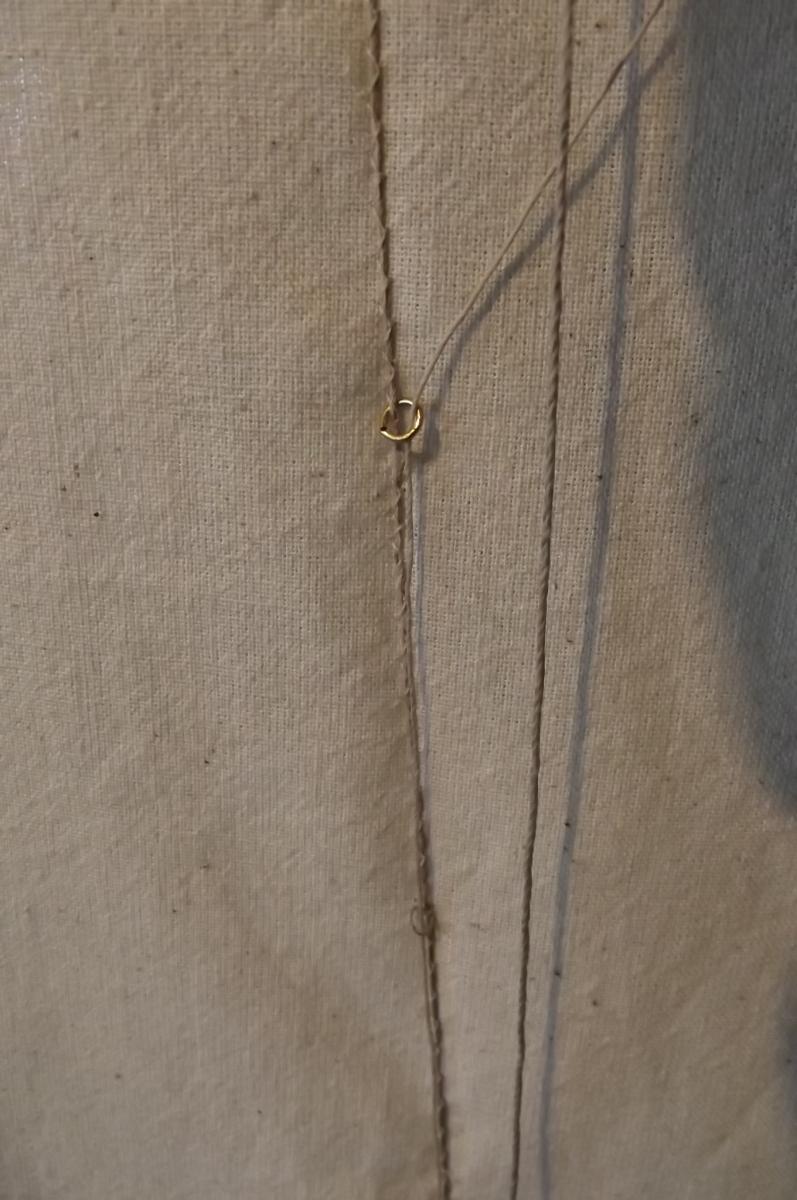
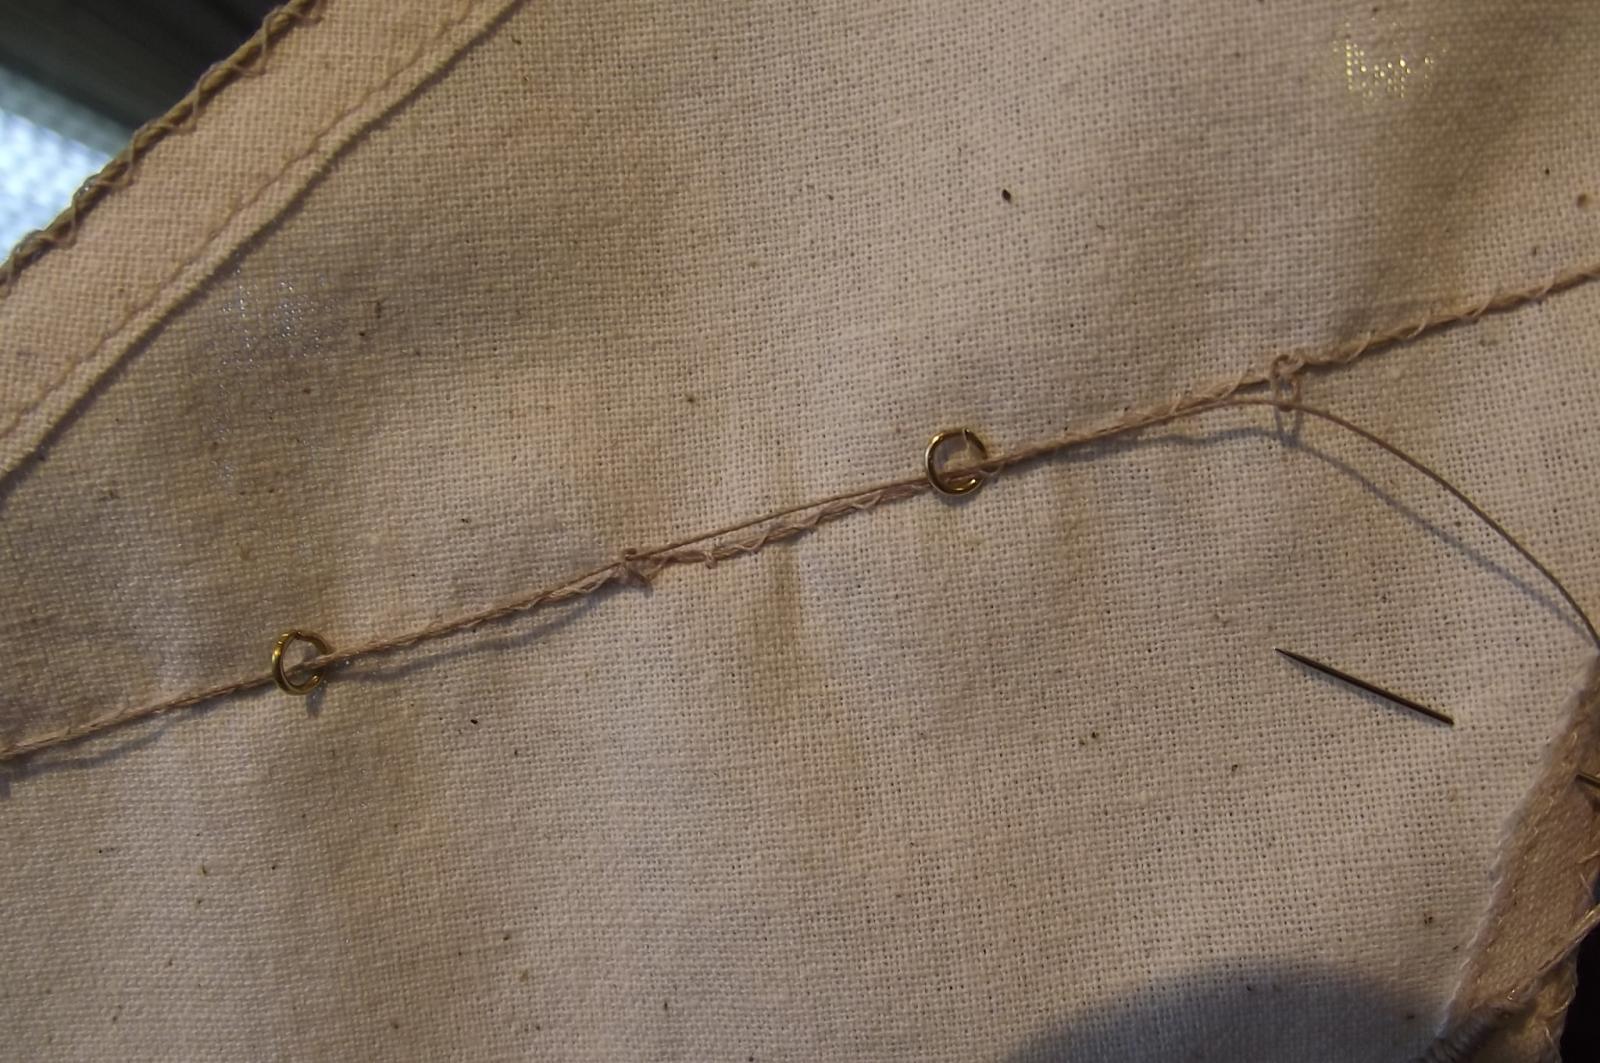
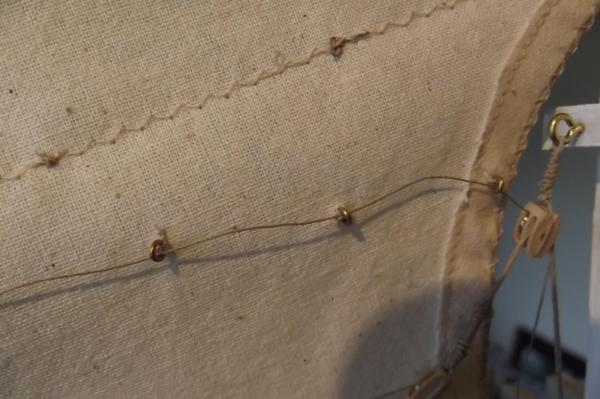
More and more changing and modifying the way the sails/lazy jacks work. Originally I laid a cord across the sail in the line of the lazy jacks and stitched over that with a zig zag stitch. This allowed me to draw the cord through to create loop points along that line, these were stitched into place by hand. The problem is that pulling the lazy jack through a cord loop encountered too much friction and it didn't move freely. Next I dramatically reduced the number of loops I ran the lazy jack through which freed up the sail movement but when the sail was pulled down the reduced number of loops meant the sail was all over the place but at least I now knew I was on the right track. Next I added some brass rings the the course sail lazy jack line, this added the control of the downed sail without increasing friction much. For the tops'ls I ran the lazy jack line from the apex of the outside corner to the first hoop on the topmast, the reasoning behind this was to stop the sail deforming under tension but it meant the lazy jack ran to a point above it's block on the mast which meant the sail didn't pull in very well, it also created a very rigid line of pull when setting the sail which meant that the sail would not billow properly as there was an ungiving line across its centre. I decided to remove that line of thread altogether and now the tops'ls billow much more nicely and I have stitched brass rings directly to the sail in line with the lazy jack pull and the sails pull in and gather nicely with very little resistance. The lazy jack is now inline with it's block and I am much happier with all of it. Next, stays'ls !


-
Absolutely beautiful work
-
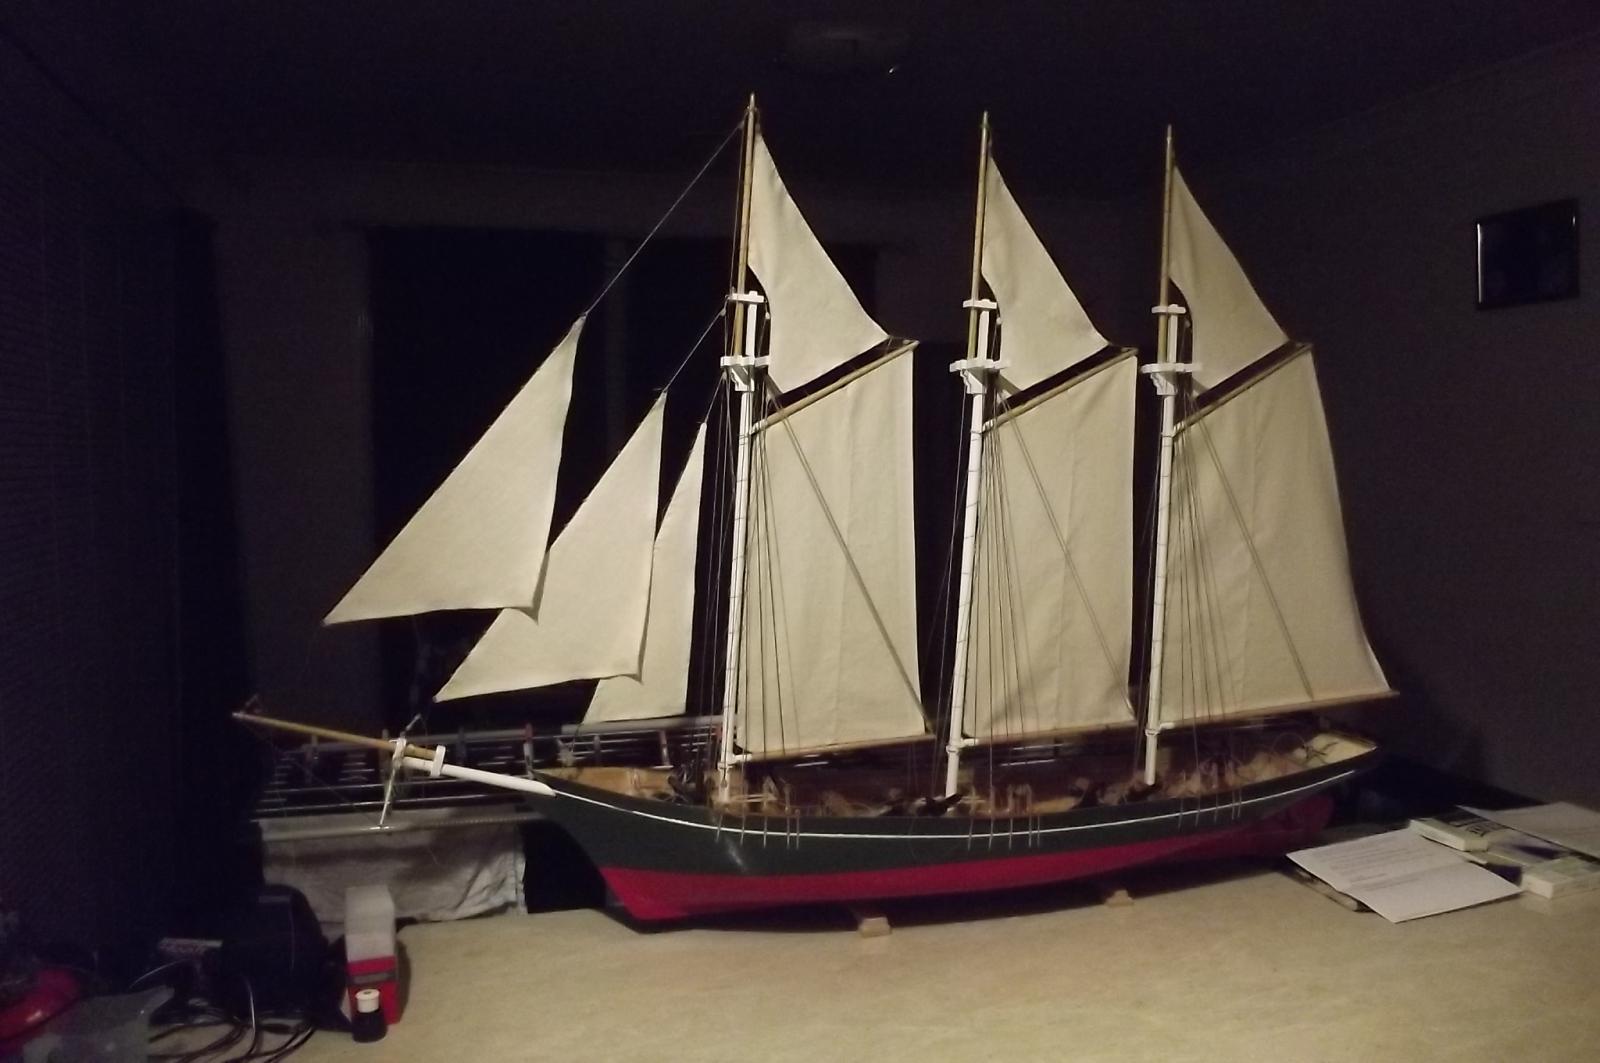
Just a few pics with the woodwork in travel mode.

-
It was 1988 mate! I went to Sydney this weekend and took the schooner to show dad. With top masts and bow sprit jib boom retracted she fits quite happily in the back seat of the falcon - the red road car shown in prior posts for those international members.
-
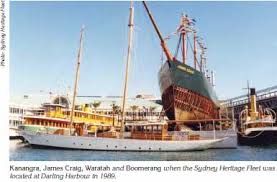
Hey John, just for you. I stumbled across a pic of the Craig when she was on the pontoon in Darling Harbour which is when I first saw her. Brunswick green, I knew I wasn't going senile yet.
-
Thanks guys and welcome aboard Bluey! Sounds like you have just read the log from stem to stern, glad you enjoyed it. Stay with us as she nears completion. (He said knowing there is still a VERY long way to go yet)