HOLIDAY DONATION DRIVE - SUPPORT MSW - DO YOUR PART TO KEEP THIS GREAT FORUM GOING! (89 donations so far out of 49,000 members - C'mon guys!)
×


Bedford
-
Posts
1,297 -
Joined
-
Last visited
Content Type
Profiles
Forums
Gallery
Events
Everything posted by Bedford
-
 I have replaced the broken master lazy jack with one of larger diameter to ensure it can't run off the spool on the servo. The original was thinner and could fit in the gap between the spool and the guide drum. By very gingerly turning it on and paying close attention to what happens I learned that the tops'l winch pulls on the lazy jack when the radio is turned on. It doesn't matter if the servo is all the way to it's preset stop in that direction it will still pull about 1/2 a turn more. Solution :- remember to always leave the tops'ls drawn out when turning the radio off, this way all it will do is pull the sail in a bit then return to the correct position without harming anything.
 -
Michael, you wouldn't believe the strain the servos pull against to achieve all that. When I first tried raising the gaffs by pulling the halyards at the servo end I thought it would never work but was amazed at the torque of the servos. I have however encountered a small disaster. Last night I left her with tops'ls nicely pulled in but when I got up this morning I realised this could crease the sails so I switched on the radio and when I switched on the receiver the servos I have set travel limits on via the transmitter ran, searching for their limits and there was an almighty thump as the lazy jack final line from the connection of the three individual lines to the servo snapped under huge tension. I had feared this and am considering my options now. If I can find suitable switches I may switch off the servos individually and once the receiver has stabilised I will turn them on one by one, other wise I don't know how to overcome this problem. Any ideas........anyone???? Steve
-
Well Omega, it's like this. The lazy jacks which haul the gaffs down are attached to the sail at several points as in the real thing, kind of like a draw string. This keeps the sail nicely contained and controlled back to a bit past half way and while the balance of the sail can spill out it can't go far. So yes, I intend to at least motor out from the shore into open water before setting sails and I can choose how much sail to raise. If the wind comes up or my sailing skills let me down I can drop sails and power her home. If I were to sail on a windy day I would probably tie the tops'ls and stays'ls down to better control them.
-
Update, at last. As stated before the pipe work below deck is a pain but I have now completed all of it to the aft deck house. That includes raising and lowering the sails, tops'ls and controlling the sails. Next step is to raise, lower and control the stays'ls, this will be done from the fore deck house. Here is a little clip.
-
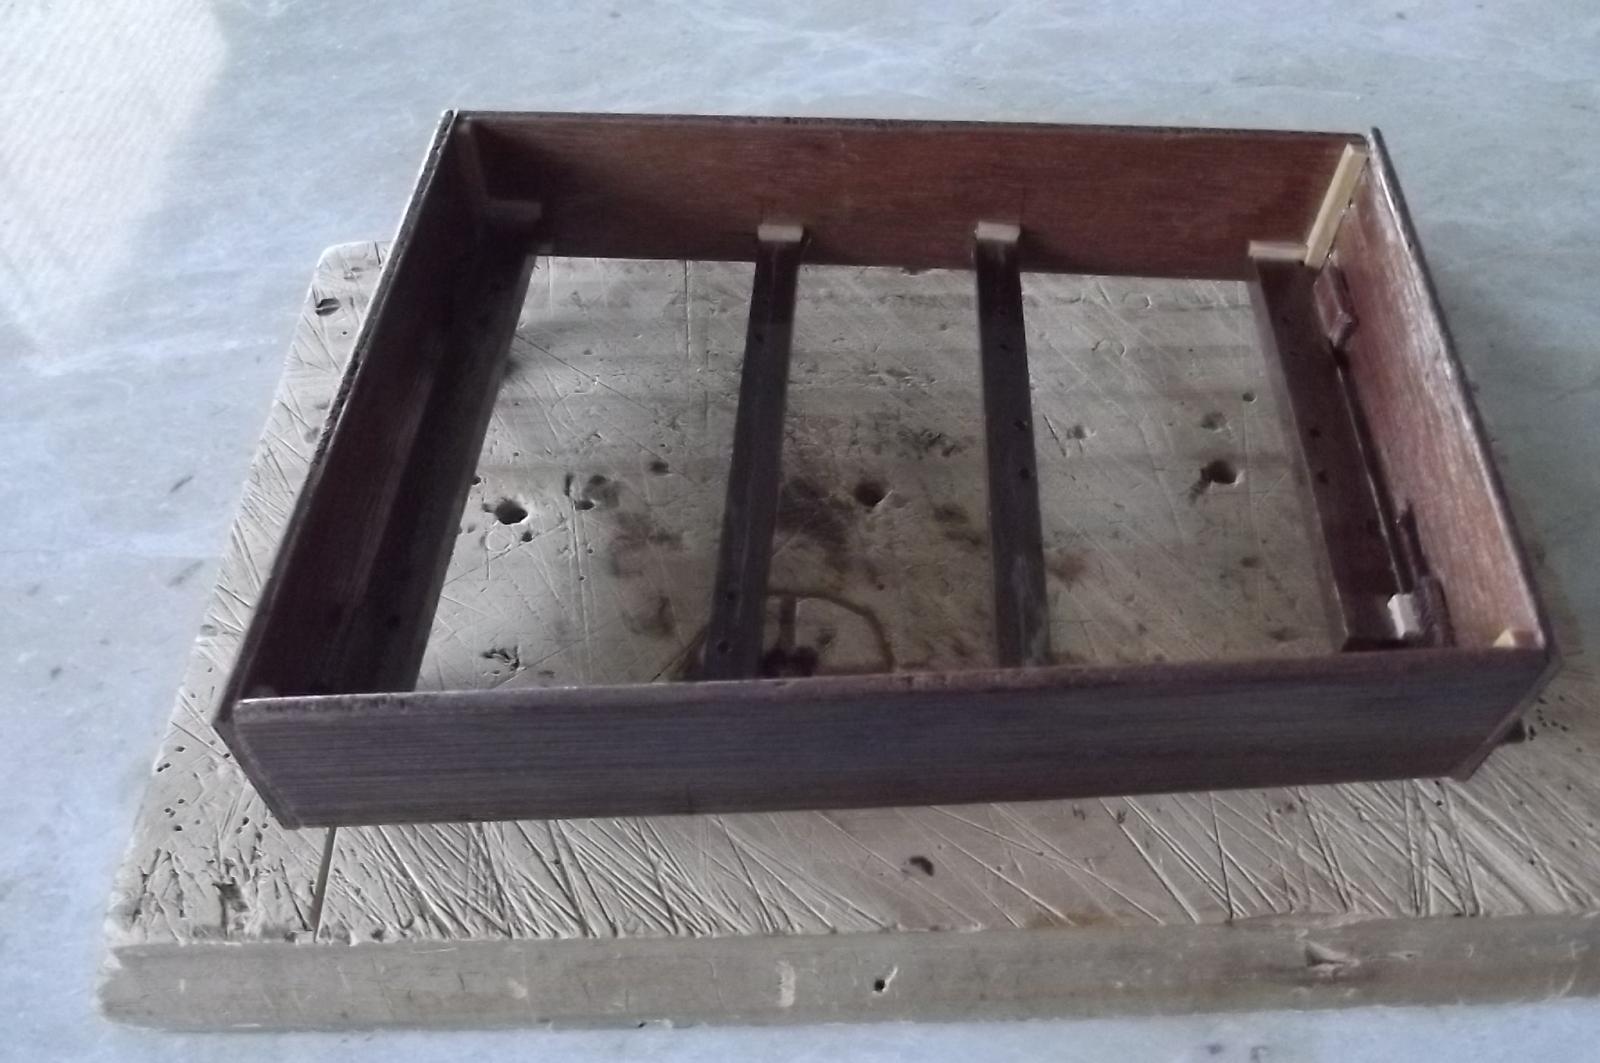
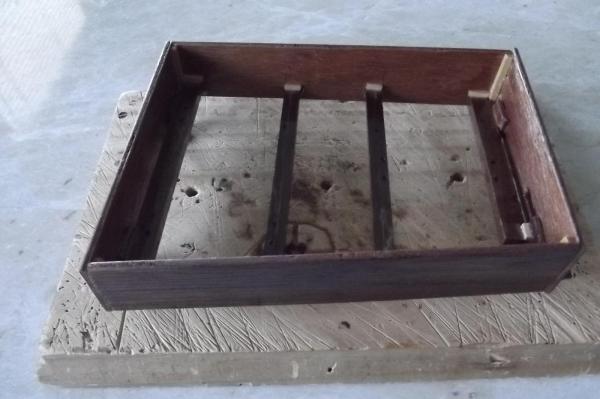
My two bobs worth.... It won't be very tall if you make it so the mast can be dropped which would be much easier than dislocating 40 oars. Build a shallow crate, like a big flat suit case, out of ply. Make it so you can secure the ship inside by keel mounting screws or clamps. Put it in, close the crate and you can tip it any way you need to and nothing can get to it. As for sweeping the oars further back than normal, I'm not sure how your set up will work but perhaps mounting the drive system on a sliding seat like that in a rowing boat would allow you to lock the drive mechanism in either of two positions, one for working and display and one where the oars are swept in for transit. Whatever you do I am keen to see her in action!
-
Another build to watch and enjoy
-
Michael, I just found this and read through it and I guess I can just refer you to almost every comment I have made on your 1/8th cutter. A few things that may be worth considering, I used to wind electric motors in another life and if you use a varnish coated wire of that small size you can very easily remove the varnish by running the wire slowly through a cigarette lighter flame, anything hotter will break the wire. Also I once made a very crude miniature of the "Schooner for Port Jackson" which I bottled, don't know where it got to, but I planked the deck by taking a very thin cut from soft radiata pine with a plane. It curls but if the blade is sharp and the cut is short it doesn't curl much, you can then use good sharp scissors to cut it into planks.
-
Very nice progress Bob, keep it comming
-
Thanks Bob.
-
Thanks guys! Yeah John, I just started on the pipe work for the tops'ls and have walked away from it. Just can't get the fore to sit right.
-
She dwarfs the motors, It sounds like you should have very nice speed control on the oars, I'm looking forward to action videos
-
I have been slack lately, not looking forward to the lazy jacks. I have sorted them now and I can now lower the sails properly. The video is a little bit dodgey as the camera kept trying to auto focus but it's ok. Once all the running rigging for the tops'ls is done I think it will be smoother and more controlled too.
-
She is looking great already, love this one.
-
Small progress it may be but it is beautiful.
-
Halliards are one thing but it appears I may have a problem tacking. I put her outside in a breeze yesterday and the sails wouldn't reliably pull the line out of the tubes in a light breeze. If I let line out and the sails don't draw it through the tubes then it can foul around the winch drum. I may have to completely re-think them, possibly running them above deck through blocks and attach to the booms from either side but I see problems there too in that because the point of attachment to the boom will move in an arc the pulls will exponential rather than linear. Just another challenge for me.
-
We have reached a truly momentous occasion........... http://youtu.be/oVoMhYSnHvA I am so pleased with how the sails raise, it takes a fair bit of effort but the servo handles the task with ease. I can't lower them properly yet because I have yet to run the lazy jacks to the servo, when they are connected the gaffs will pull down easily and the bulk of the sail will be controlled rather than spilling out all over the deck.
-
More plumbing done, I am getting better at bending the pipes without needing to cut and adjust, the joint in this run is to make the distance, the pipes are only 30cm long.

-
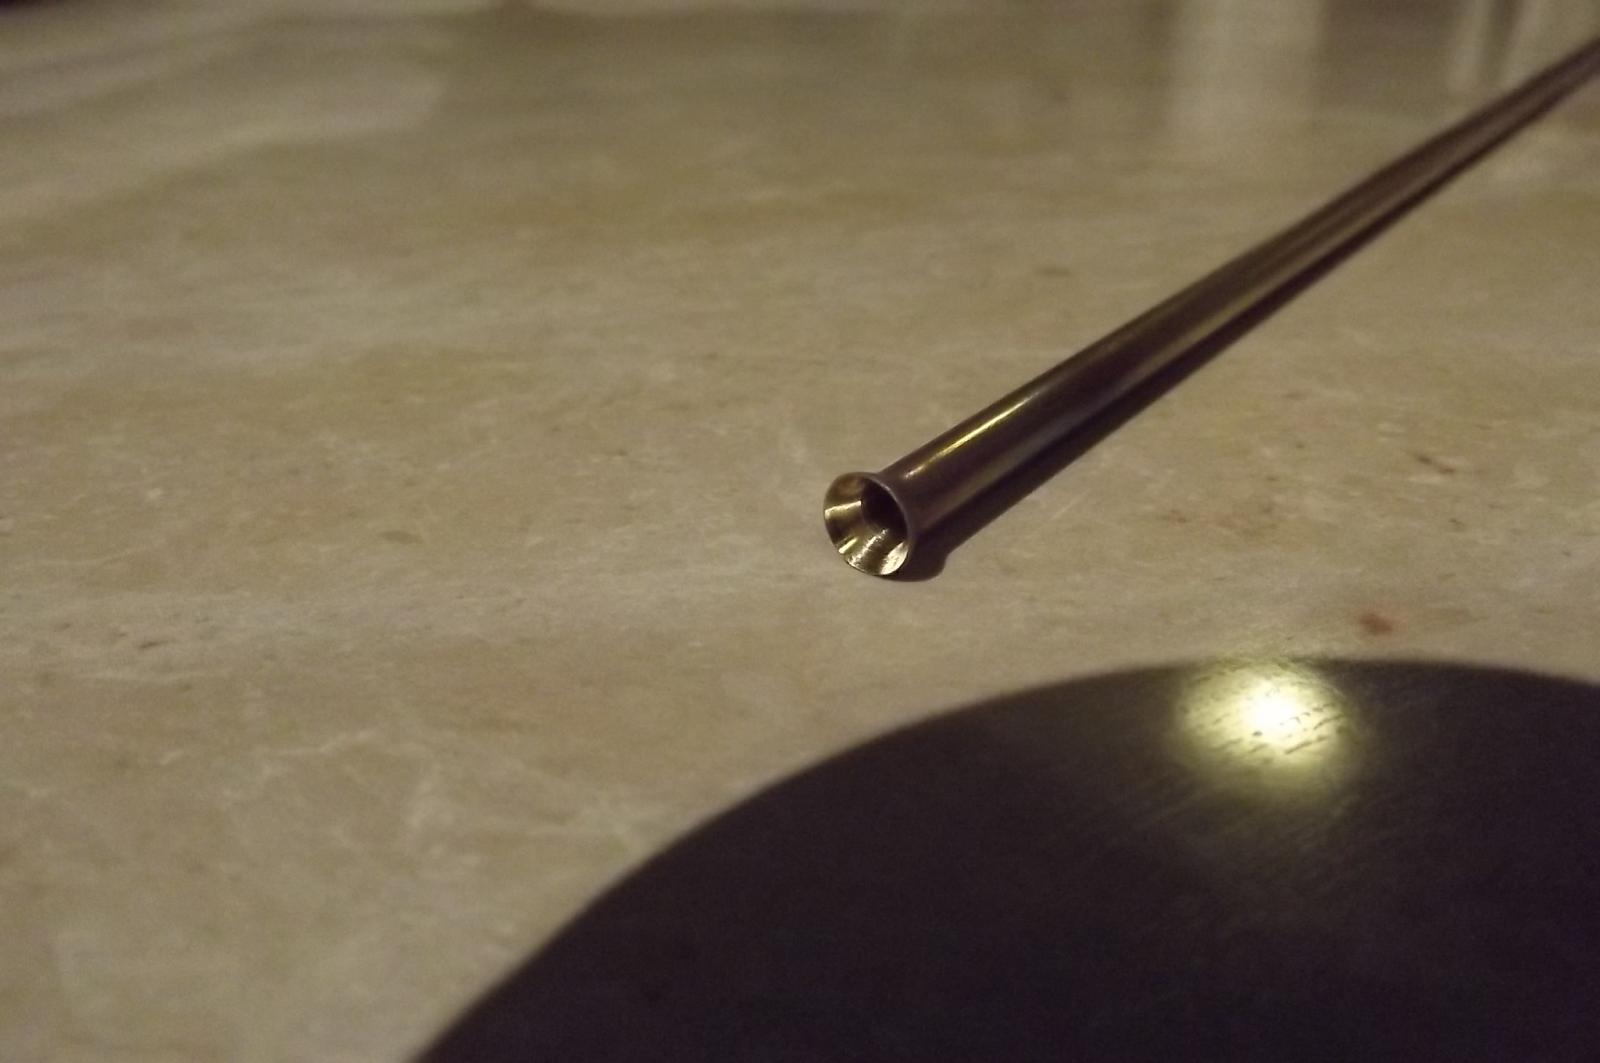
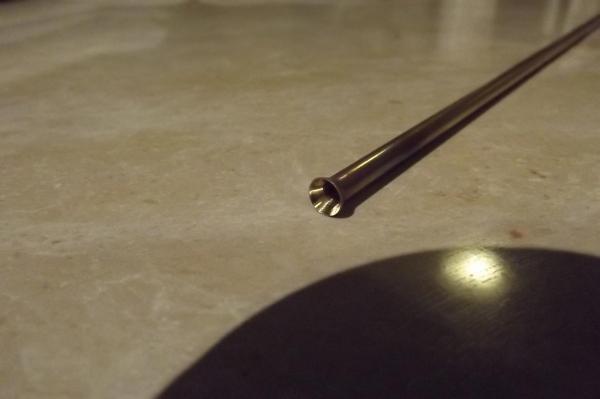
First a pic of the flared tube fresh off the lathe. These are for the joined ropes from two or three masts to easily pull into the final tube back to the servo. More plumbing done, that's tacking of the courses and raising of the gafs taken care of. I have found that epoxy putty is excellent for fitting the tubes in place, easy and it allows time to adjust the position properly while getting a good hold on it fairly quickly.

-
There is an old electricians trick for getting a draw string through a long conduit run, it's called a vacuum cleaner. I will look into making some type of adapter to fit my cordless vac to the tubes by way of a clear pvc tube so I can draw the lines through.
-
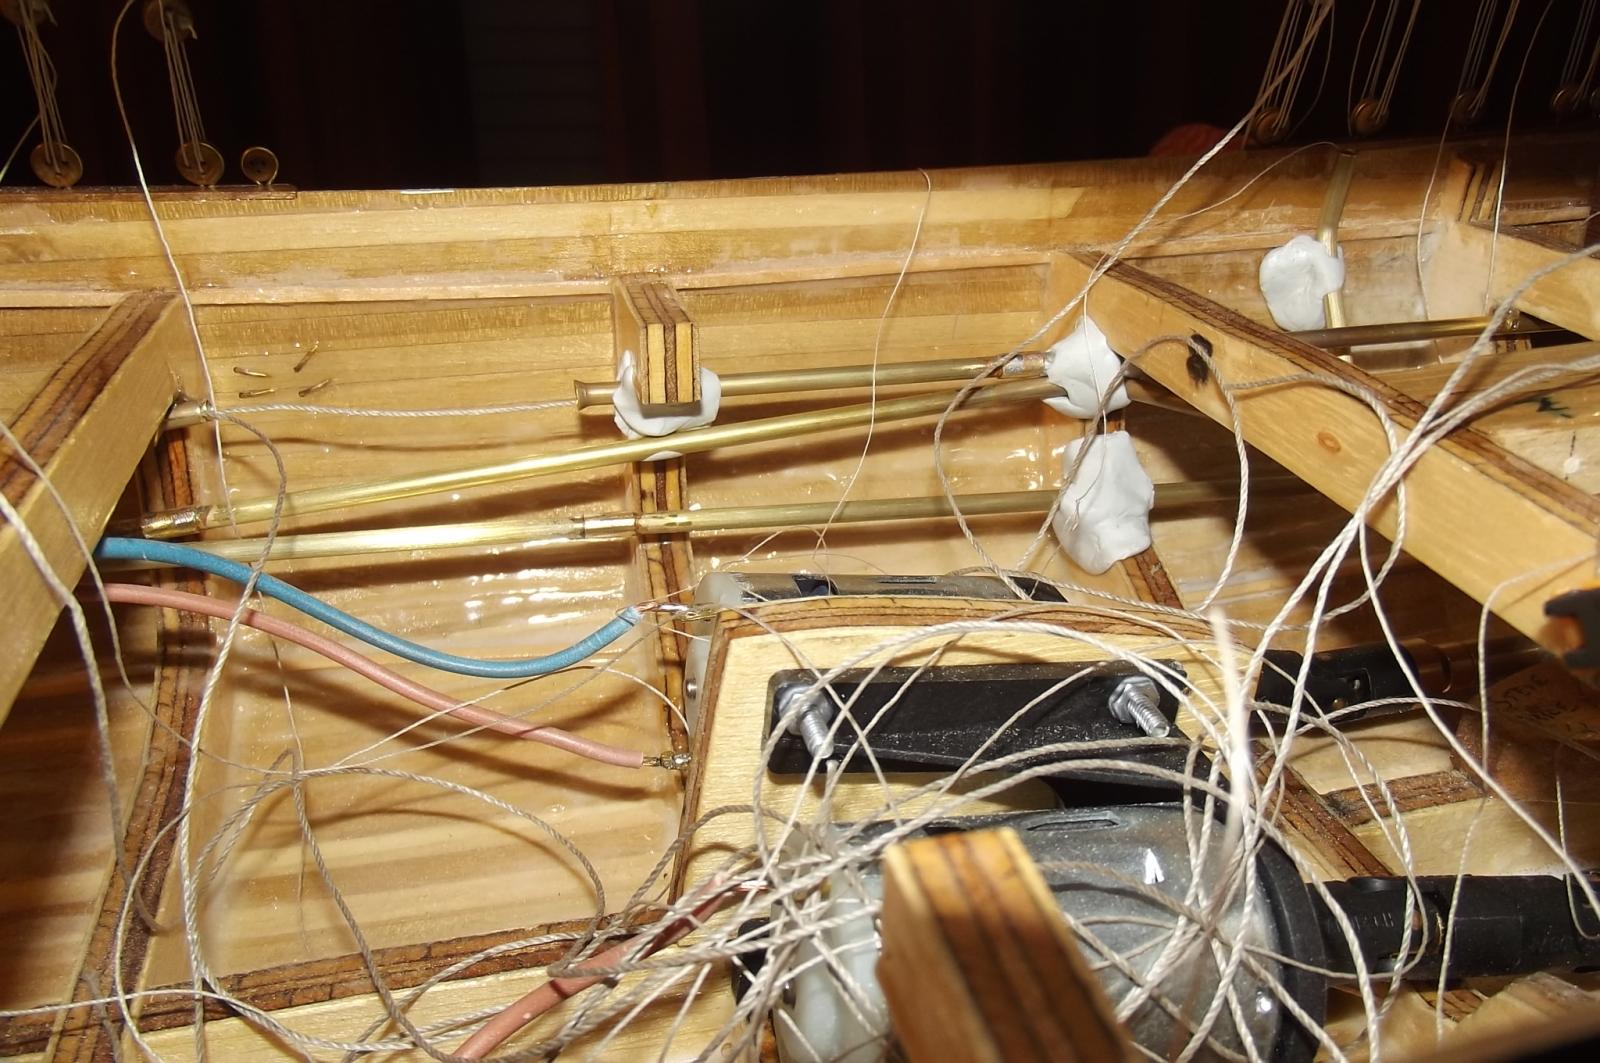
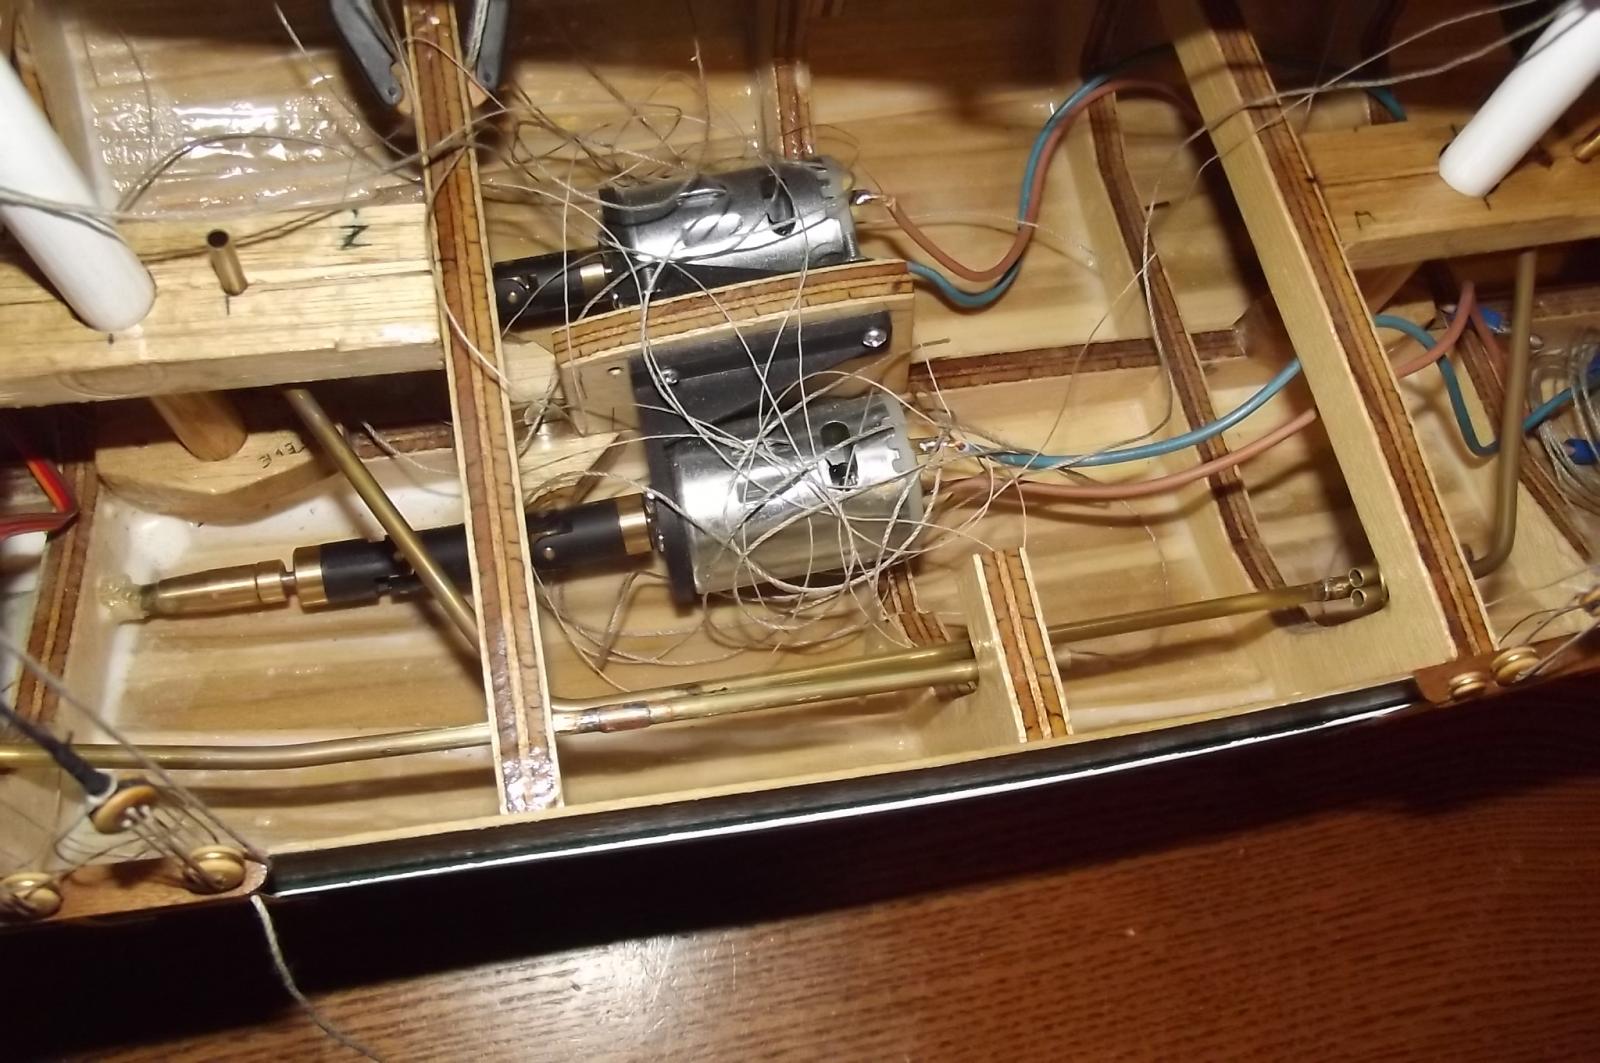
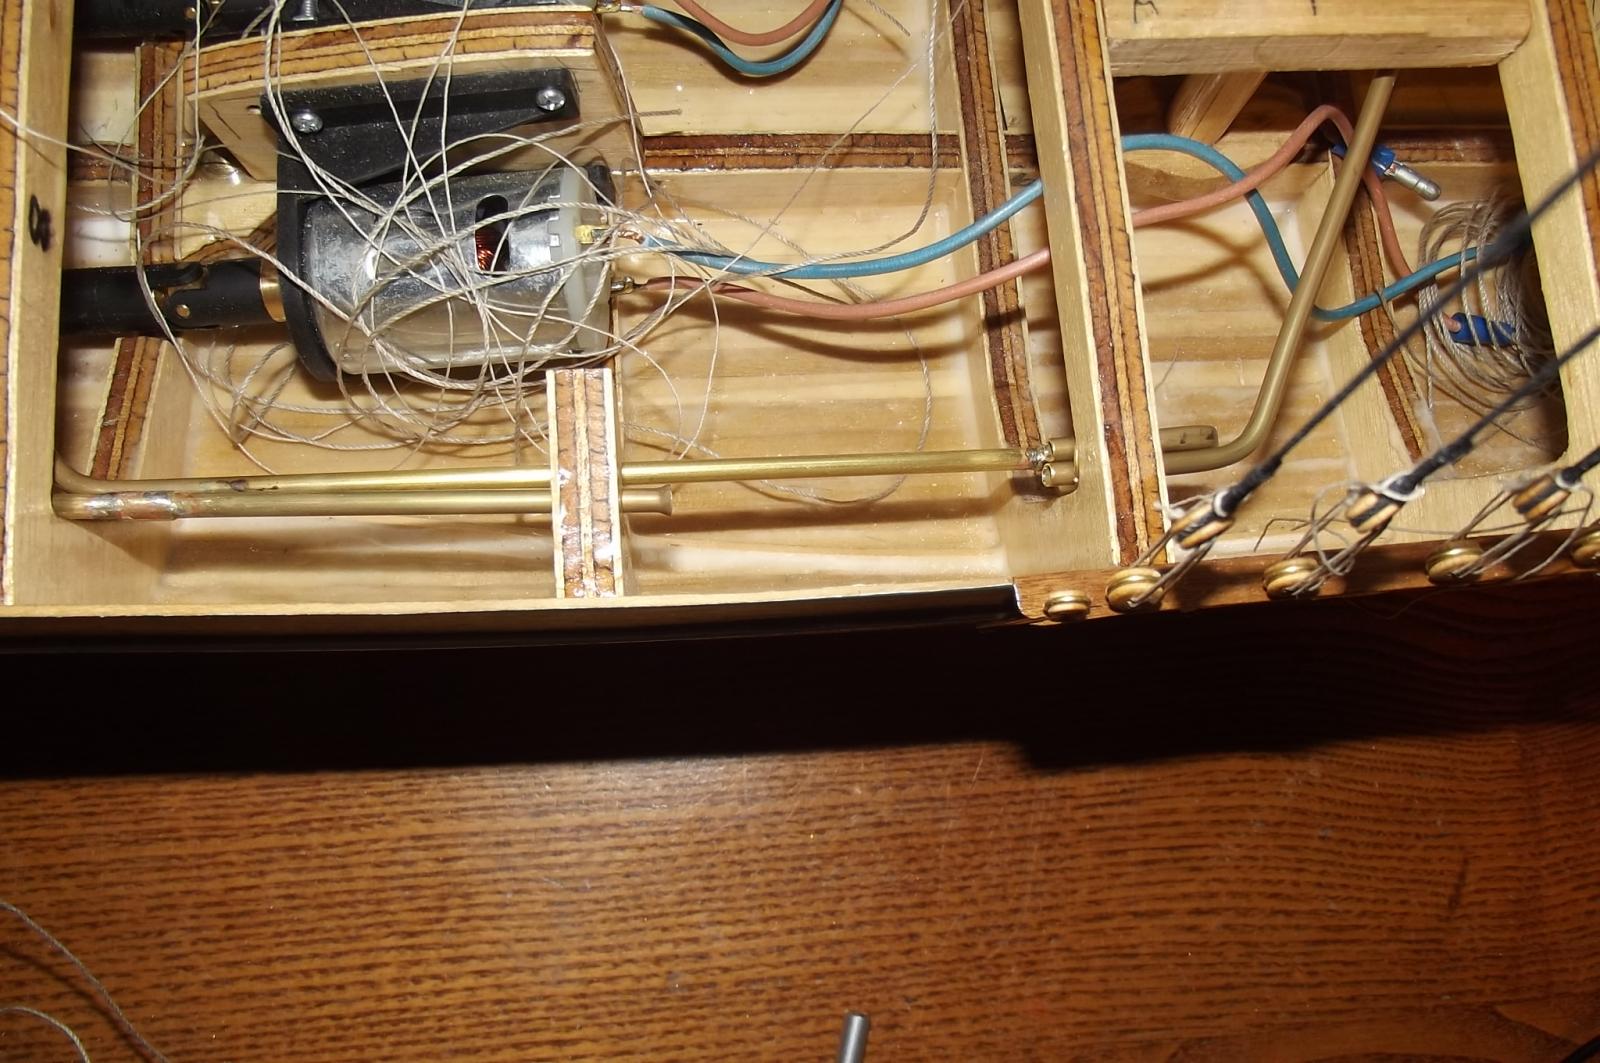
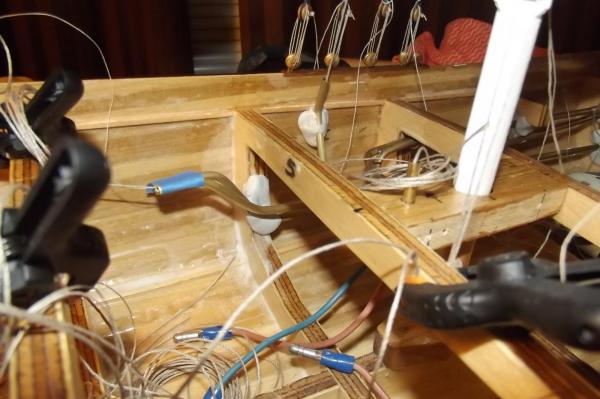
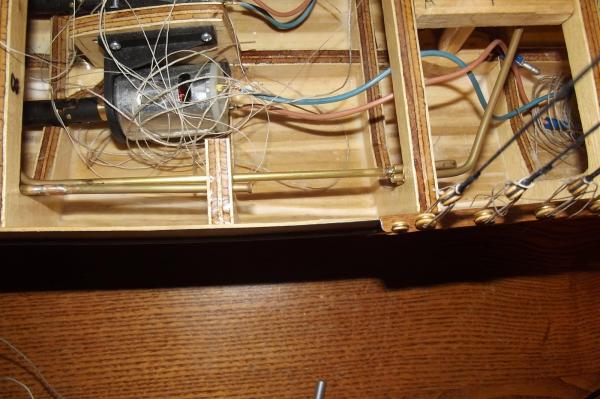
27.5 degrees, that's about 1.5 too hot to be comfortable for me, you can keep it ! Back to ship building. The epoxy has set, the control room is re-fitted and I have done more "plumbing" I hope the pics make sense. This shows two tubes running to the winch drum, just held together with wire for now. I was going to solder them together but I am worried about the heat so I think I will use epoxy and epoxy putty to secure it all. In the following pics you can make out the two tubes from the fore and main masts coming together and aiming towards the stern. There is another tube with a flared end facing forward towards the other two. The idea being that a line off each boom will join to a single line that runs back to the winch drum. The gap between the tubes that allows for joining of the lines is located in the area of a large cargo hatch to allow repeat access should it be required. Nothing is permanently aligned yet. I flared the receiving tube to allow the join in the ropes to pass into the tube easily, I did this in the lathe. Anneal the tube then mount it in the chuck, place a centre drill in the tail stock and run the lathe in reverse while easing the centre drill into the tube. The cutting edge of the drill does not bite into the brass because the lathe is going backwards so the angled step on the drill acts as a gentle flaring tool.


-
Go on, you know you want to......................what is the weather like in Seattle. Please convert to metric or I won't even bother reading it. If you are going to gloat, you do the work
-
Well wouldn't that rot your socks! When I was using epoxy in summer the stuff was going off as quickly as I could mix it and now in winter it doesn't want to go off at all! I realised that I had better pull out the control room and epoxy it for waterproofing. I did that this morning and because it is a balmy 9-10 degrees C here I left my front and back doors open to freshen up the house. After about 3 hours the epoxy was still quite tacky so I turned the heating on to 16 degrees and went out for a while, came back and still no better. I have had to turn the heat off again because it is just too warm so I will see if it goes off over night. The upshot of all this is that I can do no more control fitting until the epoxy is set and the control room re-fitted.
-
Michael, in this one instance, yes. I need to remember to pull the sail to centre and then let it out during tacking in order to keep tension on it. It will be aided by the fact that the winch drums sit inside the white cups you can see on top of the servos and the tolerances are quite close, less that the thickness of the line, so I am hoping there won't be any dramas with it. The balance of the controls will be a closed loop system so there should be no problems with them. With the possible exception of the stays'ls because they let out much further than they pull in but it won't be using a winch drum so as long as I keep the area of operation foul free I think it should be ok.
-
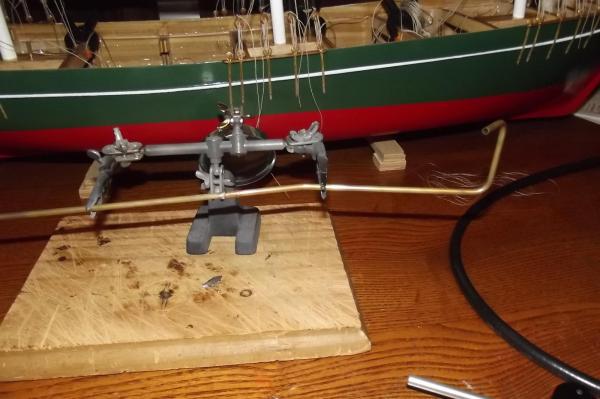
I'll join in on the rigging jig, nice idea. This is going to be a beauty, hope the Commodore is impressed !