Bedford
-
Posts
1,299 -
Joined
-
Last visited
Content Type
Profiles
Forums
Gallery
Events
Everything posted by Bedford
-
 Good on you! A proud moment for any model maker to receive that recognition
 -
Michael, as has been said to me, sawdust is great for shifting the block. I find making a simple wooden component really helps get the head clear so a fresh view is available
-
I have spent the last 3 days at the wooden boat festival in Hobart and was amazed to see just how common the reversing mechanism in this build is. There are heaps of examples here in beautiful old boats and thanks to Michael I know exactly how they work
-
Guys I met John on Wednesday after endeavour returned to the maritime museum and had a good look at this beautiful little boat and pics don't do it justice. It was good to meet you John and to see the pritt
-
Hi John. She certainly looks beautiful, even more so in the flesh. It seems I missed you by a day! Had an interesting chat with Col though and he told me about the big joint project you are all working on. She'll be a beauty too
-
Hexnut I have not done that to any great degree, I will have to look into all that but might be moving again soon anyway so won't bother yet.
-
As the others have said, glad you are ok and getting on and remember this is a hobby, you don't owe it or us anything, just do your thing in your time. Doing the kitchen...........brings back memories of a supposedly very fast drying floor sealant that took a week before we could walk on it!! That mucked our plans up and gave the fast food sales figures a boost!
-
Thanks so much Michael. I know 3 jaw chucks are rubbish for re-centering so I always work out how to do the turning in one go. I do have a 4 jaw independent chuck as well but have only used it once or twice as I have not had any job that was that involved I needed to mount and re-mount. The tip about 3 diameters is gold and probably explains the problem. I see much more live end use in my future. Next I guess I need to buy a ground bar, is that an item designed for this purpose? I have been thinking about collets for a while, I know they are much better and watching what you are doing with them really confirms that. I won't be doing anything about it for a while though, I head for Sydney on Tuesday morning in readiness to sail out for Hobart on the Endeavour on Wednesday. Really looking forward to that! Steve
-
Michael, it's a cheap Chinese job, Sieg C6 with the mill attachment. It will be good enough for most of what I do but I think I need to learn a lot about it, like I have a feeling the head isn't exactly square to the bed as I always seem to end up with a slight taper on longitudinal cuts, maybe I am just thinking the stock material is more rigid than it really is though.
-
Michael, I have a thread cutting lathe with a whole bunch of gears that can be swapped around to set the pitch, the thought of it is a bit overwhelming at present and the fact that the instructions aren't great doesn't help. It doesn't change the fact that I never would have thought of making a tap though, another lesson filed away. I would have thought the die would be the easy part, drill, tap, drill three adjacent holes for the swarf and then harden. But then I have absolutely no experience.
-
Even making your own taps, is there no end to your abilities?
-
Nice pipe bender, another one to file away! It is a pity you have to go to an electric water pump but sometimes you just can't help these things and I am sure only you and I will ever know !!
-
So much learning! When you started this build I had no idea I would be following a master class in machining
-
Lucky you have that 60 tooth gear on the lathe to index the work with, very convenient. Yet more very interesting and educational engineering going on, thanks!
-
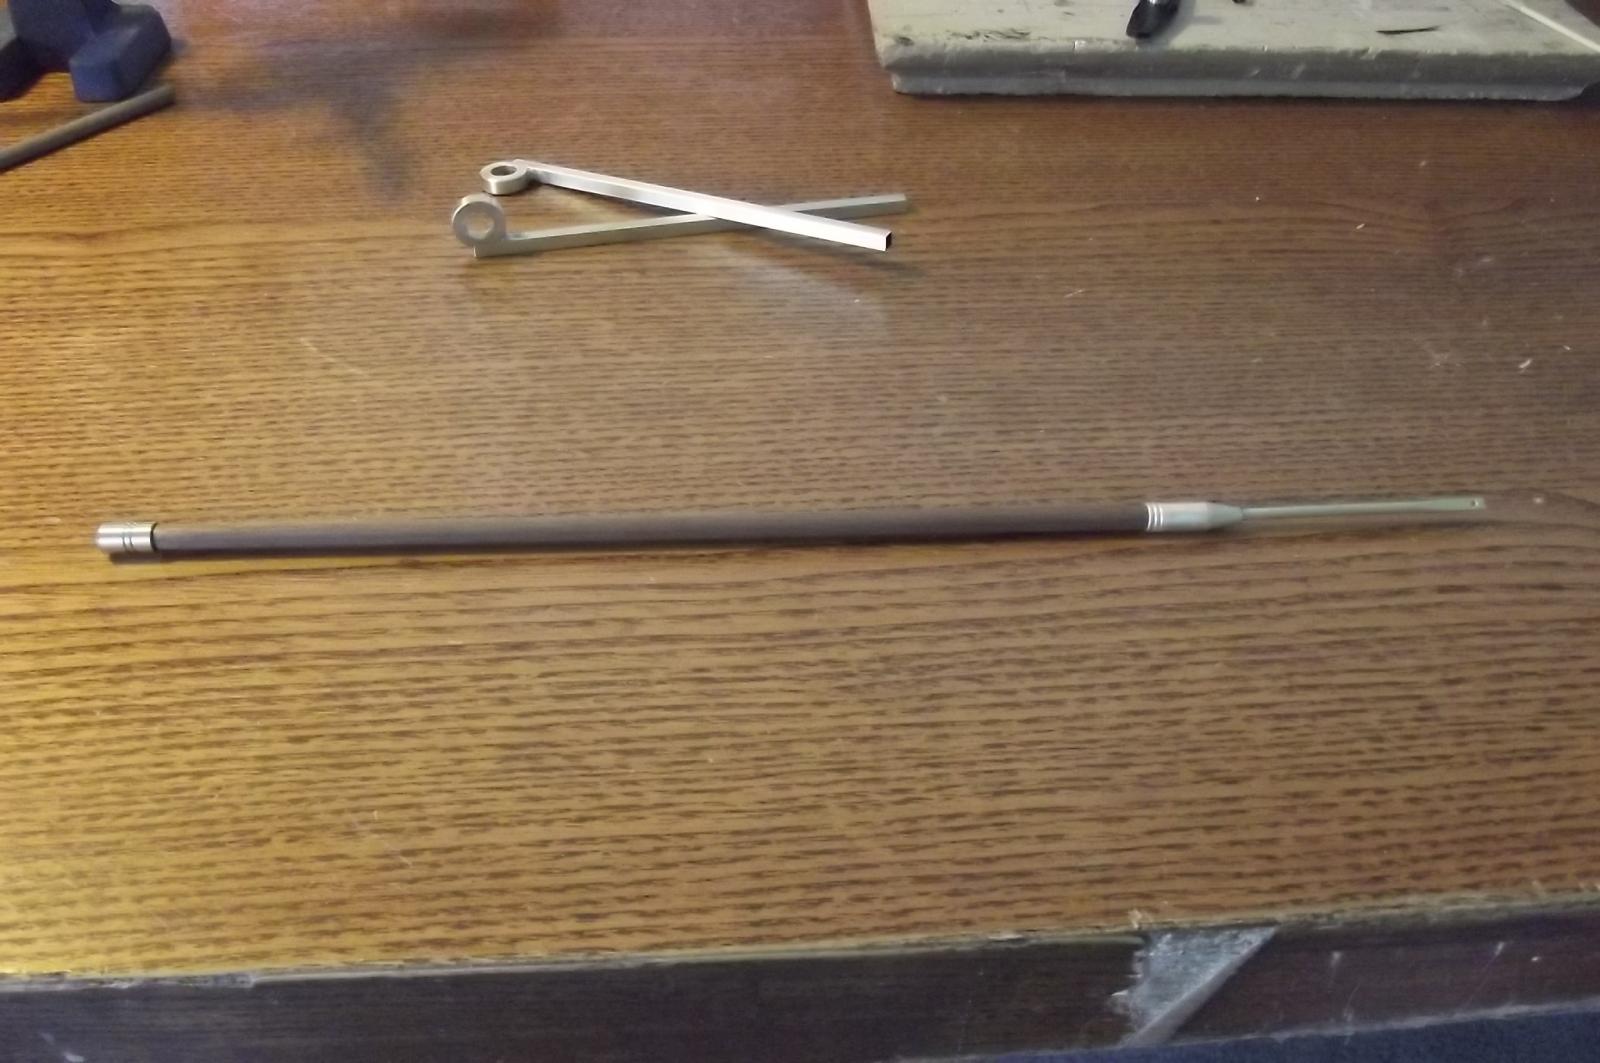
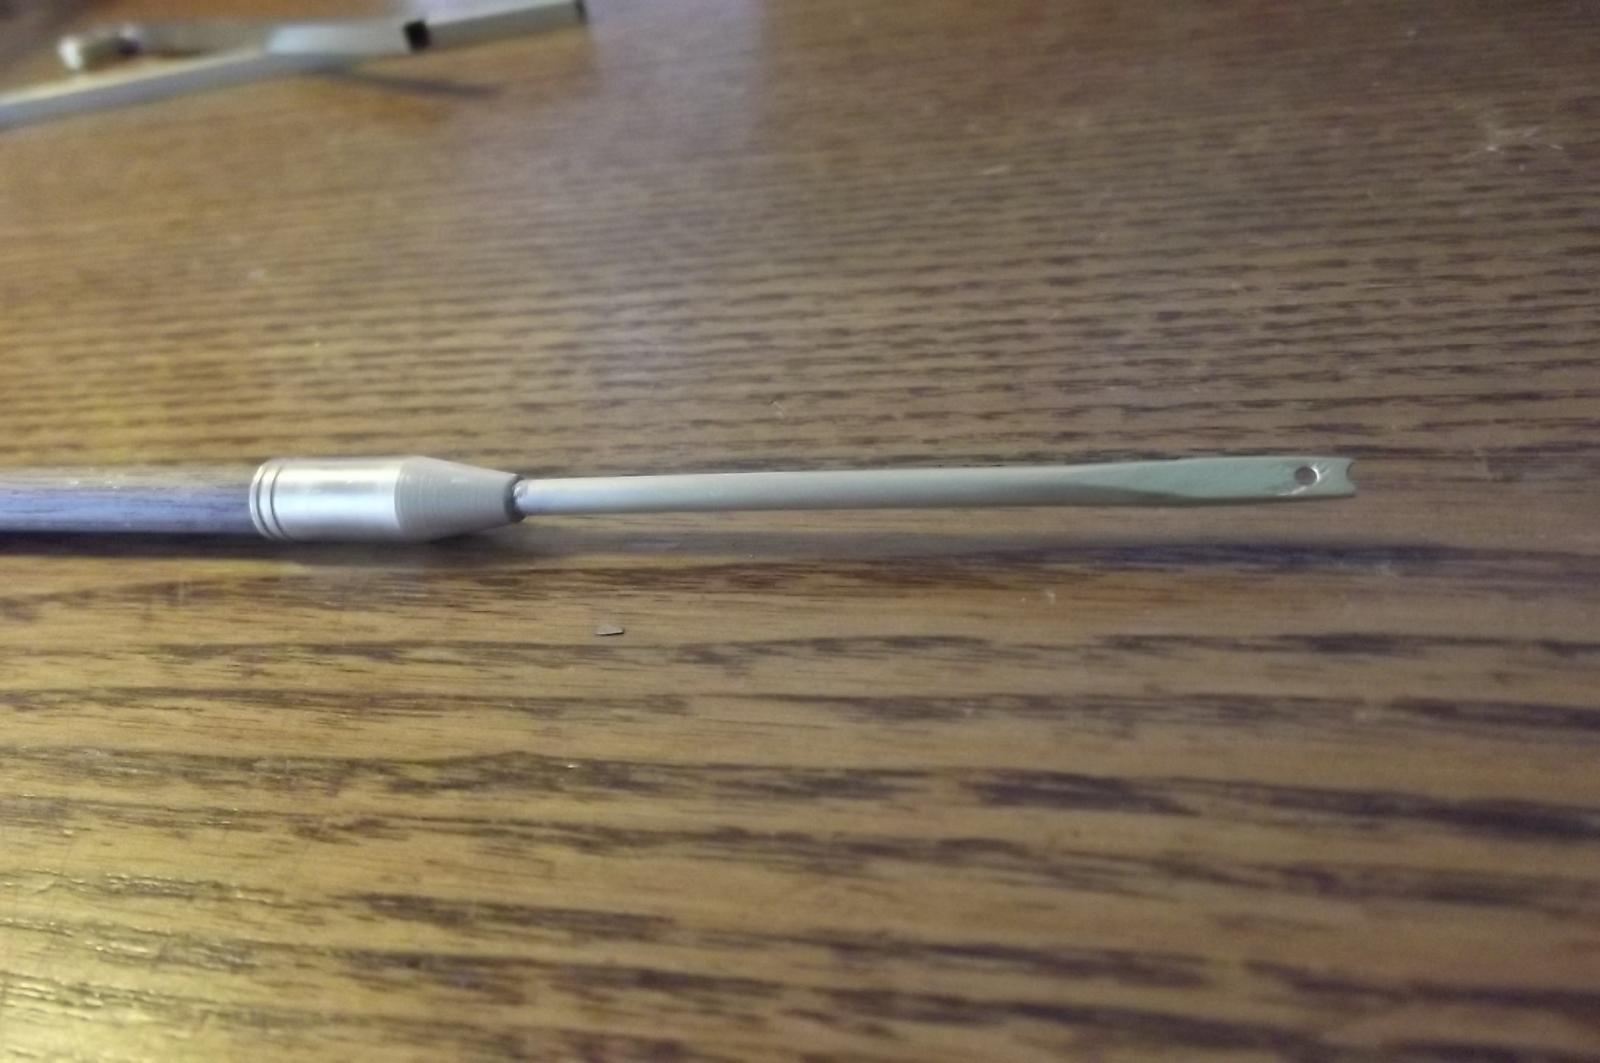
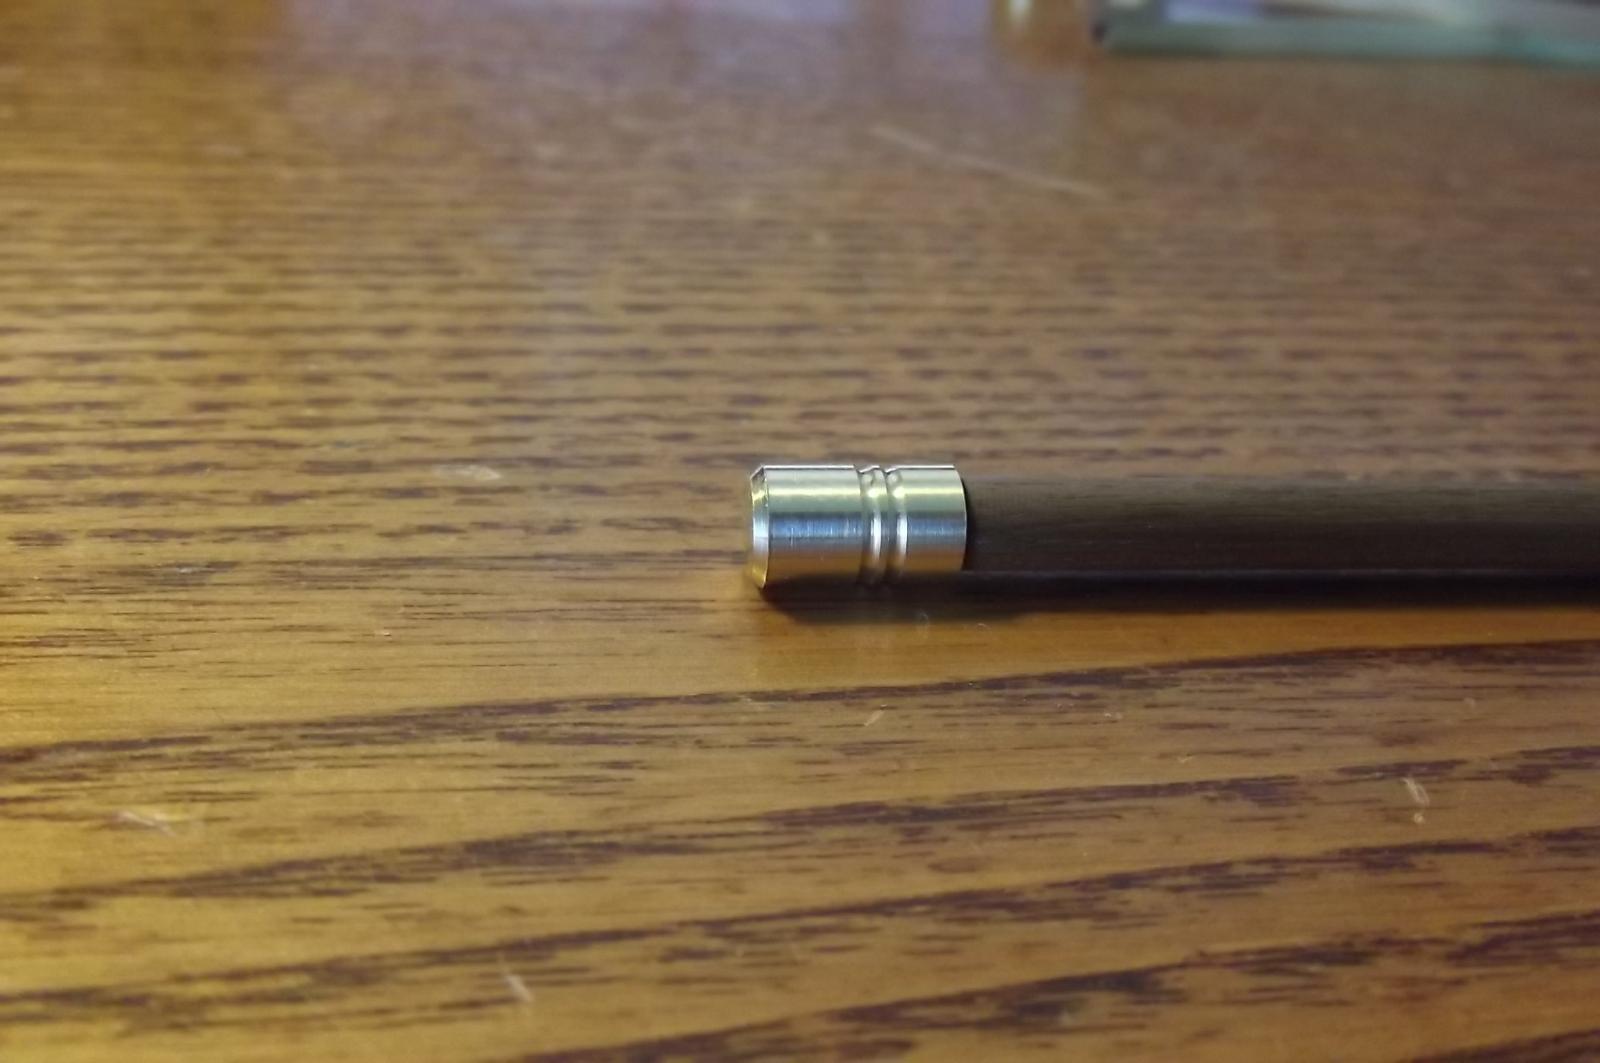
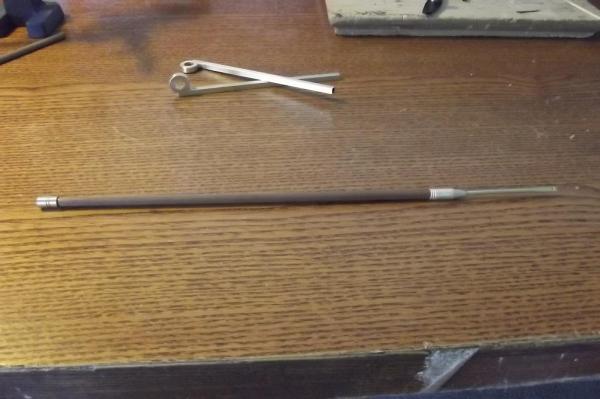
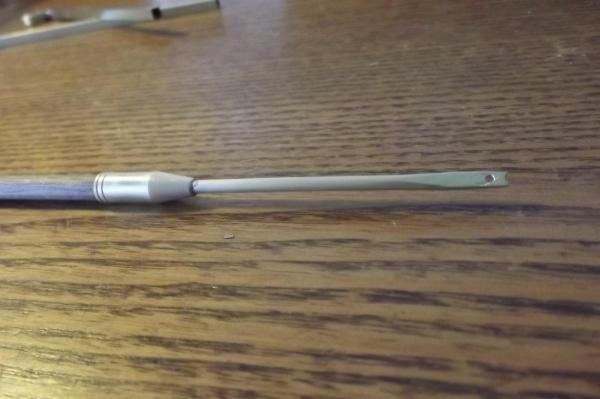
I am learning from using the lathe and as such decided to make something else for the ship, a tool. I used to just have this as a piece of 2.4mm brass wire about 200mm long but thought I would make a better version for the sake of the exercise. The tool is for tying off the running rigging to belaying pins. I catch the line in the groove at the end of the tool and while keeping tension further down on the cord I can easily place it around the pin, top and bottom. I am learning, the ferrule on the handle end is straight of the lathe and is a much better finish than the tool end which has been buffed with the dremel after soldering the tip in.

-
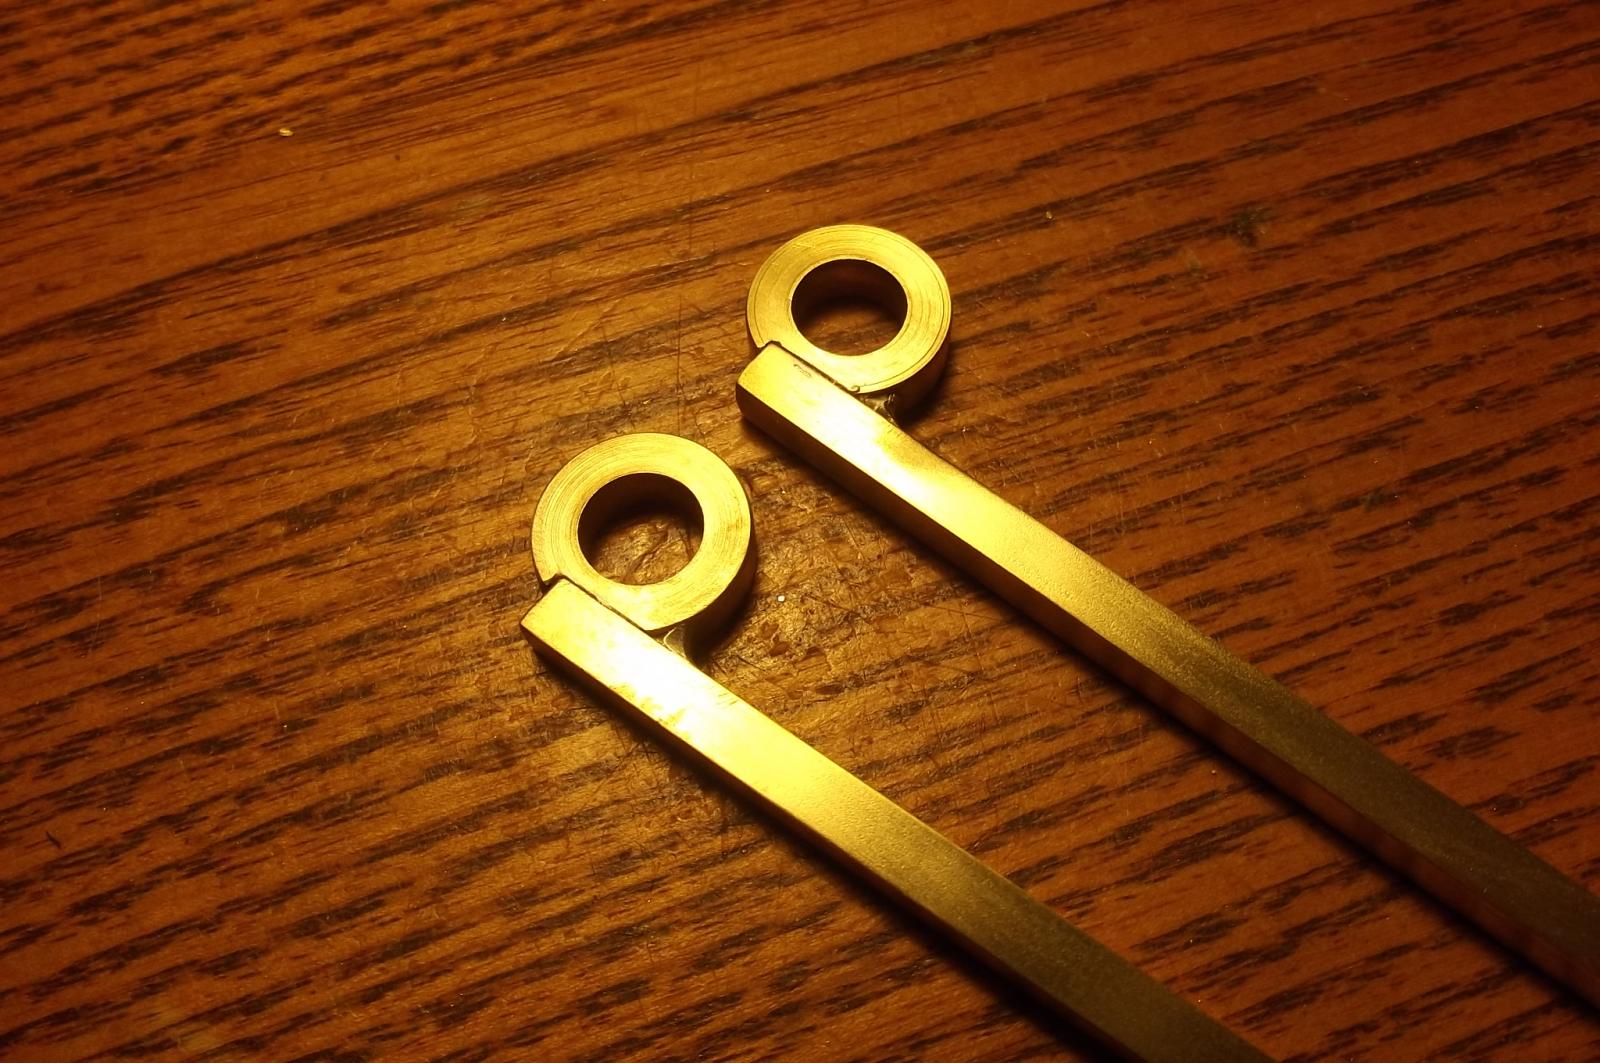
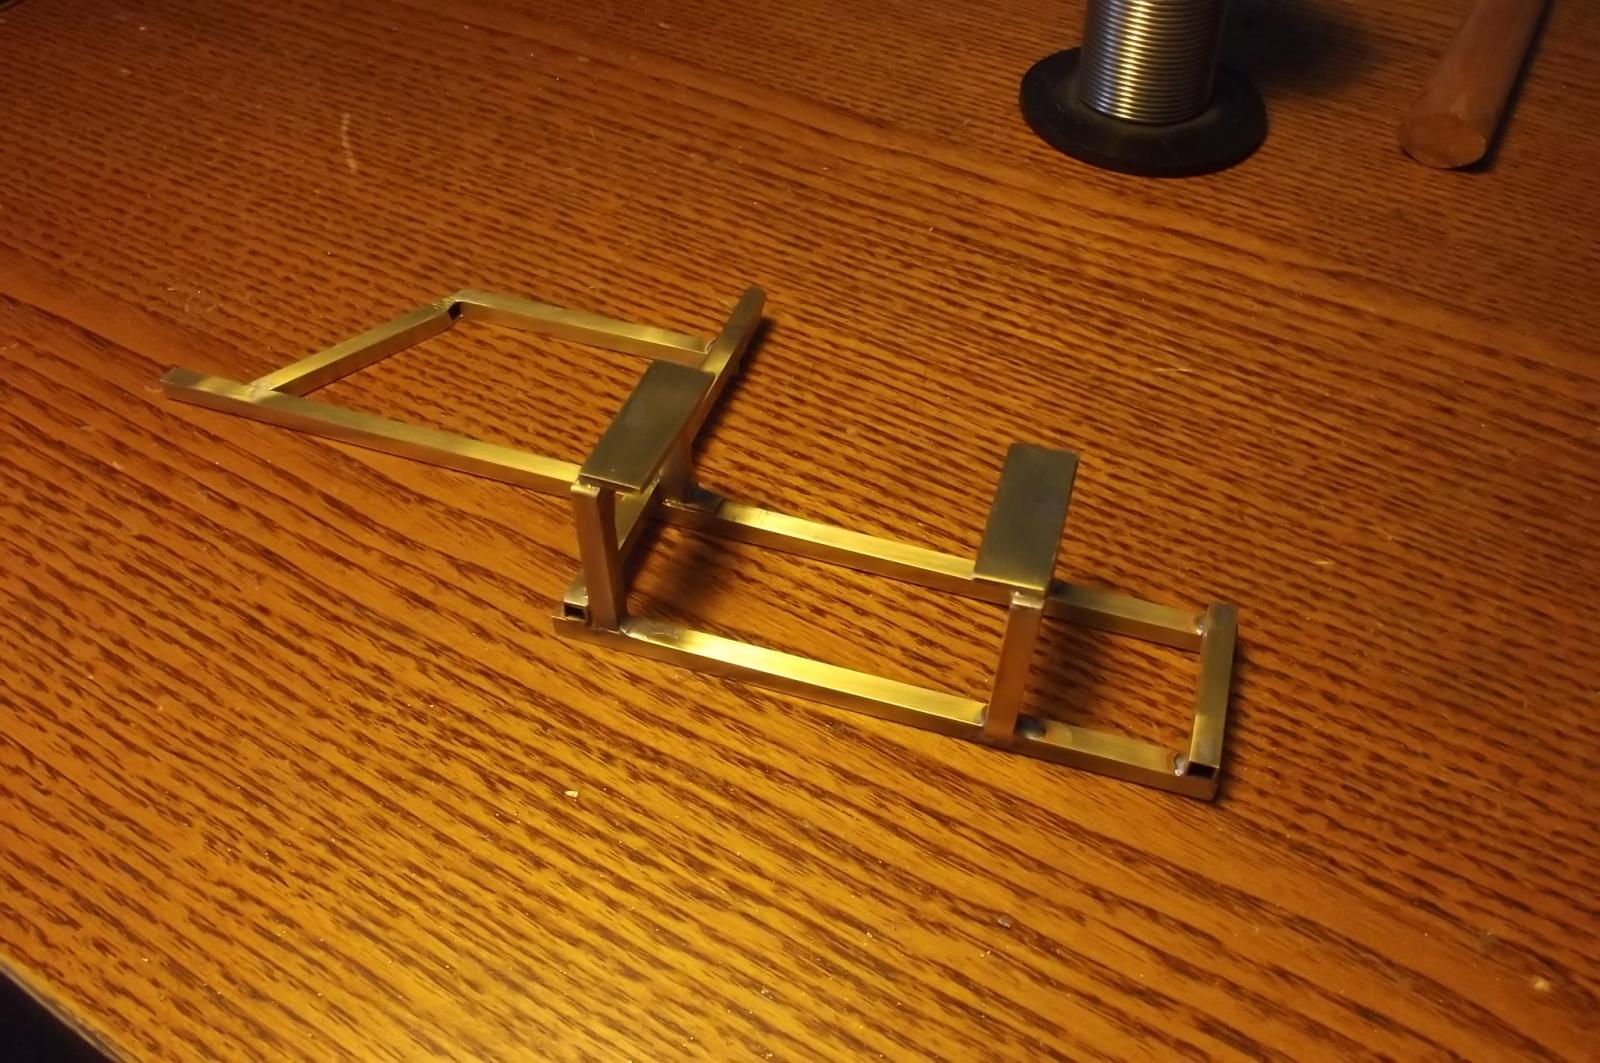
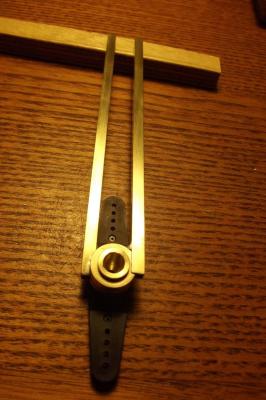
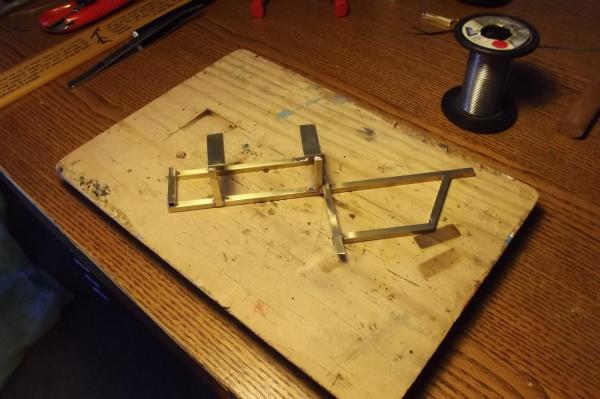
I've milled the rings and soldered the bars on, next step will be to fit it to the ship and work out the geometry of the pulls. Before mounting I must remember to turn up the pin that will mount to the servo horn and engage the bars. Once it is mounted and I have worked out the geometry I will solder on the rings to tie off the lines to.


-
Congrats Michael. It looks really great in action. Like Mark I think know there are some more good lessons coming up.
-
Thanks Shaz, I just hope it works the way I think it will!
-
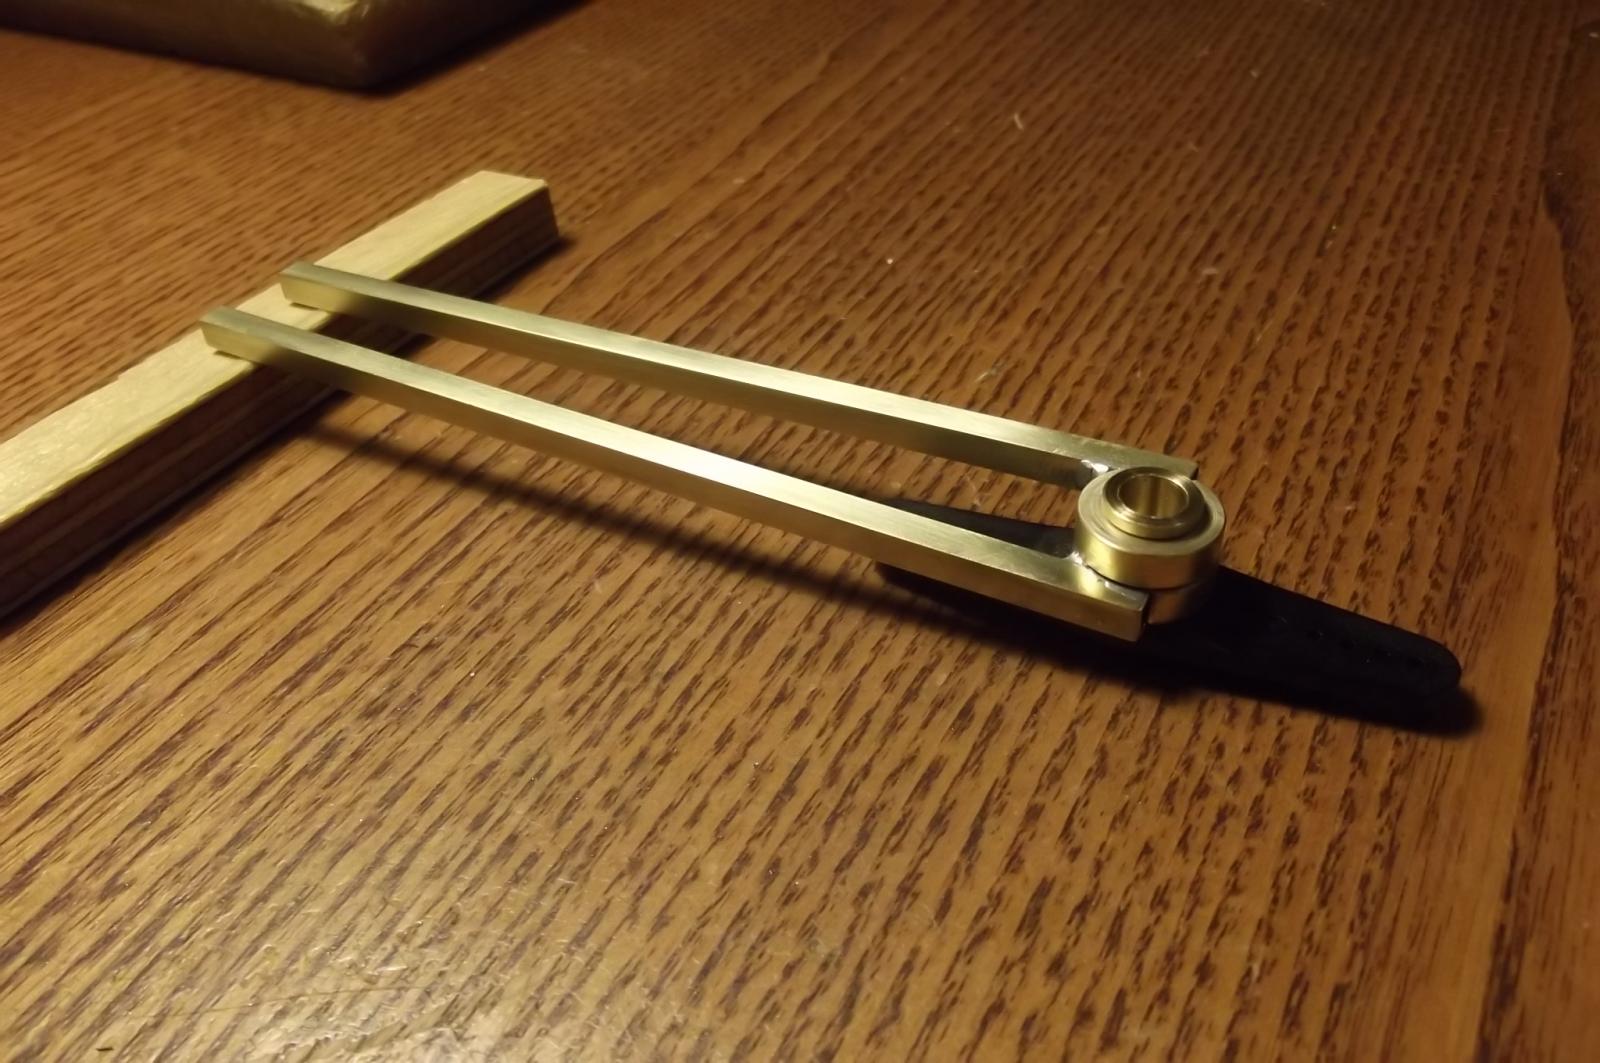
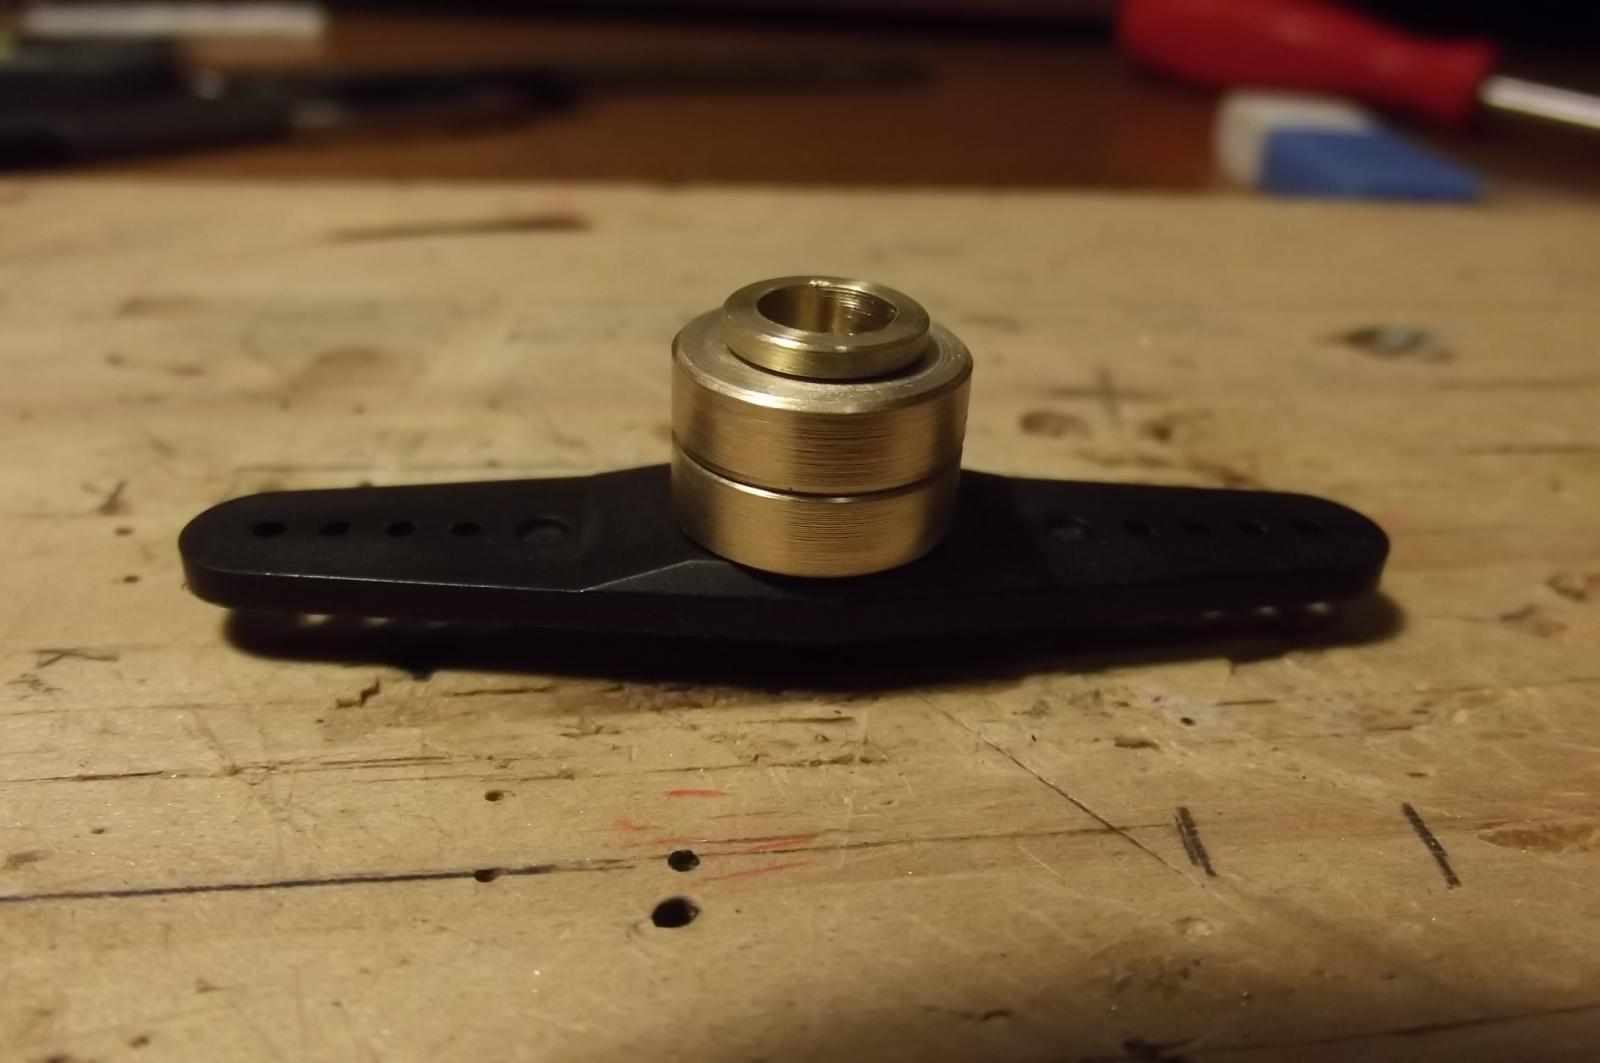
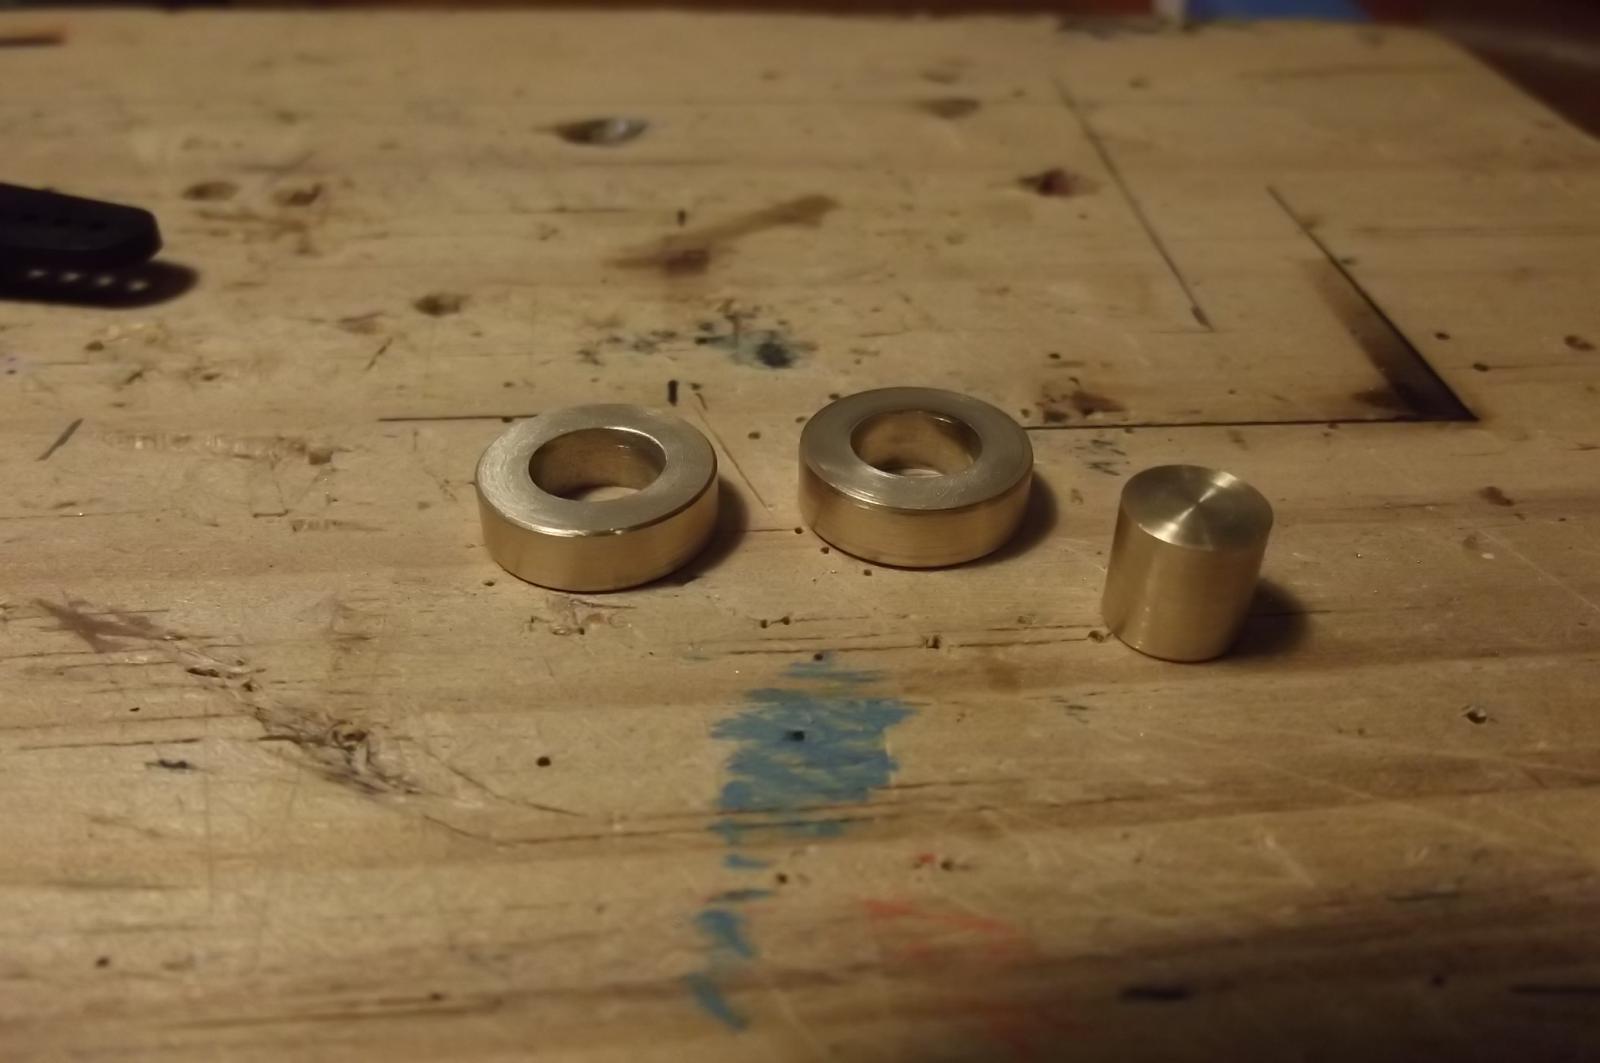
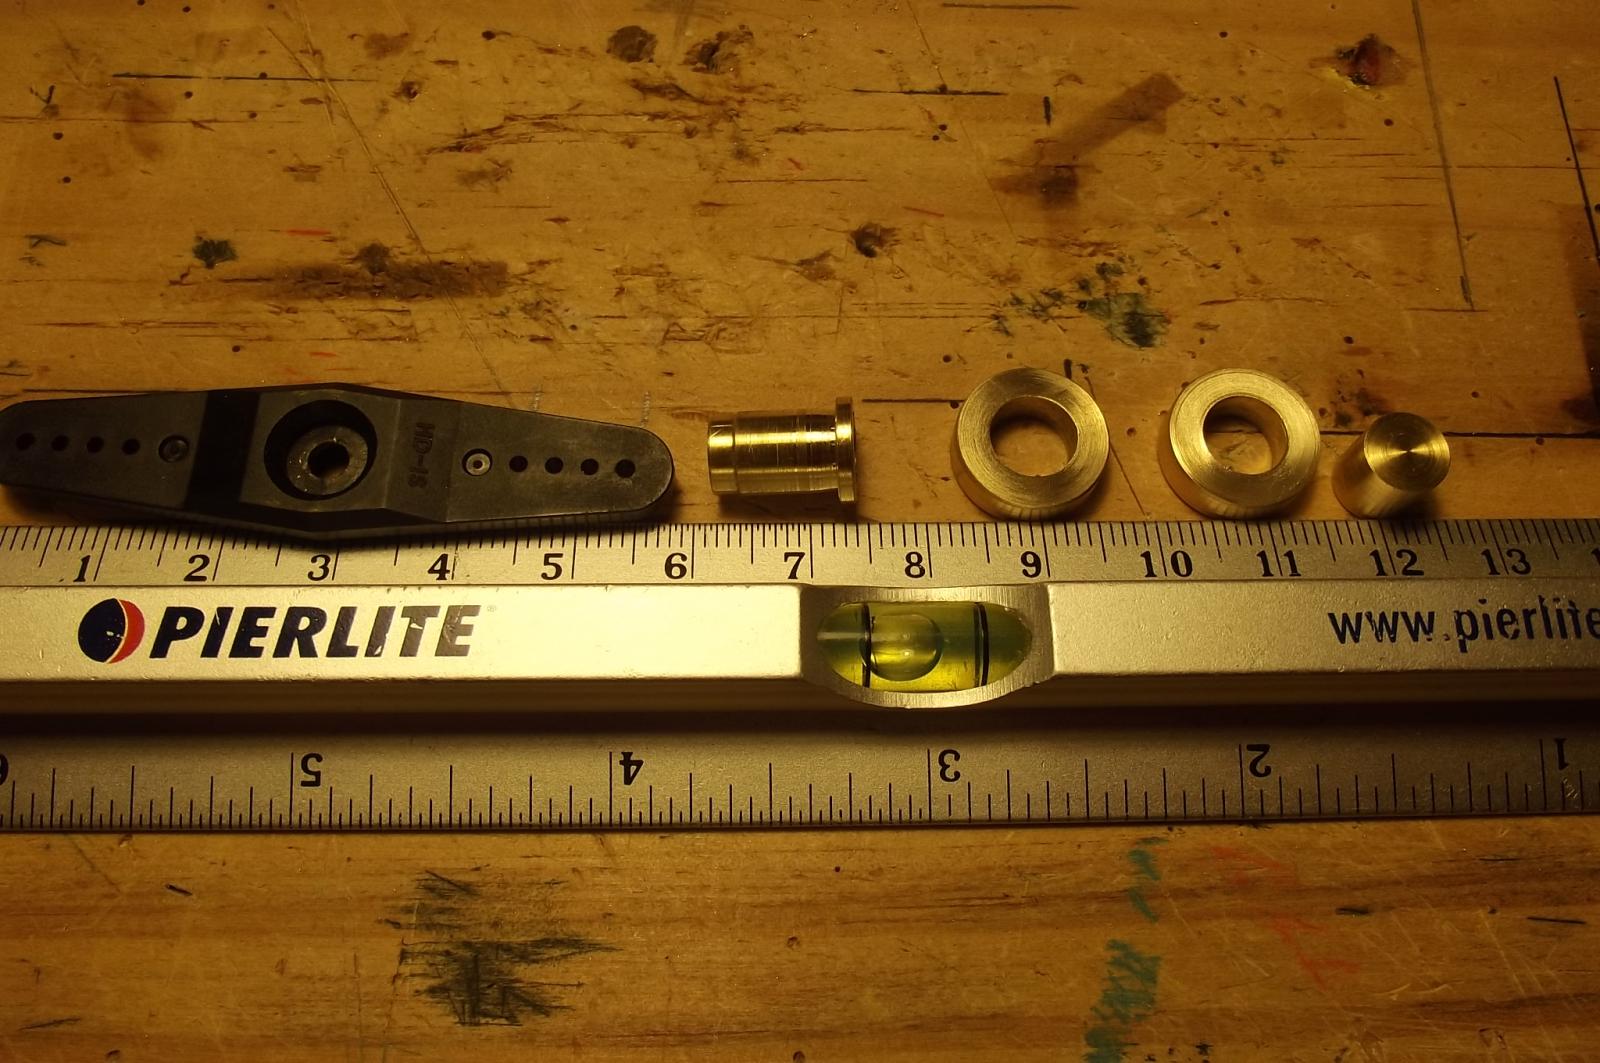
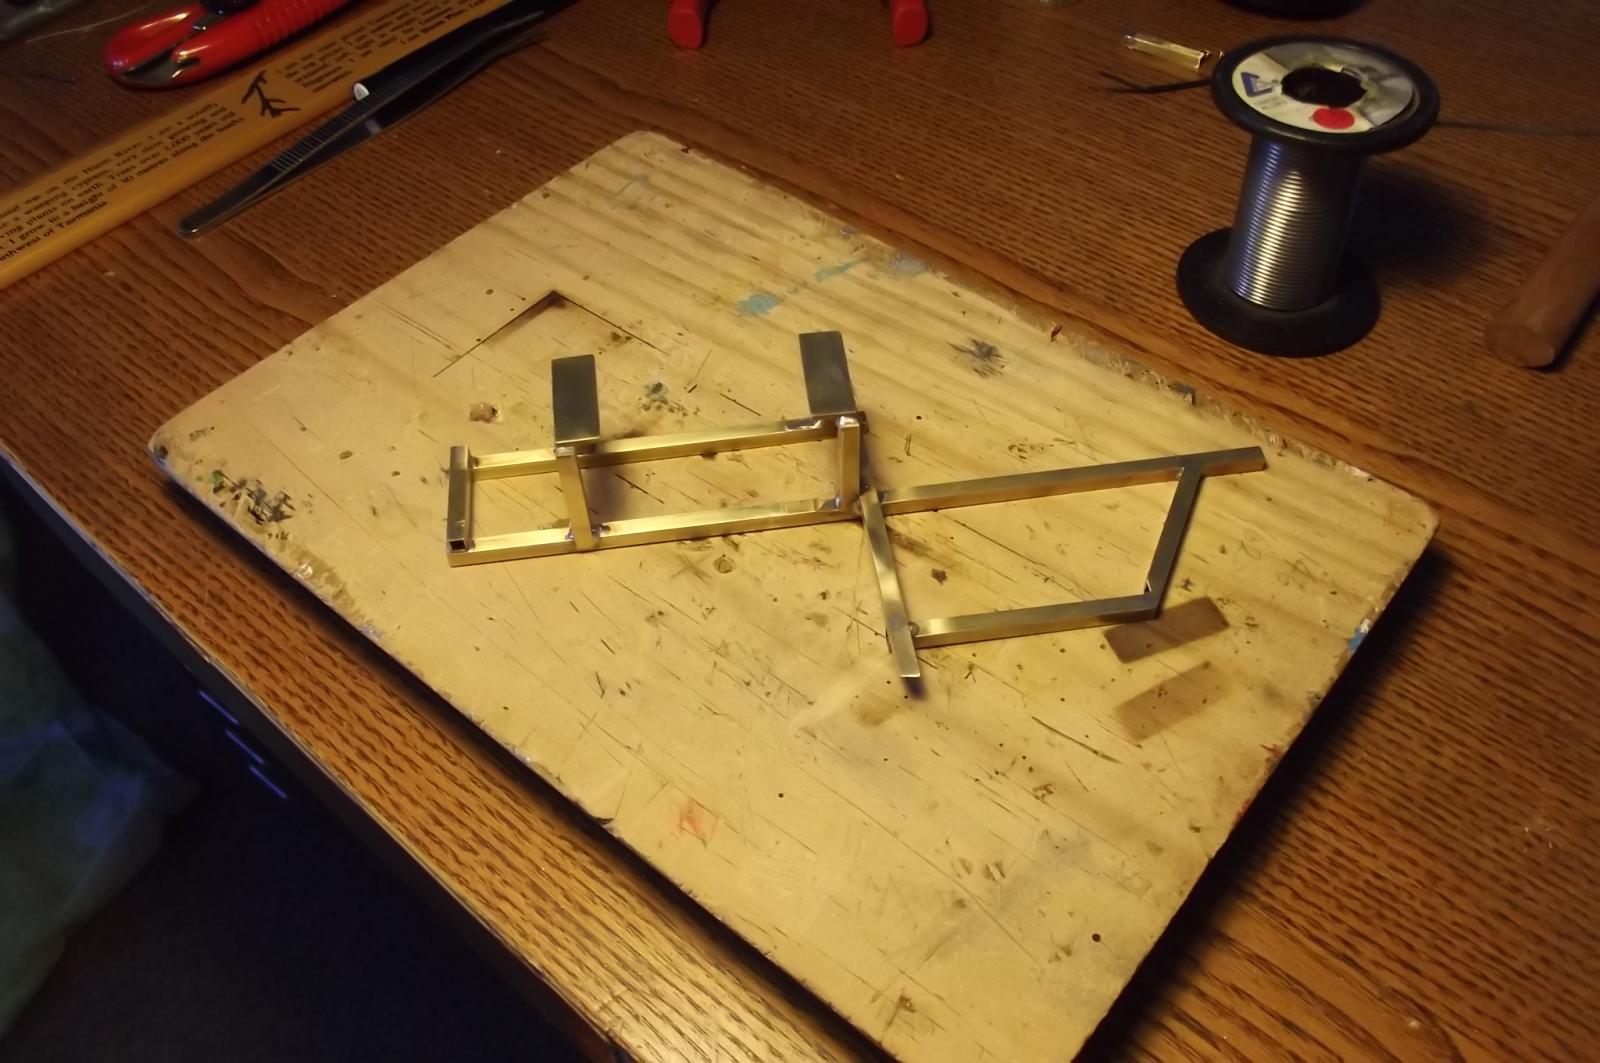
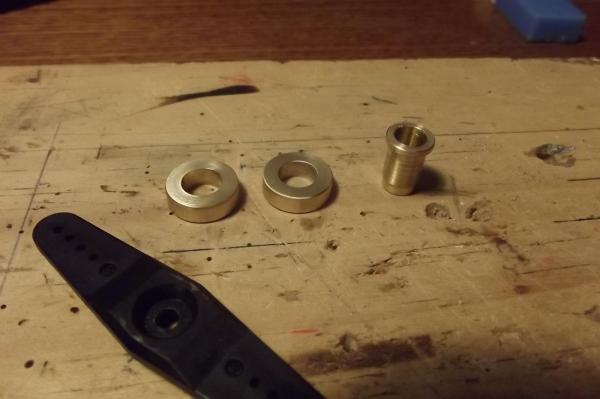
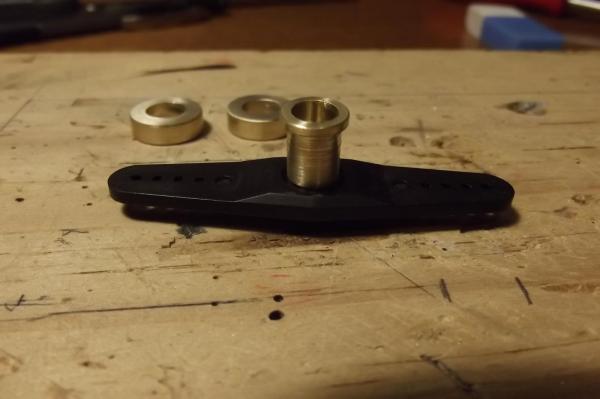
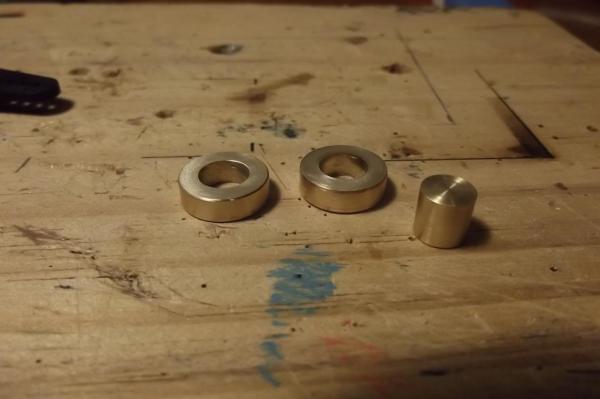
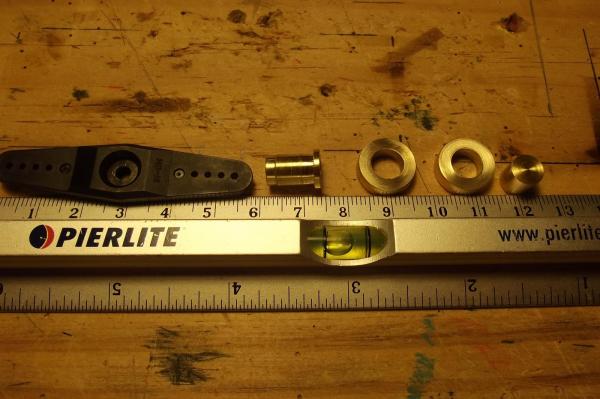
I am making the mechanism to handle tacking of the stays'ls, I developed something earlier but it worked on differential motion where it let heaps of line out as it took a little in but I have realised that I need the windward line to go completely slack before the lee line takes up so I have adapted something Jerry posted somewhere like page 13 and am making a mechanism that will do just that (he said hopefully), only testing the completed mechanism will tell and I figured it is easier to make it properly than try and jury rig something. The idea is two long arms pivoting on the servo shaft and pushed by the servo arm, one at a time. They will both lie parallel at rest with a pin rising from the servo horn between them to push one or the other. So I turned up a pivot that will fit into the top of the servo horn and be held down by the servo horn screw. There are two 4mm thick rings that will have 4mm square brass tube of approx 115mm in length soldered to them but first I have to mill some flats onto the rings to locate the tubes but I have done enough machining for today. And because I am learning from Michaels Skipjack build I have turned up a plug to go inside the two rings and hold them in perfect alignment when I put them into the mahine vice to mill the flats for the square tubes.

-
I'm with Mark, lots of learning and ideas here!
-
You're a brave man to rely only on paint to keep water out of the glue, in my schooner build I painted the whole thing inside and out with thinned epoxy resin to guarantee protection for the timber and glue. The other side of doing this is that it increases the strength of the timber and the joints by bonding the whole thing into one.
-
I like the way you will make the bushes, very simple and effective. Still in the front row!!
-
That's the mark of a true craftsman, spending hours making the tool holder to make the part properly. I wonder if I will have that kind of patience when I get more into machining things.
-
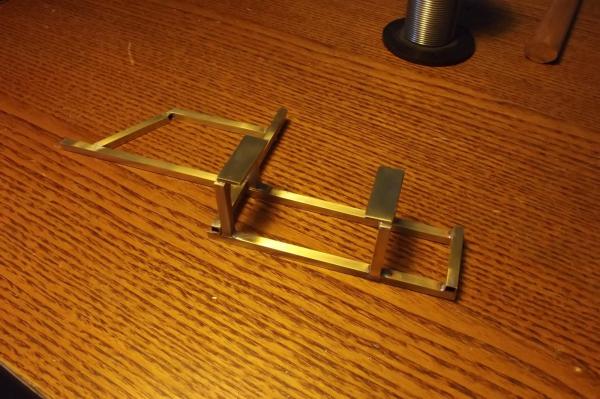
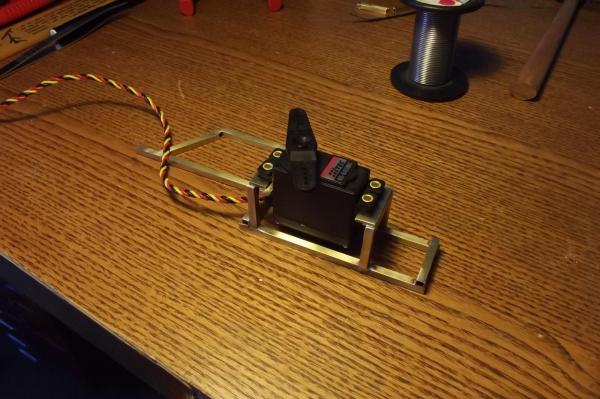
I have made the cradle to carry the UBEC (power supply) and the stays'l tacking servo. I was going to use timber for the servo but relised I needed to keep the UBEC up out of any water that may get in and doing all that with timber was going to be bulky and heavy so 35 grams of brass and solder later.............. The servo sits accordingly, I still have to drill and tap the mounting holes but that won't take long. In place with the UBEC where it will be secured with cable ties, when the servo is fitted there will be plenty of room around it. Now I know the solder work is a tad ugly in spots but it is below deck.......................

-
Absolutely beautiful design and workmanship there Michael. It all makes perfect sense and is such a simple elegant concept typical of the age. On a side note, just looking at that heavy flywheel supported by quite a thin crankshaft, are you concerned about the weight of the flywheel forcing the crank out of true over extended periods of non use? I have no experience with such small machines so I realise it may never be an issue but I know the diesel engines my brother works on must be kept rotating by way of an electric motor even when not in use otherwise the cranks will sag and they then have to run them with the motor for a week or so to get the crank true again before they can start it.