HOLIDAY DONATION DRIVE - SUPPORT MSW - DO YOUR PART TO KEEP THIS GREAT FORUM GOING! (89 donations so far out of 49,000 members - C'mon guys!)
×


Bedford
-
Posts
1,297 -
Joined
-
Last visited
Content Type
Profiles
Forums
Gallery
Events
Everything posted by Bedford
-
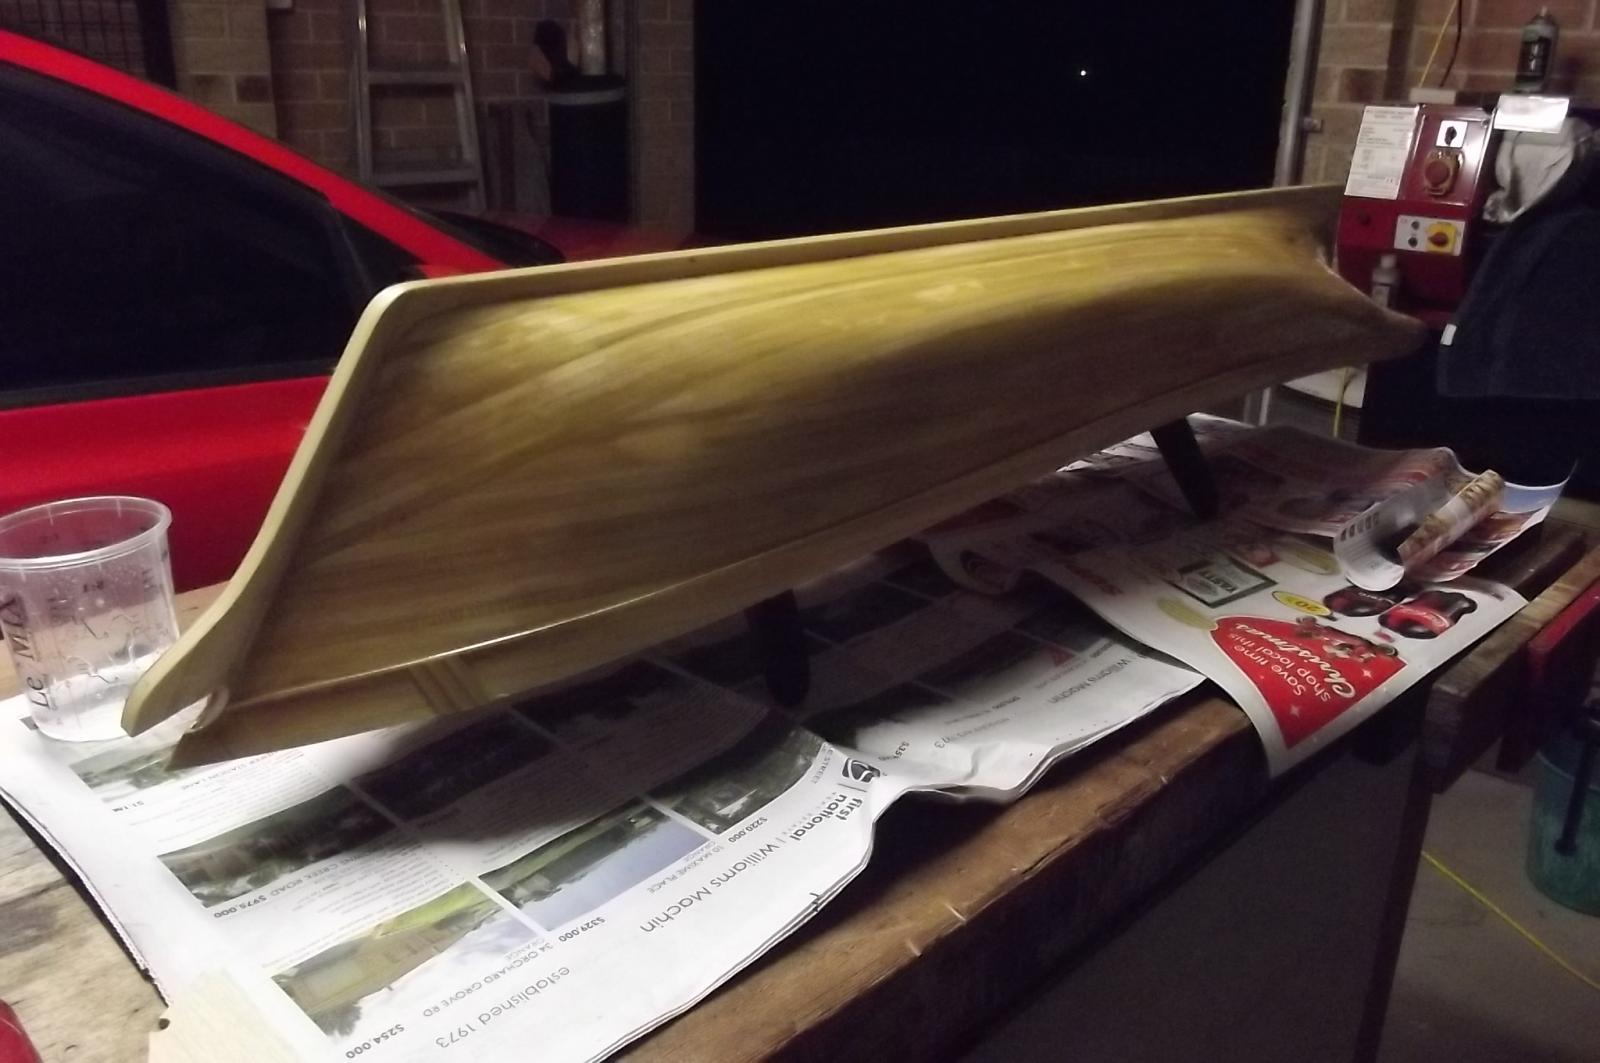
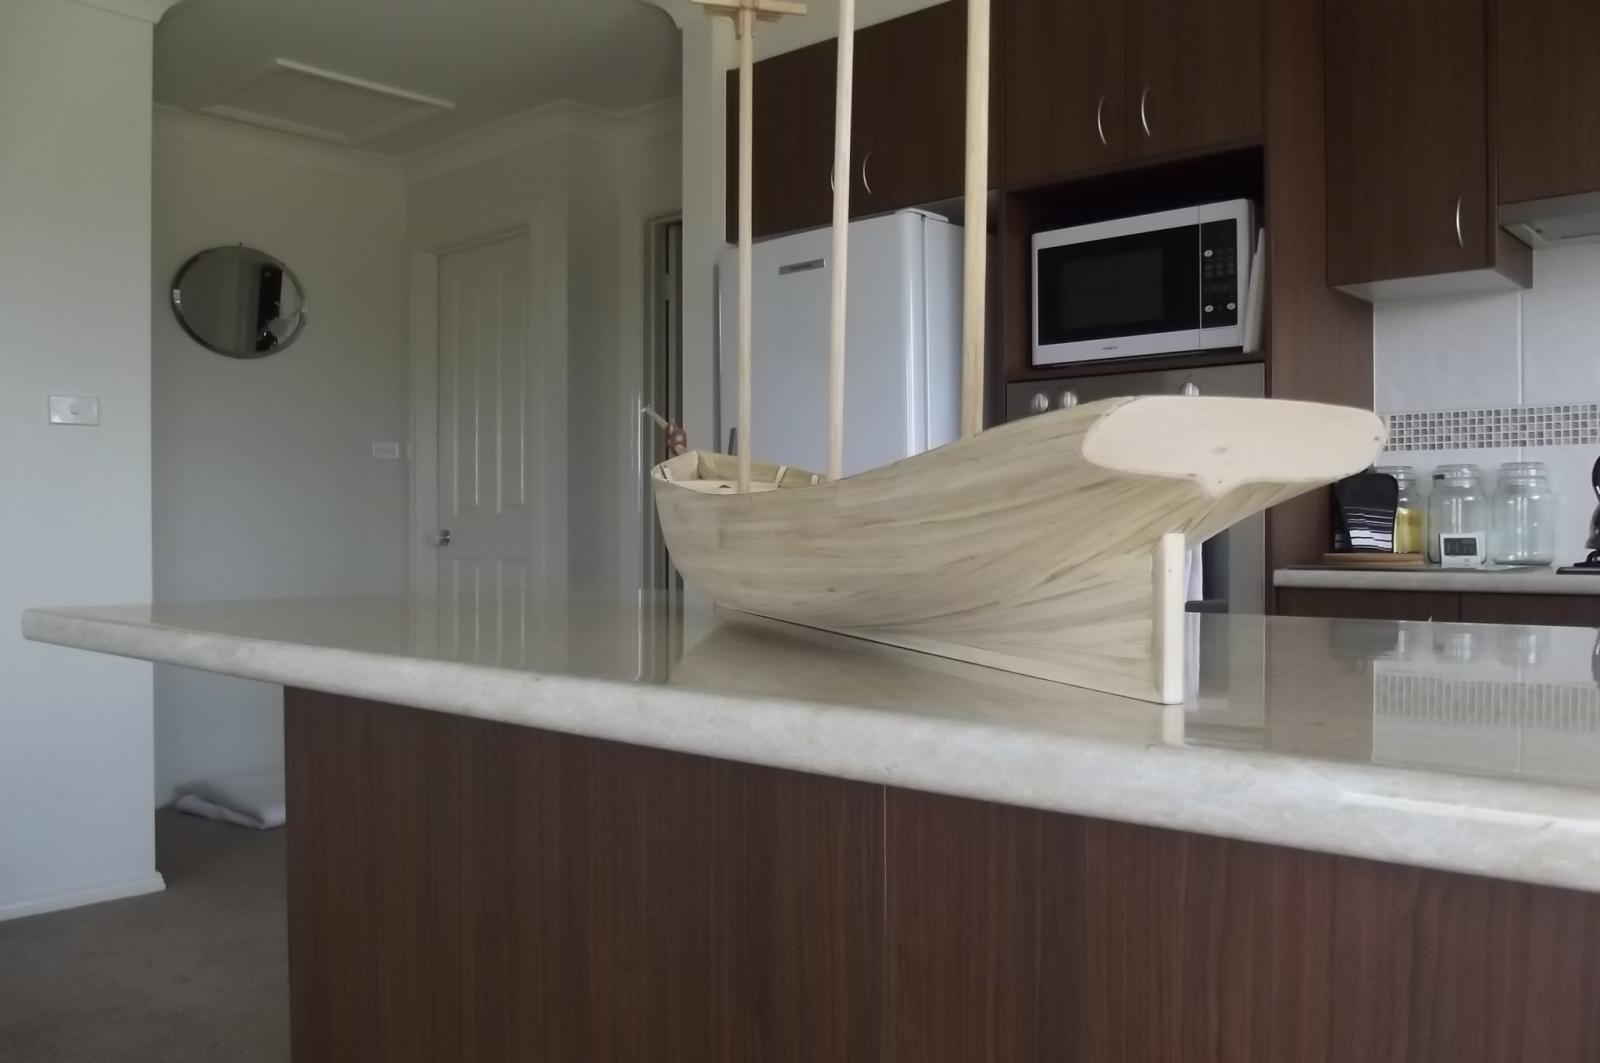
 I thinned the first coat with the aim of having it soak into the timbers a bit and strengthen her. When I painted it on I could see it sat on the surface at first but then as I went colour changed indicating that it was indeed soaking in. I will do an even thinner coat on the interior to really get it into everything, every gap, every joint.
 -
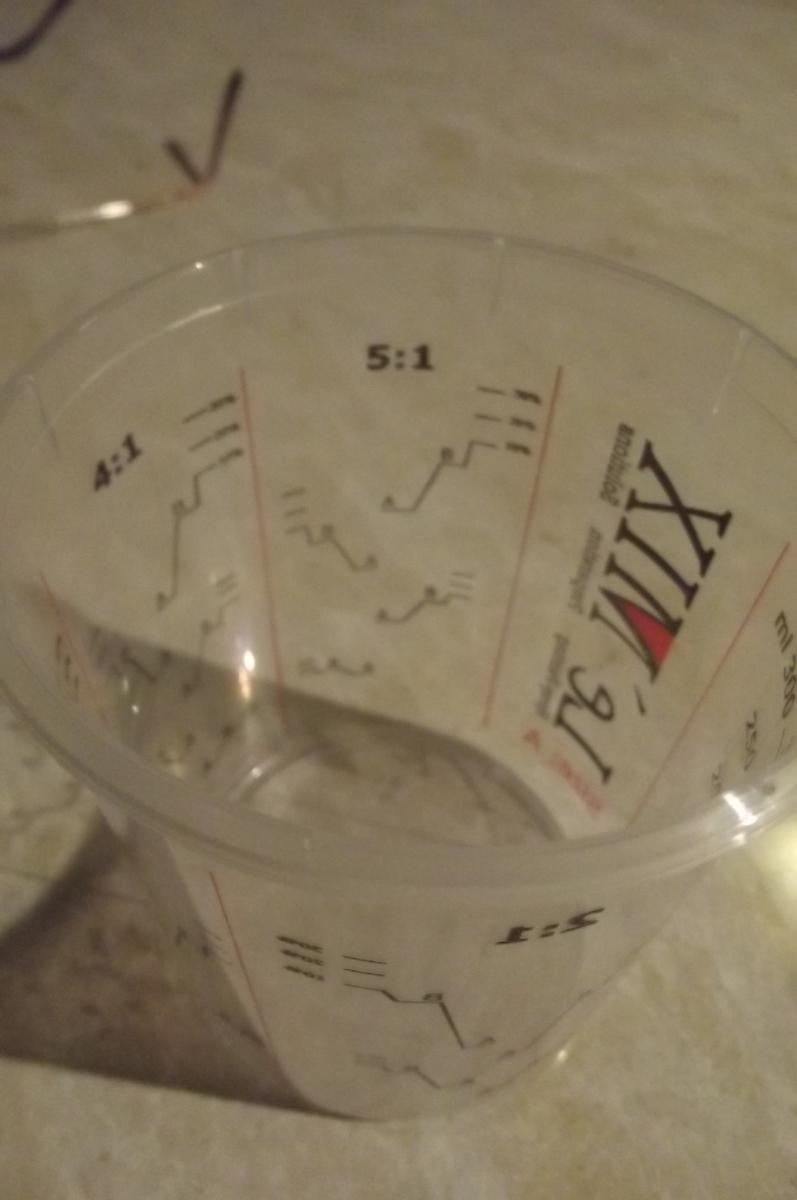
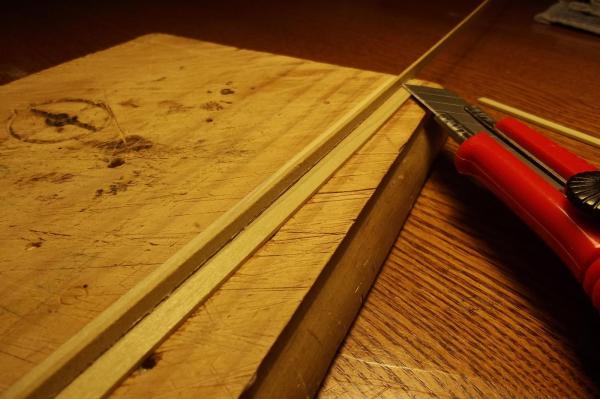
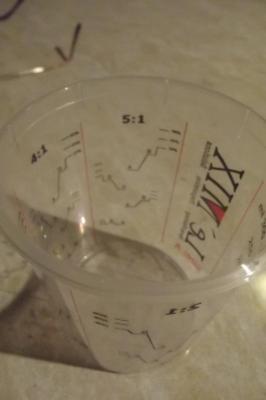
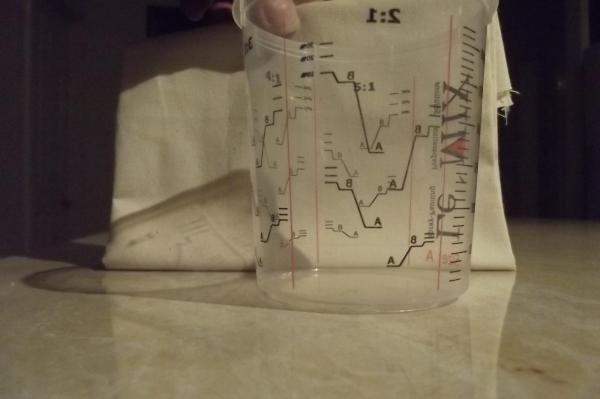
I needed to get some 1.5 x 1.5 timbers but didn't want to order them and wait so I worked out a way to cut them without too much fuss. I won't call them "whales" but I have forgotten what they are called, you will see them in the following pics. The hull planks are 1.5mm thick so I glued two down on my cutting board with a third jammed between them on edge. Once the glue had dried I just had to hold the plank between the two that were glued down and run a blade along one of them to cut into the stock piece. Three runs with the blade then move the plank along and repeat until the whole plank is partially cut through. Then lay it flat and just gently finish the cut freehand which is easy because there is now a good deep guiding groove. Finally onto the epoxy, why is it that every time you do something like this bugs appear out of nowhere and land on it ? I am using the "West Systems" epoxy as recommended and the mob I got it from have mixing cups for it that are marked with the part A level and then you top it up to the part B level. There are different scales for different ratios and there are 10%, 20% and 30% markes for adding additives like acetone for thinning. They only cost a couple of dollars so I got two, they are brilliant!


-
Bob, every ship I have made has my name and date of commencement in her somewhere. It will never be seen but it's there. Steve
-
Gee Robbyn, no pressure ! I had not considered the balance as being quite as important as you have pointed out but you are wise, the less corrective ballast I need to distribute to make her float level the more I have to use in the sailing keel to keep her upright in a gail and she will always be sailing in a gail ! I had mentioned the need to build lightness into her so I could save as much weight as possible for the sailing keel and building balance into her is one way of achieving this. Never mind my skills as a builder, you are going to see my skills as a plummer in due course..............that has you guessing doesn't it?
-
The name plates are dreadful, I didn't bother with the stern one because it is so bad.
-
There is one thing that MAY help keep it together while you document it all to allow for re-rigging. Hairspray. It would most definately not be a fix but may slow the decay and allow some time. I think the idea of passing it on to be re-rigged by your son is actually rather good. Think of it, every generation gets to restore the rigging and therefore have some ownership and pride in what you made and passed on. Steve
-
Looking very nice. I made this model years ago when it still had the etched brass fittings which were rather nice. You and your fellow shipwrights are doing a good job with what you have. I tried to recall where the pieces with 2 holes in them went but can't for the life of me. She is a beautiful model when finished. I made mine as a gift for a 21st and have not seen it for several years and I miss it. Steve
-
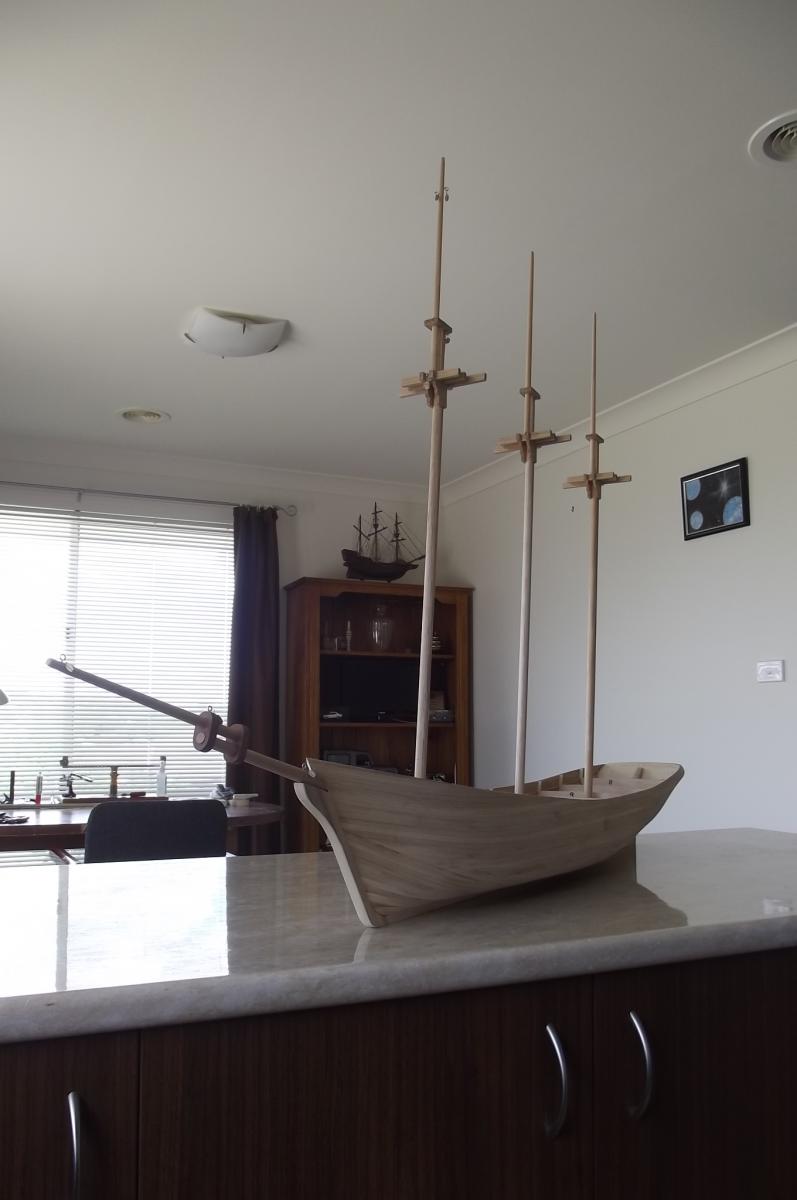
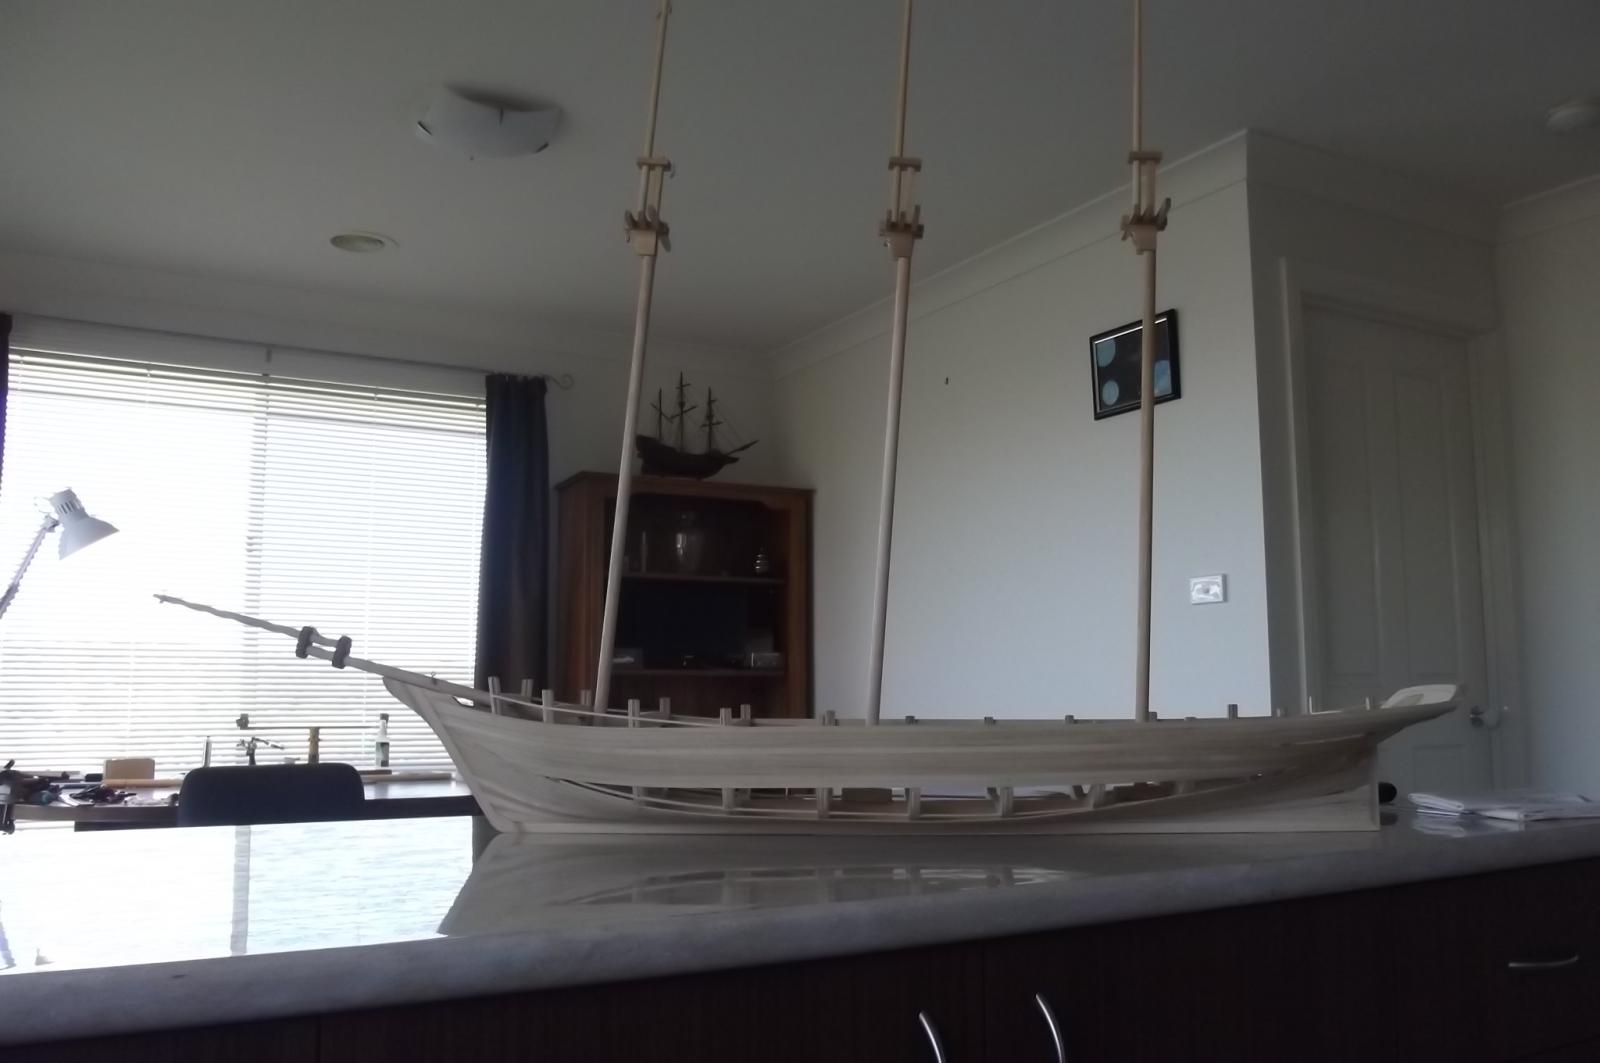
I am drawing some inspiration from the James Craig in Sydney even though she is a barque. She is of similar age and size to this schooner so there are going to be a lot of similarities, I paced out the James Craig the night before I sailed on her and reckoned she was 55 - 56 metres in the hull which pans out pretty well with the schooner because with a deck of just over 1 metre and a scale of 1:54, well you get the idea. It turns out the length of the hull on the Craig is 54.7 metres so I was pretty close considering I was on the wharf when I paced her out. I have been wondering how much the schooner will need to weigh to ride at the water line and I keep thinking somewhere around 6 kilos. I worked out that the Craig with a displacement of 1500 tonnes would run a scale weight of 9.5 Kilos and given that she is not a coastal trader and therefore has a deeper draft I can see that the schooner may well come in at around 6 kilos or maybe a tad over. It will be interesting to see once I have her sealed and ready to float. I will load her up and see exactly how much she needs to carry to ride at the waterline.
-
This is looking beautiful ! I often think such a project would be worth doing and this makes me want one, I have seen an "Armed Pinnace" somewhere that I really liked. You have given me inspiration. Steve
-
A lovely schooner there Bob, I love the square riggers but there is something special about a good looking schooner isn't there. I will tag along too. Steve
-
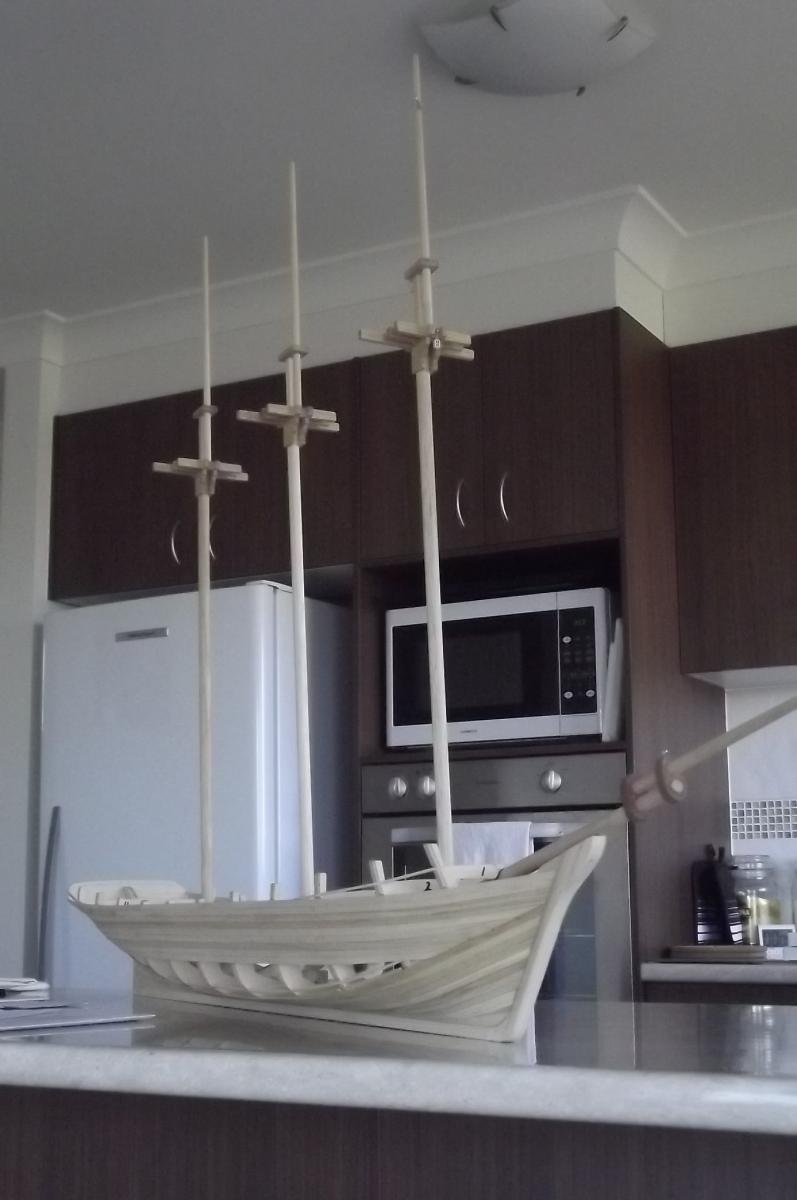
Yes, when I first saw the plans online I kind of fell in love with her. She just looks right doesn't she. Robbyn the keel is 13mm thick or just over half an inch and at this point she is still well enough balanced that she stands upright on her own.
-
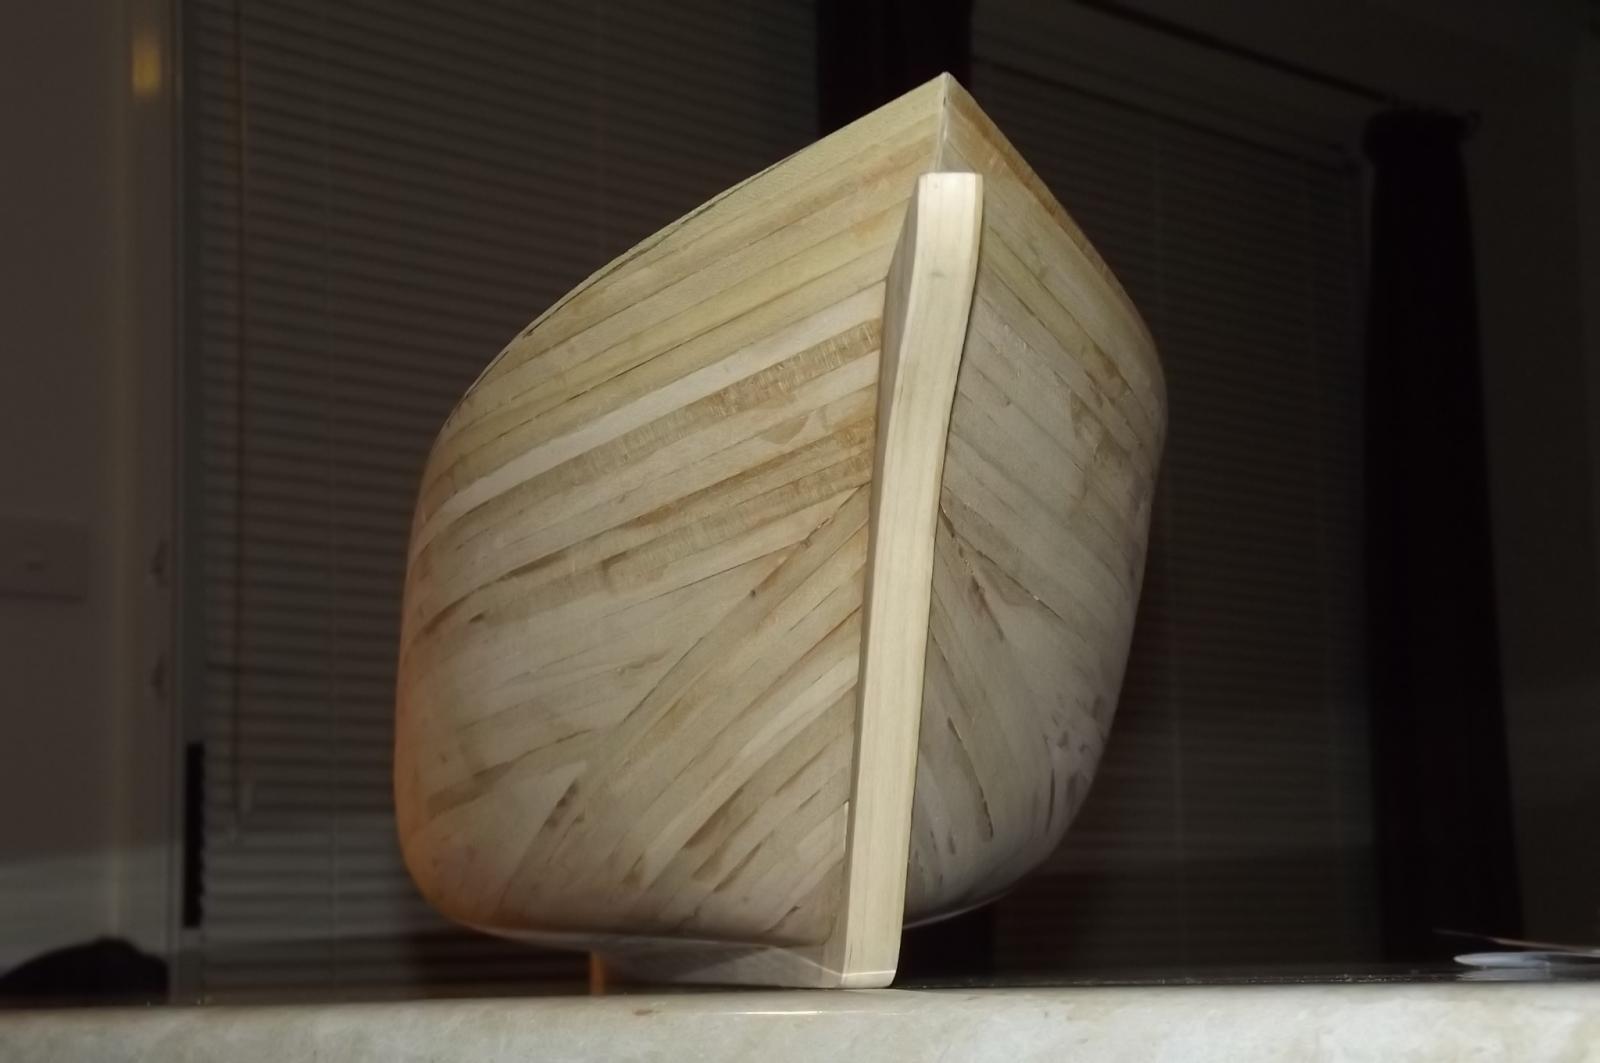
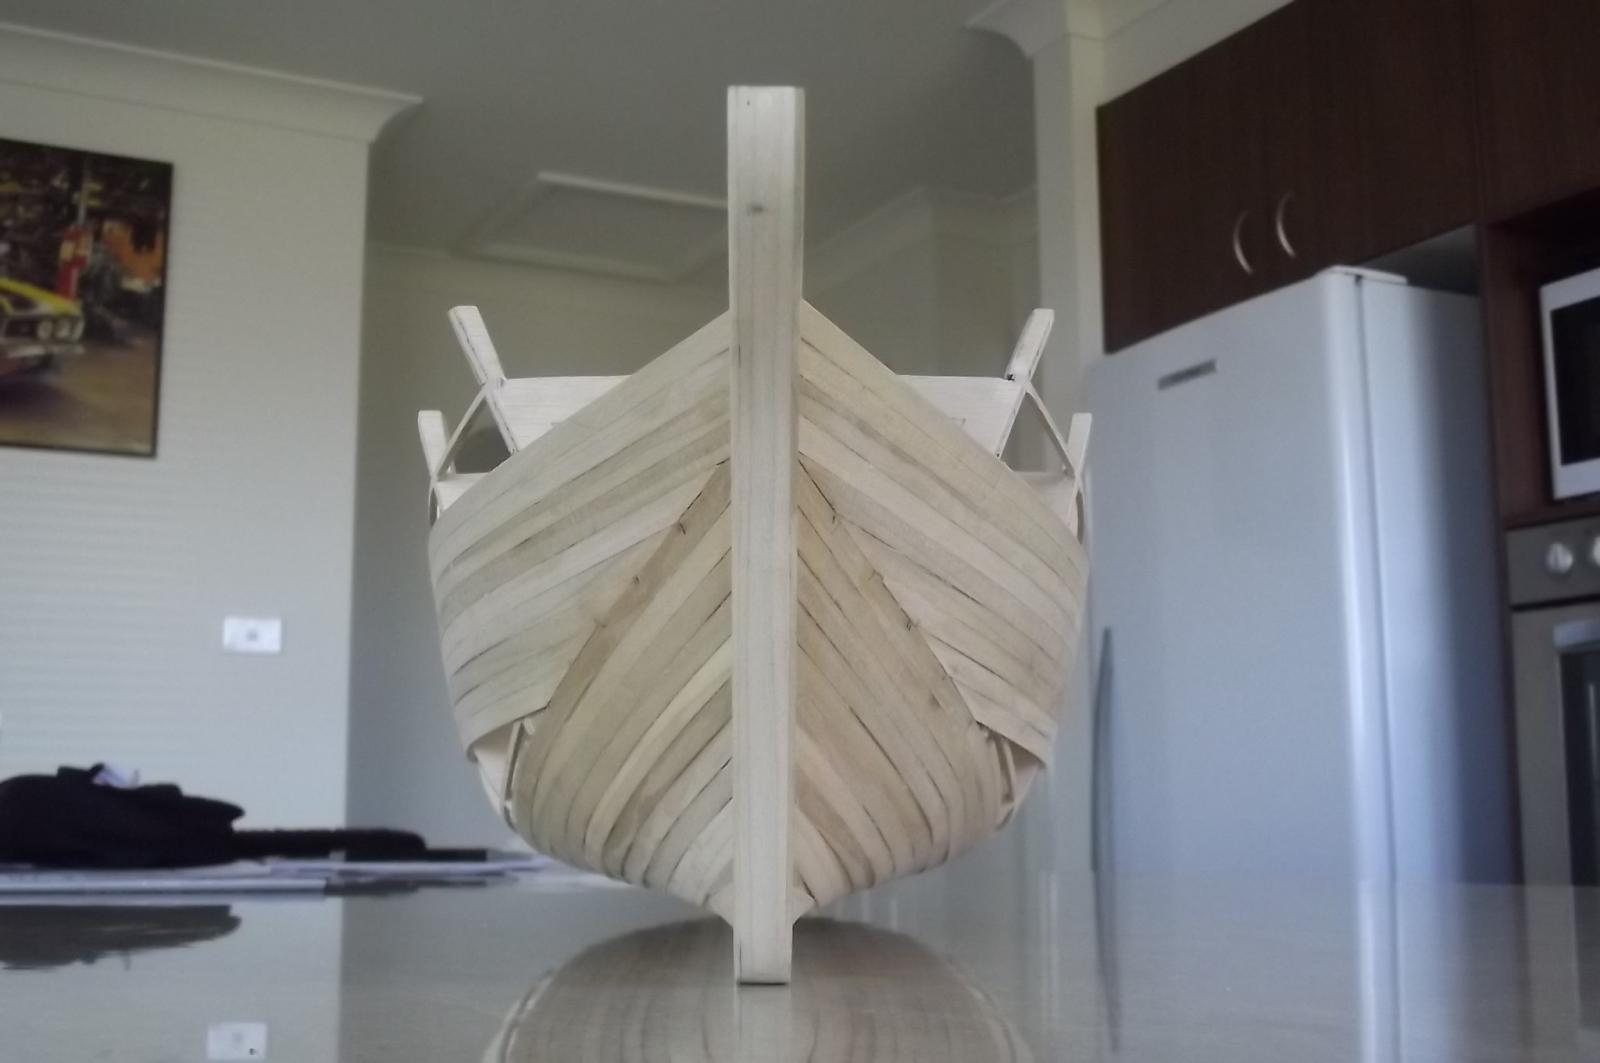
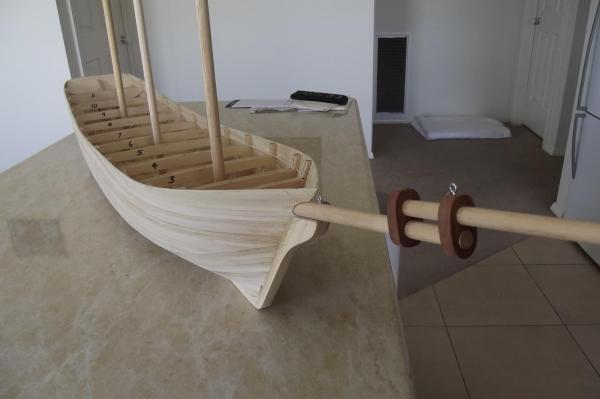
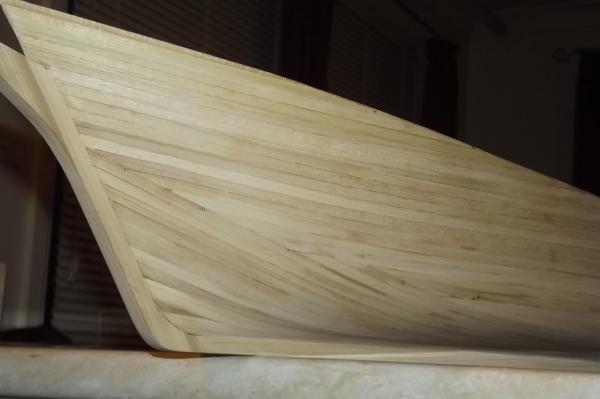
I have made the first hole in the hull, for the bow sprit. Now you can see her real lines for the first time.


-
Michael Me too! I have a fair idea of how it will all pan out but once i have mounted the prop shafts there will be a LOT of thinking and planning to see what has to go where. Oh, and shopping too. Robbyn Thanks, I have learned to read the planks and how they want to lie, I run them in a compromise position between where I want them to lie and where they want to lie favouring their choice a bit then I fill the gaps later. It has turned out quite well. I'm glad I have you fascinated, hopefully I will pull this off well and not disappoint.
-
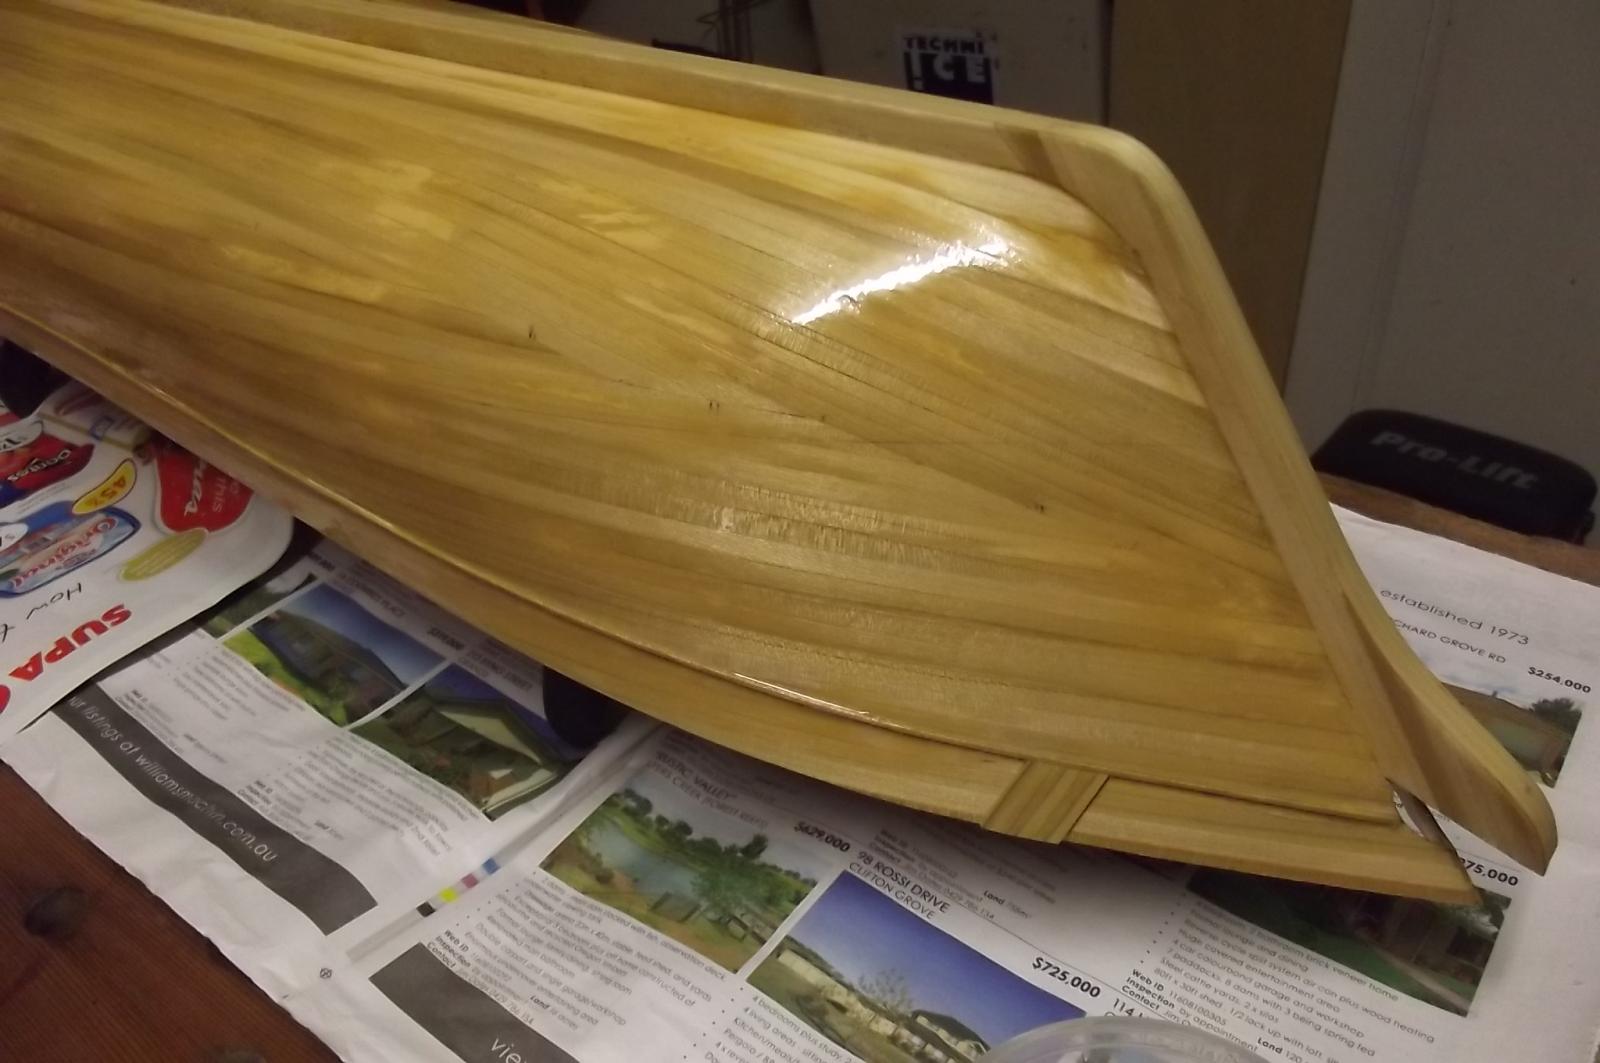
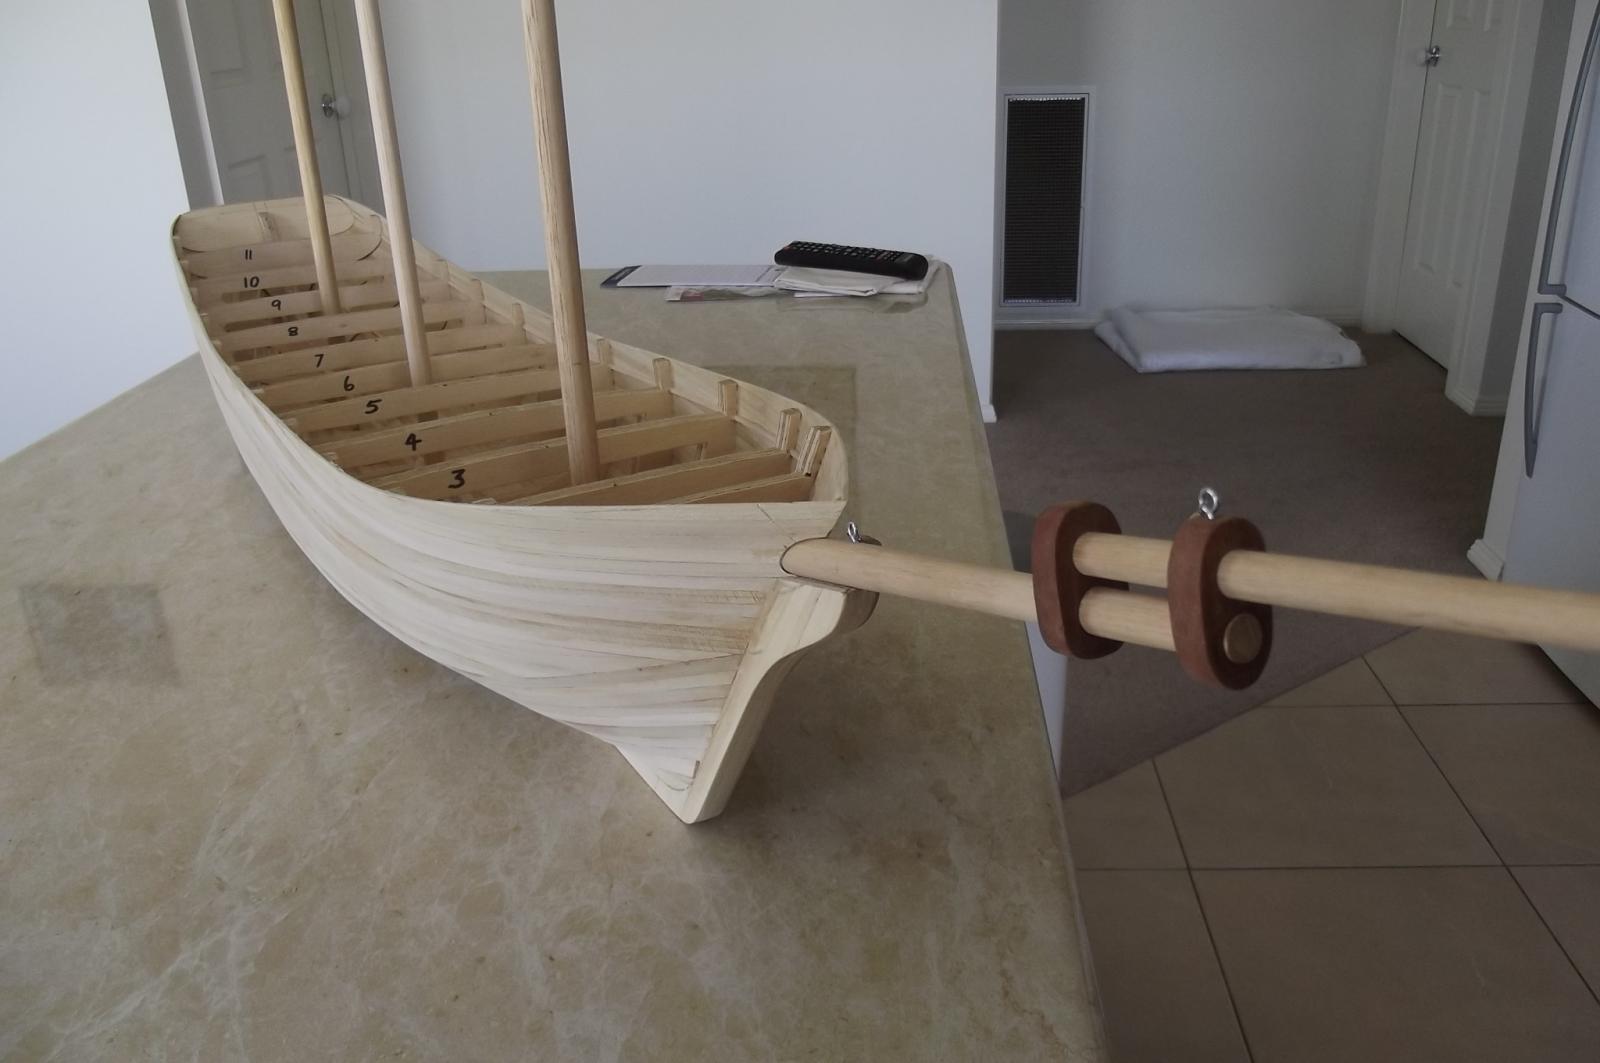
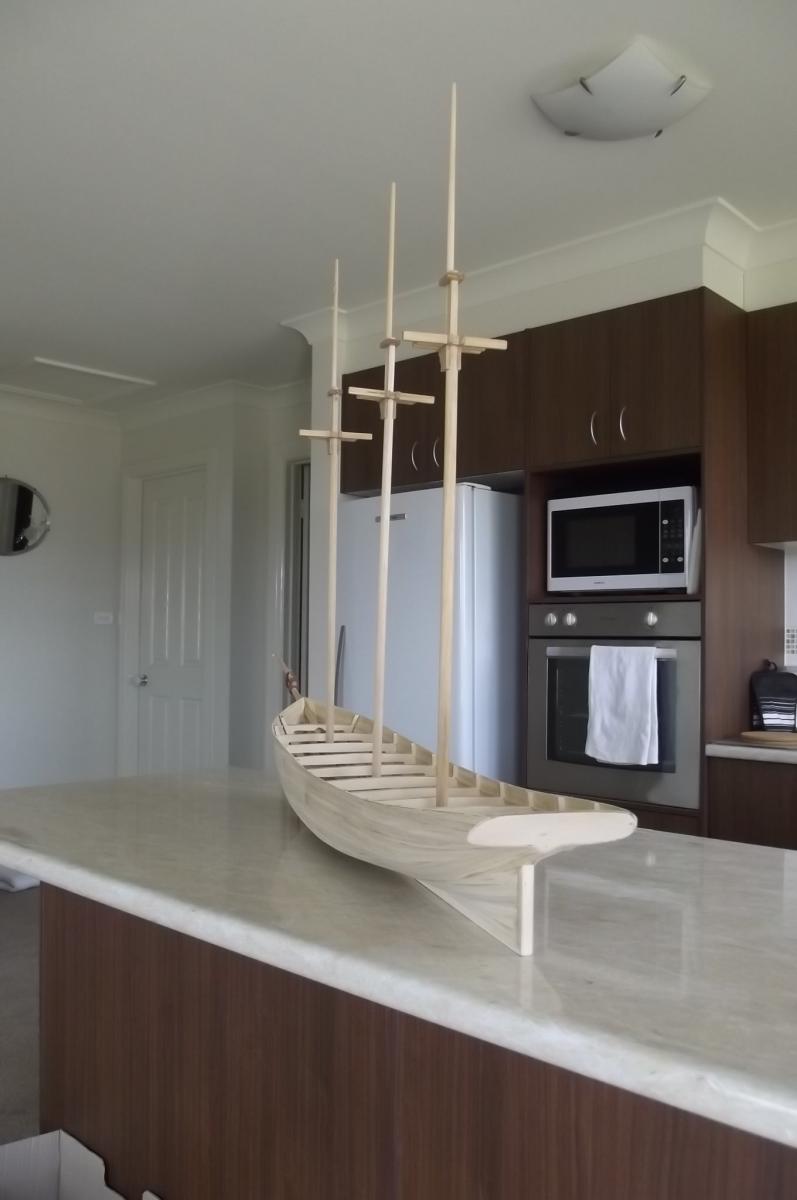
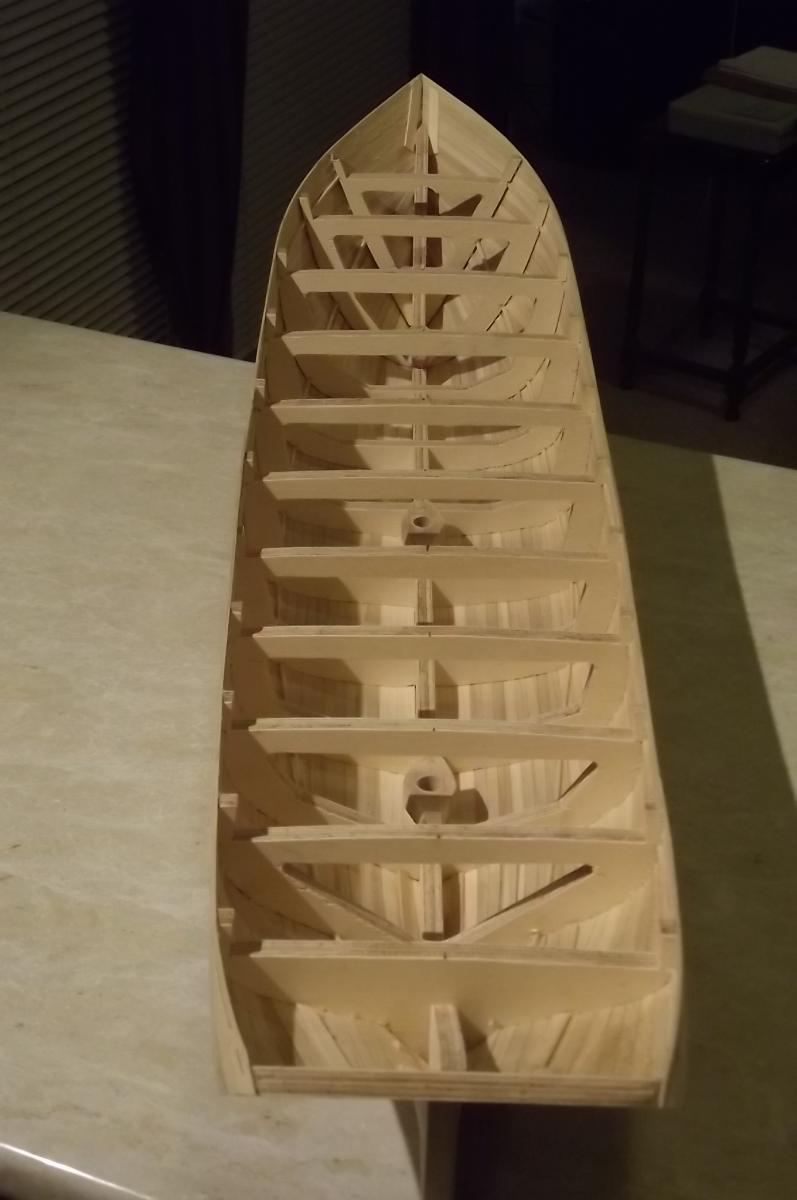
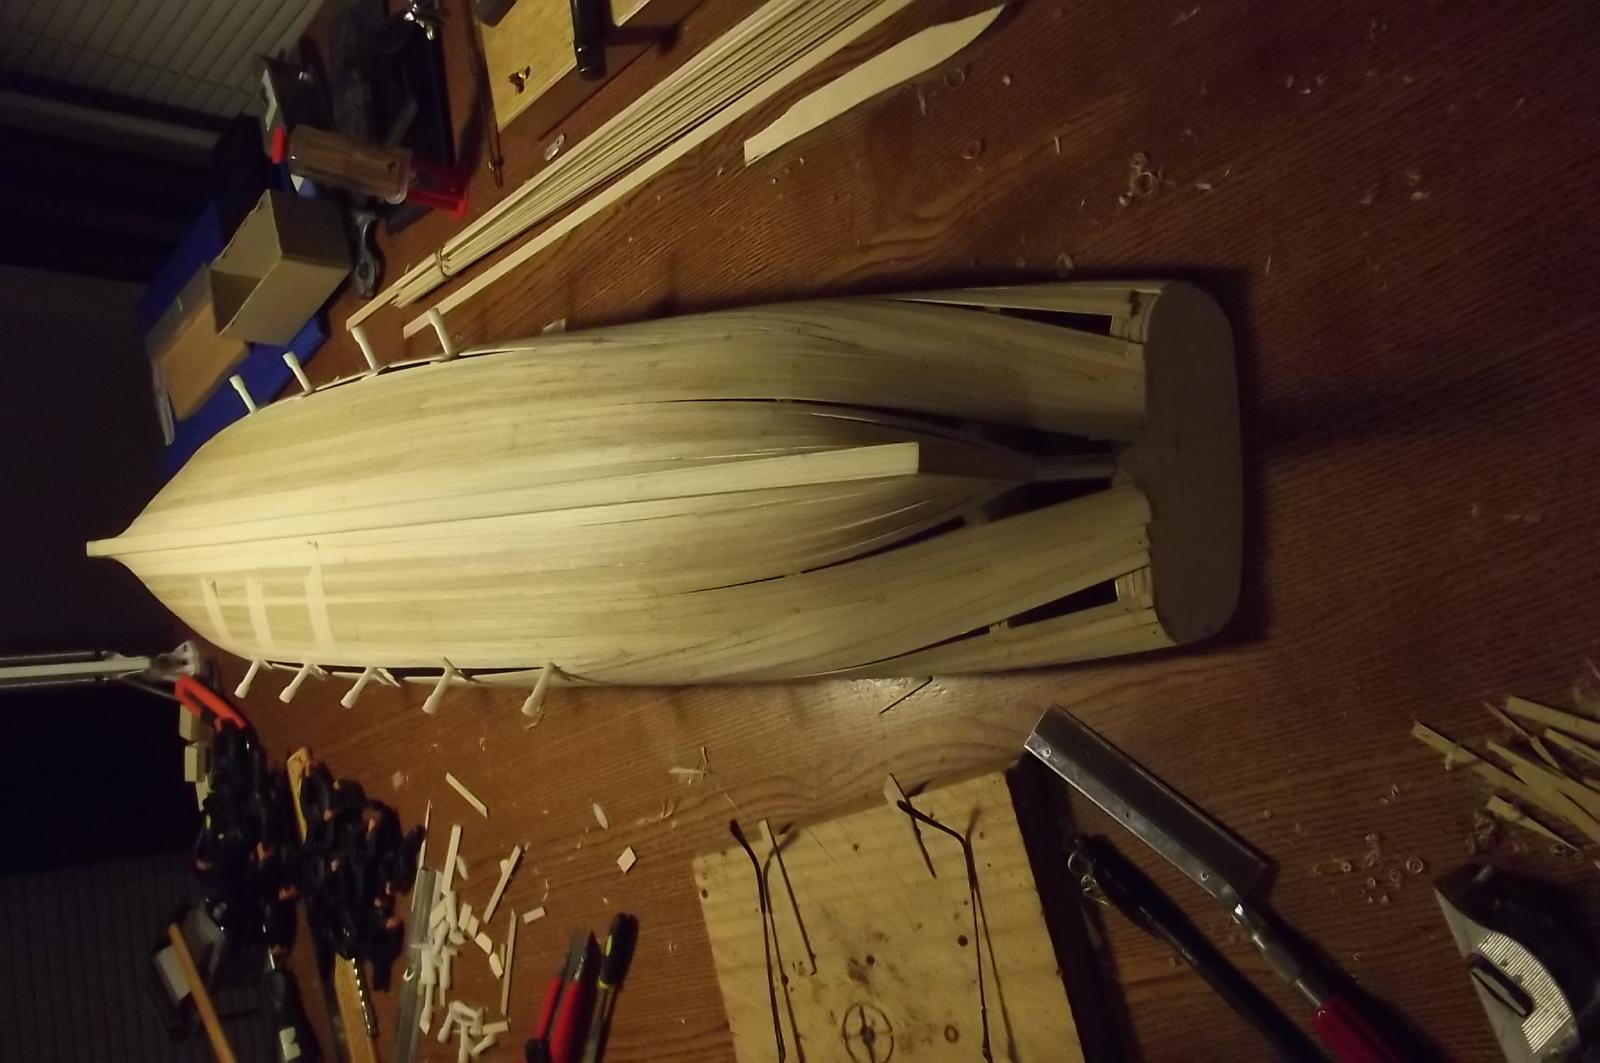
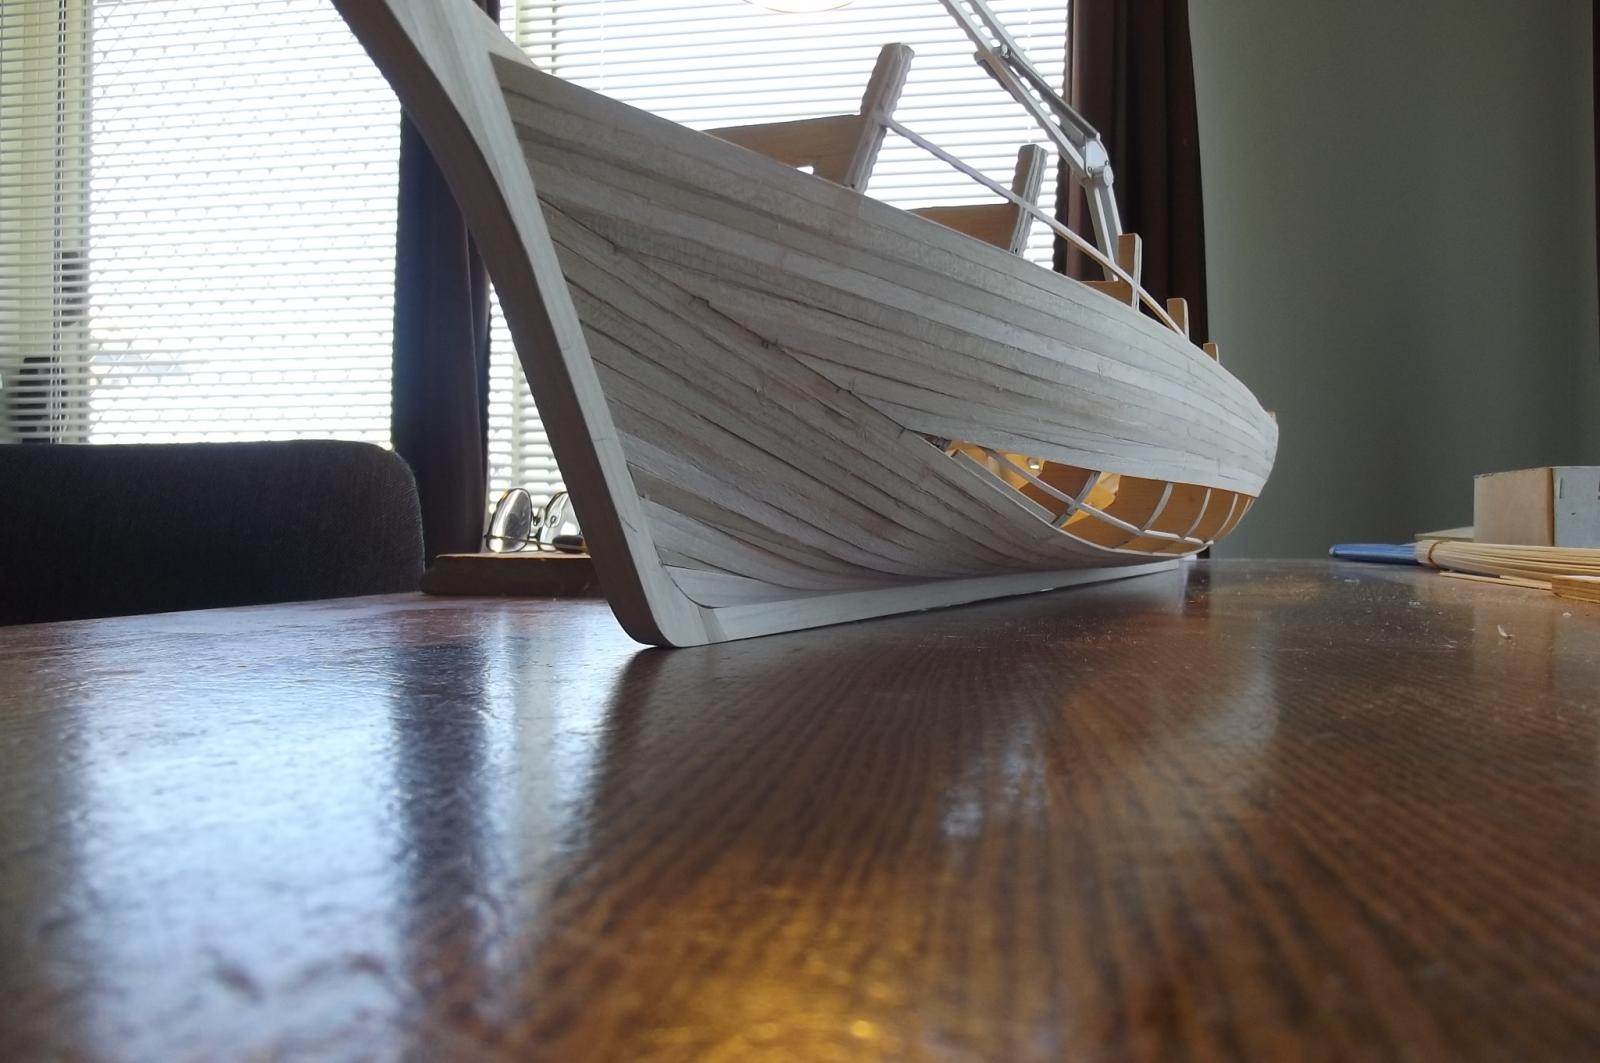
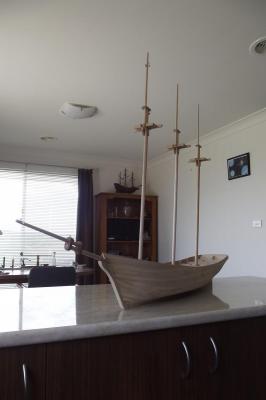
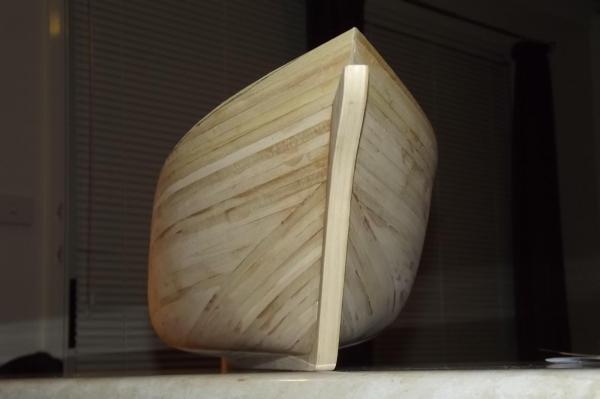
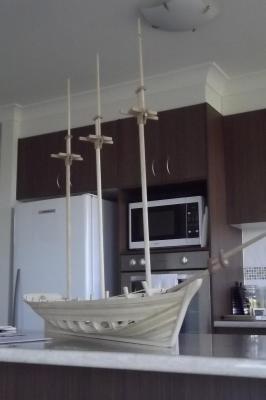
At last, the planking is finished ! Now to fill the gaps and seal the hull inside and out. I am not going to be too keen to get a smooth perfect finish because these schooners were made of timber and therefore imperfect and I think a few irregularities make a hull look better than glass smooth, they give it character. I am happy with the stern, it looks about right given pics I have seen When I finished the planking and turnd her over I was surprised at how much bigger she looks from the inside that the outside, I may have to call her "The Tardis"


-
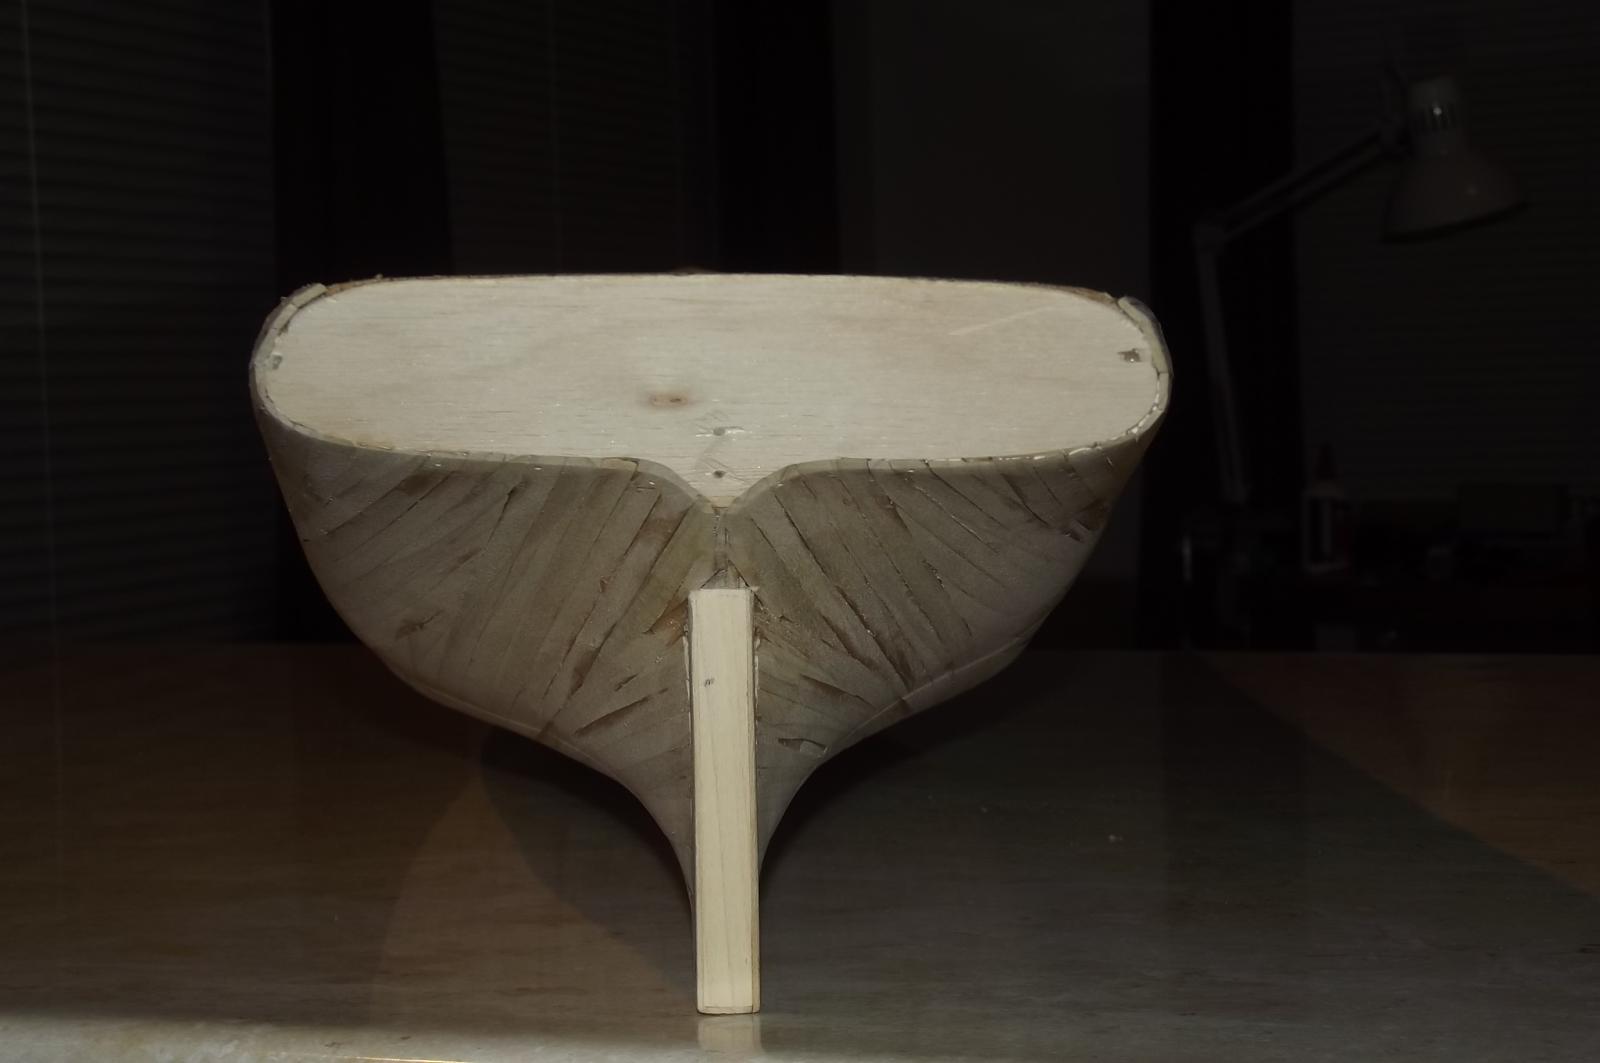
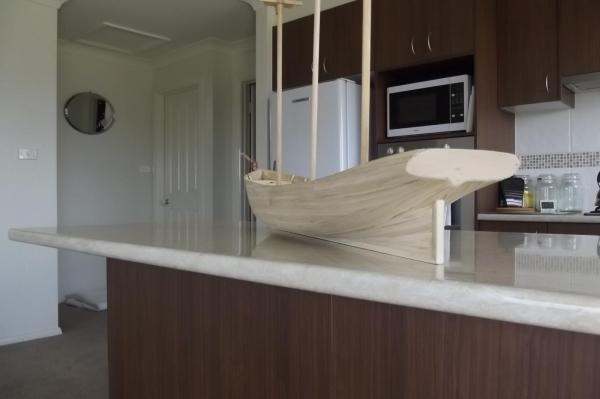
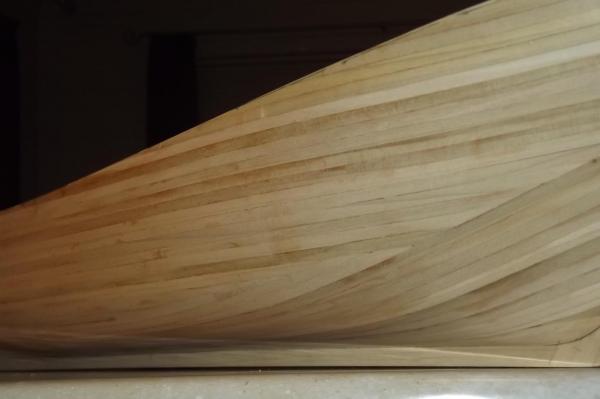
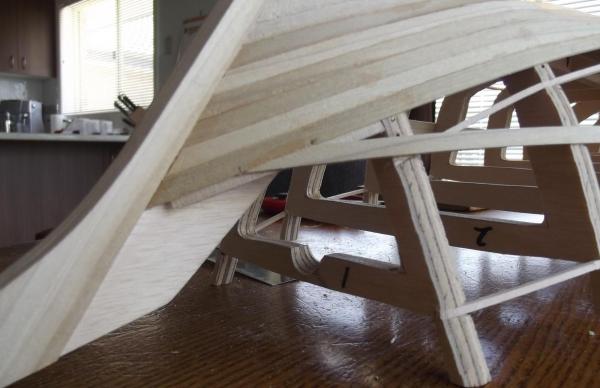
I think we all know how good it feels to be at this point. I am pretty happy with the way the planks have come together but just to show it's not all like that, here is a better shot of the stern planking. It looks awful at this point but bear in mind the planks were just long enough to reach so short filler pieces will need to be added, some have already been done. I find the stern is never as easy as the bow, especially when it is a modern style bow, but it will all come good in the end.


-
Apparently 4.5 pounds is about 2 Kg so hopefully I will have plenty of ballast to play with. Anyone want to guess the finished weight to get her to float at the waterline?
-
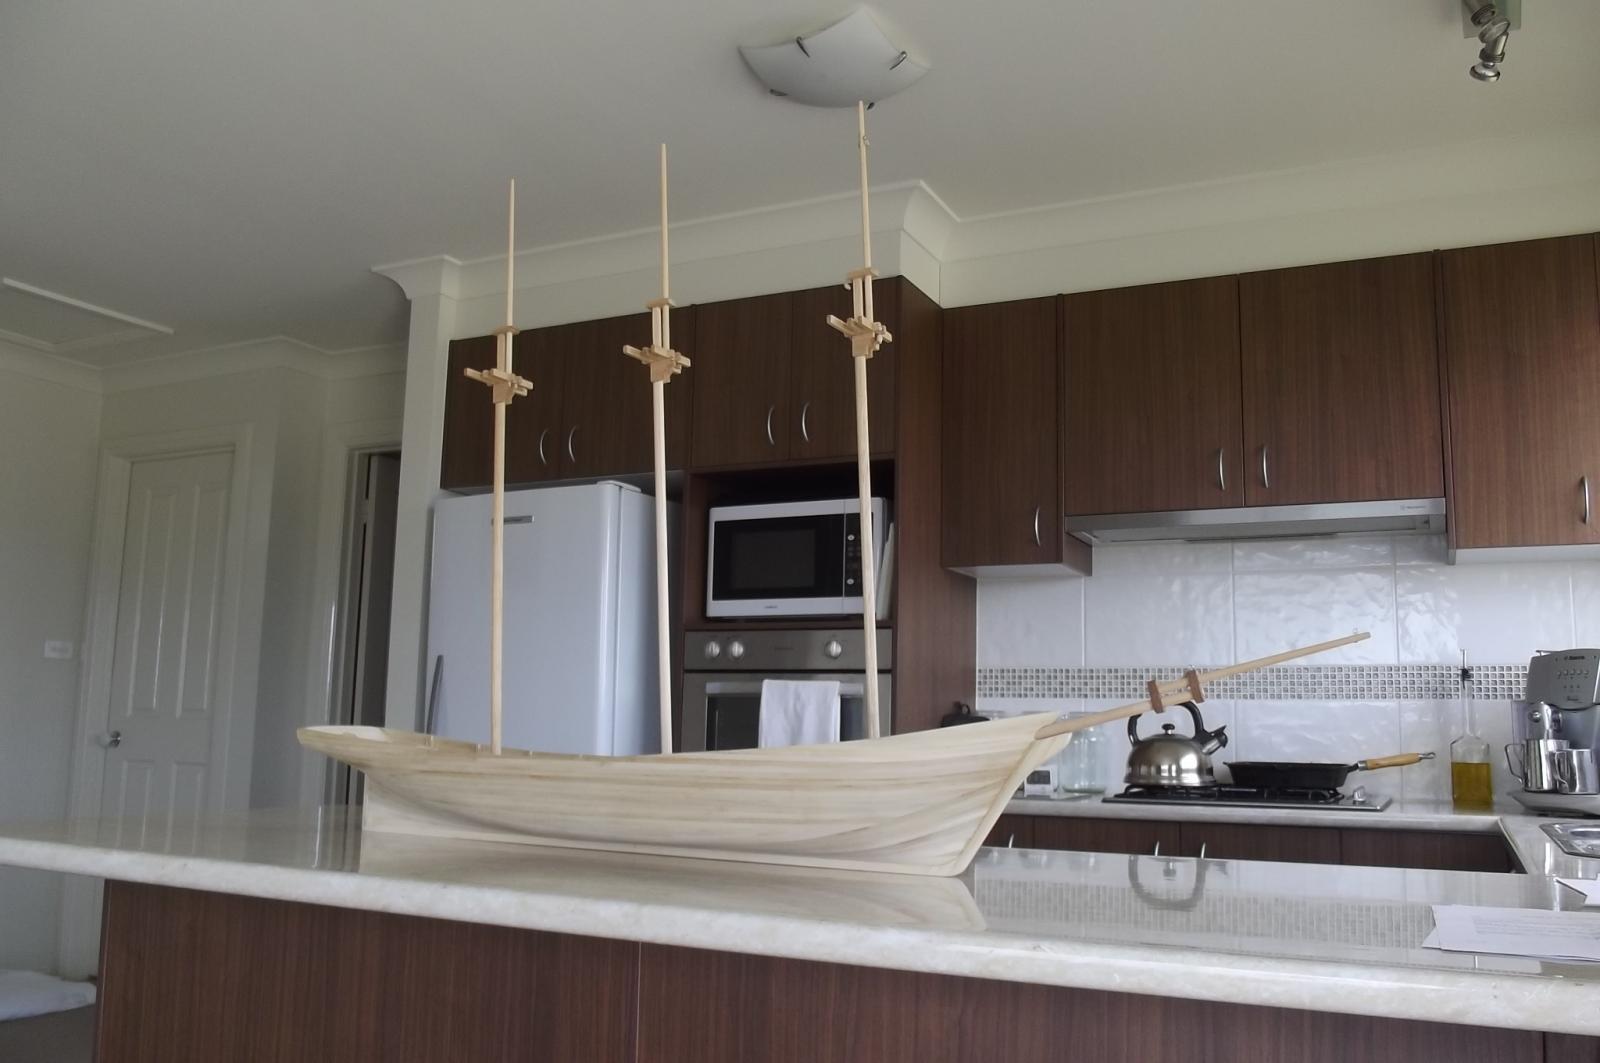
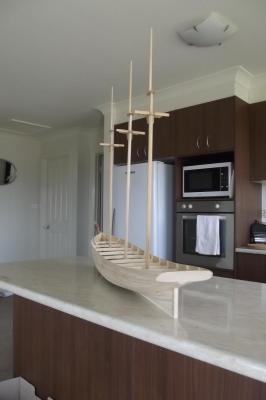
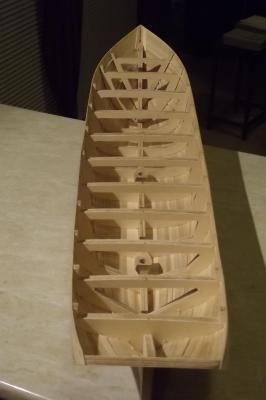
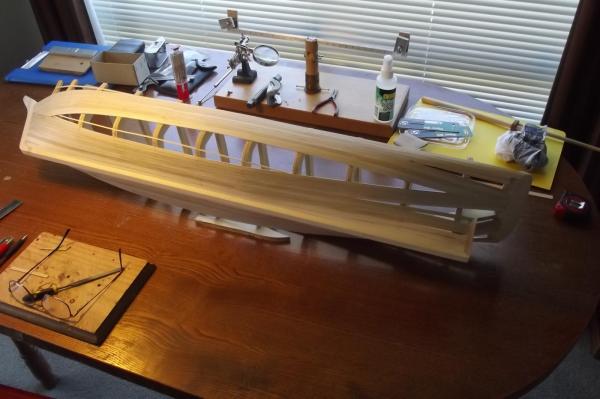
A few progress pics, Robbyn you can see the planking looks great at the bow but is a real mess at the stern, that's the way the planks flow. Once all the long planks are in place the stern filler pieces will be fitted slowly but surely and it will look almost as good as the bow. I am weighing her now and then and the frame was 900 gramms, at this stage she is 1.15Kg. With masts and bowsprit she is 1.4Kg. I am going to have to build lightness into her somewhere because I want as much weight in the keel as she can carry.


-
I am waiting for a replacement prop shaft assembly to arrive from the UK, it should be here soon. I won't be looking at mounting anything internally until i have the hull fully planked and both prop shafts mounted. I have to work out the size of servo spools I need to perform the operations I require so I can work out where the servos will mount. I was going to mount all the servos in the deck houses but I think a few may need to go below decks because of the diameter that I think may be required
-
Shaz, she is my fifth ship so I have a bit more experience than you but you'll get there. I am not following someone else's instructions on how to build it so I can do it the way that suits me and make it up as I go. The best part is the rabbet I created, especially for the bow, it makes the job so much easier because all I have to do for that end of the plank is cut the end of an off cut plank to the correct angle to lie in properly which can take a couple of attempts to get just right, then I use it as the template for all the planks that intersect with the bow rabbet at that angle. When the angle changes I re-cut the template to suit. There are a few messy bits but they will come good as I put all the filler pieces in. The big thing is dry fitting. First I lay an off cut across each frame to see if it will lie against the previous plank properly. If not it is because a bit of glue has squeezed out when the previous plank was clamped so I use a knife and trim that away until it sits properly. I also mark where the plank will lie while doing this so I can pre-drill for the planking screws. I only do this in the area in which I know where the plank will lie, ie hold it against the hull and see where it is happy to lie. Since the planks are only a little bit short I can use the bow plank to see the lie of the entire plank, all the way to the stern but I cut the bow plank around frame 7 or 8 and start the stern plank there before the big twist back to the stern starts so there is no join in this stressed area and the plank flows properly. I cut the bow angle on the plank and attach it with clamps and planking screws marking exactly where I want to lay it which is generally a trade off between where I want it to go and it wants to go. I tend to let the plank lie where it wants to more or less because then it is less stressed and less likely to give that "klinker" finish. On a hull like this there is no need to steam and bend the planks because all the bends are gentle and in this case quite long and lazy. Only when I have done all this and then re-fitted the plank with clamps etc to make sure it sits where I have selected to fit it do I open the glue bottle. I apply glue to the side of the previous plank and the the frames then start attaching the plank from the bow back using lots of clamps and planking screws. It takes up to an hour to fit a plank but as you can see it is coming together very nicely and neatly. I am not quite so fussy with a static model unless it is single planked like the Schooner for Port Jackson was. Bob, you're not talking about thinning the epoxy with scotch are you?? That's a good bit of info and I assume you are talking isopropyl alcohol. I can see me thinning the epoxy and using it inside and out to get it into the timber properly and make the whole thing stronger and more impervious to water. Then using normal consistency epoxy for a couple of coats with a thickenned epoxy for filling internally. As for the wife's nylons.....................I'm divorced and don't think she would be very happy if I asked
-
Epoxy can be a glue as you mention but it is all manner of things with all manner of uses, two parts mix to make it and it is what is applied to fibreglass sheet to make it set into whatever you are making, it can be painted onto a surface to protect, strengthen and waterproof it. The list goes on.
-
John, I have a pic of her somewhere that shows she was green, I have just spent a bit of time googling her and came up with one pic of the hull under tow, she looks green but it is far too distant to bother posting. That's all academic anyway, she is black now but I think a nice green would look better for my schooner. That's the thinking at this stage.
-
Floyd, yes I want to see her sail so I will be coming along for the ride !! If I could find a way I think I would submerge her in epoxy and then let her drain and set. I am thinking all the time about how I am going to get epoxy into all the gaps and think I will do the exterior first to seal it then do a thick coat on the interior to gap fill but yes epoxy is my new friend. Michael, You are so right, even though I bought more clamps I still only have enough to do one side at a time at this stage because the planks are really trying to go "klinker" through these bends so one at a time for now and get it right. The planks are 5mm x 1.5mm so they are stiff enough to be easy to work and shape so they fit together well while still being easy enough to twist and bend to shape.
-
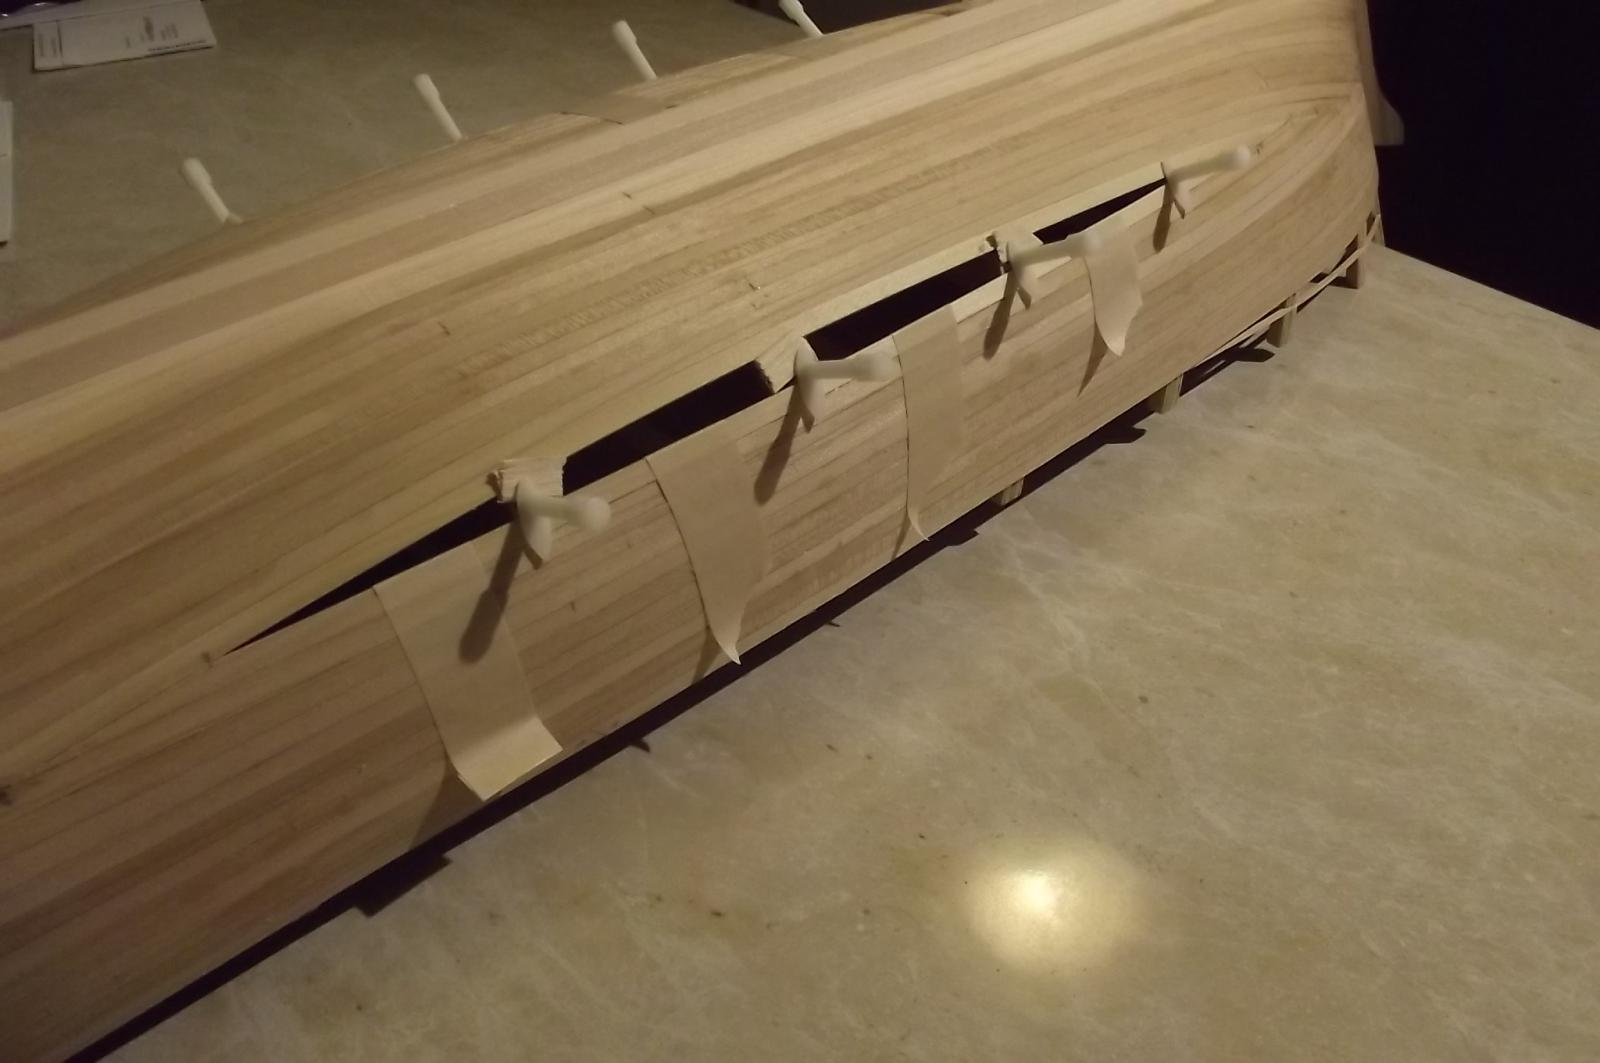
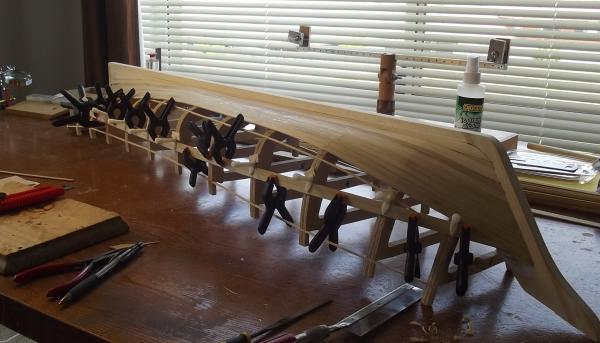
G'day mate, you've got a deal. I have looked into shipping and handling and I reckon about 5 grand should cover it. The planking continues, and continues................ I went and bought more clamps so I can do more than one plank at a time but have a look how many clamps I need to attach one plank. Trouble is because she is going to be single planked and go to sea I need to keep the planks glued to each other and aligned to each other, without the clamps between ribs you tend to end up with a "klinker" style hull which can be sanded of course and have a nice thin veneer layed over to make nice but in this case there is none of that. I want to keep sanding to a minimum so I keep hull strength. I can of course use filler in this build as it will be epoxied and painted. I am thinking a mid green which the James Craig was when towed from her watery grave in Tasmania to Sydney.
-
Well Floyd if you where in the WA that I am familiar with (Western Australia) you would be quite a bit warmer than I am at the moment. Still, you get that ! Consider this, by the time the Schooner is ready to launch it will be too damn cold here to do so therefore she will have to lie in dry dock waiting for warmer weather.