-
Posts
1,297 -
Joined
-
Last visited
Content Type
Profiles
Forums
Gallery
Events
Everything posted by Bedford
-
Right, my first request for input. We all know what the inside is going to look like, a keel down the middle and ribs spaced along it, when planked there will be a void between each rib either side of the keel which I will need to be able to drain bilge water from. If I drill holes in each rib to allow flow I then have to go to great lengths to make sure they are sealed completely to stop water getting into the ply and it will weaken the structure, if they are right at the bottom to allow all water to drain out then there will be nothing solid for the bottom planks to attach to. I am thinking of sealing the interior with epoxy then using some sort of pourable silicone if one is available. The idea is to lay her to one side and pour silicone into each void on the low side and when set repeat for the other side. This should give me a gentle "V" in the bottom so water will be easy to collect and pump out, also being silicone it will seal extra well and a little water left behind will dry out naturally with hatches open and not do any harm. Does that sound feasable and does anyone know of such a product, I think I have seen it for use in making moulds. Thanks Steve
-
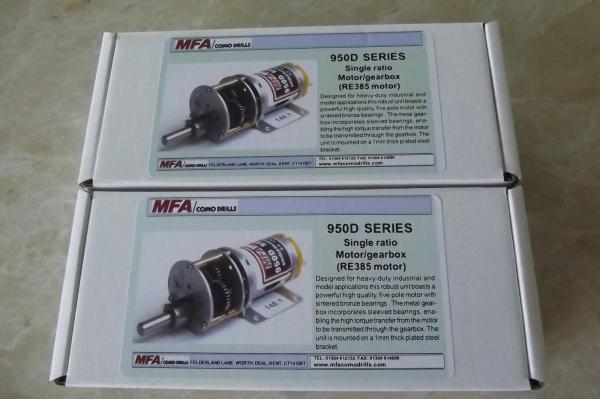
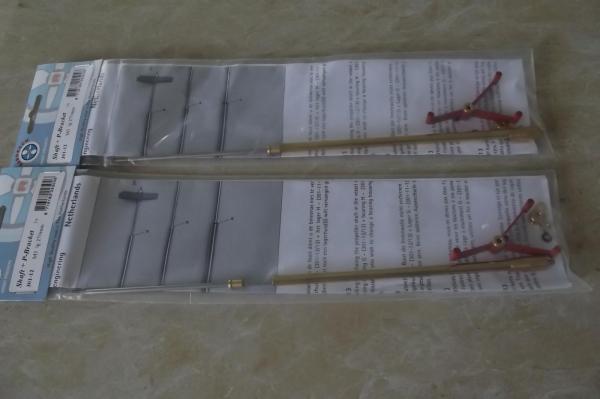
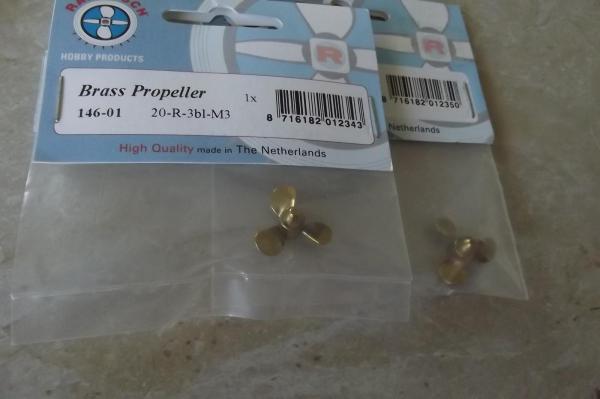
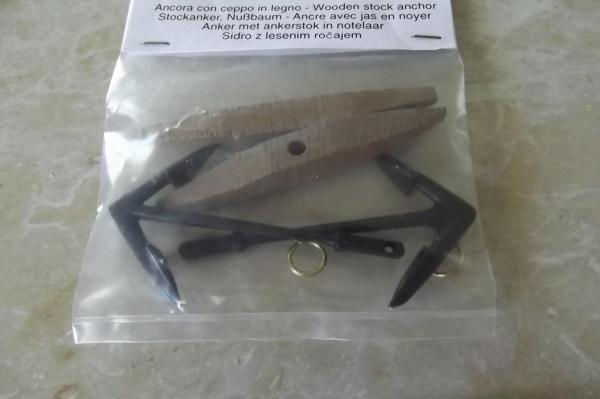
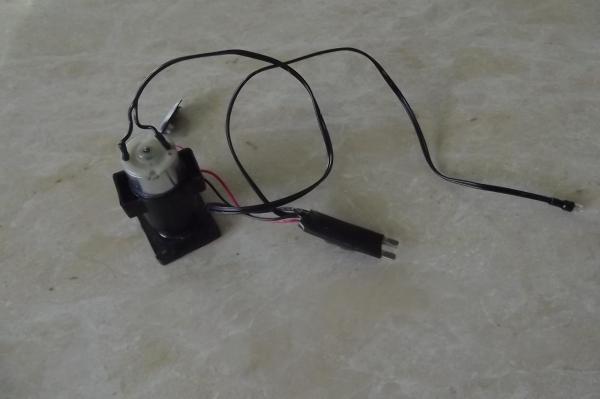
I may be accused of getting ahead of myself but I have bought some hardware, some from a very good model ship supplier in Australia I have dealt with many times and the balance, because the Aus one doesn't do R/C, from England. First a couple of motors with reduction gearboxes, on reflection I may only need one of these and a gearbox with contra-rotating outputs to drive both props but we shall see when she is at the stage I can float her in the bath and test her. Two prop shafts with brackets to stand off the hull, too hard to explain adequately so watch and see. They claim to have water proof seals, again, we shall see. Two props, 1 left hand and 1 right hand. Good scale size but may be too small in service but I will see when she floats. Two anchors, they are the right size but have wooden stocks which might be incorrect for the period. I could not find a decent looking pair with metal stock and balls though. The single most important part of this build............an automatic bilge pump! Very cheap insurance and it comes with a light that you can mount outside the ship so you know when it is working. Assuming you only sail at night ! It is so dull I would never see it in the Australian sun but my son had a brilliant idea. Ditch the bulb and use the signal to drive a small auxilliary winch motor to raise a flag, I'm thinking a distress flag ! Once the flag is seen the order will be given "All ahead full and make for the nearest landfall" Steve
-
Well done m'lady ! One down, how many to go ?? She looks beautiful, you should be proud of it. Steve
- 234 replies
-
- 18th century longboat
- model shipways
-
(and 1 more)
Tagged with:
-
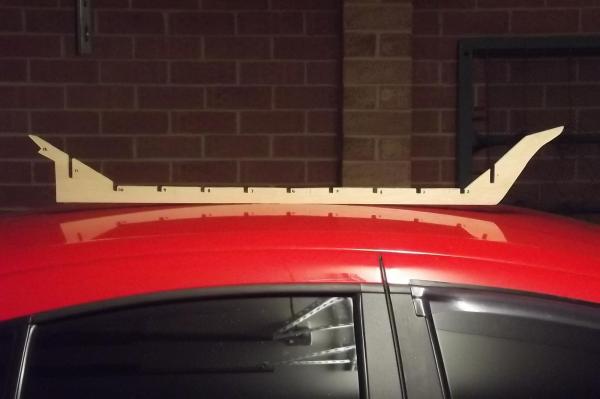
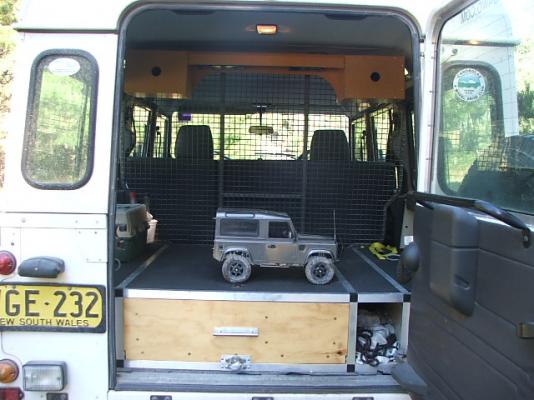
Augie, none have a flatter roof than my Land Rover, trouble is it is just over 2metres tall so I would end up with a rig over 3 metres tall She will fit inside one way or another. Robbyn, correct me if I am wrong but didn't I once read that you were an english professor? Surely you of all people can come up with an adequate superlative for such a build Seriously though, she is a big project and I am looking forward to having bigger bits to work with. As for you making a schooner I don't think I have seen many in kit form so good luck. They are much easier and quicker to rig than square rigged vessels due to the small number of sails and corresponding timberwork to control. Steve
-
Well done Robbyn, you have come such a long way in the SFII haven't you ? Remember I told you I was going to build a schooner, click on the link to "maine three masted schooner" in my signature. Steve
- 234 replies
-
- 18th century longboat
- model shipways
-
(and 1 more)
Tagged with:
-
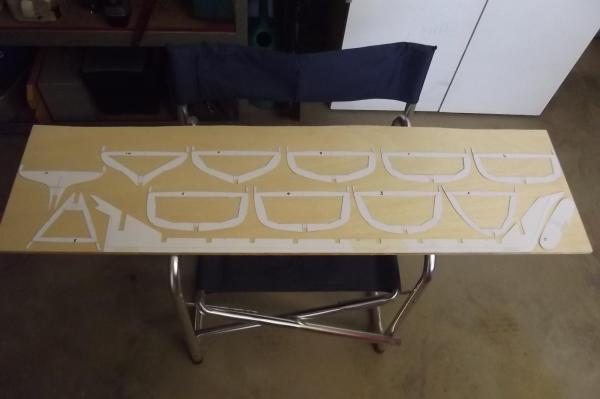
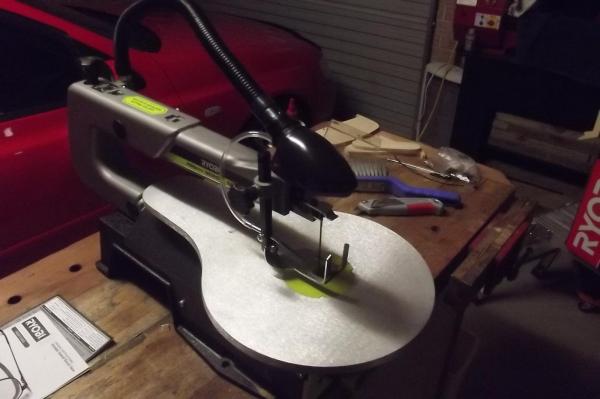
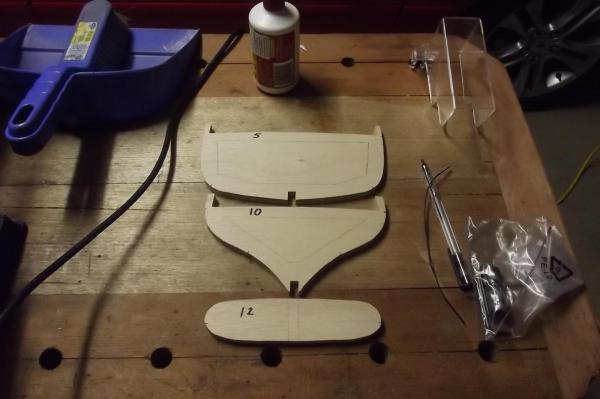
Well what a week, I feel like Shaz, always something else going on. Back and forward to Sydney with dad in and out of hospital, all well now hopefully. Time to start the hull so I marked out and cut card templates and have started cutting the ply. I started cutting with a fret saw but it didn't take long to realise that not only was it going to take forever but it wasn't going to be accurate enough. struggling to hold the piece with one hand and saw with the other isn't the best way so I bit the bullet and bought another tool for my workshop.... Three ribs cut but I will cut all the centres out in one go when I have them all cut to the ouside profile because the saw blade needs to be dismounted and fed through a drilled hole before re-mounting to cut out the centres. The keel..............that is long !!!
-
Yeah Robbyn, that sounds like a plan, surely nothing could go wrong there! Actually it is quite a good plan, when one start bugging you you can switch to the other and so on. I will be watching Syren too. Steve
- 234 replies
-
- 18th century longboat
- model shipways
-
(and 1 more)
Tagged with:
-
Now you've gone and spoiled my fun, I imagined all kinds of folks sitting at their computers scratching their heads and eventually googling "esky" As for sailing her, we have a beautiful lake just out of town called Lake Canobolas, no power boats and not so big it gets a chop going under normal conditions. It is generally fairly calm. Even a 50mm wave will represent a 2.7mtr swell so I think the lake should be good. I might want to find somewhere less populated to learn to sail her though because I don't want to show up with a beautiful big schooner and look like a novice. Steve
-
Hey Robbyn, looking good my dear. I notice you are getting your head around the terminology too. You have gone from "string" " thingy" etc to bowsprit, boom, block and the word we all come to know, B***** !!
- 234 replies
-
- 18th century longboat
- model shipways
-
(and 1 more)
Tagged with:
-
Yeah I love them and hopefully she will look good under sail. She has great classic lines too. I made Thermopylae years ago and still have the plans, I want to make that in this size and r/c her but that is a major task running all that rigging via r/c and learning to sail her so I thought a classic schooner first. This project might put me right off the Thermopylae idea too, you never know, but I do enjoy a mechanical challenge.
-
Jim Lad, She should stand in the back of this one, I will have to lay her over a little to get her in. Failing that if I take the back seat out, which is dead easy, she will fit fully rigged in there. I have another large 4 door sedan with a fold down rear seat too so if I make a suitable cradle it would lie in the boot of that. He said, hopefully! Steve
-
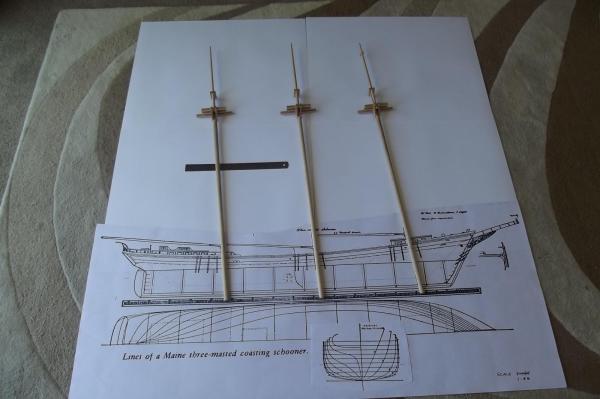
I sincerely hope I fail to disappoint but this is my first attempt at such a thing. I like to work all the mechanics and problems out my way but will always welcome suggestions. The masts and tressles are made of Tasmanian Oak which is readily available here and quite strong. More pics, that is a 12 inch rule behind the mizzen mast.
-
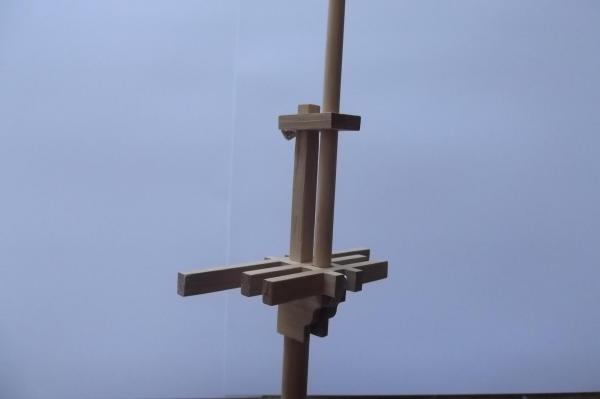
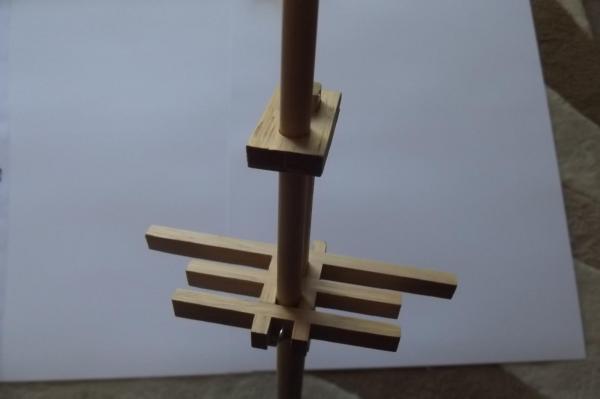
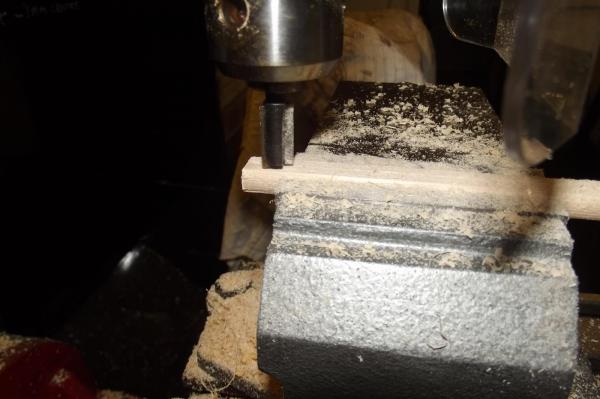
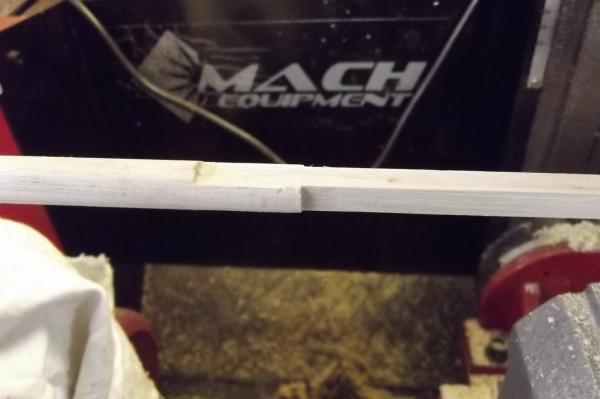
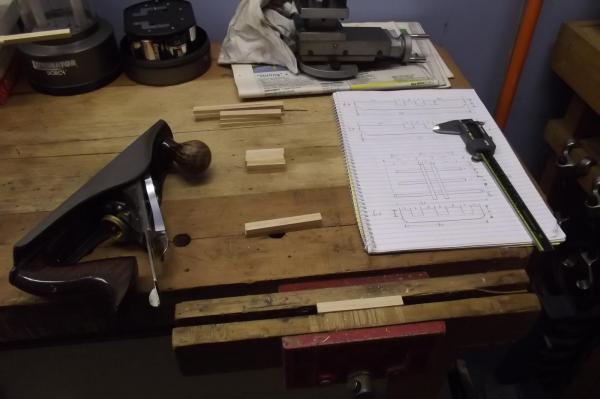
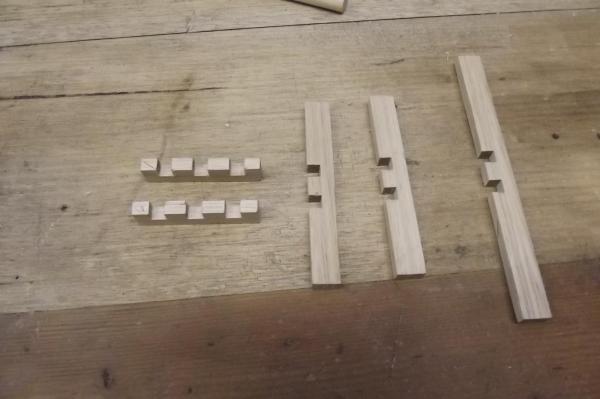
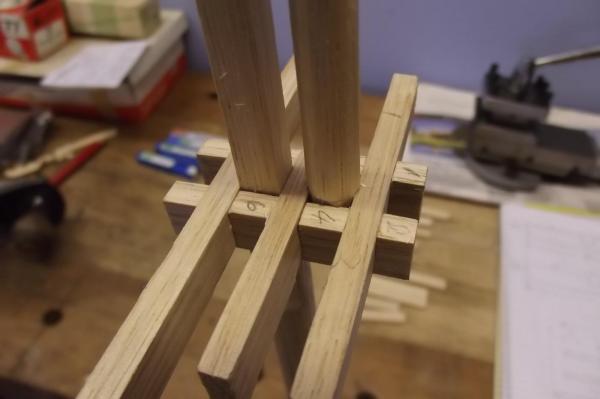
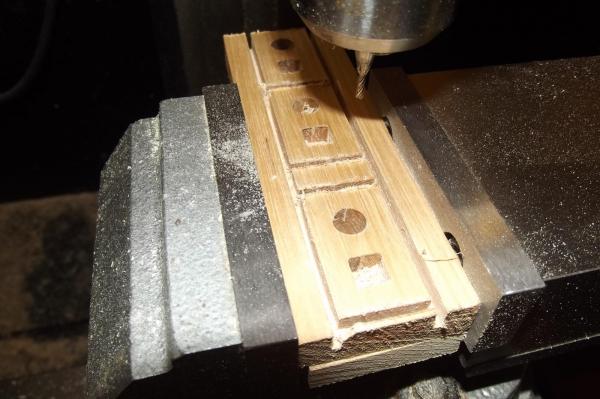
Well I figure it is about time I start a new build and post up a thread. This will take a while so be very patient. I love tall ships, I love tall ship models and I love scratch building working models. Hence this project. I aquired a fairly rudementary set of hull plans a few years ago and am now in a postition to put my money where my mouth is and build it. The aim is a fully operational schooner done my way. It will be what aeromodellers used to call stand-off scale because I am making consessions to my lack of knowledge about the forces that will be applied to her under sail as well as the fact that the plans include nothing of the rigging and precious little detail of the deck fittings. I know how to rig a ship because I have done a few kits, two schooners among them. I have never sailed anything in my life so she will be made in the guise of a replica or restored ship which has had engines added, ie she will have twin screws like the replica Endeavour. She will never be becalmed. Stats:- Hull length - 1045mm Beam - 210mm Mast height - 930mm from keel Sails - Cotton (at this stage- open to suggestion) 3x sails, 3x top sails, 3x stay sails. Construction - Marine ply keel and ribs, plank on frame, fibre-glassed. I have started in an unusual way in so much as I have made the masts first. I was going to make one to test the principles but decided that it was going to be much more expedient to machine multiple parts in one hit than do three seperate set-ups. The first pic shows the style of schooner rig I am aiming for. Squaring the top of the masts It is nice to be able to use full sized tools on a model for a change Cross tree or tressle, the timbers are a bit heavier than scale and not tapered to the outer extremeties but they are what the top mast shroud lines will attach to so they are deliberately heavy for structural reasons. Machining the mast tops, all three at once.
-
Looks like I was right, the SF has made you a better modeller hasn't it? Always remember, because of the lousy instructions and missing steps etc you have learned so much from her. Steve
- 234 replies
-
- 18th century longboat
- model shipways
-
(and 1 more)
Tagged with:
-
Hey Robbyn, I had my lady friend here today and we were talking about perfection etc and how she does things to a standard that make her happy. I told her about my Schonner for Port Jackson which we were looking at and the fact that there are imperfections there that I know about but no-one else would ever see because they see the whole thing. I told her about your dilemas and starting, stopping, stripping and re-doing to try and get it right. She said to tell you about the Navajo (spelling?) indians and the rugs they make. Apparently they deliberately include errors in them because "nothing is perfect" Good attitude I think. Steve & Angela
- 773 replies
-
- san francisco ii
- artesania latina
-
(and 1 more)
Tagged with:
-
"the boat I am in" Pun intended Robbyn ? It sounds to me like you picked a good kit to start with. You have learned so much from it that you may not have had it come with the best set of plans and instructions in the business. Much you have learned, good builder you will become! I may have mentioned before that my first kit was shy a few blocks but I just made them, it really isnt difficult and only takes a few minutes but I guess you are a bit over it now and no-one would blame you for that, all of us get that way now and then. Having the other boat to go on with is a great bonus, I always had the mind set of one thing at a time so I only ever had one kit at a time but I now have the CW Morgan on hold and my big scratch Schooner I am starting to get into soon ( there is a LOT of thinking and planning to be done there before getting too heavily into it ) as well as the Royal Caroline but I think it a winter job maybe.
- 773 replies
-
- san francisco ii
- artesania latina
-
(and 1 more)
Tagged with:
-
Hi Robbyn, I tie the line off as per the real thing, ie up and down around the belaying pin as per the pic you show. I took a piece of brass wire about 1.5mm in diameter and beat one end out flat so it looks like a flat screw driver blade, then filed a groove into the end of the wedge. Hold the line with one hand well beyond the belaying pin and catch the line near the belaying pin in the groove of the tool. You can then use the tool to push the line in behind the bottom of the belaying pin and loop it around it, then catch the line again and draw it across and over the top of the pin and loop it there, repeat a few times then simply tie off by doing an inverse loop over the top of the pin, ie instead of running the tail OVER the line, finish it so it is UNDER the line and pull tight. Leave the long tail until you are finished. This way you can undo and adjust if required as you proceed with other rigging. When you are finished you can then add a drop of glue to each one, once dry trim the ends and then place fake loops over the pins as shown by others above. Hope this makes some sense. Steve
- 773 replies
-
- san francisco ii
- artesania latina
-
(and 1 more)
Tagged with:
-
You reckon YOU need smaller fingers, how do you think I get on? When I buy gloves I need to find extra large! Looking good Robbyn and I know what you mean about the end being in sight and feeling a bit sad but there is another waiting for you and another after that and neither will give you the grief this one did! Steve
- 773 replies
-
- san francisco ii
- artesania latina
-
(and 1 more)
Tagged with:
-
Wow, it's been a long road to get here but good on you, she looks great ! Steve
- 773 replies
-
- san francisco ii
- artesania latina
-
(and 1 more)
Tagged with:
-
Yeah Robbyn it seems to me that you have just had a big break from everything but it was more hectic than normal life. You need a holiday to recover from your holiday. Kick back and take it easy for a while. Go back to her when you feel the desire to do so, that makes it a hobby, not when she calls you, that makes it a job. Steve
- 773 replies
-
- san francisco ii
- artesania latina
-
(and 1 more)
Tagged with:
About us
Modelshipworld - Advancing Ship Modeling through Research
SSL Secured
Your security is important for us so this Website is SSL-Secured
NRG Mailing Address
Nautical Research Guild
237 South Lincoln Street
Westmont IL, 60559-1917
Model Ship World ® and the MSW logo are Registered Trademarks, and belong to the Nautical Research Guild (United States Patent and Trademark Office: No. 6,929,264 & No. 6,929,274, registered Dec. 20, 2022)
Helpful Links
About the NRG
If you enjoy building ship models that are historically accurate as well as beautiful, then The Nautical Research Guild (NRG) is just right for you.
The Guild is a non-profit educational organization whose mission is to “Advance Ship Modeling Through Research”. We provide support to our members in their efforts to raise the quality of their model ships.
The Nautical Research Guild has published our world-renowned quarterly magazine, The Nautical Research Journal, since 1955. The pages of the Journal are full of articles by accomplished ship modelers who show you how they create those exquisite details on their models, and by maritime historians who show you the correct details to build. The Journal is available in both print and digital editions. Go to the NRG web site (www.thenrg.org) to download a complimentary digital copy of the Journal. The NRG also publishes plan sets, books and compilations of back issues of the Journal and the former Ships in Scale and Model Ship Builder magazines.

