Glenn-UK
-
Posts
3,175 -
Joined
-
Last visited
Content Type
Profiles
Forums
Gallery
Events
Everything posted by Glenn-UK
-
 Thank you David for you generous advice during the plating phase and your very kind comments. I'm looking forward to the next stage of the build, which may be slightly delayed due to going on holiday later this month.
 -
It looks the business. My dad had a lathe in his hobby workshop and like a fool I got rid of it and a lots of other useful tools when he died because, at the time, I had no use for them.
- 439 replies
-
- 1
-

-
- victory
- caldercraft
- (and 1 more)
-
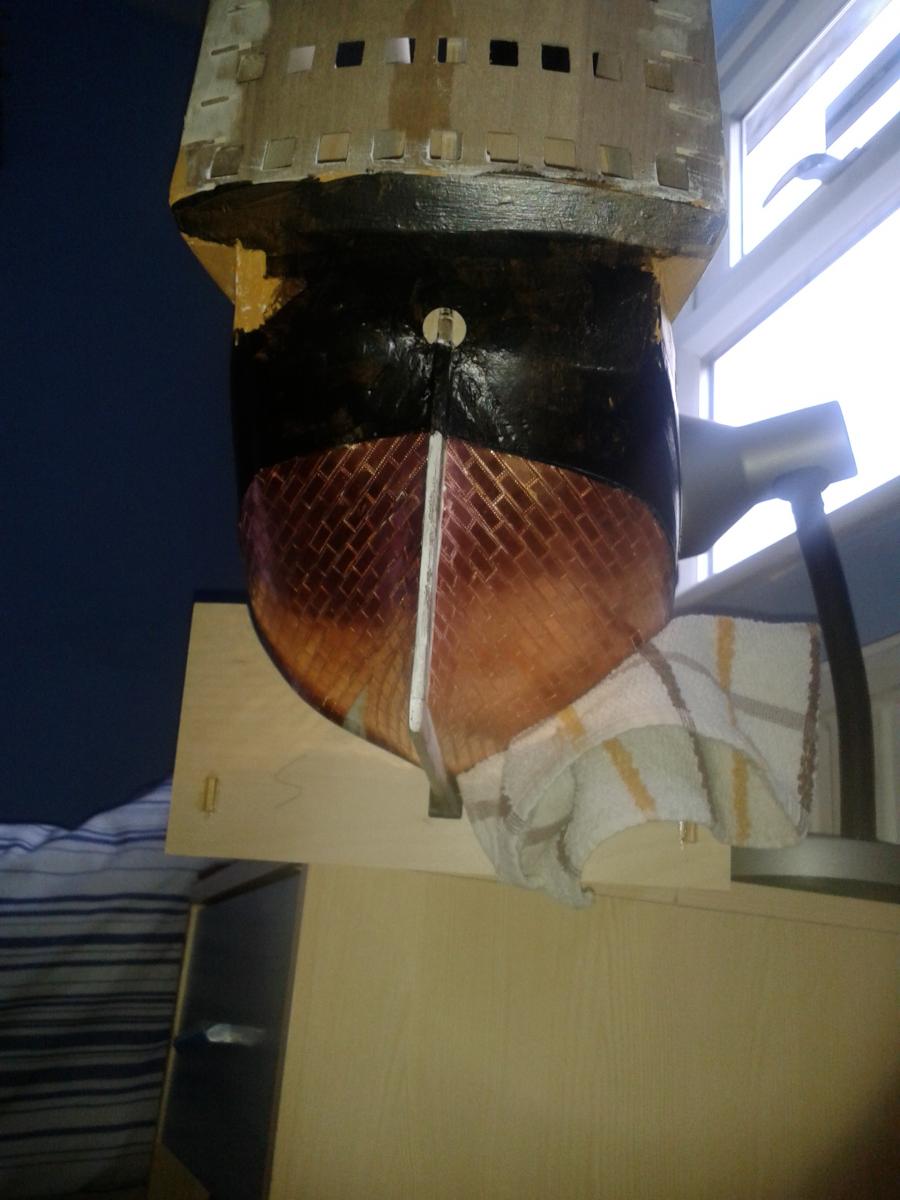
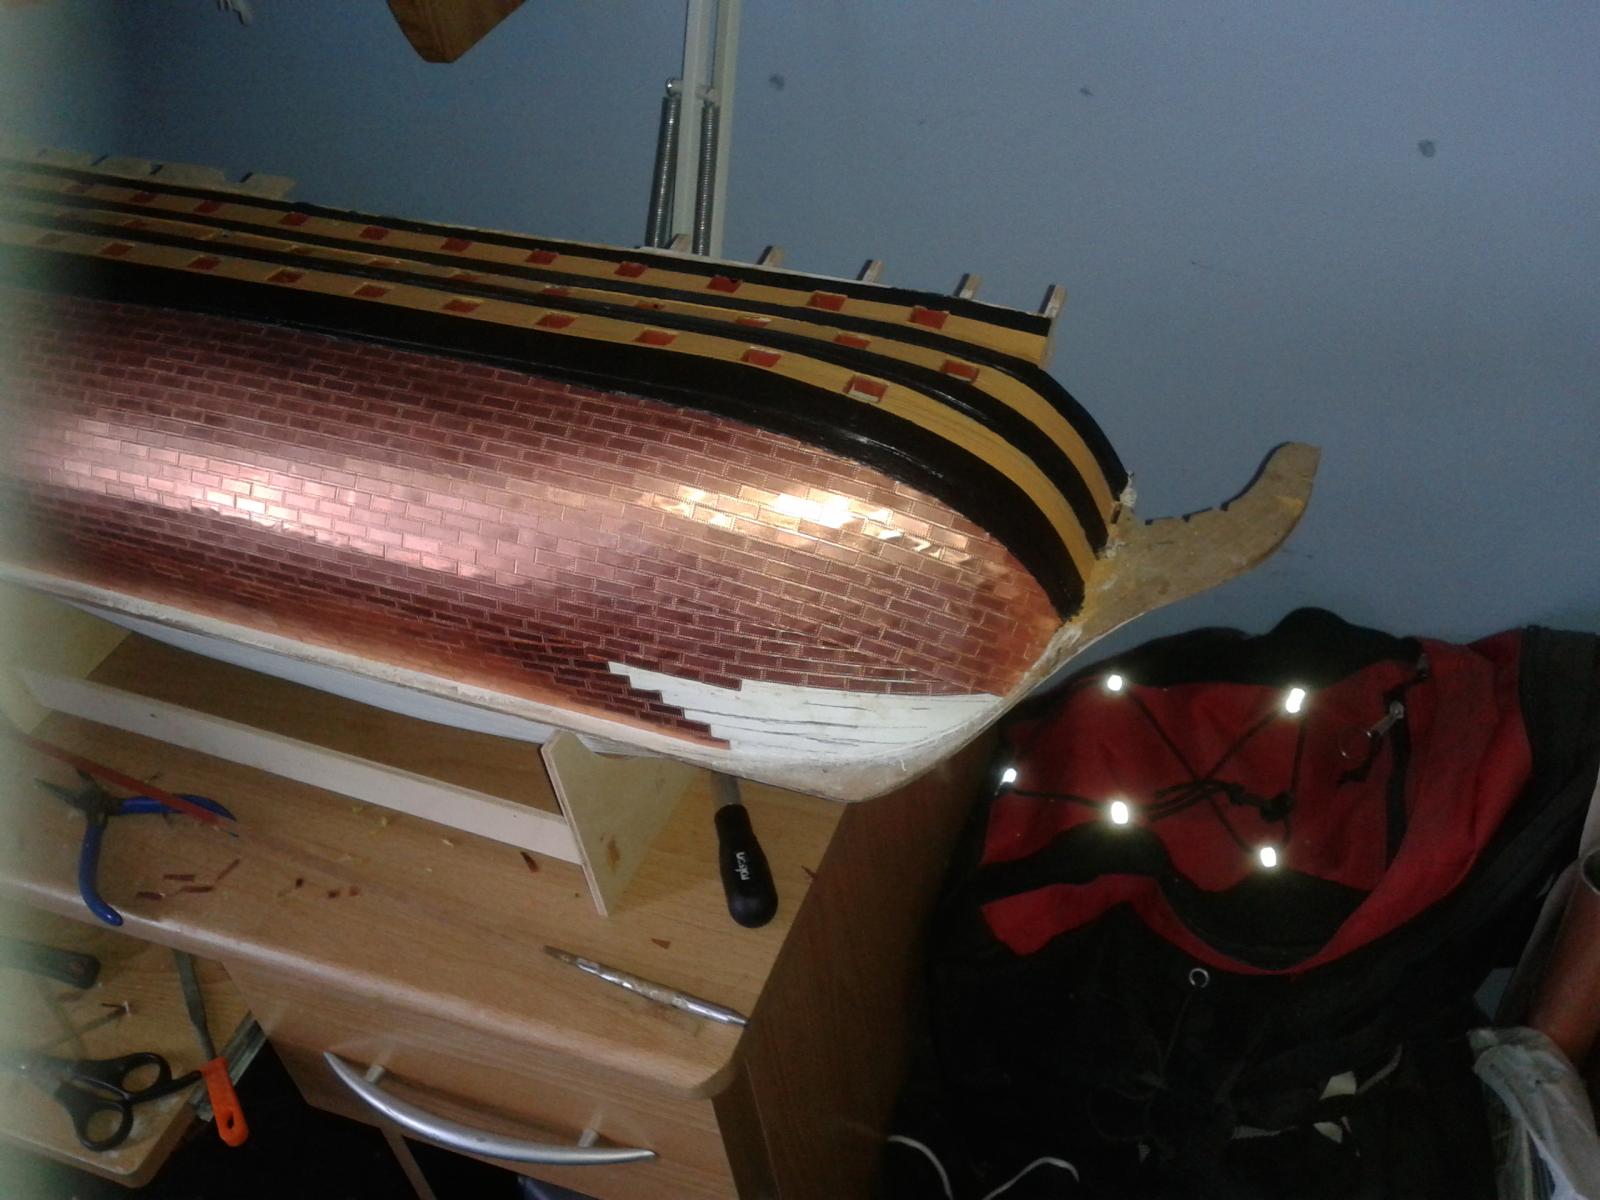
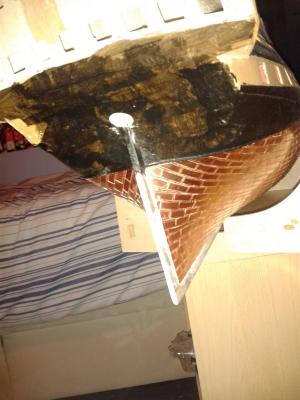
Well I finally completed the copper plating on the port side stern post and keelson. It was a much harder task than I thought it was going to be. Two or 3 more sessions required to complete plating on starboard side keelson and stern post.


-
I know just how you feel, there are times I wish I could start all over again so I can execute each stage property having learnt from all my mistakes. I don't think I could persuade the boss to let me spend another £700 just yet.
- 1,319 replies
-
- 2
-
-
- caldercraft
- Victory
- (and 1 more)
-
Glad to see other HMS Victory build has started, good luck and enjoy the project and look forward to seeing some picture of your progress. Will be glad to offer help and advise along the way should you need it, as will other MSW members.
-
Hi Rich You are making good progress and I'm looking forward to watching your progress as the build progresses.
-
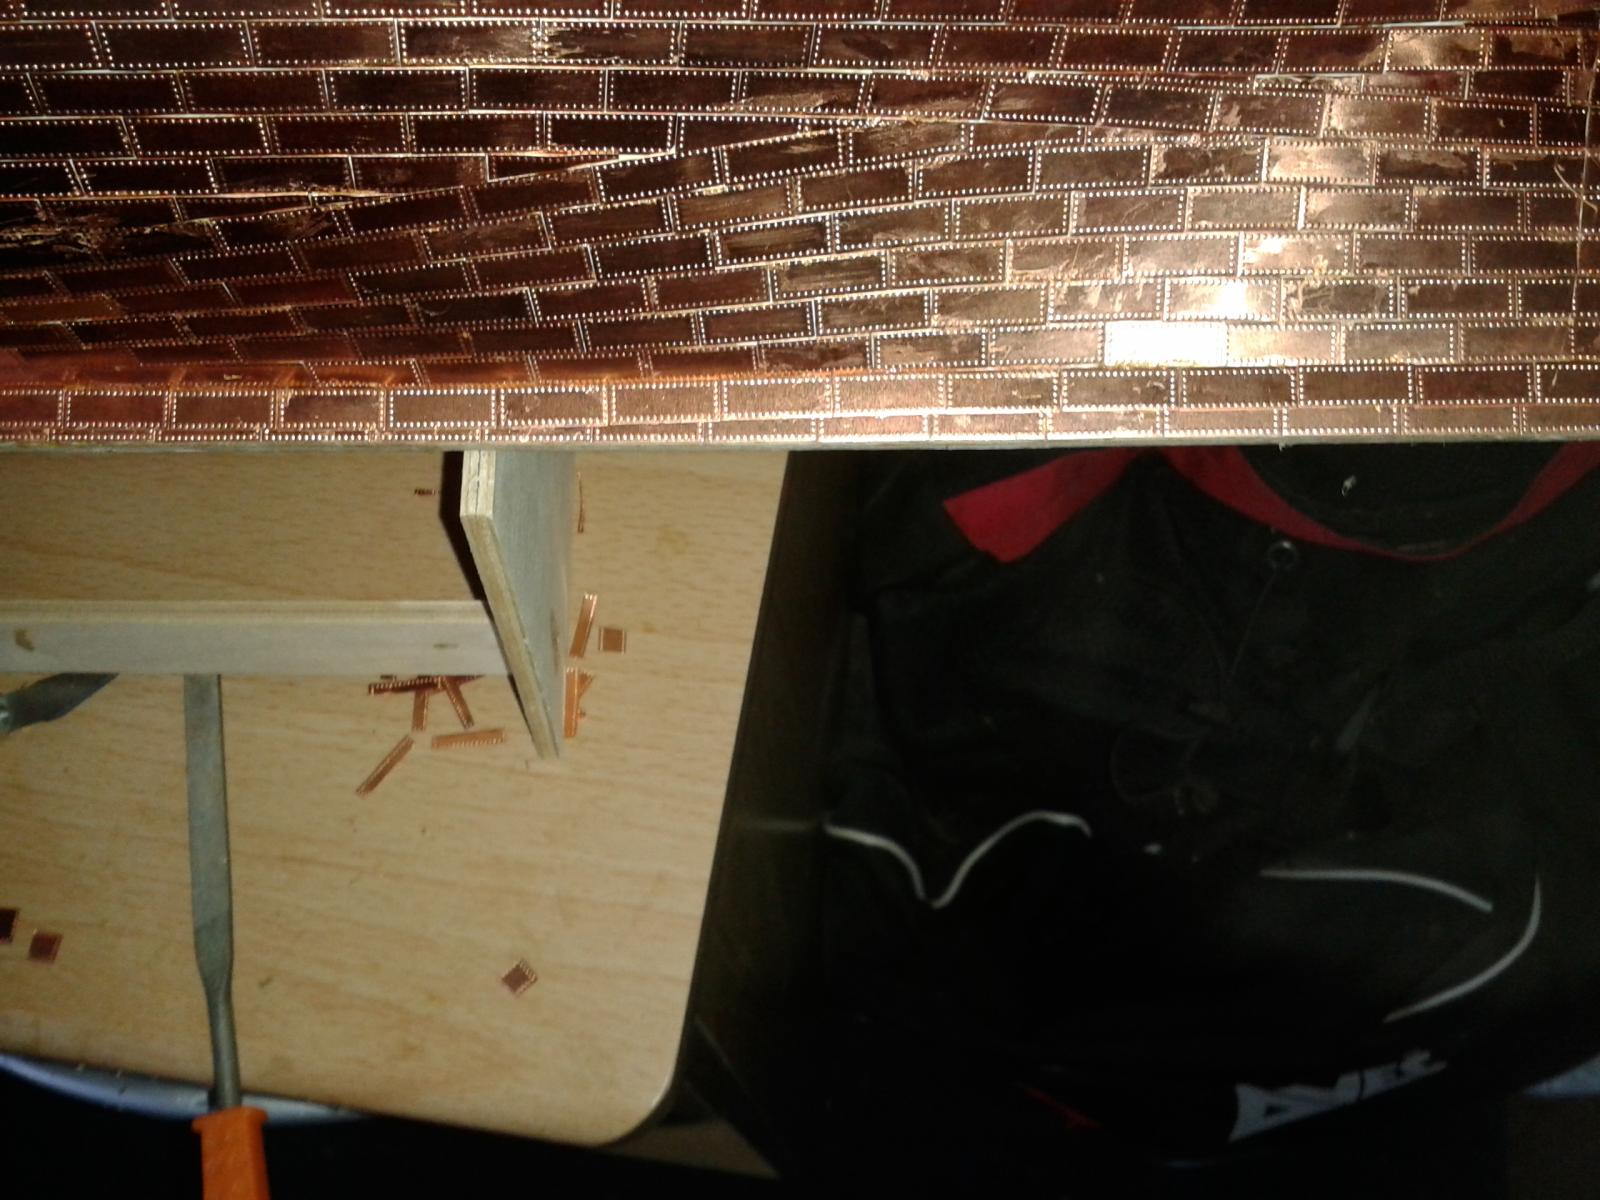
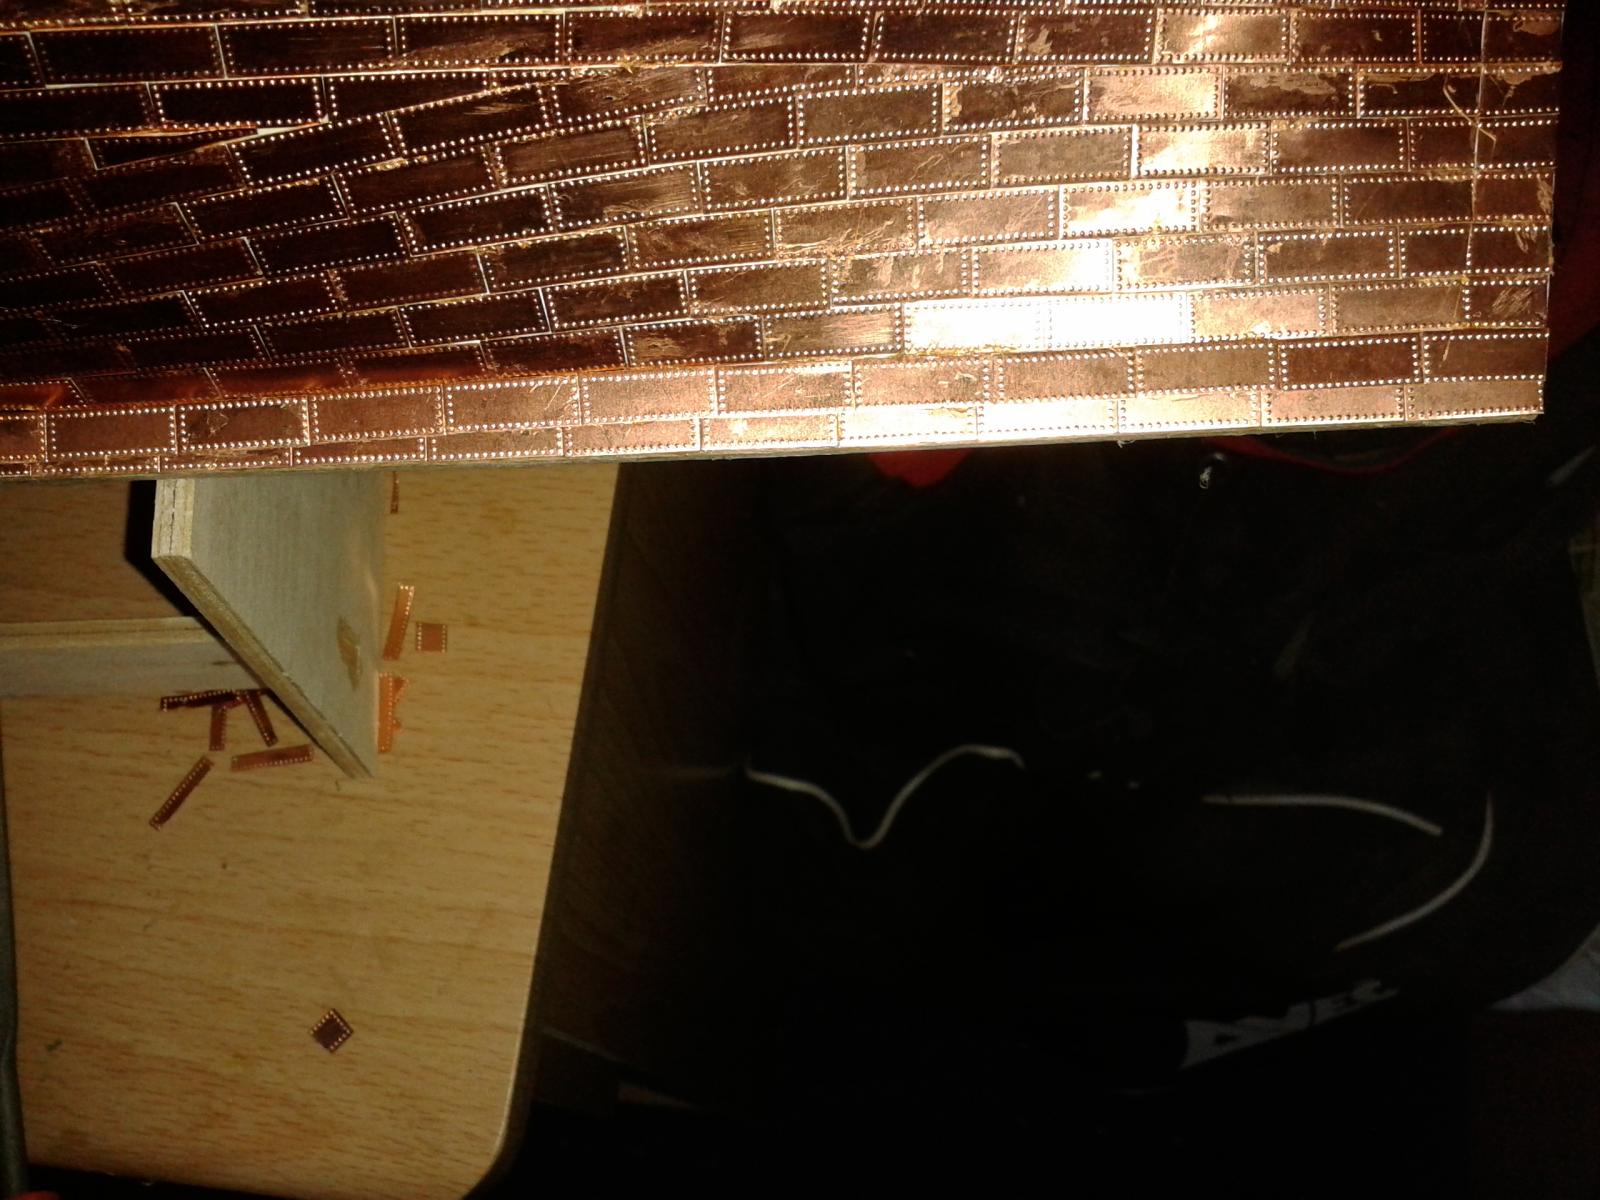
Hi Rich I tried a few different tools before I started and found it best using a good pair of scissors which cut the plates easily. Some plates required a bit of filing after the cut. I wasted a few tiles by not getting the plate cut right, but I did manage to reuse some of these plates when off-cuts were need for infill's. I haven't decided on the varnish as yet, but probably find a suitable matt varnish in B&Q
-
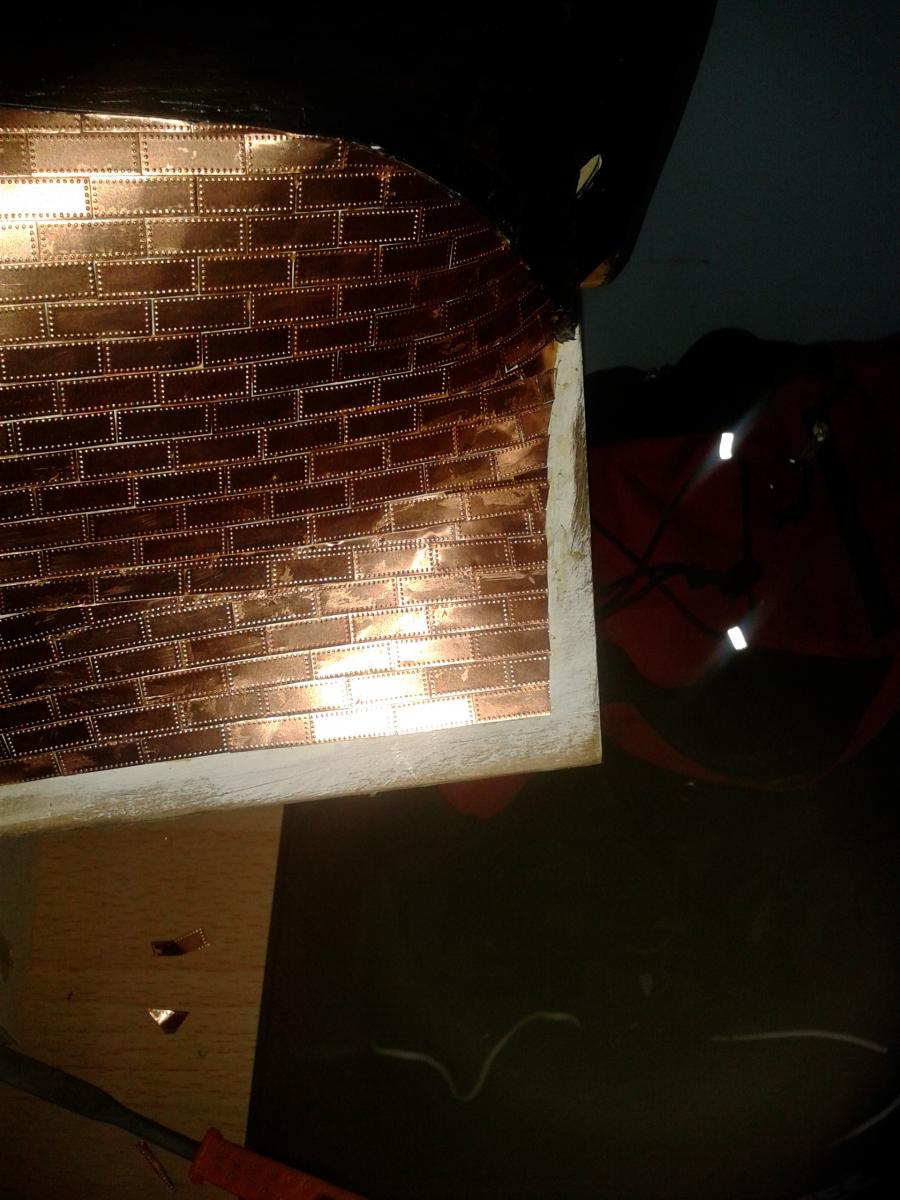
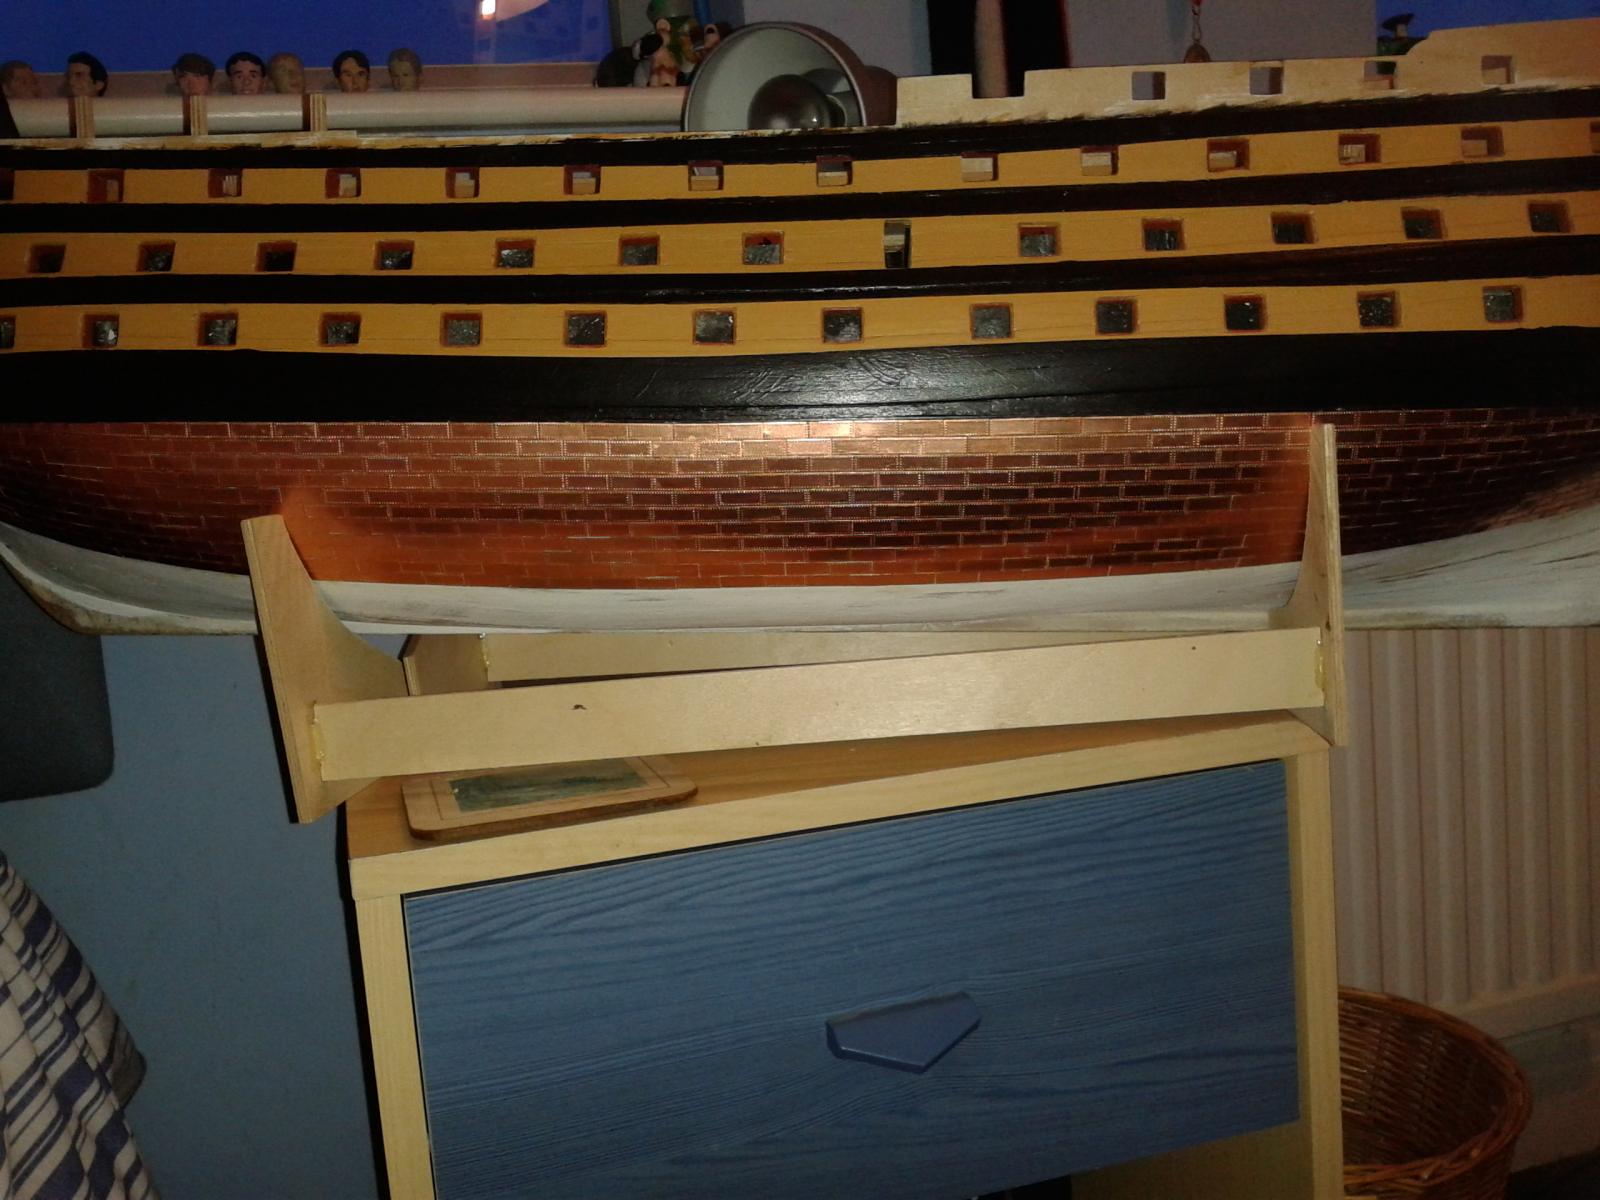
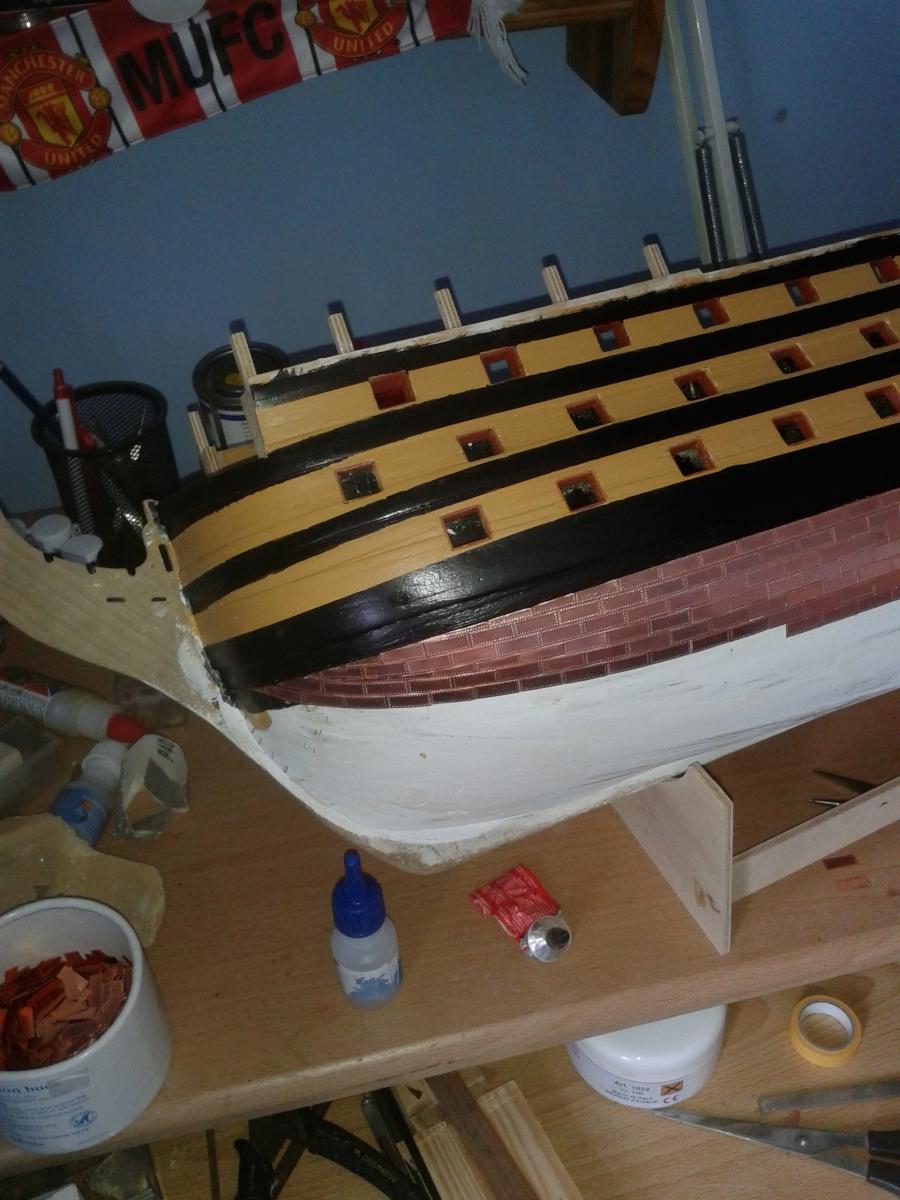
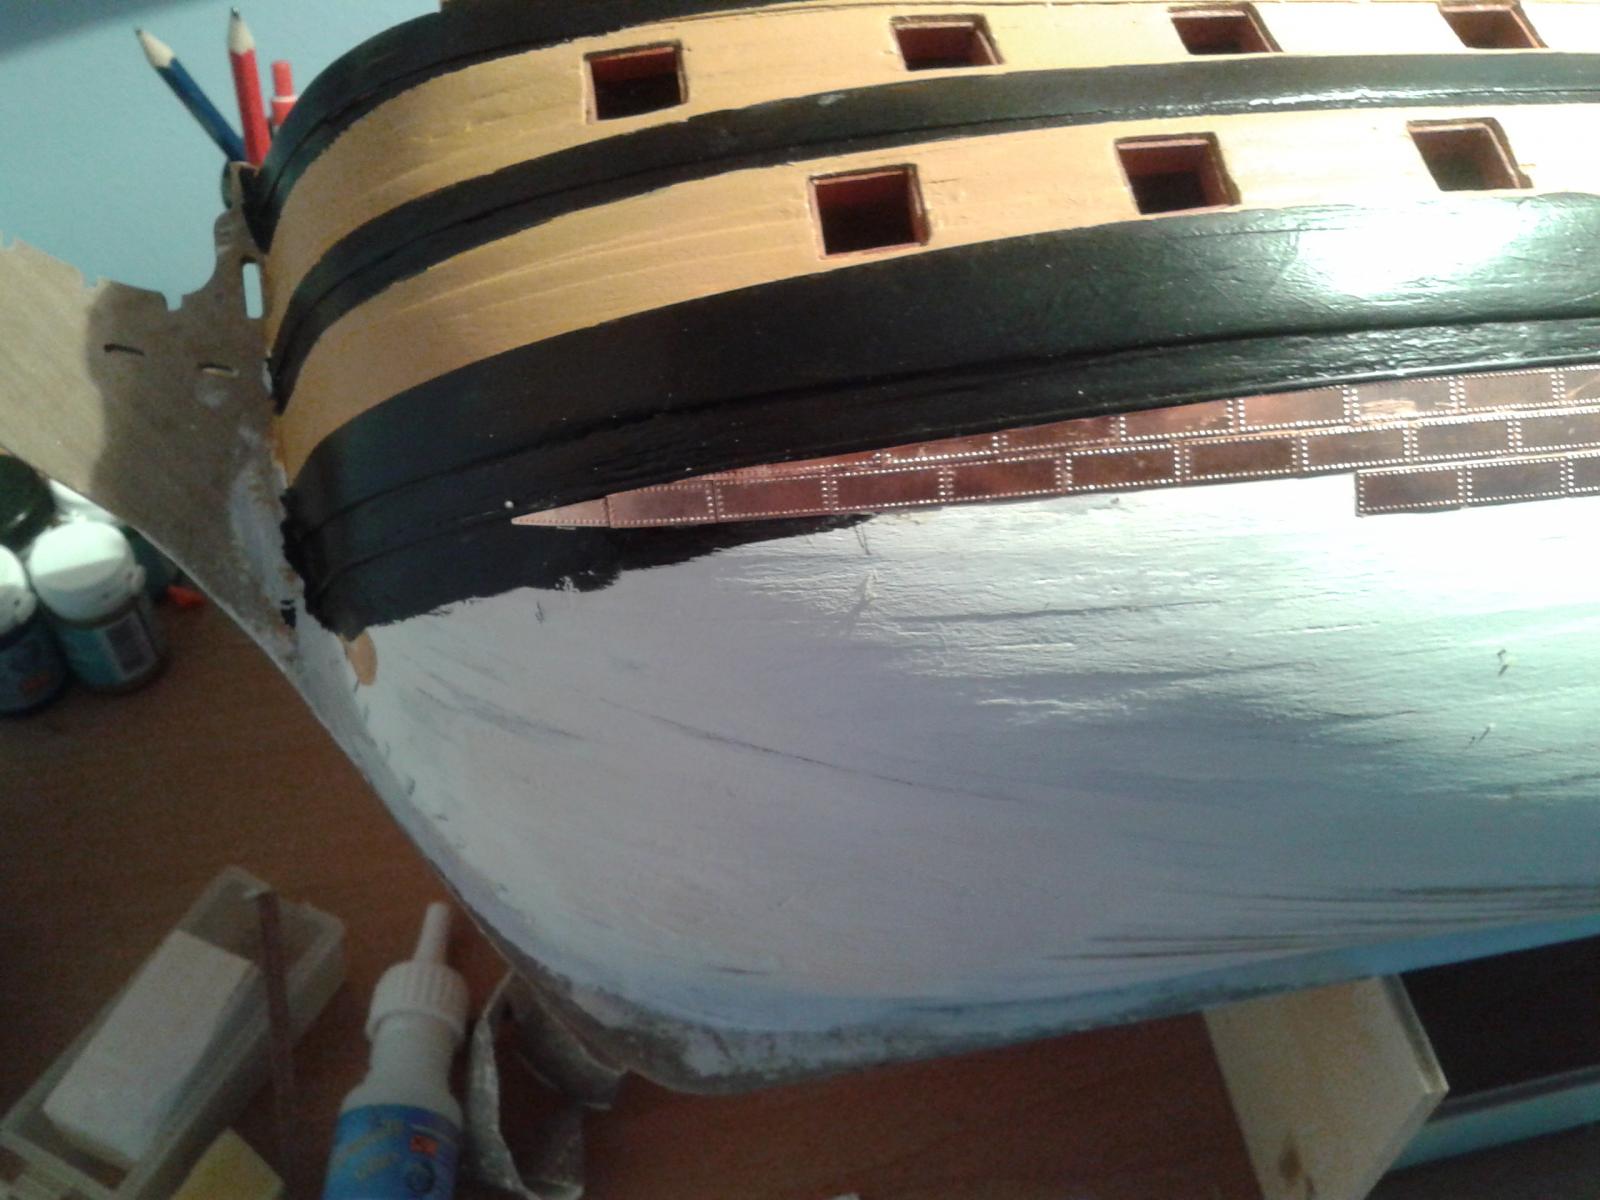
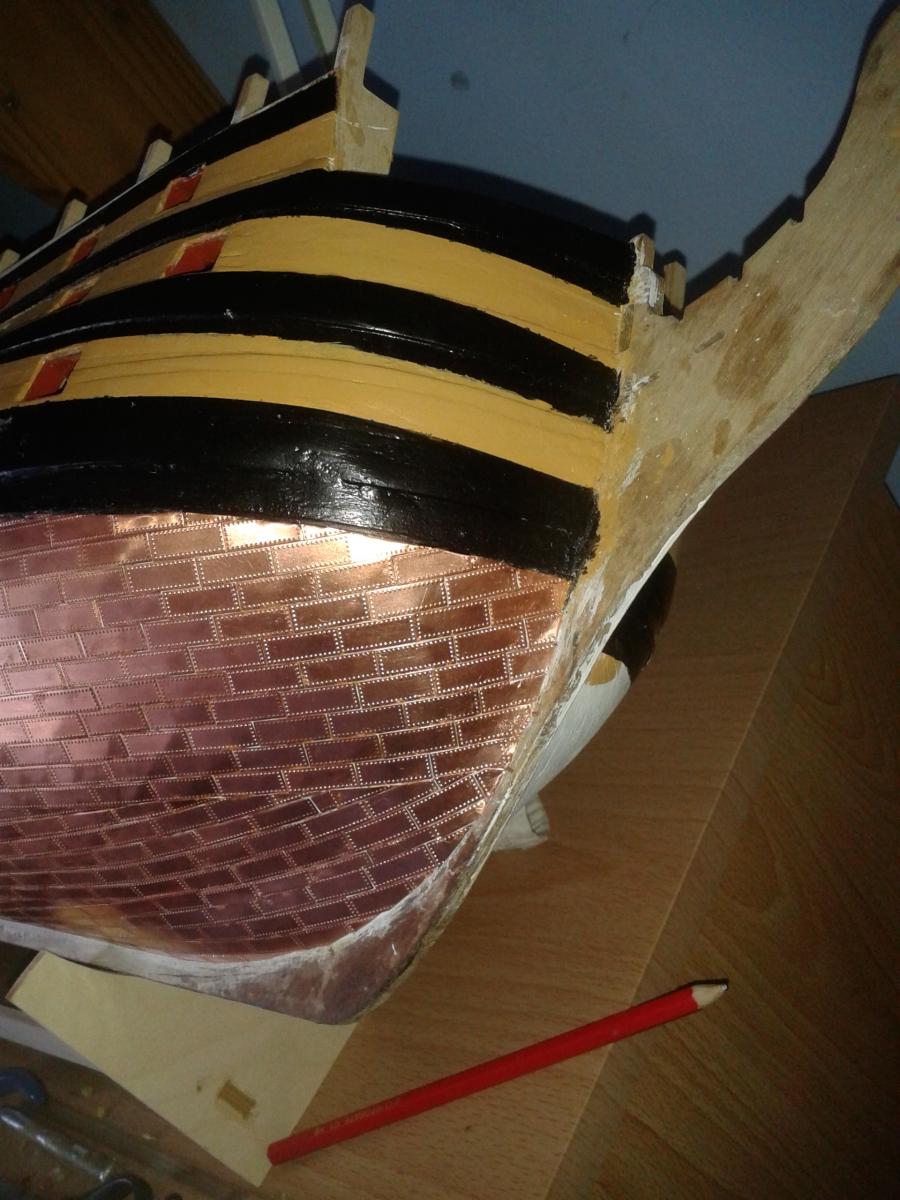
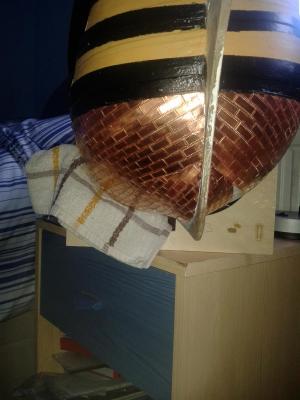
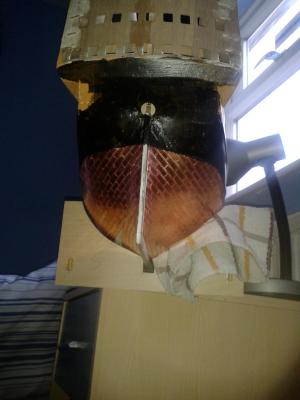
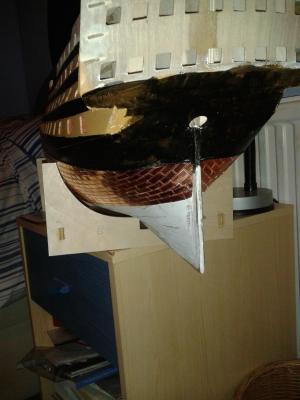
Yesterday I managed to complete the stern copper plating, and today I have managed to finish the Stern copper plating. Just need to complete the infill amidships, which will probably require a couple boat build session to complete. After that I will copper plate the stern post and keelson, so I'm confident all this work will be completed by next weekend. Once plating is complete I will need to add some copper paint to cover up the white undercoat which is showing between the few of the plates. This will be followed by a good clean and polish before finally applying a couple coats of matt varnish.


-
David and Rich Many thanks for you visit to my log and positive comments. I have been enjoying the plating phase but now ready for the next challenge. I will probably polish and varnish the plates when completed. Did you use anything special for the polishing David?
-
Just a quick update as I have finally completed the copper plating at the stern, so there is finally light at the end of the copper plating tunnel, hope to complete this phase by the end of next weekend.


-
Managed 3 hours of copper plating tonight which has moved the progress along quite a bit. I'm not having any problems with the fumes, The window is open in the workshop area and I tend to limit my plating time to 1 hour sessions, although it was a 2 hour session followed by an 1 hour session after a 30 minute break tonight. Soon be time to start thinking about the mass production of 30 cannons.


-
Your Victory build is exceptional and I can only hope my build turns out like yours.
-
Peter Have a look at Gil' s Victory build log as he has plenty of advice about staining the rigging.
-
Work still progressing on the post side copper plating.

-
Thanks for the visit and kind comments Lawrence. Thankfully I'm enjoying the copper plating task, and aim to be complete with the next 2 or 3 weeks then I'm off on holiday for a week.
-
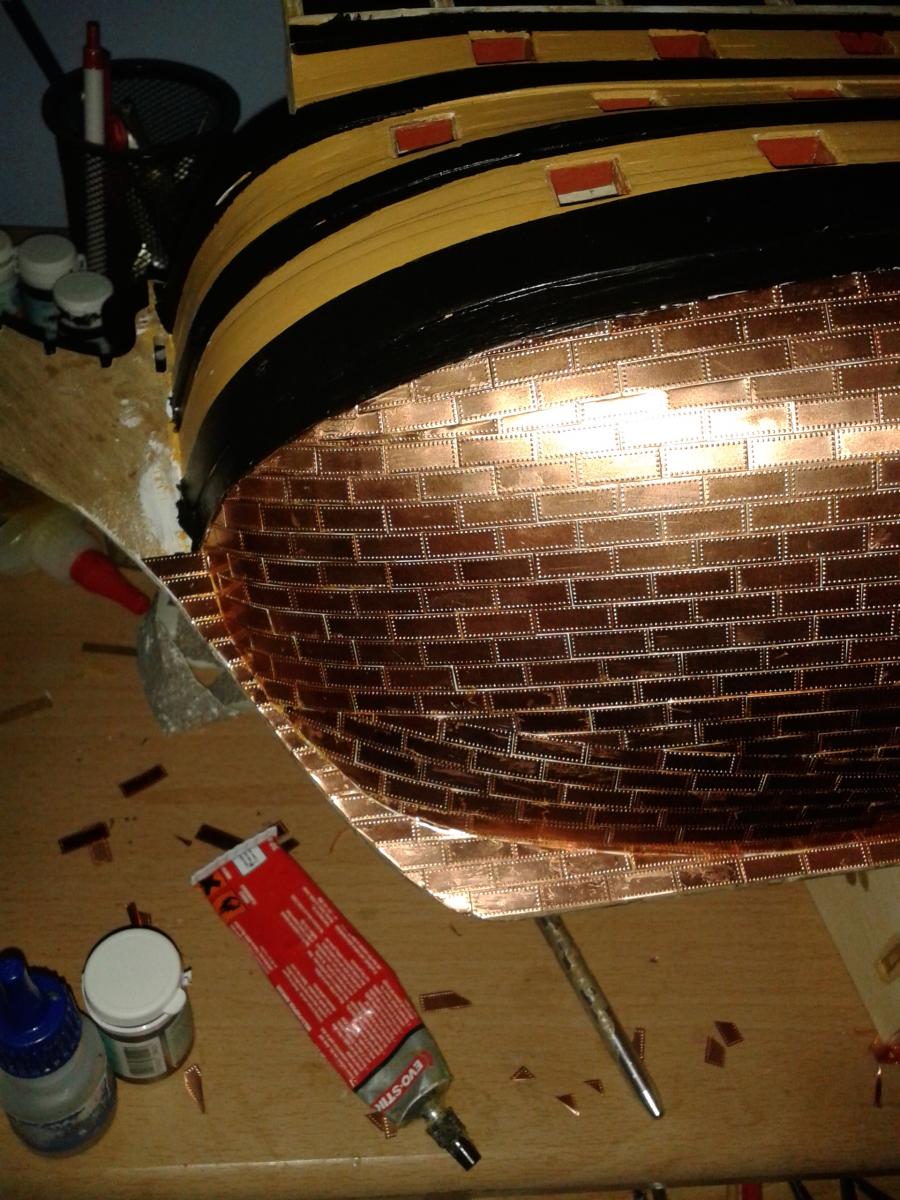
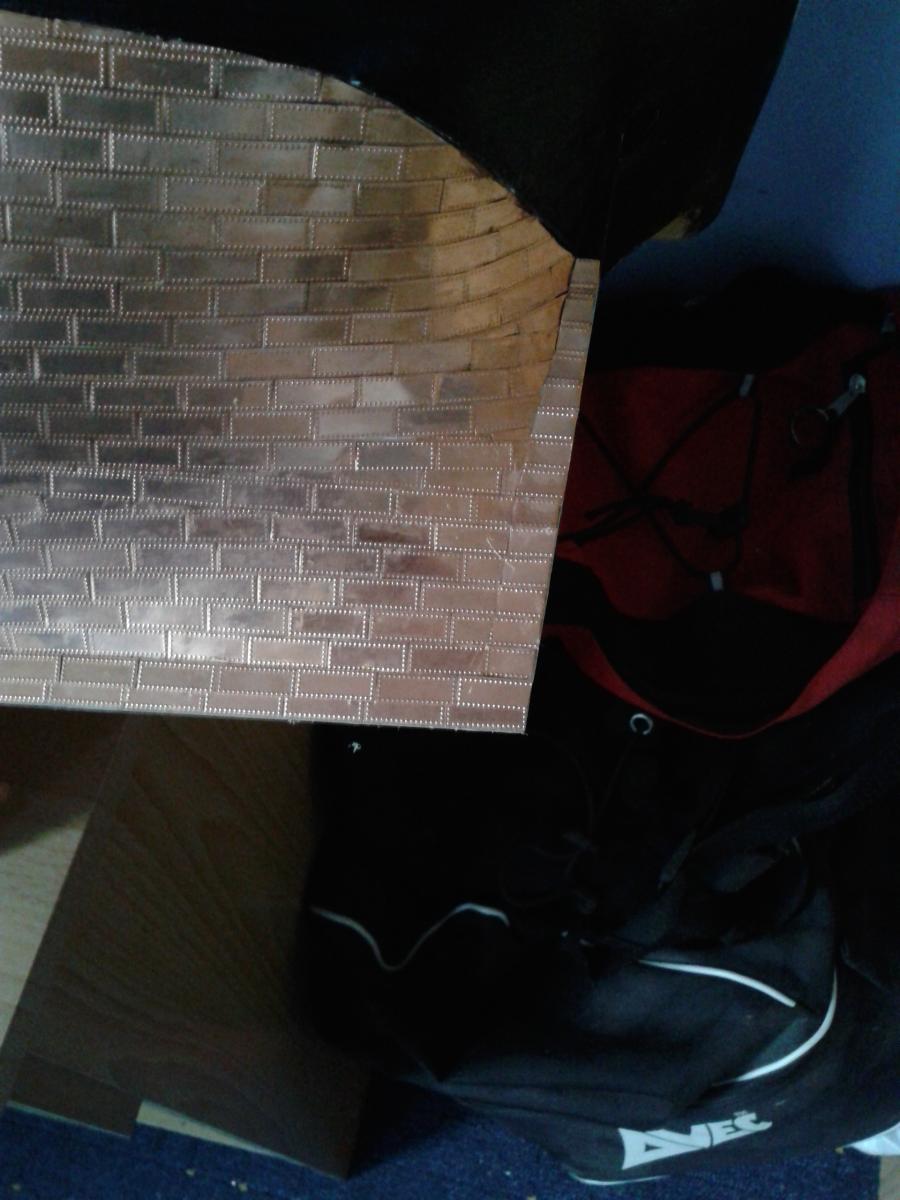
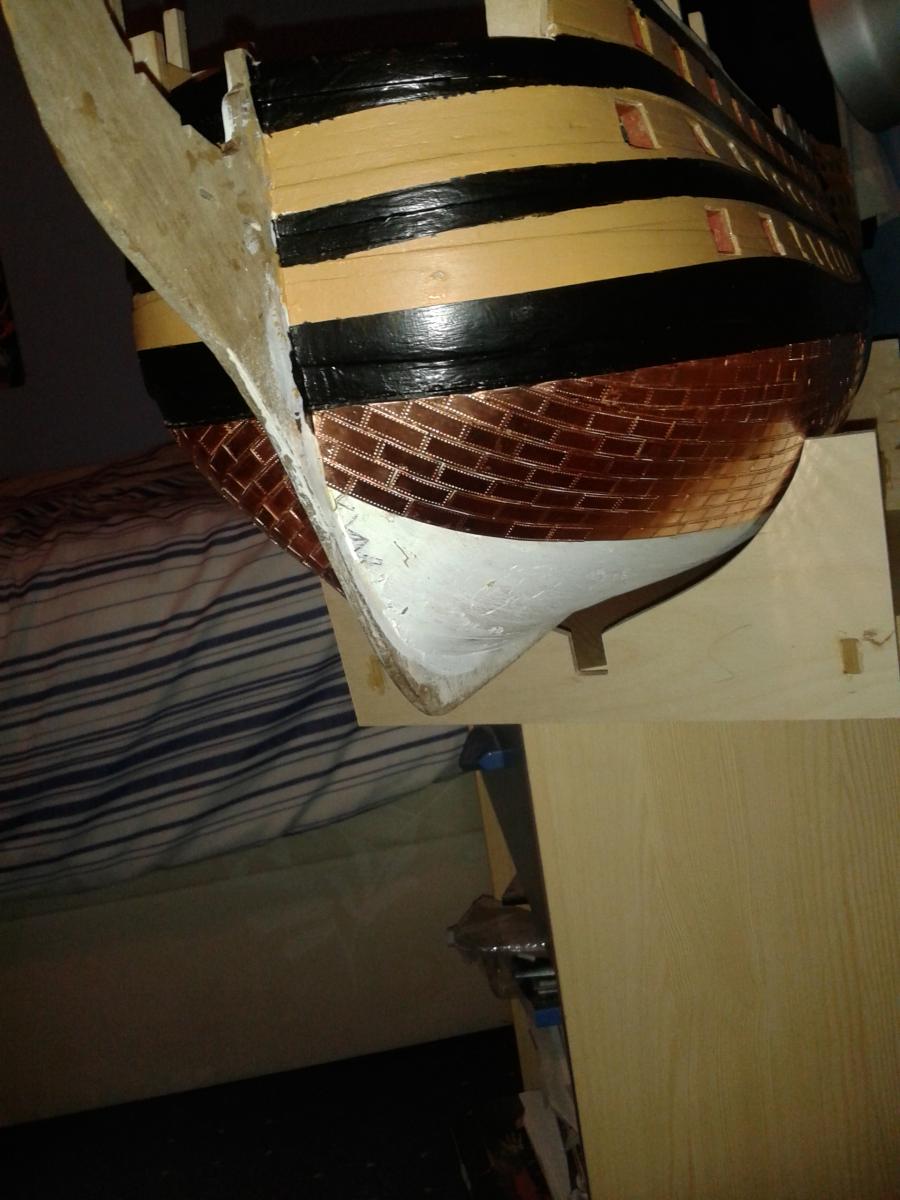
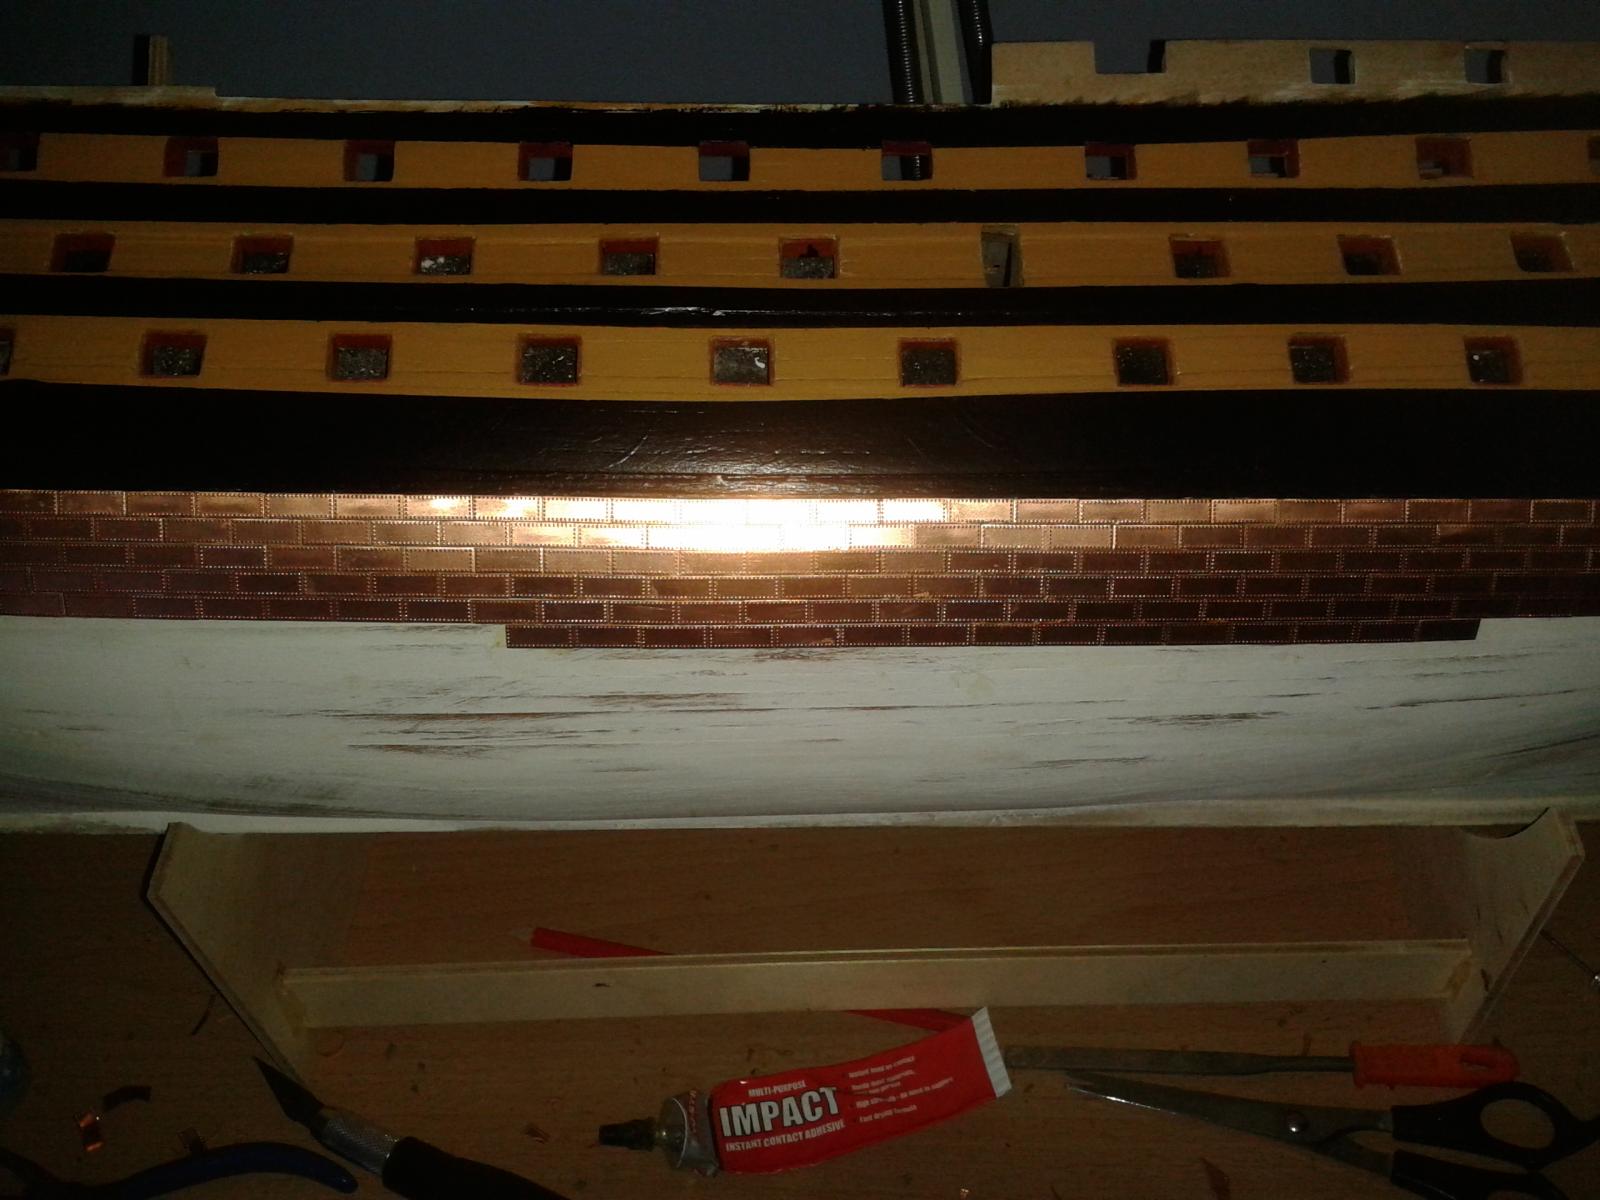
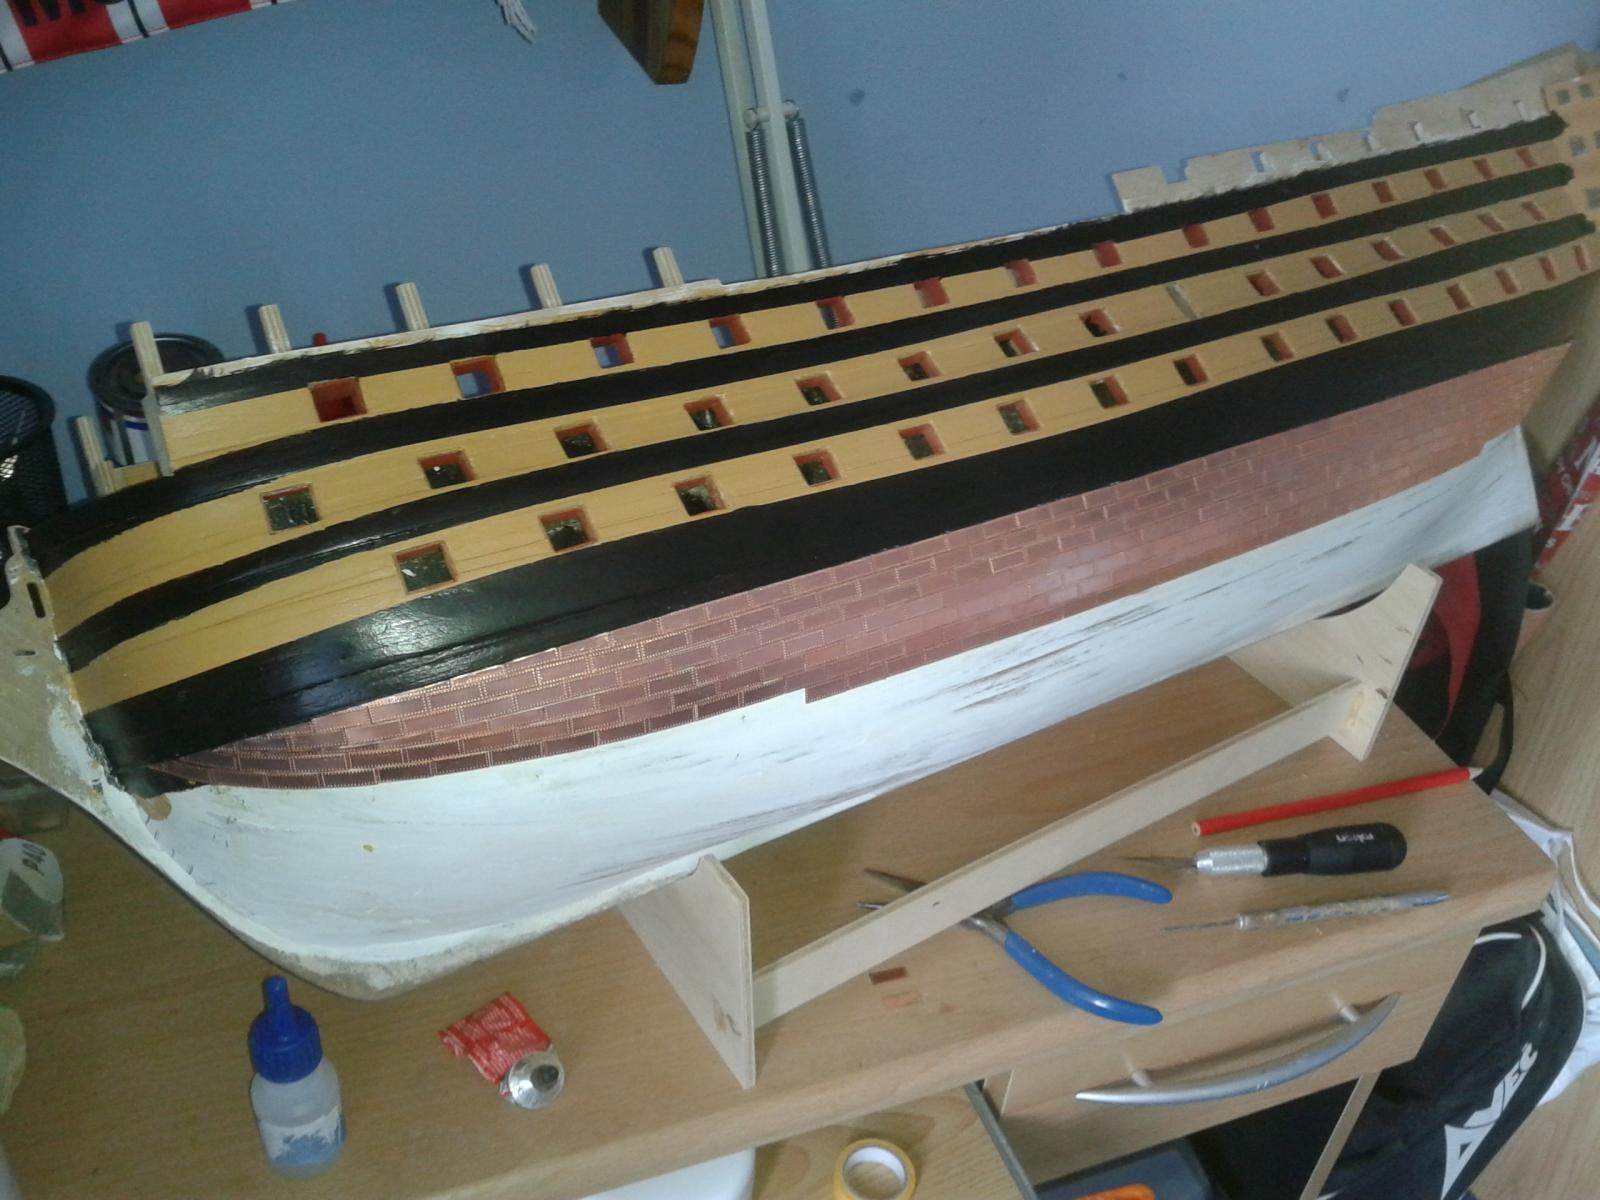
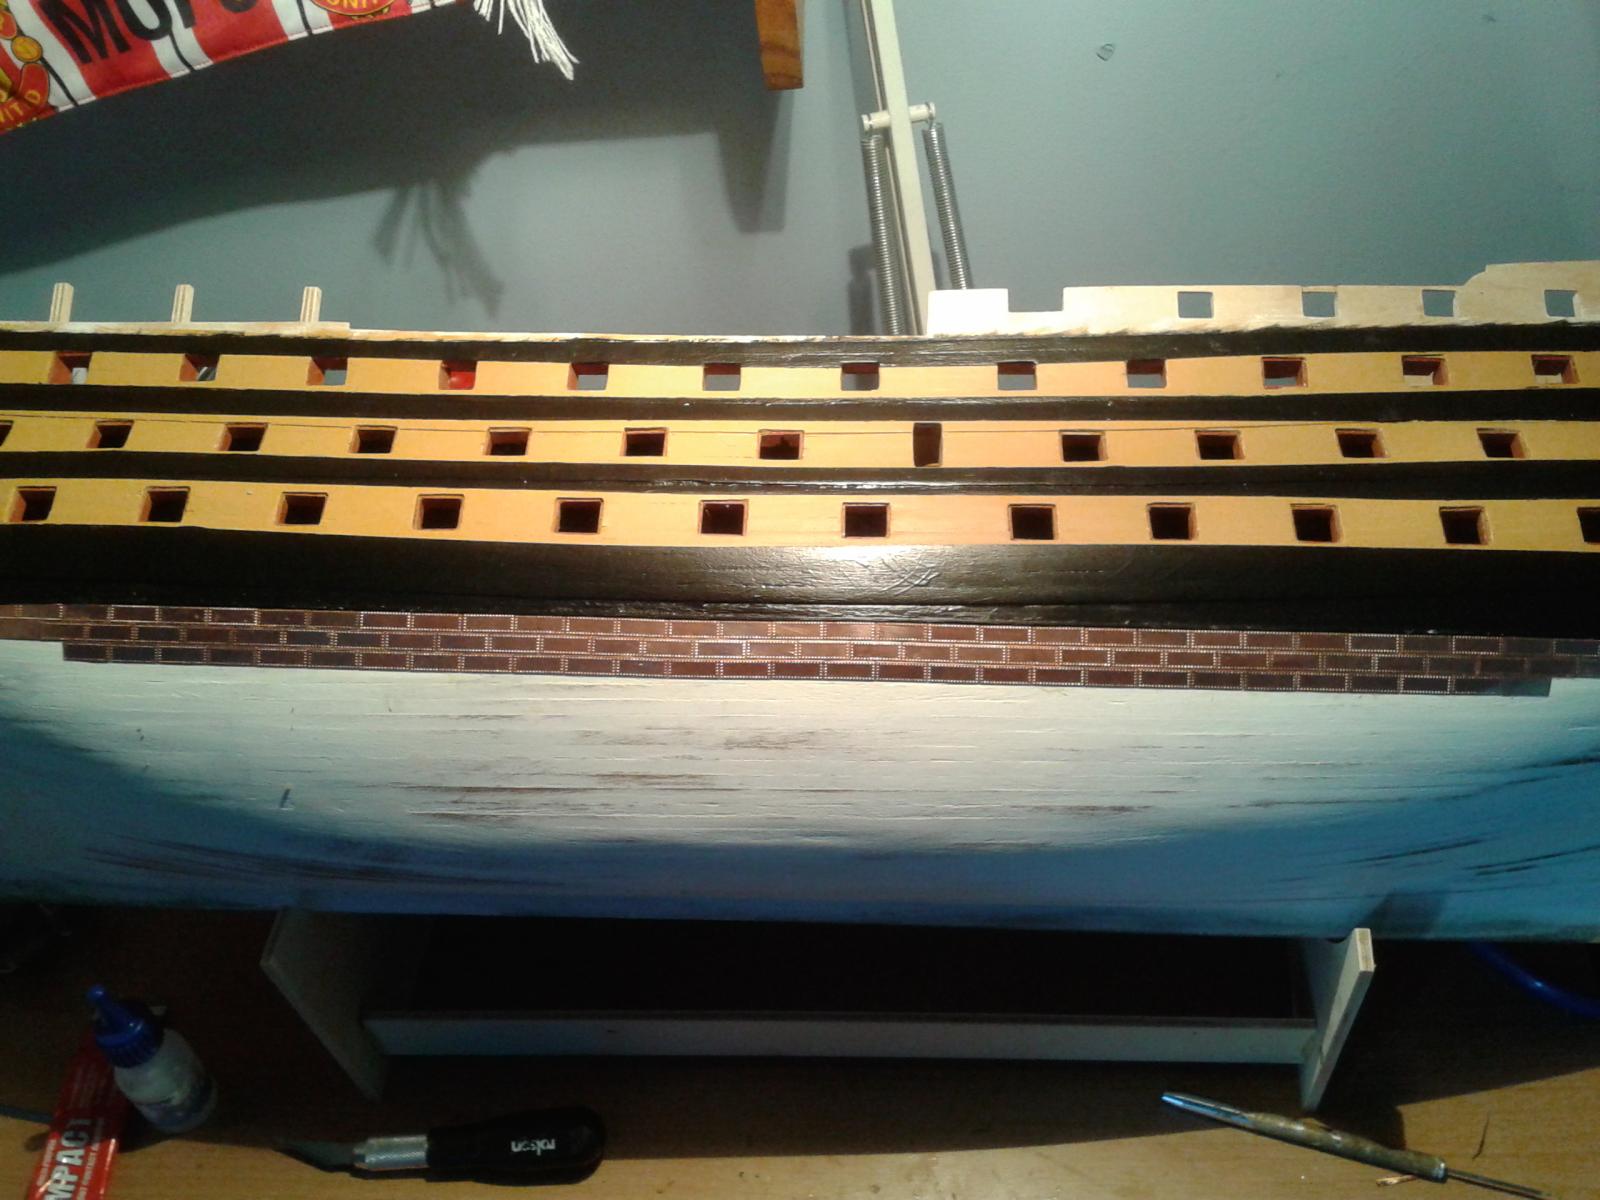
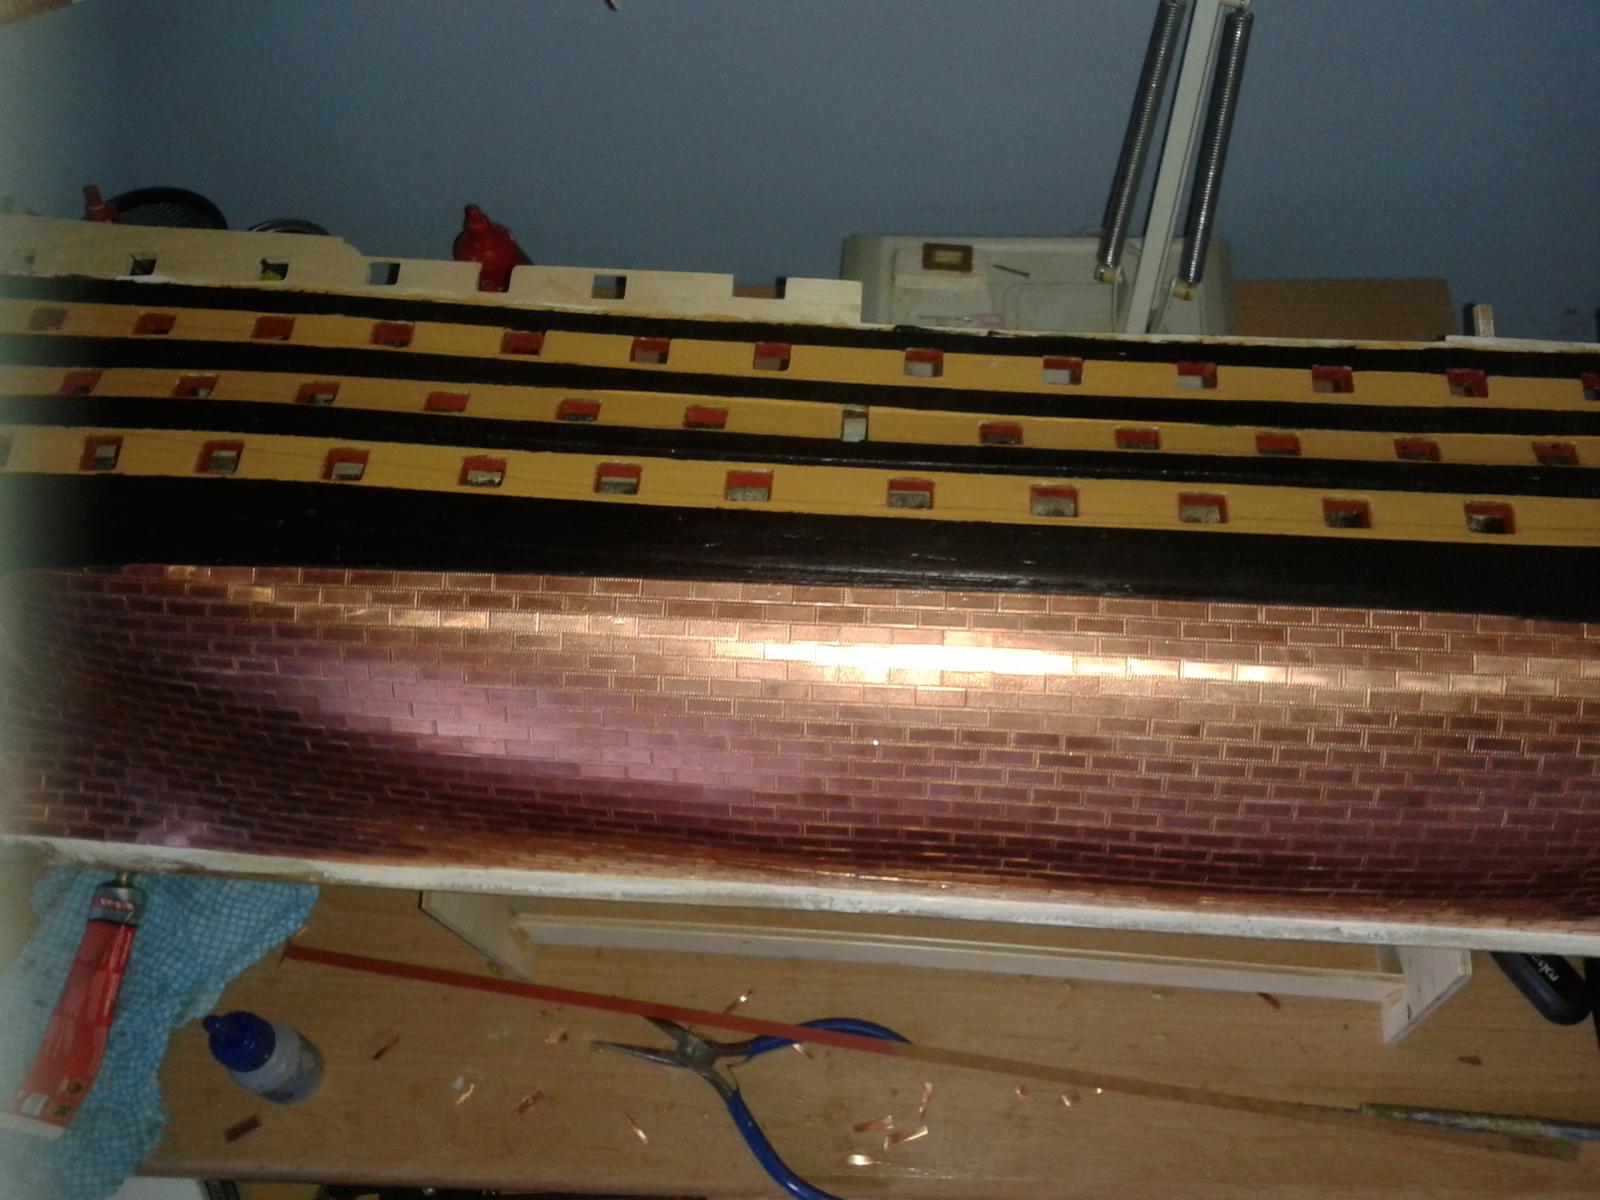
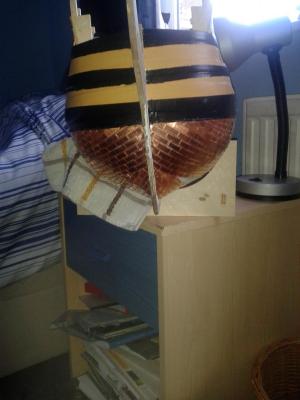
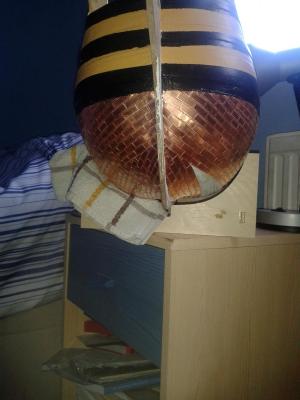
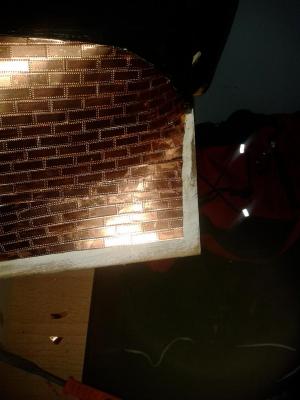
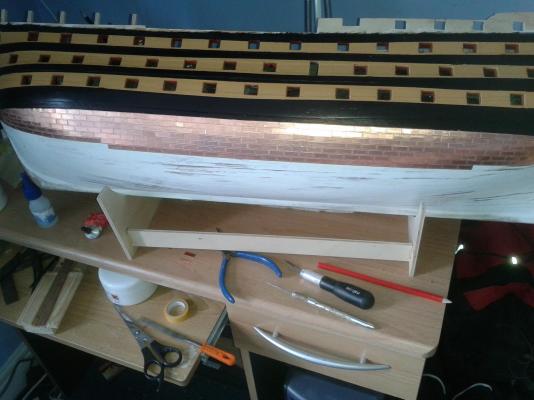
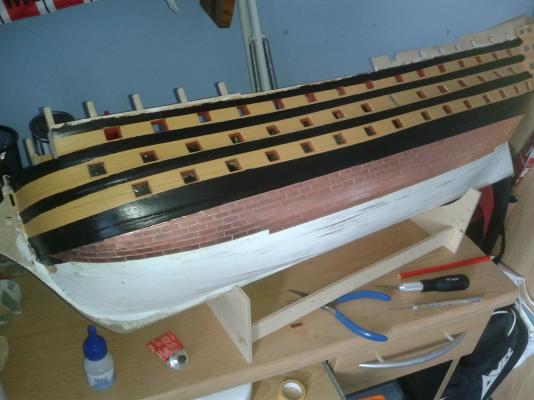
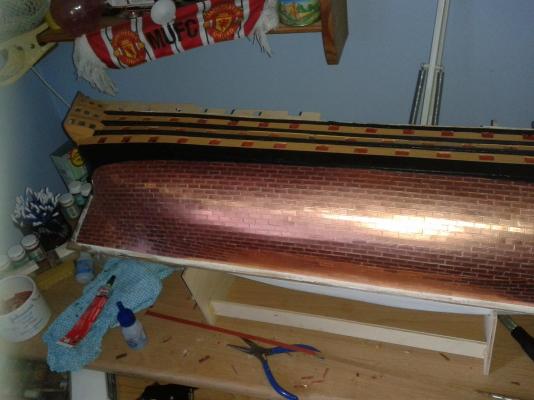
Work has now commenced on the port side of the hull with the seemingly never ending task of installing the copper plating. Slow progress as I have been making sure the platingfollows the same lines as the starboard side. You can see the pencil marks on the first photo where I'm planning the copper plates to run to. There are similar marks on the stern but not seem visible of these photos but they are there.


-
Hi Nick Thanks for the comment I have hotel in Fareham booked for the Friday night so all systems go for HMS Victory on Saturday. I should be Ok with the transport as I have the car, satnav and a fading memory from my times down there in the 80's, but I really appreciate you kind offer. Also hotel booked for Saturday night in London (plus a West End show) as we prepare for the long drive back to Scarborough on the Sunday.
-
Tulle is the way to go, based on information provided by other builders. It's readily available and not very expensive. I had not heard the tip about soaking in diluted glue but I think it sounds like a good idea to try, nothing ventured nothing gained.
-
Hello Rich Glad to see you have got it sorted, good luck with the next phase of your build. I've booked a night in Fareham toward the end of next month so my wife and I can visit HMS Victory. Last time I was down there was in the early 80's when I doing some work on the old navel bases HMS Dryad and HMS Vernon, use to stay in the Ocean hotel in Southsea.
-
Holiday booked for next month which includes a 1 day visit to Portsmouth to look around HMS Victory.
-
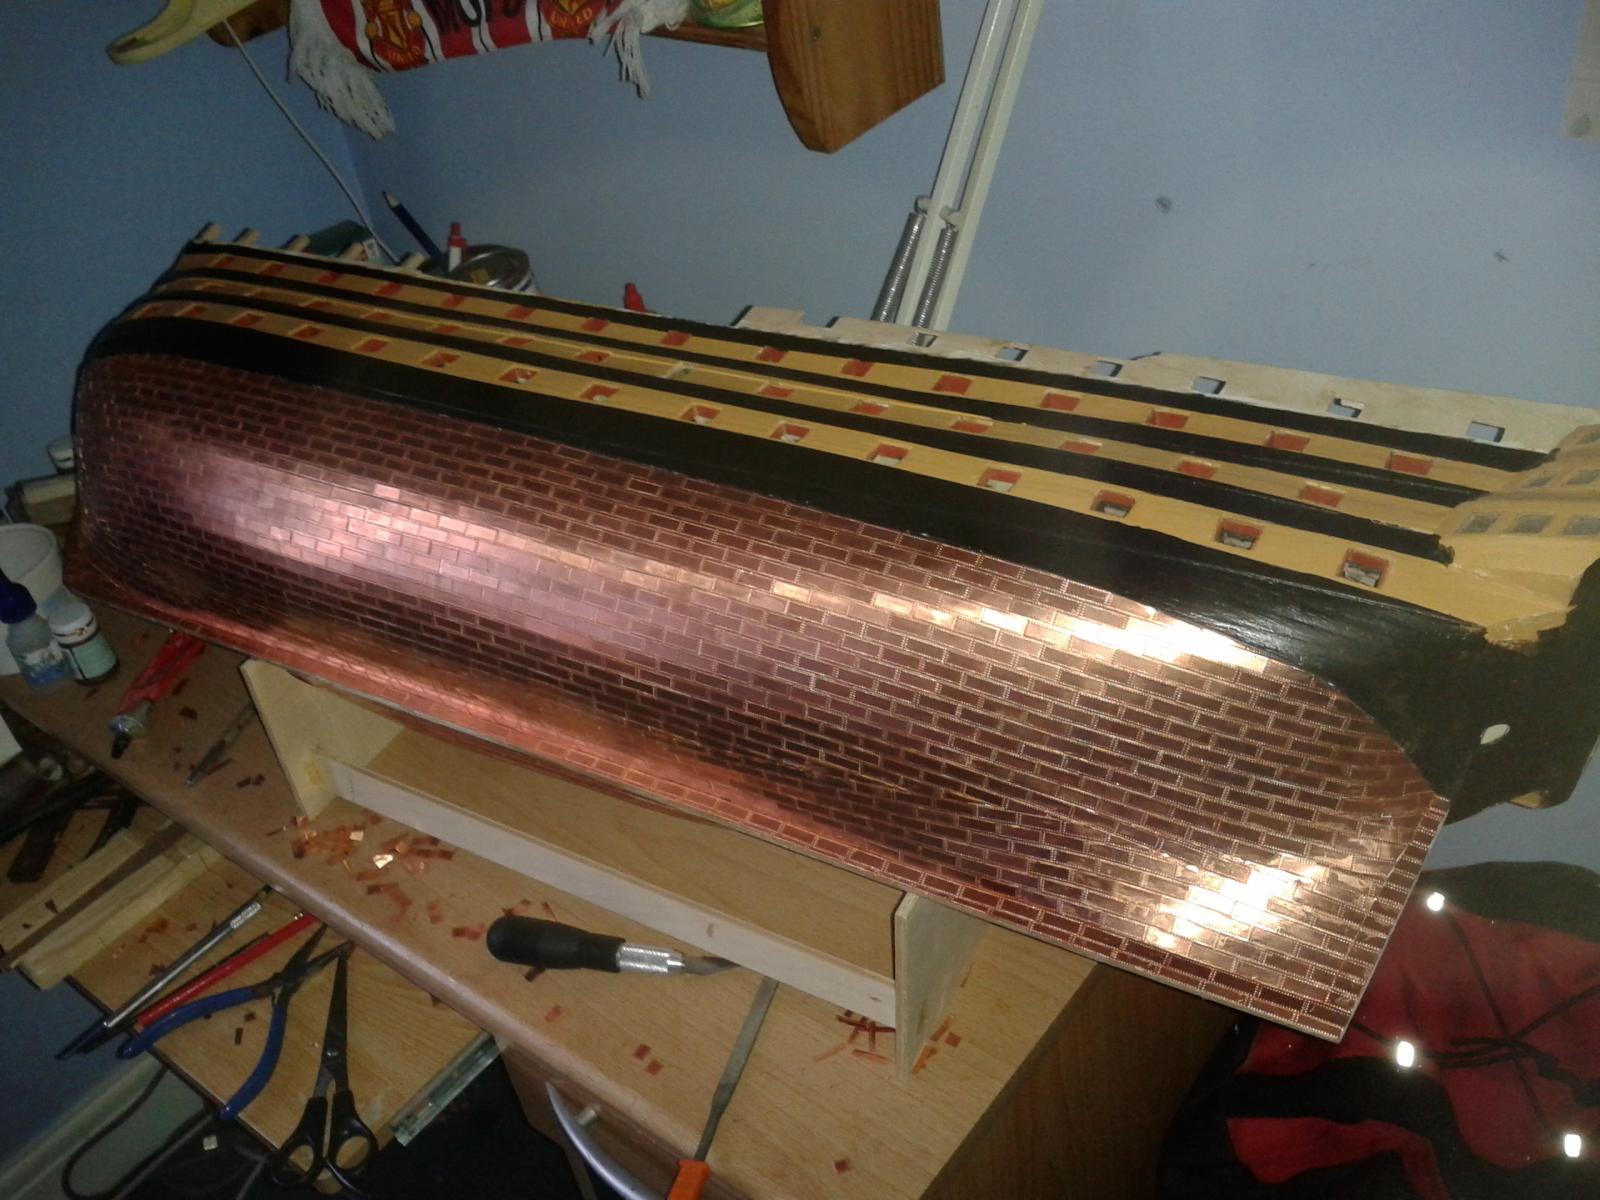
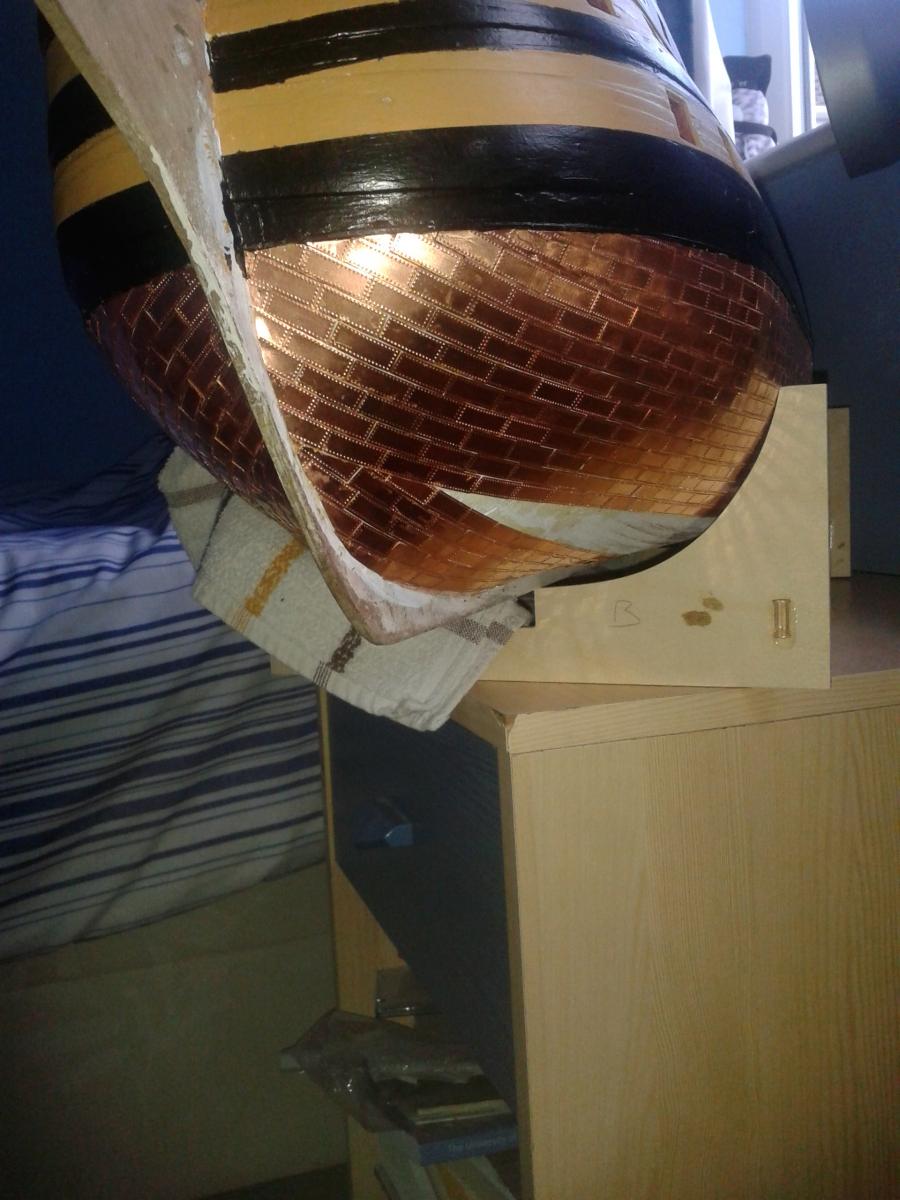
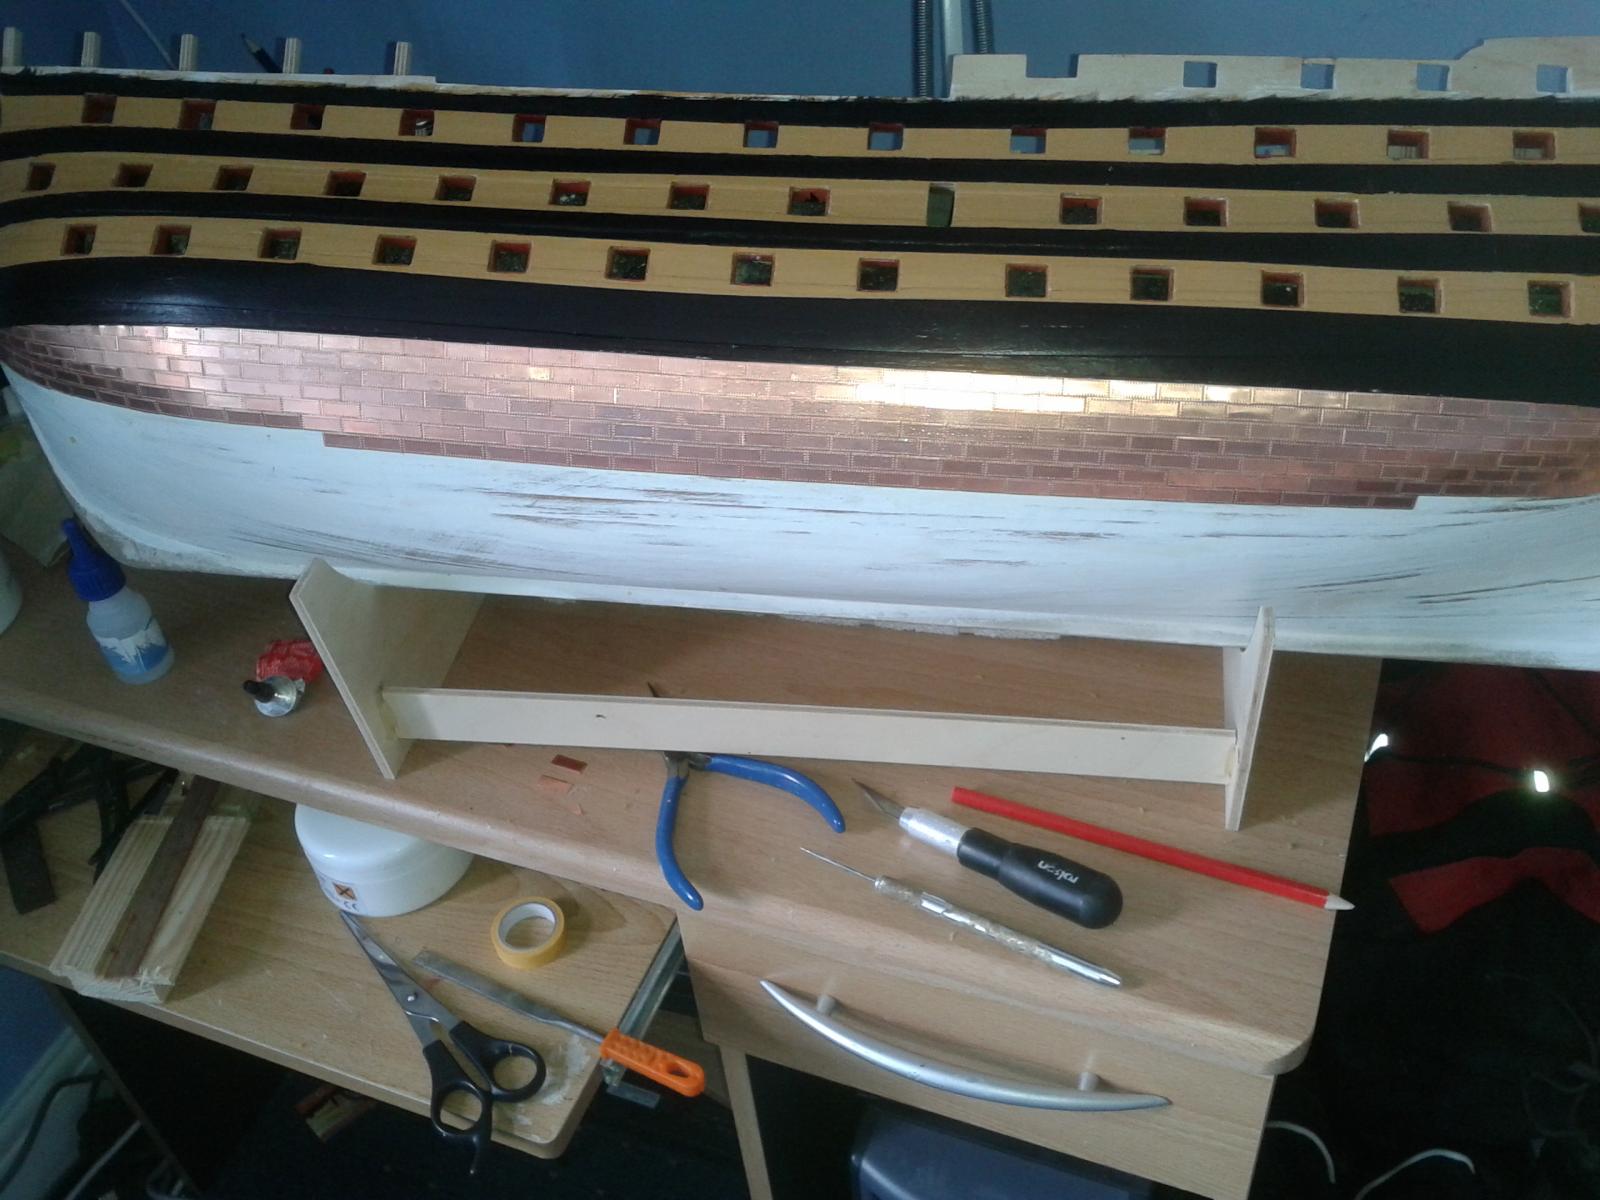
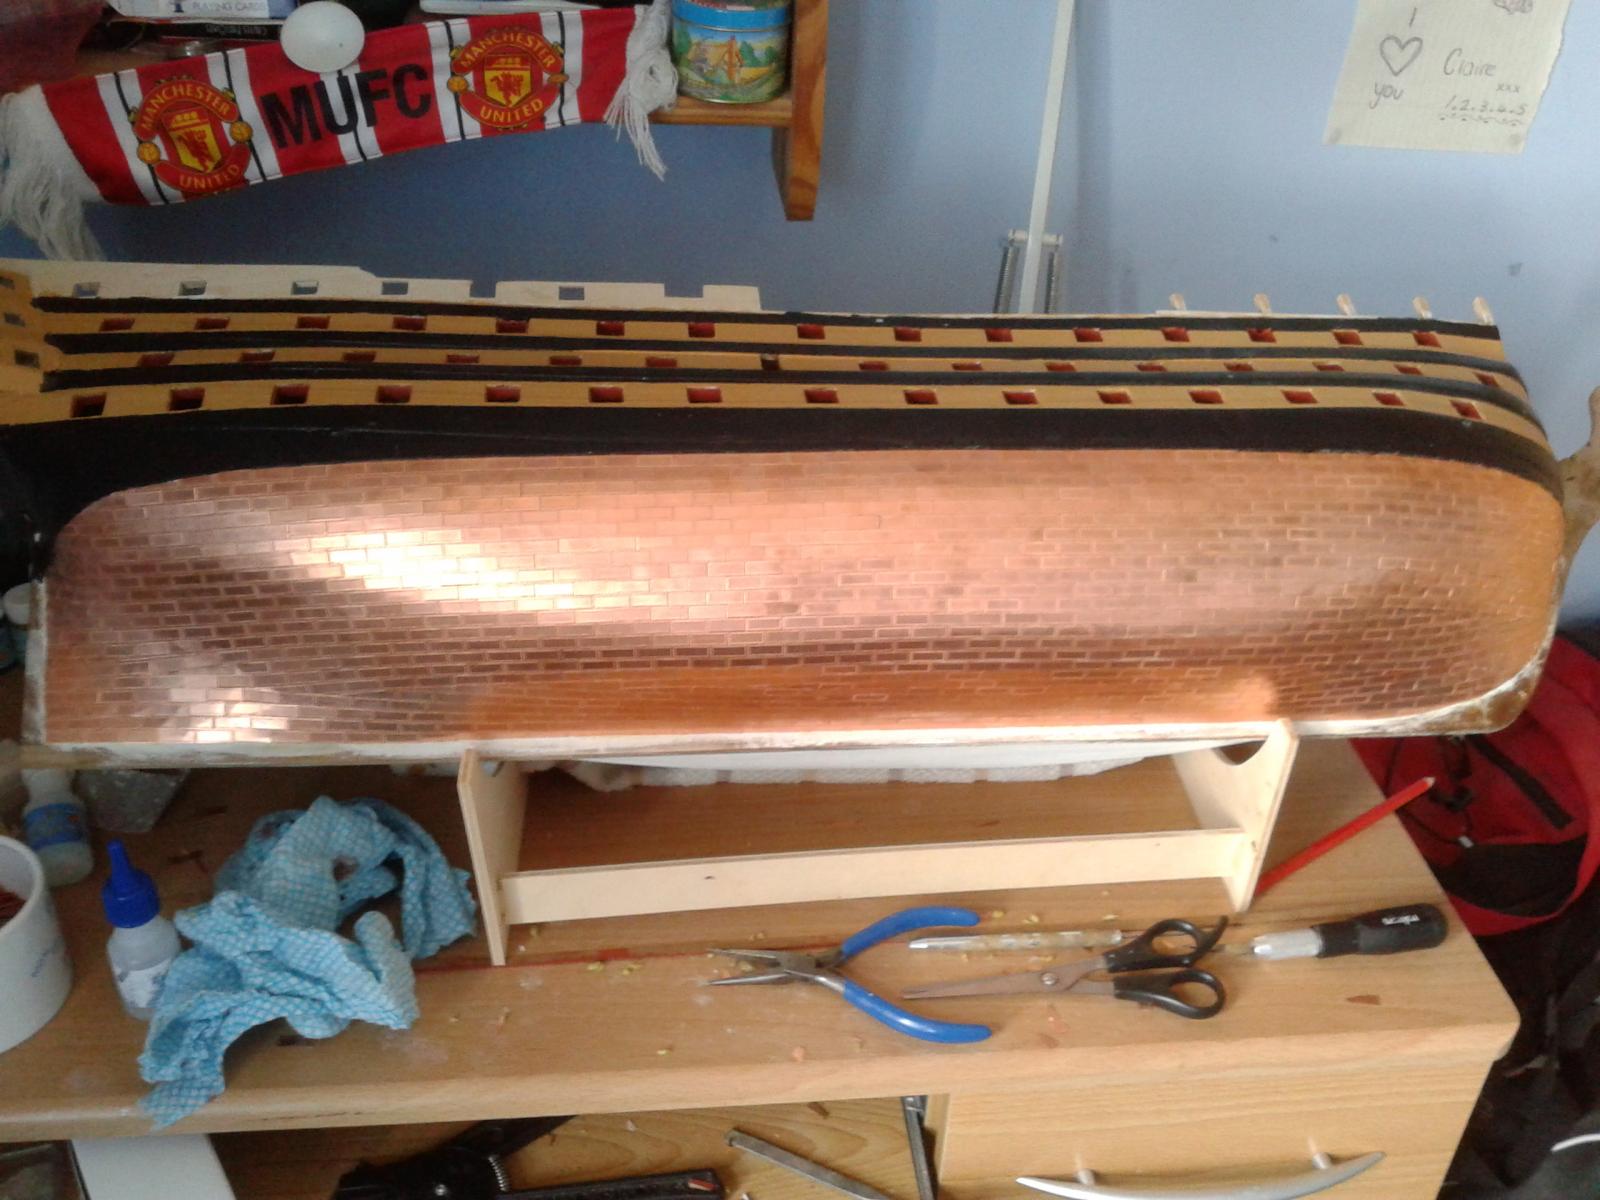
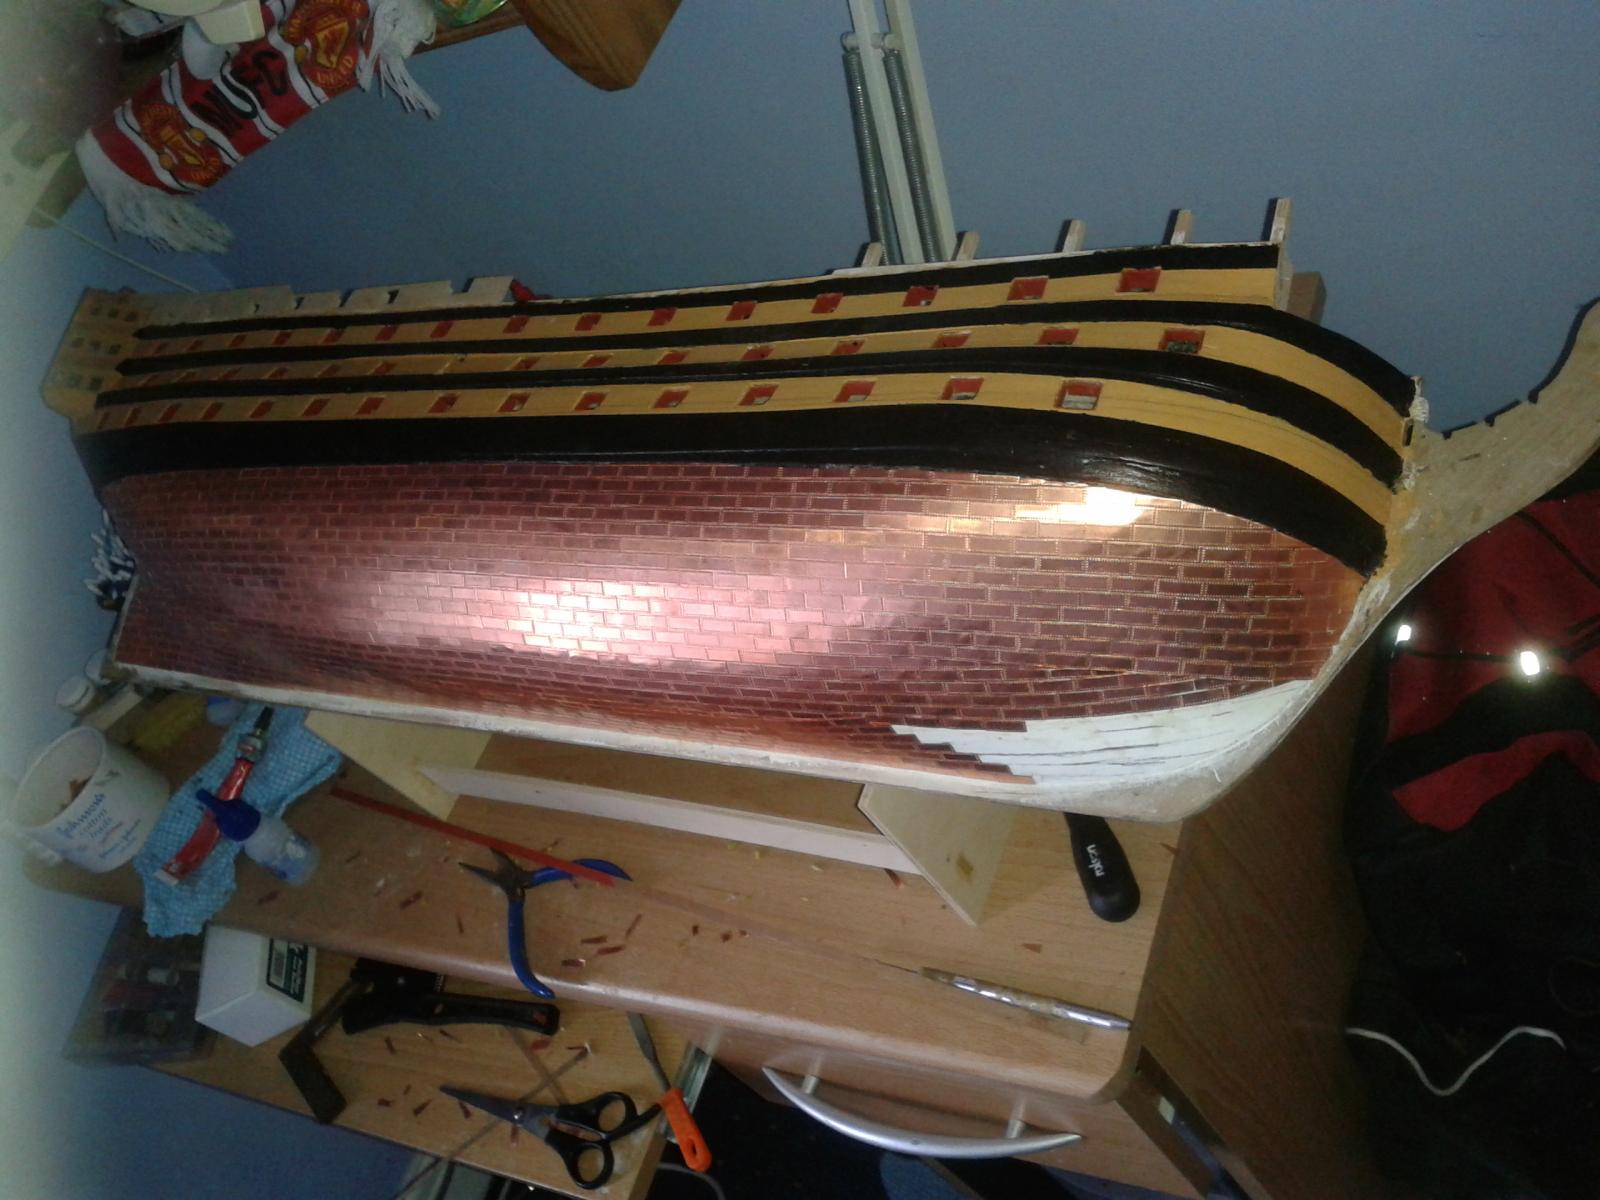
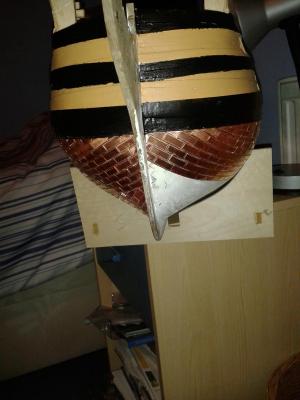
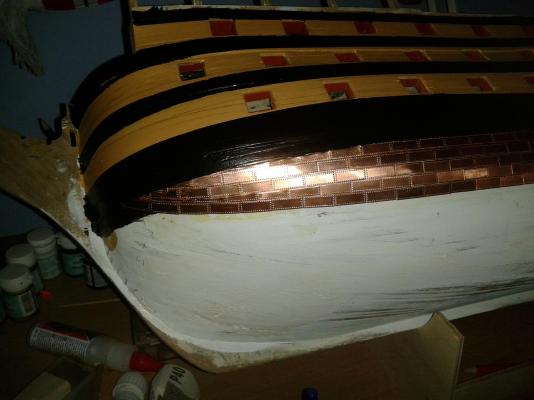
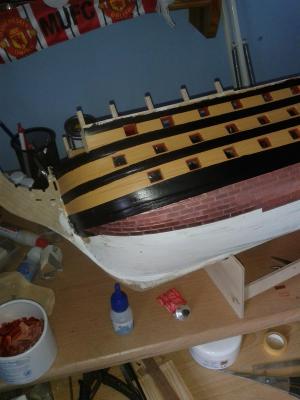
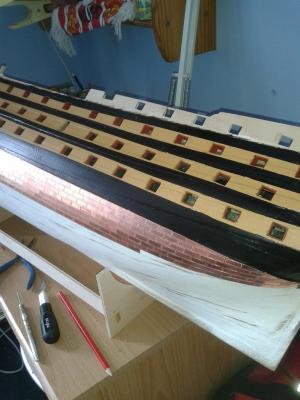
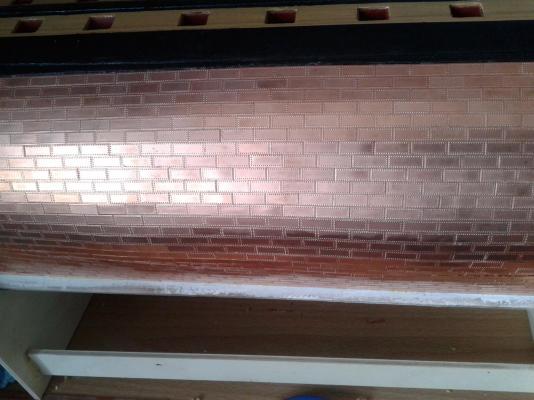
Finally complete the starboard side copper plating. I felt this was a major milestone until I realised I have it all to do again on the port side and then have to plate the stern post and keelson. My plating may not be up to the standard of some of the more accomplished builders but it looks OK, and as was commented on yesterday by my eldest son the plating looks 100% better in real life.


-
Hello Rich I totally agree with David's advise. My inner bulwarks sat high so I also had to trim the bottom edge to get the gun ports to align correctly.
-
Thanks Jerry It is starting to look better now the plating is nearing completion. Have a great holiday.
-
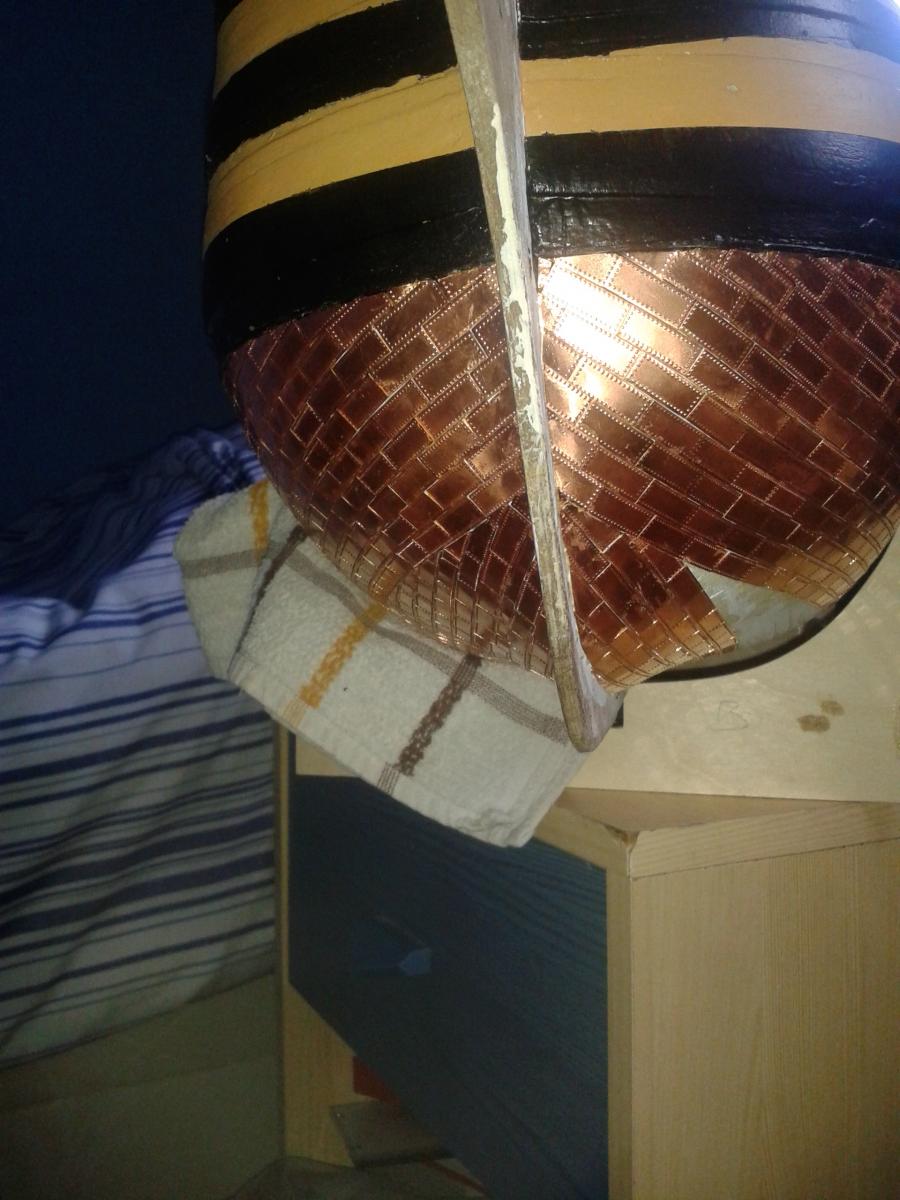
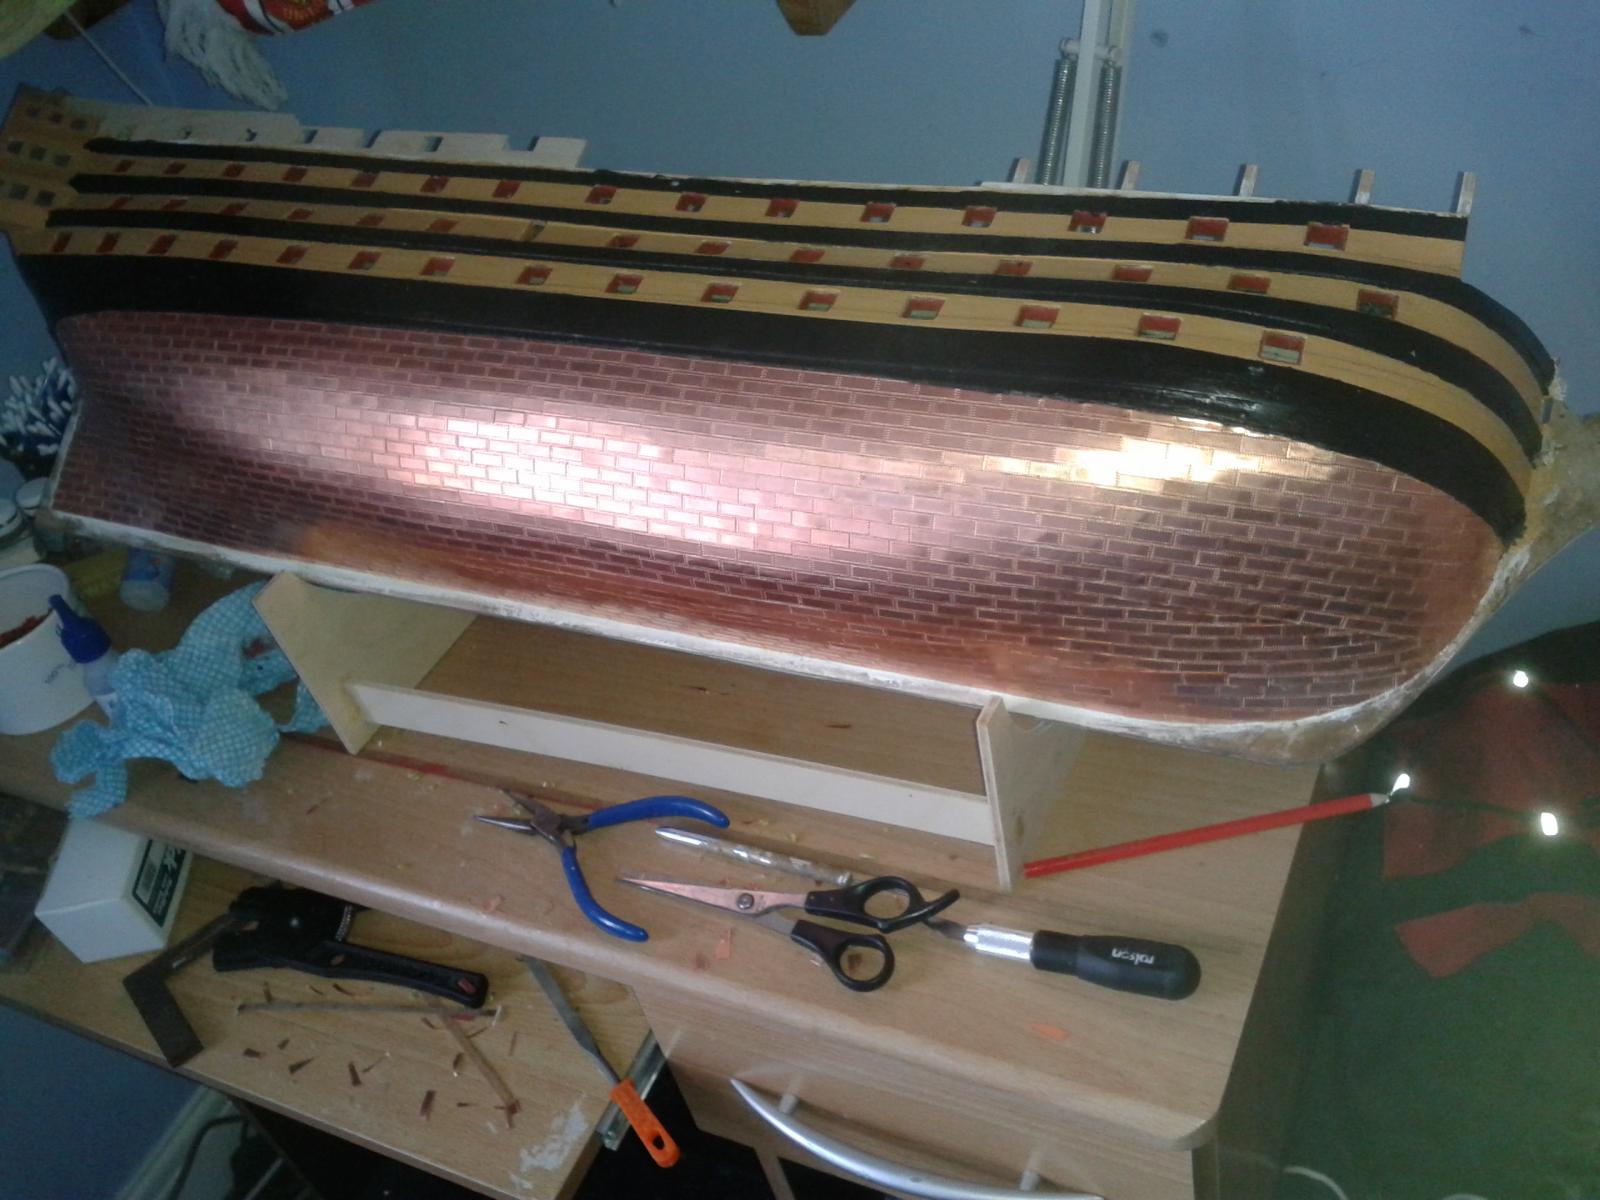
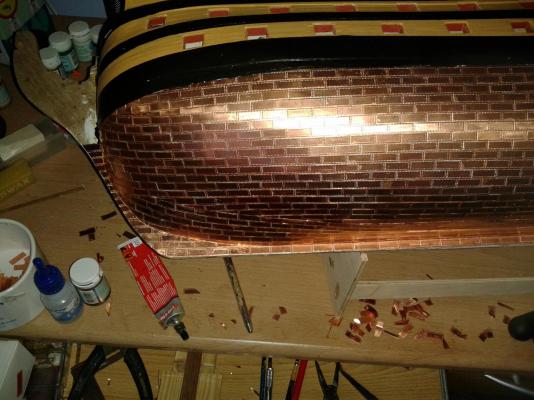
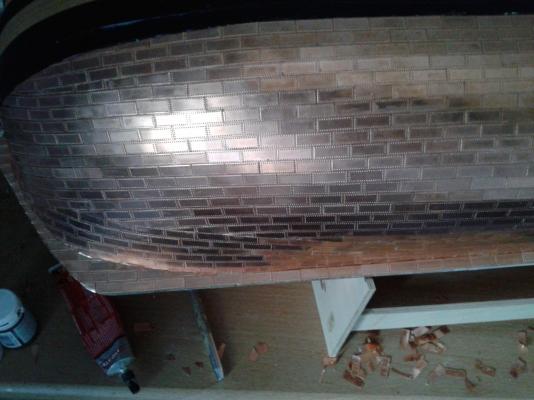
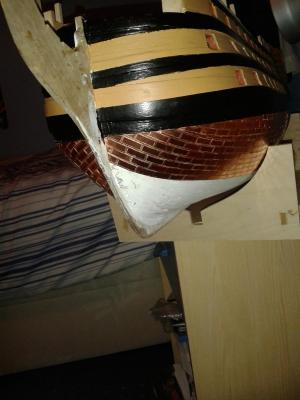
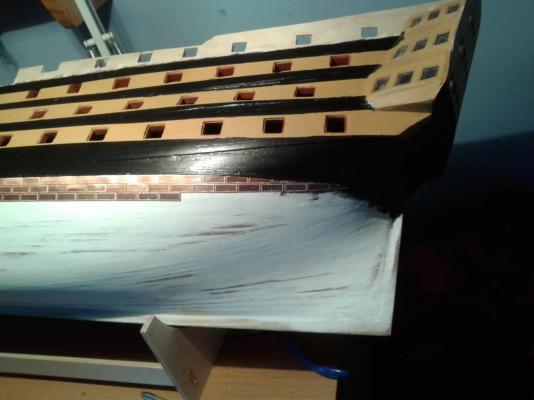
Just a quick update, I have just about completed the copper plating on the starboard side, just a bit to finish around the bow section. I was very pleasantly surprised that, at the widest point, the copper plating was an exact fit between the water line and keel, no trimming or overlapping required!


-
Hello Lawrence Many thanks for your visit to my to and your kind comments. I think CA is better in terms of getting the plates to adhere to the hull around the curves, and I have used for sitting some of the plates. The Evostick glue, which is readily available in the UK, works fine for the majority of the plates, and is easy to clean of plates and fingers. I'm really impressed with your build.