Glenn-UK
-
Posts
3,175 -
Joined
-
Last visited
Content Type
Profiles
Forums
Gallery
Events
Everything posted by Glenn-UK
-
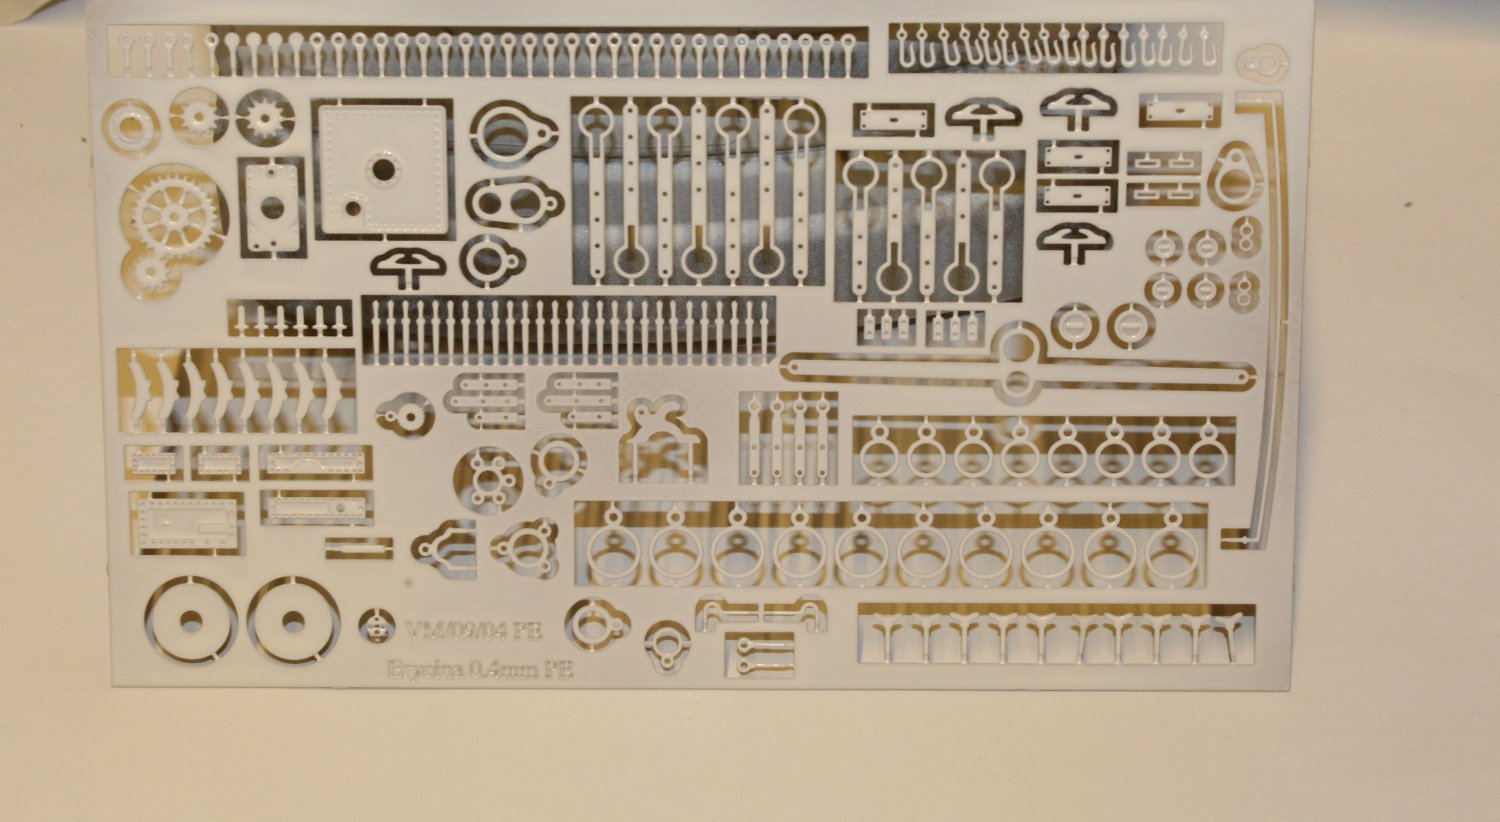
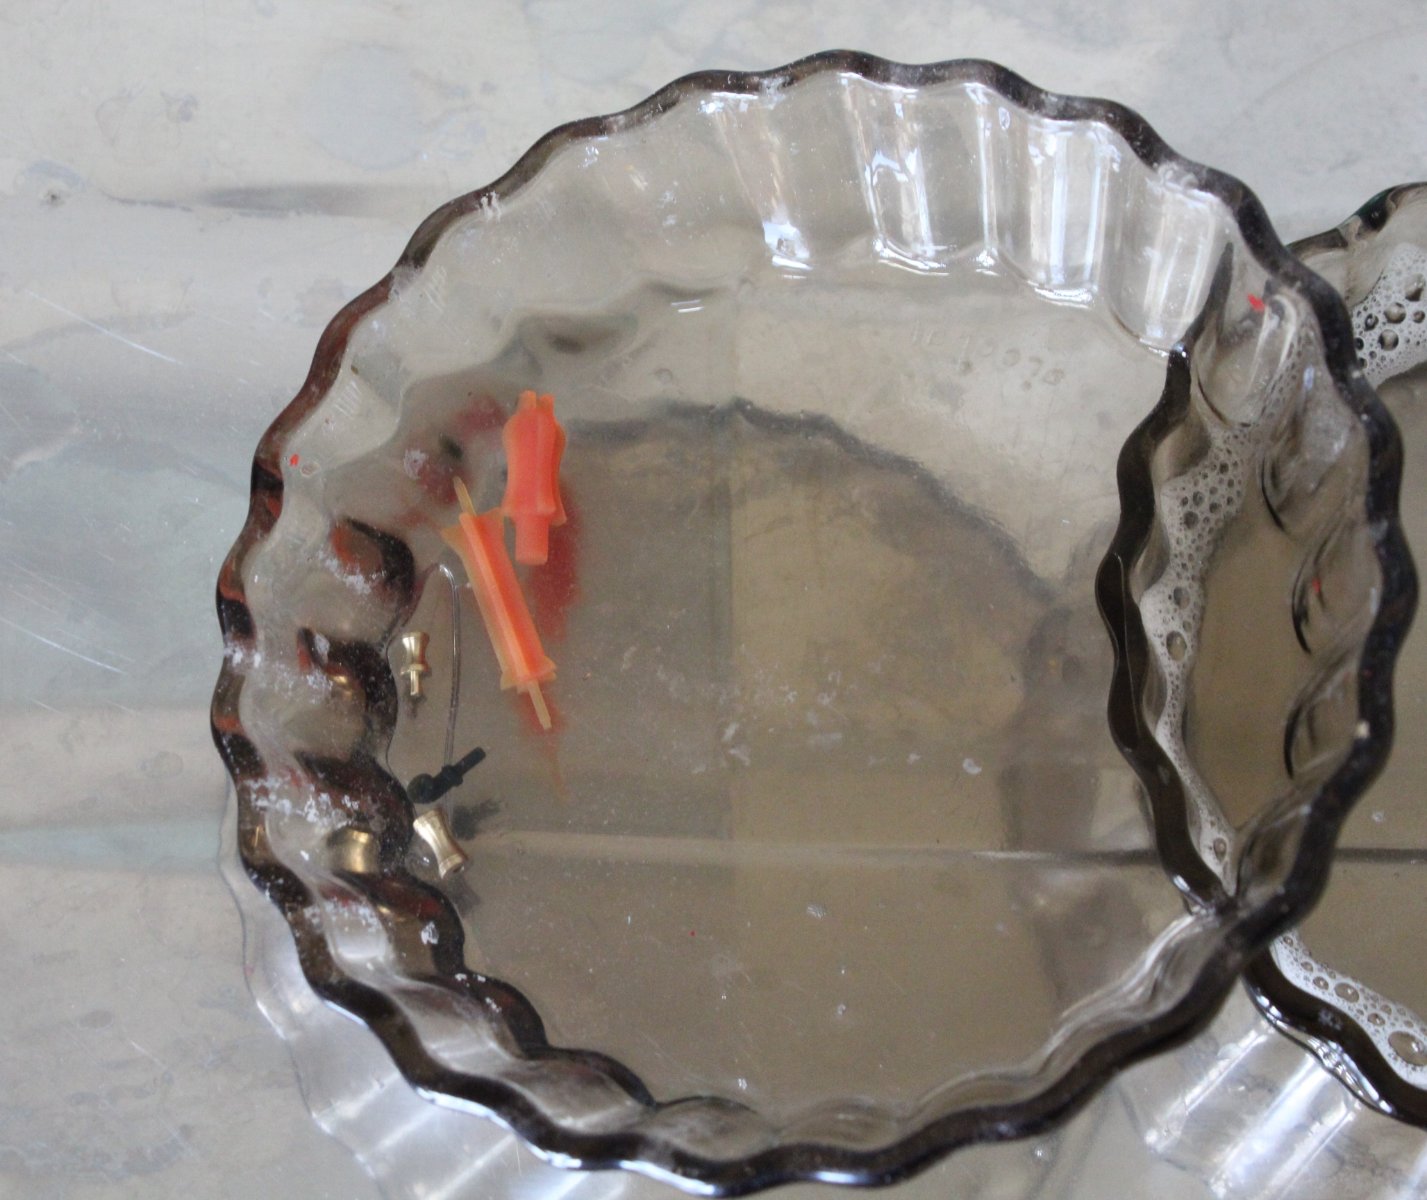
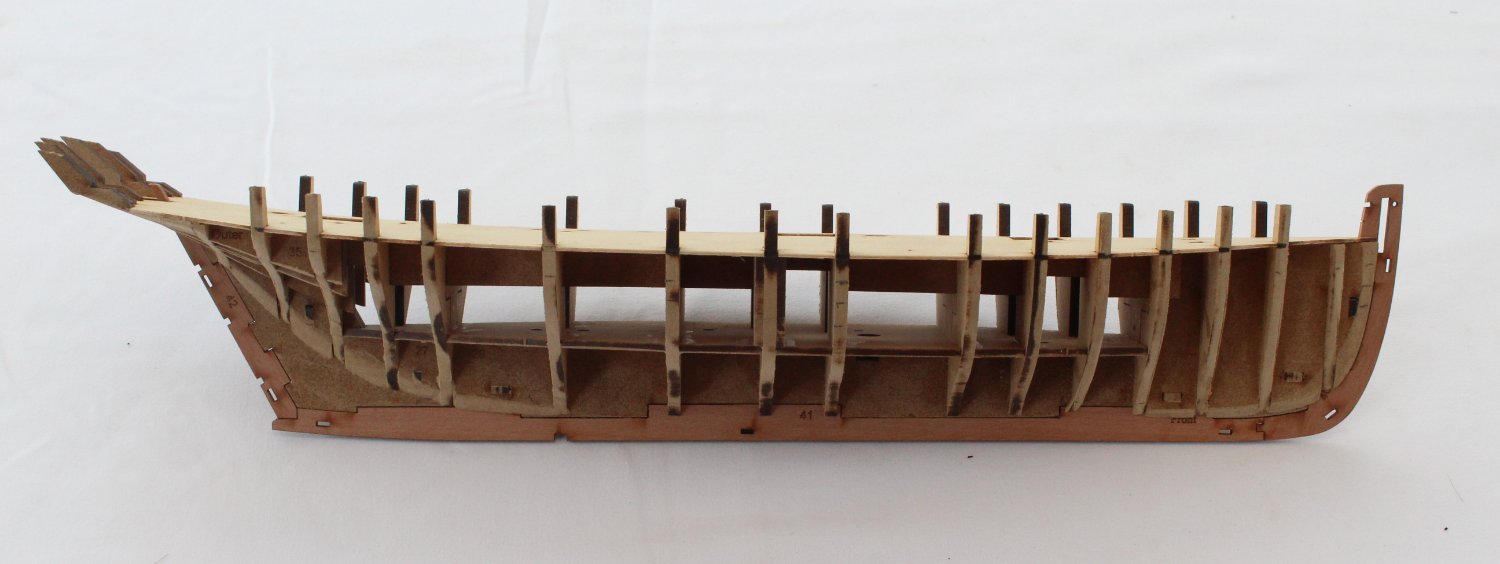
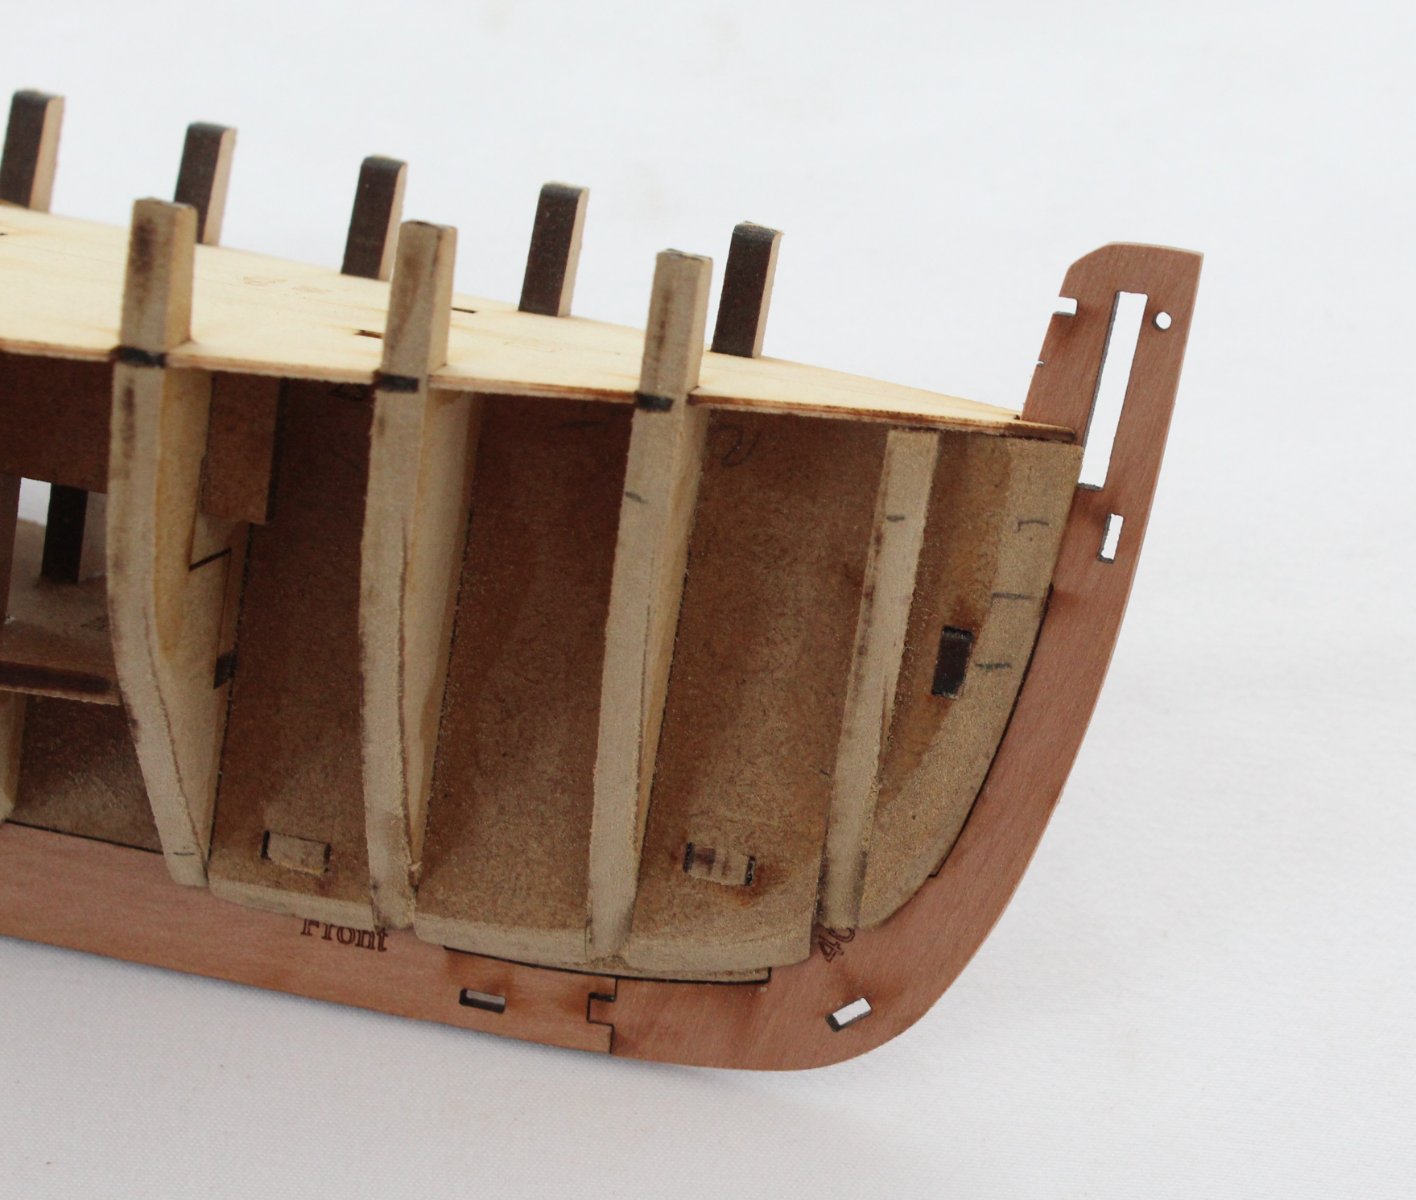
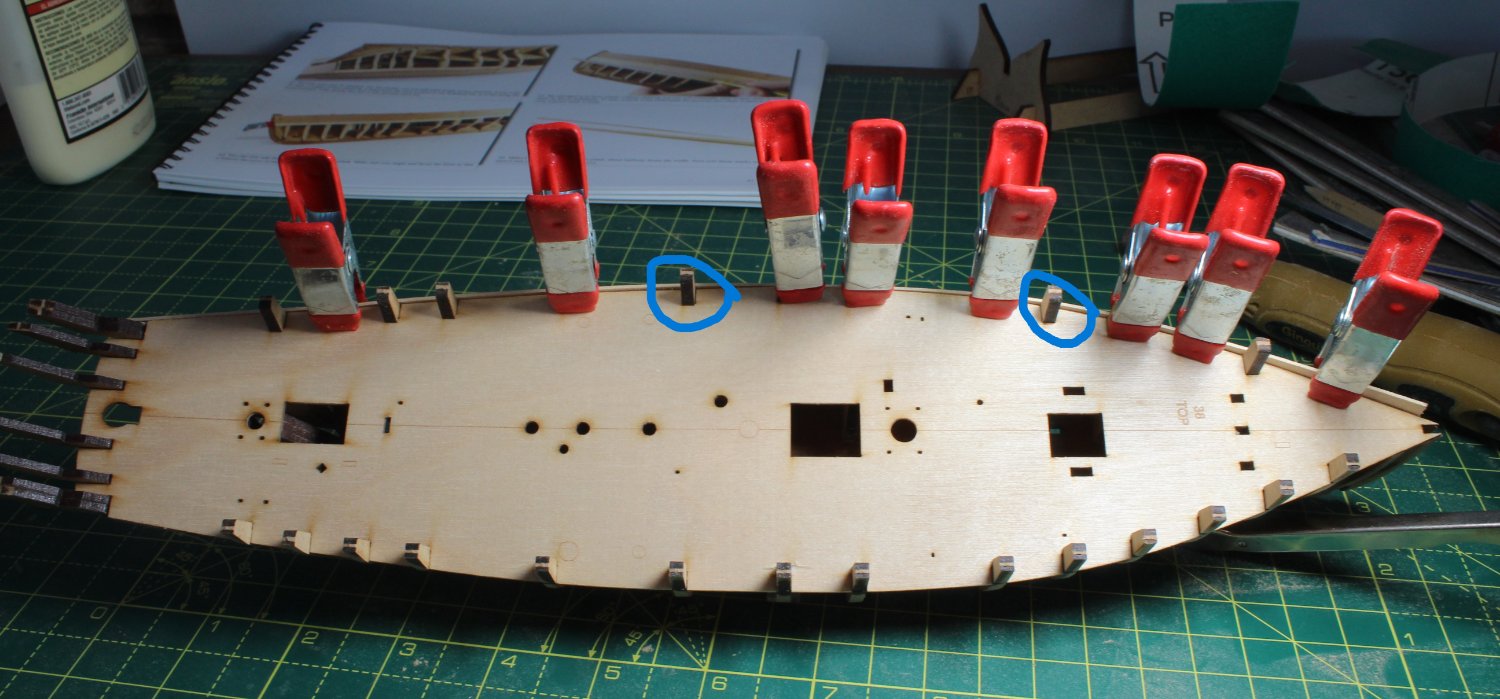
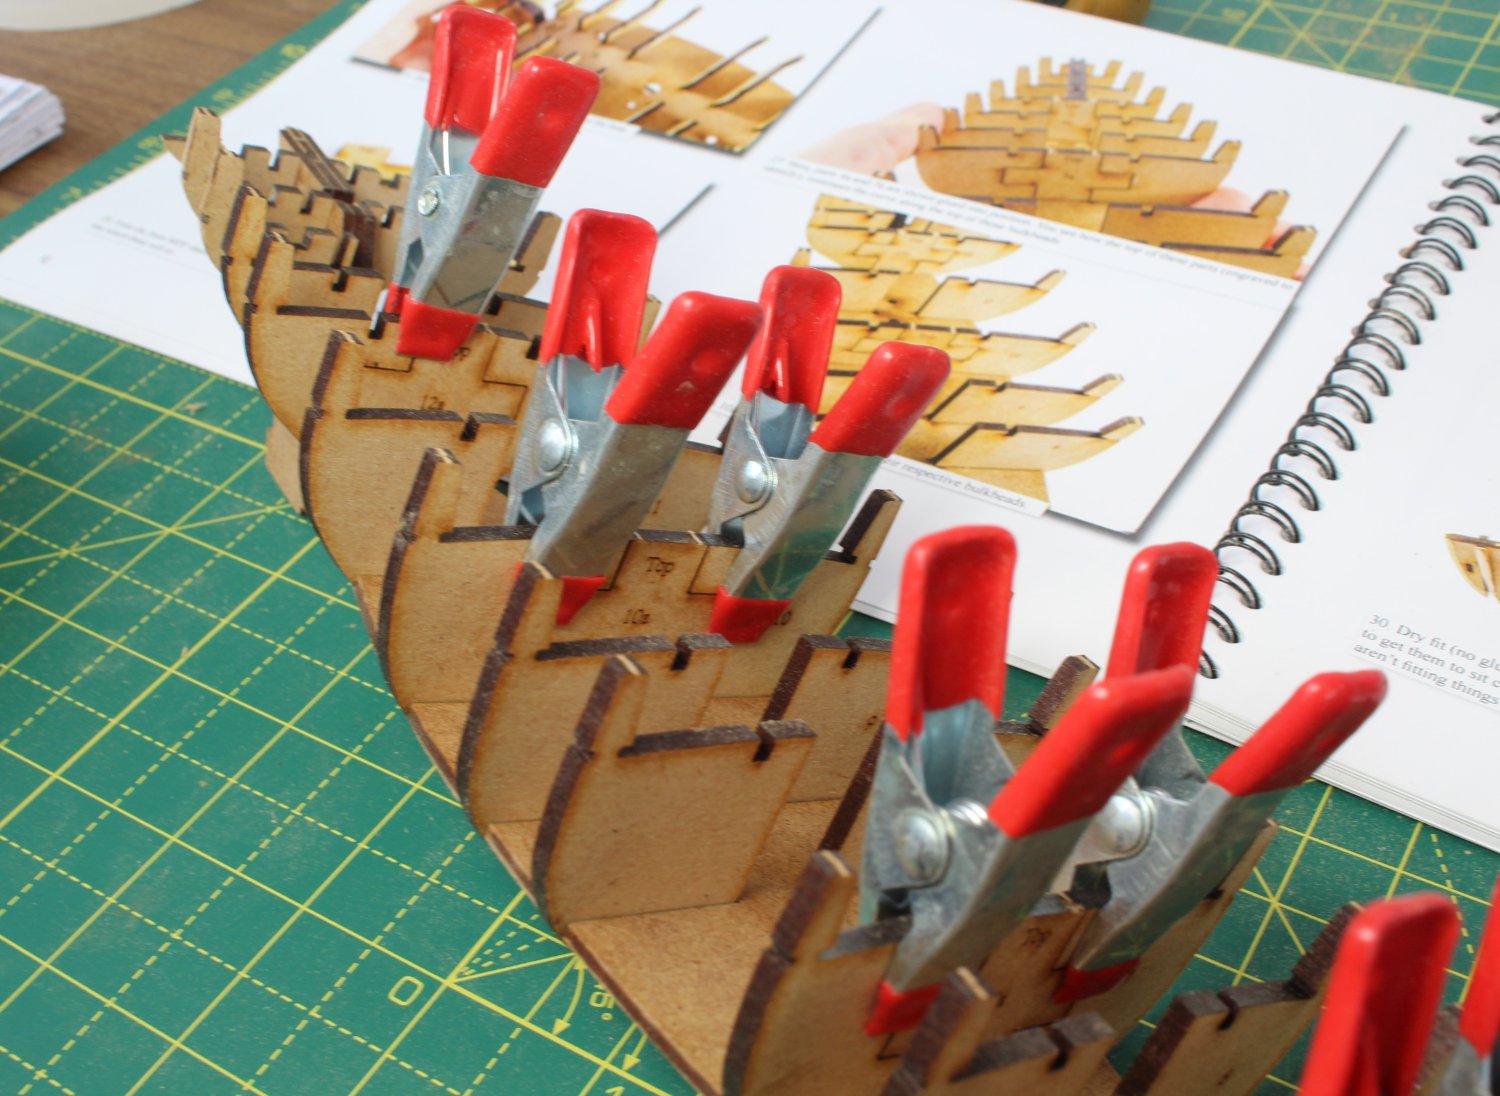
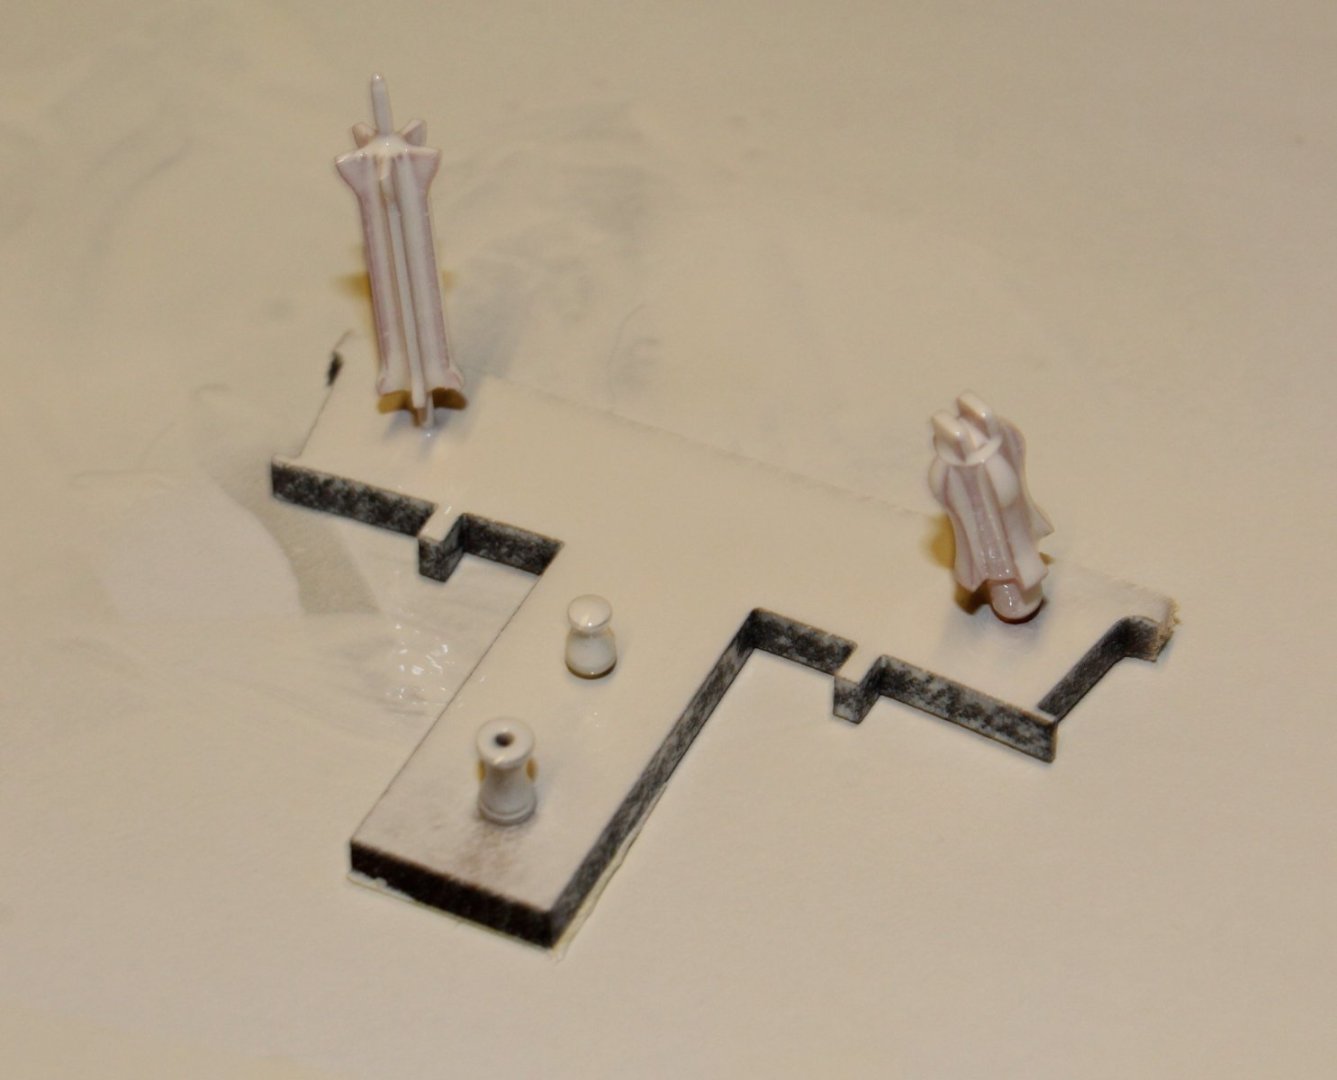
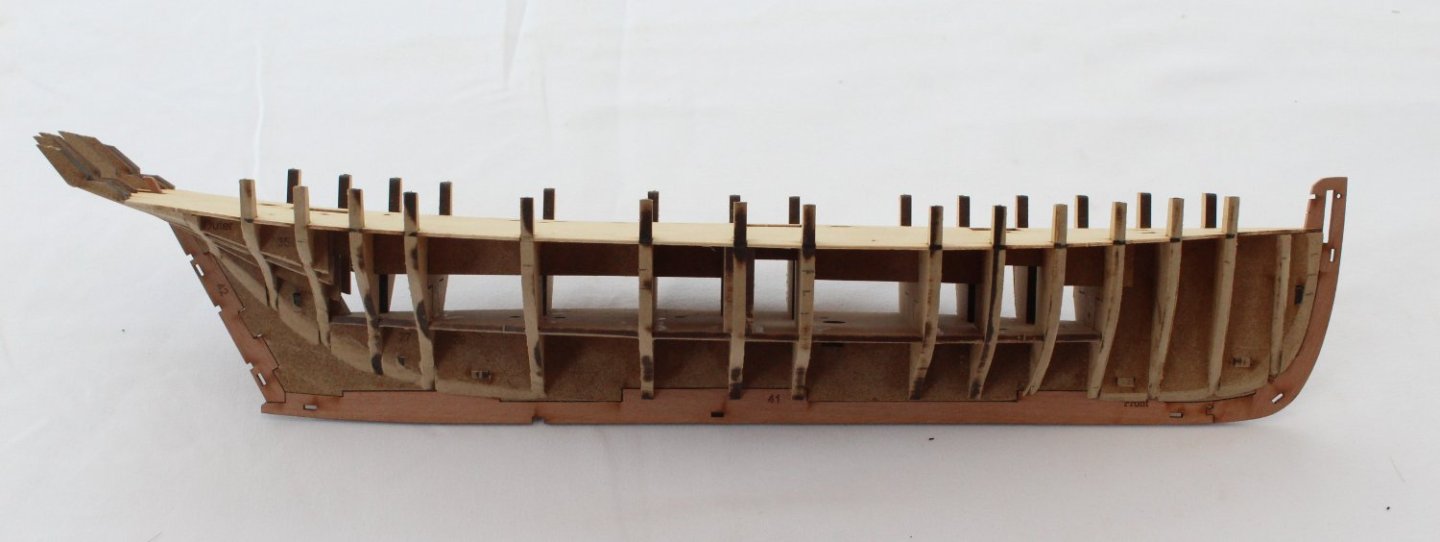
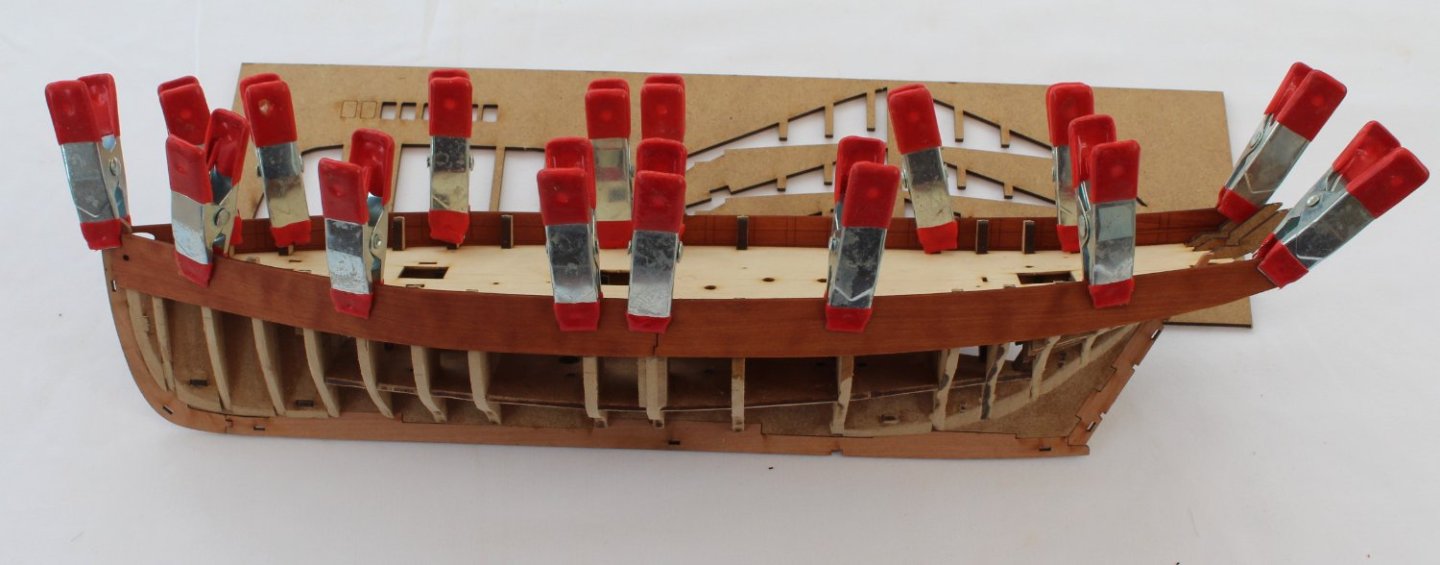
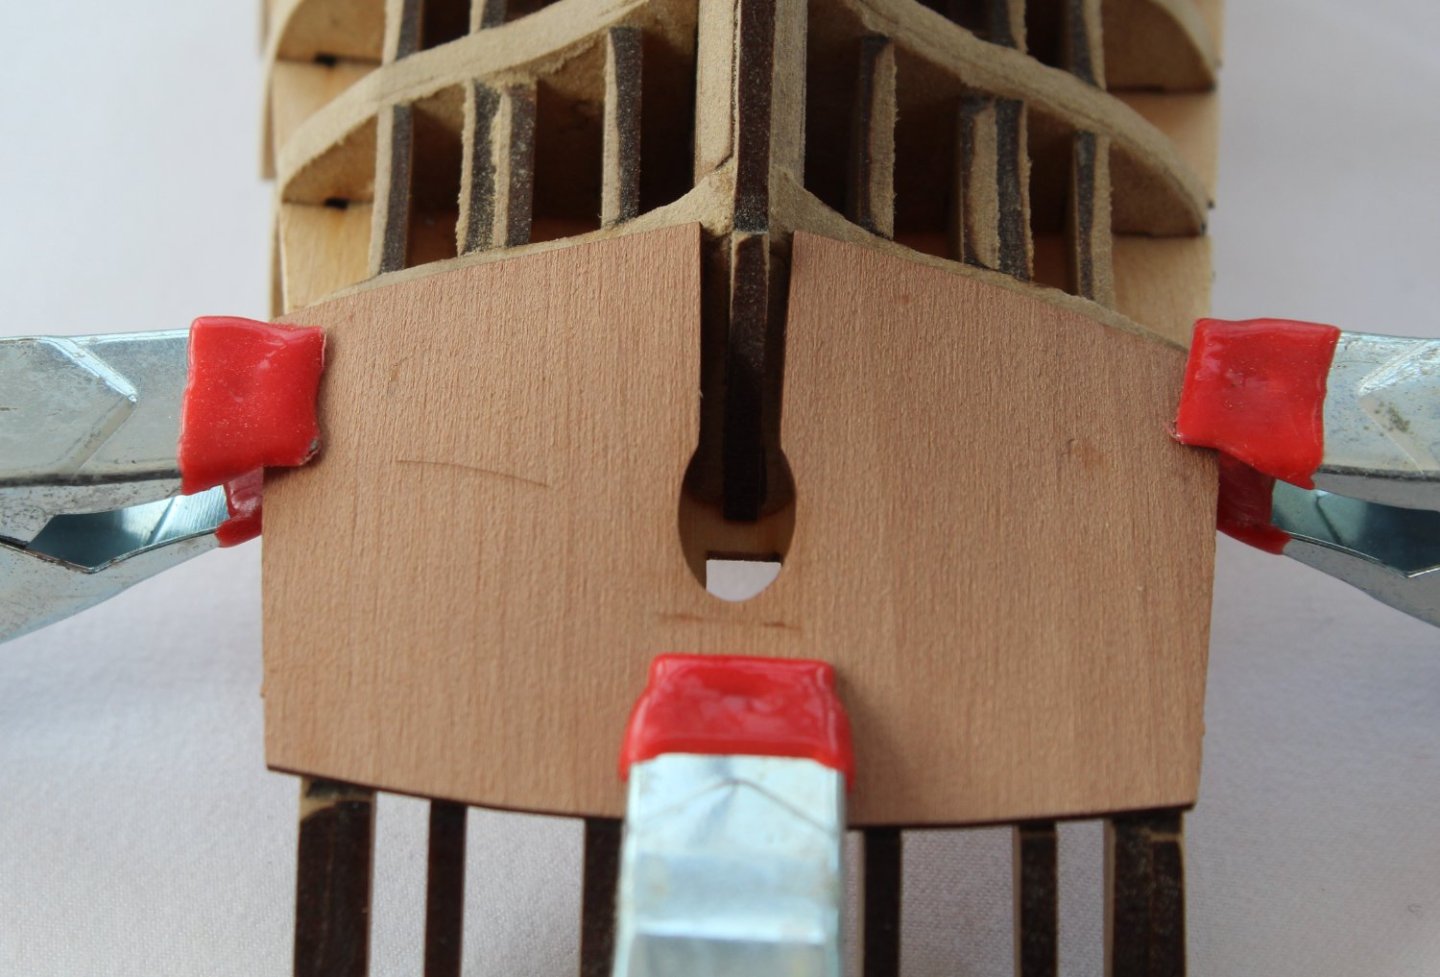
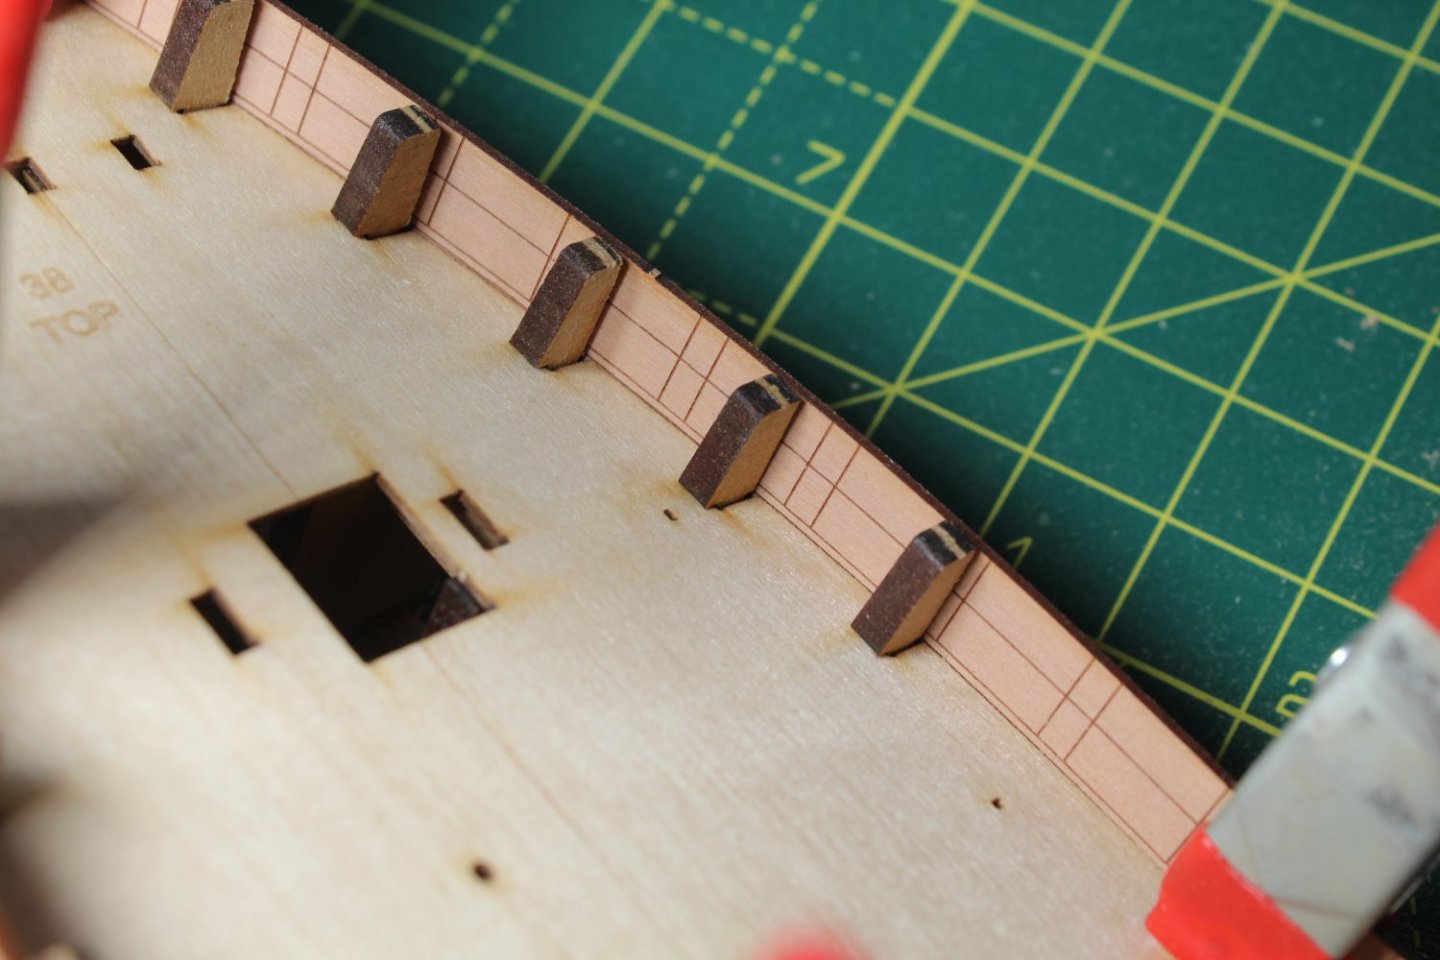
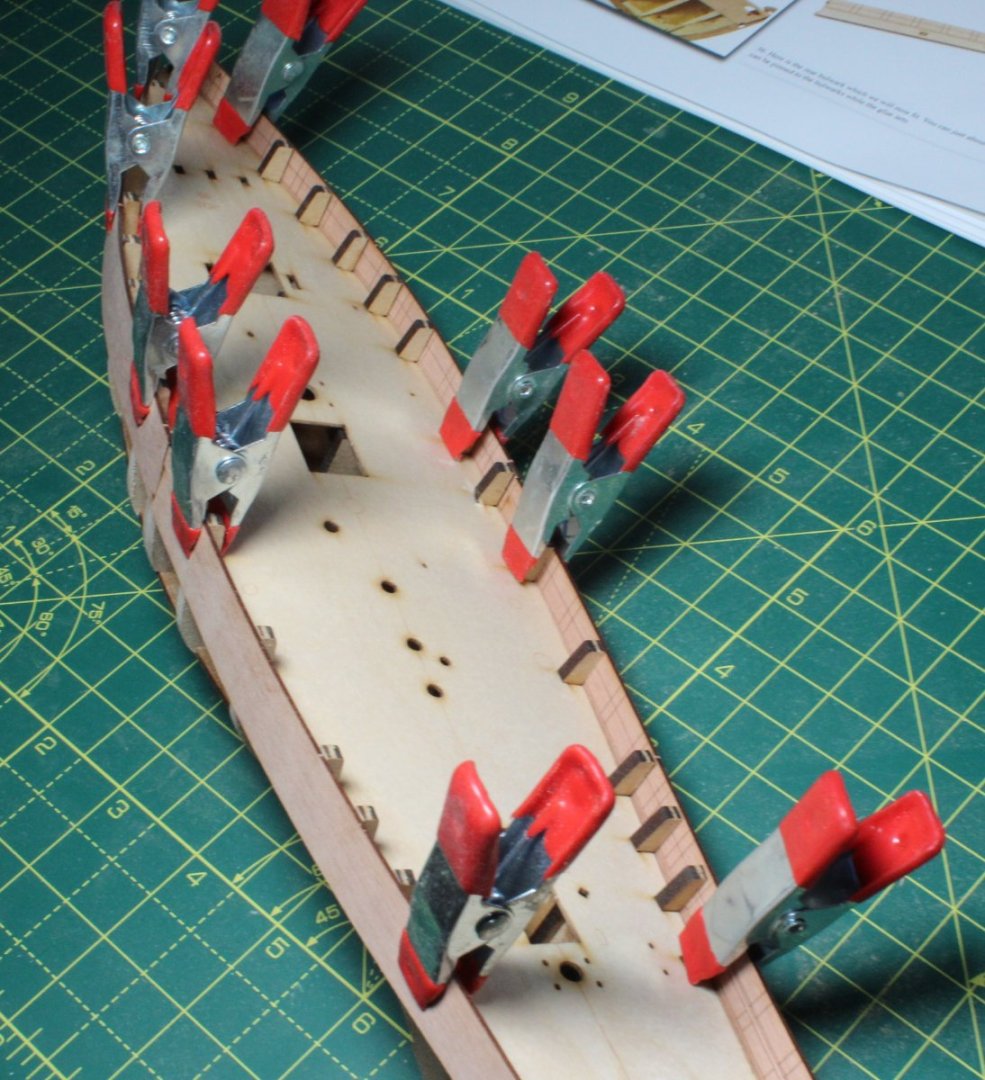
 004 - Bulwarks and Priming The keel, stem and stern posts have now been glued in place. As you would expect with a Vanguard Models kit everything fitted together without any problems. As I was checking the bulkheads during the final fairing process I added some pencil marks, as can be seen on the photo below, to indicate where the planks will lay. The 4 bulwark parts were soaked in hot water for 30 mins before they were clamped in place. These will be left clamped for at least 12 hours to ensure the strips have fully dried out. Whilst waiting for the bulwarks to dry I have taken the PE sheet, which had been cleaned with acetone and soapy water, and I applied a coat of primer. Once the primer is dry, I can apply the required colour to each part. There were a few a more parts to clean and prime. In the photo below they are in a bath of acetone and the soapy water bath can also be seen in the photo. I tend to soak the parts in the soapy water first for around 10 mins before using a toothbrush to gently on the parts. I then transfer the parts to the acetone and repeat the toothbrush cleaning process after about 10 mins. The parts will go through another soapy water and acetone bath treatment before being washed in clean water and dried. I made a simple jig to hold the parts and then applied a coat of primer. I haven't primed the chain pipe as the resin part supplied is black and I am undecided if I will leave as is or if I will paint green, as shown in the manual. There is not a lot more I can do at the moment. I could start making the masts, bowsprit, etc. but I think I will leave that for another time.
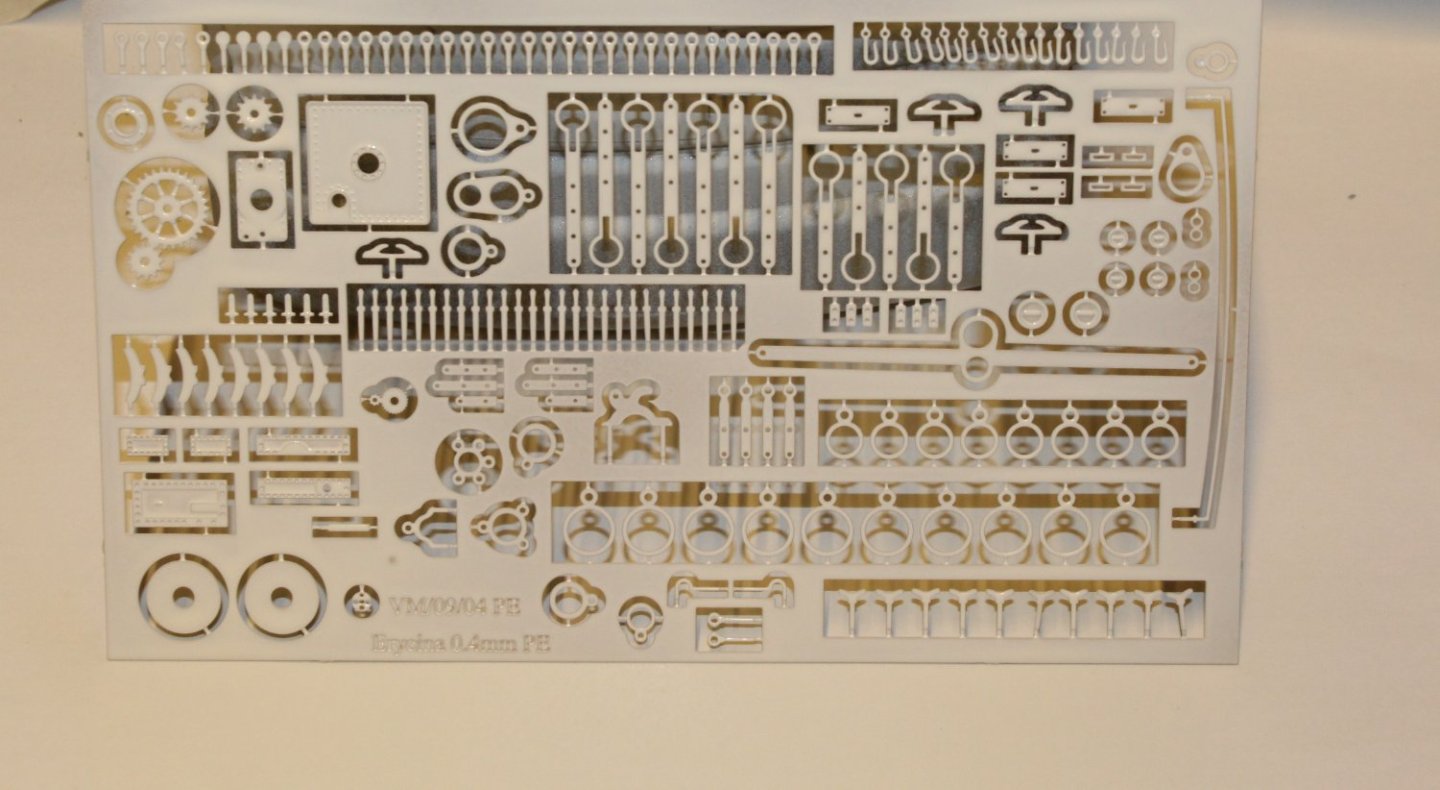


- 106 replies
-
- 5
-

-
- Erycina
- Plymouth Trawler
- (and 3 more)
-
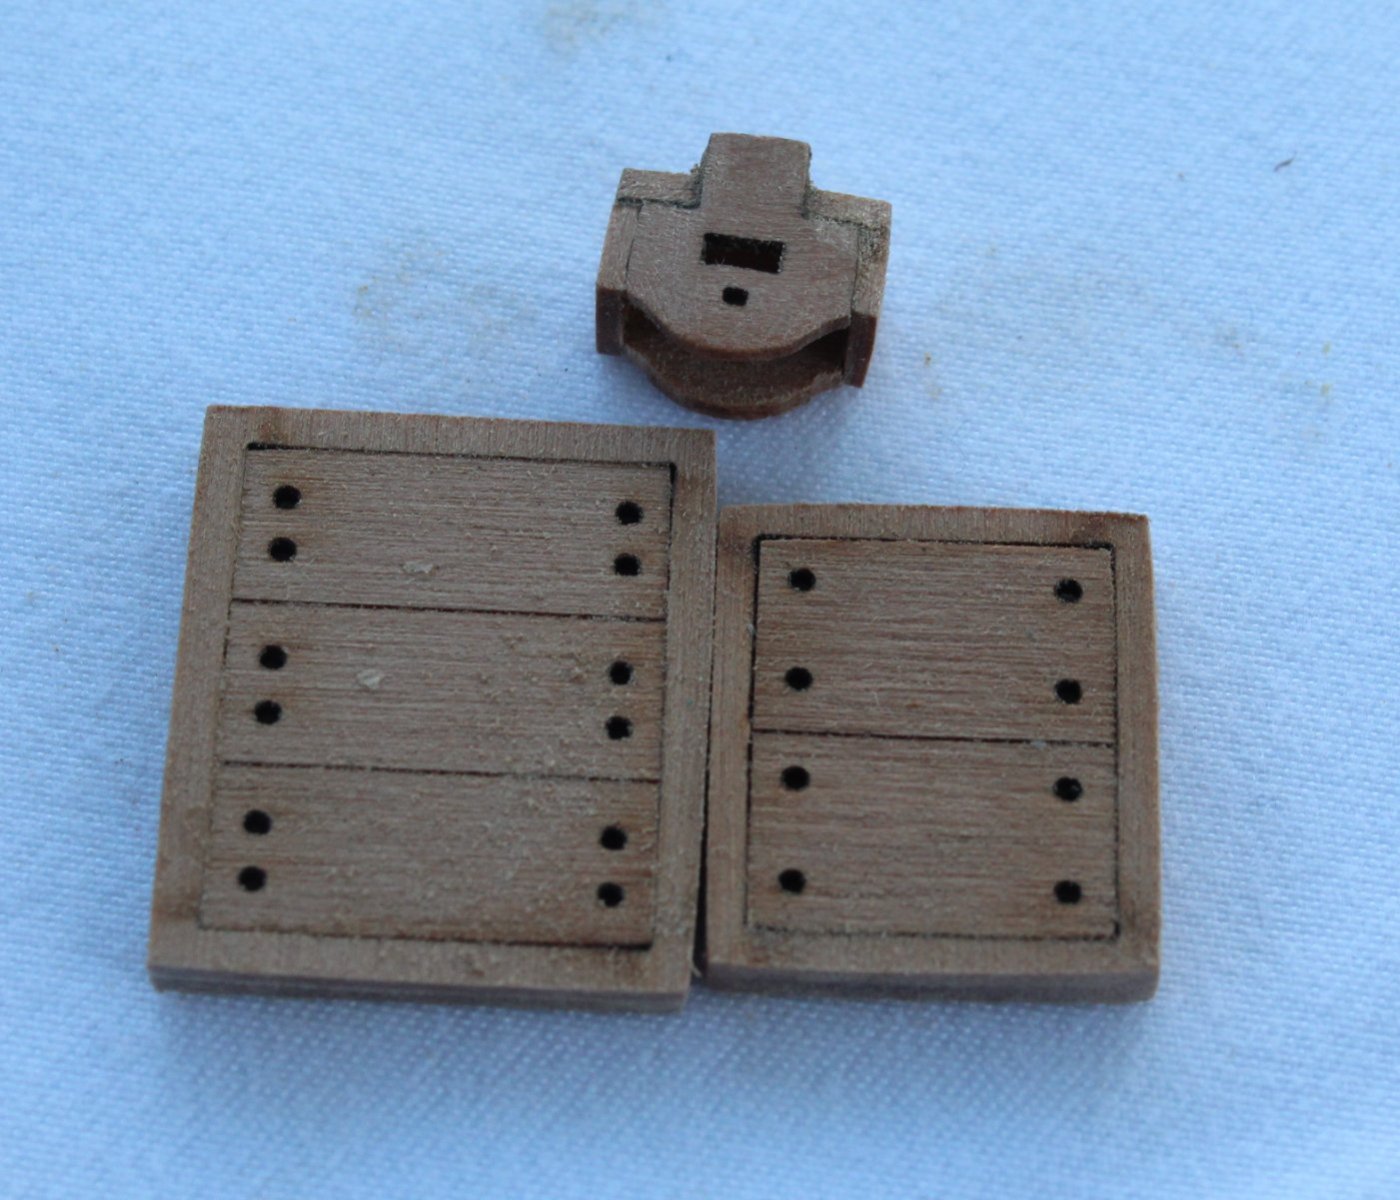
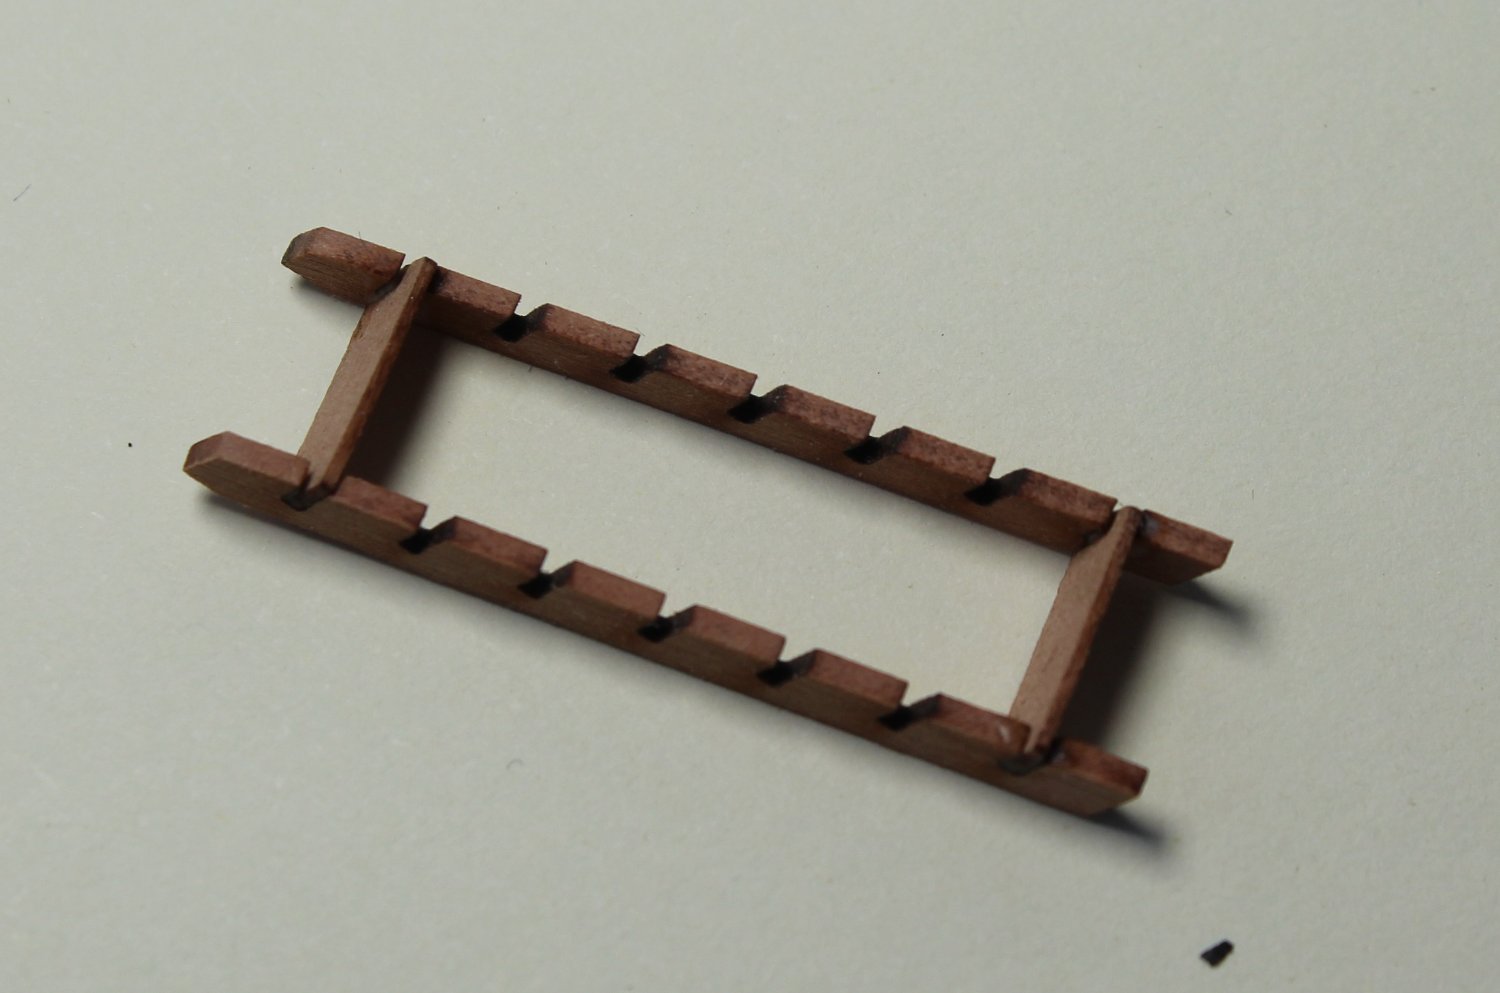
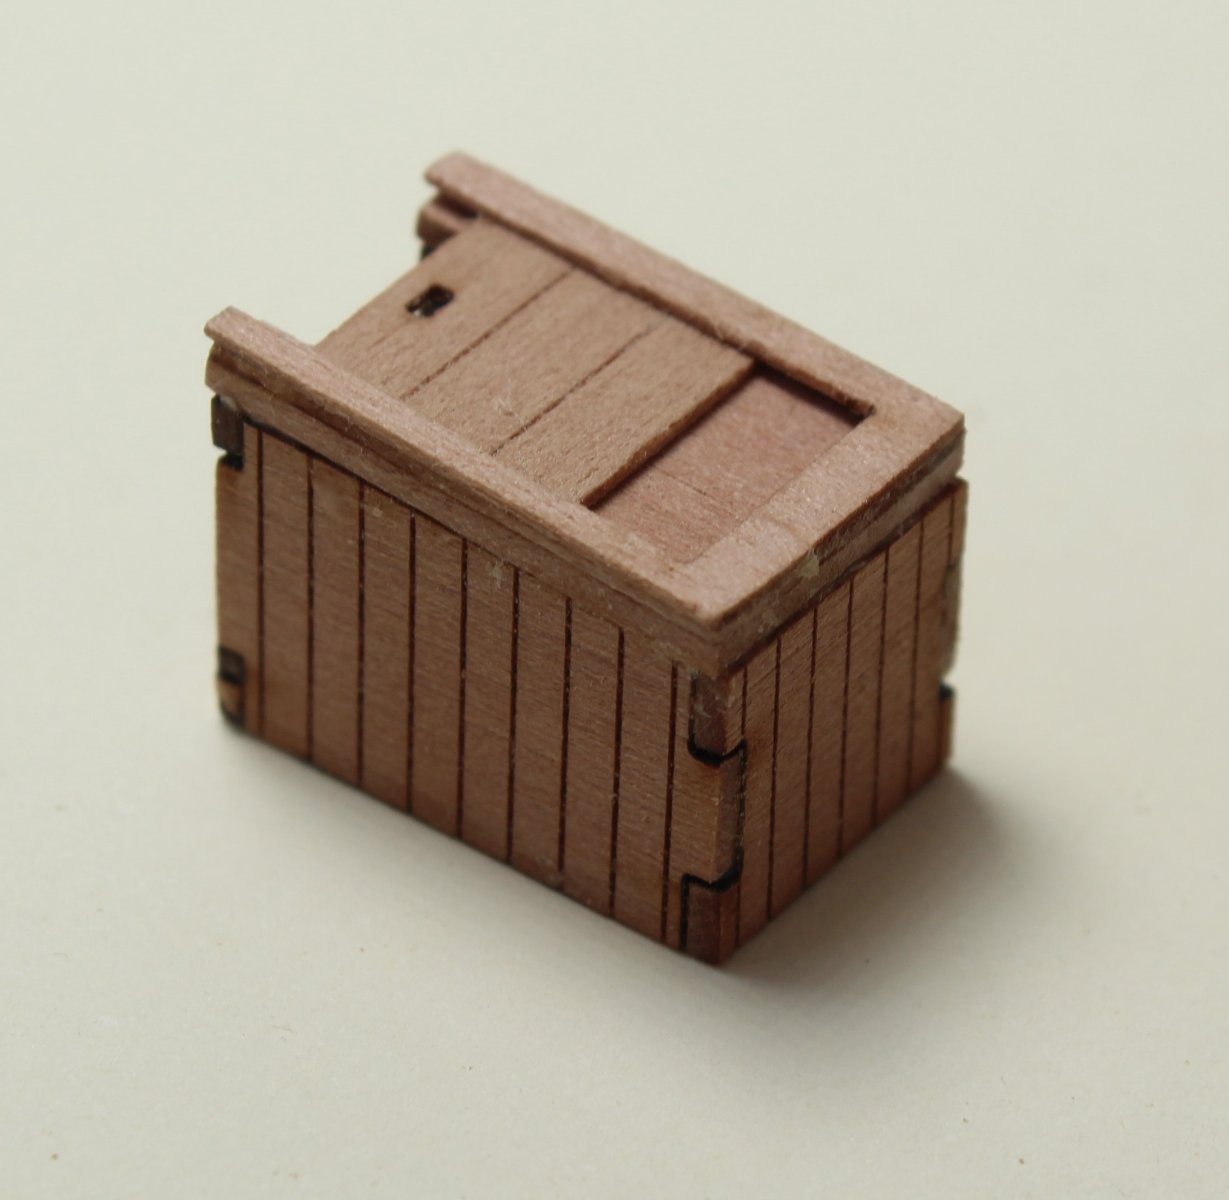
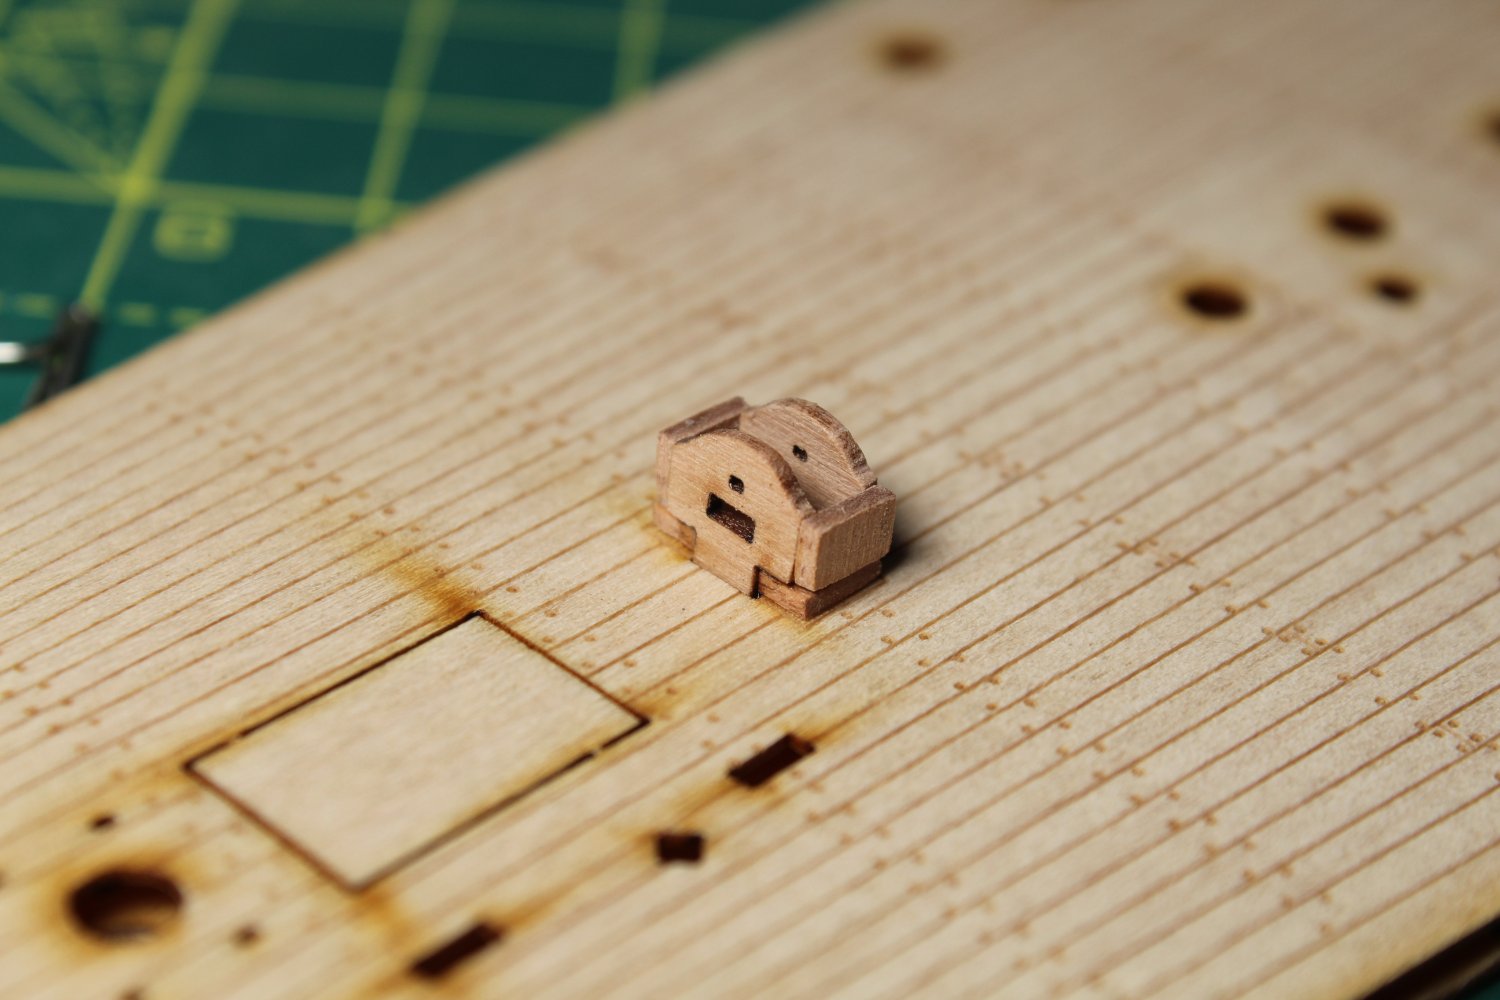
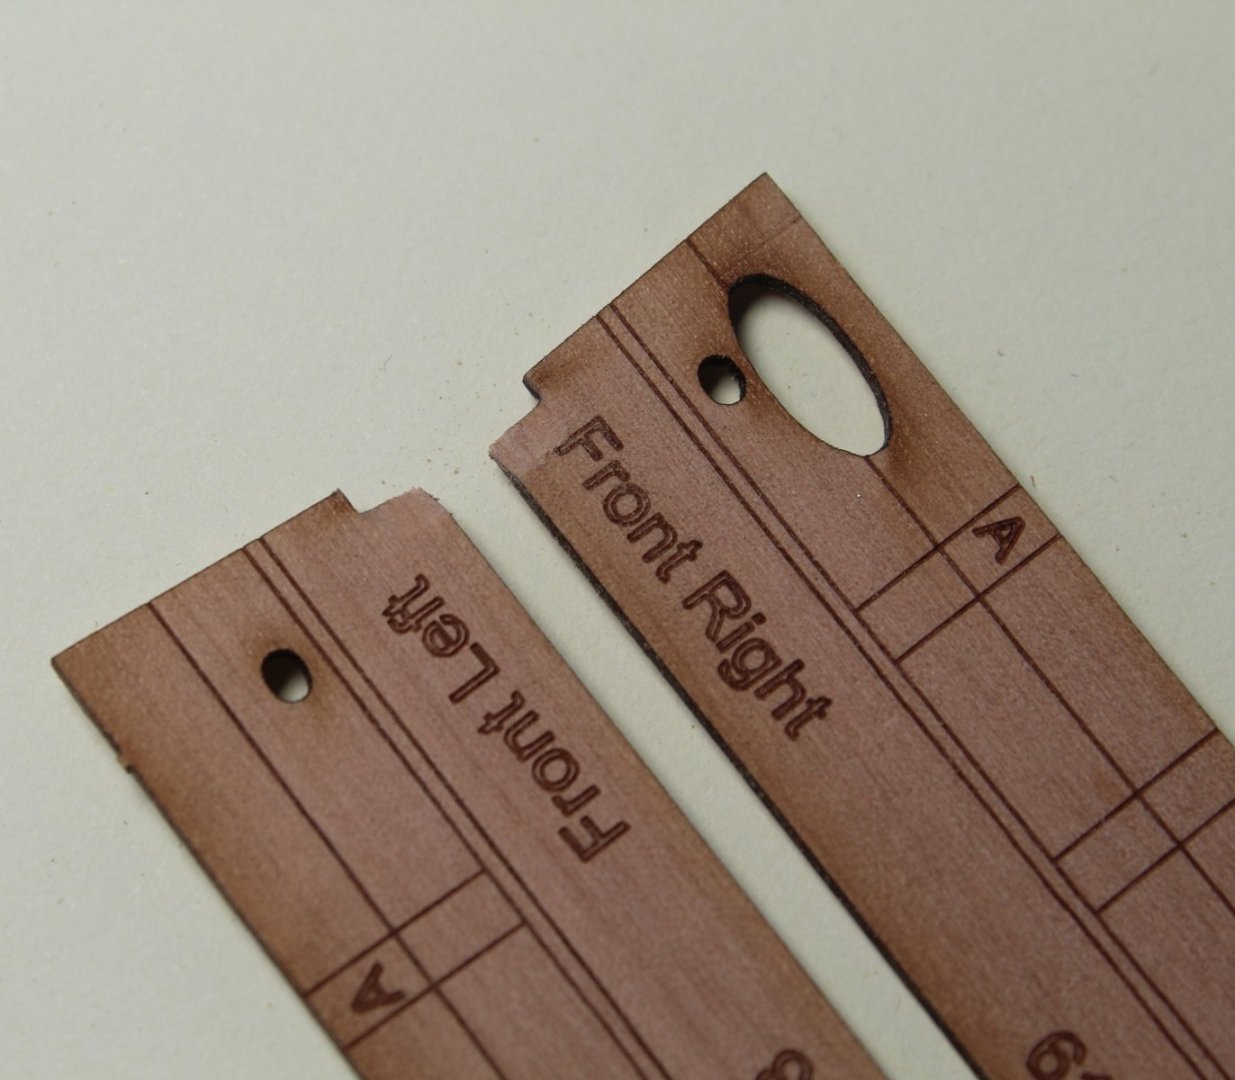
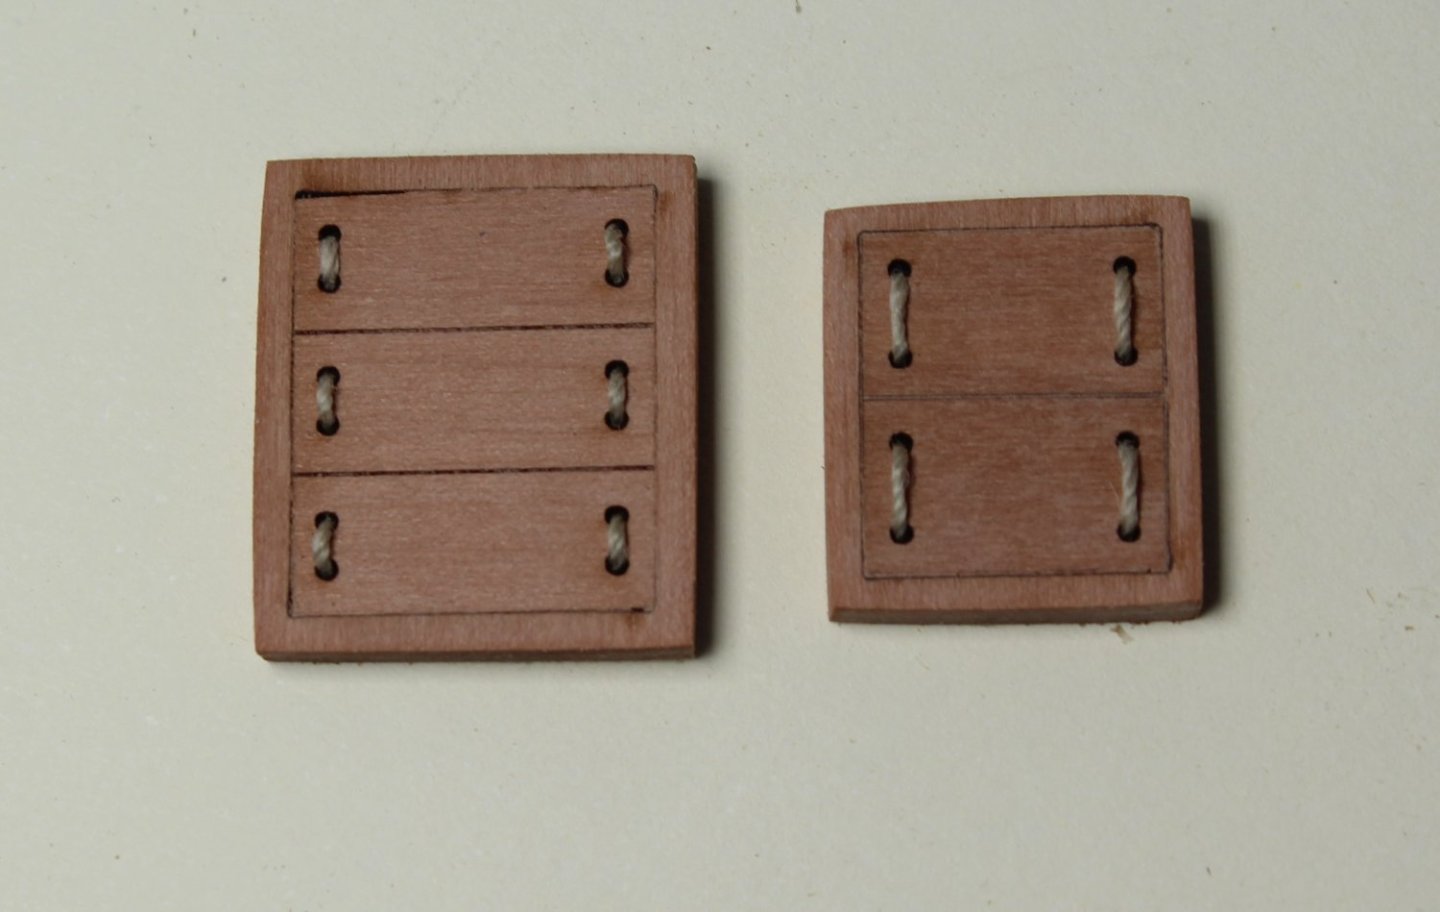
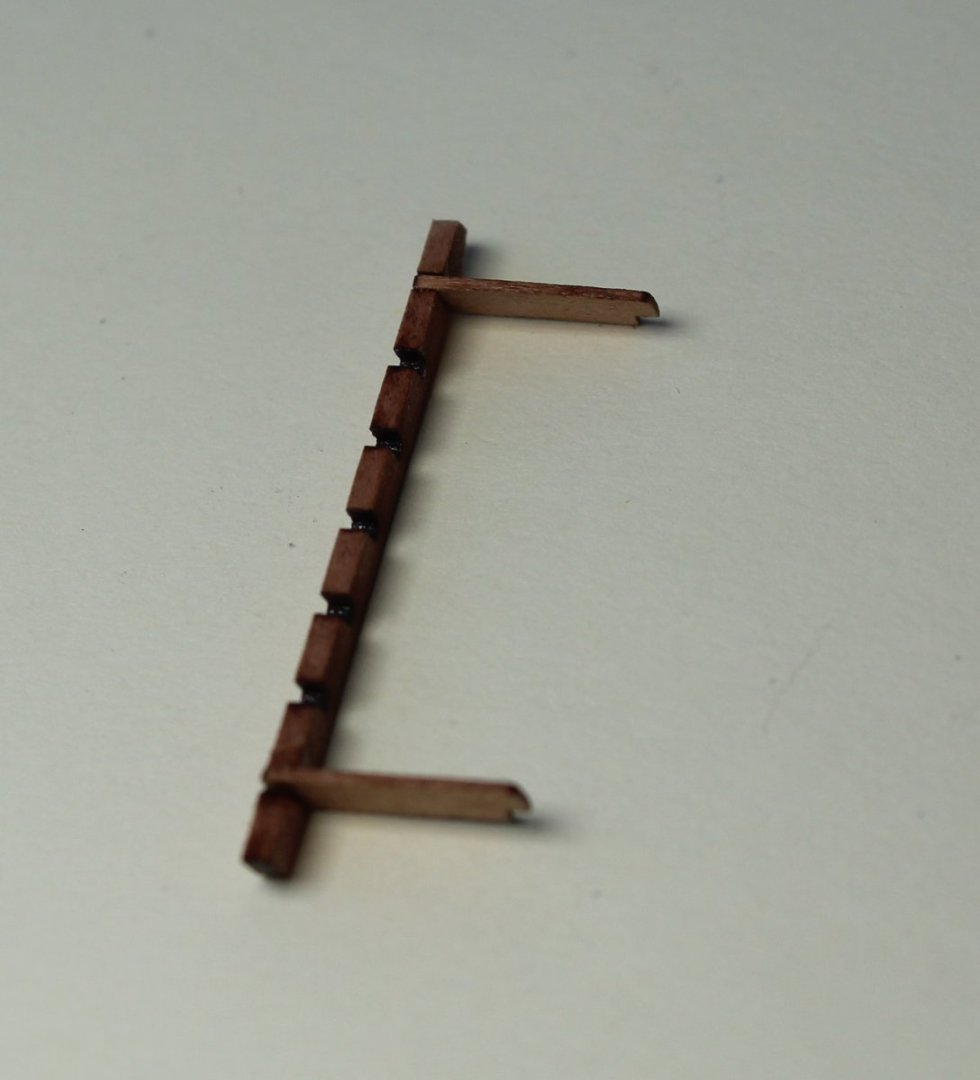
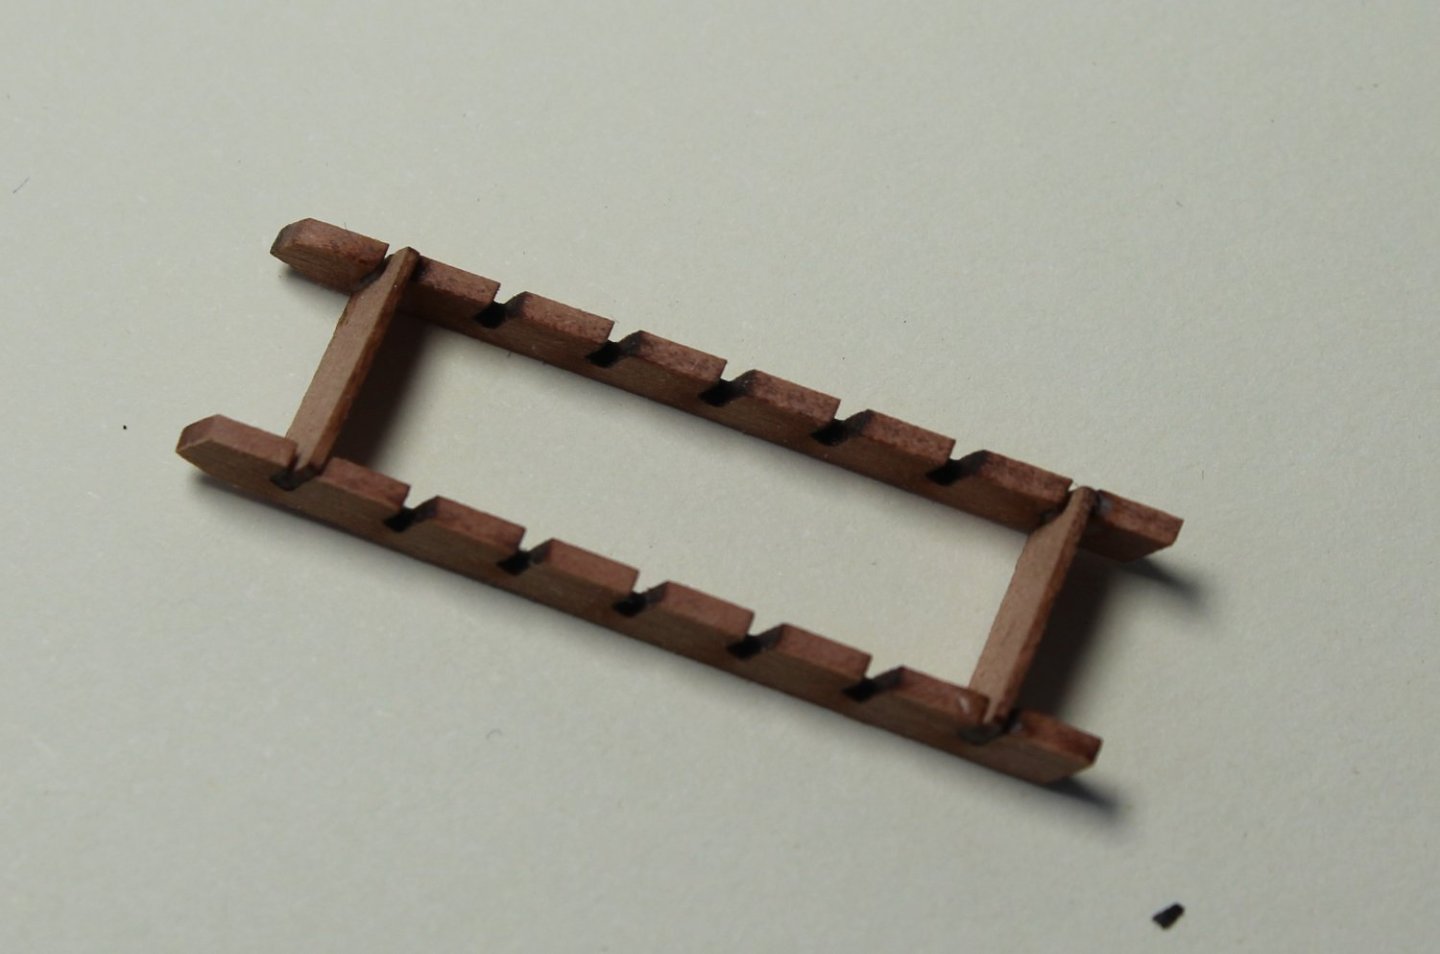
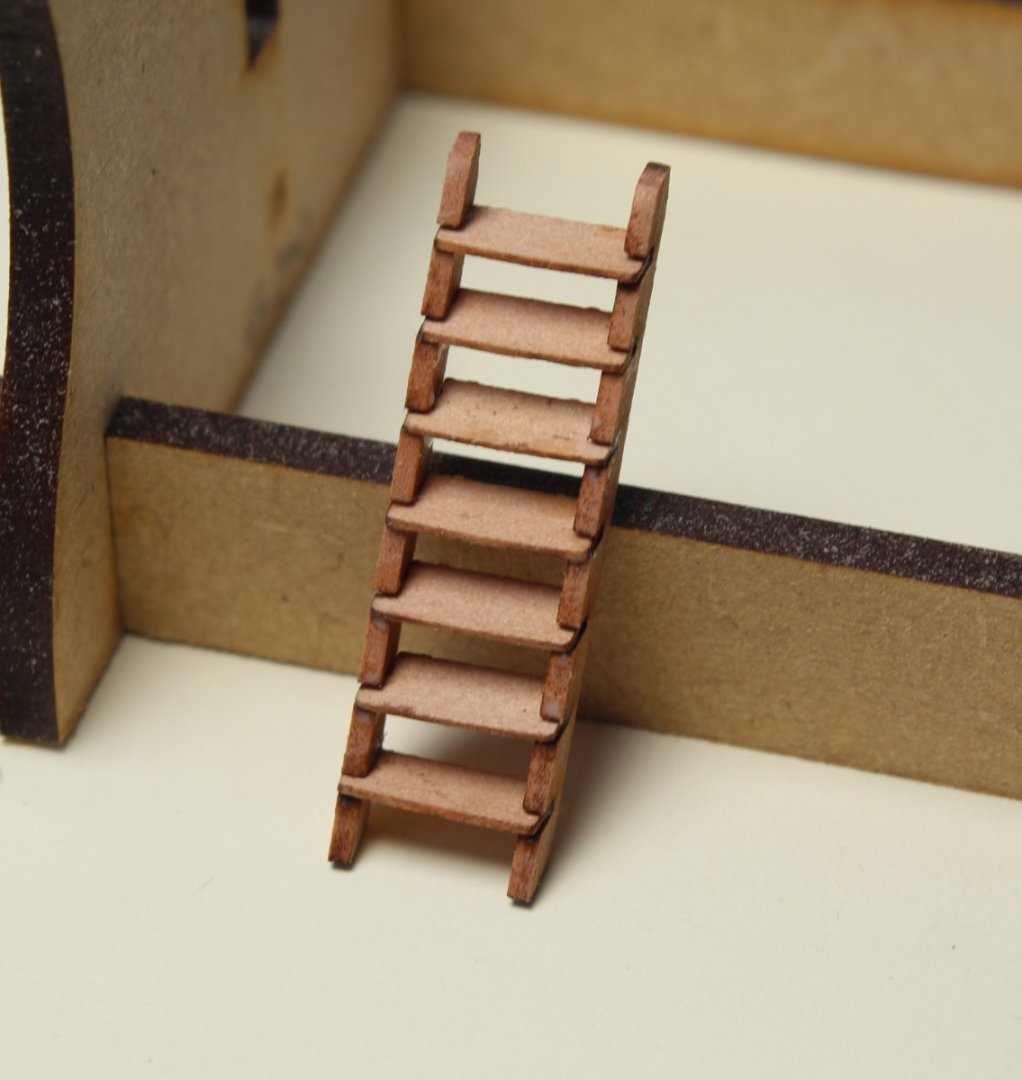
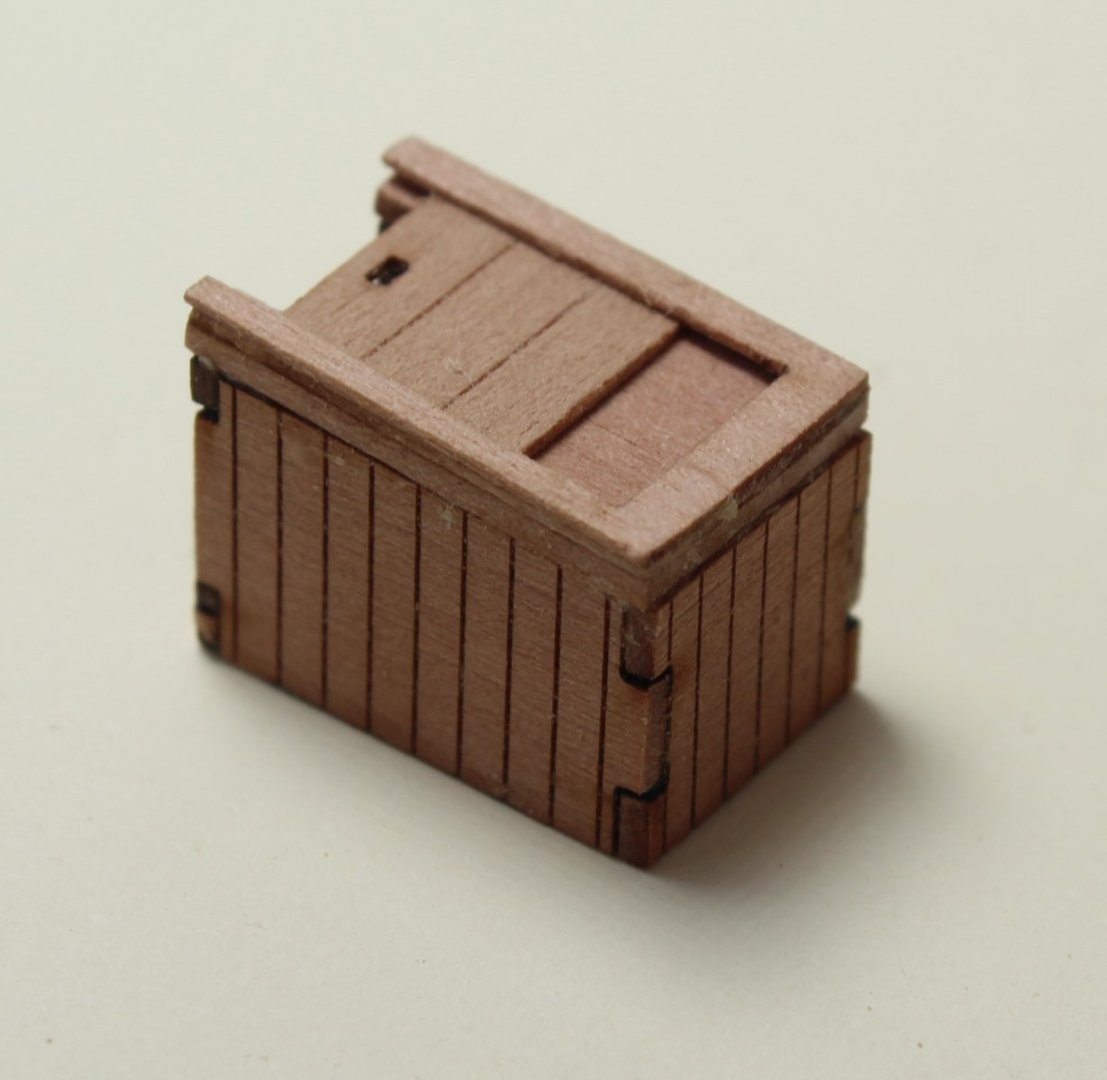
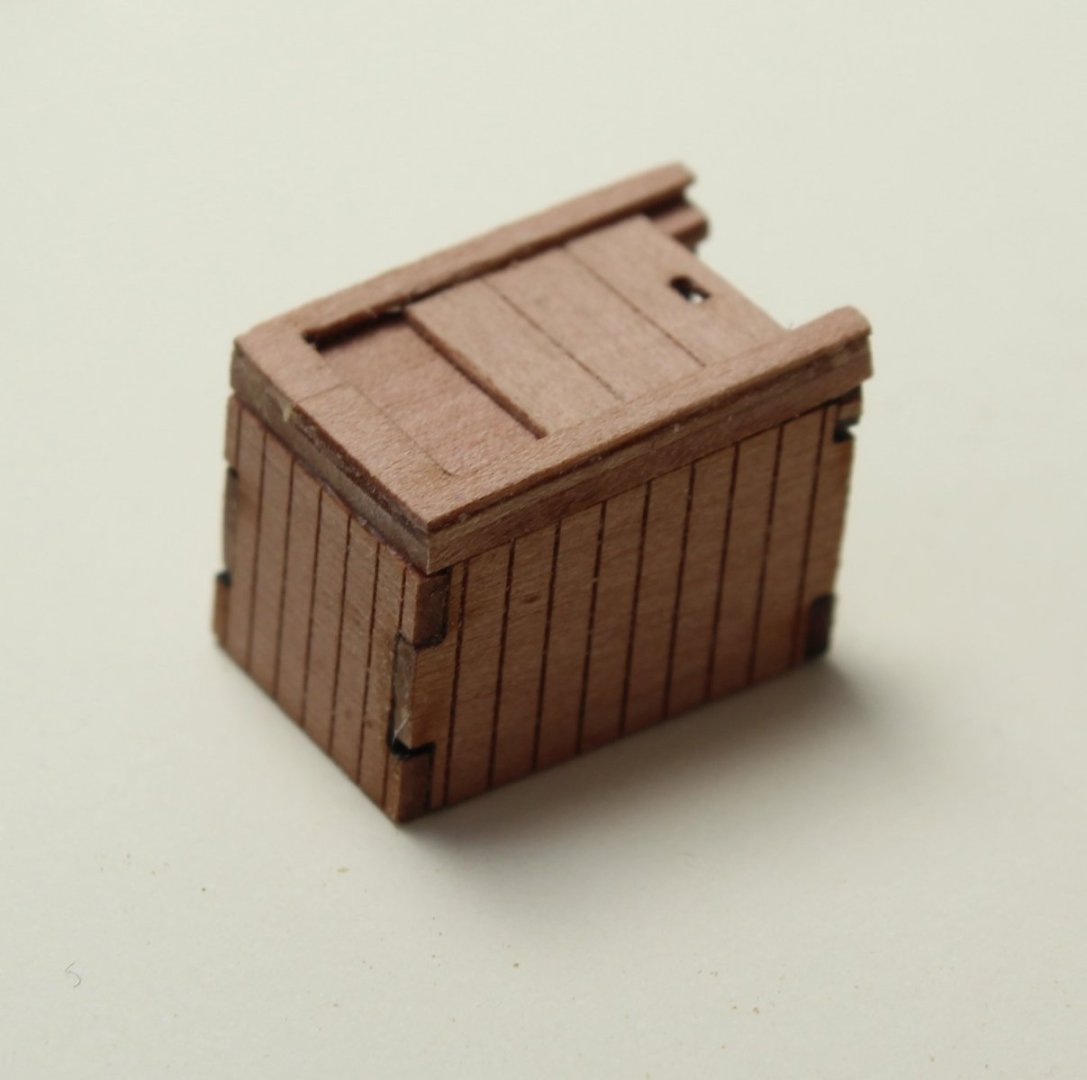
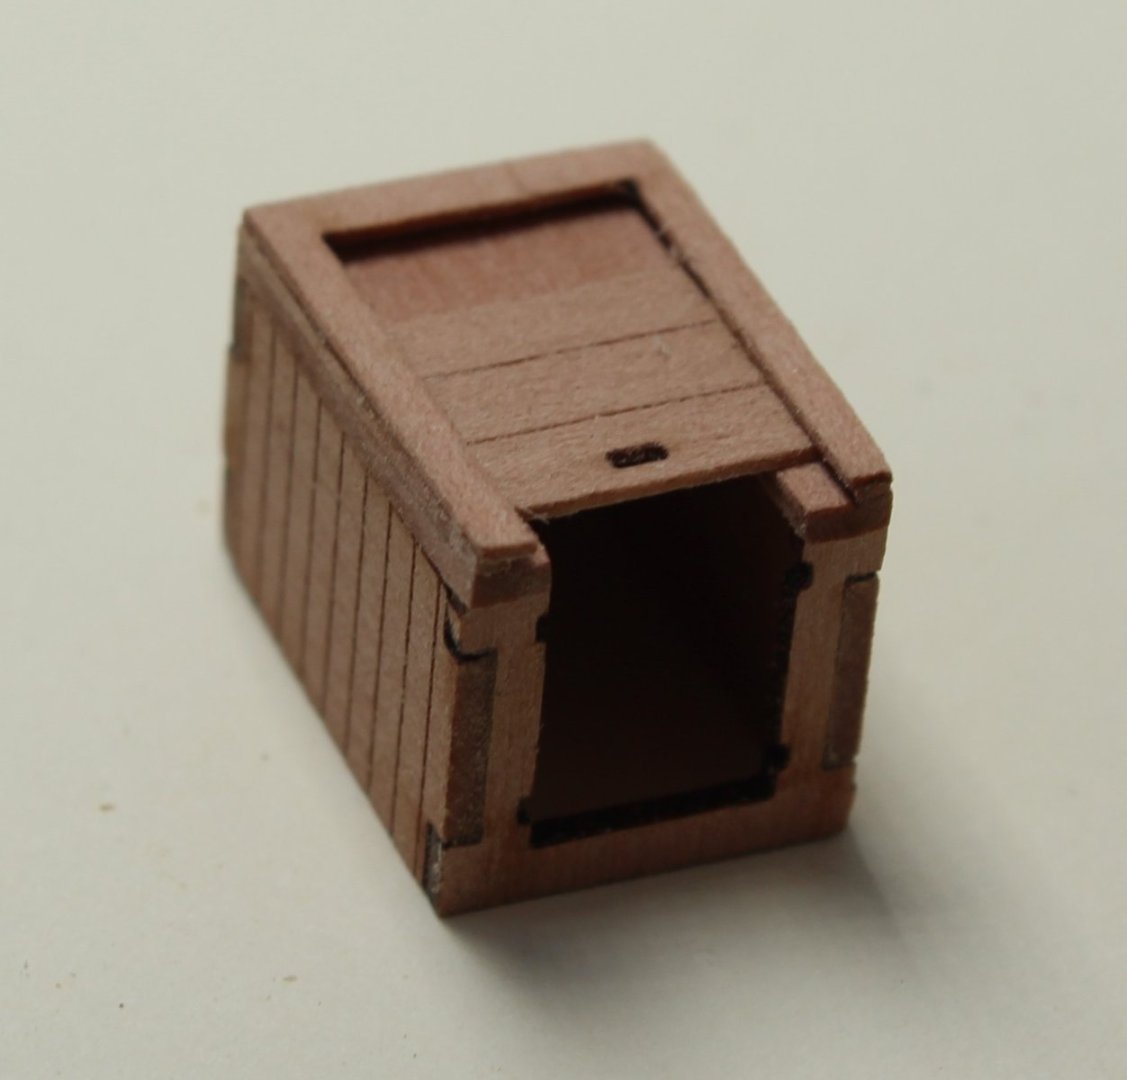
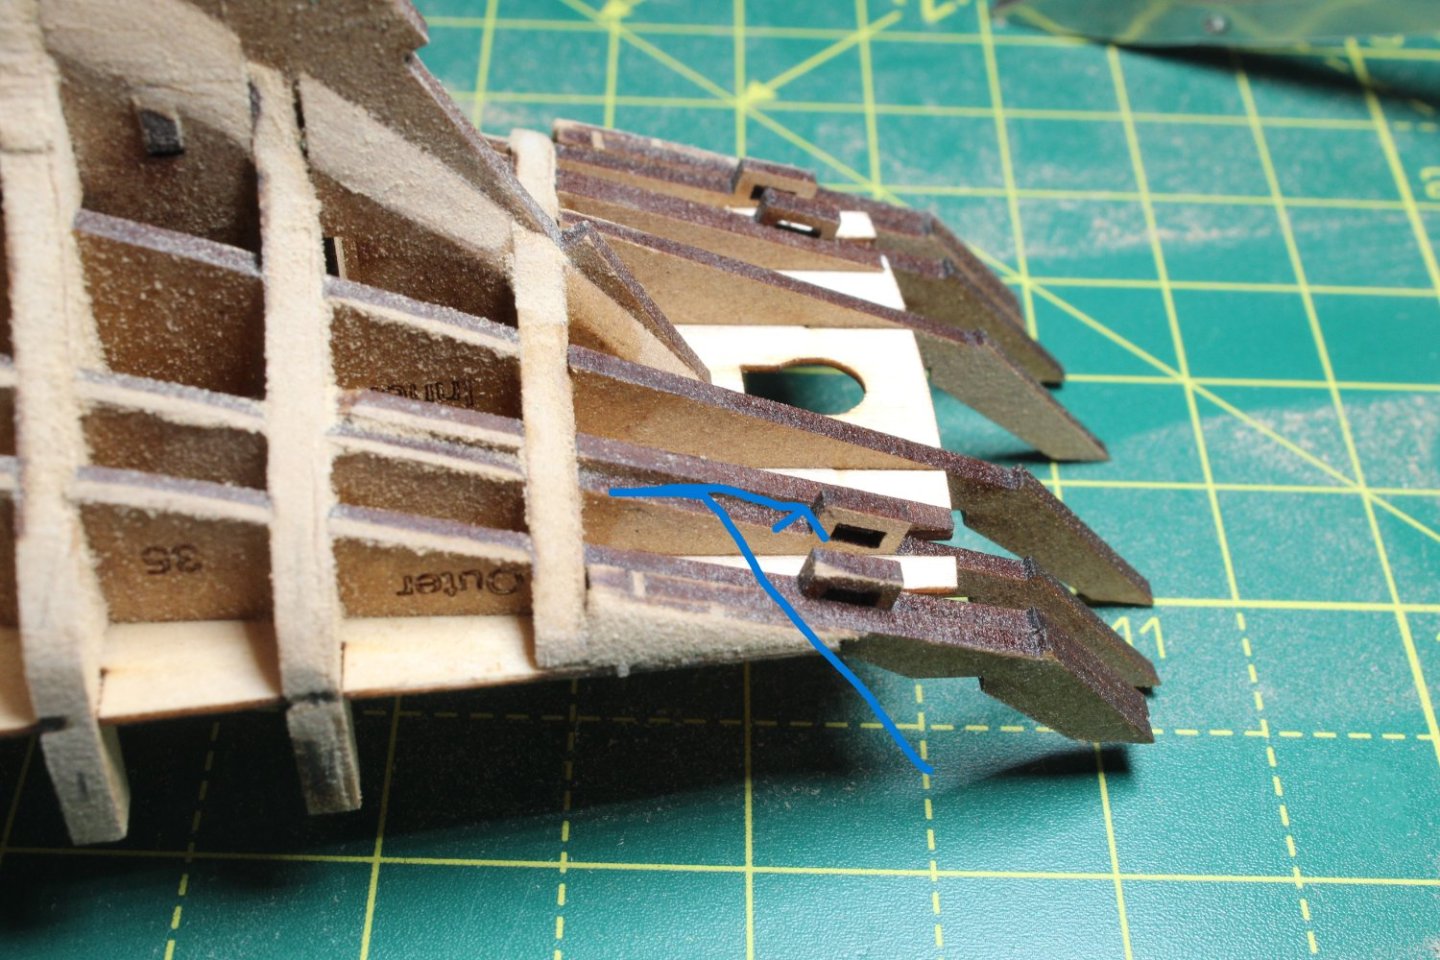
003 - Deck Items With the inner stern counter immersed in hot water for 30 mins I faired the stern frames. Once I was happy with the stern frame fairing the inner stern counter was clamped in place. This will be left clamped to allow the inner stern counter to fully dry out. I noted in the build manual that the lower from end tabs of the front bulwarks required a bevel so the part will sit flush with the side of the hull bulkheads. As I waited for the inner stern counter to dry, I decided to build some of the deck items. I started with the fish hatches. It is important to remove the laser char from the visible edges when releasing parts from the sheets. When assembling the ladder, once the laser char had been removed, I have found it best to start by gluing two rungs to one side. This will be left for a few minutes to allow the glue to grip. After a few minutes the other side of the ladder was glued in place. This assembly will be left for a few minutes to allow the glue to grip It is then a simple task to insert the remaining rungs to complete the ladder assembly The next item to build was the companionway. This was a simple item to build. I am pleased that the roof door slides smoothly in the slots. I just need to add the front doors to complete the assembly. I have not added these doors as they required two PE hinges. I have started to prepare the PE parts. The PE sheet has been through a through cleansing process using a mixture soaking the sheet in hot soapy water and acetone.


- 106 replies
-
- 6
-
-
- Erycina
- Plymouth Trawler
- (and 3 more)
-
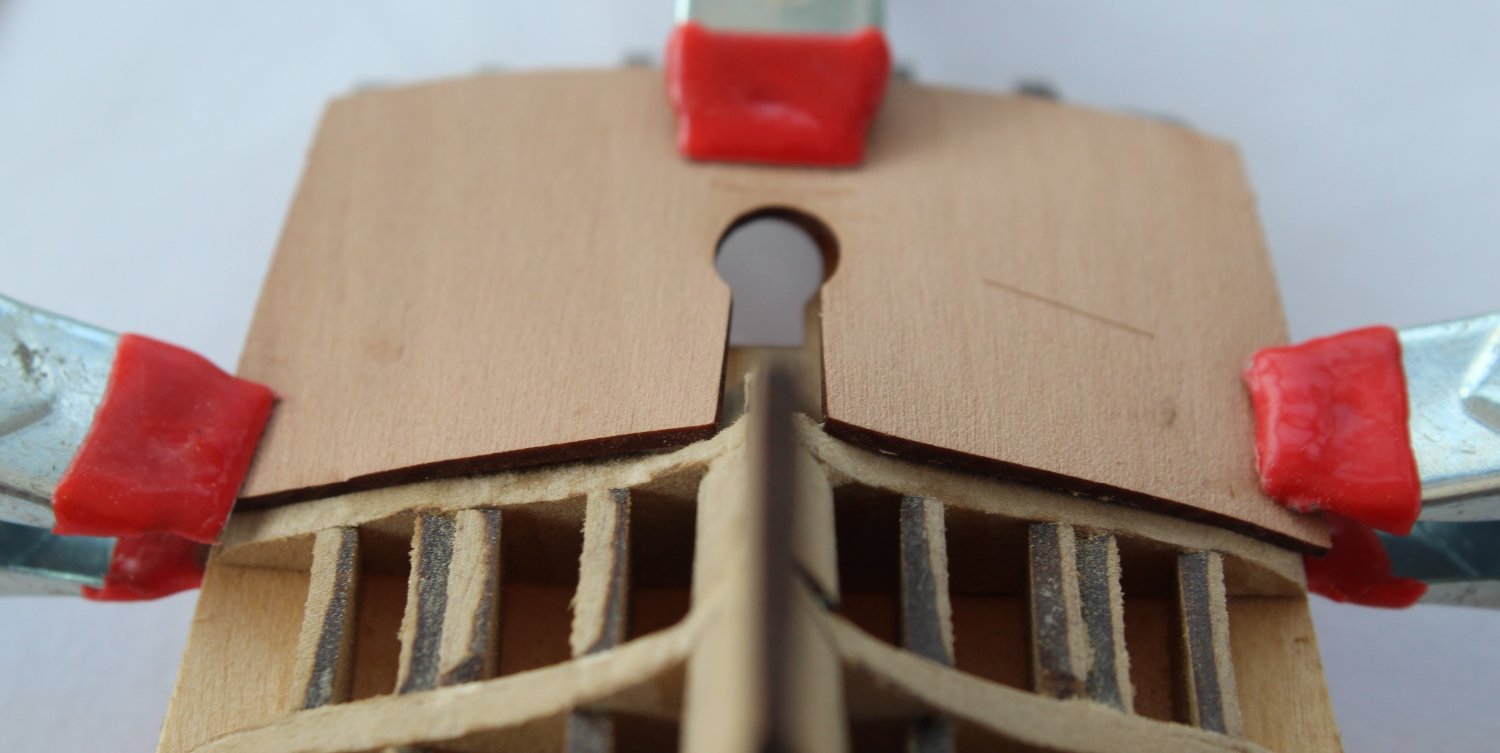
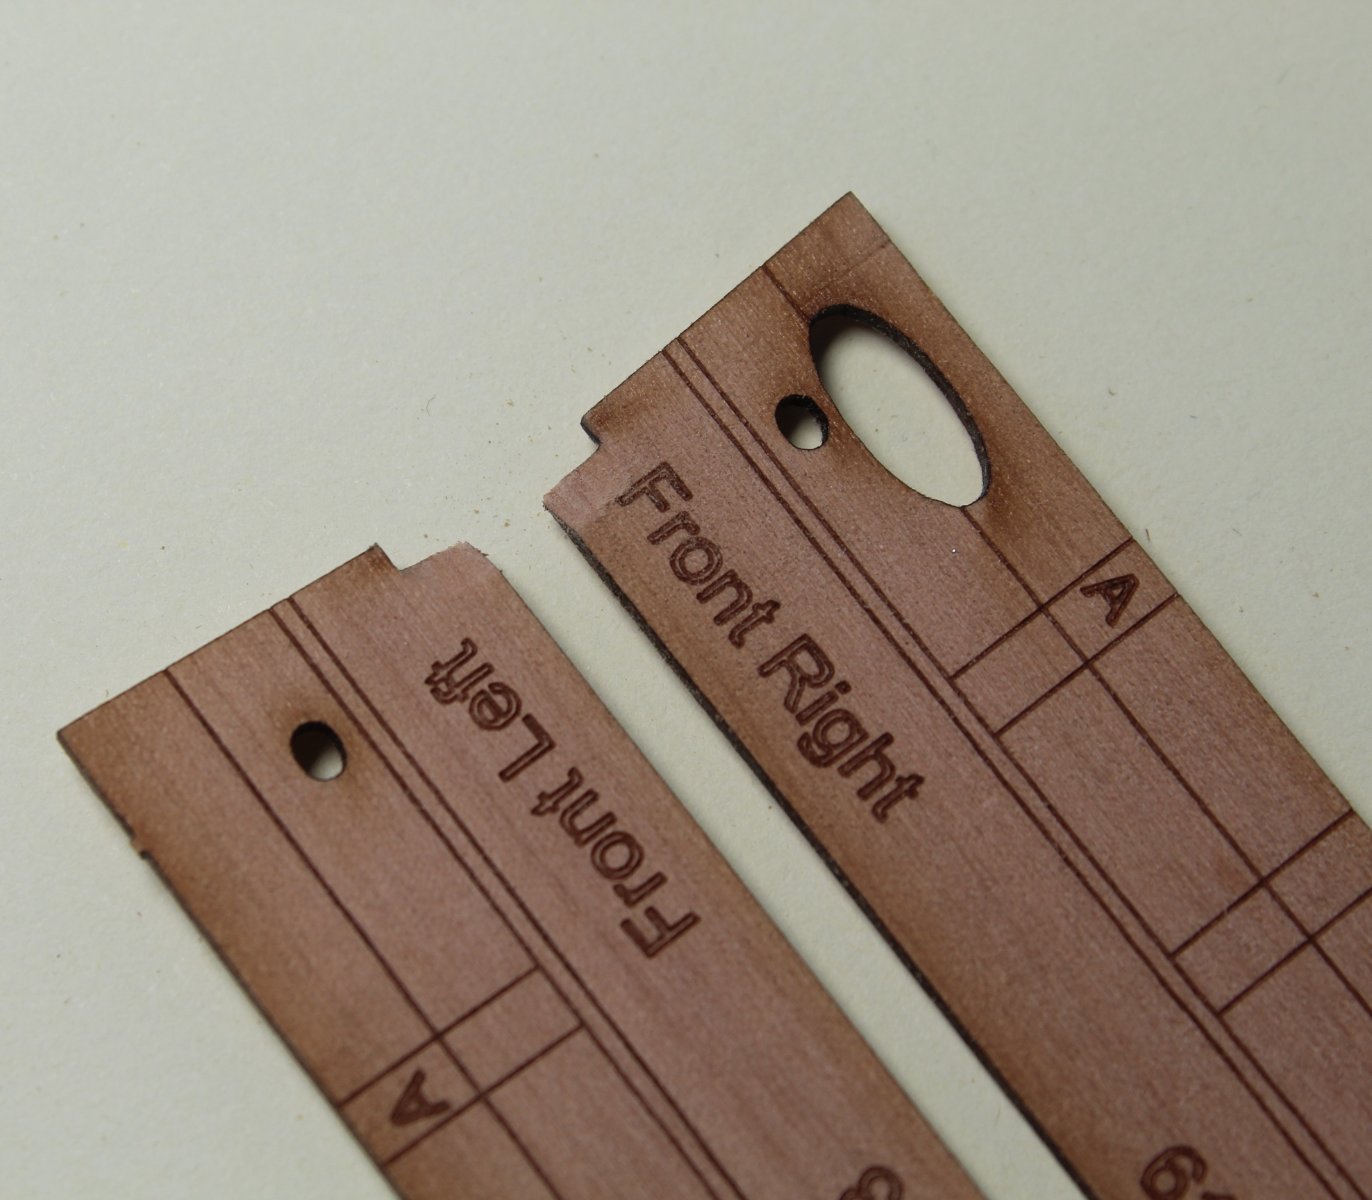
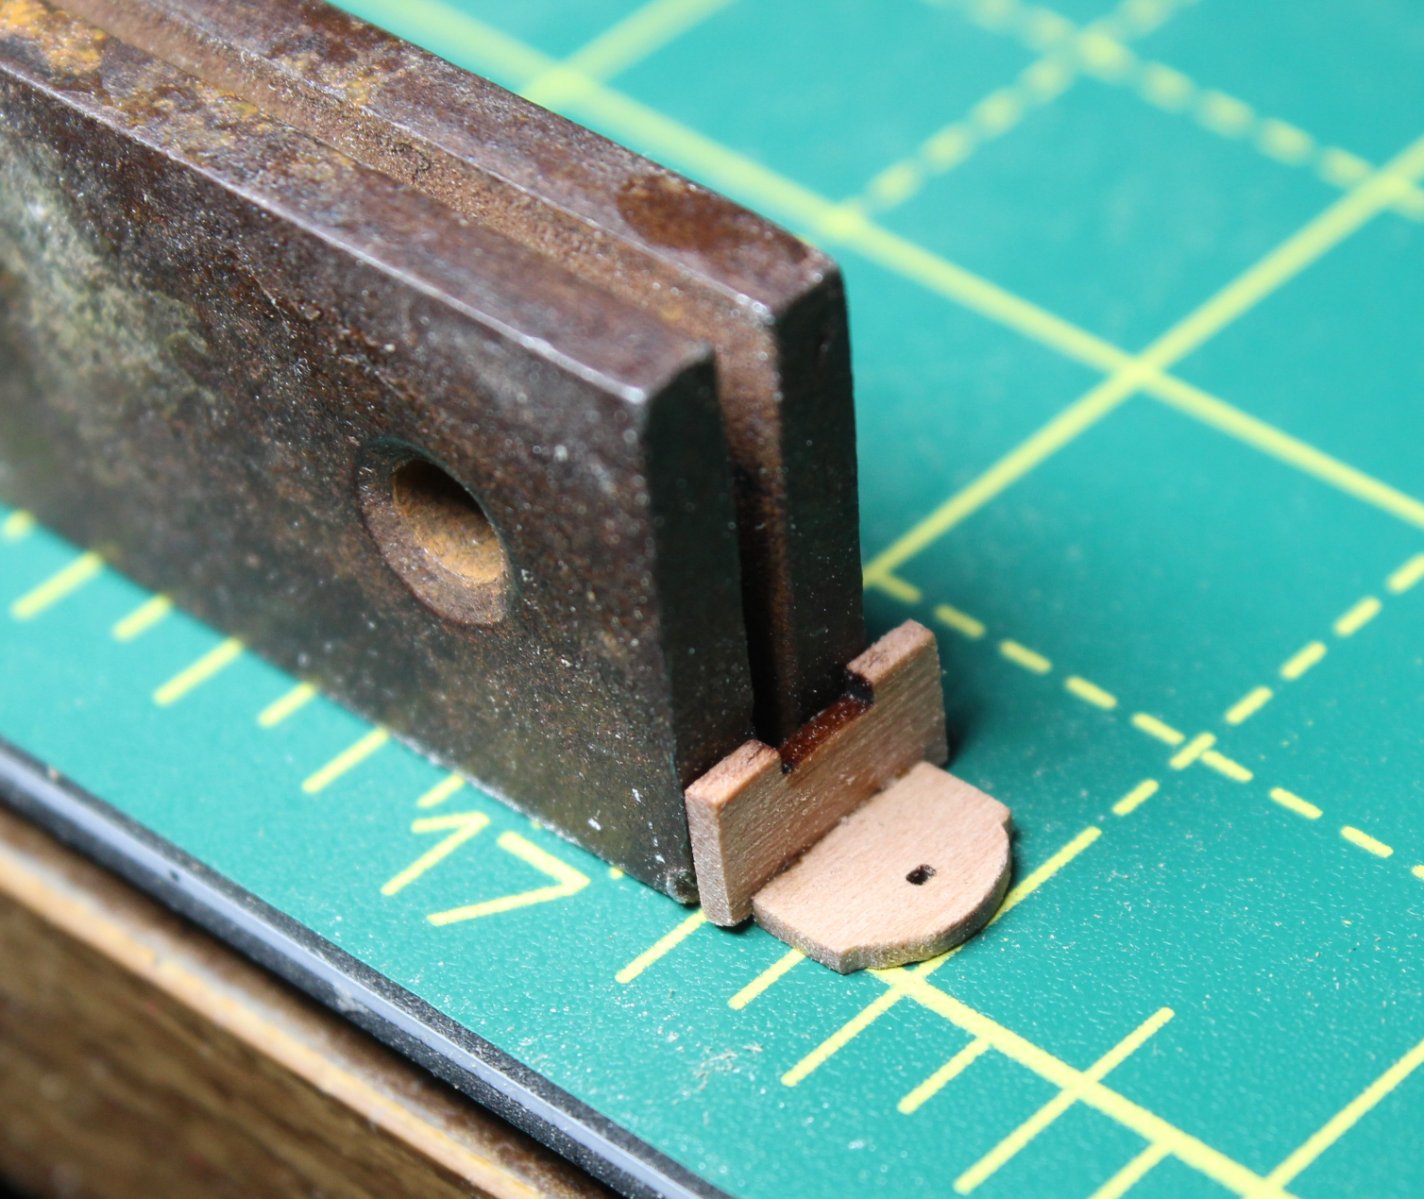
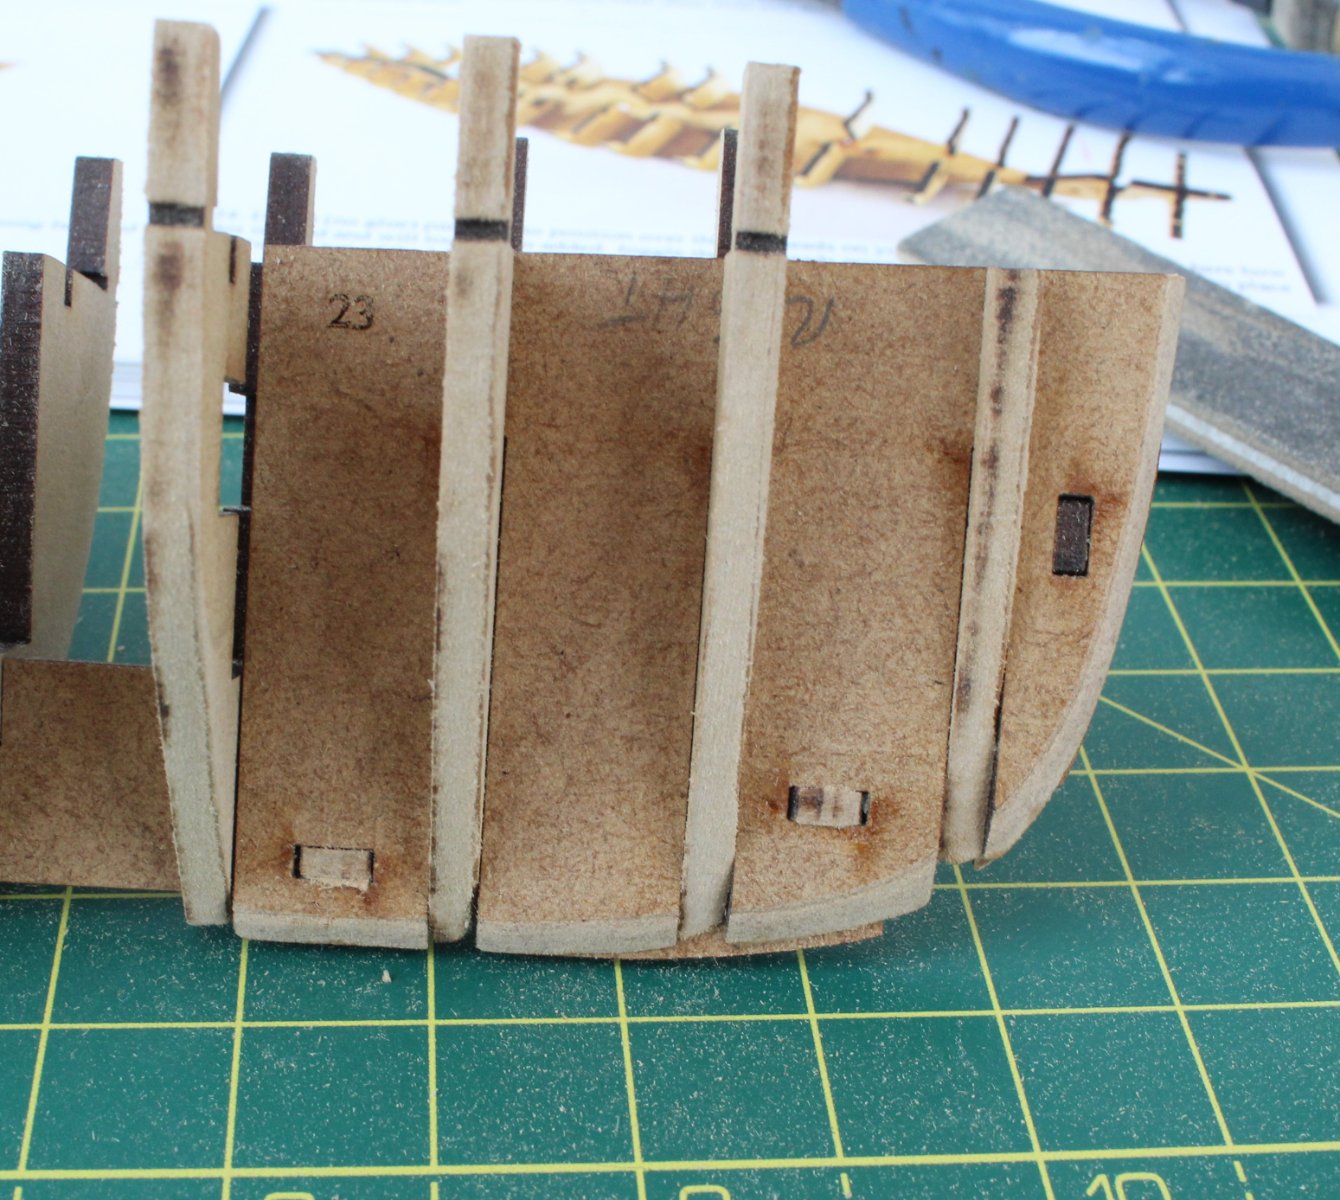
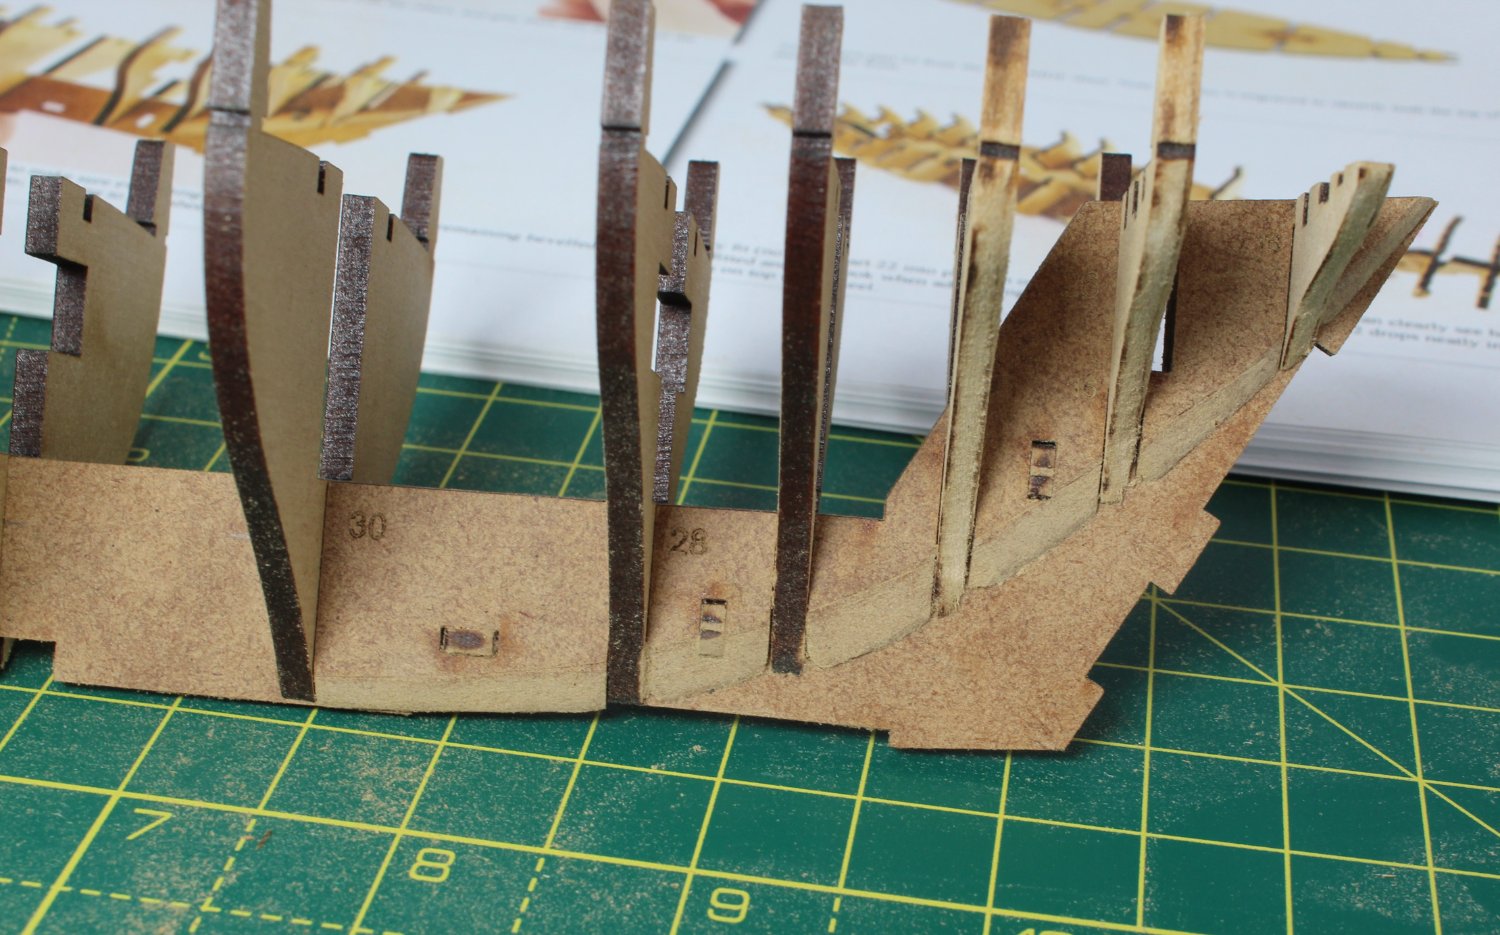
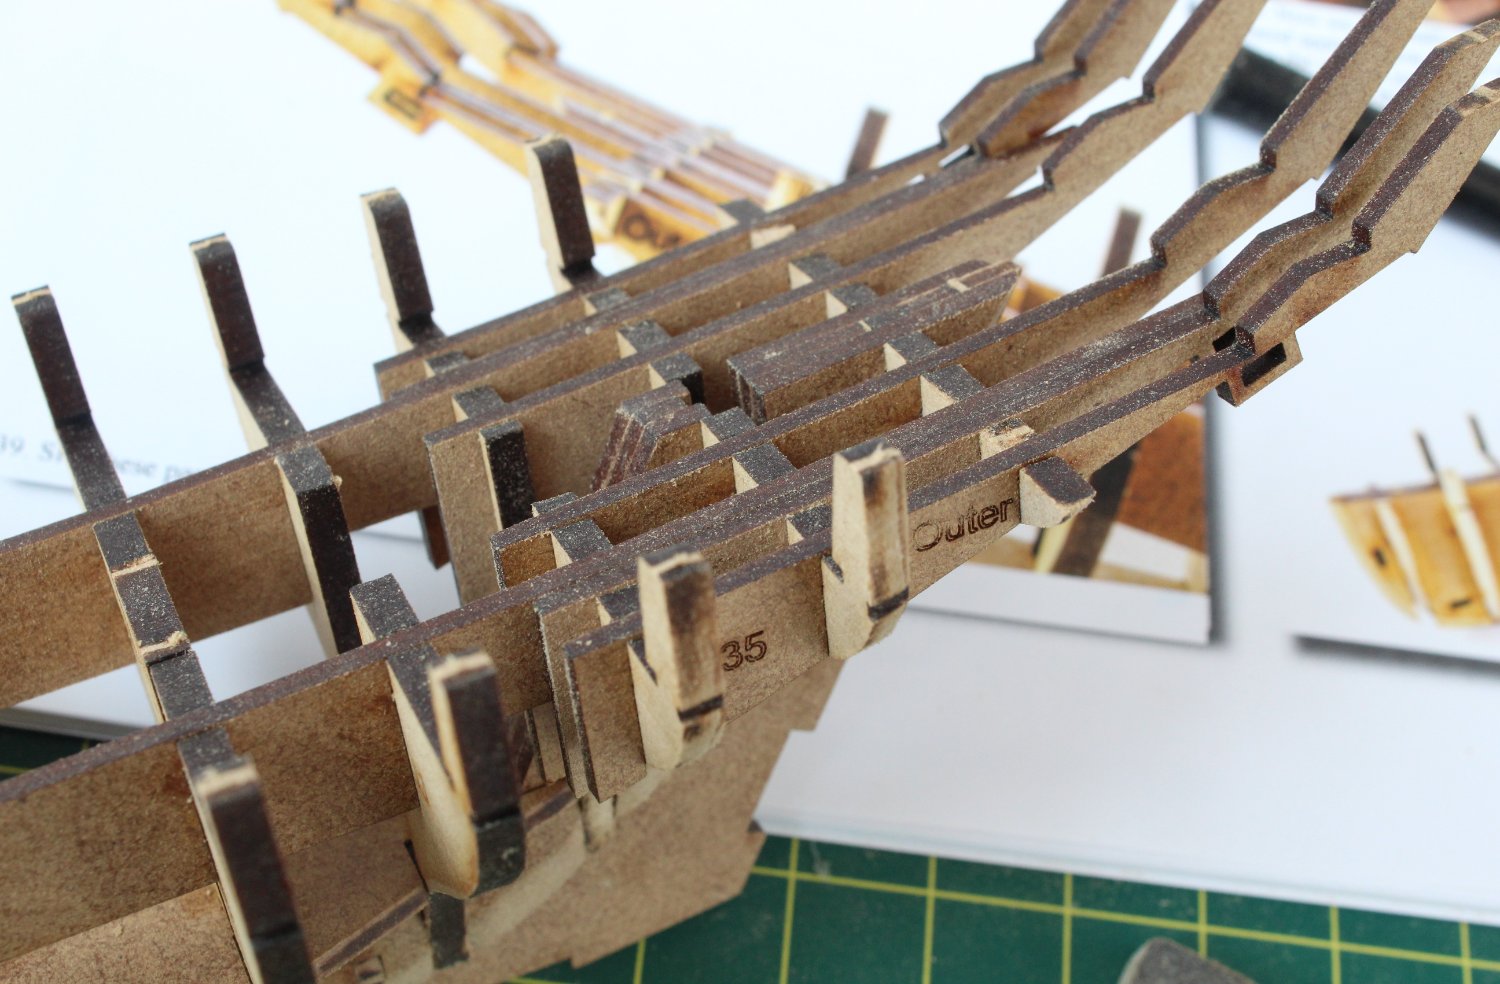
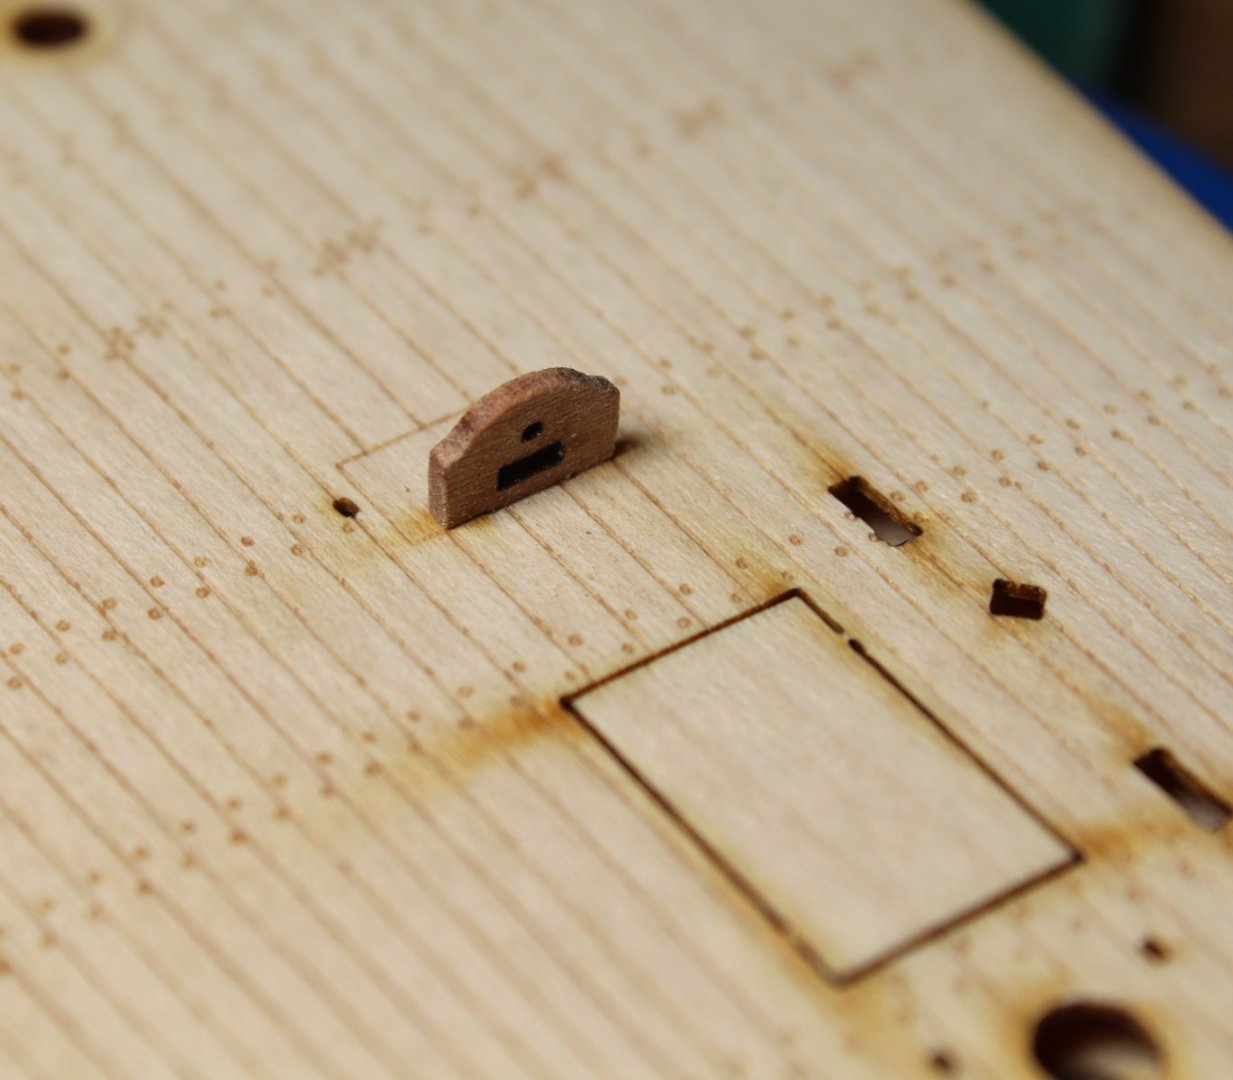
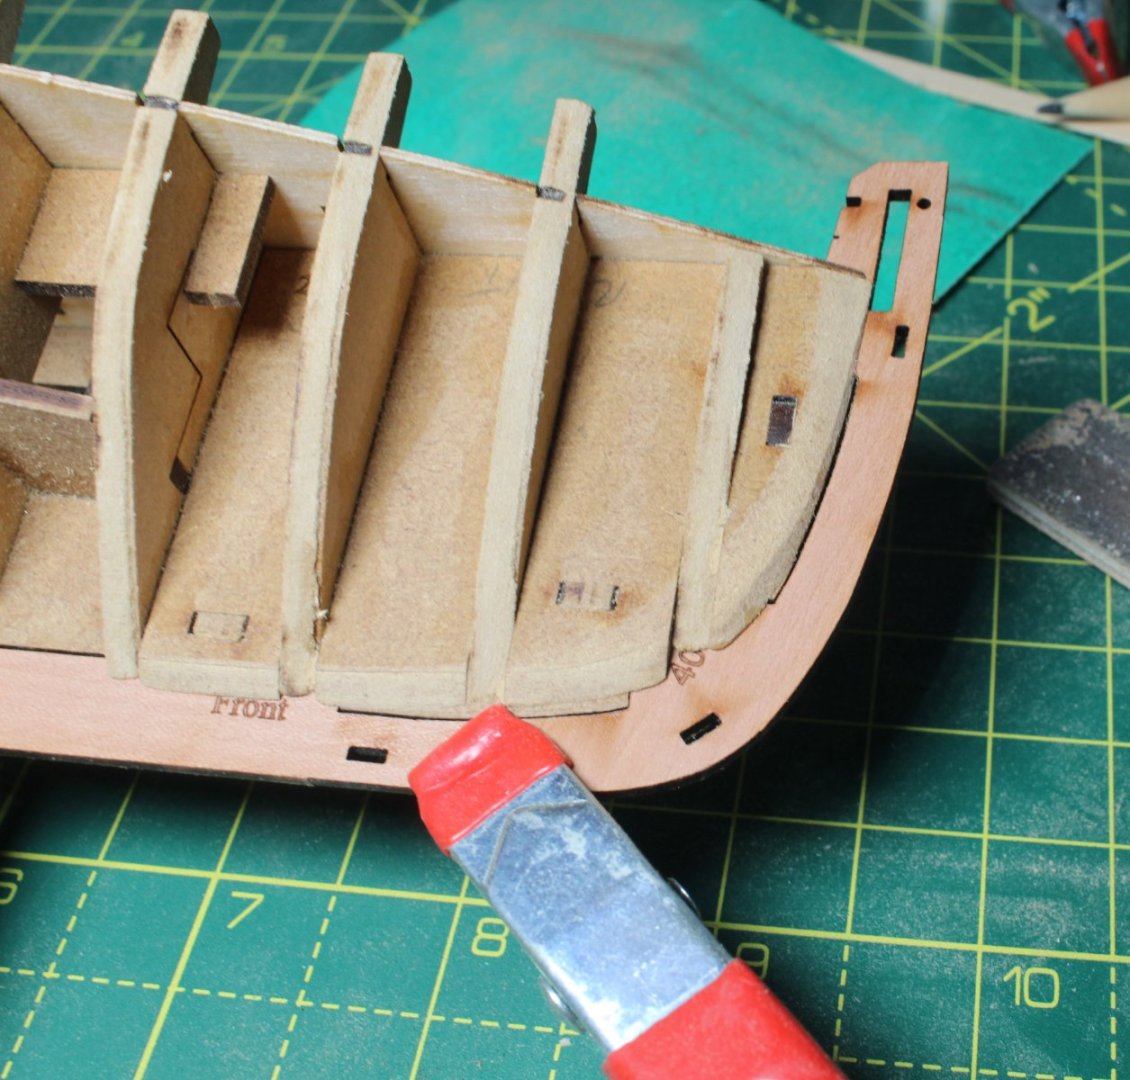
002 - Hull Construction Part 2 I have made a bit more progress. I had just coated a diluted titebond solution to the bulkhead joints so as I was waiting for the glue to cure, I decided to check some of the deck items. I started with the main sheet housing which slots into the deck. Once I had removed the laser char from the visible edges, I did a test fit with the deck. As can be seen it was a perfect fit. As I started to assemble the parts I used a straight edge to check and set the correct alignment. The basic main sheet housing assembly is now complete. I will add the cleat, block and eyebolt later on as the assembly still requires a bit of tidy up work Once the bulkhead joints glue had fully cured, I went ahead and fitted the deck. I took my time as the deck was carefully positioned and I ensured it was fully engaged with the all the bulkhead securing slots. Once I was happy the underside joints were coated with a diluted titebond solution. With the deck glued in place it was time to fair the bulkheads. I used a length of planking material to check the fairing. As can be seen in the photo below the test plank is a nice fit except in a couple of places so a bit more work is required. I am now happy with how the plank lays. When considering how the inner stern counter should be fitted, I have noted the bottom edges of the various stern frames will need fairing for a smooth curved fit. I have also checked the fit of the stern, keel and stem patterns, dry fit only so far. I have also dry fitted the front and rear bulwarks, taking care to use the line on the bulwarks to align with the deck.


- 106 replies
-
- 5
-
-
- Erycina
- Plymouth Trawler
- (and 3 more)
-
A great looking model, well done
-
Thanks Kevin. I am very pleased with the finished model.
- 476 replies
-
- 1
-
-
- sphinx
- vanguard models
- (and 1 more)
-
Thanks, I really like the work shown on your build log also and it is something I can aspire to one day
- 476 replies
-
- 1
-
-
- sphinx
- vanguard models
- (and 1 more)
-
Many thanks. I am glad you've enjoyed the build log.
- 476 replies
-
- 2
-
-
- sphinx
- vanguard models
- (and 1 more)
-
Many thanks. I am sure you do have the skill and patience for such a build.
- 476 replies
-
- 1
-
-
- sphinx
- vanguard models
- (and 1 more)
-
Thanks Derek. I learnt a lot from your build logs. I think Indy will be a very long 2+year build project.
- 476 replies
-
- 1
-
-
- sphinx
- vanguard models
- (and 1 more)
-
I have just started my Erycina build today. I will refer to your build log as I progress.
- 88 replies
-
- 2
-
-
- Erycina
- Vanguard Models
- (and 2 more)
-
Many thanks, enjoy your build. I am sure you will enjoy making it as I did.
- 476 replies
-
- 1
-
-
- sphinx
- vanguard models
- (and 1 more)
-
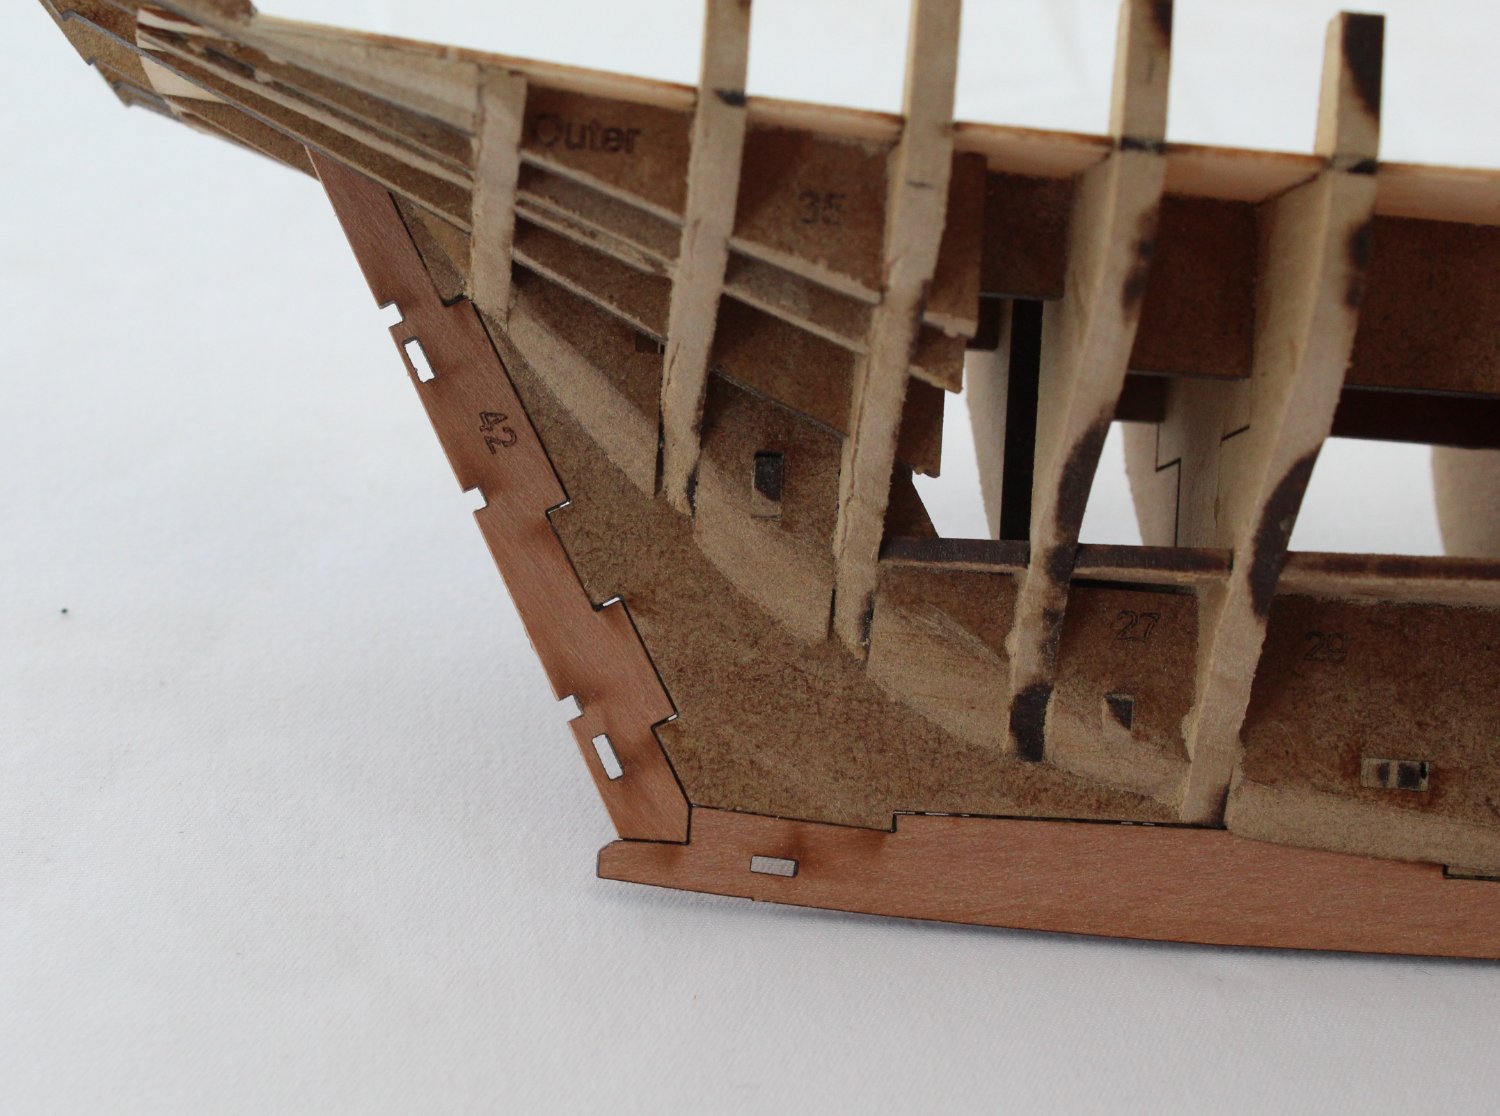
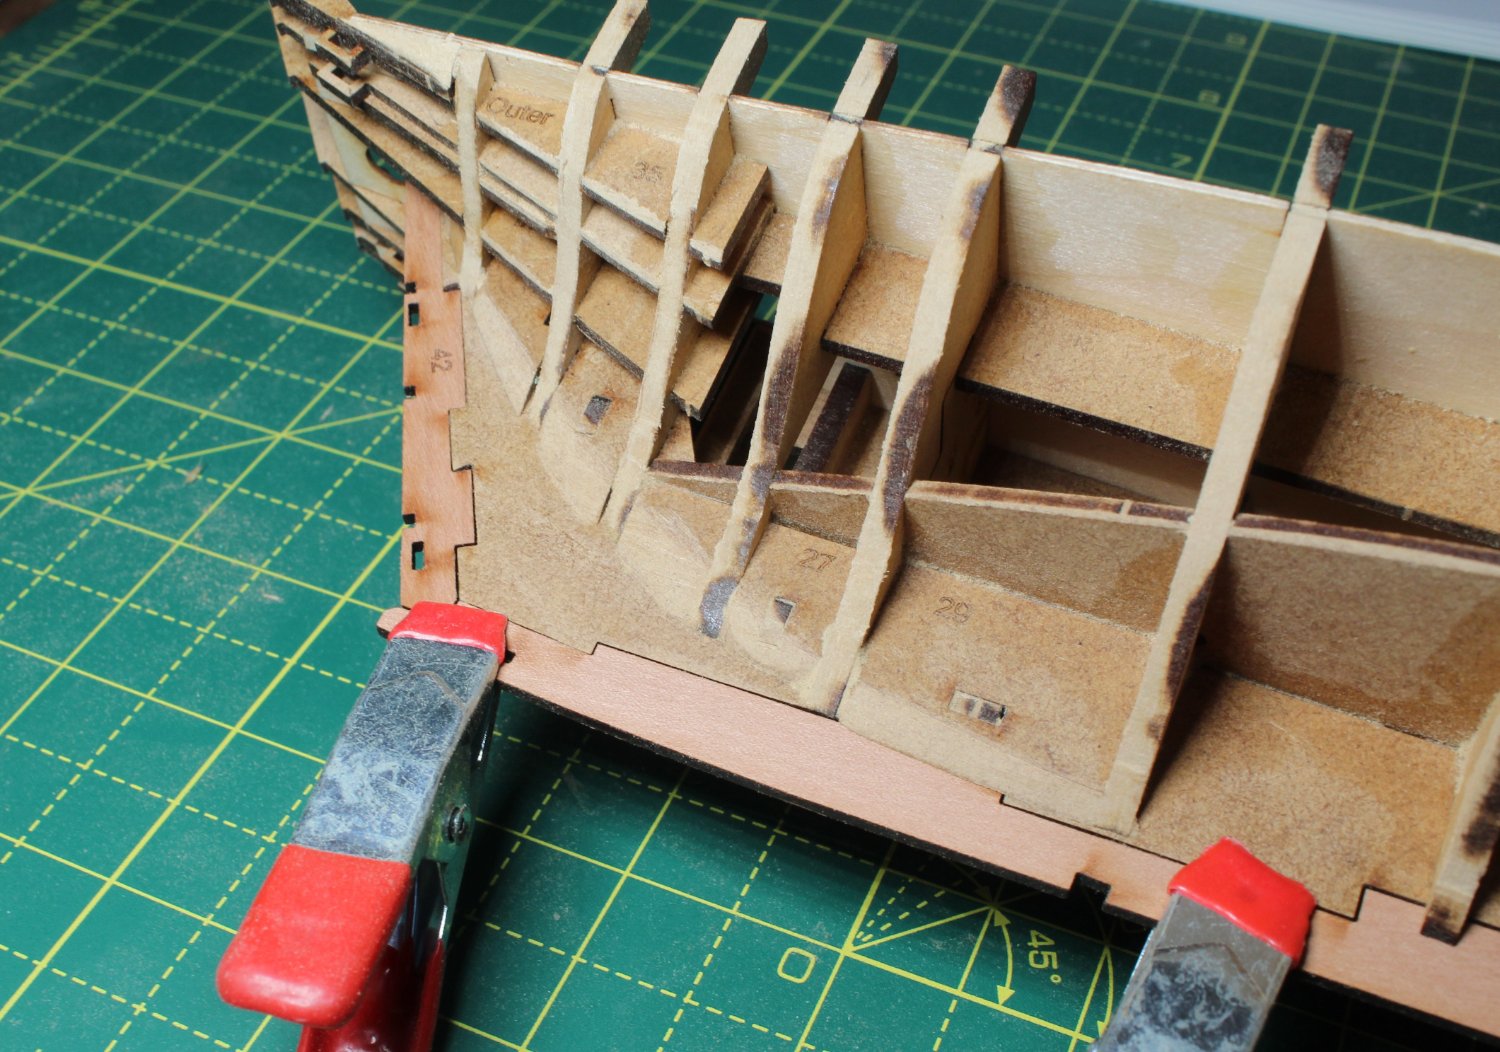
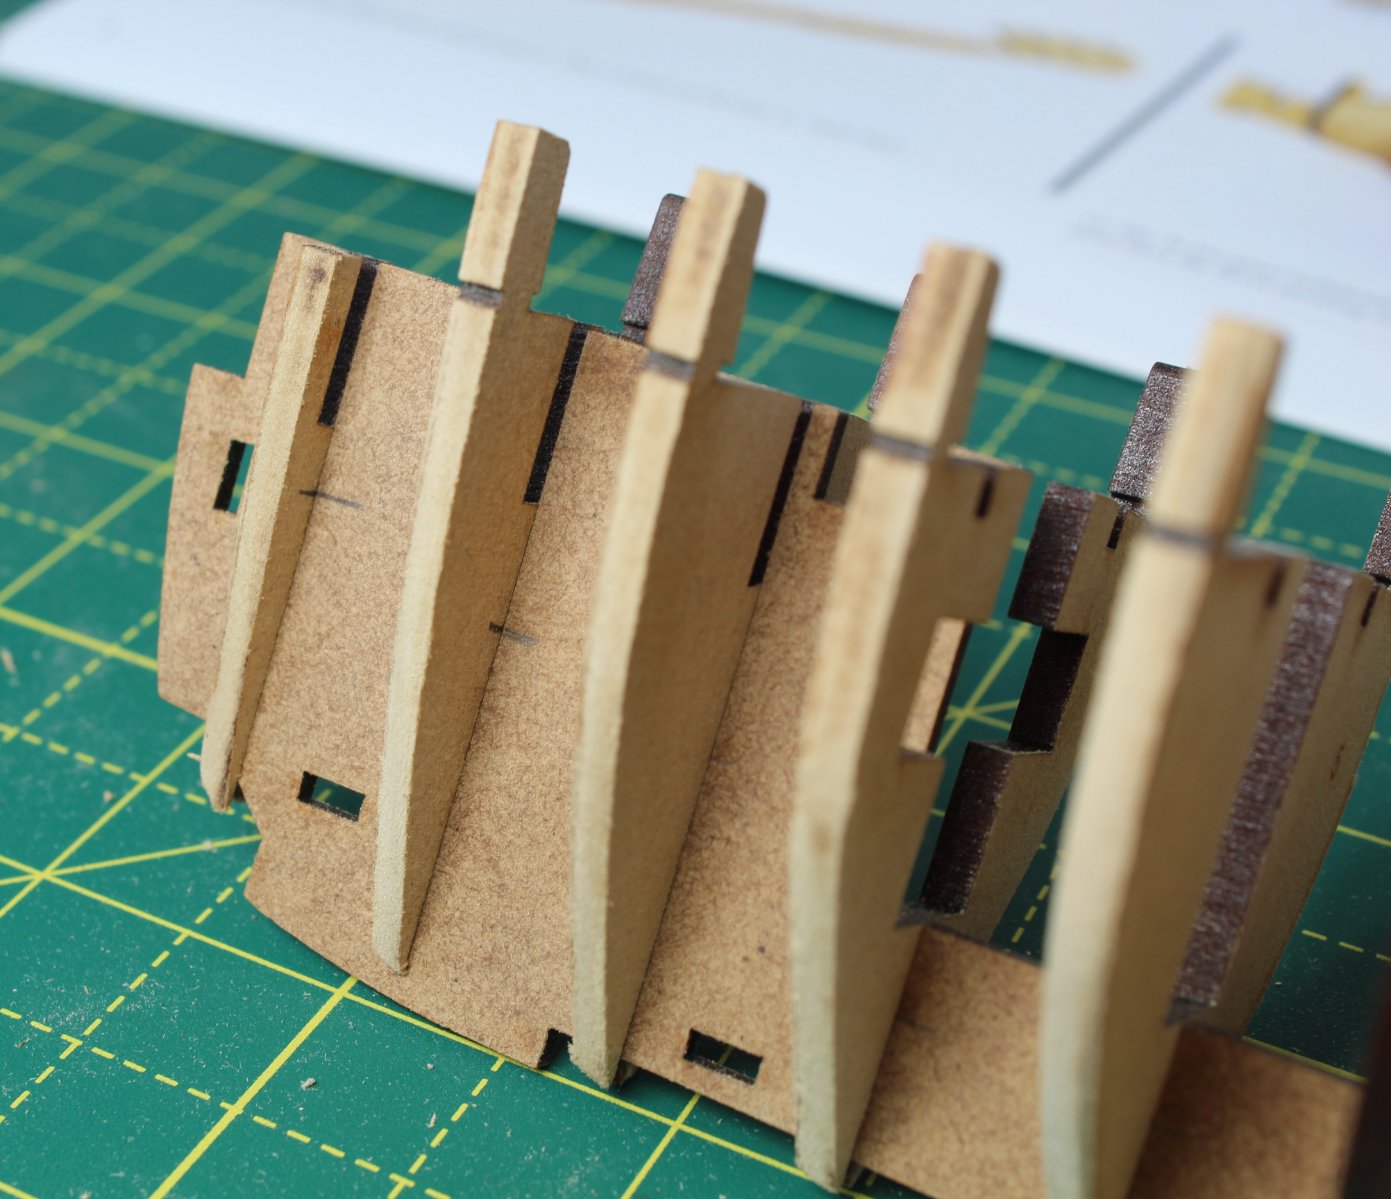
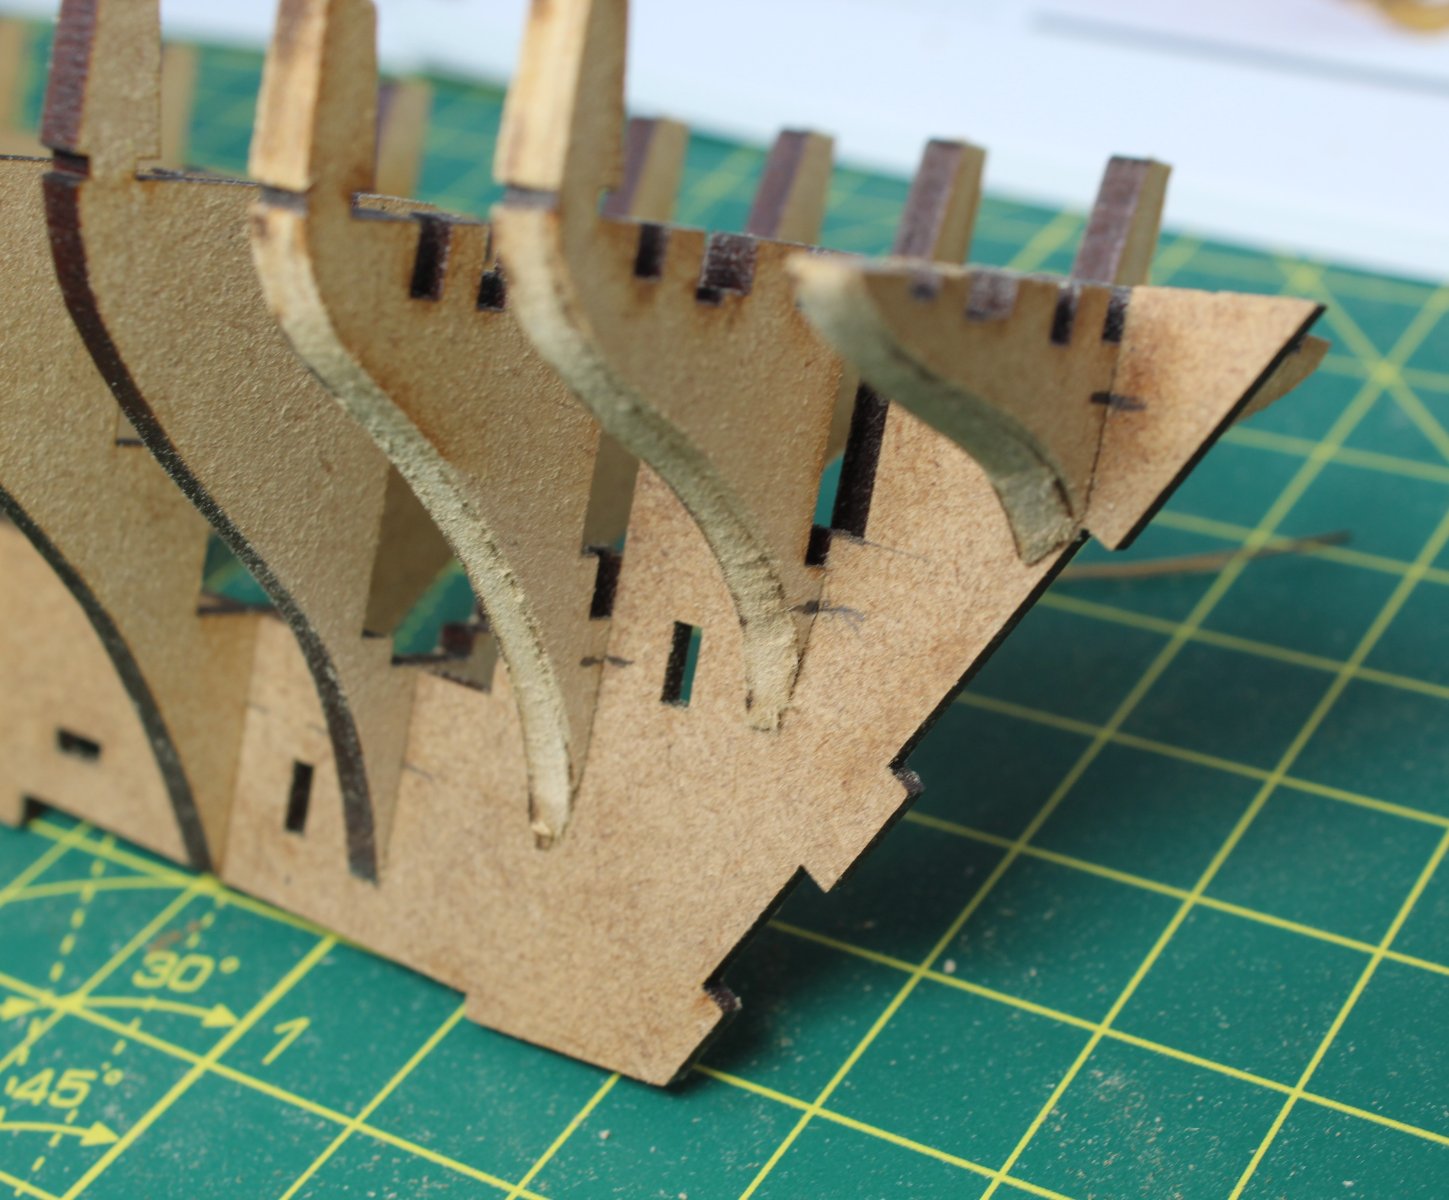
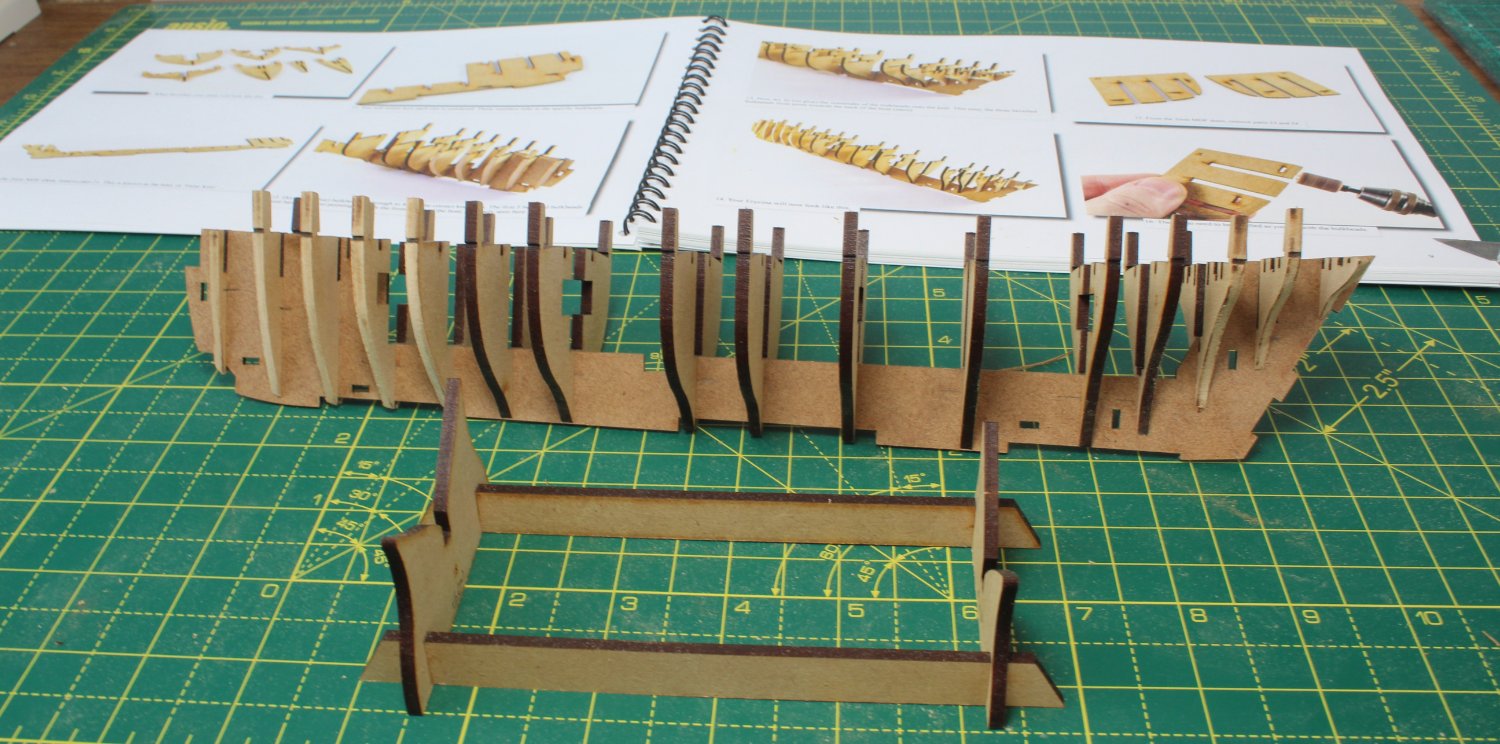
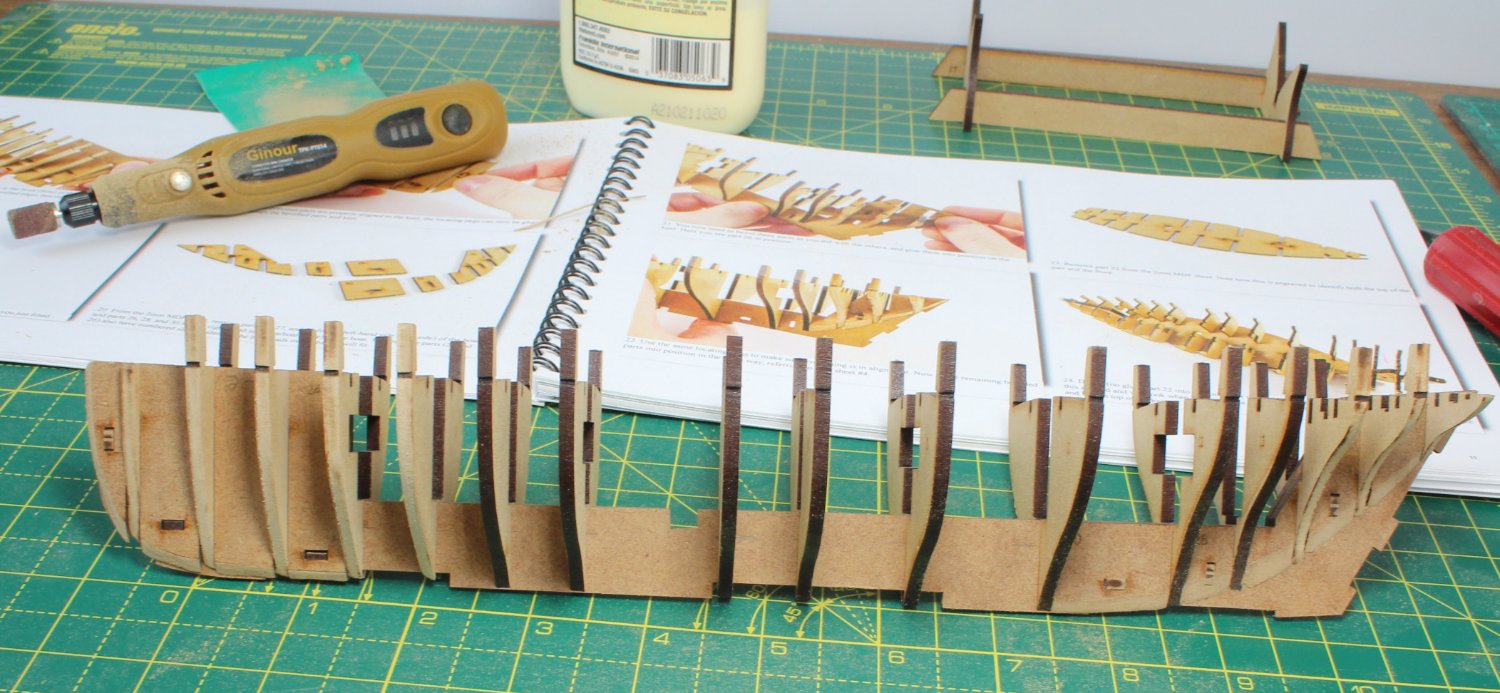
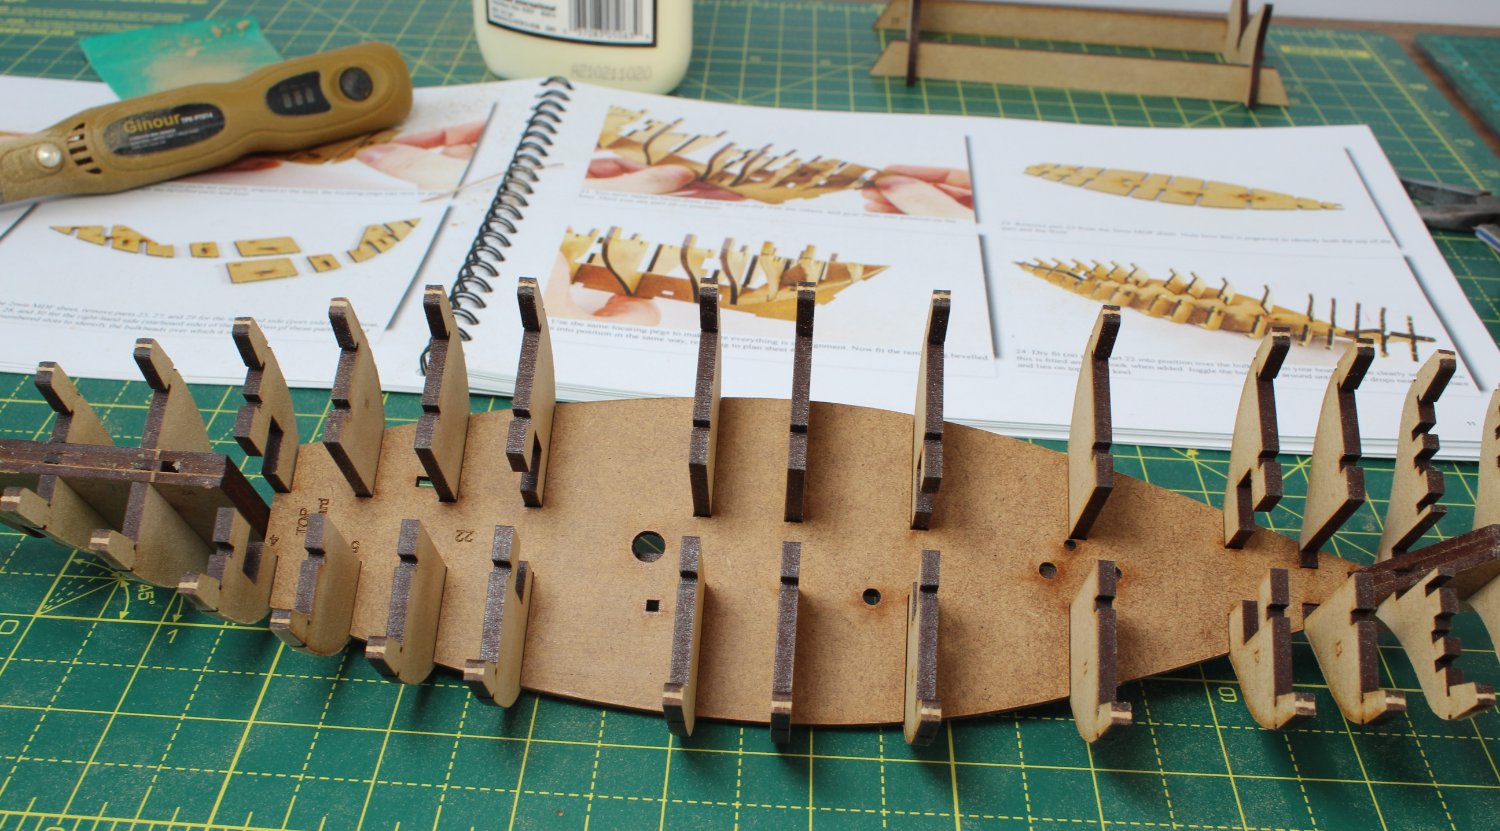
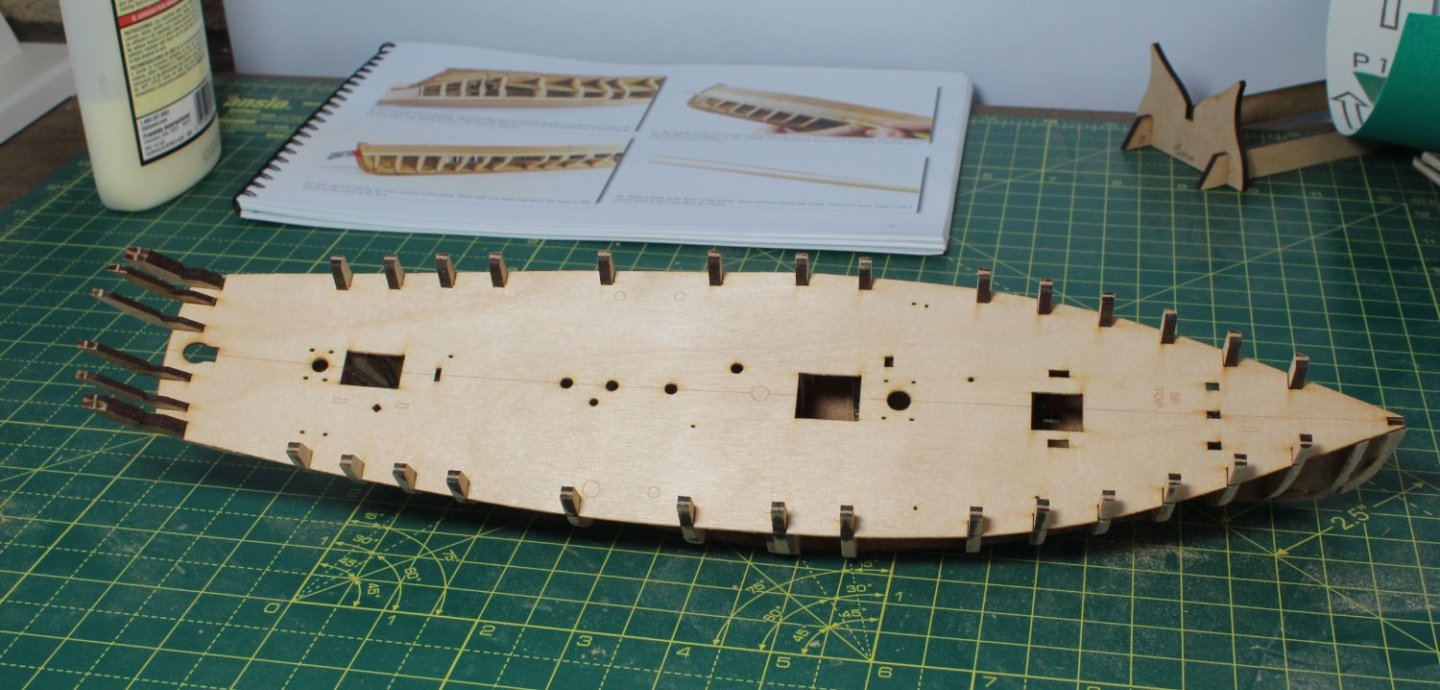
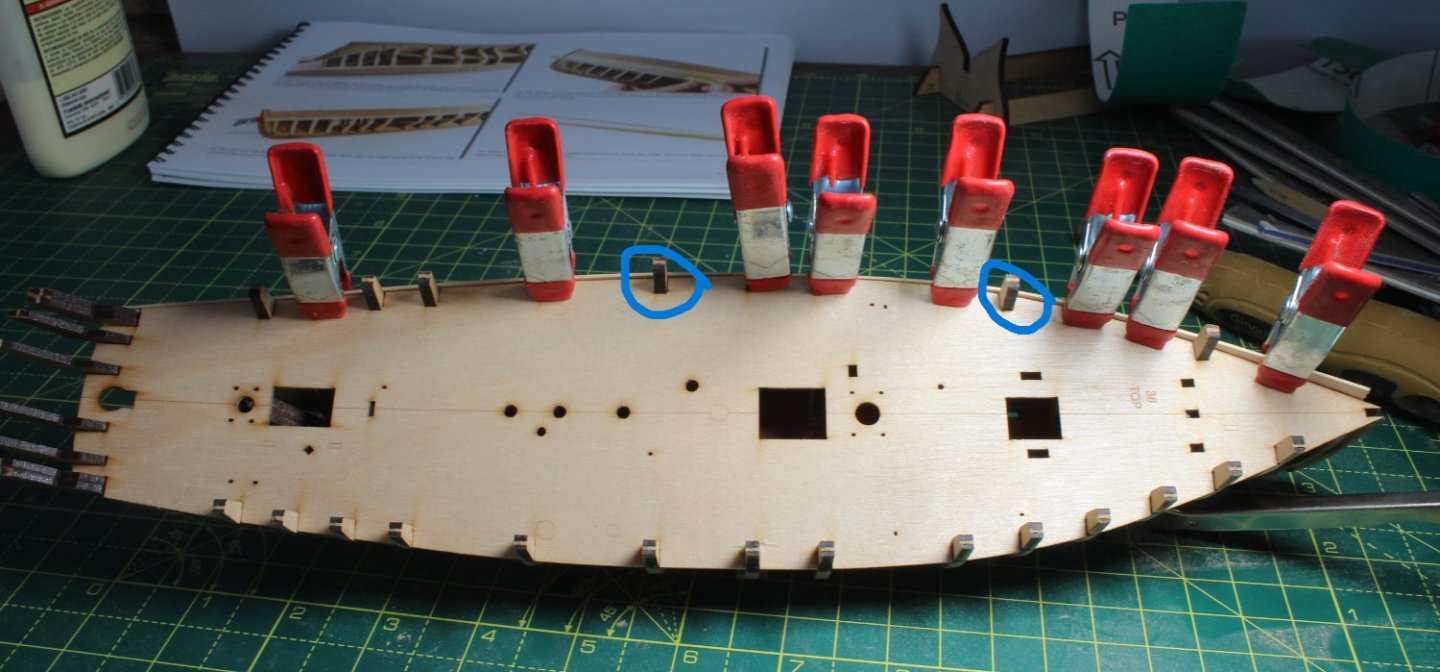
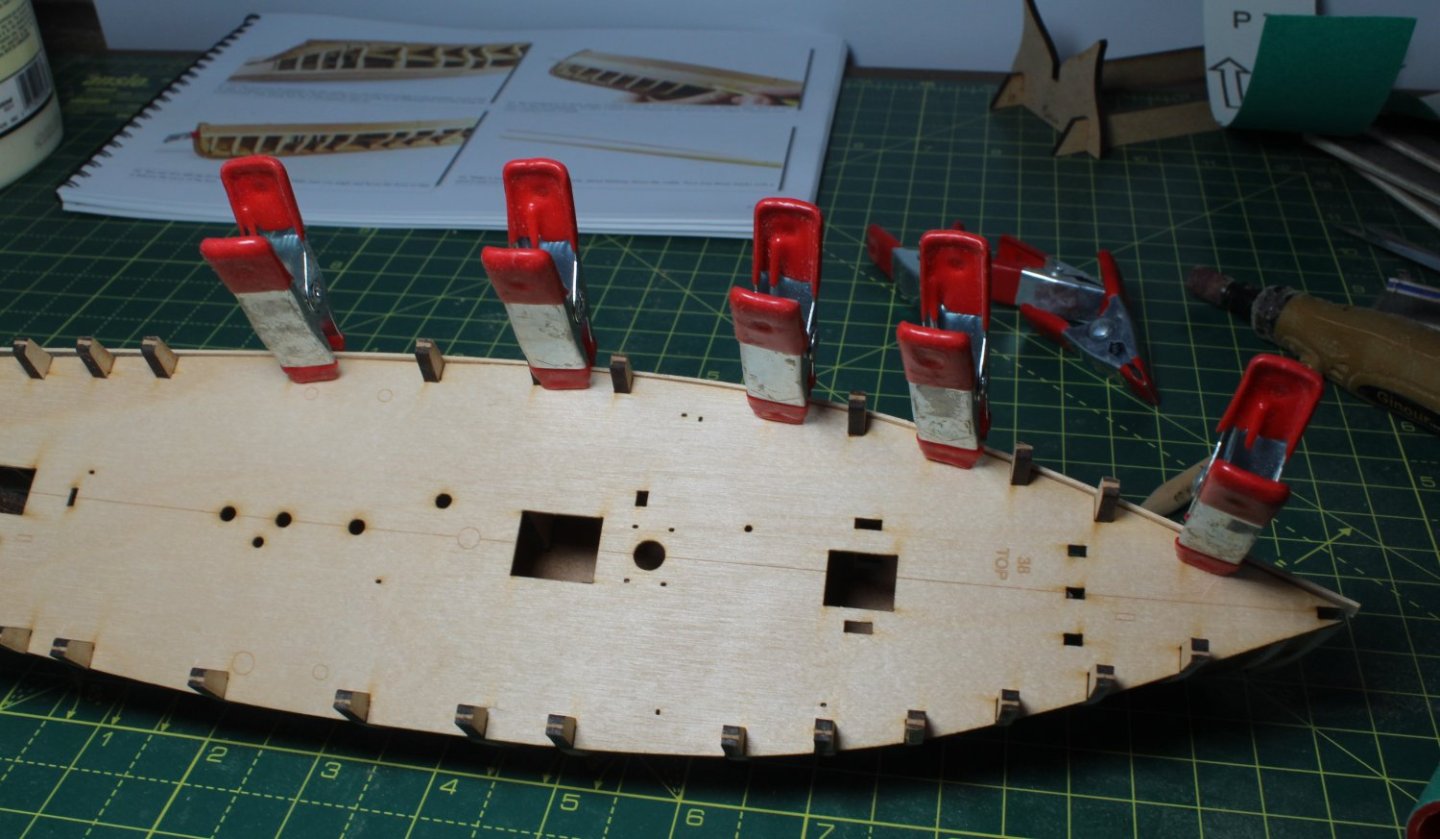
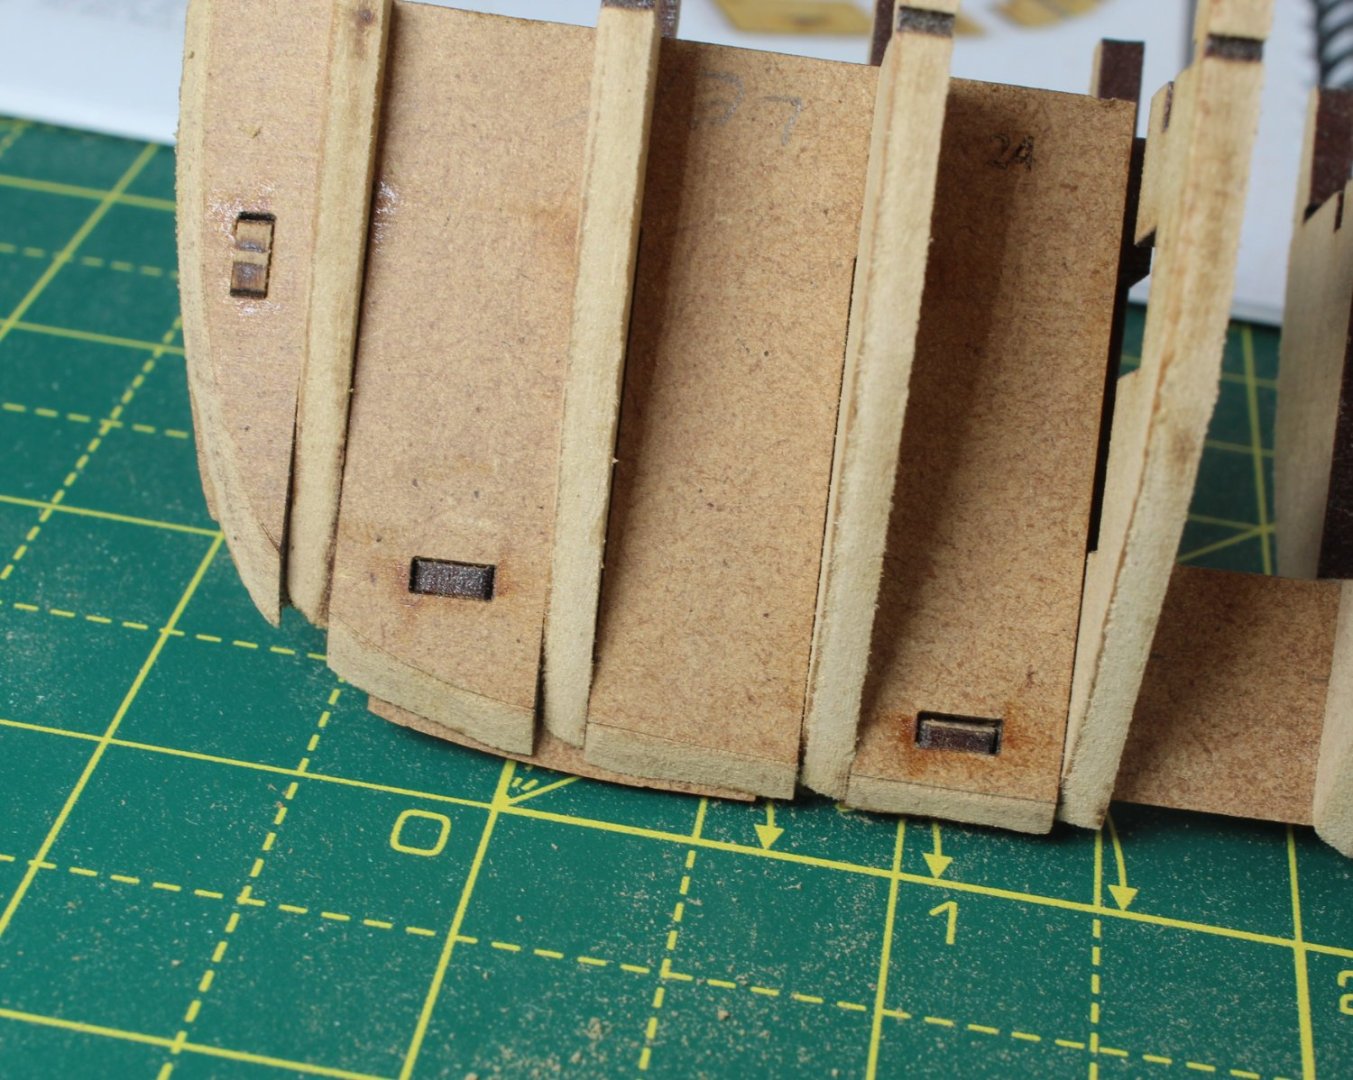
001 - Hull Construction Part 1 There is not going to be much of a description in this post as I have simply been following the build manual instructions verbatim. With the manual on the workbench along with the first MDF sheet I am now ready to make a start. Using my rotary tool, the initial fairing of the first 5 bulkheads to the guideline was carried out. When I started on bulkhead 5, I had a senior moment started to apply a reverse camphor. I marked out the required sanding line on the other side of bulkhead 5 and carried on. Not a great start and I hope it is not a bad omen. Next the camphor's were added the last three bulkheads. You will note, both on the previous photo and the photo below, that I have added some pencil marks on the bulkheads and keel. These marks indicate the bottom the locating slots. When the pencil marks are aligned, I know the parts are fully engaged. Stage 1 completed Next up was camphor and add the filler pieces. I need to review some other build logs to check the bow filler pieces camphor's along the keel edge with the bulkheads. There is plenty of material to sand in order to get a smooth line, or I can fill the gaps with some offcuts. With all the bulkheads and filler pieces in place it was time to add the deck. Apart from the filler pieces, which were glued in place (as per the instructions), everything is still a dry fit. Bulkheads 12, 10, 7 and 4 require a cross piece to be glued in place. With the pieces in place, I used some clamps to hold the parts in place as the glue gripped. The two longitudinal hull brace patterns were slotted into place followed by the 2 sets of stern frames (inner, middle and outer). With everything looking good I mixed up a diluted titebond solution and brushed it in between all the joints. The hull will now be left overnight to fully cure before I move on to the next build phase.


- 106 replies
-
- 7
-
-
- Erycina
- Plymouth Trawler
- (and 3 more)
-
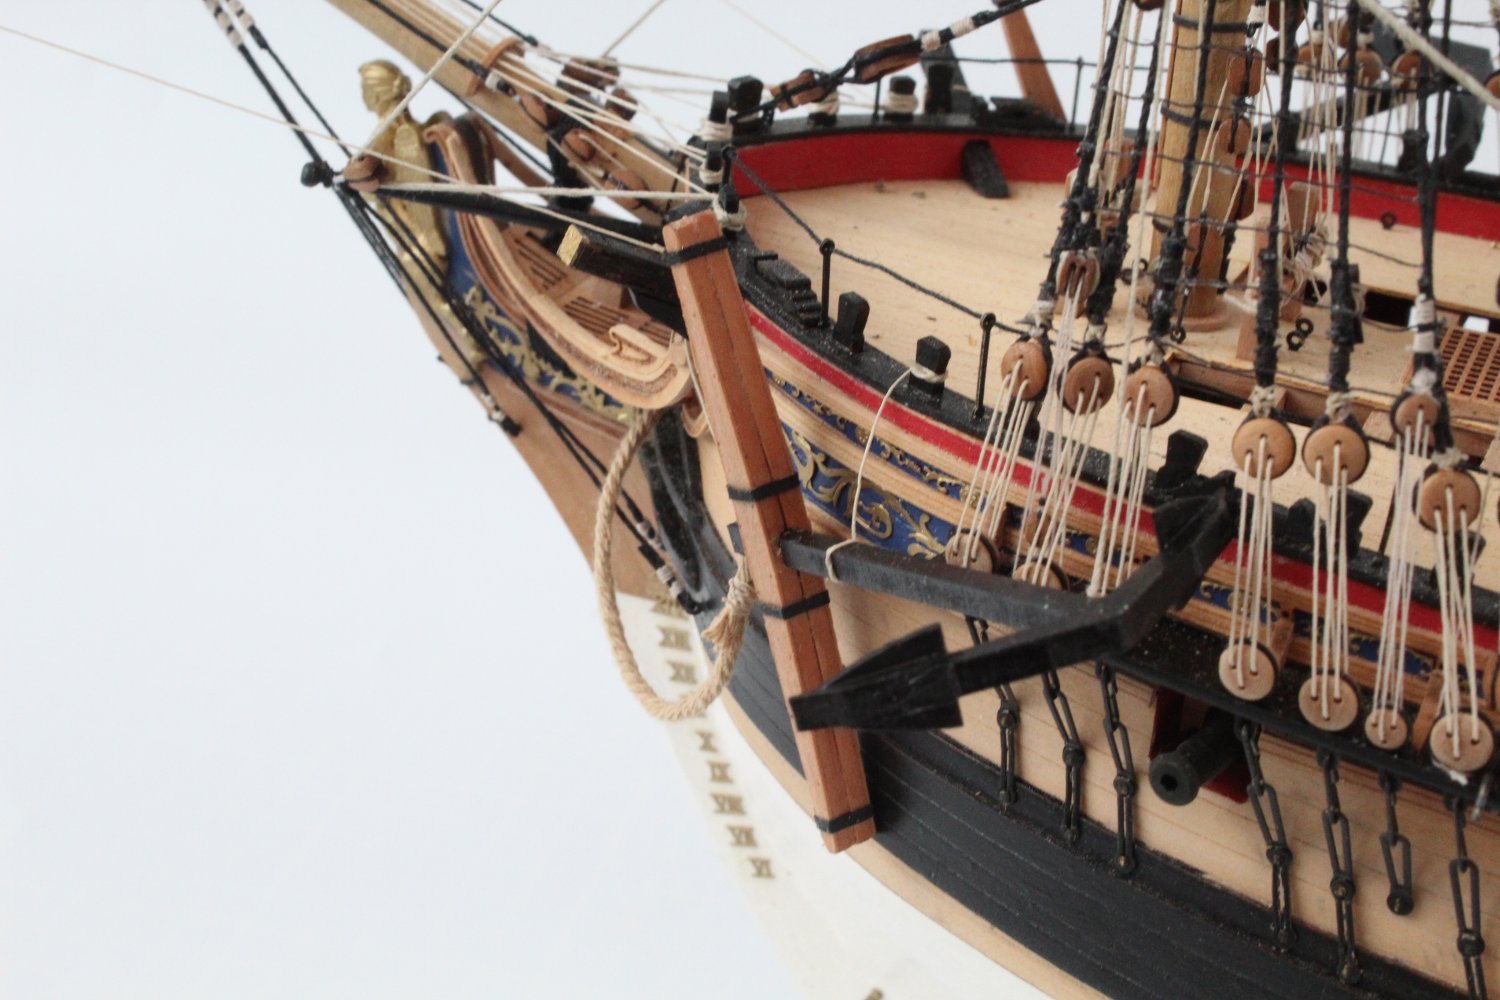
Many thanks James It was a moment of great relief and happiness once I had added the two anchors yesterday afternoon. I did manage to dislodge the seating (broke the glue seal) of the hammock cranes along the gangways during the rigging process which is why they are at a funny angle at the moment. I totally agree I should fix them back to the correct position again. I did keep pushing them back to the right position every now and then as I was rigging, but I did not reglue them to keep them secure as I knew I would keep knocking them with my big hands.
- 476 replies
-
- 4
-
-
- sphinx
- vanguard models
- (and 1 more)
-
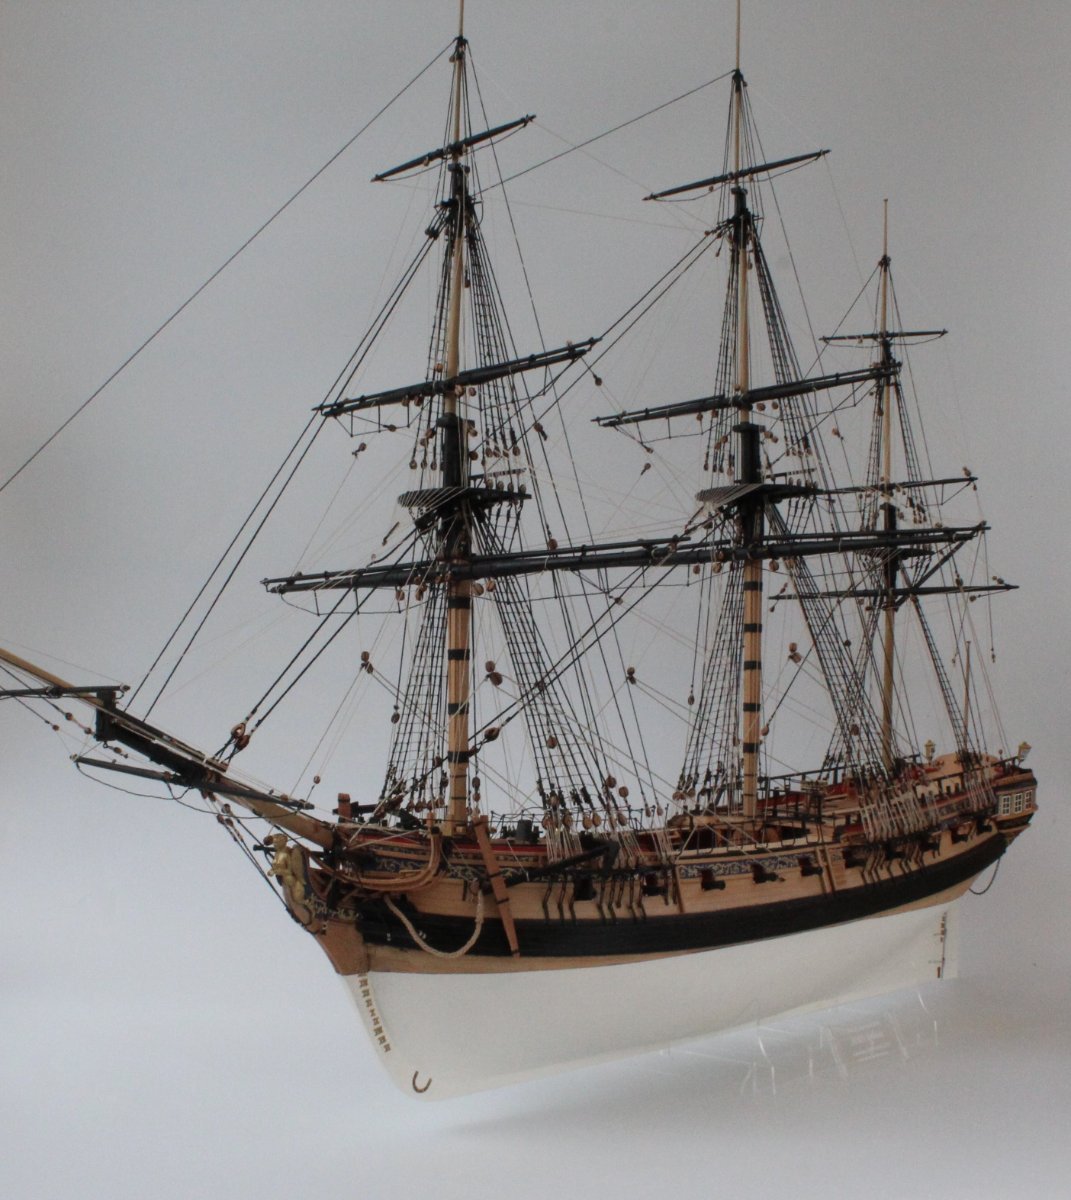
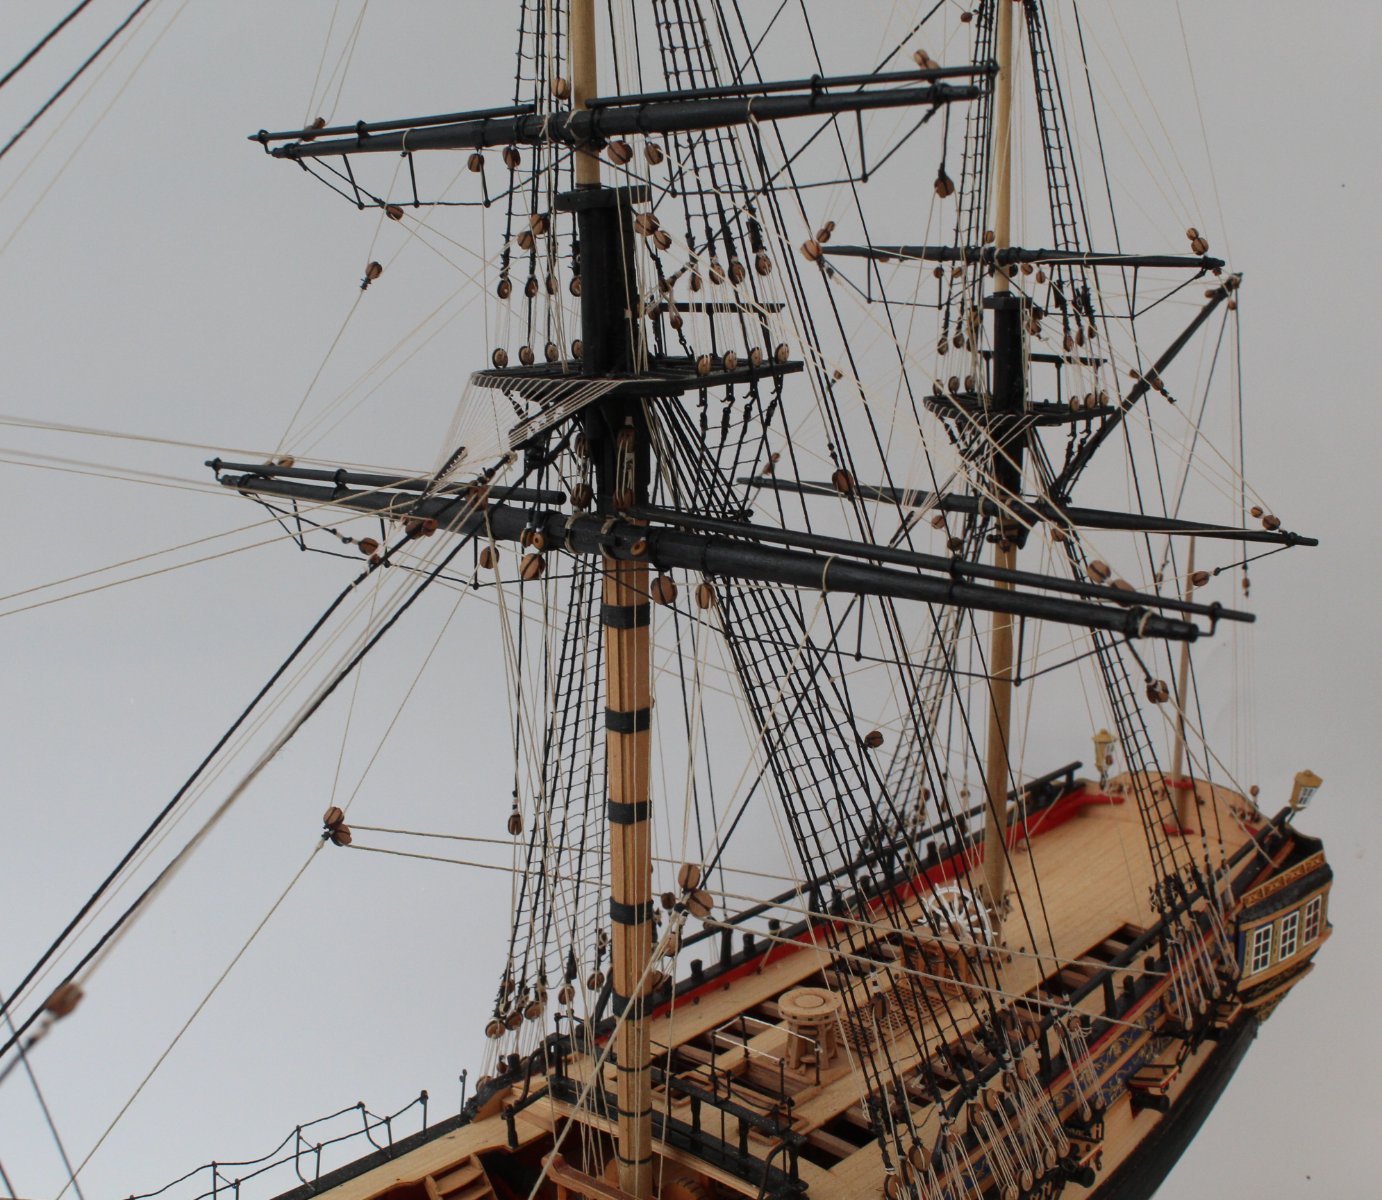
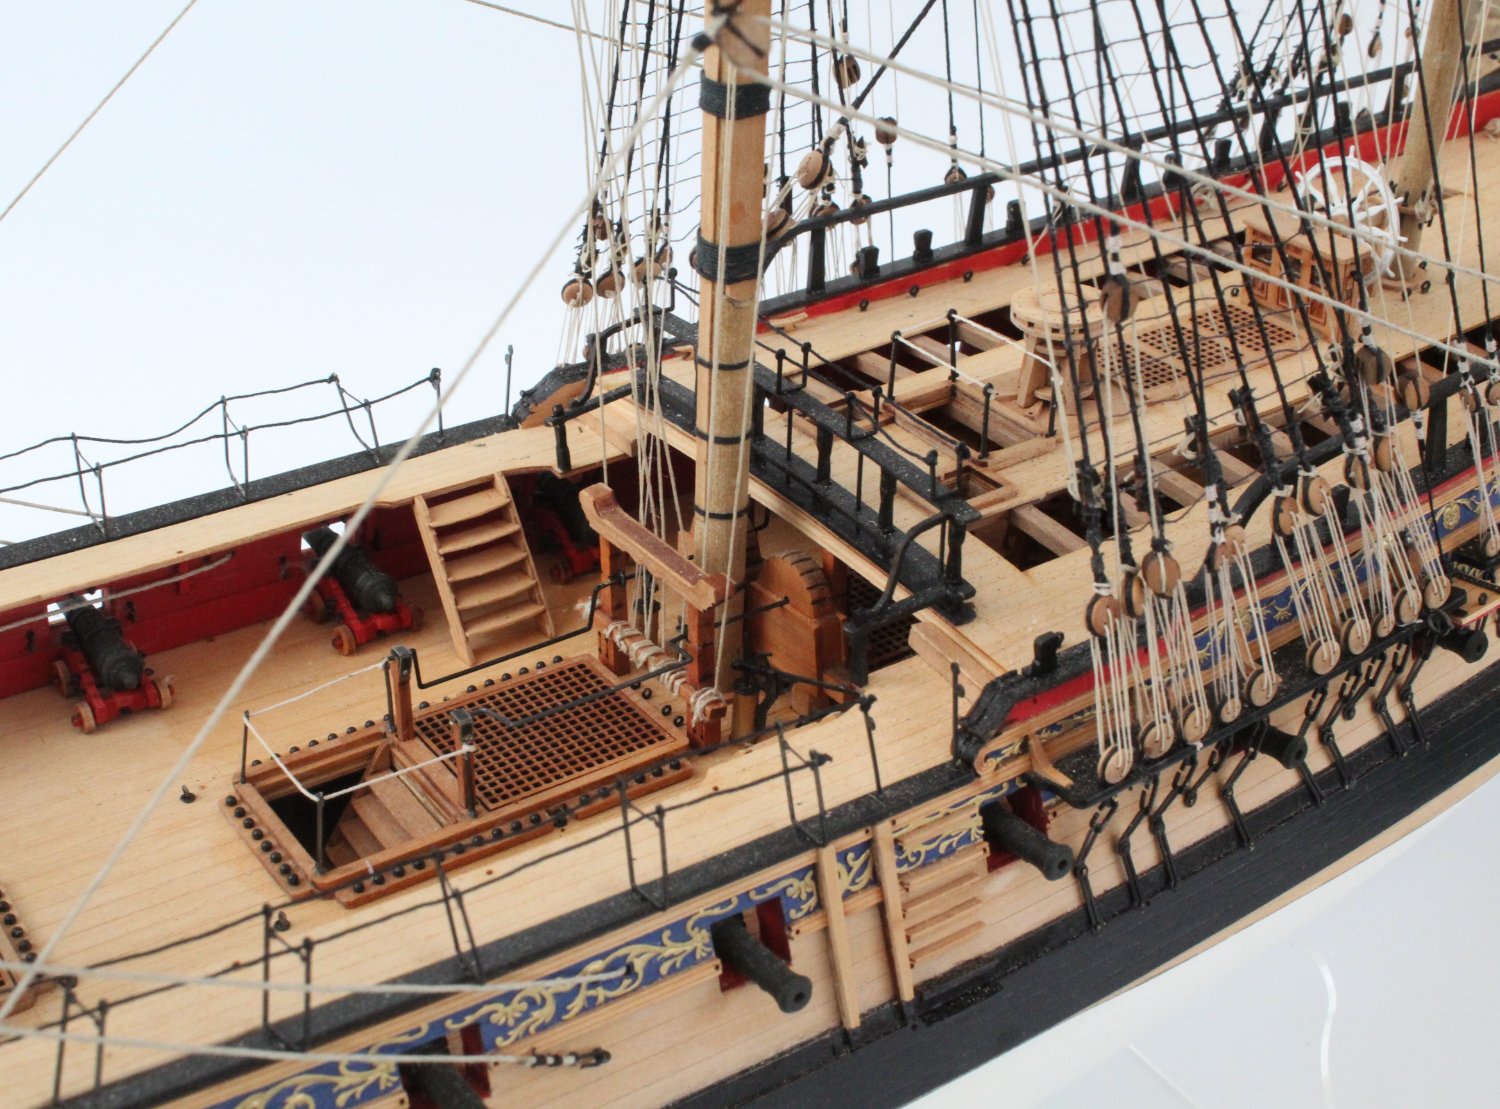
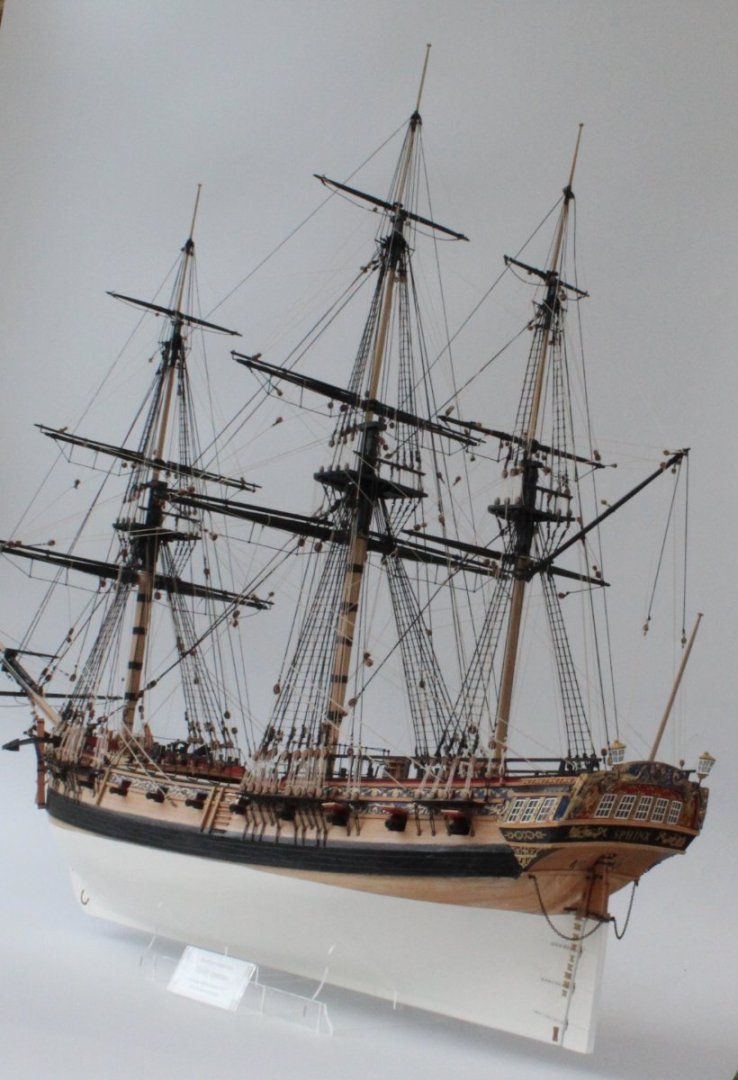
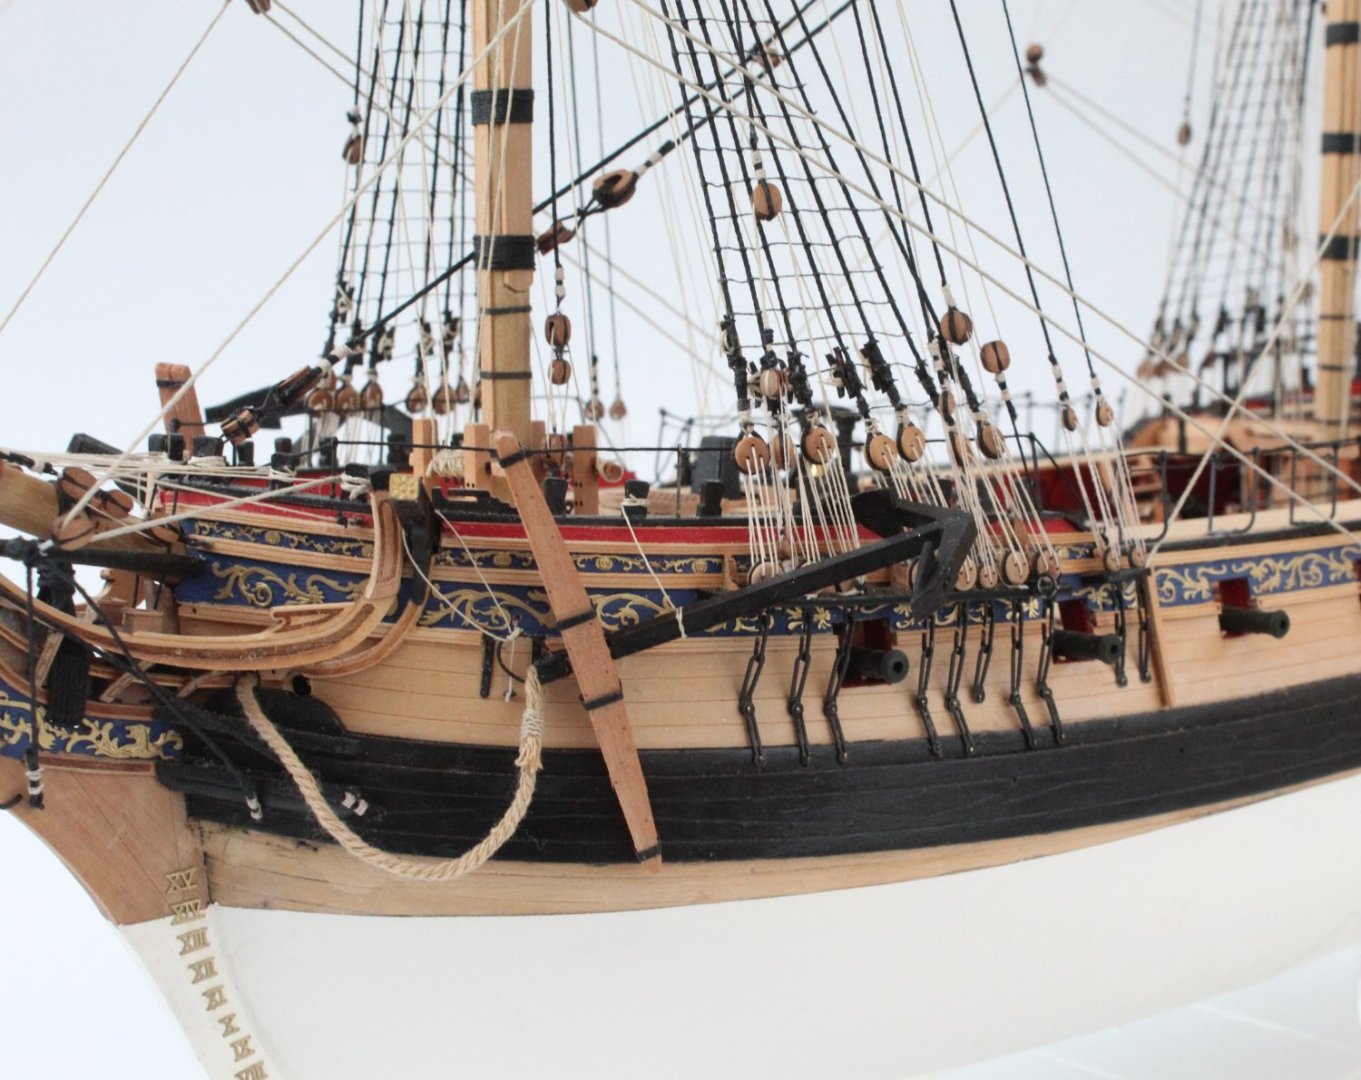
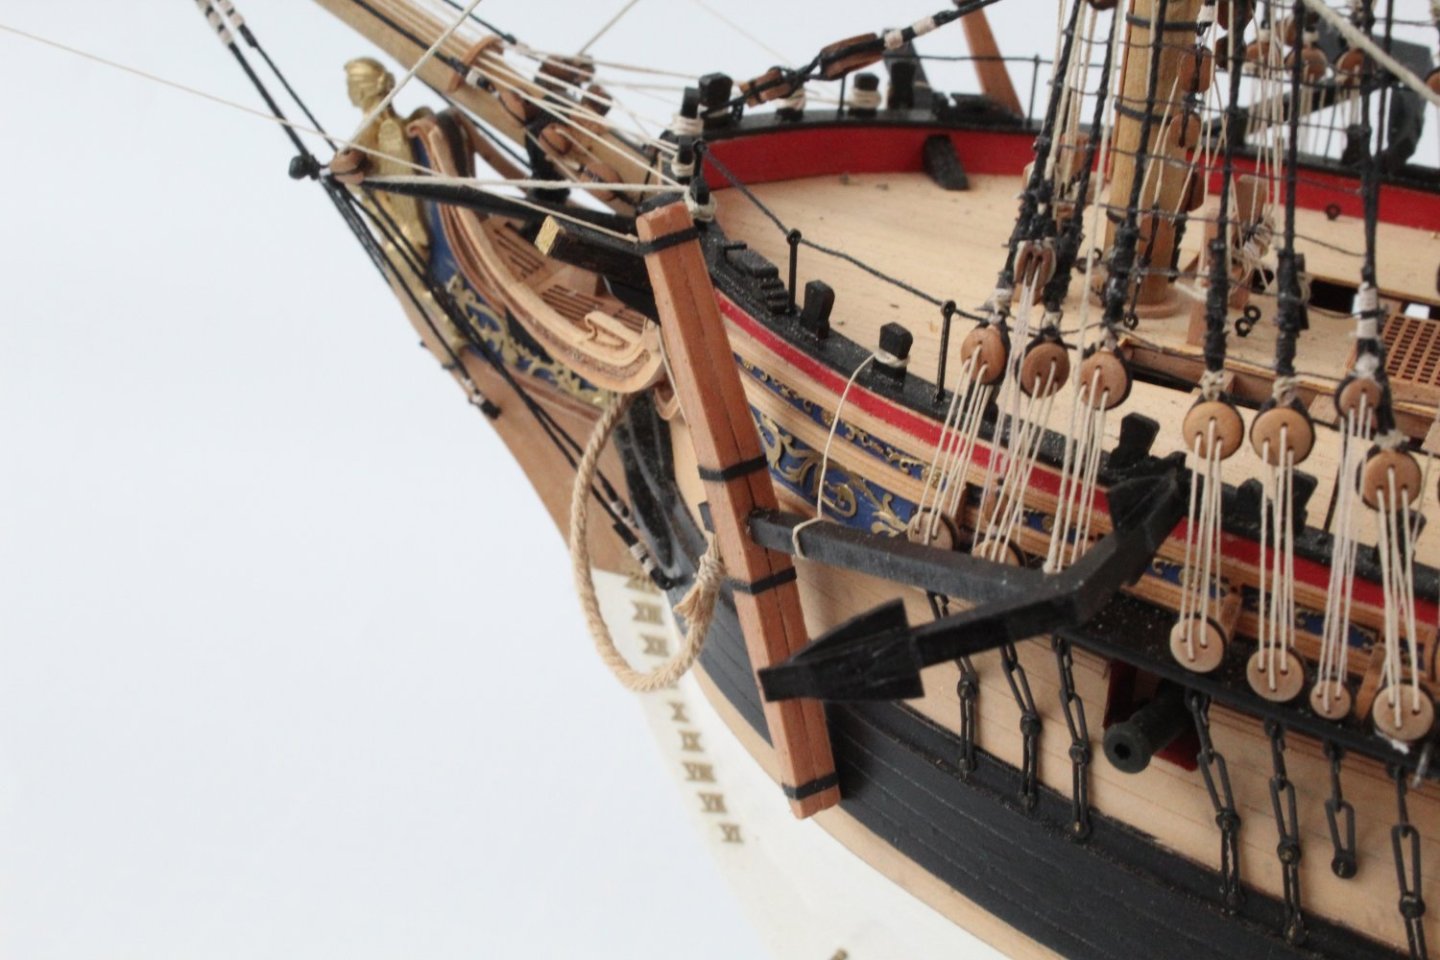
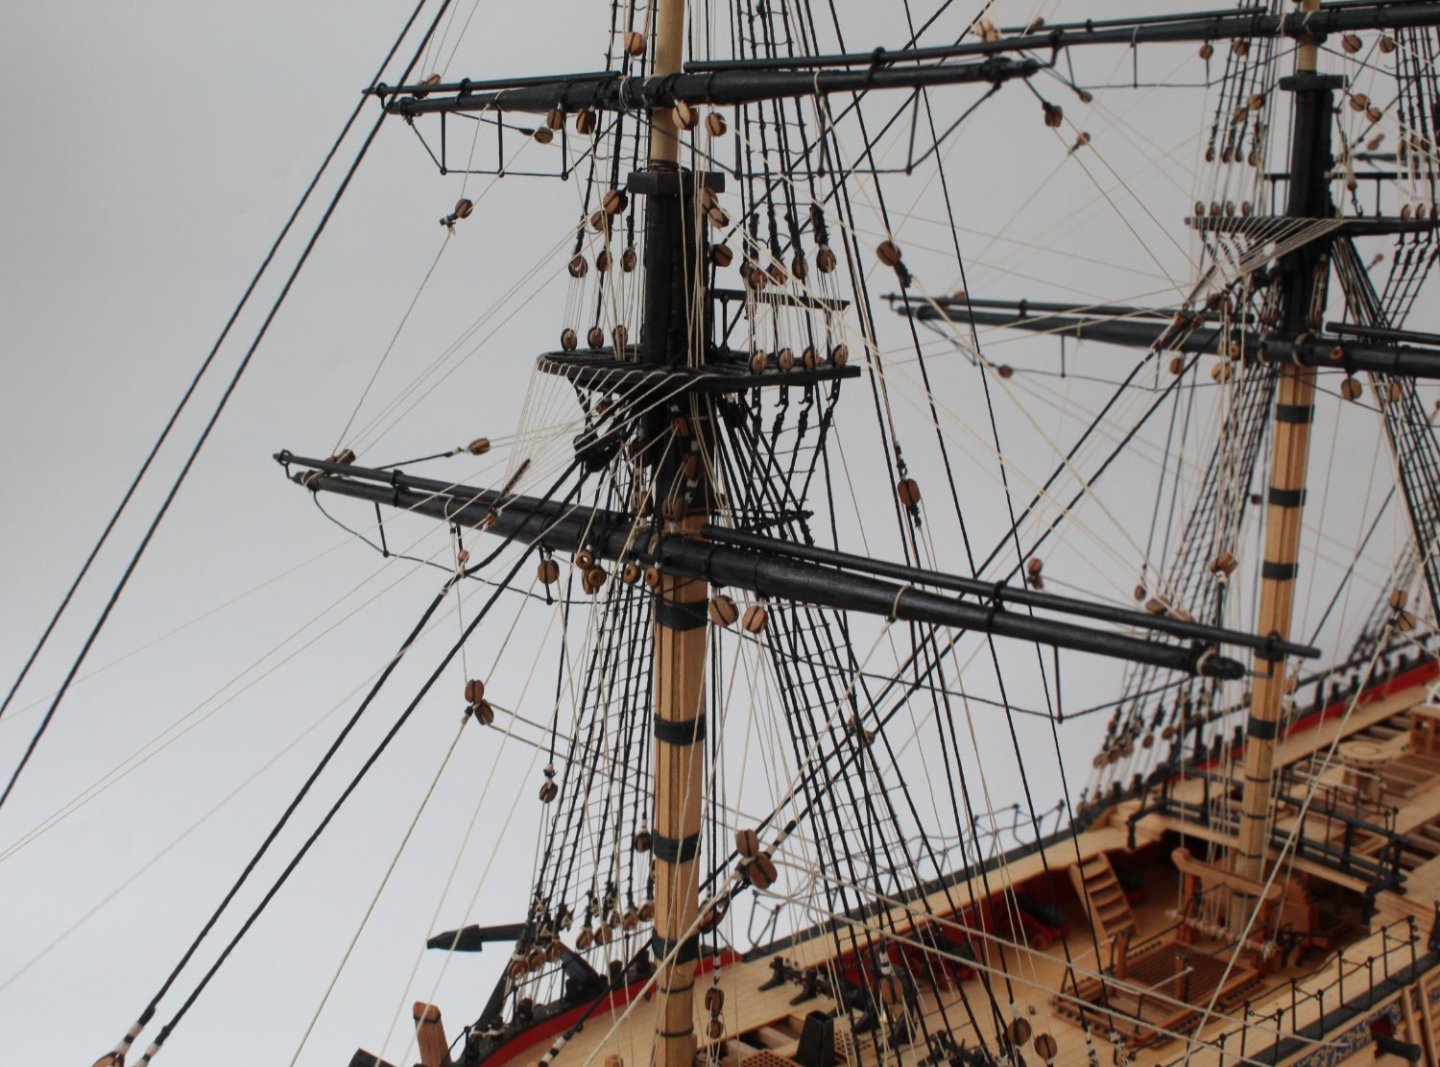
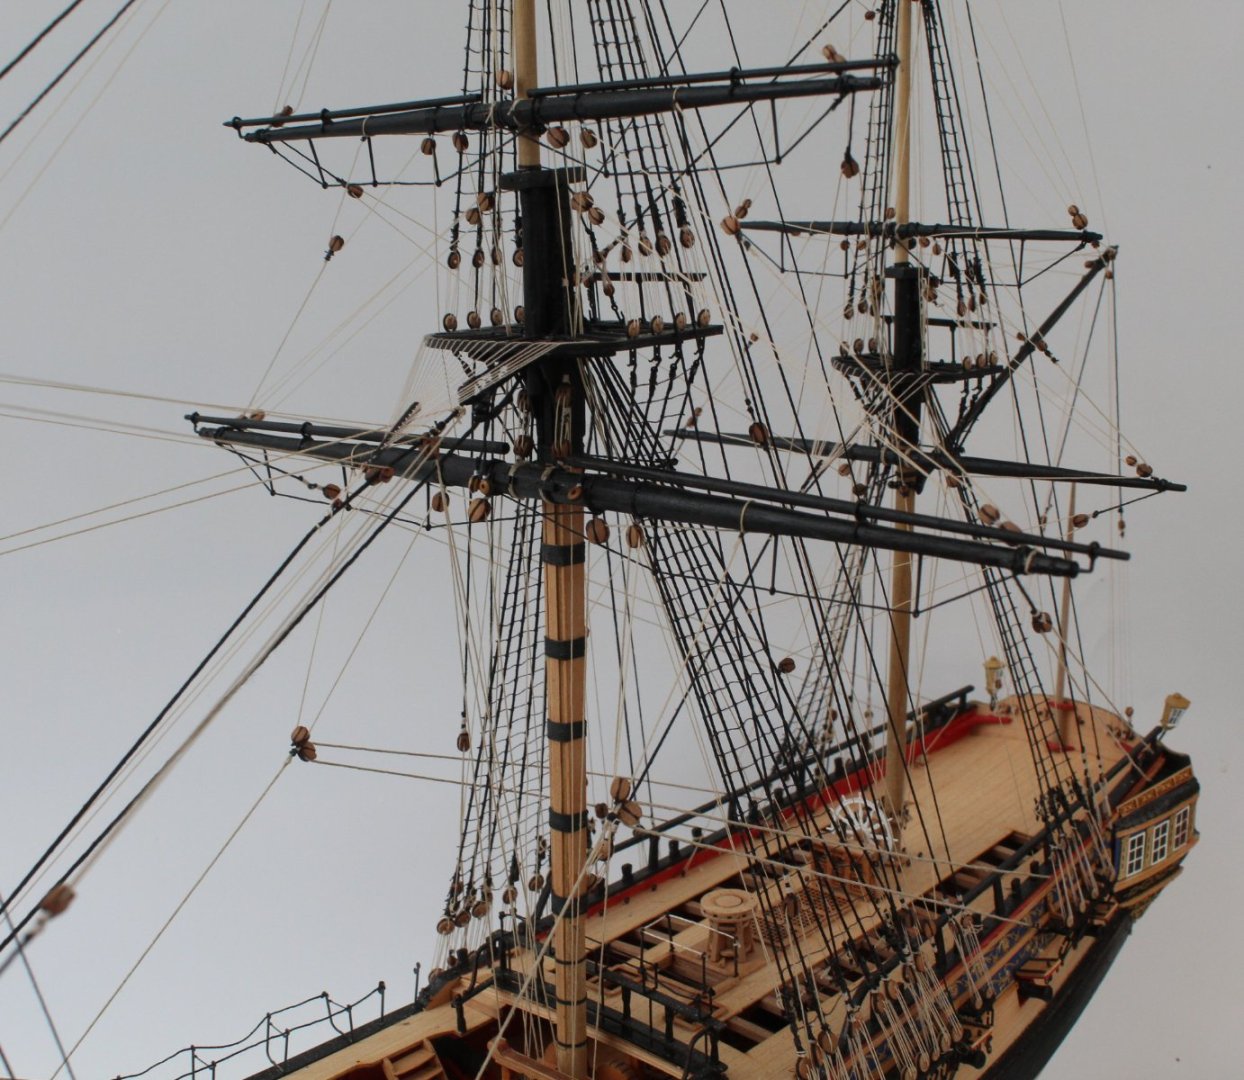
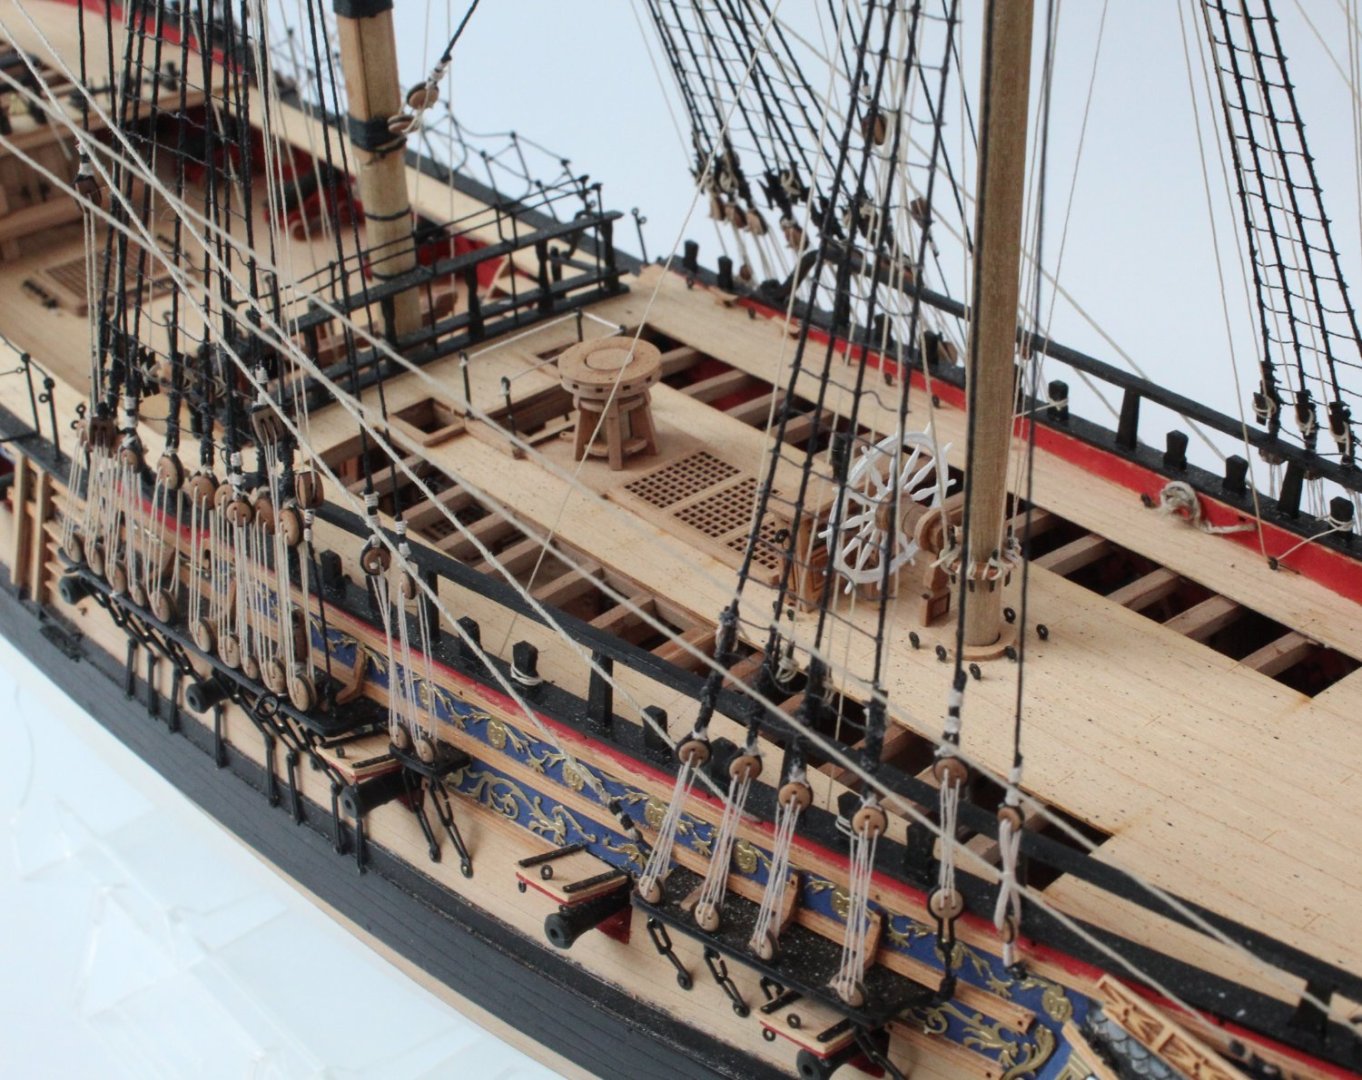
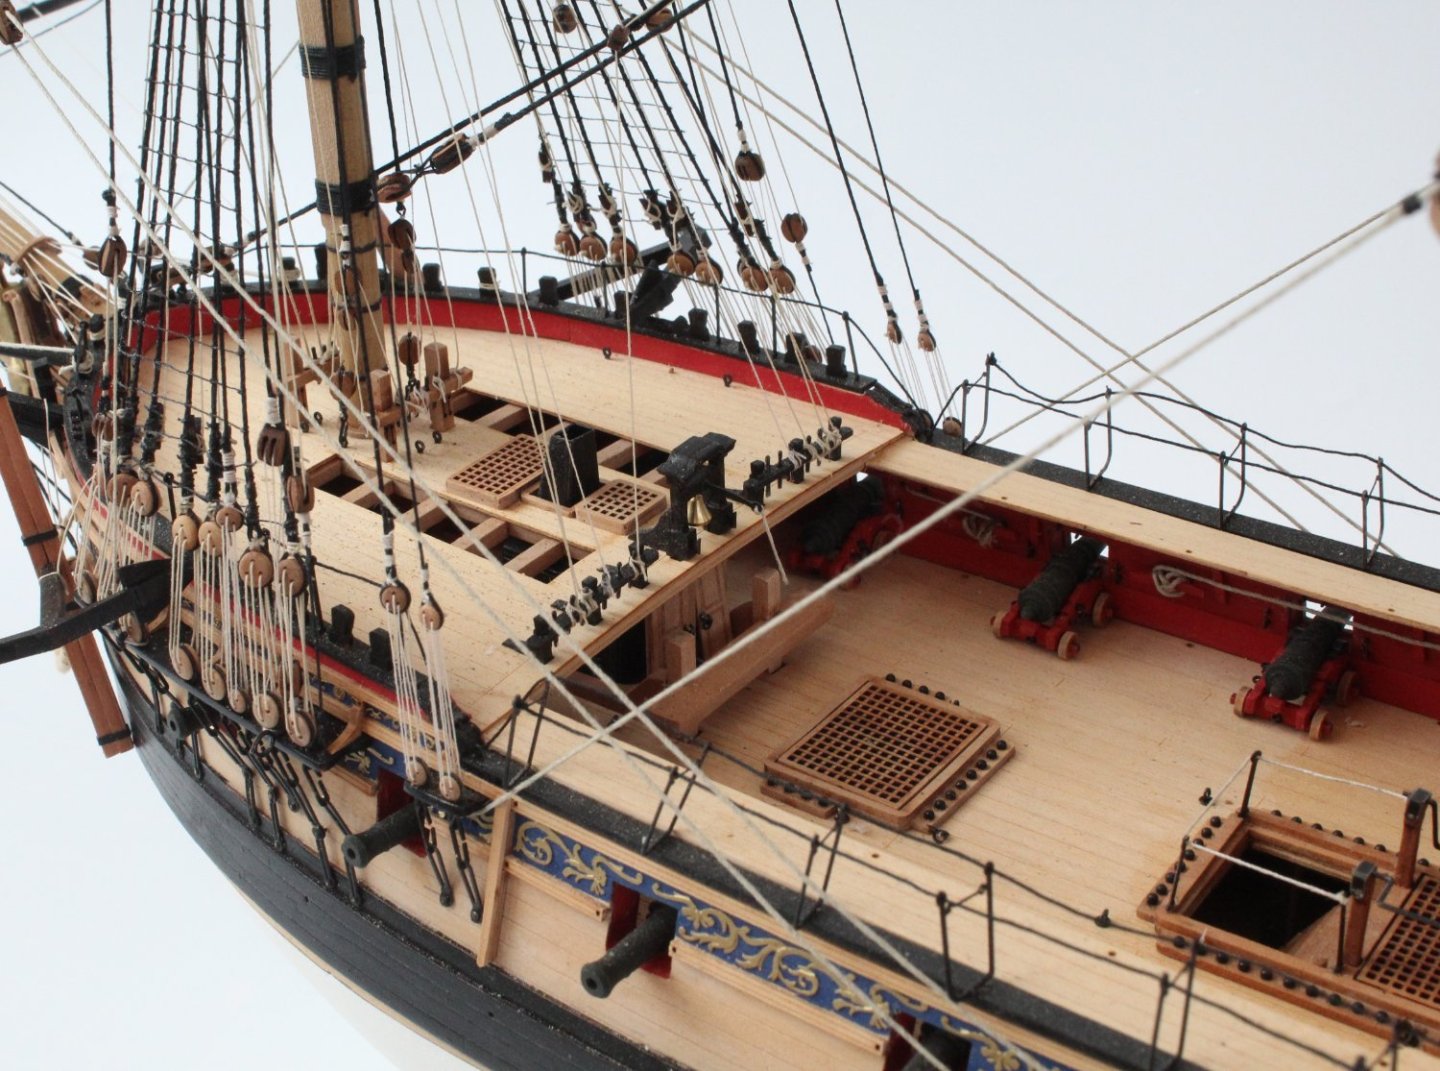
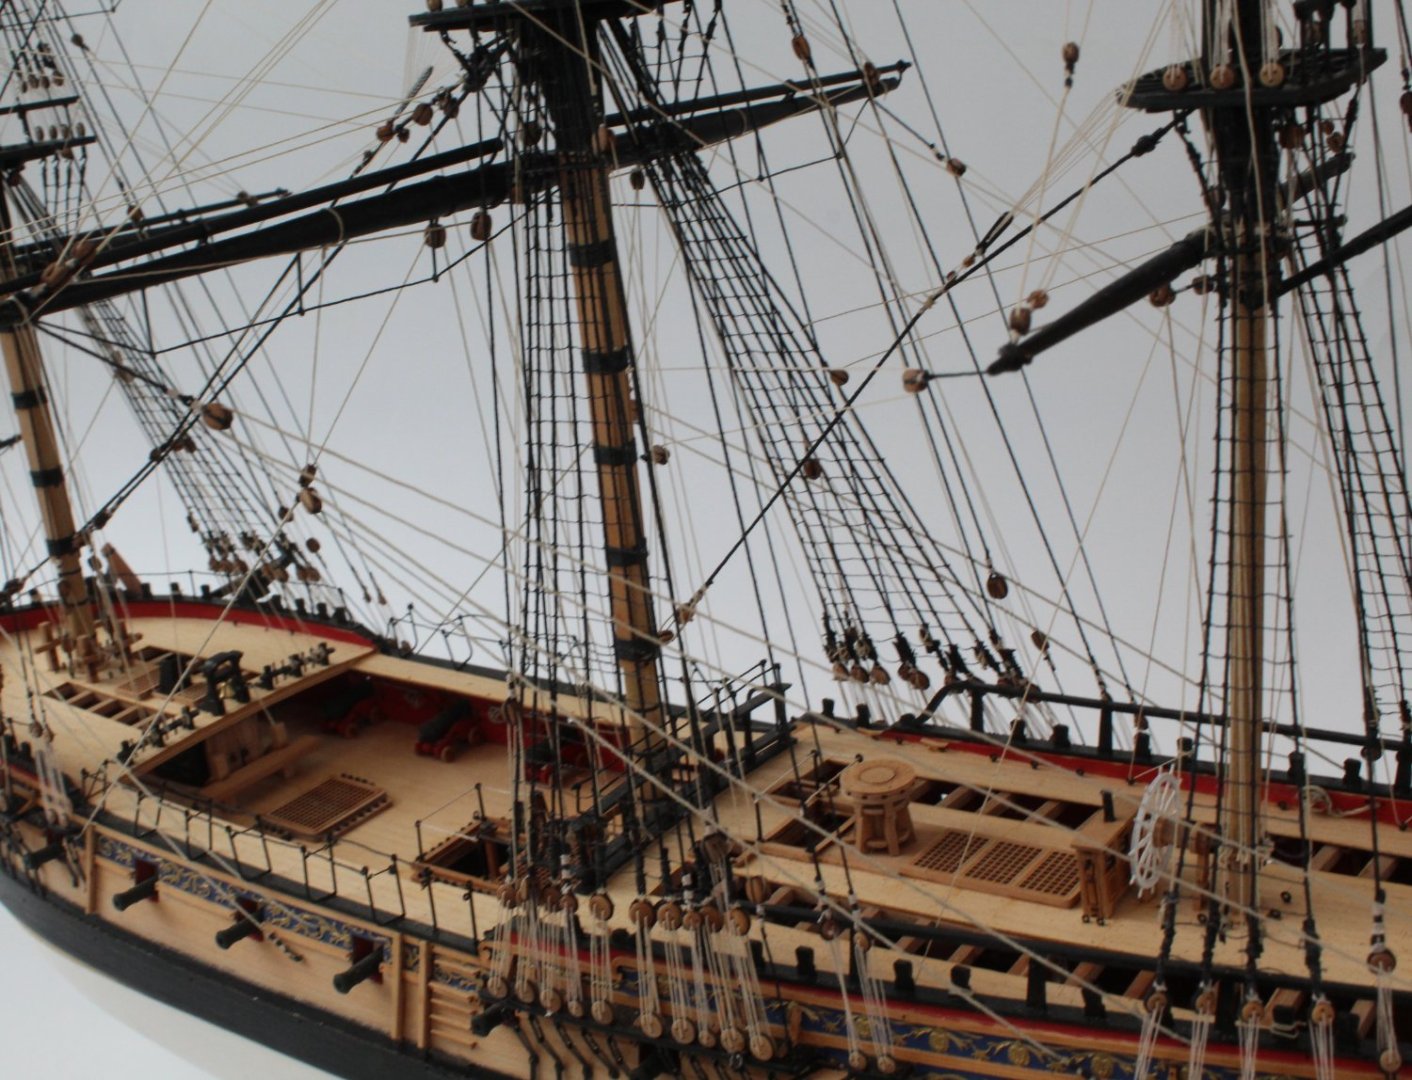
Build Completed The final task was to assemble and add the anchors to the hull. I did build the 4 off supplied anchor assemblies, but I decided to only fit the two leading ones for this build. I have really enjoyed building the Sphinx and I have learnt a lot of new skills during the construction of this beautifully designed model. Many thanks to @chris watton and @James H for their invaluable support and advice during this project. I have also really appreciated the support, comments, advice, etc. from everyone who has been following my progress, so many thanks to you also. I have now cleaned the shipyard and will be starting another build very soon. This will be the Erycina. I have created a build log for this (Erycina Build Log) to record by progress. In no particular order I have taken a few photos of the completed Sphinx for you all to enjoy.


- 476 replies
-
- 16
-
-

-
- sphinx
- vanguard models
- (and 1 more)
-
I am ready to start work on building the Erycina. I am really looking forward to this build project, which will be my 6th Vanguard Models kit build. I will post regular updates showing my progress, along with photos. I will also detail some of the build processes I normally use to complete the more complex constructional aspects.
- 106 replies
-
- 3
-
-
- Erycina
- Plymouth Trawler
- (and 3 more)