Glenn-UK
-
Posts
3,168 -
Joined
-
Last visited
Content Type
Profiles
Forums
Gallery
Events
Everything posted by Glenn-UK
-
 Thanks Jerry I love my new toy. Good luck with your new build when the kit arrives
 -
You are correct sized for 10mm, but I was able to feed the 12.7mm dowel through which I had already reduced to about 12.5mm in order to fit in the hull bow spirit slot. Limited to about 220mm length if using the collets or face plates I cant see a need to buy the 3 jaw chuck for working mast and yards.
-
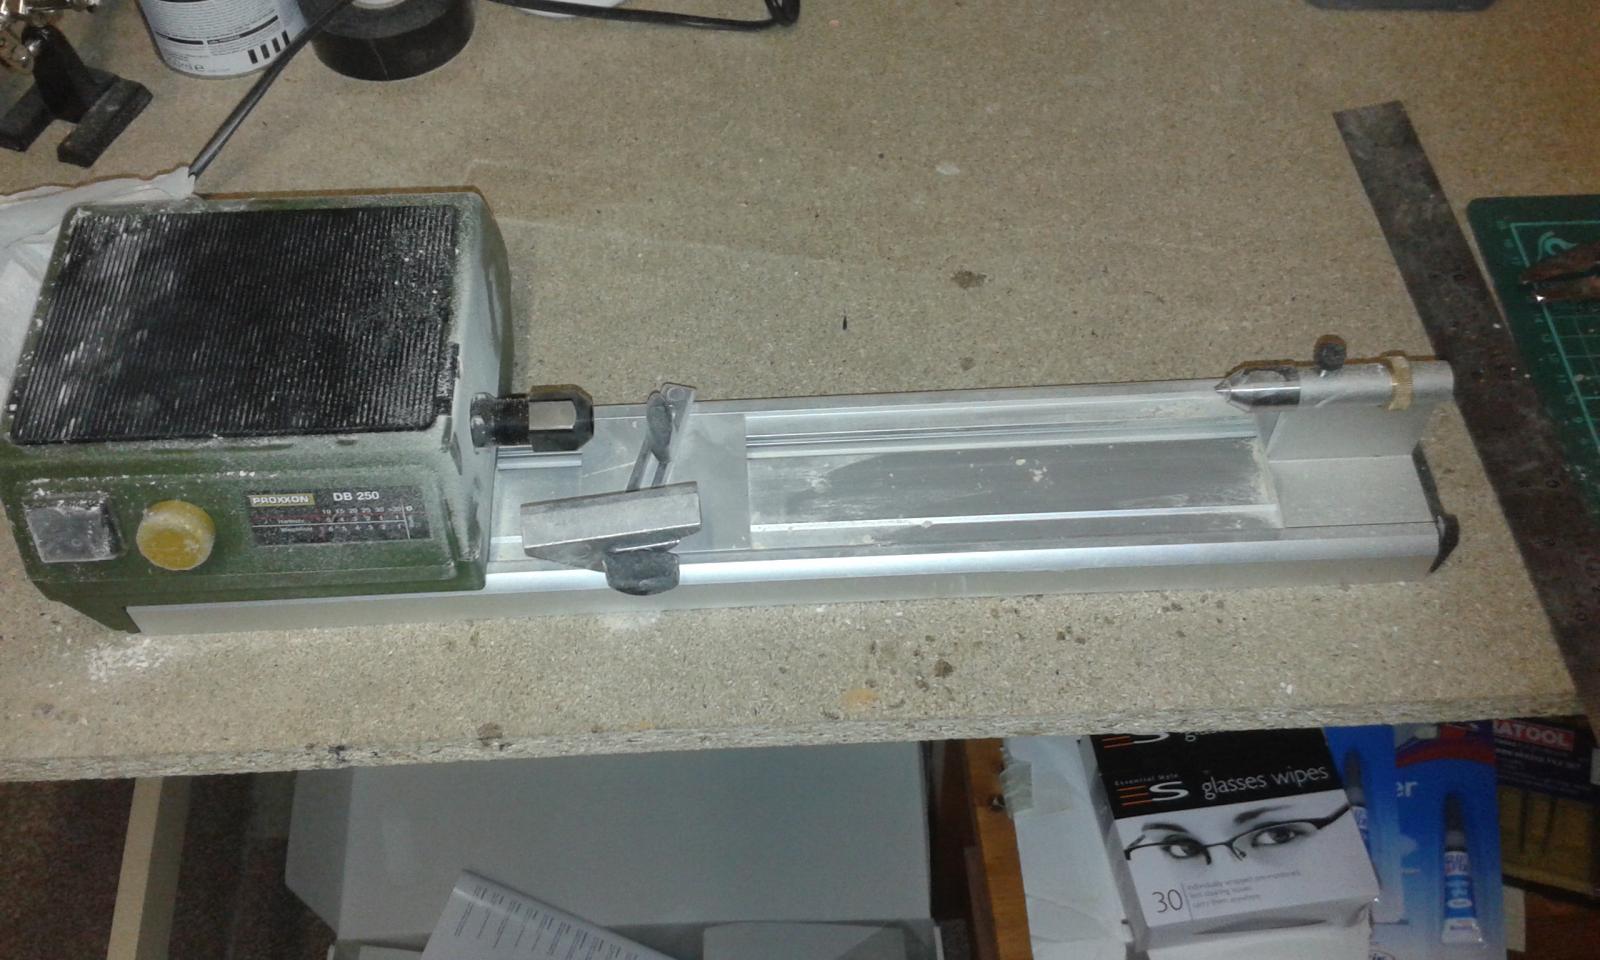
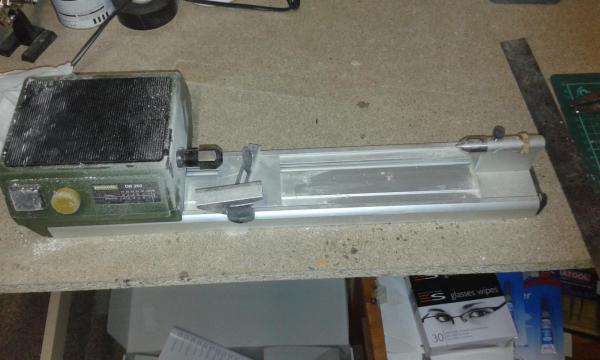
New toy arrived on Friday, needed to rearrange the shipyard which I did tonight. Prottox DB250 Mini Lathe Used the lathe to taper the bow spirit, it was a easy task only took about 10 minutes to reduced for 12.7mm to 9.5mm at the cap end just using sand paper. Also made the 4.3mm square end for the cap. Not totally happy with how that turned out. I may keep it but I may make another one. I will decide after I have completed the work on the bow cap, as it may be OK with a bit of wood filler to fill any unsightly gaps. Still working on the hammock crane and netting which I can continue in slow time

-
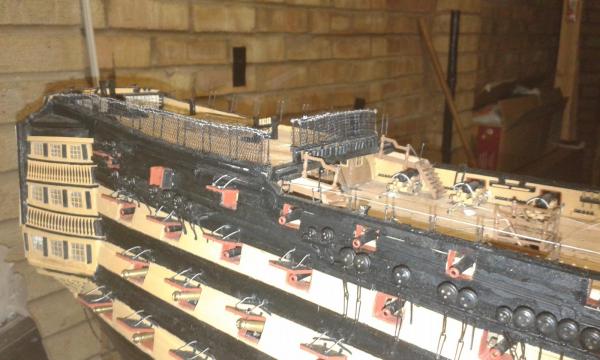
I used the model supplied eyelets for the bulwark eyelets, the cannon decorative eyelets and fixing rigging blocks to the deck. I used a larger eyelet CMB 83506 for the breaching ring cae'd to each rigged cannon. I then used a some left over eyelets similar to the CMB 83500 for the larger eyelets on each side of the cannon where the breaching thread feeds through. I only did this on the quarter deck cannons. For the upper gun deck I simply used the kit supplied eyelets for the cannon assembly and 83506 for the breach ring
-
Nice work, nice to see you have made some progress again.
-
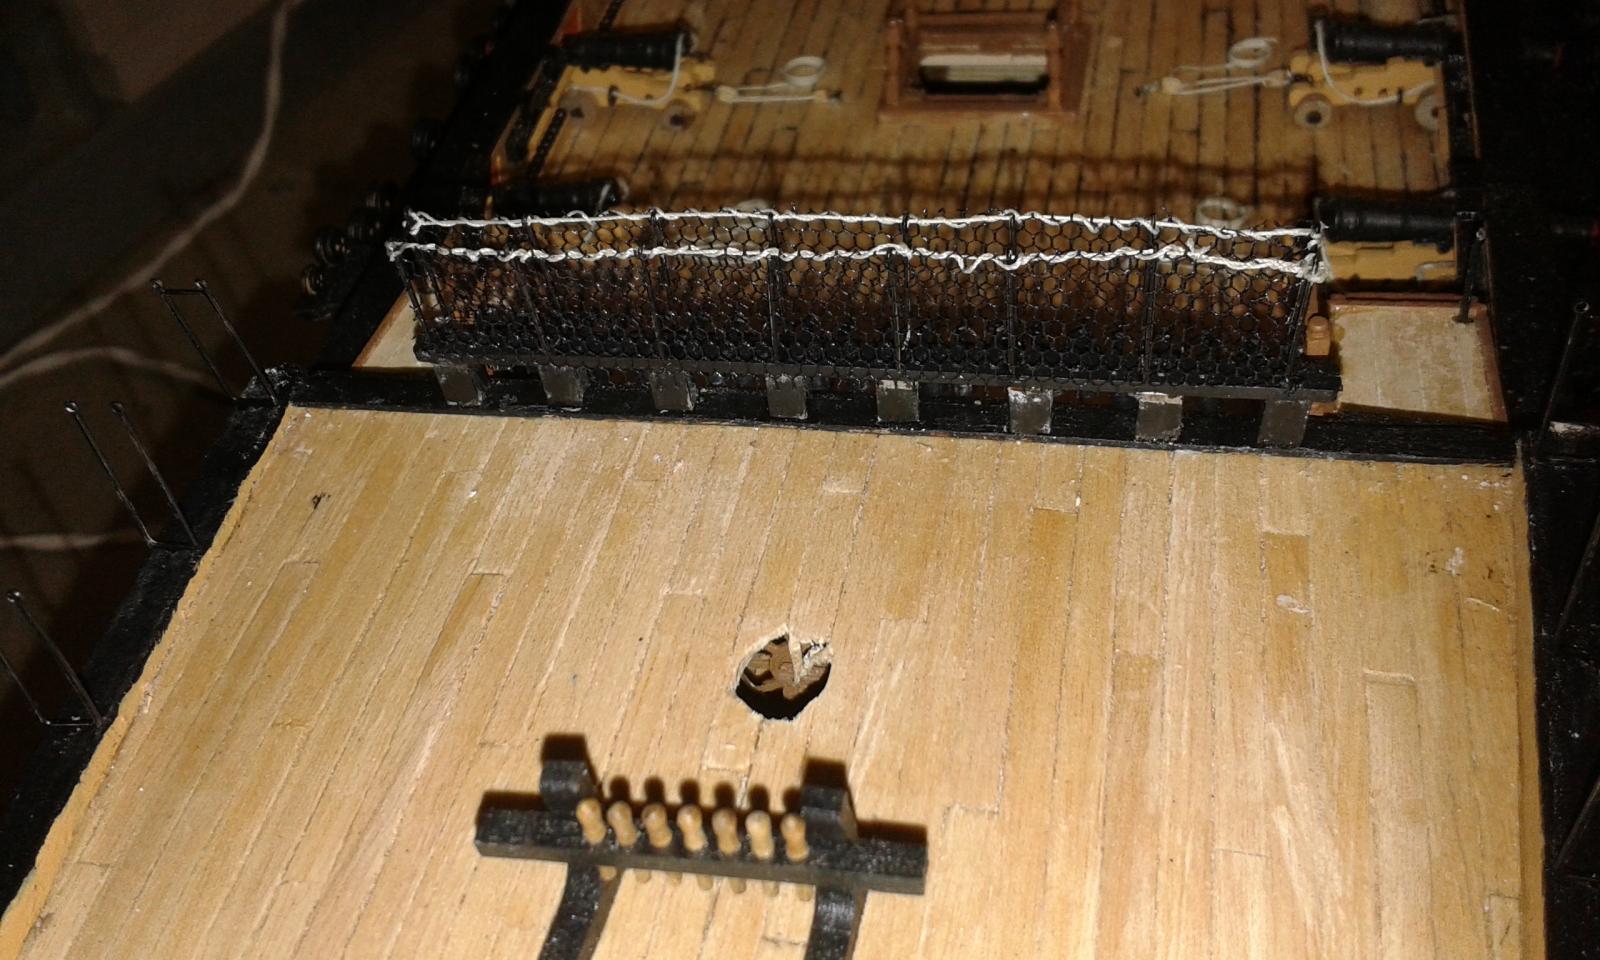
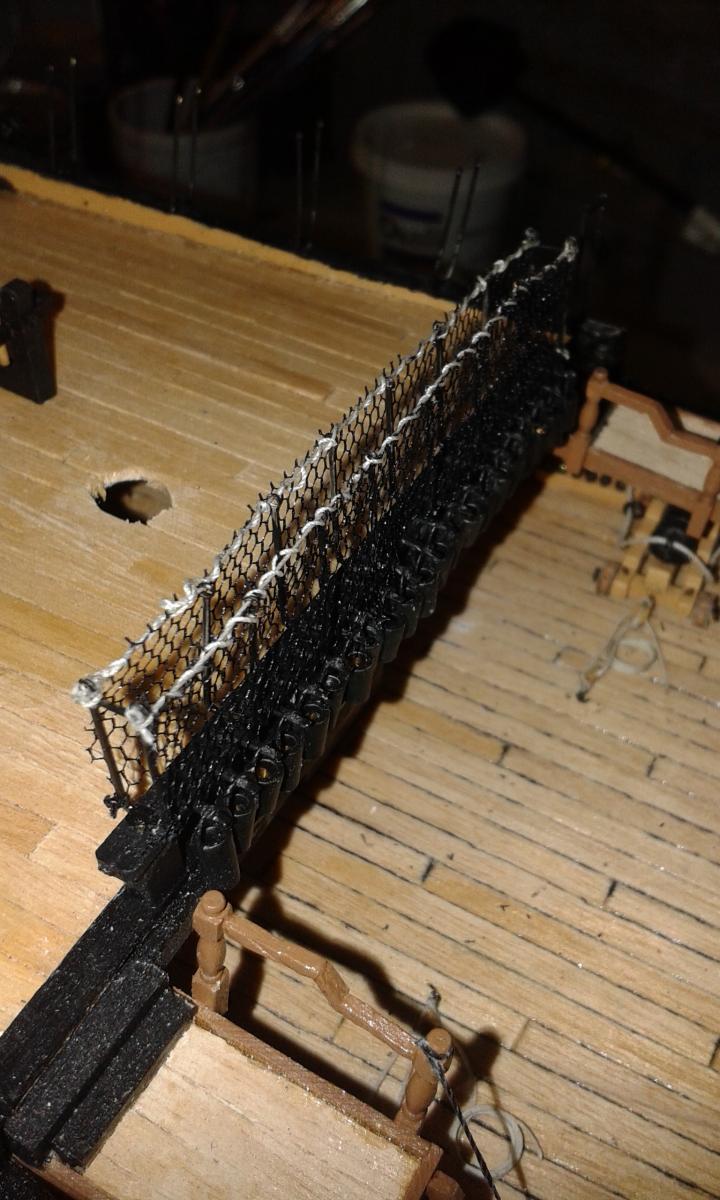
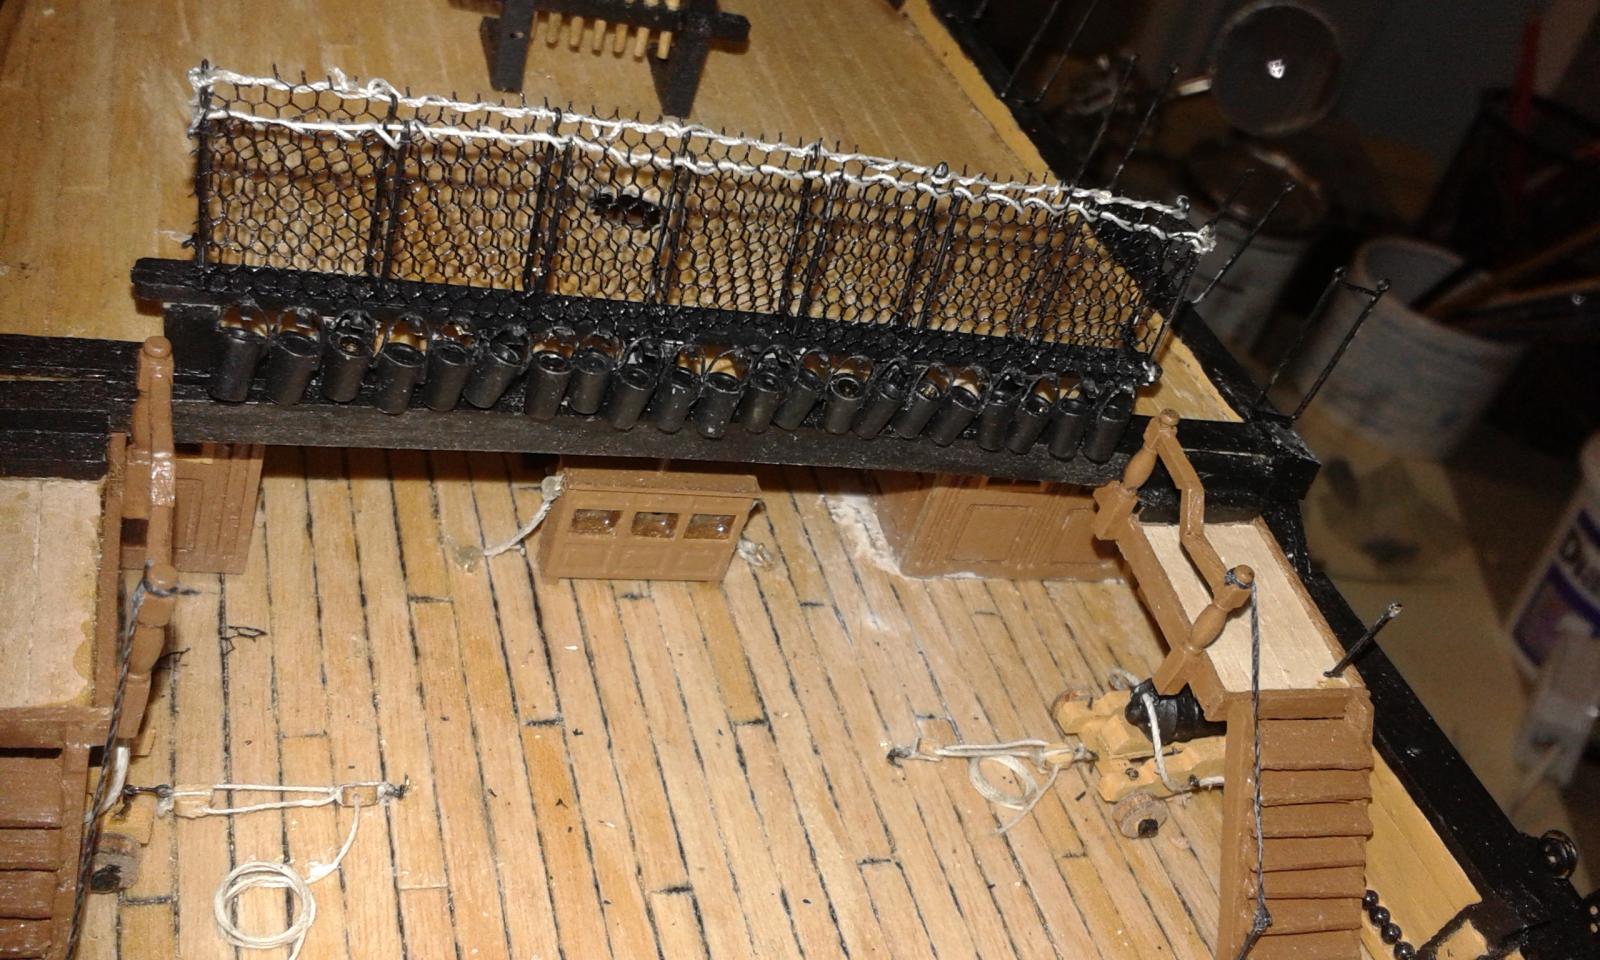
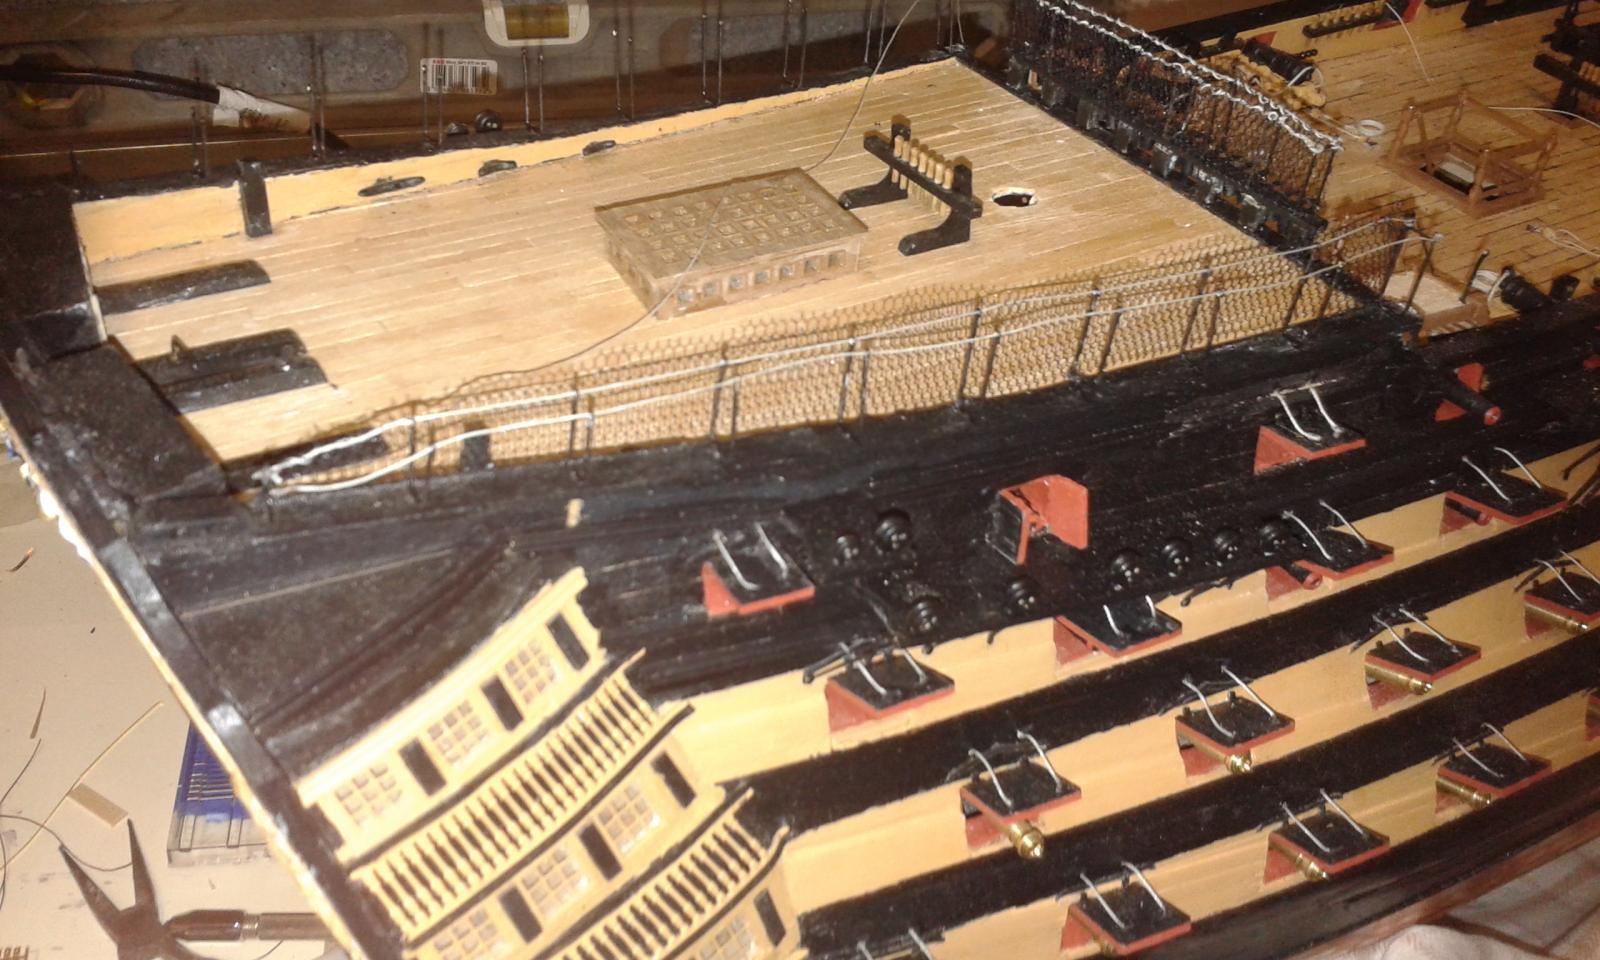
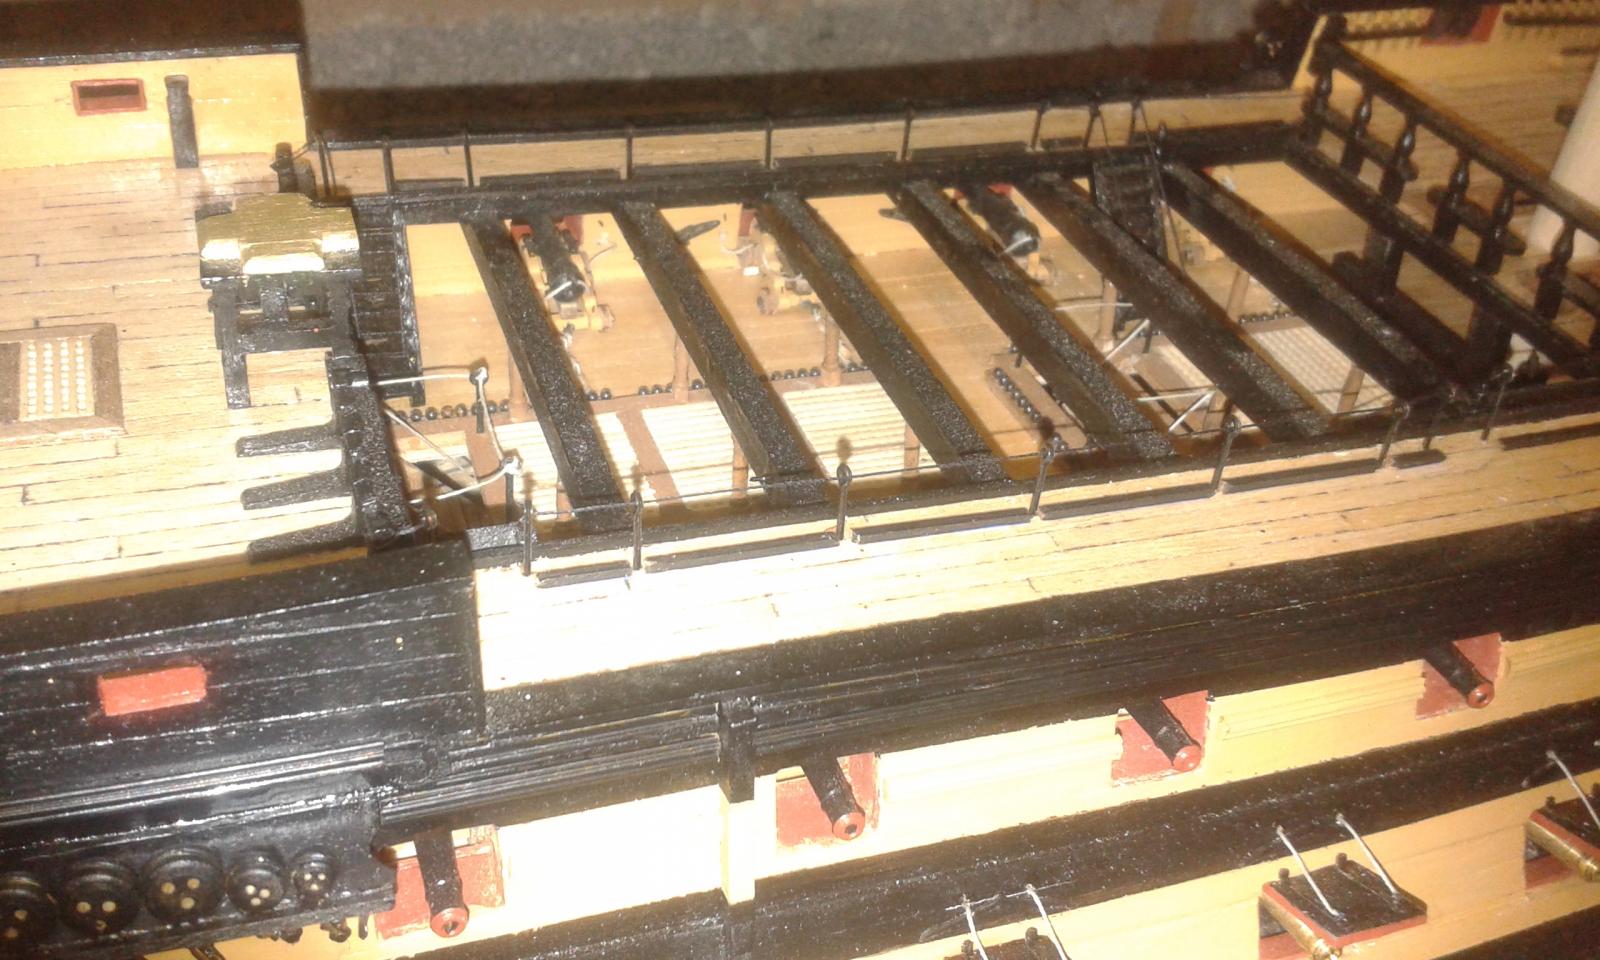
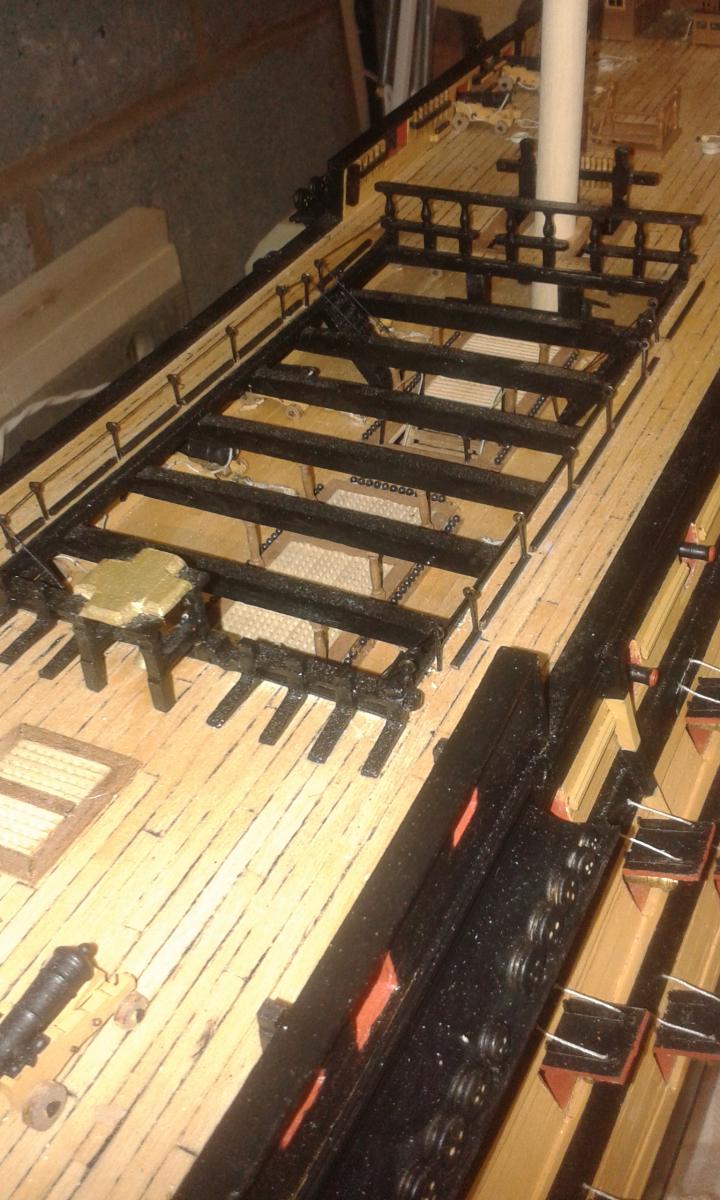
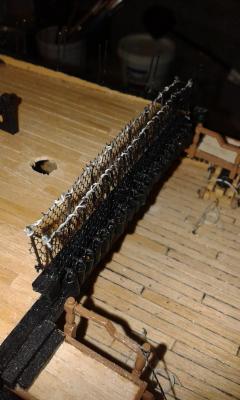
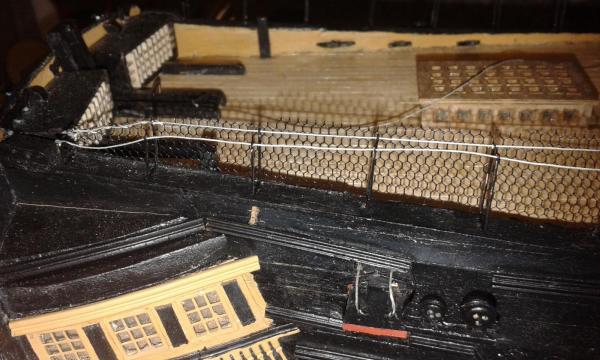
Work continues with Hammock Cranes. Pictures of first completed hammock crane assembly Fitted the poop deck hammock cranes both port and starboard Added the rigging thread to starboard side Starting to attach the netting attachment=232102:007 Hammock Netting Poop.jpg]


-
Hi Jerry What ship have you bought?
-
Halo David. I have not ordered the Chuck as yet. When reviewing the product there is a face plate which other users have said we do the job, plus I've looked at some footage on YouTube. If needed I can order one separately at a later date.
-
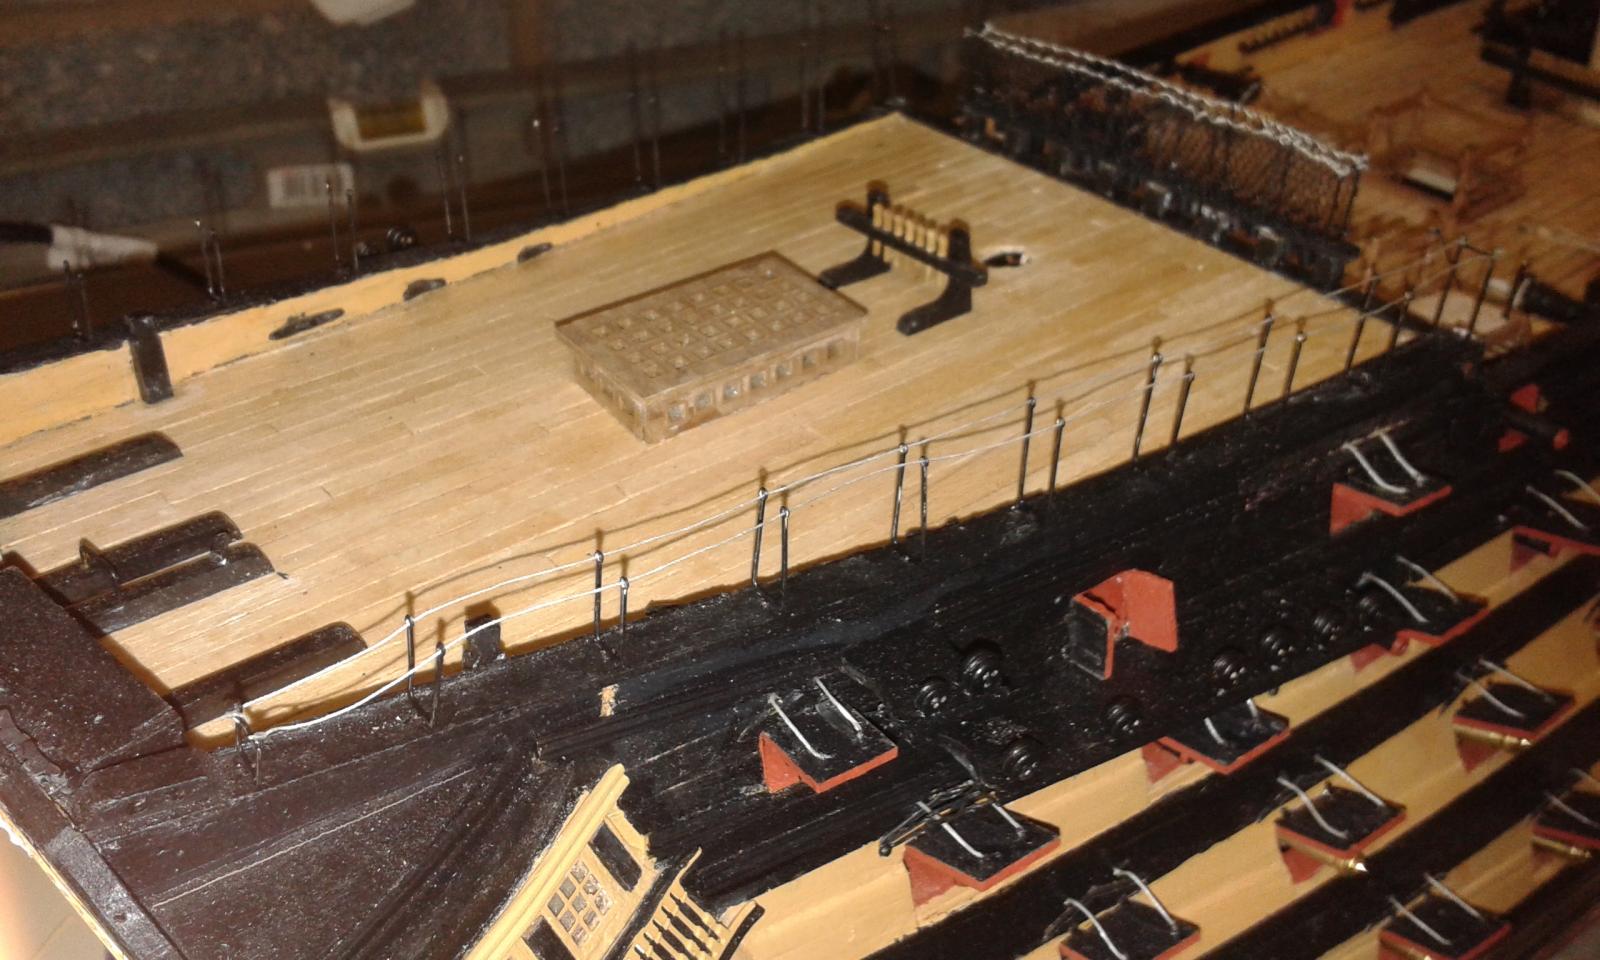
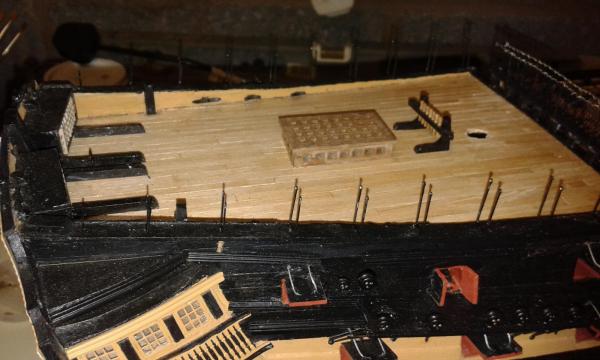
Started fitting the hammock cranes last night, adding the netting was not as bad as I thought it might be. I suspect it will take a week or two to complete this task. I will post some picture to show progress in the next day or two. Then I start with the bow spirit, masts and yard production which is a phase I'm really looking forward to starting. Following some discussion with some MSW members regarding lathes / drill presses and internet researching I have taken the plunge and bought the Proxxon DB250 mini lathe (sorry Jerry!!!) as I think this will best serve my needs, hopefully delivery is expected tomorrow (24th April).
-
Thanks David, and I've still got the netting you very kindly sent me some time ago.
-
Thanks Jerry
-
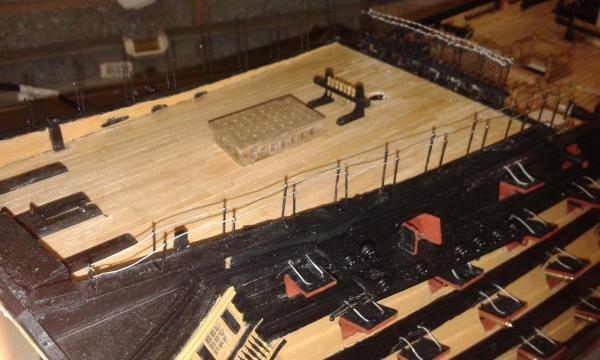
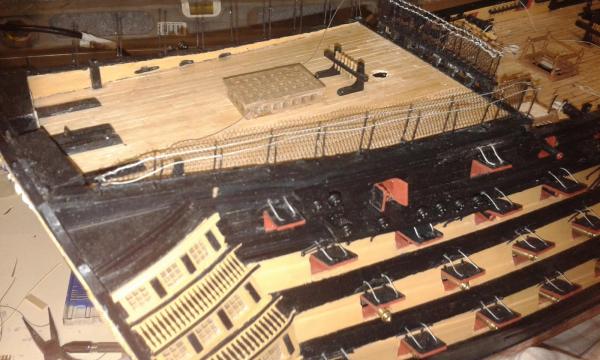
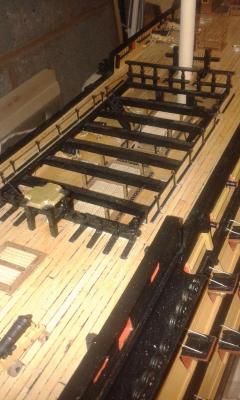
I have now fitted the 4 waist ladders and installed the associated eyelets and rigging. I have started painting the hammock cranes in readiness for the next phase of the build. Here is a couple of pictures.

-
May be worth considering getting the rudder plated to complete all the coppering
-
A job well done
-
Do you have any ideas for your next build? I can recommend a Chris Watton design such as Pegasus, plenty of good build logs on MSW as well which is a bonus.
-
Thanks to Jerry, David and Robert for your comments. I plan to fit the chain tonight all being well then I can declare the stern work complete I think I will then have a couple of weeks tiding up and completing some small jobs on the Hull. I also have to think about the hammock crane assemblies, which will probably take another couple of weeks to complete at the very least. I'm almost certain I will buy a lathe to help some of the reduction work on the Bow Spirit, Mast, Yards, etc. but I will have to wait next month before I move forward with that.
-
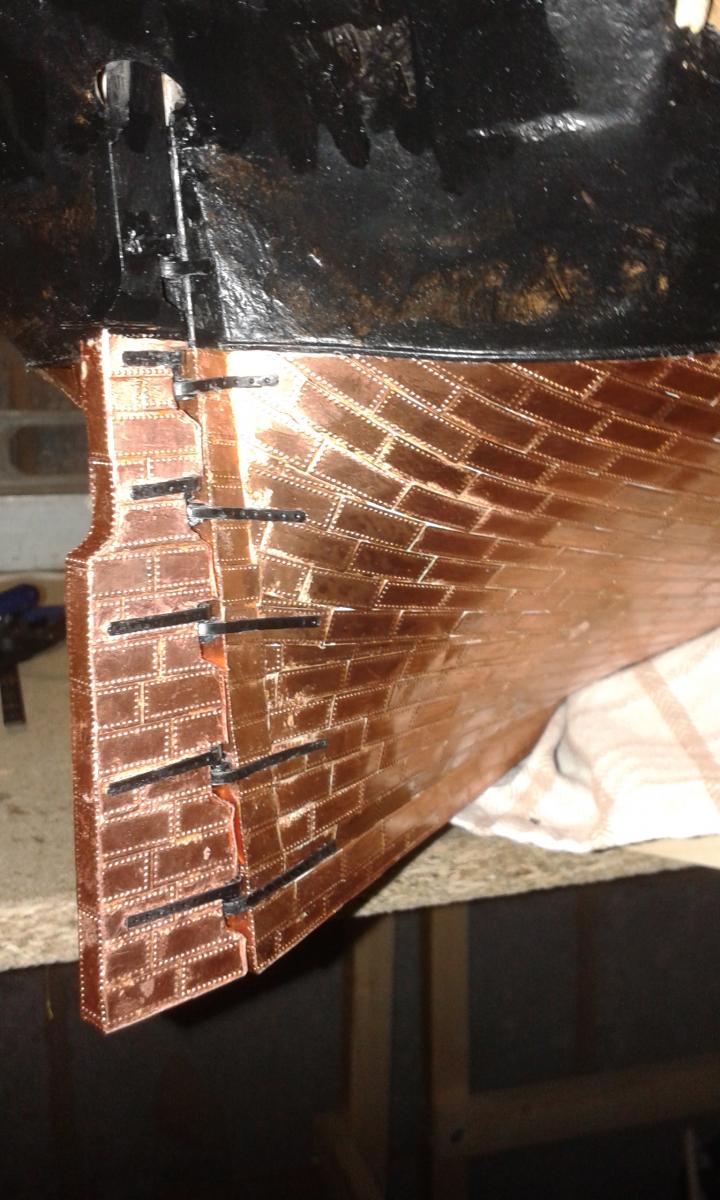
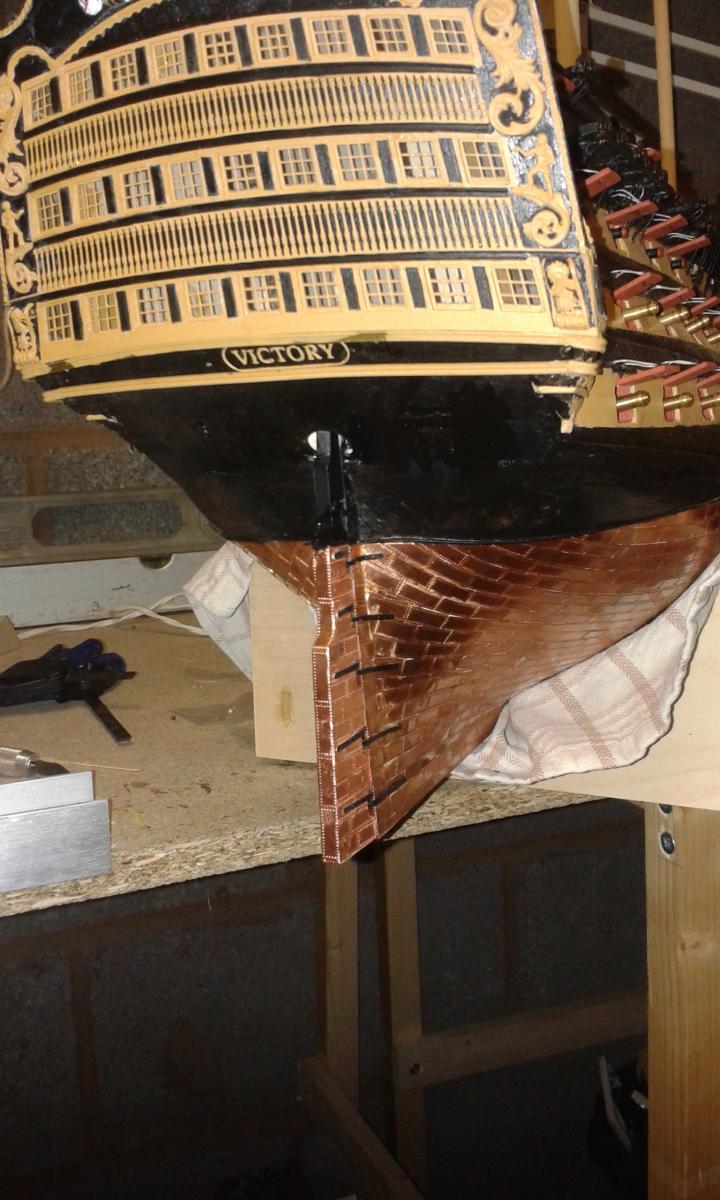
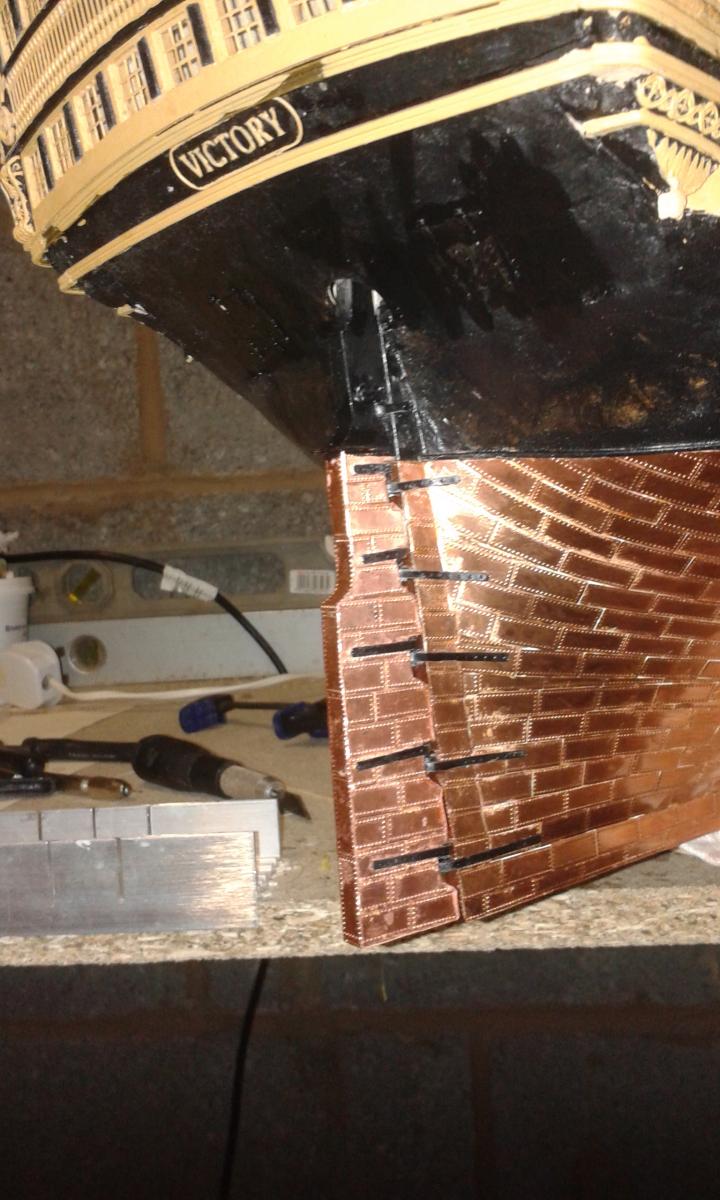
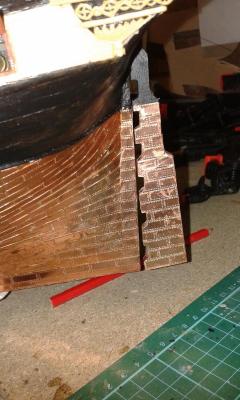
Yippee I have finally completed the Rudder assembly. I couldn't believe have much effort was required, took much longer to complete than I thought it would. I'm pleased to report the rudder does rotate on the hinges a little bit and looks OK to the untrained eye but I know the workmanship leaves a lot to be desired. It took many attempts to get some photos I could post.


-
Nice job Jerry, another build you can be proud off.
-
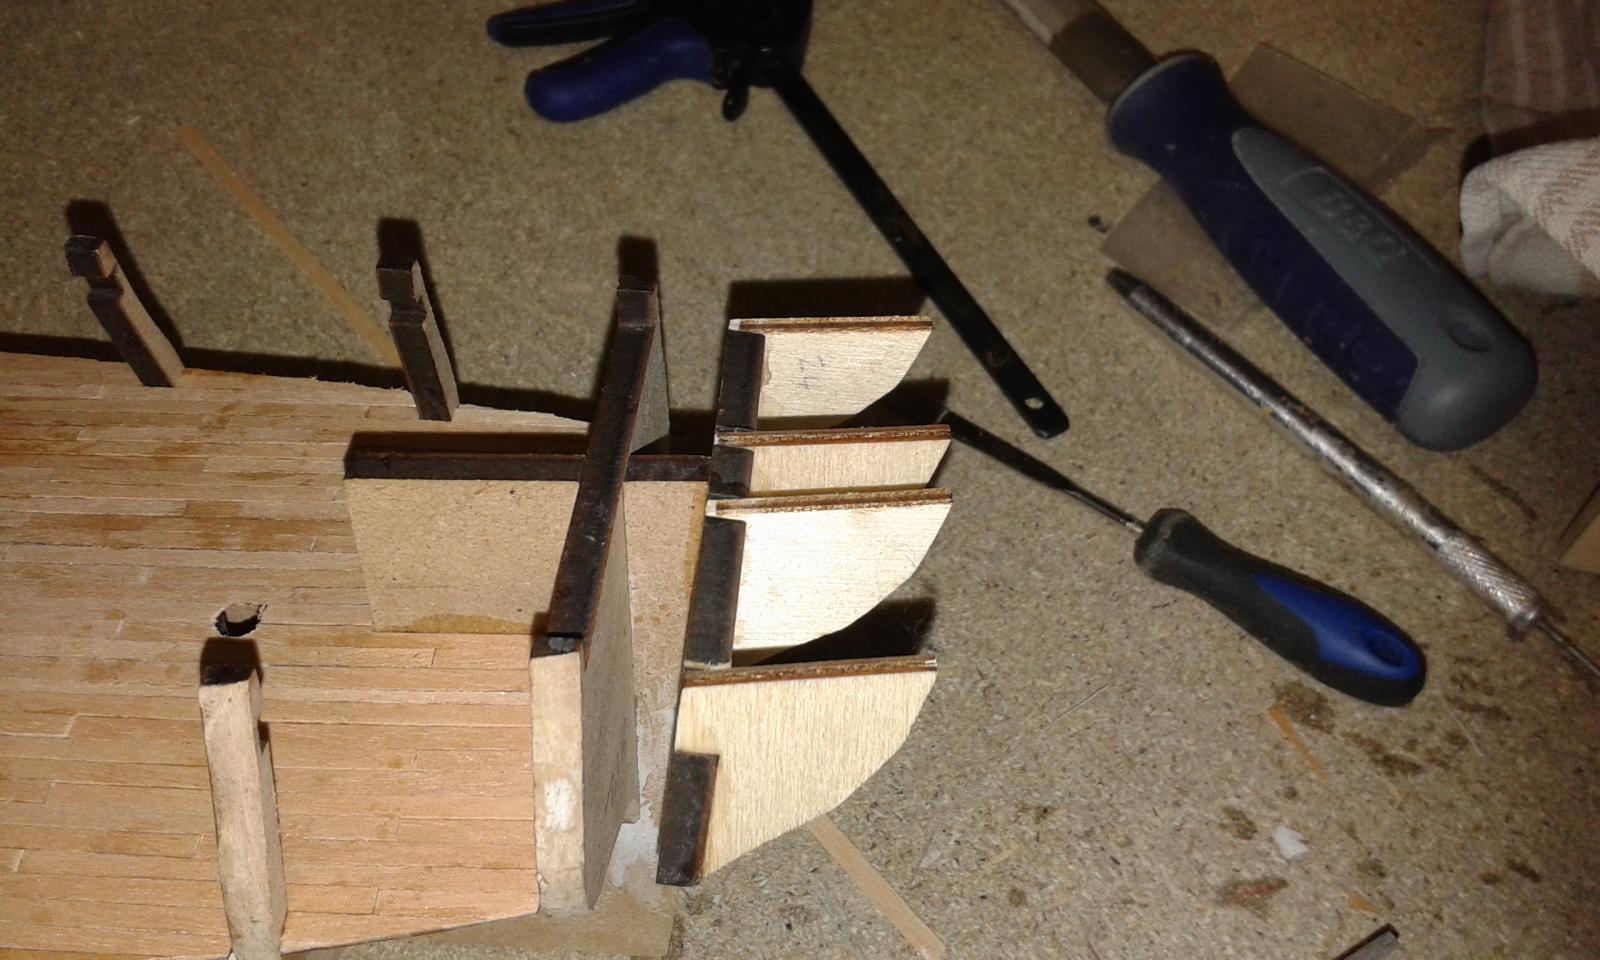
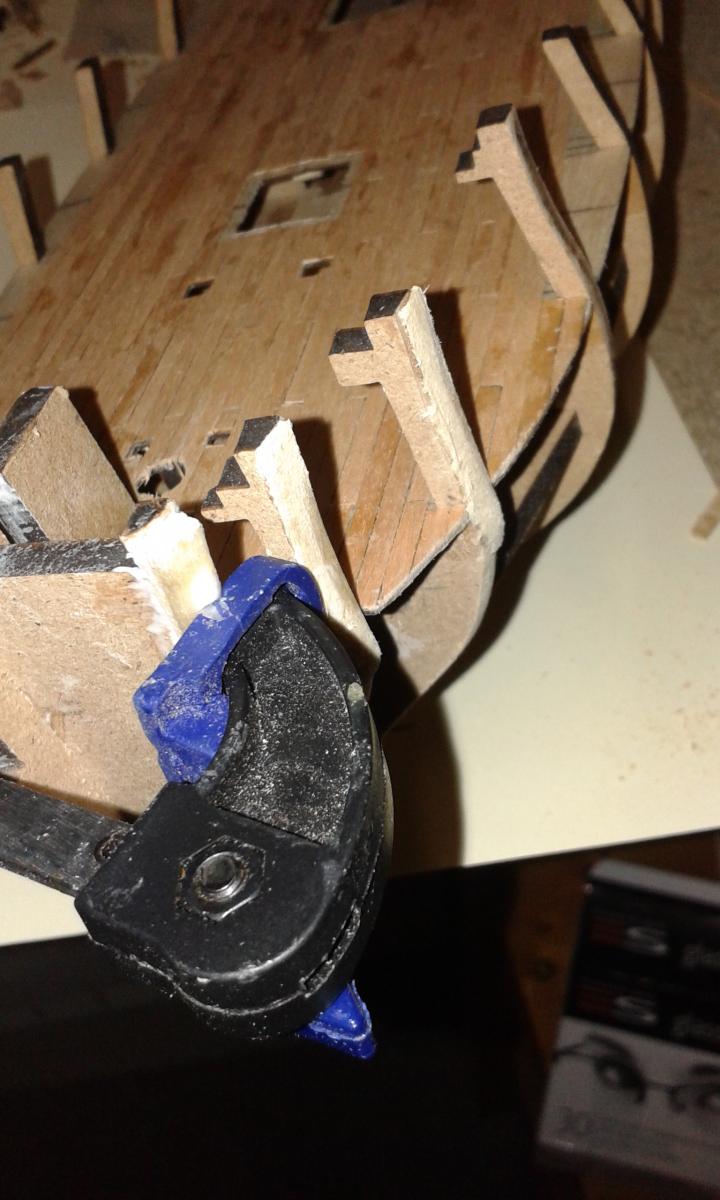
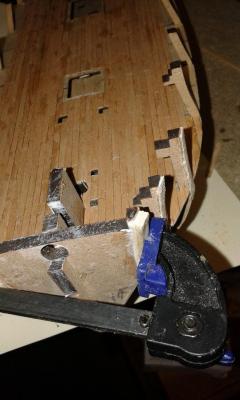
The forward edges were fine but I managed to take some depth of the aft edges. This was only on the top section of the front three bulkheads as the lower sections required additional fairing. There was no problem with the rear bulkheads.
-
Thanks Jerry, it was an easy fix, I got over excited with Dremel, I've been using files to fair the new additions.
-
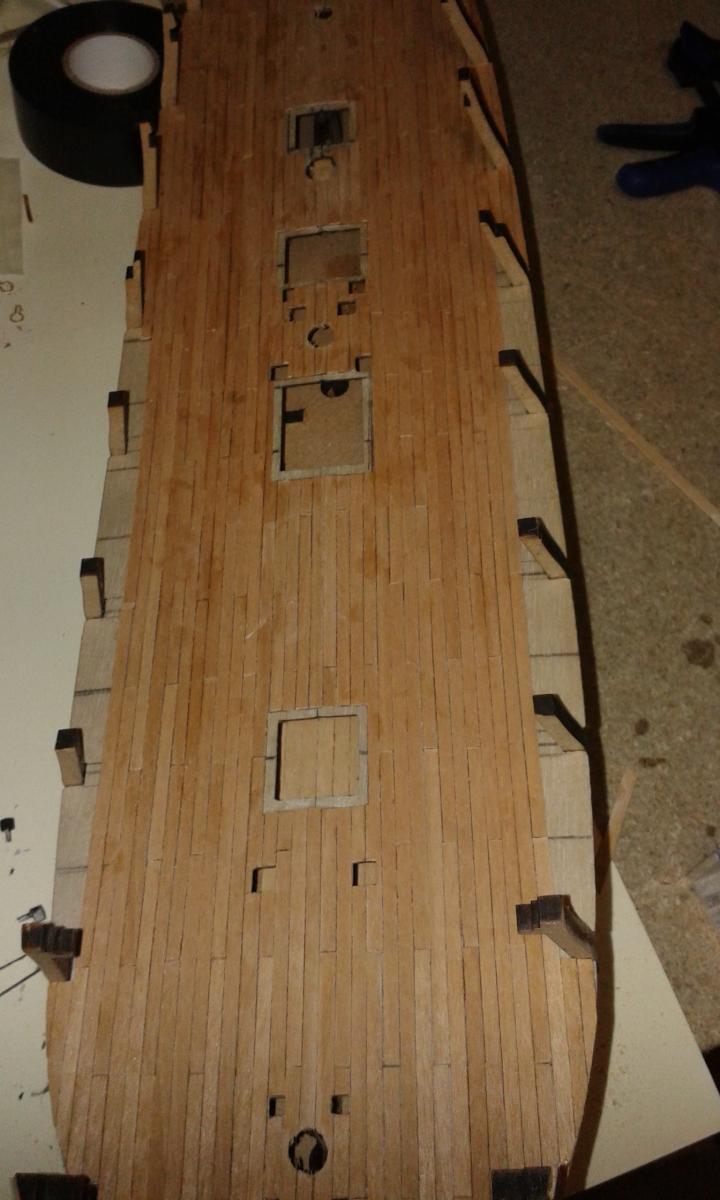
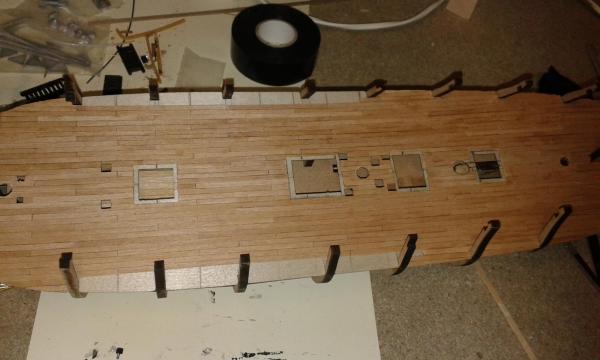
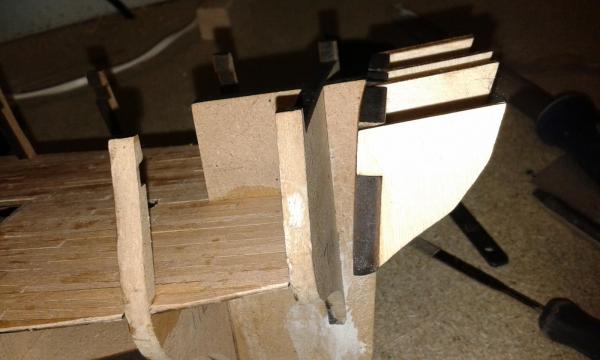
I have completed the gun deck planking, except for the part which has to be planked after the gun port strips have been fitted and the bulkhead supports have been removed. I have also fitted the 4 off stern extension pieces. Finally I had over faired the top section of the first three bulkheads. I noted this at the time, before the bulkheads were glued in position. I did try to get some replacement parts from Victory Models / Amati without any luck which is very disappointing. Perhaps I have been spoil by the tremendous customer service from Caldercraft with regard to obtaining replacement parts. In the end I had to glue some additional strips and fair again as necessary. Once I'm happy with the fairing I will start looking at fitting the gun port strips. Build Index - hyperlinks 1. Prework - dry fitting bulkheads 2. Beading Line and Rabbet 3. Lower Gun Deck Fittings 4. Grating Assembly 5. Dry Fit Main Gun Deck and Fitting 6. Gun Deck Fitting Prework 7. Lower Gun Deck Glued and Pinned 8. Pre Gun Deck Planking Work 9. Start of Gun Deck Planking 10. Gun Deck Opening Cleared During Planking 11. Gun Deck Planking Work In Progress 12. Gun Deck Planking & Fairing


-
Congratulations that is a big step forward and looks good.
-
It's a first big step look forward to the next little steps as the build progesses. I'm intrigued by the stern reinforcement, on many models you have to draw a rabbet and reduce the thickness.
-
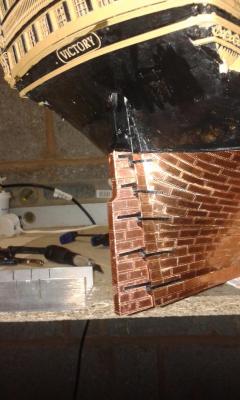
Started work on the rudder, finally completed the copper plating. I enjoyed copper plating the hull, I didn't enjoy copper plating the rudder - strange. Pictures of the rudder dry fitted. Here are a couple of pictures. I have painted the rudder hinges and straps black in readiness for the final installation to the hull.

-
Phillip You can by these plates from CMB, look under Caldercraft