Omega1234
-
Posts
6,060 -
Joined
-
Last visited
Content Type
Profiles
Forums
Gallery
Events
Everything posted by Omega1234
-
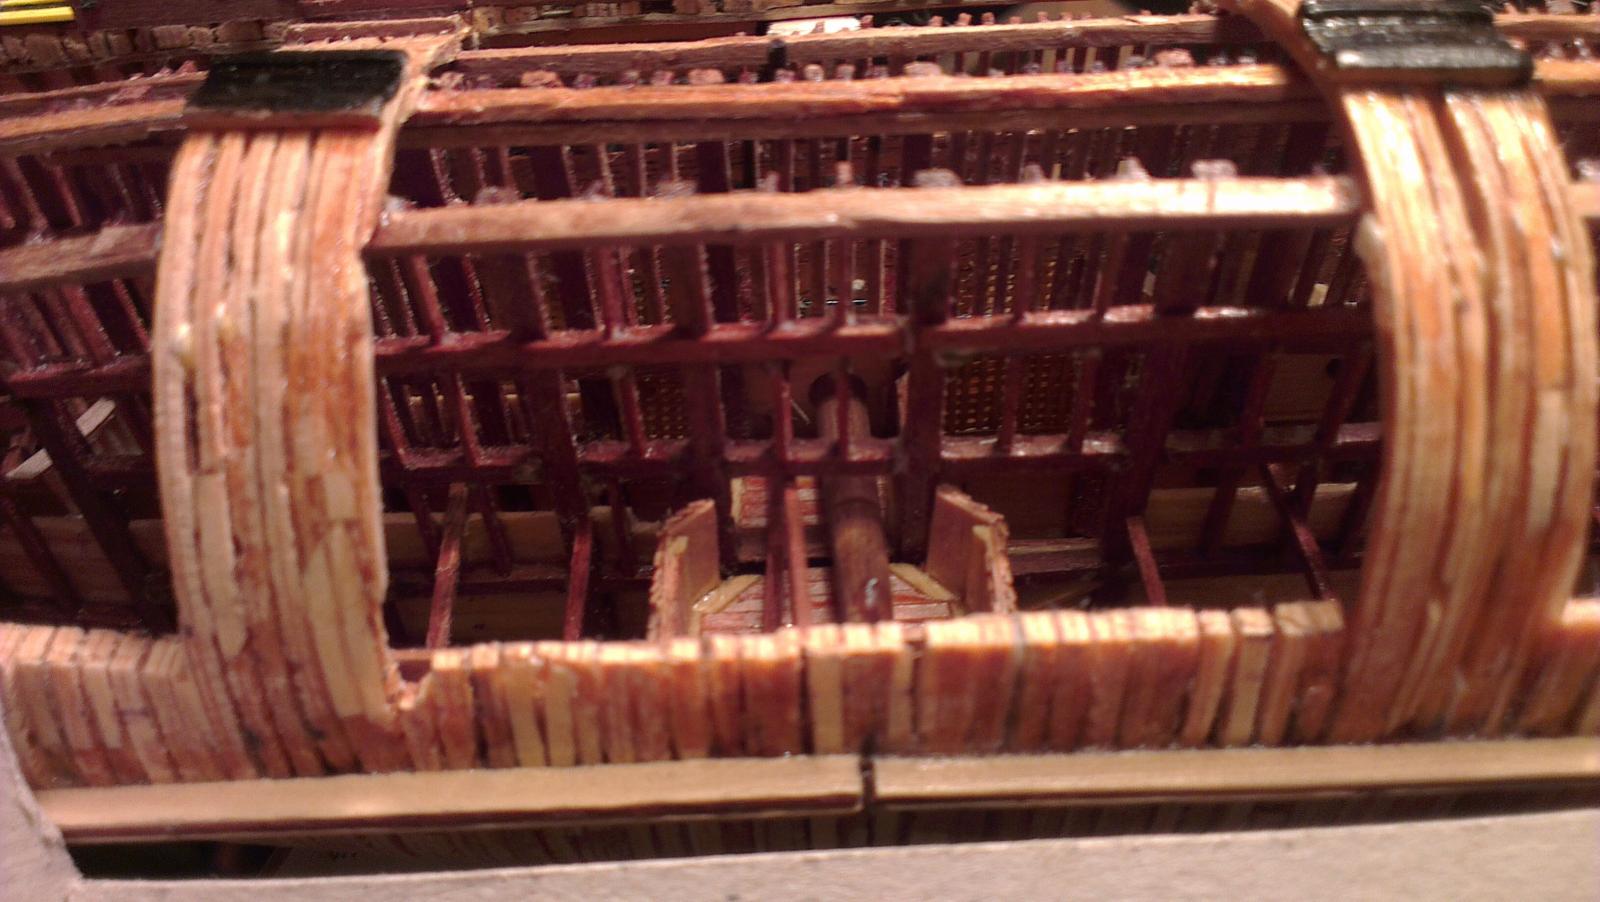
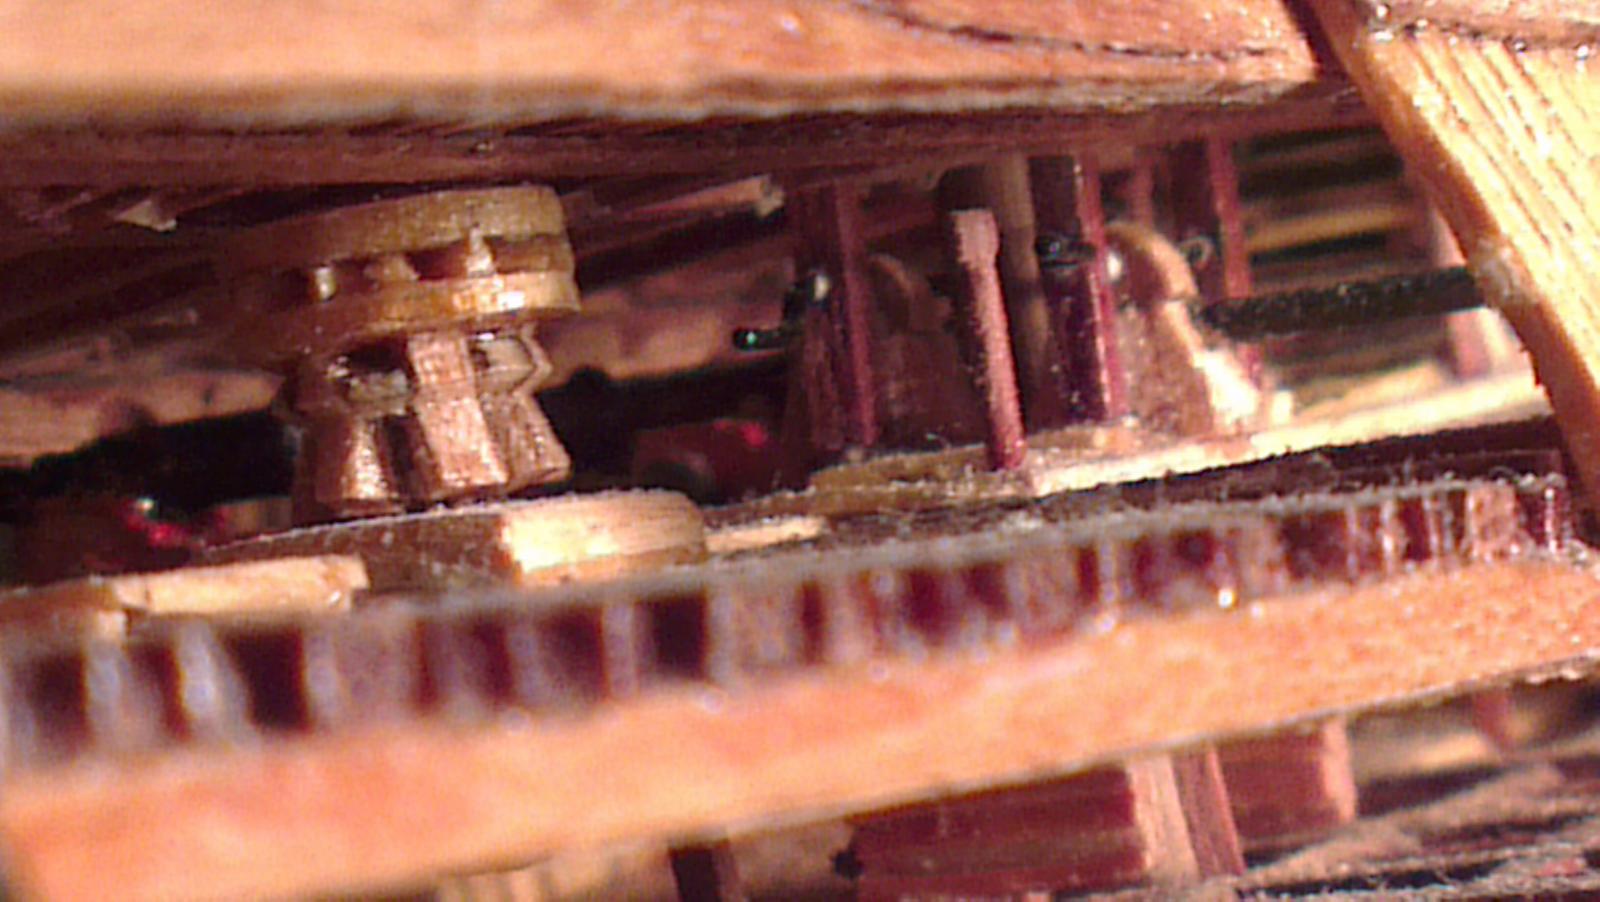
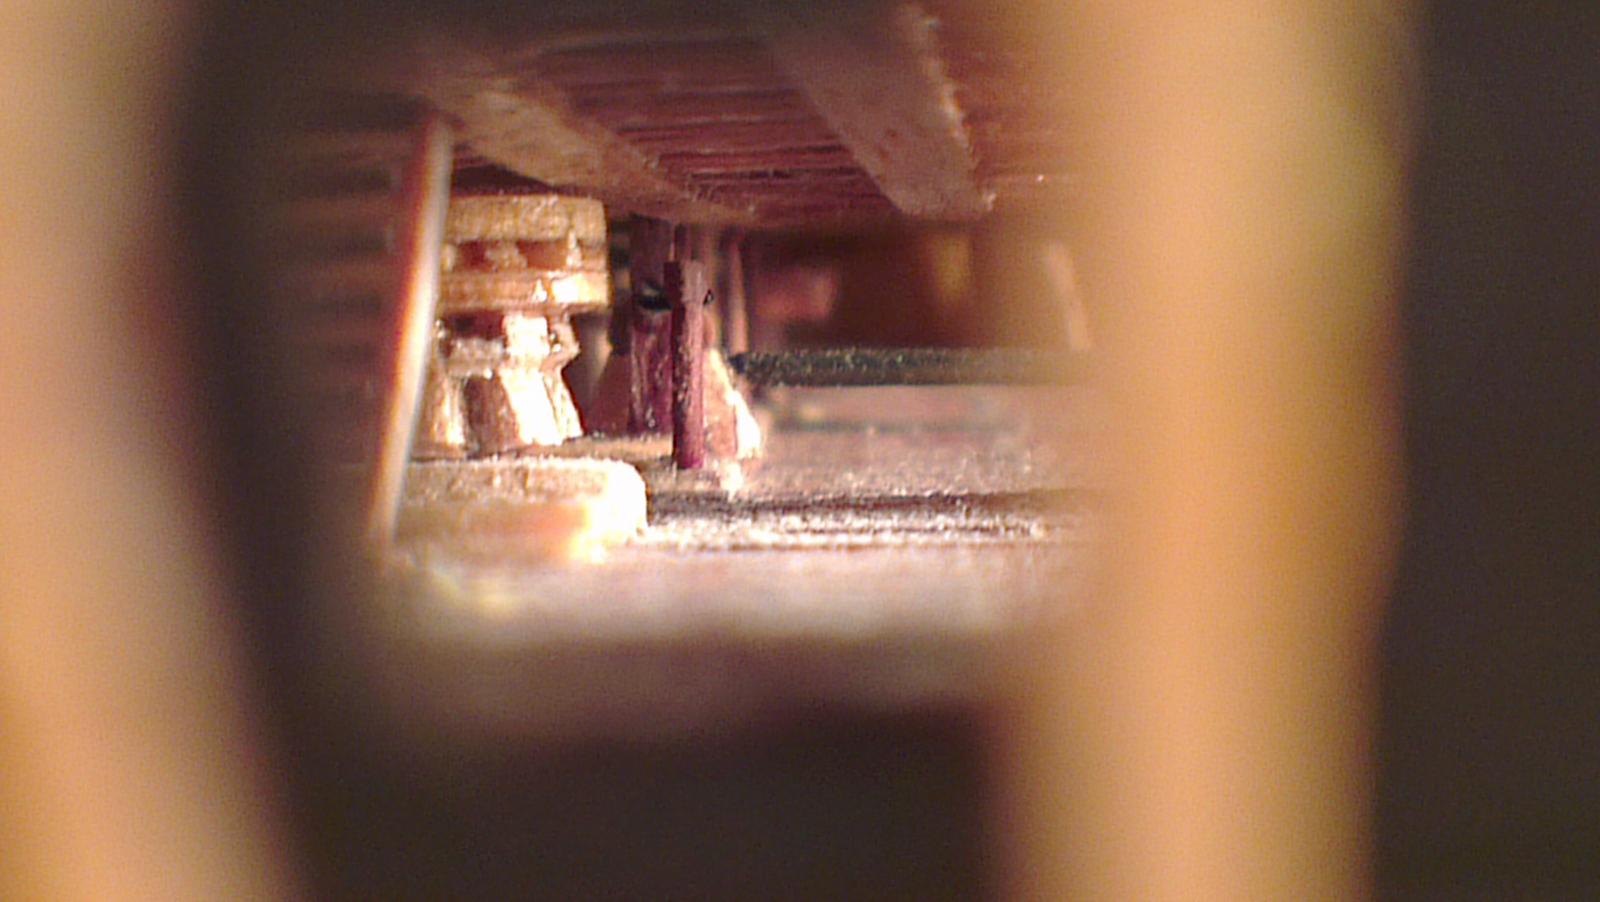
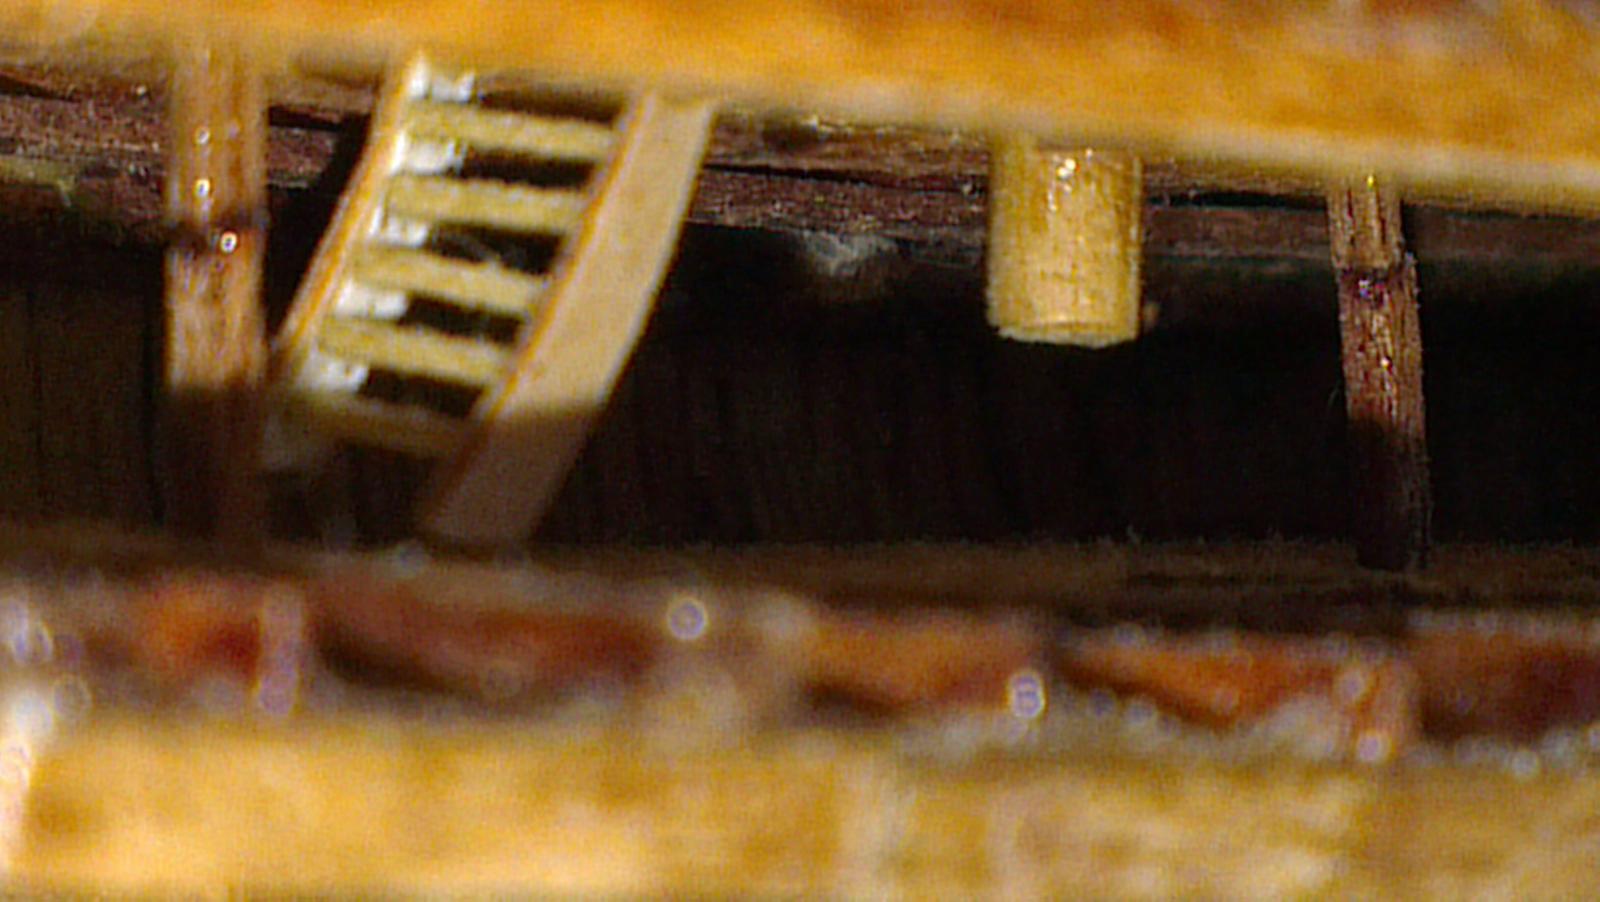
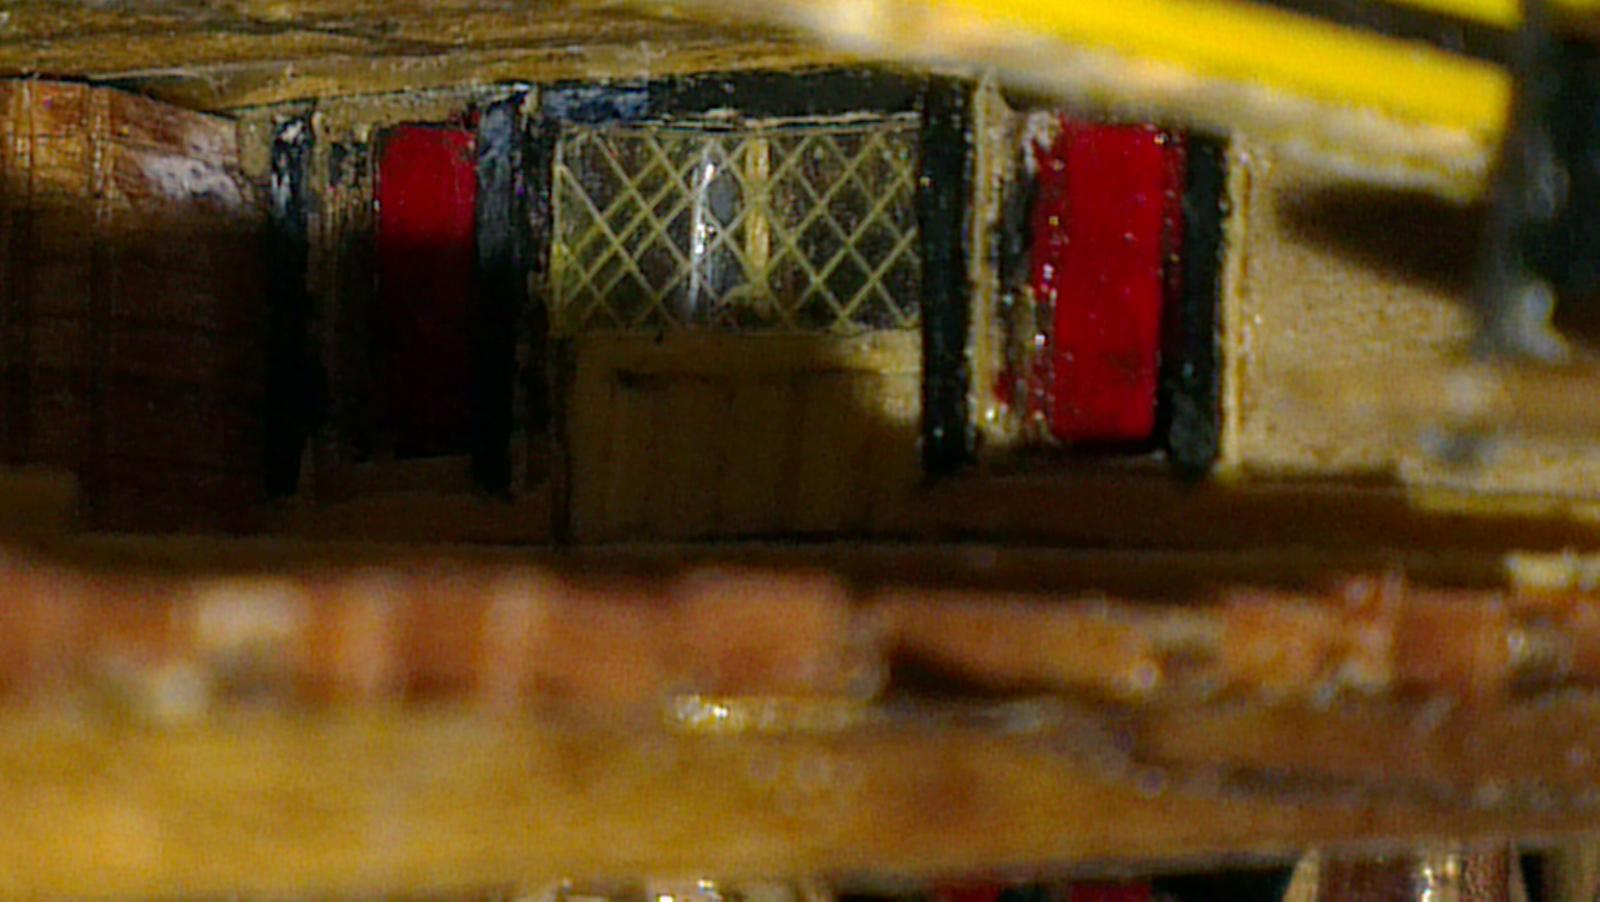
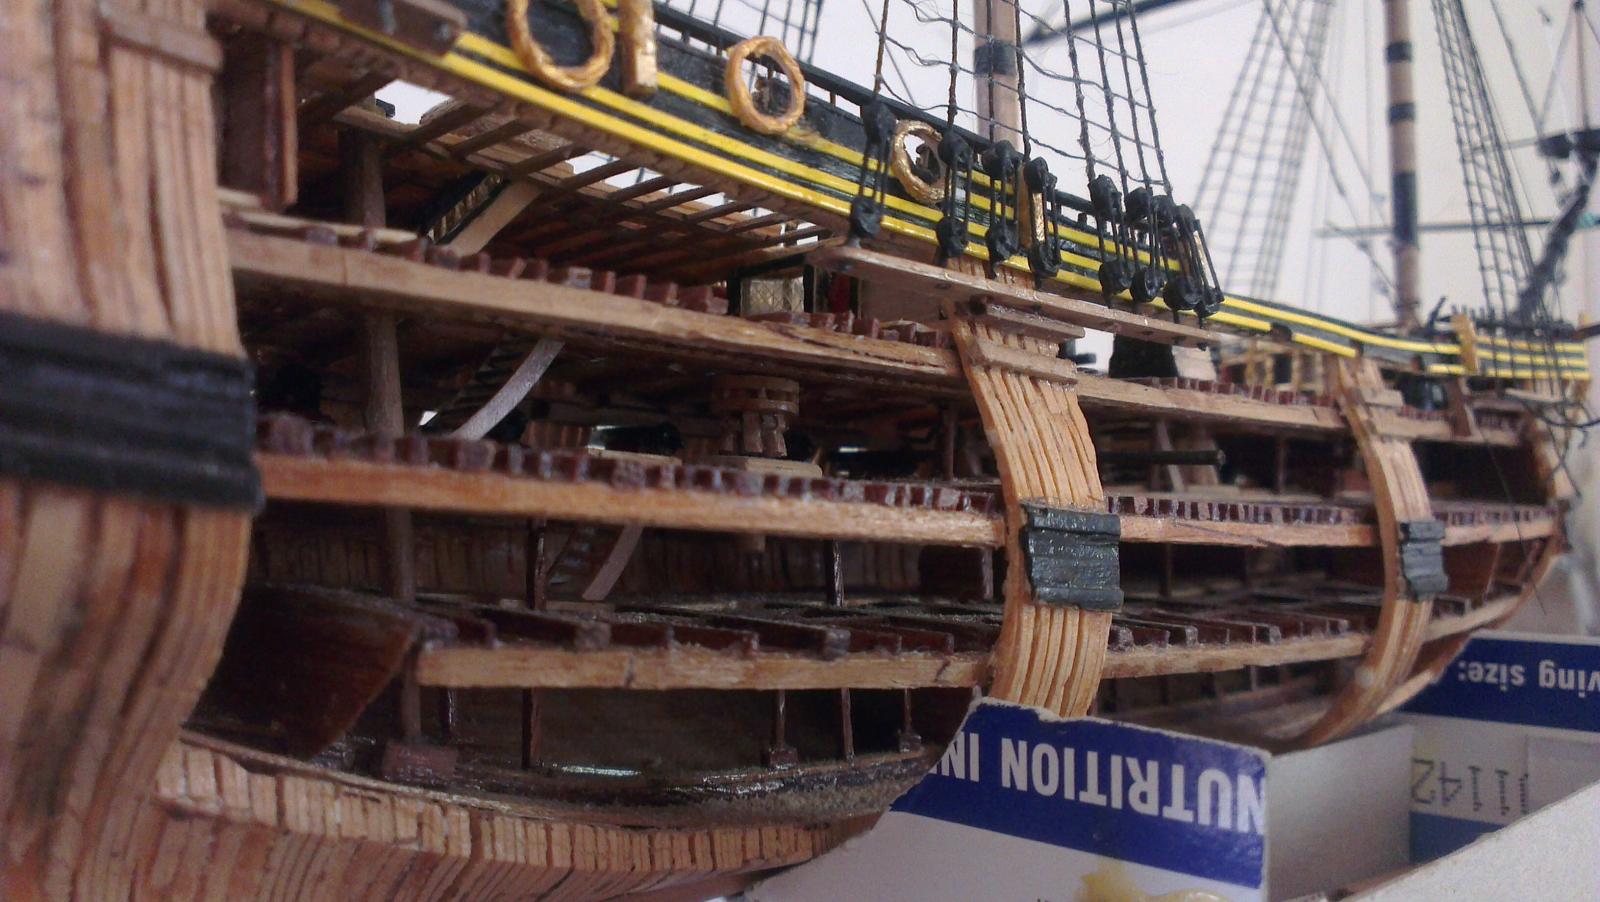
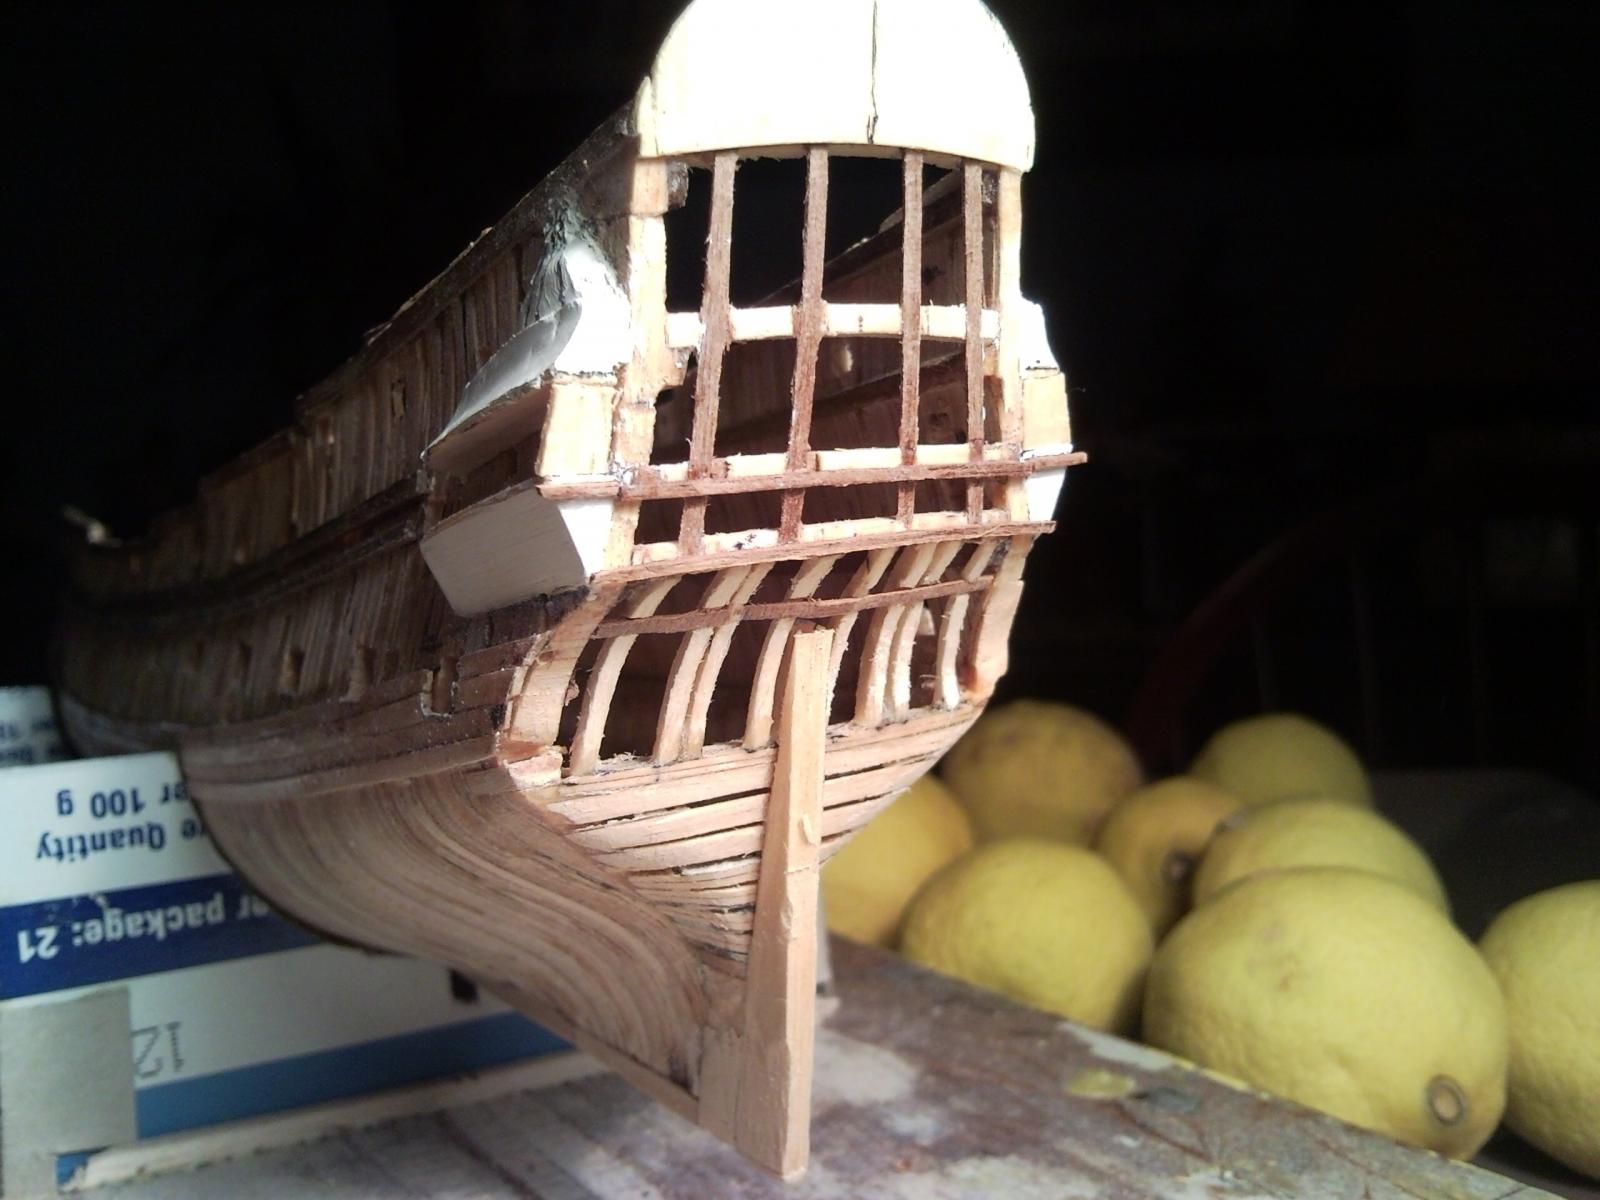
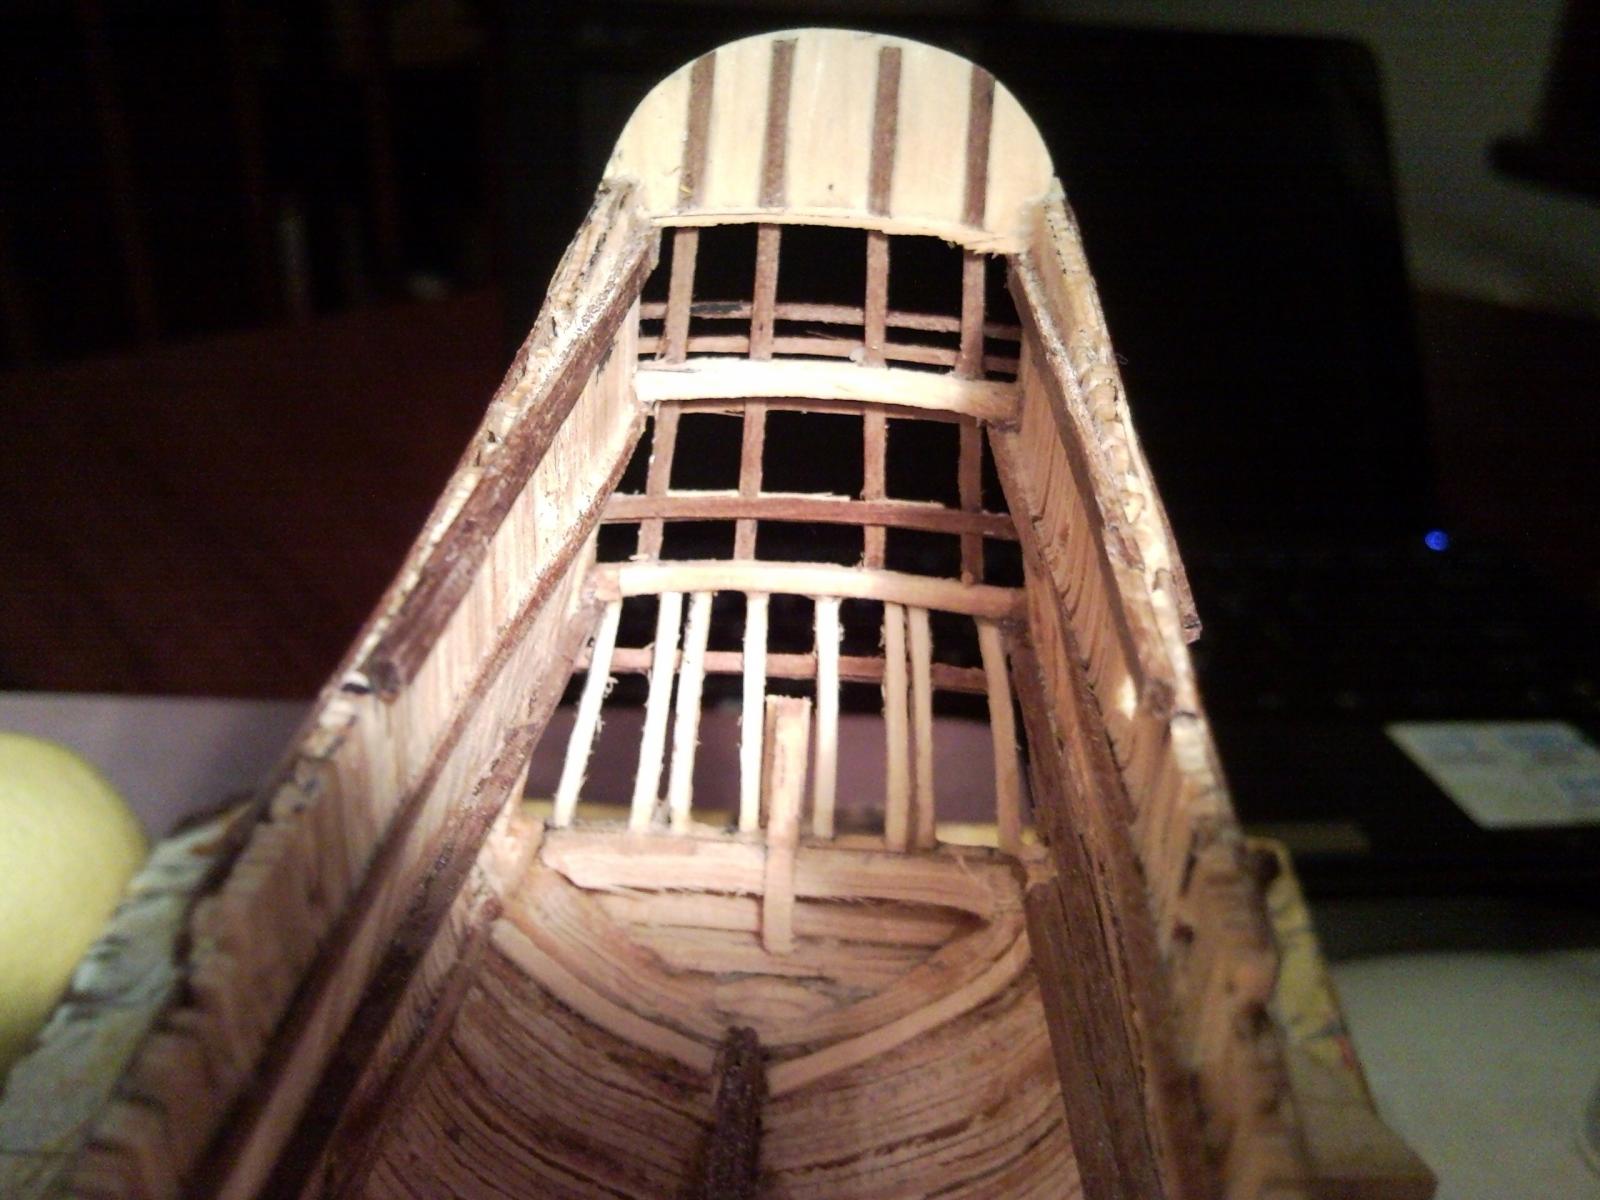
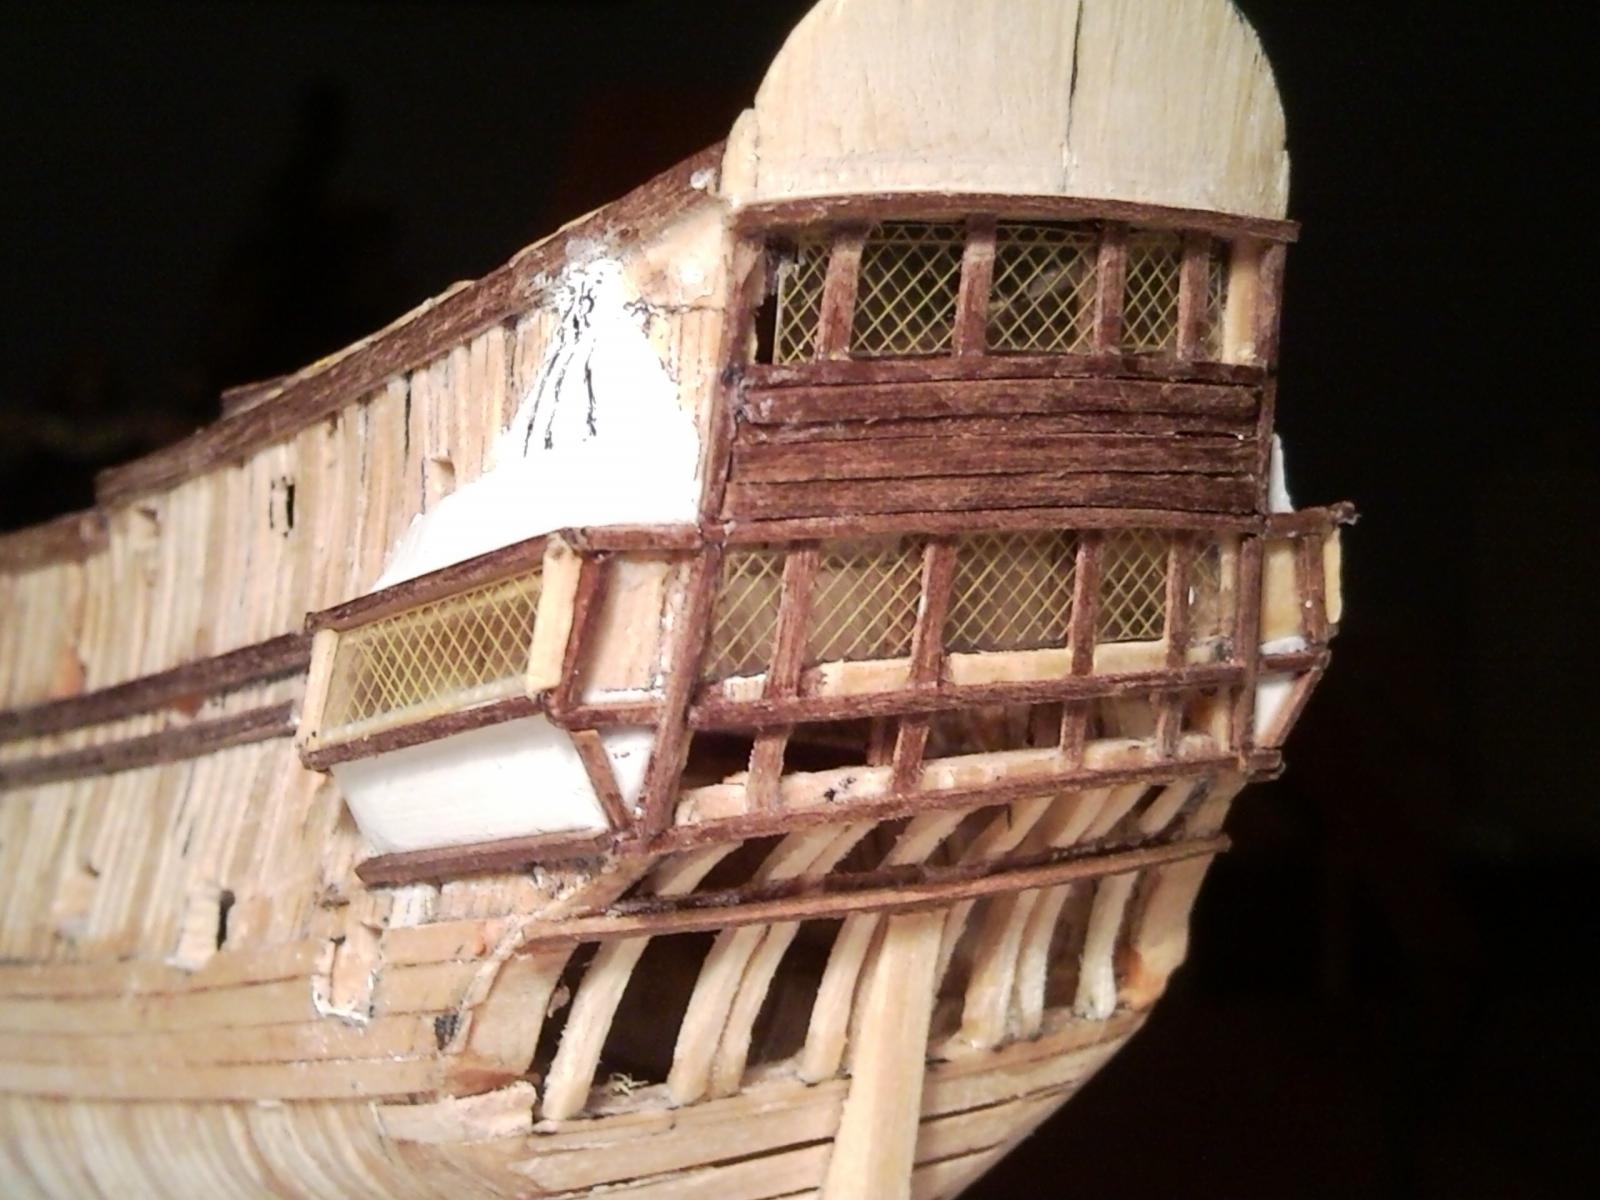
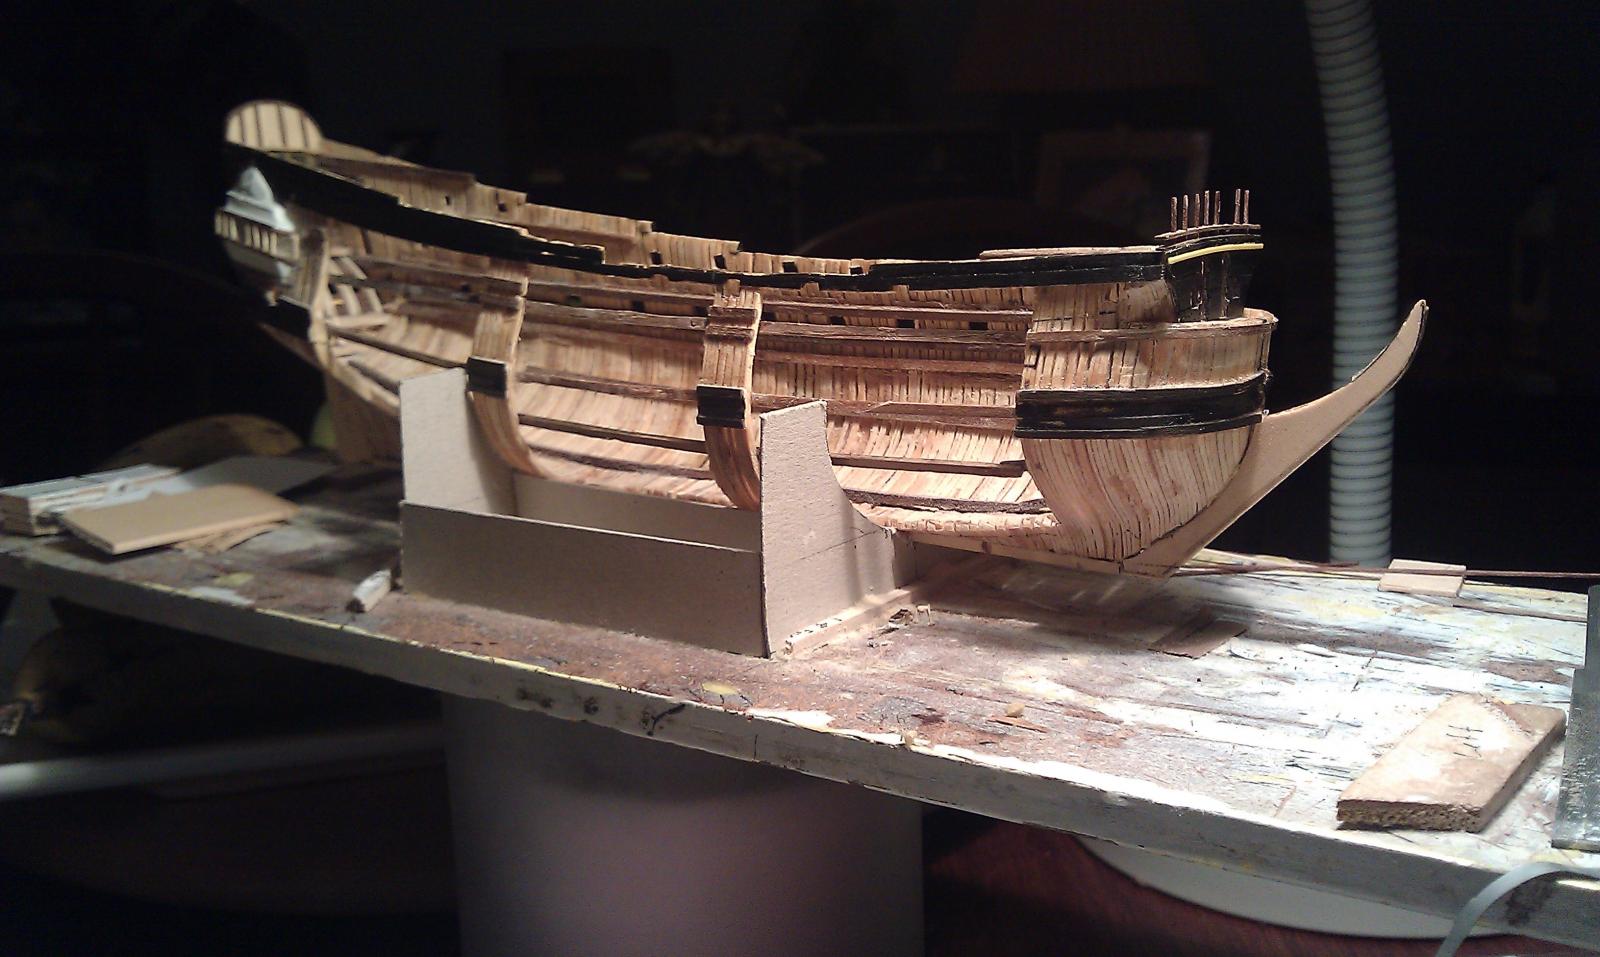
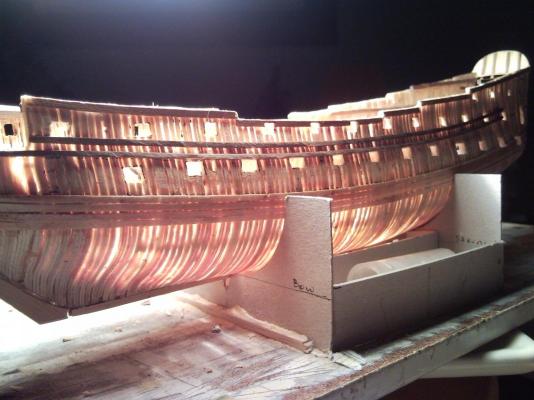
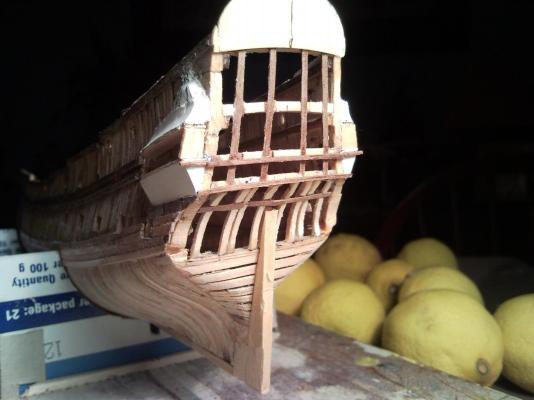
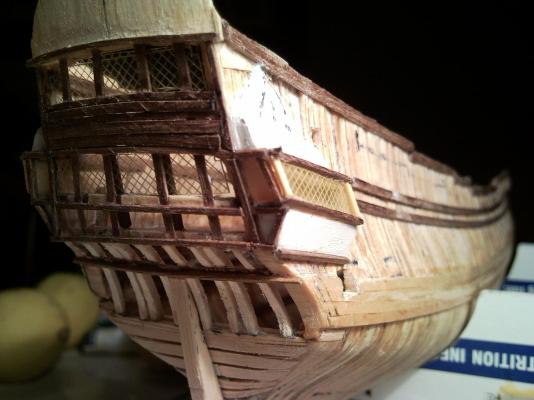
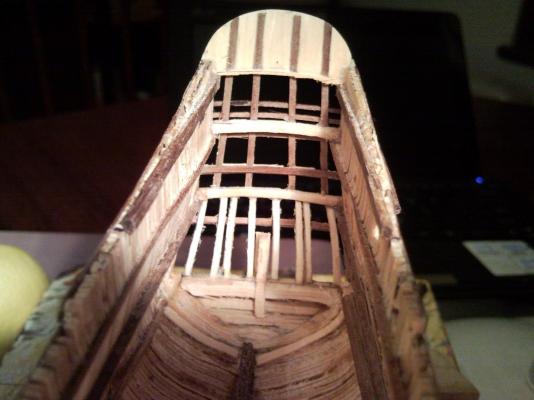
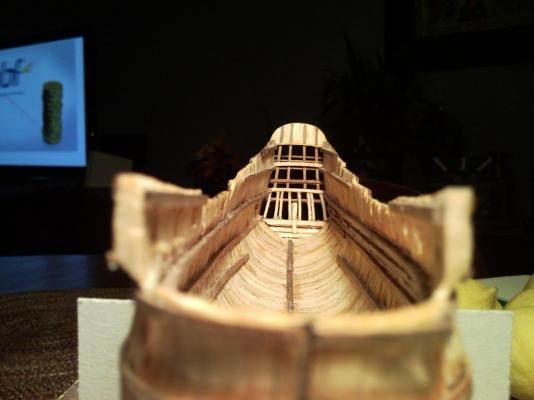
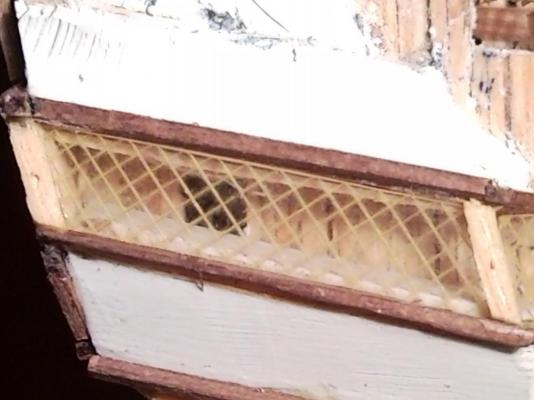
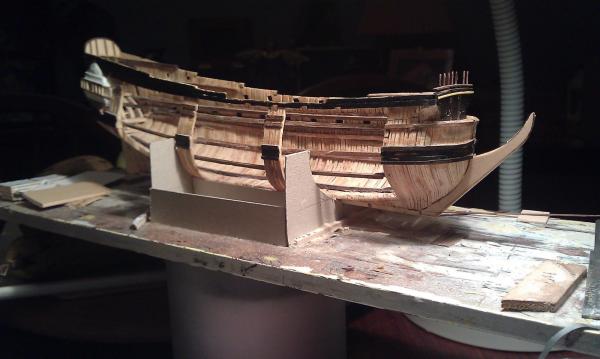
 Hello everyone. Although my model of the 17th Century 70 gun Restoration Warship, Lennox, was completed in mid 2013, I've decided to do this build log for two reasons, one for instructive purposes (to show how NOT to do things) and secondly, as a means to offer the plans to anyone who's interested (first come, first serve). If you are interested in the plans, then pls let me know. About the model: The model is built in Admiralty style, with large parts of the hull cutaway and deck exposed so that the interior work can be viewed. The hull is approximately 29 cms long, or 36 cm including the bowsprit. For the sake of clarity, I'll include photos starting from the bare framed hull, through to the finished model over a series of build logs. Hope you enjoy. Comments and feedback welcomed as always. The first photos start with the framed hull and further progress on the internal structures will appear in the following build logs.
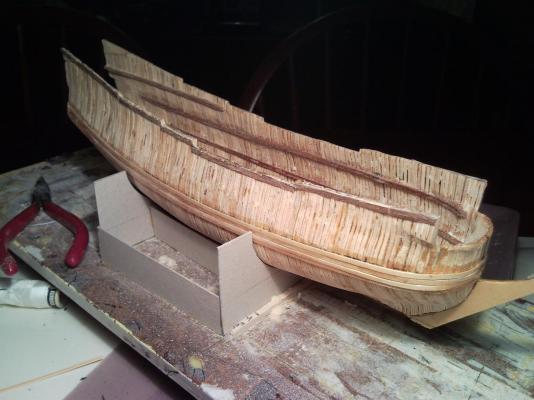

- 56 replies
-
- 15
-

-
Thanks Nils. At that size and given all your efforts, Pegasus definitely deserves a beautiful display case in a prominent part of your house.
-
Hi Nils and others. As to the issue about the scale...For some reason, I find it easier to think of the actual length of the model. So, whenever I hear that a build is in 1/48, or 1/64, or 1/200, etc, I always find it hard to picture in my mind 'what does that actually mean in terms of the actual size of the model'? Eg, is it 40 cms long, or 50, or 80, etc. So perhaps, in Pegasus' case, knowing how long the actual hull may be useful to know so that admirers can appreciate your efforts even more. My thoughts only. All the best!
-
Hi Bob and everyone else for stopping and offering advice and encouragement! I'm looking forward to starting Symphony's hull and frames soon. It'll be a bit of a juggling act, though, as to which model, Ingomar or Symphony gets the most attention from me, though. All the best!
-
Hi Boris. Looks wonderful. Will you actually build the model, or will it only be a computer generated image?
-
Hi Michael Many thanks. Okay, so here's the deal. The boat is now renamed "Symphony" and she will be a hybrid of a design based upon Ticonderoga's hull with a modified sheer line and Signe's interior and above deck arrangements. Should be fun! Thanks for your help.
-
Hi Michael. Good point about the name. As it won't be strictly the same ship, I guess the name is irrelevant; meaning that I'd be free to give it any name. Furthermore, I can leave the underwater hull untouched, which would mean even less alterations to the plans. I'd only need to adjust the sheer line, then. Do you know how I can amend the title of the build log, then?
-
Hi Dave Thanks for your thoughts. I guess sometimes we can appear to take this hobby a bit too seriously and get caught up with trying to be too perfect. After all, at the end of the day, it's really for own pleasure, as is the case with any hobby. So, yep, I'll take your thoughts on board. You and Jud are right; I really don't appear to have much choice. It'll still turn out really nice. The scale will be 1/200 which will equate to about 17 cms or 7 inches approximately in length. The interior will be fully detailed and viewable through a cutaway hull and deck; i.e. the same as Ingomar's hull. Thanks once again!
-
Hi Jud Thanks for your advice! I think you're right. There's no need to reinvent the wheel, so I might just use Ticonderoga's as the basis and modify accordingly. It wouldn't be exactly the real Signe, but, at the end of the day, it's probably the best I can do. Unless, someone else can help me magically obtain Signe's actual frames drawings, then, that, of course would be perfect! All the best!
-
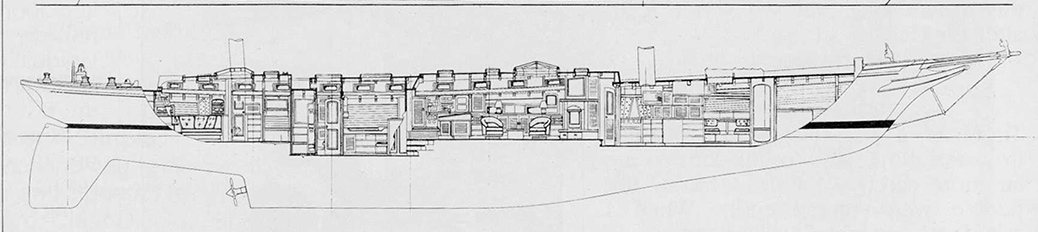
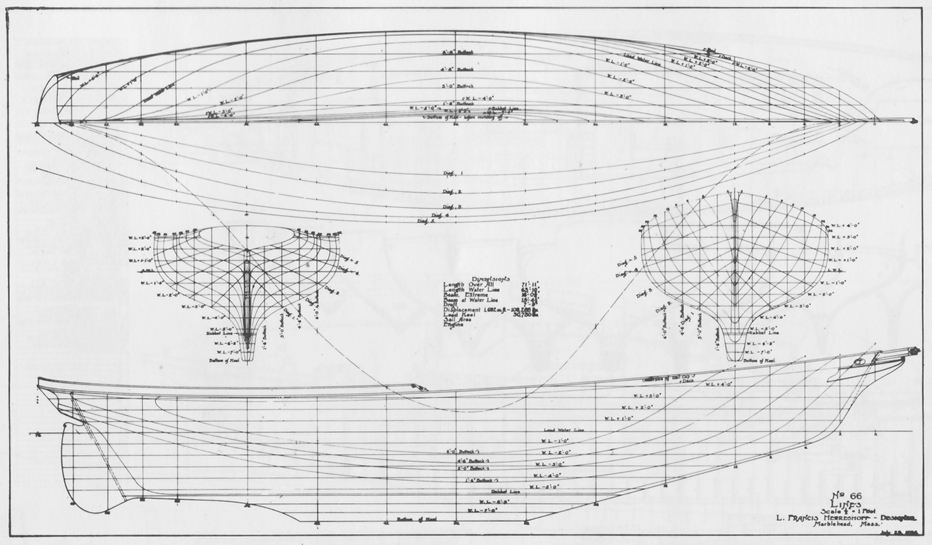
HI all I haven't finished my current building of Ingomar (see other scratch build log), but I'm getting a bit itchy about starting my next build. The next model in my miniature ship yard will be the 112 foot ketch Signe, which was designed by Bruce King. However, I fear that it won't be an exact replica of the actual ship because I am unable to obtain any detailed lines drawings of her frames, etc. All I've been able to find are a number of blurry low res profile drawings off the internet. I've contacted the naval architect who drew the plans to see if he had the frames plan available, but he was unfortunately unable to assist for various reasons; all of which I totally understand. Therefore, I'm left with a dilemma. Do I design my own hull (which I am capable of doing), or do I use the hull plans of Ticonderoga, (which is eerily very similar in shape and profile), which are also available freely off the internet. If I do use Ticonderoga's plans, I'll only need to slightly modify the sheer line and the rear underbody shape to make it resemble Signe's hull. Can I please have your thoughts as to what you would think is the better way to go? Alternatively, if you know where Signe's actual body plans can be obtained from, then I'd appreciate hearing from you! Thoughts, anyone, please???? The first drawing is of Signe. The second is Ticonderoga's.


- 574 replies
-
- 16
-
-
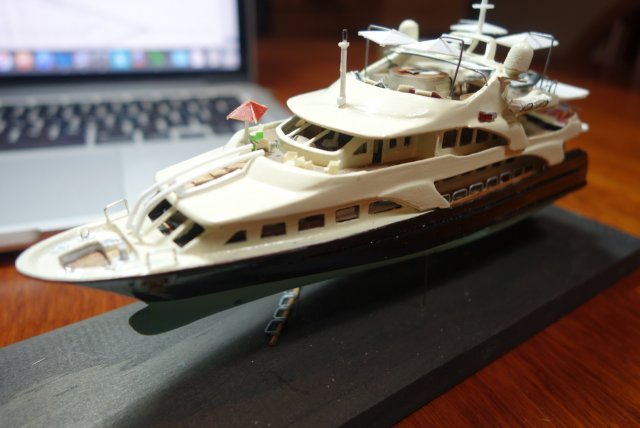
Hi Kees. I understand why you say that it "may not be to everyone's taste', but, in my opinion, this sort of ship would just not look right if it was rust-free, clean and precise. It needs to be weathered, because only then, will it look like a true working boat. I like it! All the best.
-
Hi Pete. Welcome back. I thought you'd gone AWOL! Hope all's well. Those sails look like the real deal. What a difference the logos make to them. They add a real sense of authenticity and realism to them The hull looks great, too. Will you be adding more logos and artwork to the hull as well? Either way, it sure looks great. Look forward to seeing how it all comes together. All the best!
- 220 replies
-
- 1
-
-
- finished
- volvo open 70
- (and 1 more)
-
Hi Mark. Sometimes when a hull's framework is done as well as yours, it's almost a shame to cover it. No doubt it has to be, but I reckon you'd be wanting to take lots of photos to capture your fine work. Well done and you've certainly set very high standards for meticulousness and care. All the best!
-
Absolutely brilliant! She'll make a great family treasure. Will you put her in a display case to protect her from dust and wayward hands?
- 83 replies
-
- 1
-
-
- sloop of war
- sloop
- (and 1 more)
-
Hi Bob. Thanks for sharing that tip about the soldering as it's good to learn the tricks of the trade. It must mean less cleaning up afterwards, which is always a good thing, I guess. All the best!
-
Hi Michael. It's good to see that you're back at work on the Cutter. I'd hazard a guess that it won't be long before launch-day arrives?
-
Hi Kees. Thanks for the explanation. I'm sure that you make it sound easy, but, in reality, I know that it's probably much harder than it looks. For instance, it wouldn't take much to overdo an area, or under do it, and thus spoil the overall effect. Getting that balance right can only come with experience. Look forward to more pictures. All the best
-
HMS Ocean 1898 by tozbekler
Omega1234 replied to tozbekler's topic in - Build logs for subjects built 1851 - 1900
Fantastic build! -
Just amazing, Nils. Truly amazing...! For some reason, I always pictured that your Pegasus was much bigger, particularly given the amount of detail that you've been able to achieve. Even more deserving of respect; without a doubt.
-
Hi Michael, Jeff and Bob. Well, I tried Michael's suggestion a couple of hours ago. It was indeed tricky to get the heat and timing just right. No sooner had I heated the rod, pushed the plastic over it, only to find that it would be too hot. The plastic would just melt away, leaving a hole. Other times it would be too cold and the plastic would barely show an indentation. After a while, I think I got about three or four (out of about 20 goes) that looked ok. I'll see whether they're ok to use tomorrow. If not, I'll try Jeff's and Bob's methods. Thanks for all your help!
-
Hi Ben. Your ship is definitely taking shape now! It's wonderful to look at her framework because it emphasises just how complex these machines must've been. I'm really looking following your build as it continues. Well done!
-
Kees...you're a true magician to be able to pull off the transformation that you're doing now - from pristine and ship-shape to worn, weathered and full of character with workman-like charm. Can you pls explain a bit more about what each step involves? For instance, what is the saltflake method? What other methods do you use? Look forward to hearing from you. All the best!
-
Hi Michael and Jeff (Chasseur) and everyone else for their likes. Michael and Jeff - many thanks for your brilliant suggestions. Jeff, your suggestion about building it up with fine wire was where I was heading, but, Michael's suggestion is tantalisingly tempting as well! I'll give the heated brass rod and blister pack a go first. If that doesn't work, then I'll try Jeff's idea. I'll post up the pics once done, regardless of whether it works or not. Really appreciate all your help on this! All the best.
-
Mayflower by SawdustDave - Finished
Omega1234 replied to SawdustDave's topic in - Build logs for subjects built 1751 - 1800
Hi Dave. By 'do over walk in the park', do you mean that you're going to rip it out replant it with the bamboo????