Old Collingwood
-
Posts
12,104 -
Joined
-
Last visited
Content Type
Profiles
Forums
Gallery
Events
Everything posted by Old Collingwood
-
 I have brought my spray booth - its a 16x16x16Inch double wall cardboard flat pack box, last of the big spenders me lol. OC.
 -
Very nice work - lovely details. OC.
-
That is Excellent close clean work mate - all your projects are like mini engineering jobs. OC.
-
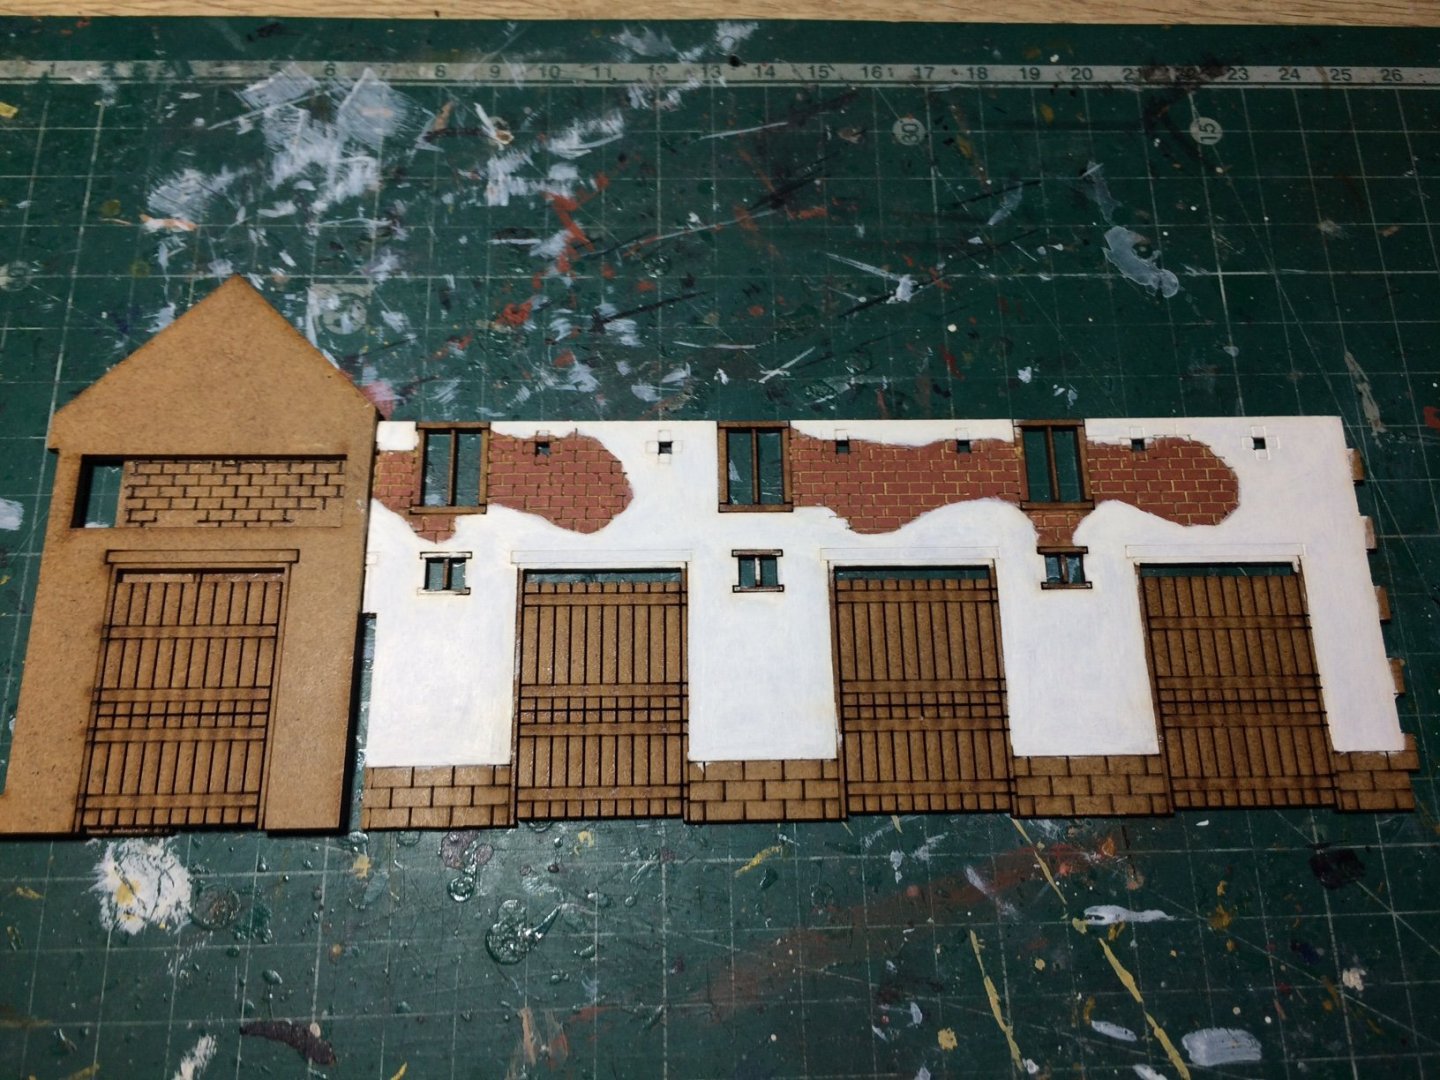
Evening all, paintwork continues - several coats of Flat White. OC.
-
Mine wont have any sort of exhaust duct - it will just be a knocked up cardboard box with a turntable and my light peering in over the top. Like this - OC.

-
I think mine will be - build the cardboard box best I can make sure it can be lit by my light, make sure door is always open (as it always is even If I am freezing) possible wear a muzzle(I mean mask) and gently spray the thing. OC.
-
But the smell should be none existent using Vallejo acrylic paints and with the airbrush putting out such a fine mist surely it should be fine? that's what I keep telling myself otherwise I have wasted a lot of money on something I can not use, this is coming form someone who used to paint with Enamels in a living room environment, with all those vapours and fumes we were used to - and the thinners. OC.
-
My problem is - I am a living room kit builder I am about 15 feet away from the admiral who has breathing issues from anything smelly, Even when I used to use tamiya rattle cans out side she could smell them - thats why I decided to make all my painting Acrylic and never use any other paint format, infact I have a stash of Tamiya rattle cans that need binning. Painting my figures has/is an Absolute delight as brushing on my acrylic paints has Zero affect on either of us - I was hoping uisng an airbrush with the same paints would be the same - that is why I brought it. OC.
-
Where I sit its against a back wall with no window the closest outlet to me about Two feet to my side is our back door thats kept open even in the winter, I have been planning to make a cardboard box as its the only real route that works for me, I am also running out of space as its a tiny house we live in more like a shoe box. OC.
-
That would be a bit tricky the venting side of things, I do sit next to our open door leading into our garden/yard and and I have my table light that is more than strong enough that is adjustable in height and reach, as long as that can peer over the top of the box - it will be ample light. I am trying to do it without any expense as I have been giving my wallet some serious knocking and its starting to complain. Oh - I have seen turntables for a few quid on flea bay. OC.
-
Hi all, just thinking and planning in advance of getting my airbrush kit this week, I assume a kind of spray booth would be useful if not essential? would I get away with making a cardboard box type with floor/sides/back/part roof but with a cut out to allow my lamp coverage to illuminate the thing being sprayed, also I assume spraying Acrylics in a living room will not cause any issues of spray vapour flying about causing us problems, I know I have seen some people where a mask (what's one of them lol) when actually sparying. Any ideas folks? OC.
-
I'm in Phil, that looks like quite a nicely detailed kit - looking forward to seeing more. OC.
-
Thank you Phil. OC.
-
I should have said - ignore that part on the left in my pic, that will be locked away inside the other section of the stabbles - joined by the slot. OC.
-
Thank you so much for saying that Alan - that was a really nice thing to say😊 OC.
-
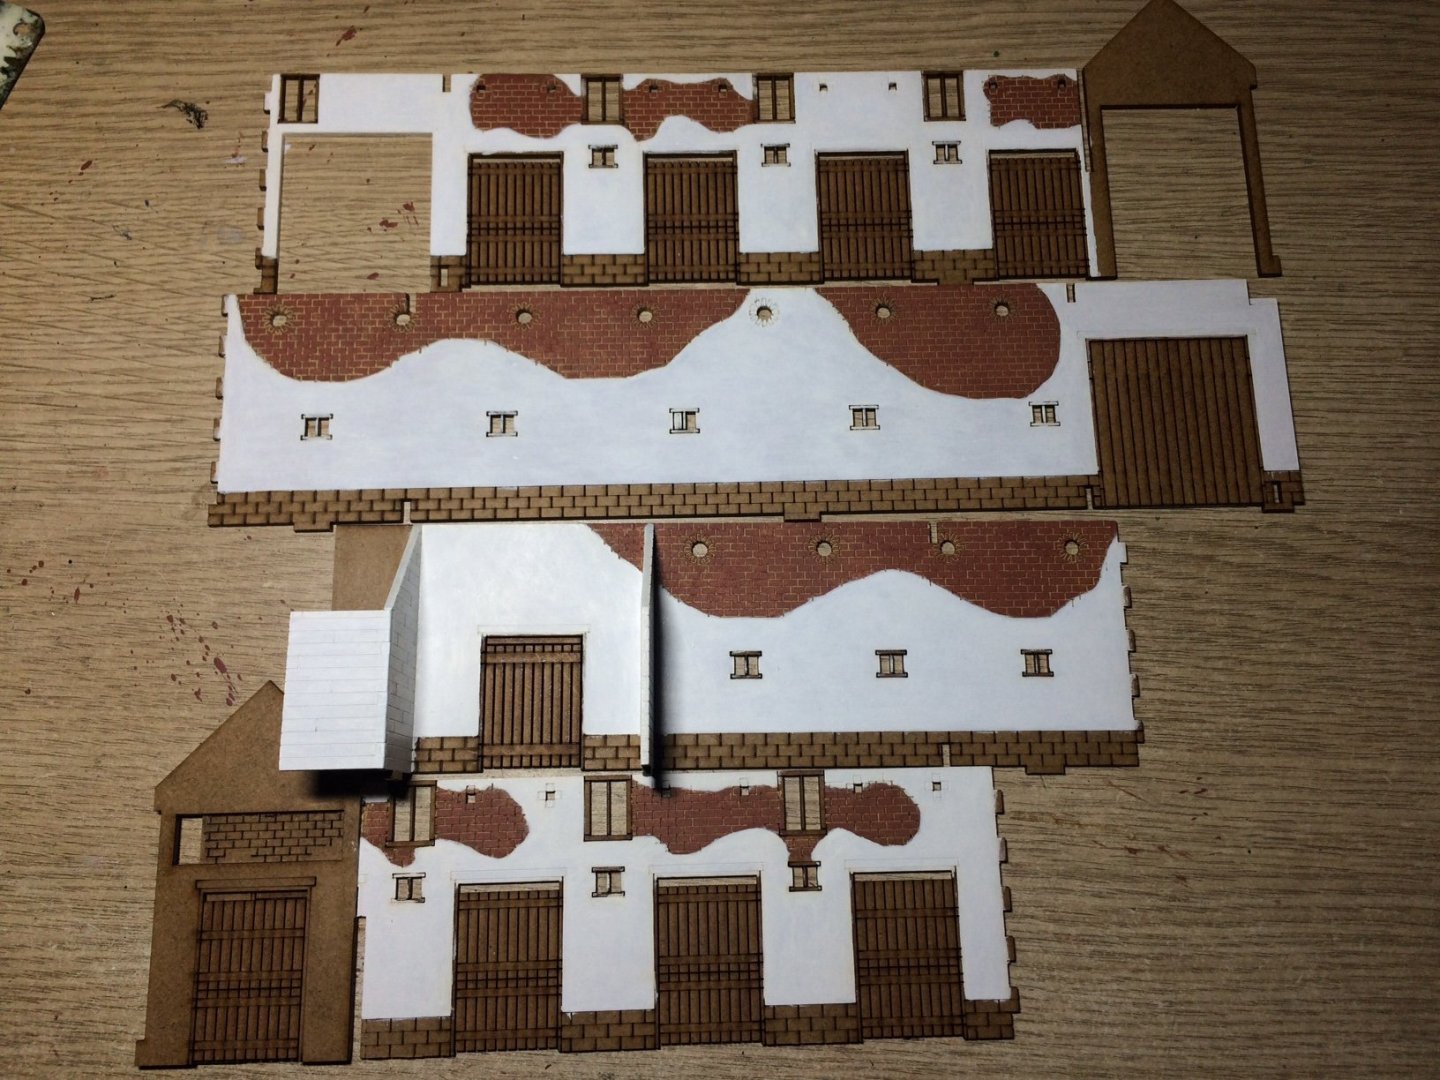
Evening all, more work this evening - its "Painting time" - the stables have Four main walls each with brick and paint detail, I carried on my routine from the farmhouse - sand colour worked into the mortar gaps, then a brick colour carefully brushed over the top, then the White built up in layers leaving it thinner close to were it meets the bricks - lots more to do. OC.
-
Hiya Bob, hope your keeping well mate. havn't seen an update from you In a while. OC.
-
Could do the primer I guess - and flat clear top coats - never thought of that - thank you Mark. OC.
-
That is looking so nice Denis, that paintwork is perfect, also like your other builds you show. OC.
-
I see mate, I went with that route because Pontos showed it in thier instructions - lots and lots of cut outs to remove so things could sit on the plastic deck under the wood decking. OC.
- 225 replies
-
- 4
-

-
- I Love Kit
- Hood
- (and 2 more)
-
No its ok Lou, all info regarding airbrushes is useful to me - can't have enough info. OC.
-
Thank you kindly for that Lou, mine arrives next Tue/Wed, but I won't be tempted to play with it till my Waterloo Dio is finished (so probably 2023) Lol OC.