-
Posts
12,104 -
Joined
-
Last visited
Content Type
Profiles
Forums
Gallery
Events
Everything posted by Old Collingwood
-
Will you be doing same as I did on my Warspite - and cutting out the small pieces of decking under all those rectangles? OC.
- 225 replies
-
- I Love Kit
- Hood
-
(and 2 more)
Tagged with:
-
I am hoping that once I know how to set it up (getting the right pressure - thiness of the paint) it will be like an extension of using a brush, where a steady hand will make a lot of difference, time will tell my friend - time will tell. OC.
-
Evening all, some boring progress tonight that doesn warrant a photo - I have been doing some - sizing, marking and cutting to make the stables and base the correct size, this took some thinking about as the pieces interlock including a sloted section, but after a few hours I got there. Tomorrow will be the start of painting the individual pieces including some more brick work. OC.
-
Thank you Craig, I will probably lean on you a bit for more tips when I get round to using it. OC.
-
Thank you kindly Ken, think it will be reading, videos and repeate till I get to use it, probably on Hood after LHS is finished. OC.
-
She is looking Superb mate - first class modelling. OC.
- 225 replies
-
- I Love Kit
- Hood
-
(and 2 more)
Tagged with:
-
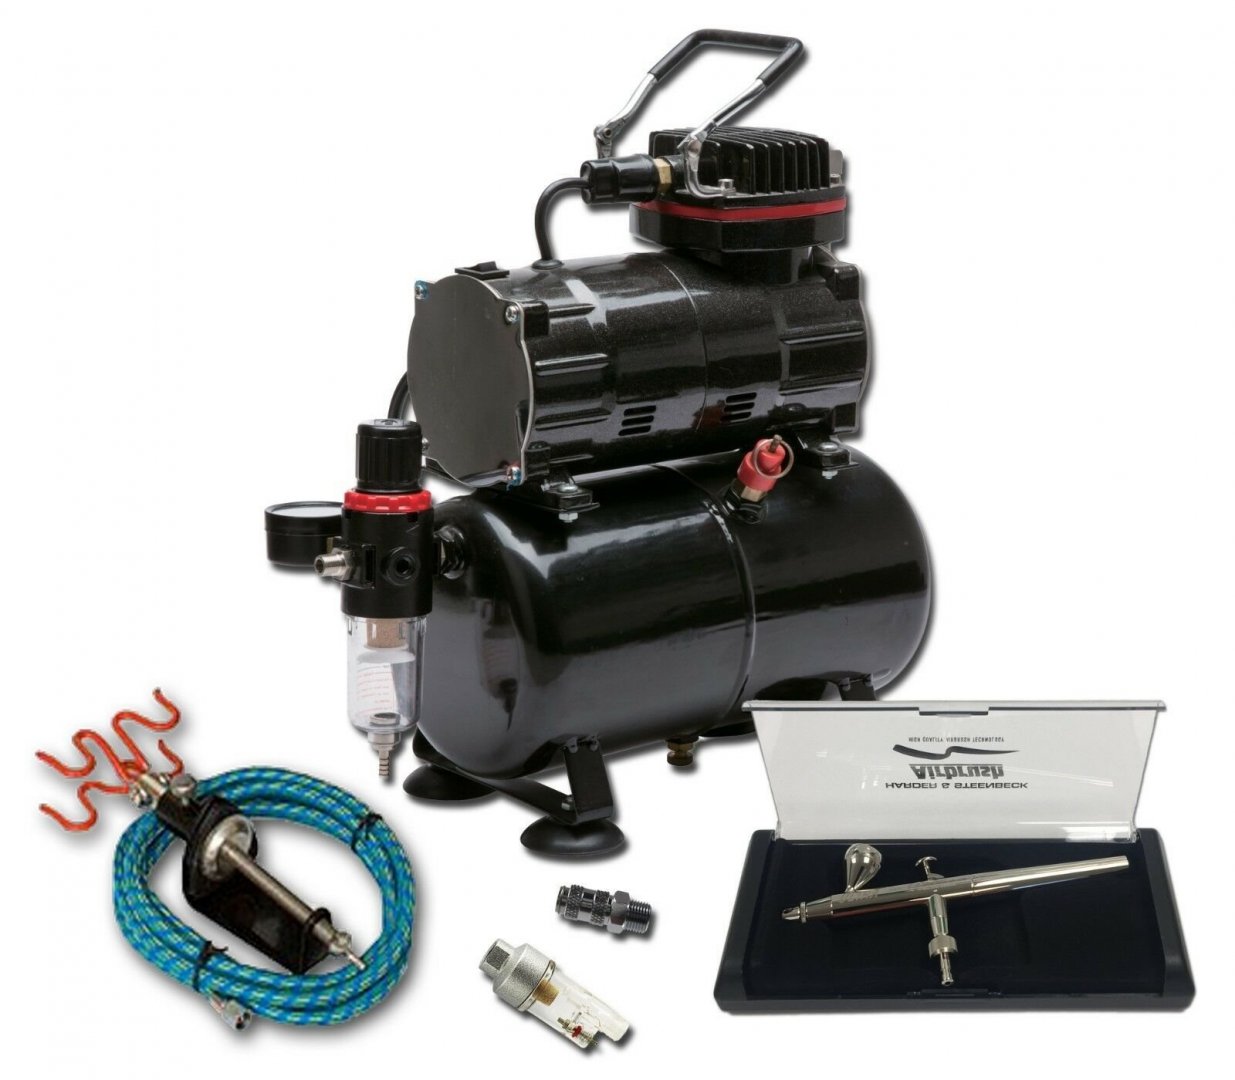
Just pulled the trigger on this - Most expensive modeling item I have ever brought. OC. https://www.ebay.co.uk/itm/380603061384
-
Thank you all for the advice (just what our home here is all about) I think I will pull the trigger on it. OC.
-
This is what I have seen and caught my eye - OC. https://www.ebay.co.uk/itm/381160596988?hash=item58bef125fc:g:kV4AAOSwQXlcRY4H
-
I am seriously looking into getting an airbrush kit, it will be my last chance to get one if I do - I just think it will make some of my kit painting easier than using rattle cans outside, I have been looking in Flea Bay and seen a few (one that impressed me was not just the low noise 54db but its from an actual UK airbrush specialist. Is it a case of getting a fairly good one taht would serve me over the years - or would any cheap one do as long as it was quiet under 55db? OC.
-
Excellent work Alan, even the PE looks mighty fine - sure am loving these Flayhawk kits for detail. OC.
-
Next stage started is the Stable block, after viewing an over head view of the farm complex it became apparent that this kit is too long one way but corect the other - its supposed to be a square more or less, so I placed the stables sections on the table and looked at any ways to reduce the length of the one stable, I found out I would be able to trim it down with my sharp blade and ruler and create another slot, I did a similar thing to the outer wall of the one stable by trimming the end, this reduced it by about Three inches and will make the whole thing more square in shape. OC.
-
Yep the Bismark stood out having the wider beam roughly same length as Hood (I think) wasn't Yamato the largest in size of all in service Battle Ships? OC.
- 225 replies
-
- I Love Kit
- Hood
-
(and 2 more)
Tagged with:
-
Hope your on then mend and out of pain, you have a nice interesting build going on. OC.
- 14 replies
-
- Osborn Models
- Sea Flea
-
(and 1 more)
Tagged with:
About us
Modelshipworld - Advancing Ship Modeling through Research
SSL Secured
Your security is important for us so this Website is SSL-Secured
NRG Mailing Address
Nautical Research Guild
237 South Lincoln Street
Westmont IL, 60559-1917
Model Ship World ® and the MSW logo are Registered Trademarks, and belong to the Nautical Research Guild (United States Patent and Trademark Office: No. 6,929,264 & No. 6,929,274, registered Dec. 20, 2022)
Helpful Links
About the NRG
If you enjoy building ship models that are historically accurate as well as beautiful, then The Nautical Research Guild (NRG) is just right for you.
The Guild is a non-profit educational organization whose mission is to “Advance Ship Modeling Through Research”. We provide support to our members in their efforts to raise the quality of their model ships.
The Nautical Research Guild has published our world-renowned quarterly magazine, The Nautical Research Journal, since 1955. The pages of the Journal are full of articles by accomplished ship modelers who show you how they create those exquisite details on their models, and by maritime historians who show you the correct details to build. The Journal is available in both print and digital editions. Go to the NRG web site (www.thenrg.org) to download a complimentary digital copy of the Journal. The NRG also publishes plan sets, books and compilations of back issues of the Journal and the former Ships in Scale and Model Ship Builder magazines.


