Old Collingwood
-
Posts
12,106 -
Joined
-
Last visited
Content Type
Profiles
Forums
Gallery
Events
Everything posted by Old Collingwood
-
 You know brother - thats an Excellent idea, almost like my idea of strenthening my masts with wood dowels in my Peal build, If I got some rod that was bendable yet strong. OC.
 -
Thank you kindly Kevin. OC.
-
Thank you kindly Brother. OC.
-
Thats an interesting photo, we used to live in a 17th century haunted cottage - I have to be honest most of my influence of the farmhouse I am building came from that with a basic Black woodwork and White washed walls throughout. OC.
-
Thank you kindly Alan. OC.
-
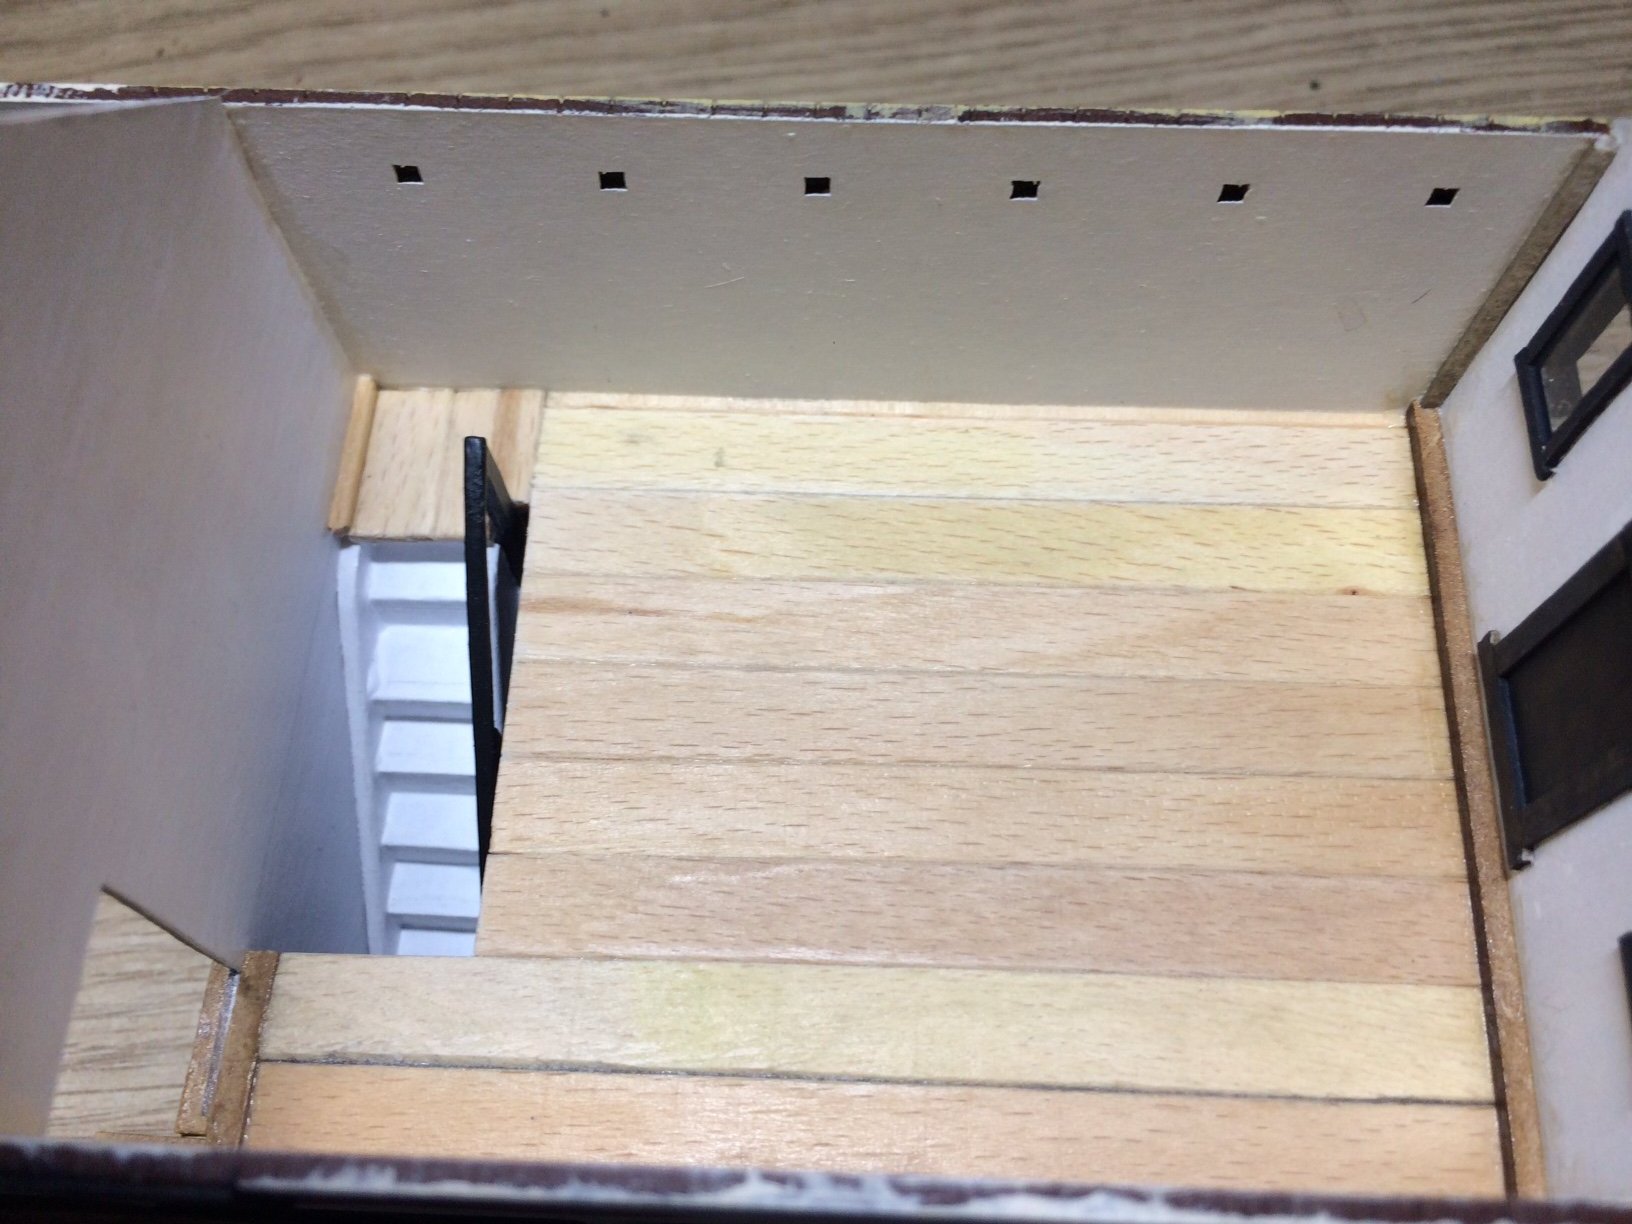
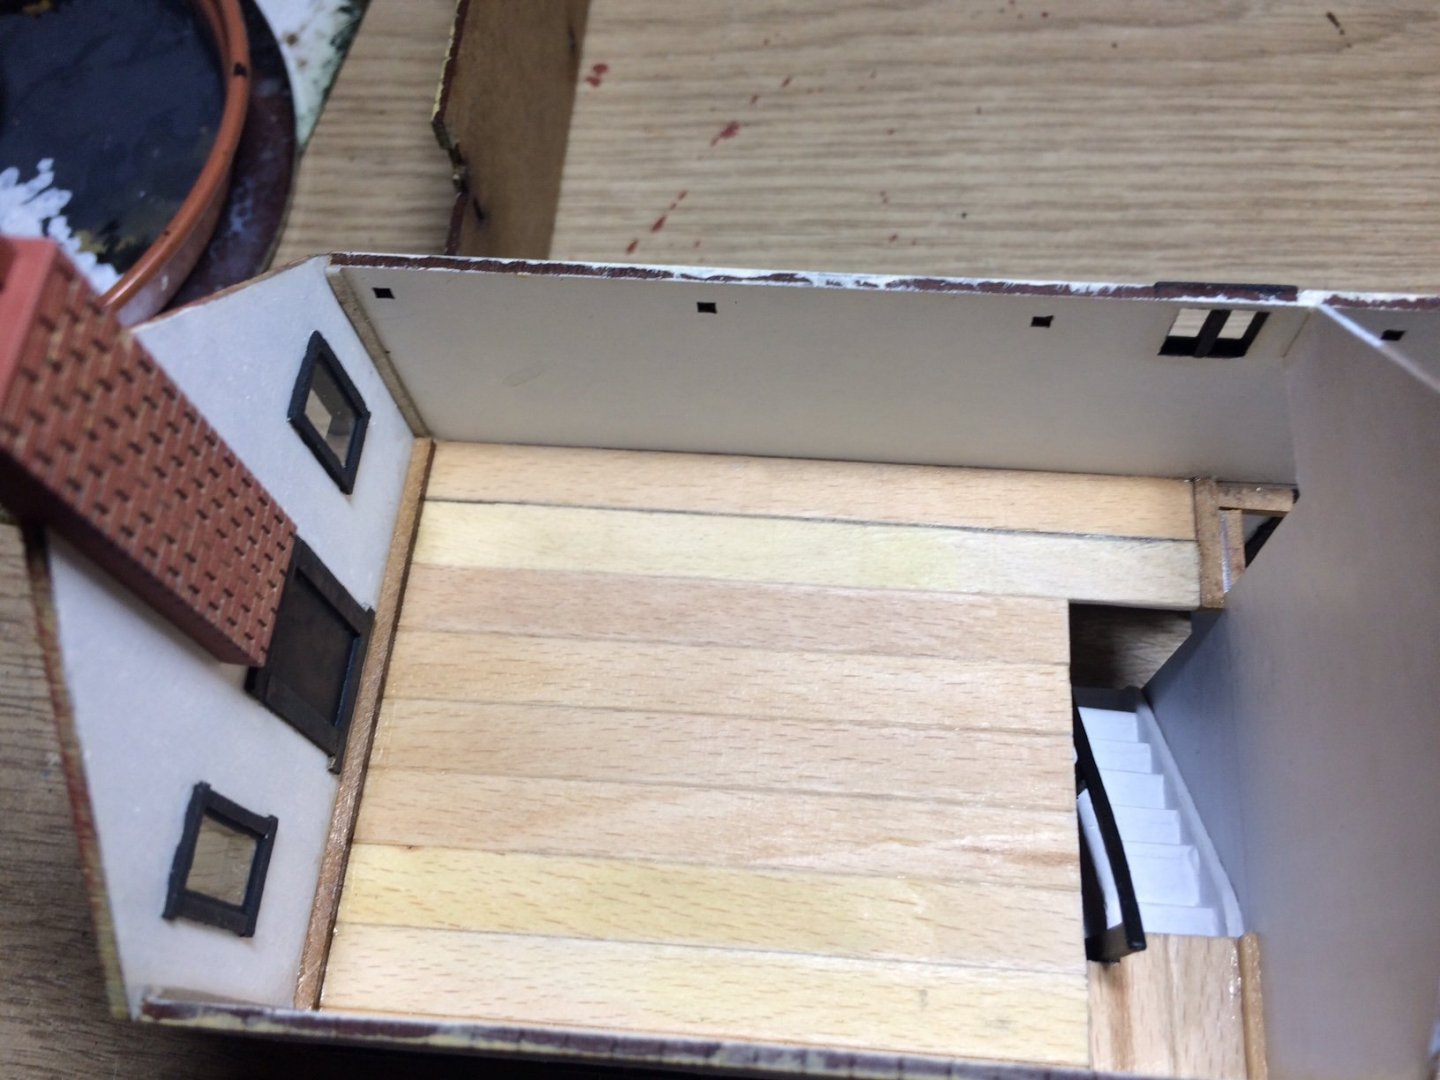
Evening all, more progress with the farmhouse, firstly I checked how many sticks I had that I would use for floor boards, then I squared off the ends and flattened the edges, I then measured the floor plan and transfered that to a piece of paper, I then started laying the planks/sticks and cut them to the correct lengths, they were then glued down using PVA. After drying with the dryer, I was able to dry fit it, it only needed a little fiddling and adjustment here and there, then it was glued in place with a few edge pieces fitted. Here is the current stage. OC.

-
Coming along nicely Alan - cats always seem to have an eye and point things out, isn't she lloking superb on your water with those reflections. OC.
-
I agree with Egilman - It looks the part spot on with the weathering. OC.
-
Thanks Ken, Yep I have dry fitted the roof - nice and square so all good. OC.
-
Thank you Alan, still plenty of work to do to it yet. OC.
-
Thanks Scott, I hadn't intended to to be honest its never really appealed to me lighting up a build. OC.
-
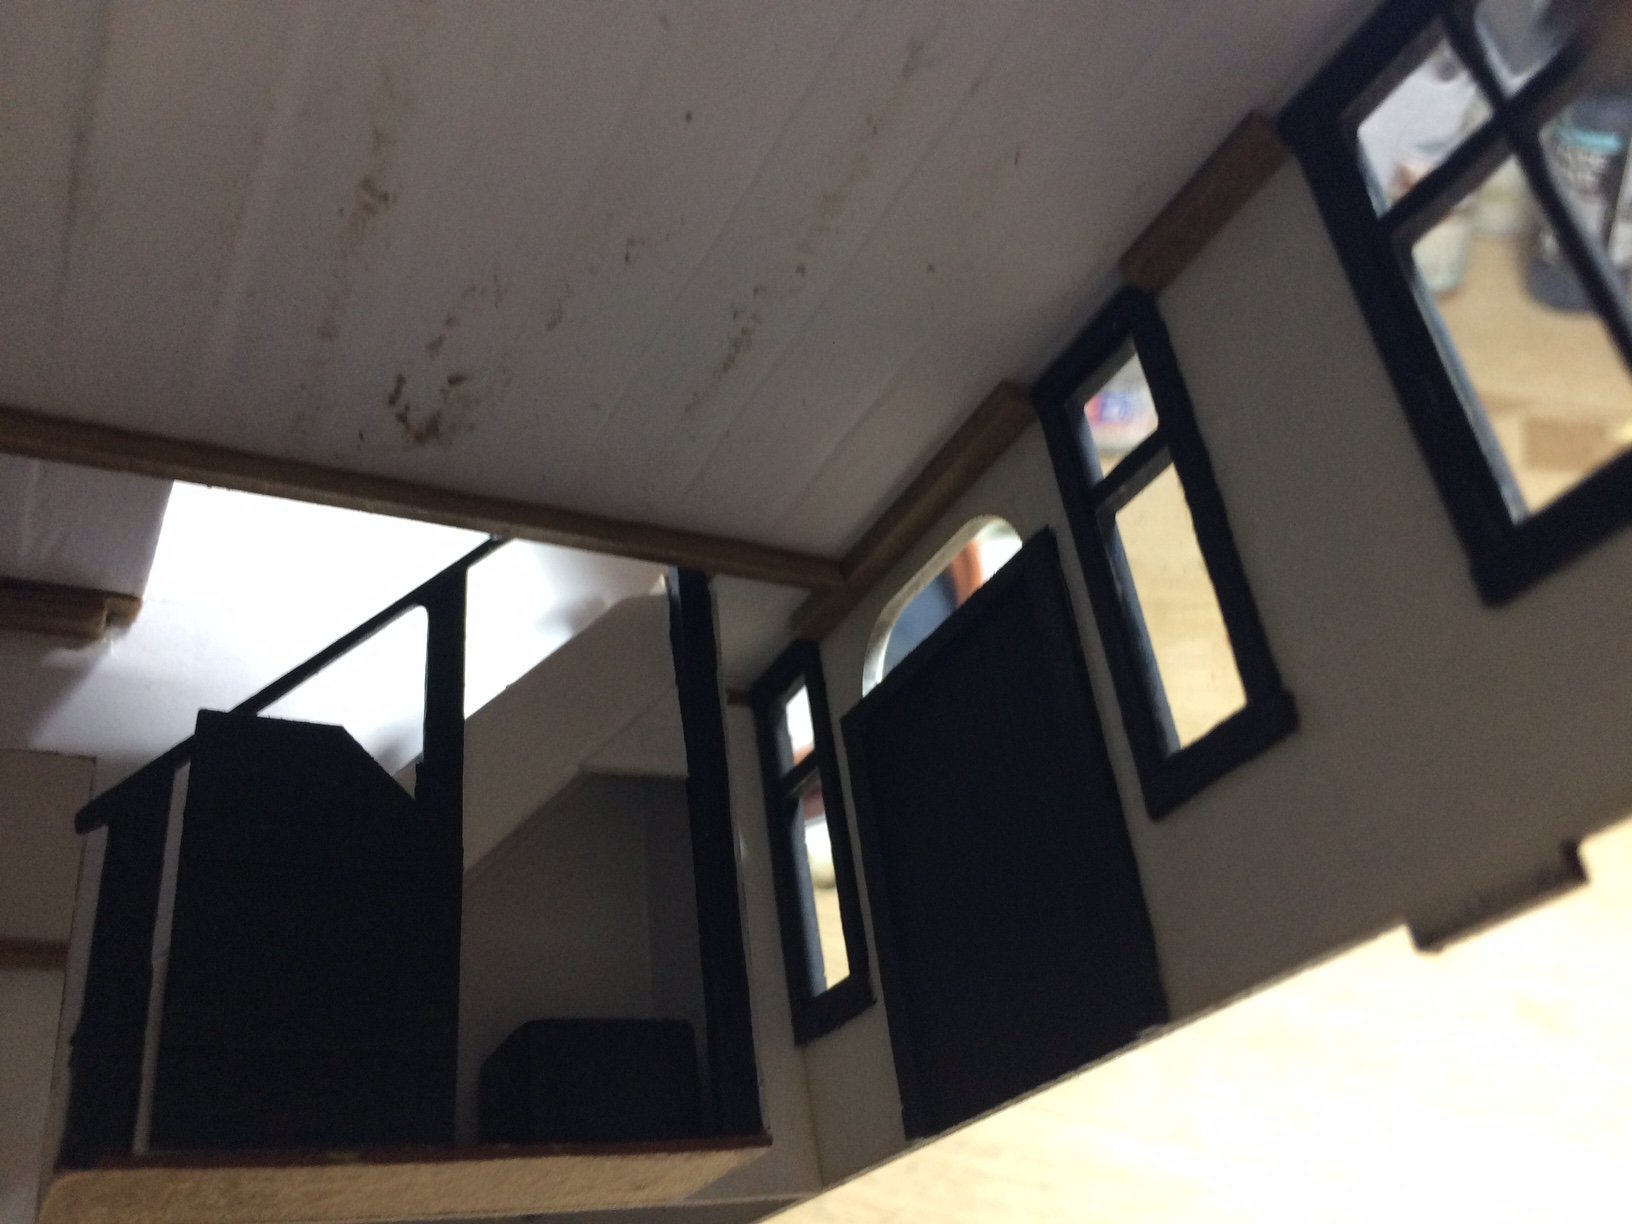
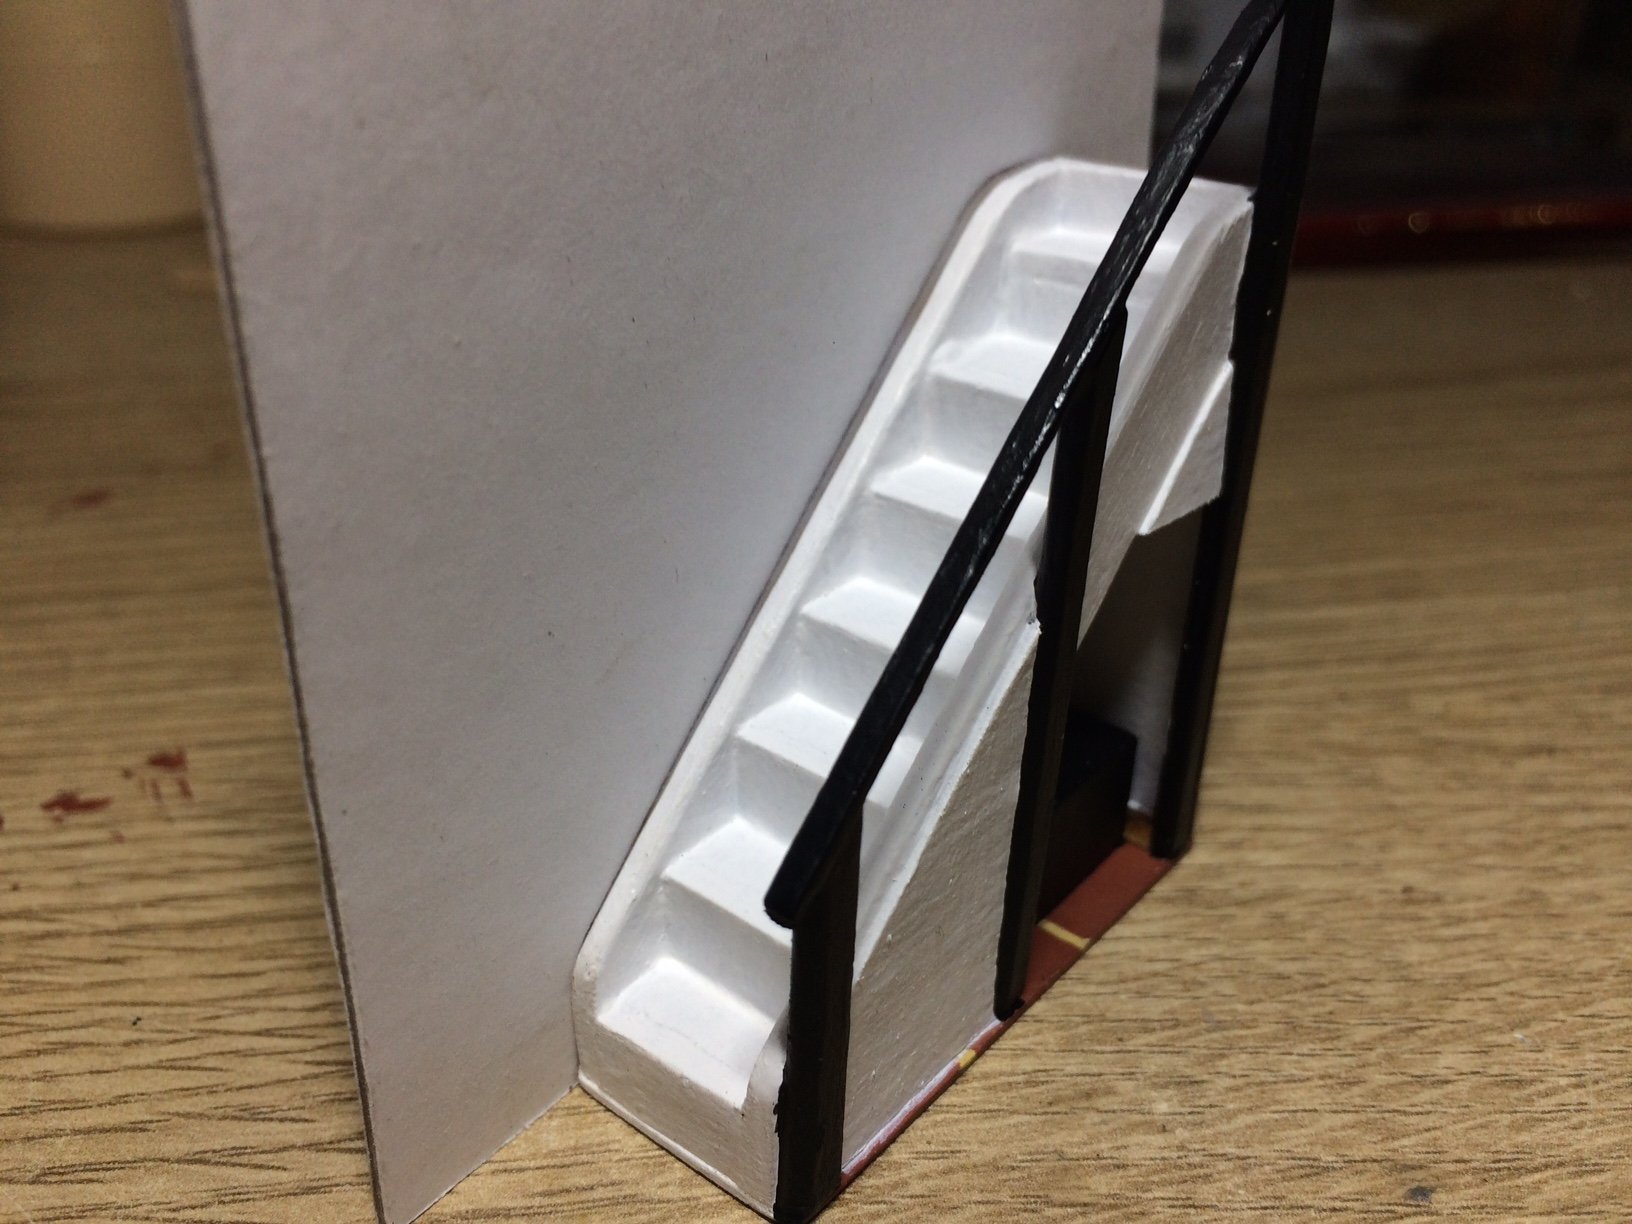
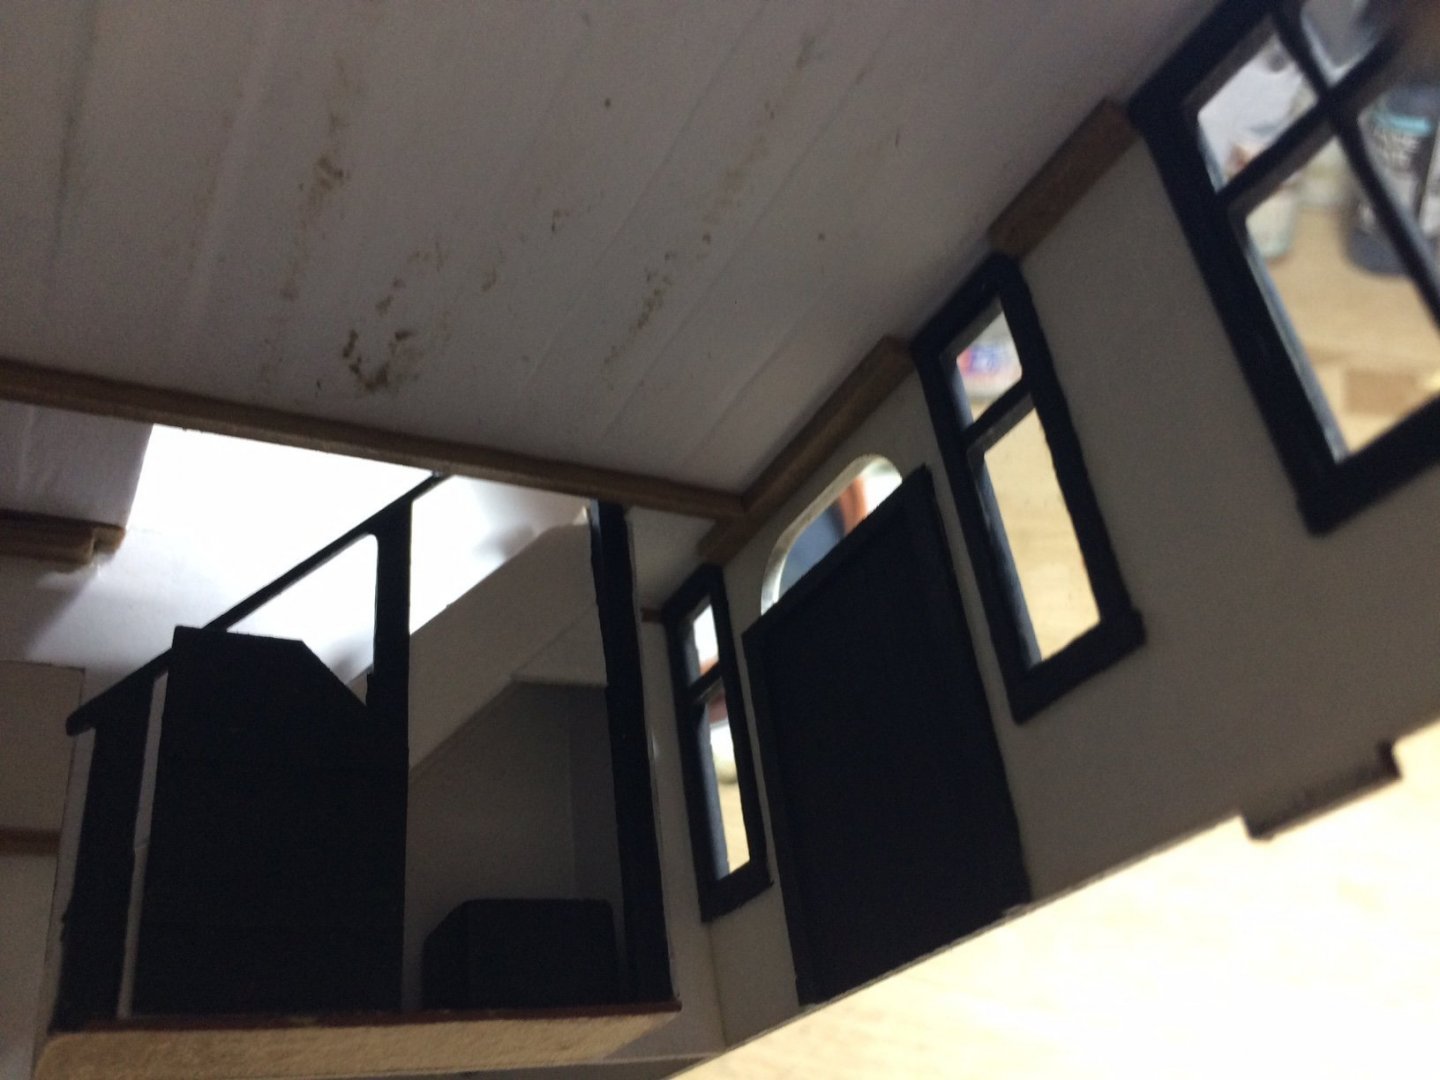
Evening all, Some good progress today - I finished the loo door and put a couple of coats of Black on it then it was glued in the open position, then I measured up the floor framing that goes around each wall, I then cut some lengths of MDF from the edge of the frets, these were then placed in between the windows and along both ends. Then the magic time arrived to join up all Four ends - gentle job keeping it square while making sure all the joints was pushed home, I dry fitted the centre wall with the stairs. So this is the current situation - letting it glue. OC.

-
Yeah we are ok mate. OC.
-
That is looking excellent Alan - really nice paitwork. OC.
-
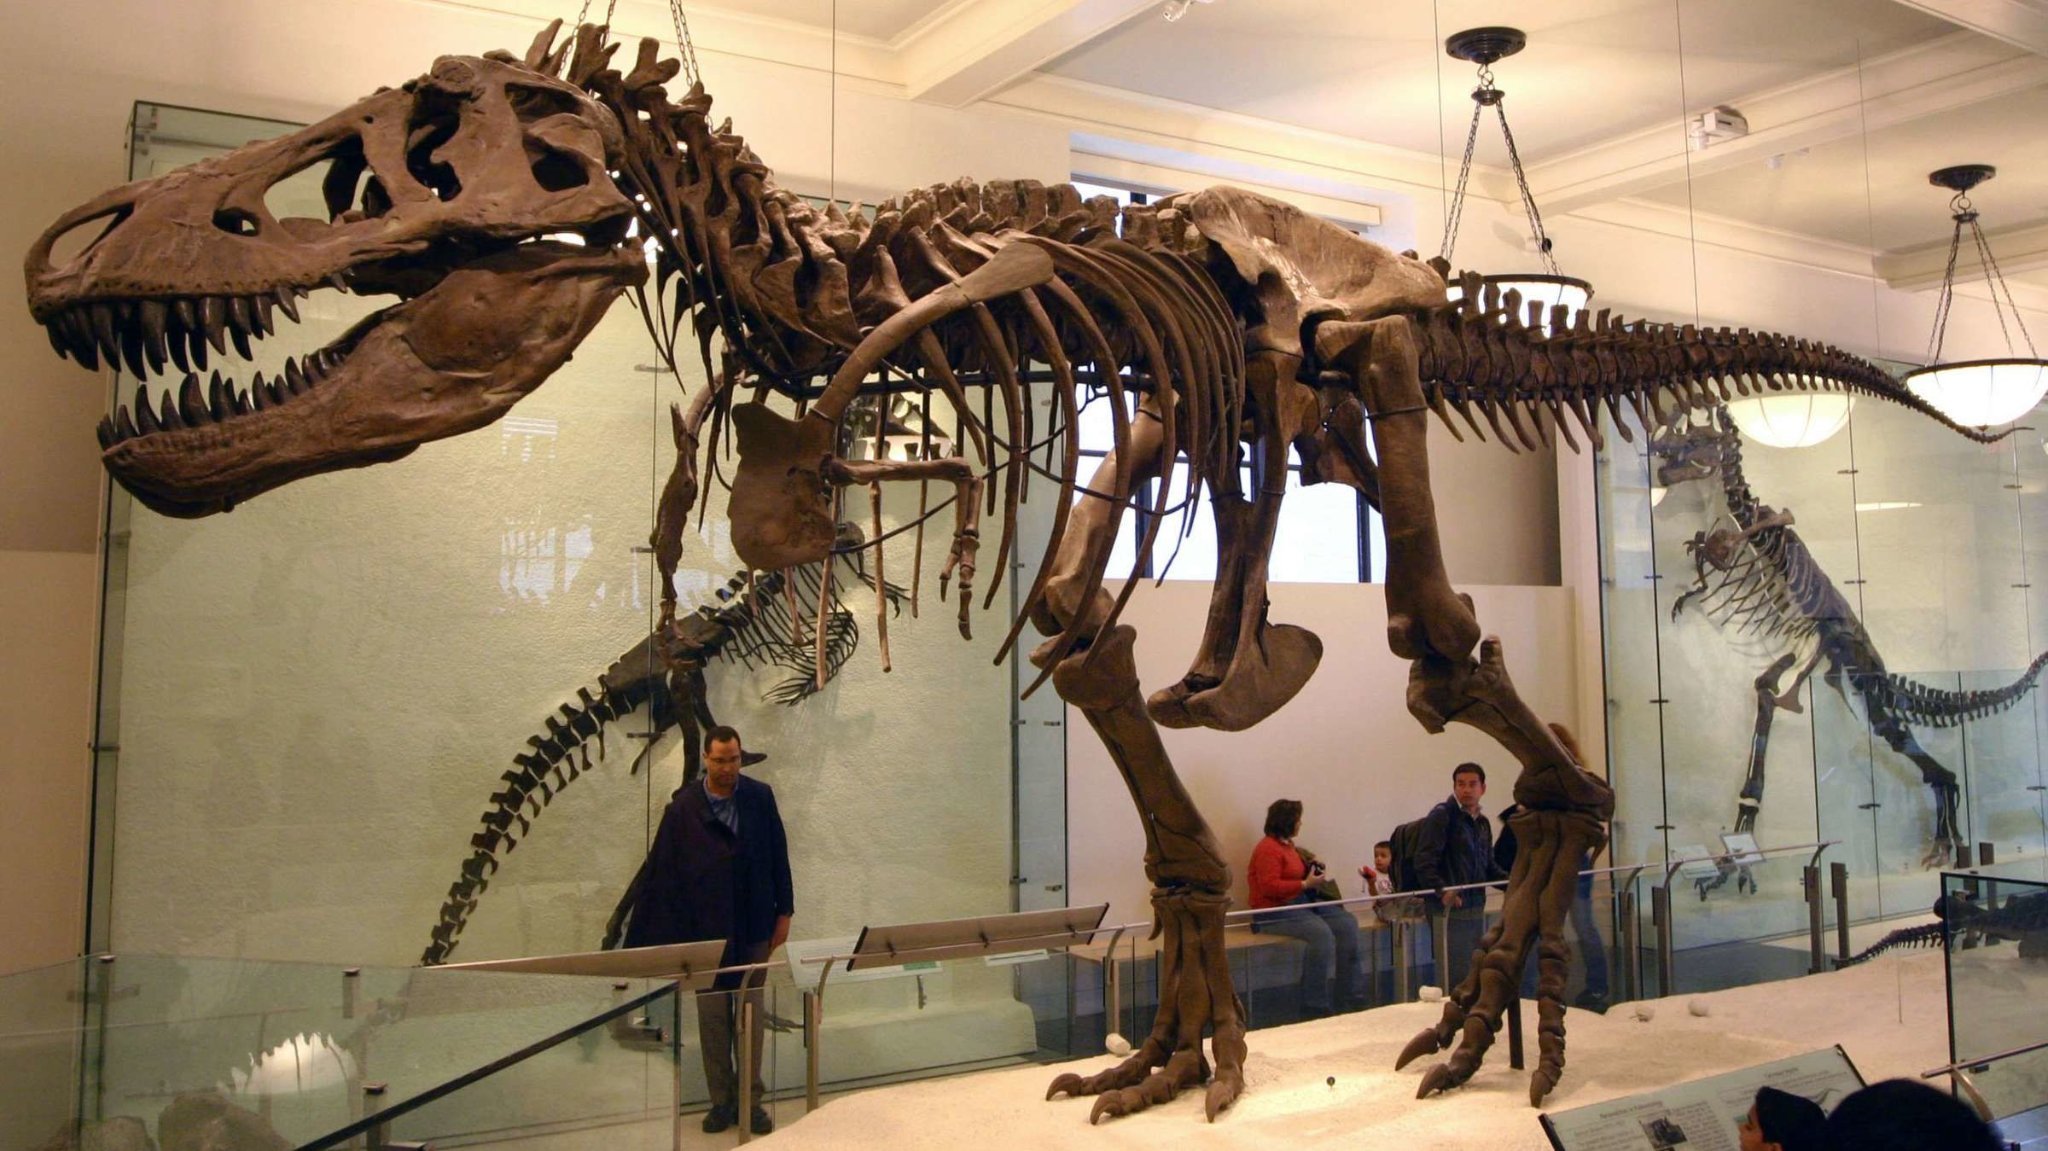
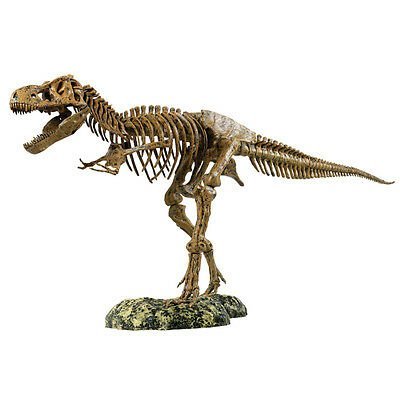
Thanks Ron, I am hoping to do a bit to it to kind of improve its look - make it more like the real skeleton - sharpen the teeth etc, also I wish to make it stand more head down with both legs bent further back (hope I will have the ability to do that, it comes with a base with feet impressions cast into it - again hope I can still us that or re invent another one where I will be able to attach the feet down to support it. Then of course will be the painting/weathering to get as close to a real dinosaur skeleton as possible. This kind of stance (its the actual one I saw as a kid in London - not my pic though) OC.

- 83 replies
-
- 10
-

-
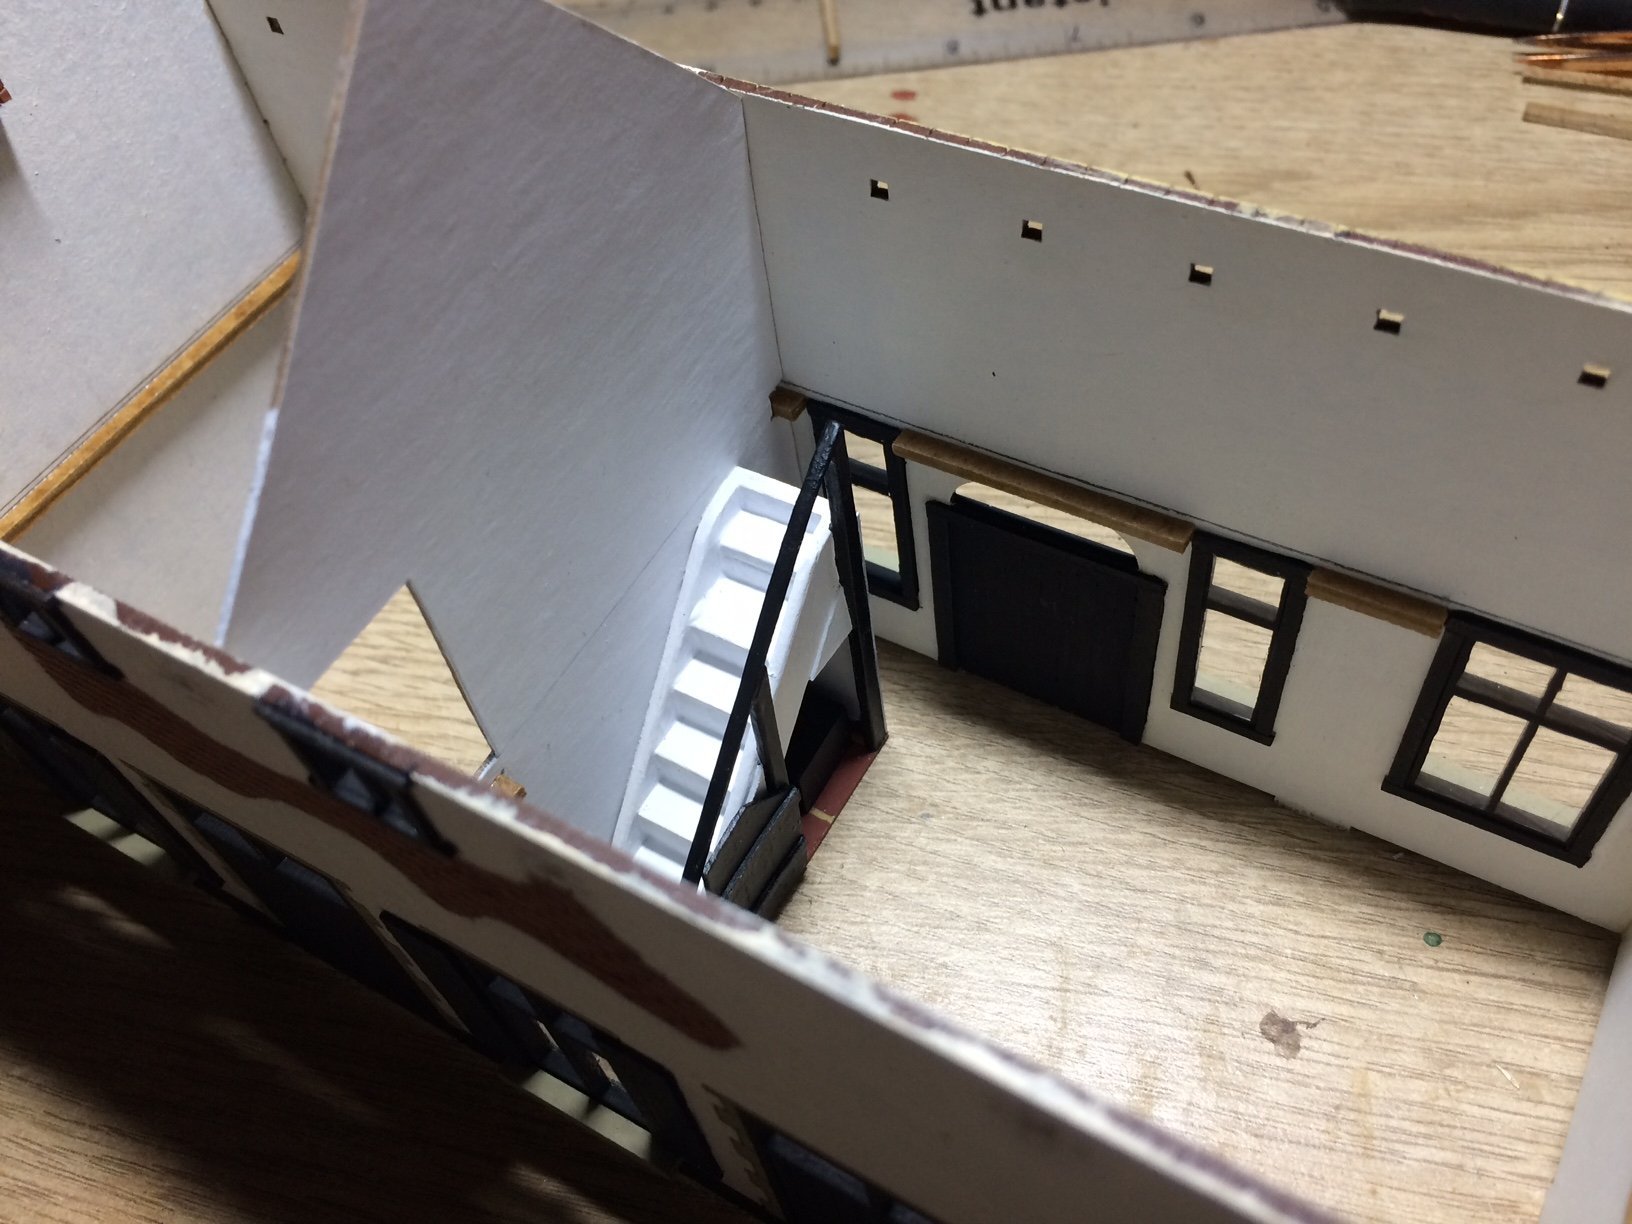
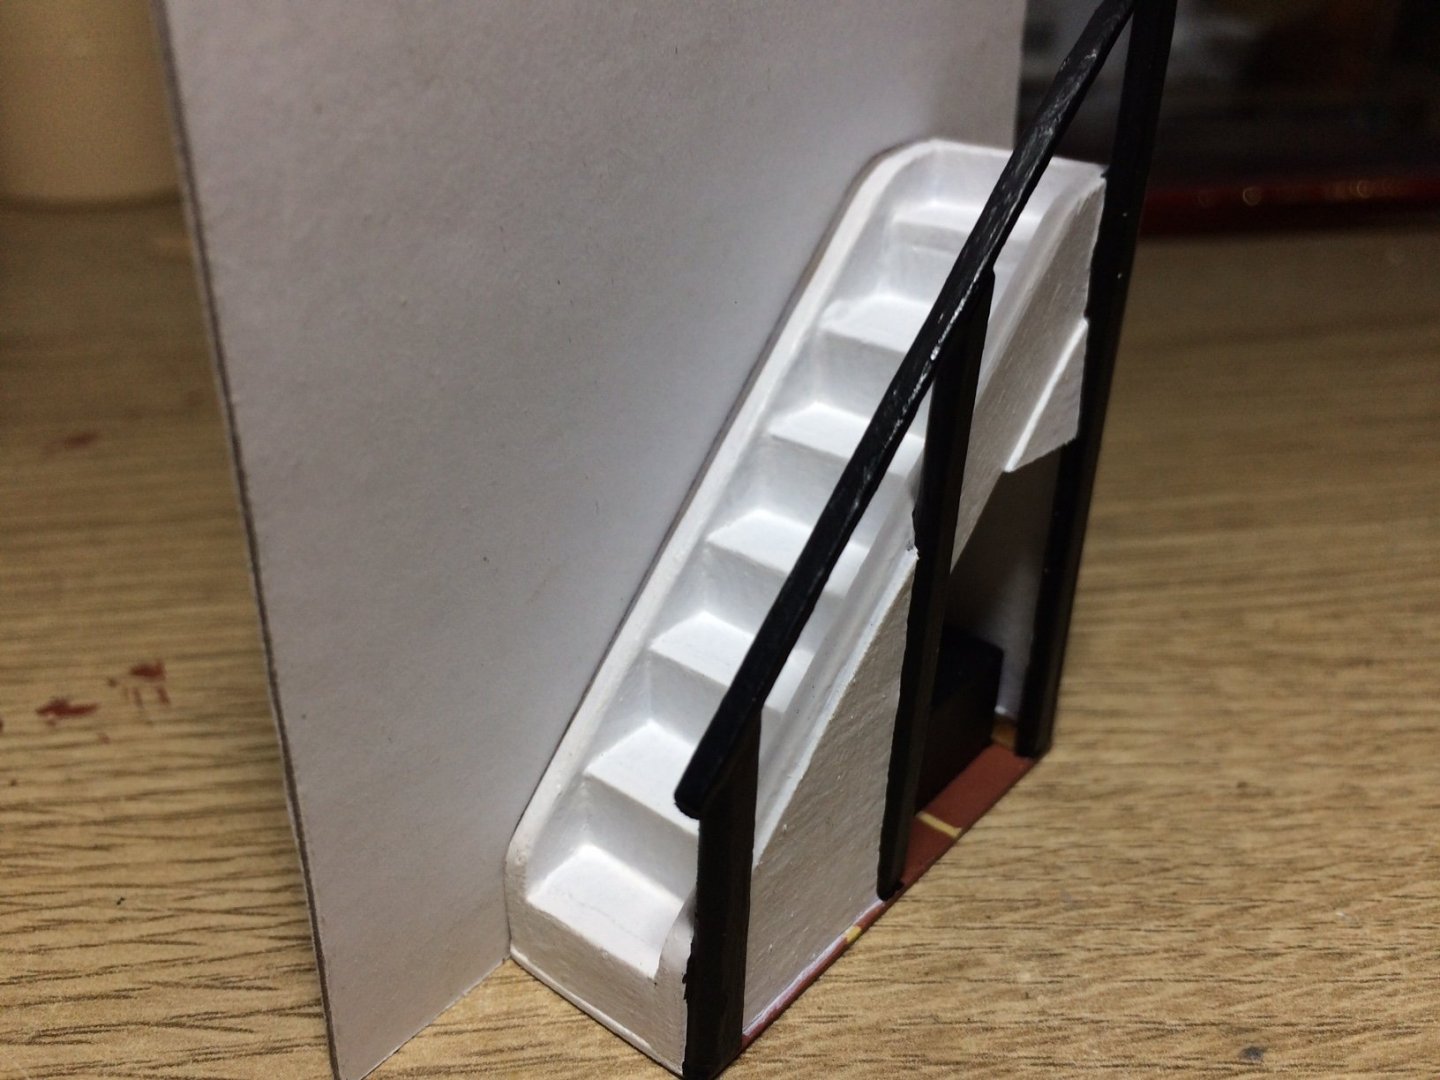
Evening all, some more progress - I built a toilet/box/heads then gave it a lick of Black paint, it was then placed in the loo under the stairs, I then fitted a small triangle piece to square the top where the door will go (when I build it) I then gave the whole thing a few coats of White and Black paint. OC.

-
Thanks Phil. OC.
-
Got a surprise build I have just pulled the trigger on (it wont be started for some time though as I have my heart in my Waterloo build at the moment) When I was a youngster I visited my brother in London and he took me the the Natural History Museum, I was gob smacked to see not just the Huge skeleton of Diplodocus - but what made me stand there open mouthed was the skeleton of T Rex. I always wanted to do a skeleton model of T Rex but factors never allowed for this - till I found a monster of a skeleton kit on flea bay - couldn't help it the pull was too strong. The attraction of a skeleton over a flesh model is I have only known the skeleton and it represents what I saw in the flesh, same with the admiral she remembers seeing the same one. Its Three feet long by about Two feet tall. So this is the bad boy kit - https://www.ebay.co.uk/itm/110629895158 OC.
- 83 replies
-
- 13
-
-
That is looking mighty fine EJ, I agree on your decision about the Yellow Ocre - surely the gold would have been left to the ornate carvings. OC.
-
Good to see you back - hope life has been serving you well? OC.
-
Good to know chris, reason I ask - with some of the card I use in my Waterloo build, I have got into the habbit of brushing over a 50/50 watered down PVA to strenthen the card. OC.
-
Very nice work chris, how do you go about preserving the card/does it need any sutch thing? OC.
-
Thank you kindly Ken, the loo I will just make a simple box with a round cutout. OC.