Old Collingwood
-
Posts
11,524 -
Joined
-
Last visited
Content Type
Profiles
Forums
Gallery
Events
Everything posted by Old Collingwood
-
 Excellent bet your like a little kid at christmas (I would) cant wait to see these added. OC.
 -
I have been into cameras for many years probably had more cameras than my age 😲 I have inherited a camera off my neighour but to be honest my best tool for model photography is my mobile phone camera, as it slim and can get it underneath the actual plane to get shots looking upwards (you could not do that with a lens) but no doubt any decent camera would take better general photos of the model due to quality of optics / pixals etc. OC.
-
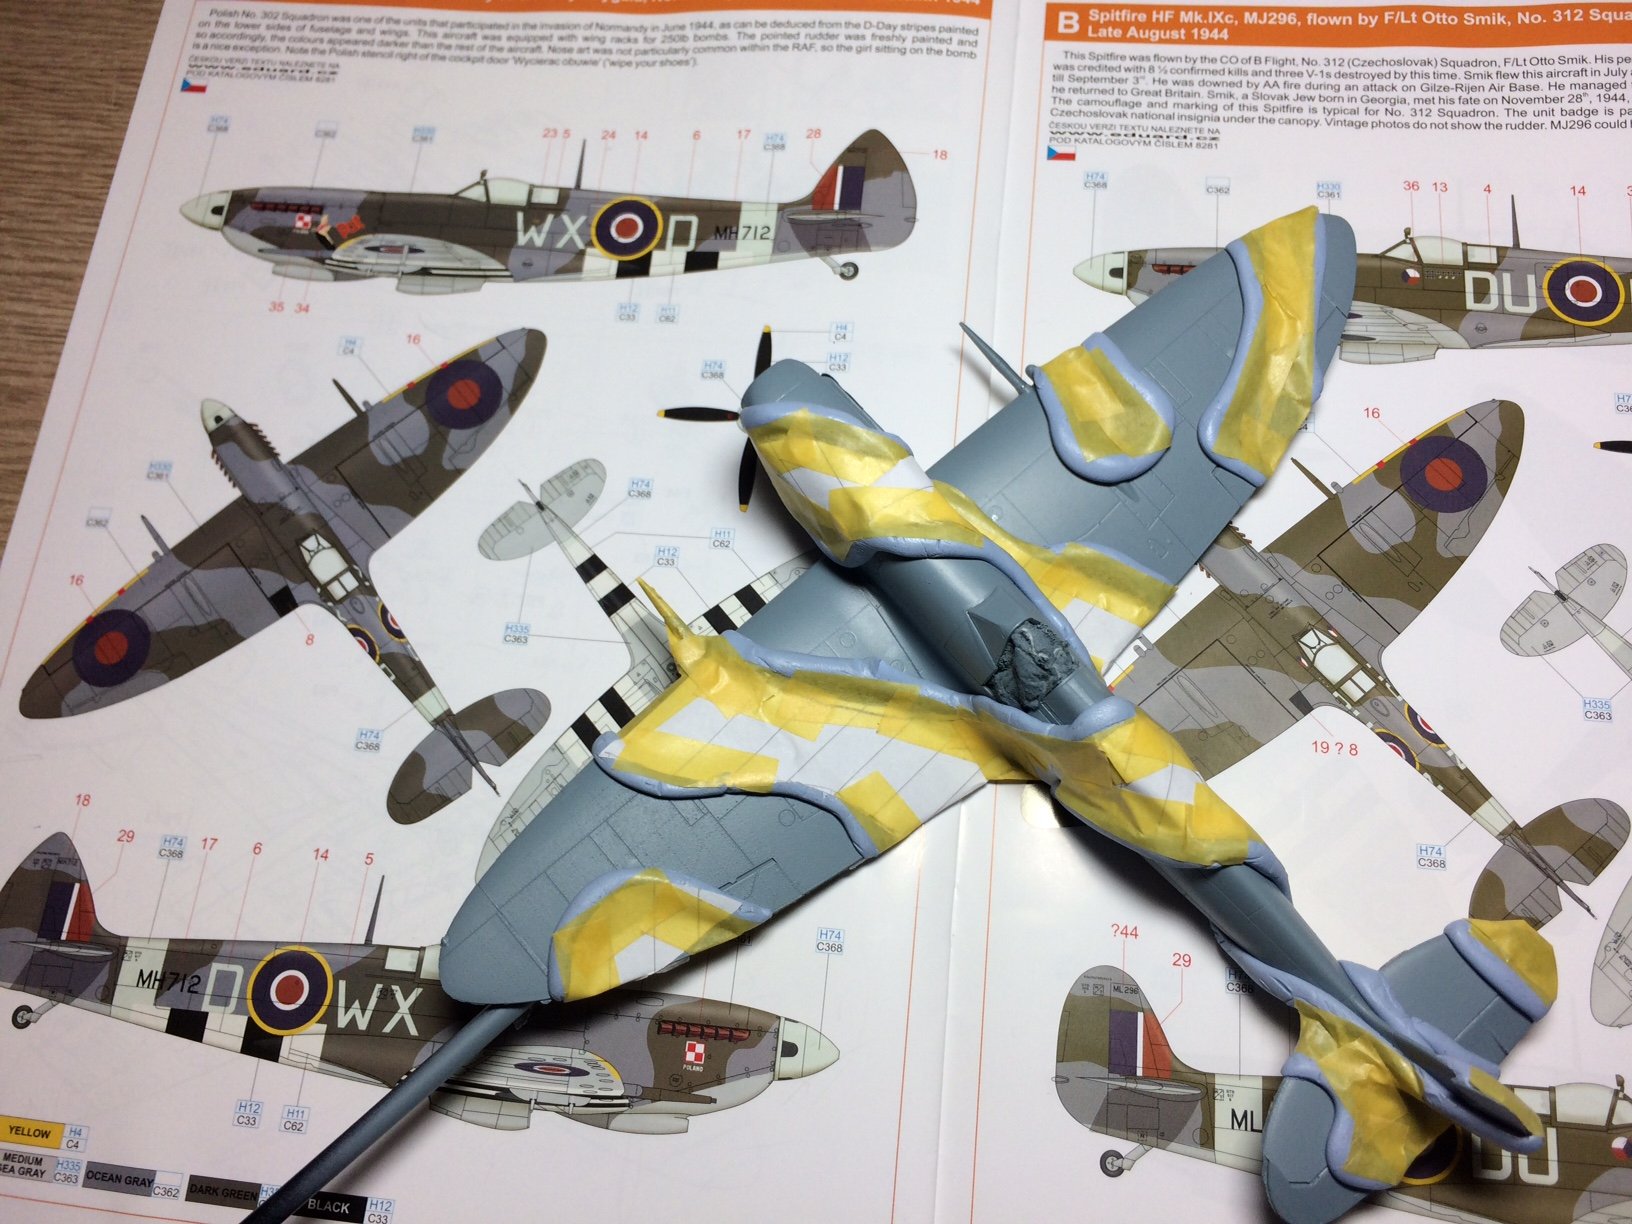
Slight update on this - I de - masked the camo, it didn't come out too bad but neded a few areas of gentle re spraying - so it was a case of stage by stage re masking where I dont want over spray to go, I started by covering most of the plane in a plastic bag then ran some lasking tape to trap it - then more tape and Blue Tack to get a smooth line, then I touched up around the tail using Grey first. I will remove the bag and move over the plane doing the same as there are a few areas that need the same work, practice makes perfect they say. OC.
-
She is looking splendid Kevin - all that hard work is deffinatly paying off. OC.
- 337 replies
-
- 4
-

-
- finished
- mountfleet models
- (and 1 more)
-
Thank you Jack - so kind. OC.
-
Thank you my friend. OC.
-
Here you go bro, just a quick search in Flea bay. OC. https://www.ebay.co.uk/itm/Blu-Tack-Original-Reusable-Adhesive-Bostick-Blue-Tac-Pack-Home-Office-Use-New/141623976949?epid=1759135950&hash=item20f97263f5:g:I8AAAOxy2HFSU-lE
-
1/48 Seafire Mk. III (Late)
Old Collingwood replied to Old Collingwood's topic in Non-ship/categorised builds
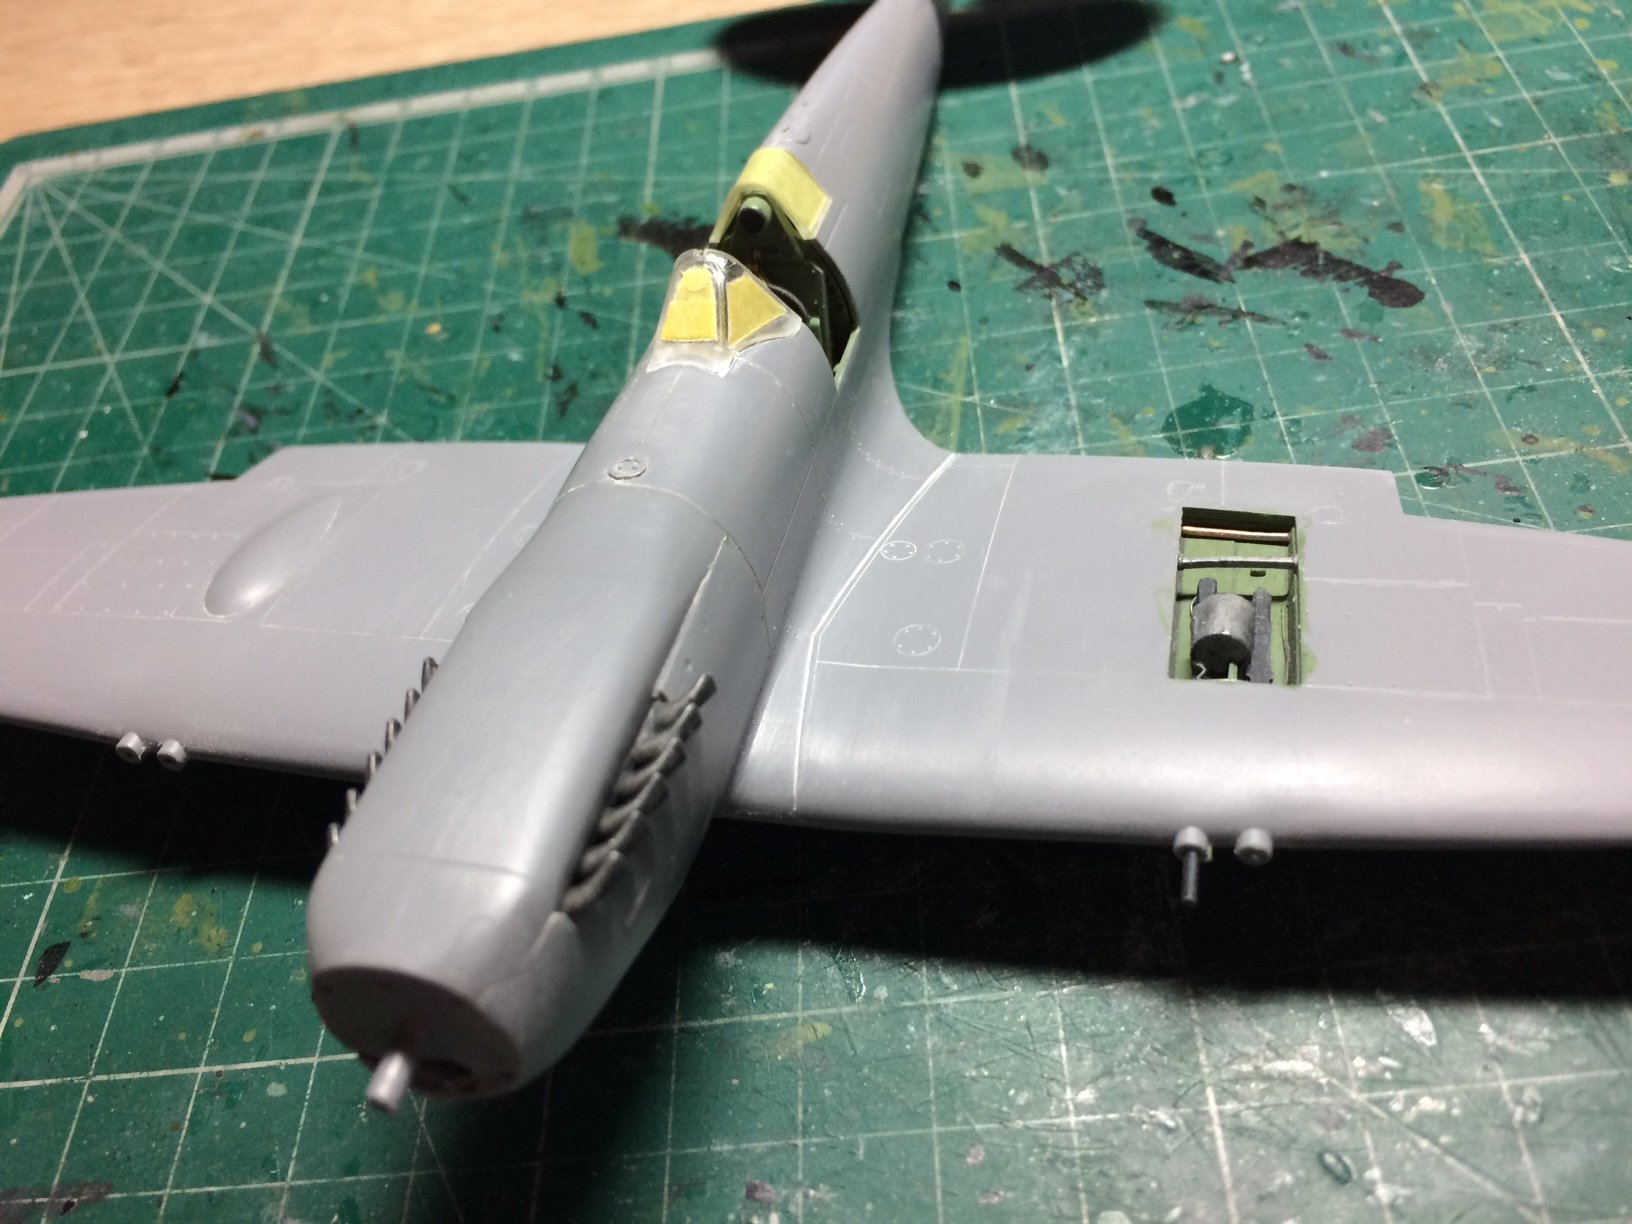
Evening all - more progress this eve, I masked off the top edge of the wings, then the front slope on the cowl and the rear lower fuselage, then I used my Tamiya flast Sky and proceeded to hand paint it with my largest brush, I put about Four layers down dried in between layers with the hairdryer, will need the edges lightly sanding to get rid of the ridge. OC.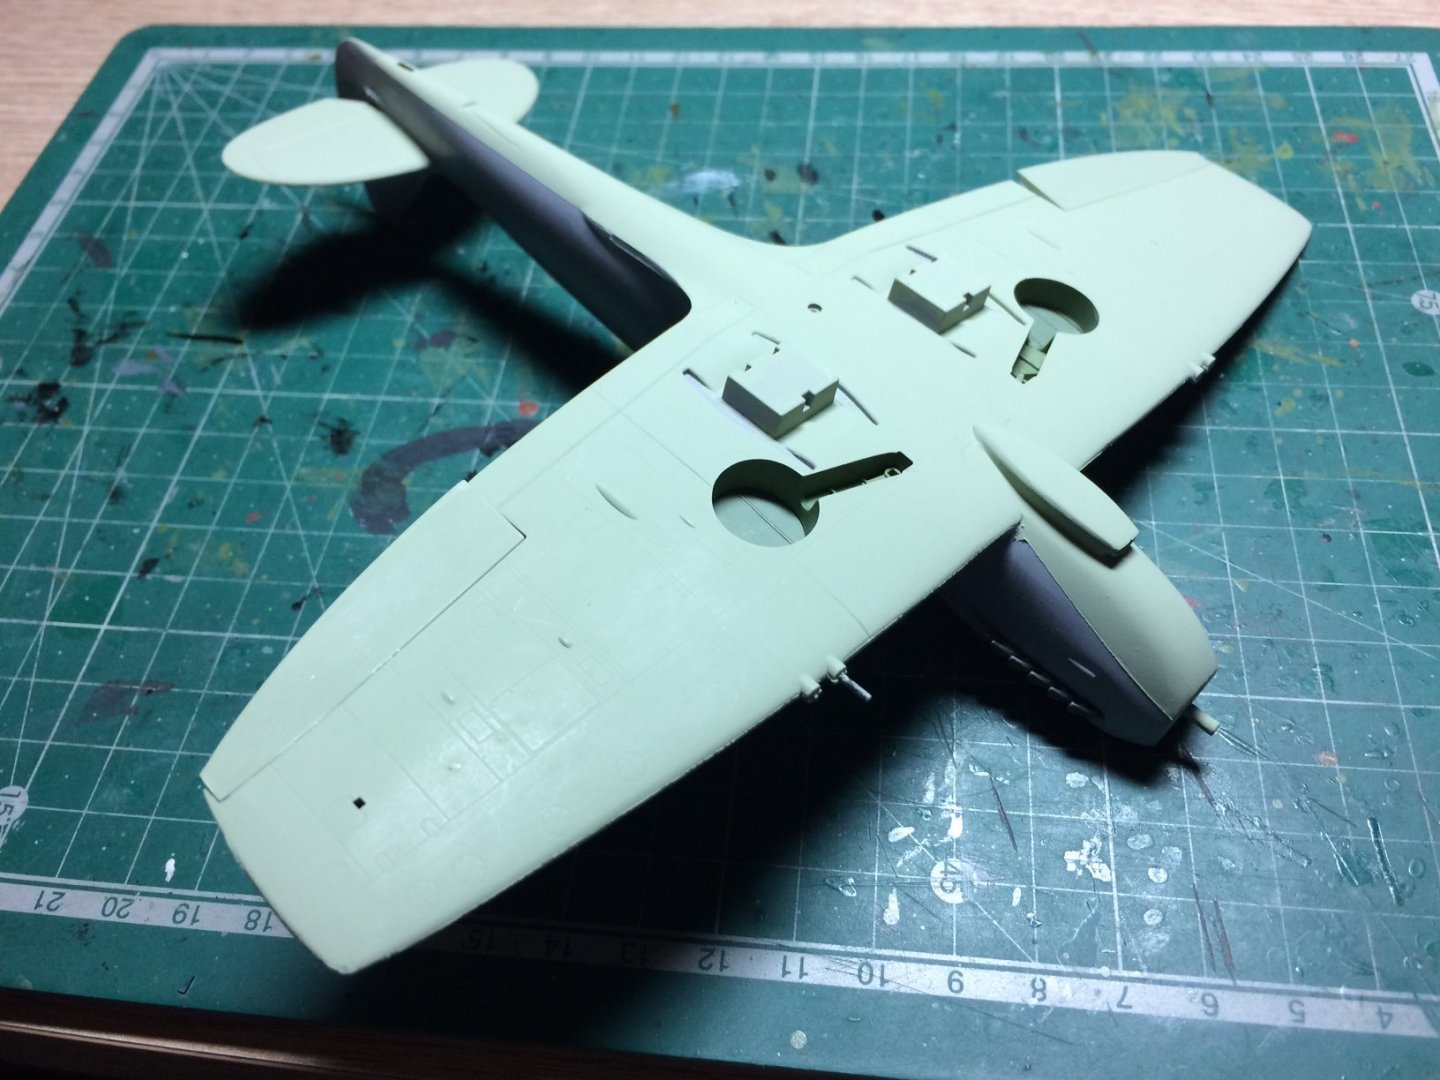

-
Thank you for looking in on the progress Denis, yep the blue tack is supposed to produce a softer camo line due to its edge being further from the surface than like paper or tape would produce, and the paper/tape is just the cover over the painted camo, same system I used on the Mossie. OC.
-
Thank you for those kind words Denis, was certainly an up/down hill build mixed in with some "smile moments" OC.
-
Looking fine bro, thats a neat little build looks the part and nice and busy. OC.
-
MRAP ATV by CDW - FINISHED - Rye Field - 1:35 Scale
Old Collingwood replied to CDW's topic in Non-ship/categorised builds
Looking smart mate. OC. -
1/48 Seafire Mk. III (Late)
Old Collingwood replied to Old Collingwood's topic in Non-ship/categorised builds
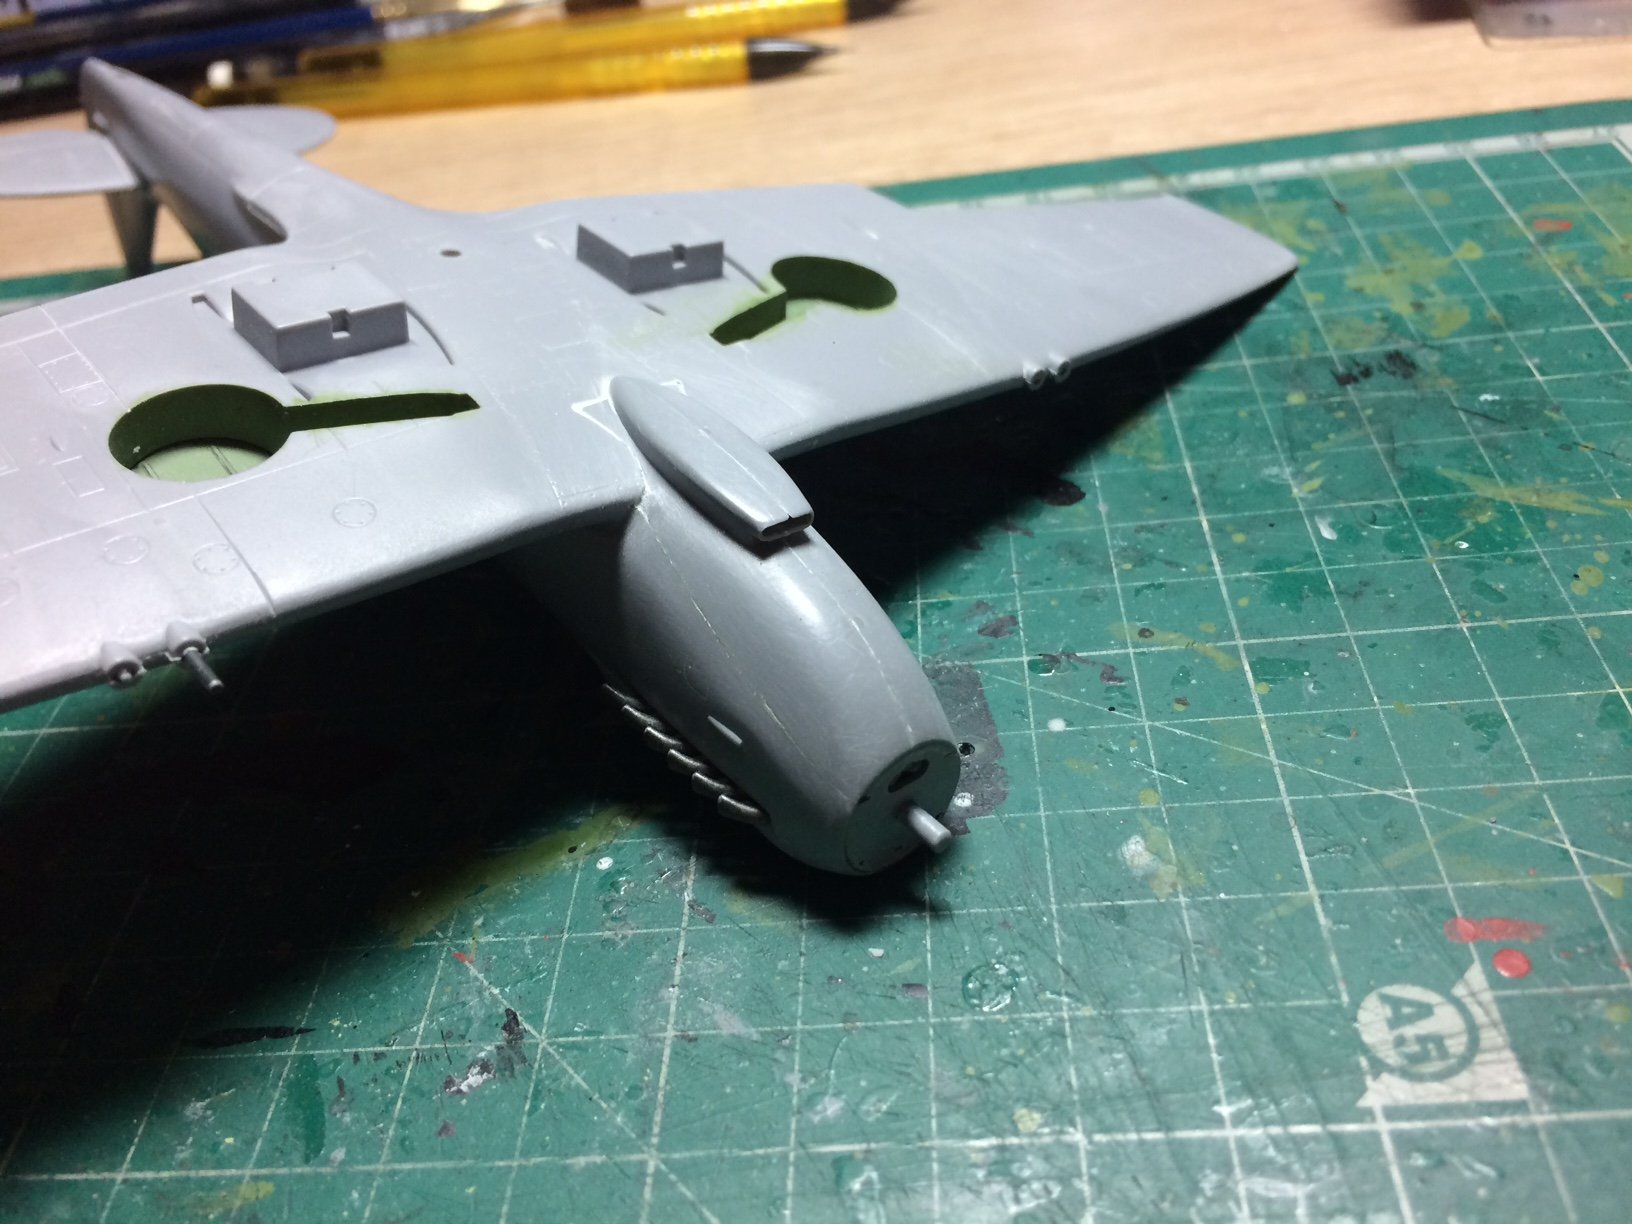
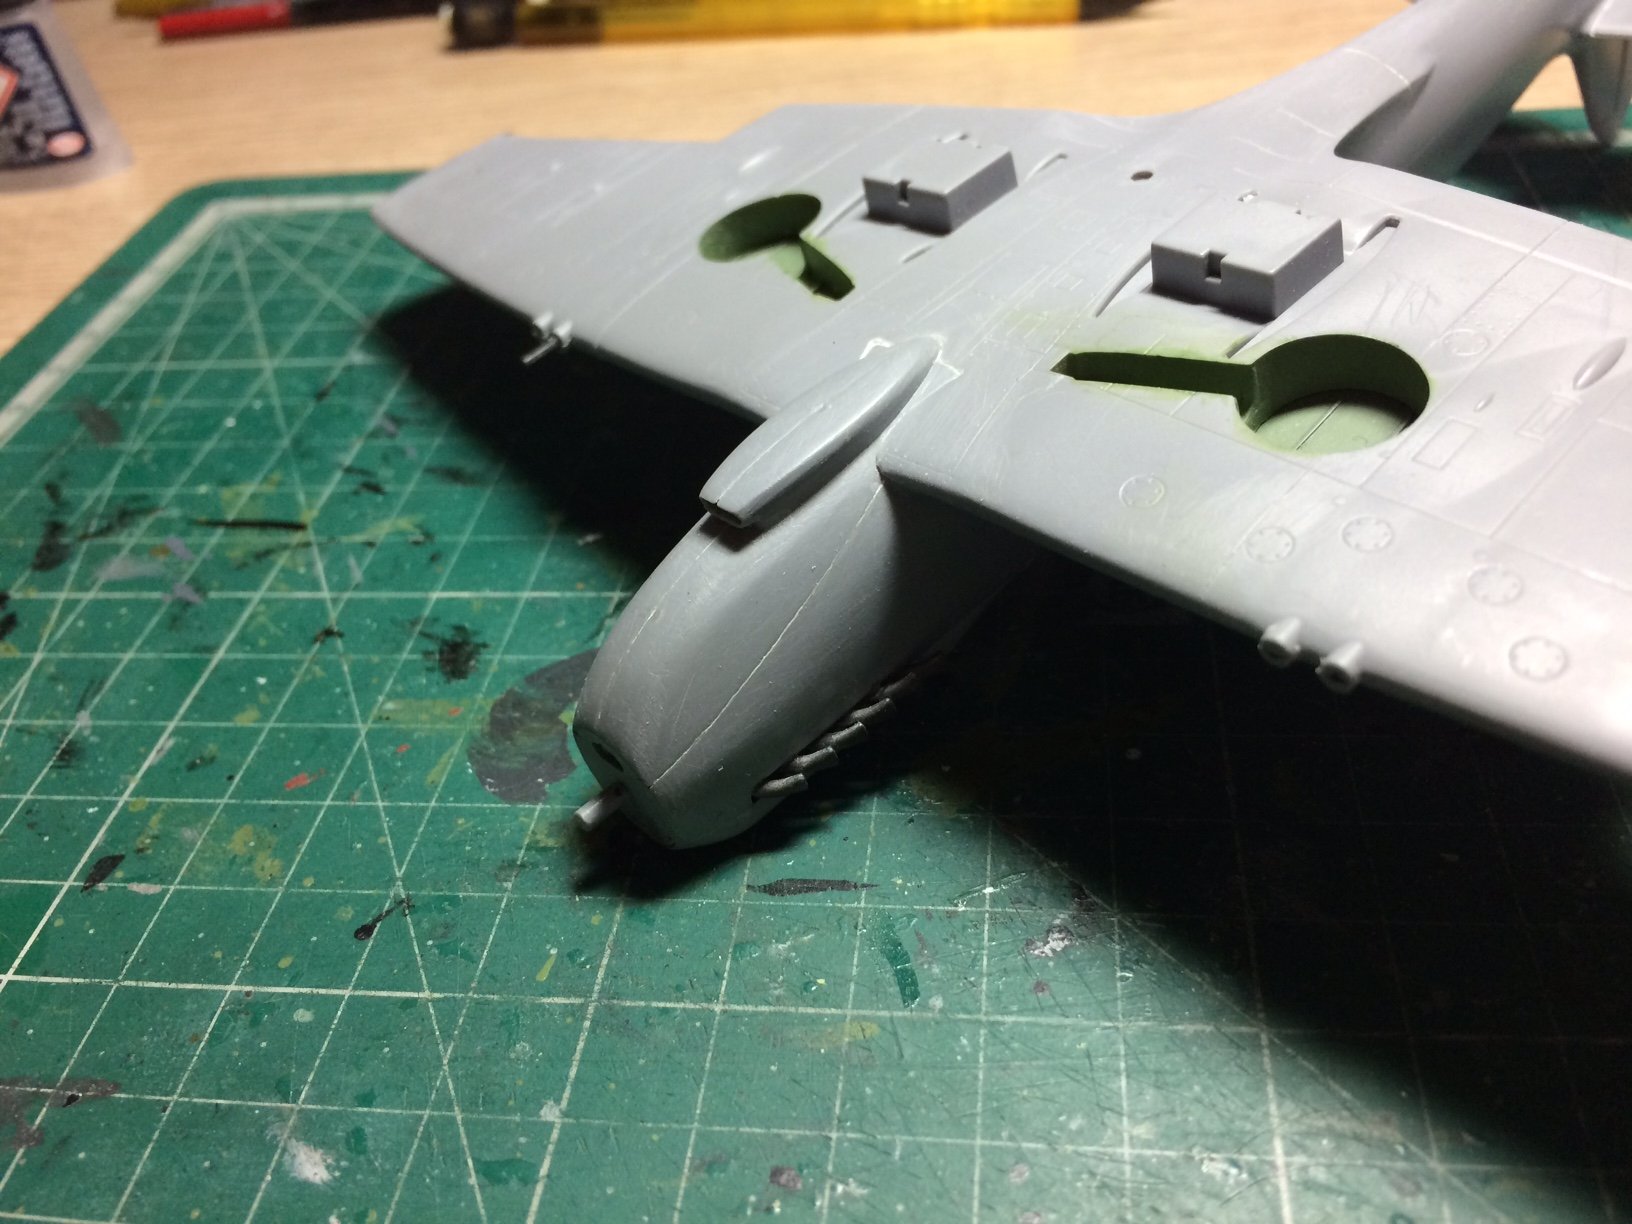
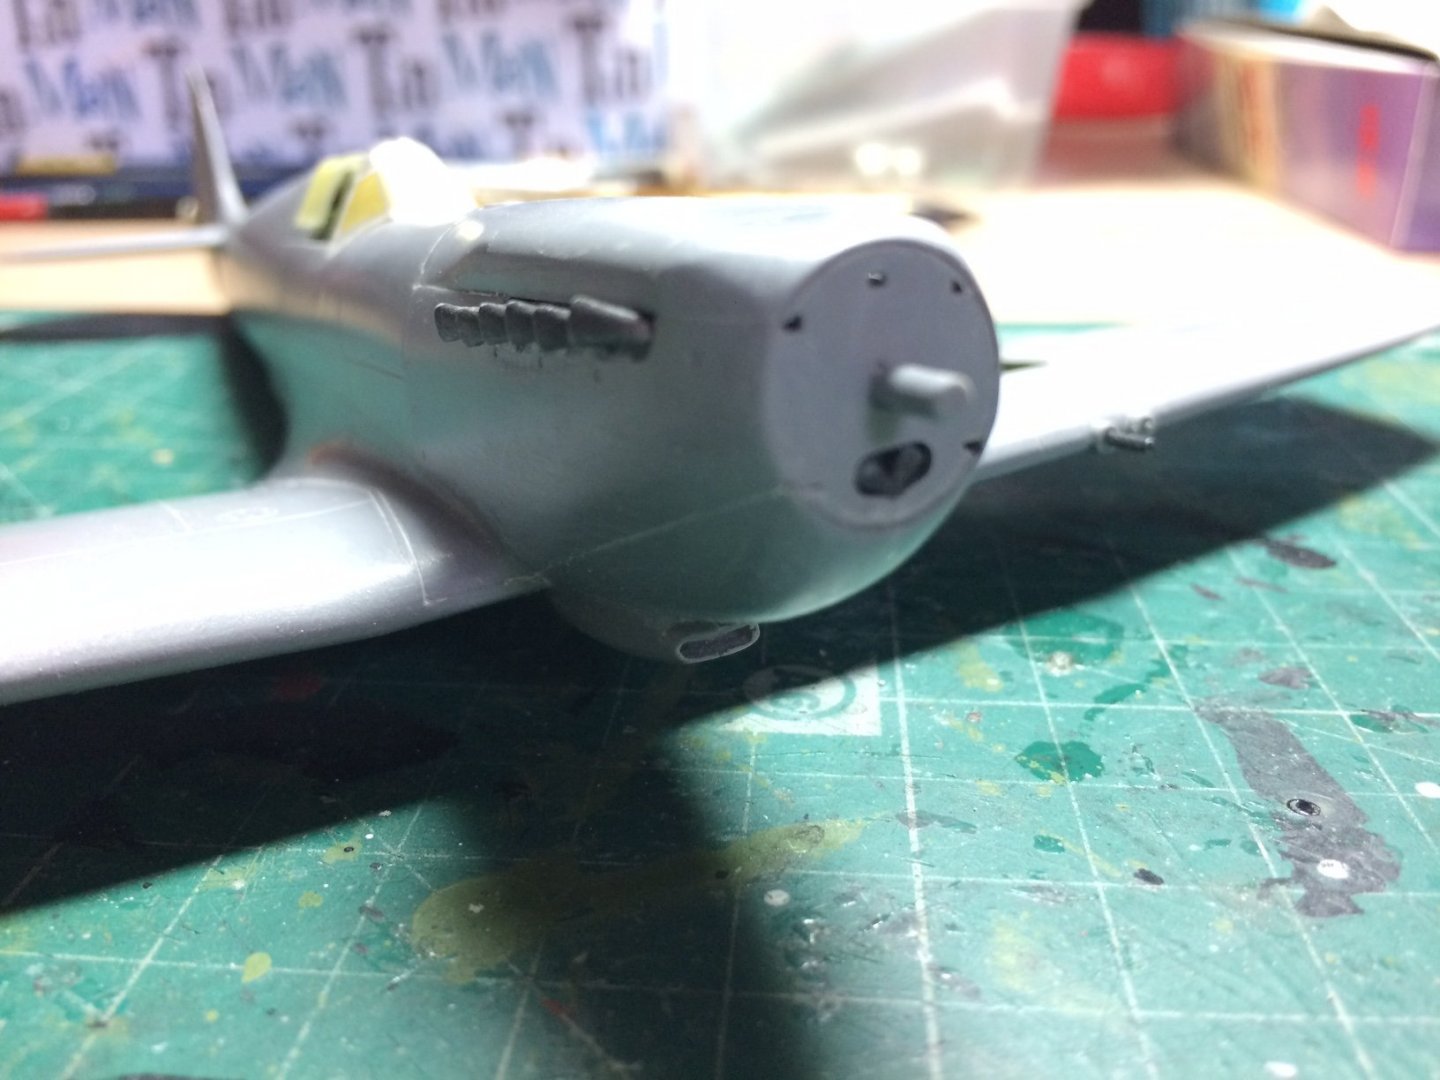
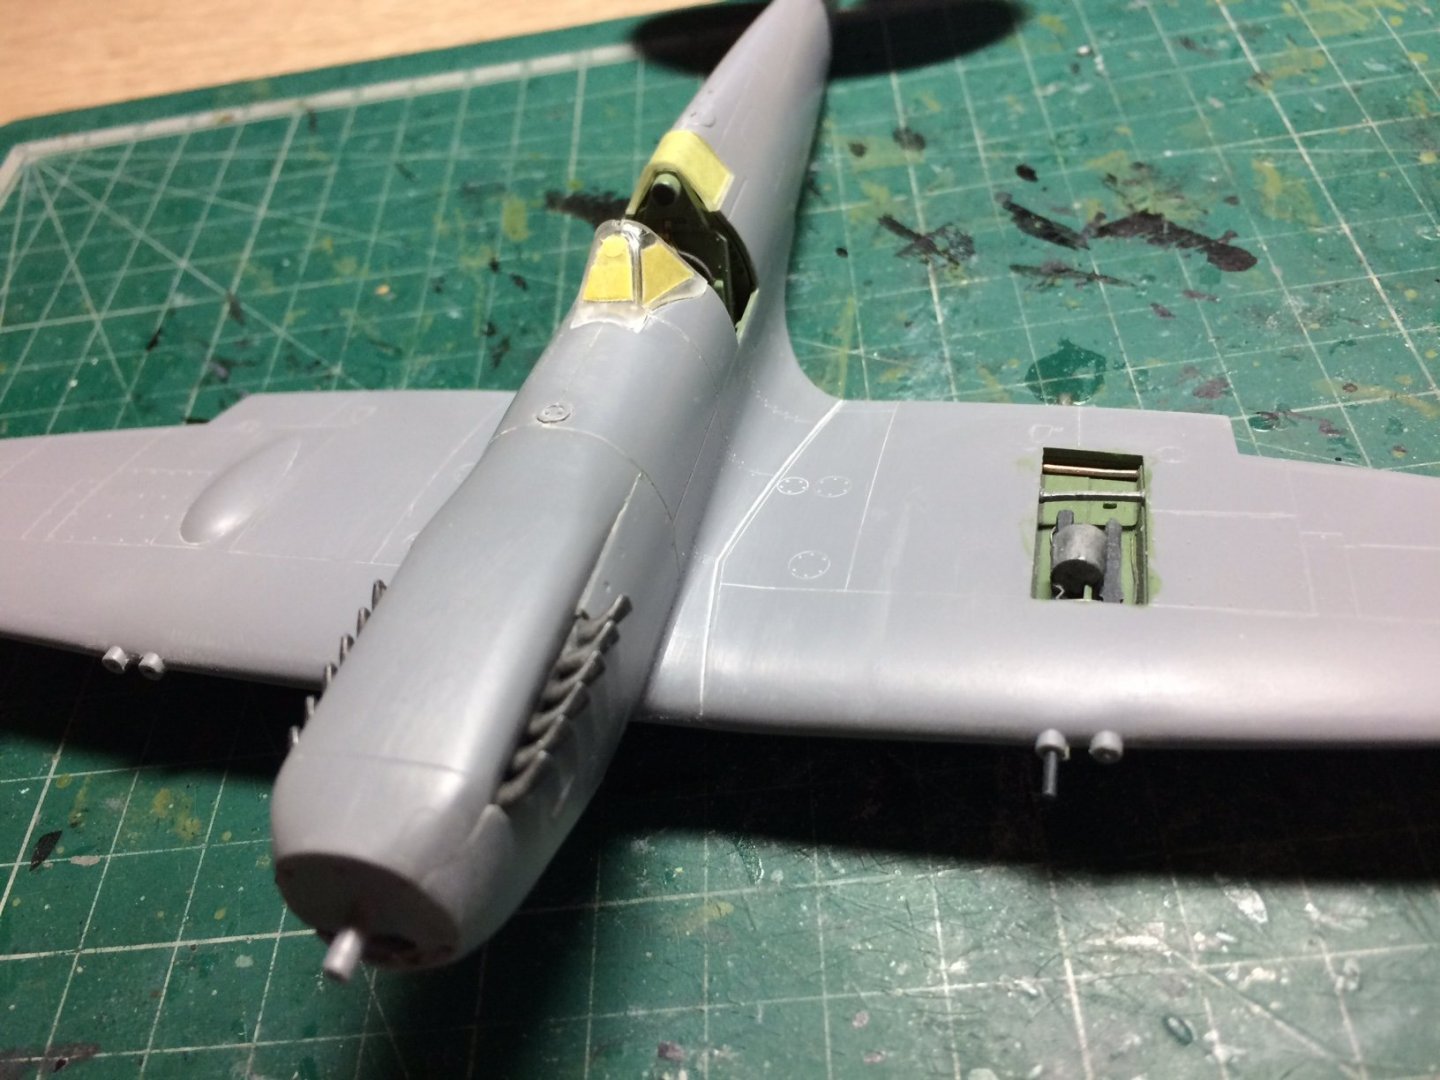
Hi all, a bit more work on the Seafire - like I said above the front under cowl needed some shaping as it was a bad fit, I attacked the area with a sanding stick then a bit of wet and dry followed up by a bit of putty, I also test fitted the spinner plate - I drew a line around the outside edge then after removing it I sanded the nose back to the pencil line. OC.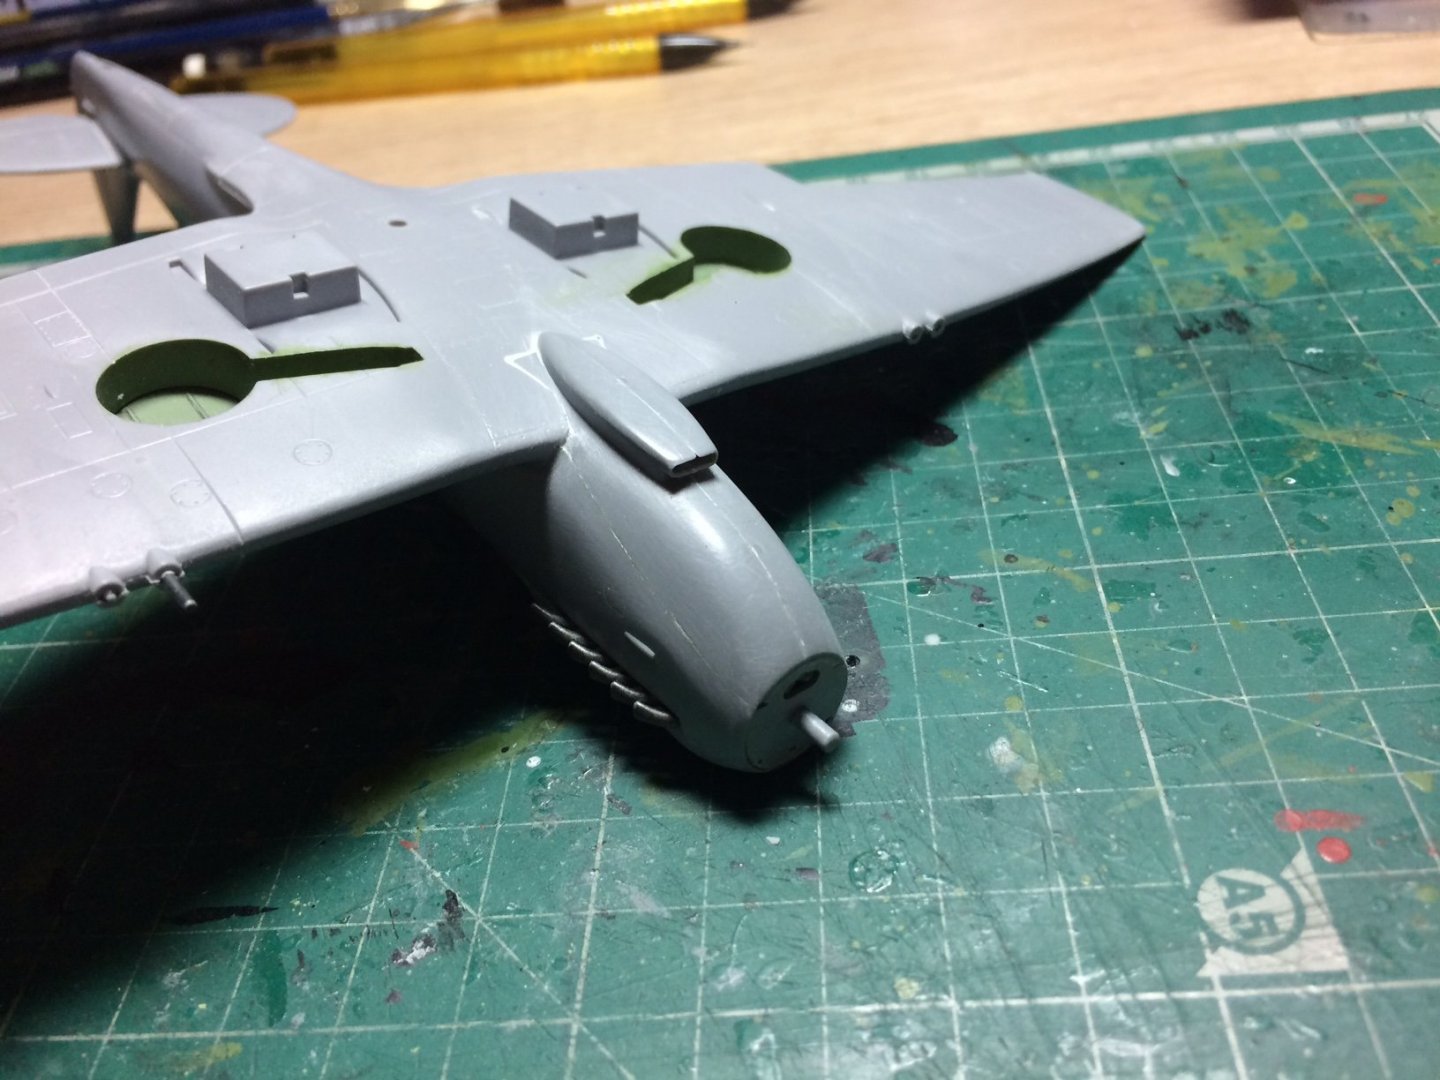

- 122 replies
-
- 11
-
-
MRAP ATV by CDW - FINISHED - Rye Field - 1:35 Scale
Old Collingwood replied to CDW's topic in Non-ship/categorised builds
I would say thats Right up there with the likes of Accurate Armour with thier resin kits - extremely good start Craig. OC. -
1/48 Seafire Mk. III (Late)
Old Collingwood replied to Old Collingwood's topic in Non-ship/categorised builds
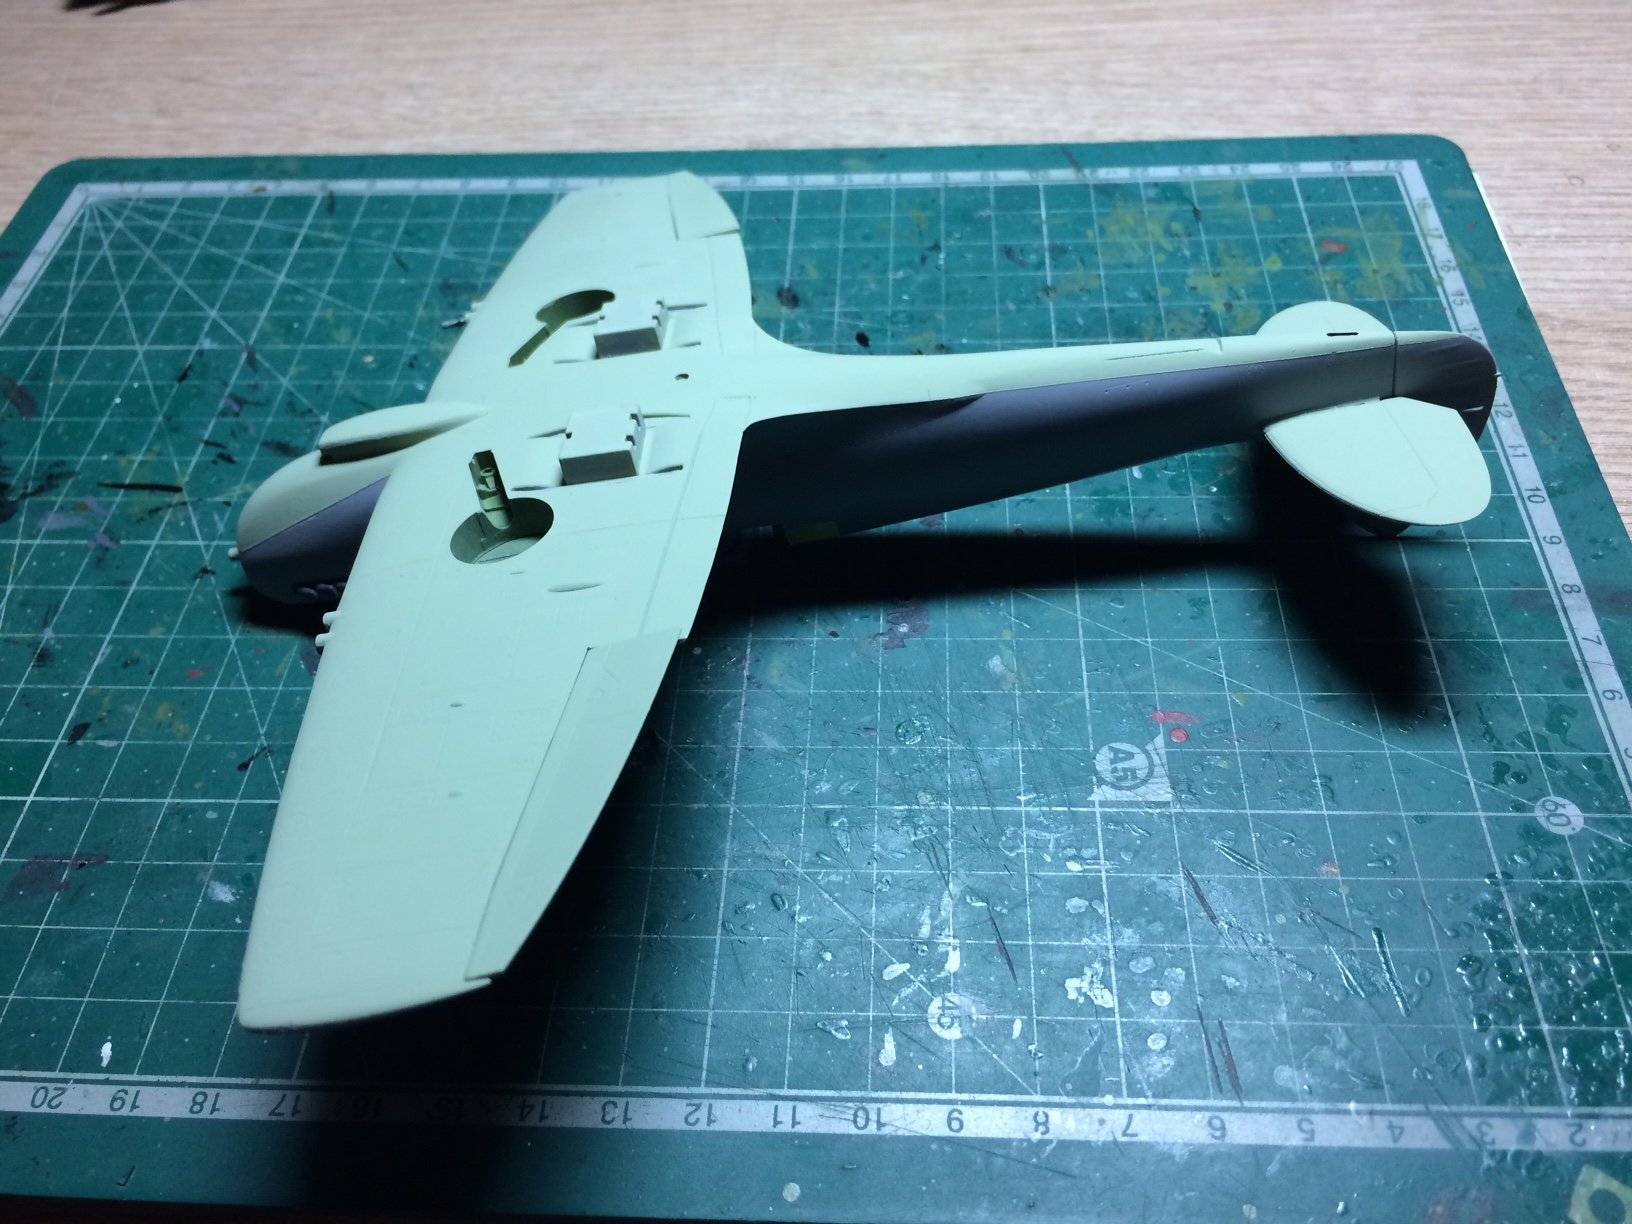
Hi all, more progress with this as I am waiting for the paint to harden on the IX, I gave the joins a tidy up then added some putty to the join line where the wings meet the fuselage, I then fitted the nose under belly section that will need some shaping as there is a fit issue with a difference in shape where it meets the fuse. OC.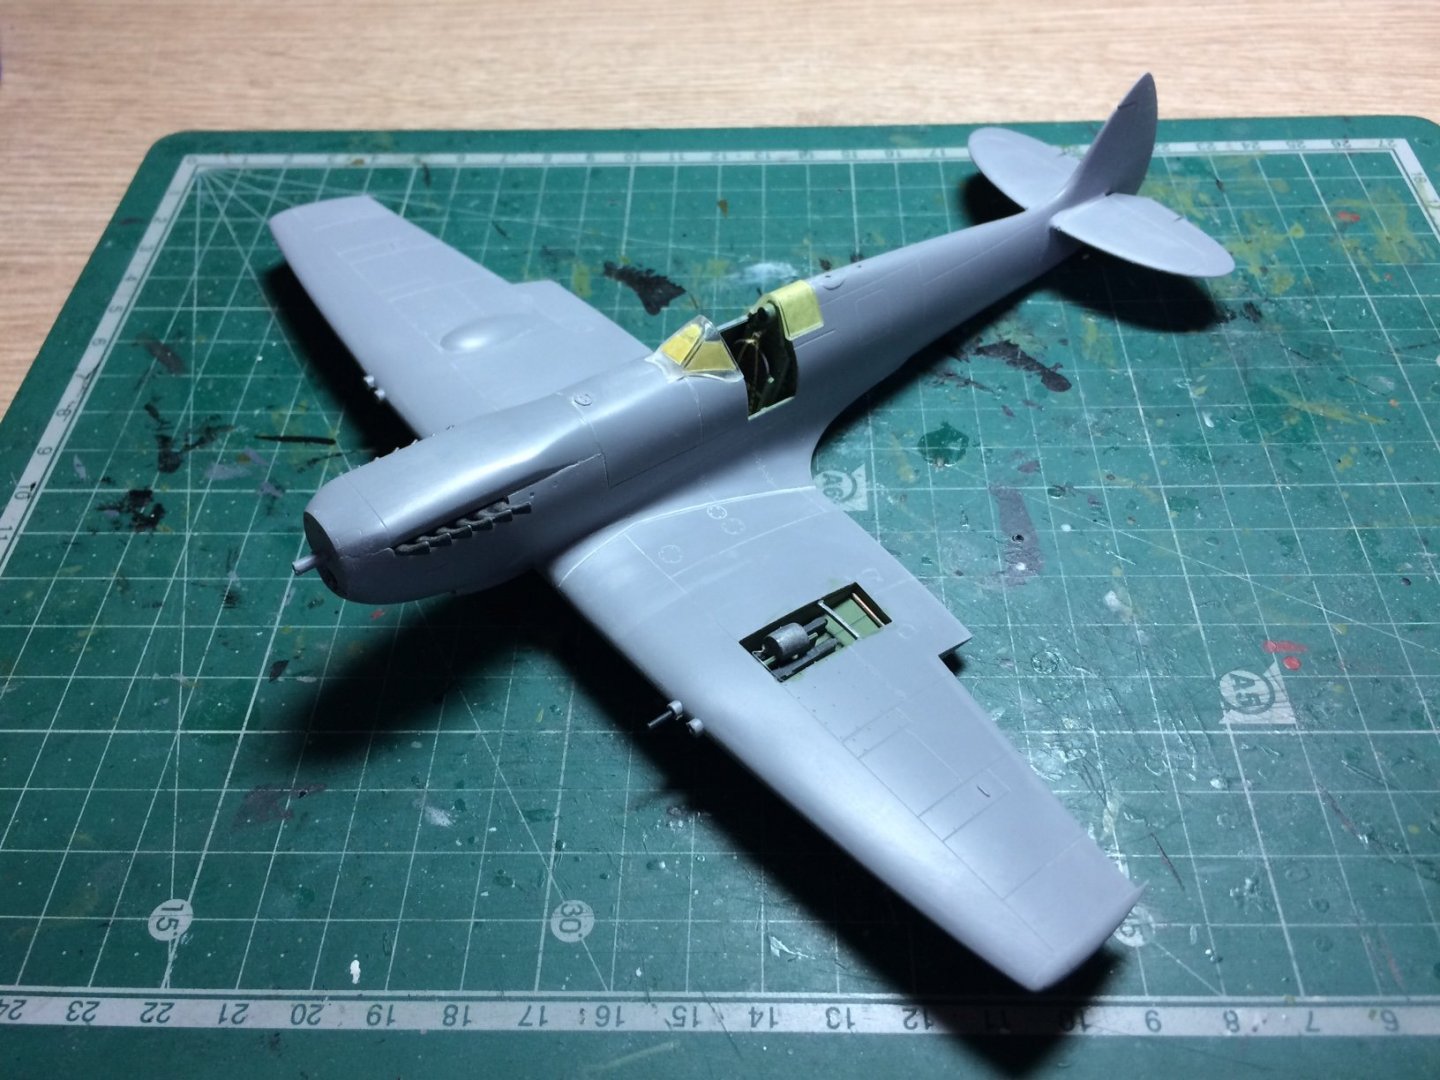
- 122 replies
-
- 11
-
-
MRAP ATV by CDW - FINISHED - Rye Field - 1:35 Scale
Old Collingwood replied to CDW's topic in Non-ship/categorised builds
Lou is on the left and Lou is on the right easy to tell the difference because Lou is not on the left he is on the right and Lou is on left, yep thats right.🤪 OC. -
MRAP ATV by CDW - FINISHED - Rye Field - 1:35 Scale
Old Collingwood replied to CDW's topic in Non-ship/categorised builds
I once loaned a book from a library on this very subject many years ago - what an amazing stratergist he was. OC. -
Thats a good quetion Mike, as I have flat white acrylic paint that would have to painted by brush, and a rattle can of flat black laquar paint - so it would be a bit of a mix. OC.
-
MRAP ATV by CDW - FINISHED - Rye Field - 1:35 Scale
Old Collingwood replied to CDW's topic in Non-ship/categorised builds
"Corky blimy" I'm here. OC. -
I'm in (Kenko Lou) OC.
-
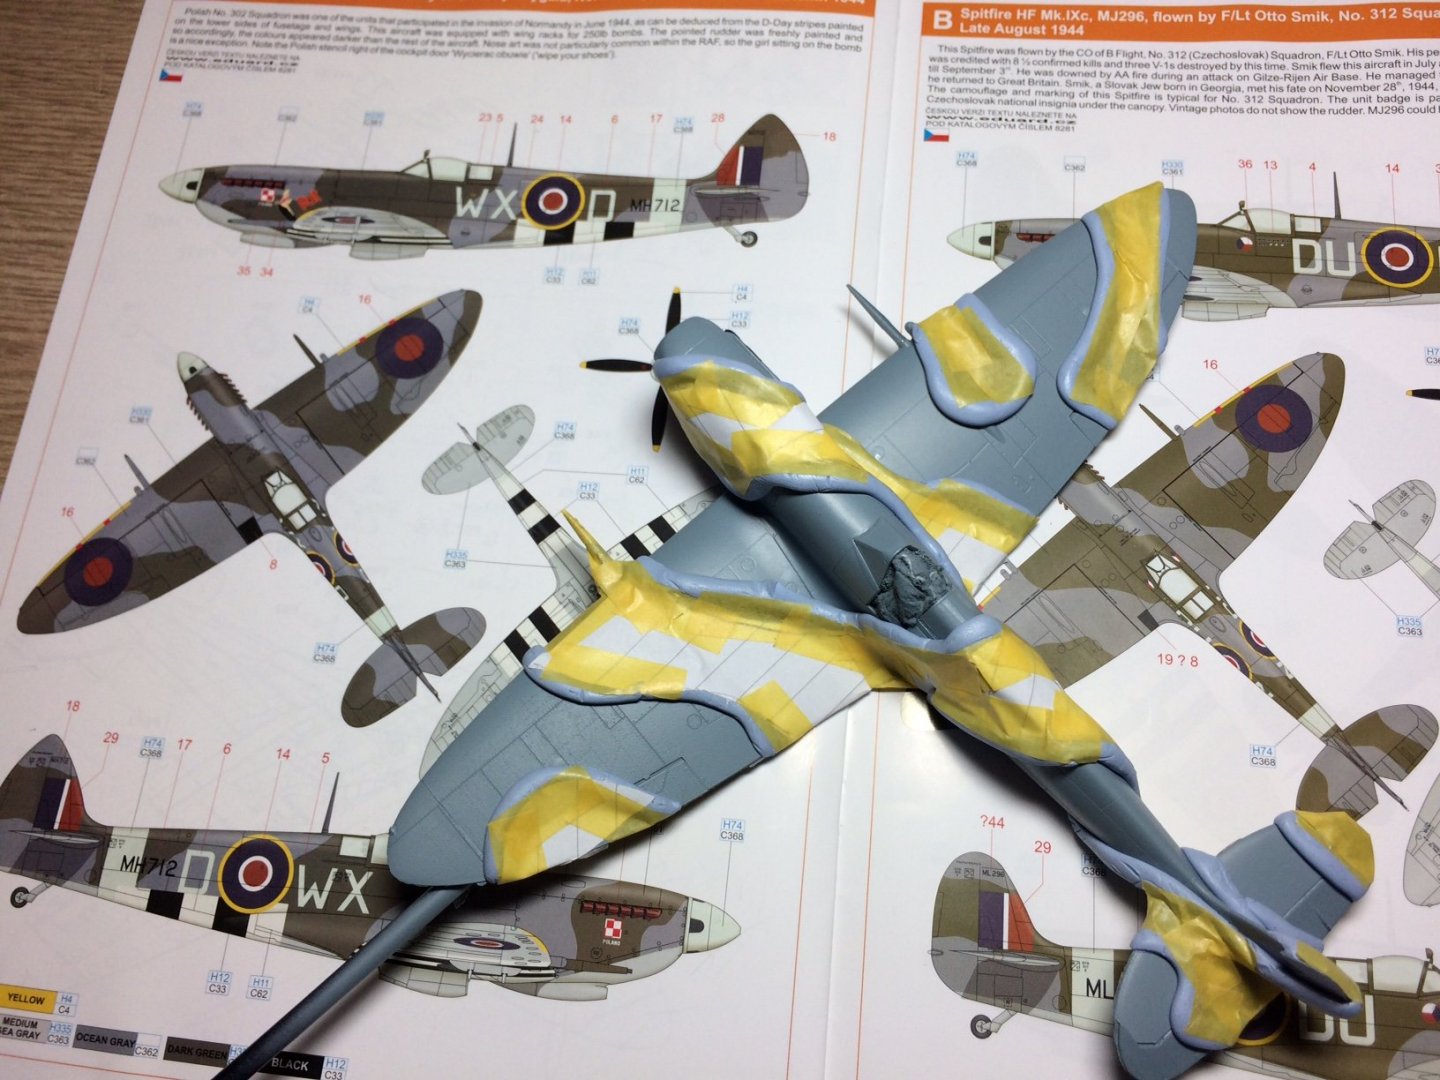
Hi all, now mossie is finished I have returned to the Ix, first job was to mask for RAF Green using my normal blu tak / paper and tamiya tape, before spraying I thought I would show the masking against the colour plan. OC.
- 298 replies
-
- 14
-
-
So very kind of you to say - Thank you. OC.
-
Thank you so much. OC.
-
Thanks Mark. OC.
-
Thanks Carl, sure had a few moments that was hit or miss. OC.