HOLIDAY DONATION DRIVE - SUPPORT MSW - DO YOUR PART TO KEEP THIS GREAT FORUM GOING! (Only 20 donations so far - C'mon guys!)
×


Old Collingwood
-
Posts
12,098 -
Joined
-
Last visited
Content Type
Profiles
Forums
Gallery
Events
Everything posted by Old Collingwood
-
 I stood back from my build and had a look at it "Dam she looks nice" then I put my glasses on OC.
 -
Hi there Glen how are you, its a real honour for me having you looking at and commenting on my build, I just hope I am doing her justice in a way that brings her to life, I take All my inspiration from you and what you are doing with your Amazing Creation. It would be fabulous if you stay a while and give me your feedback. Kind regards OC.
-
When i get the Clear coat spray I will have to test it on the Rudder that way I will be able to tell if its going to react. Im sorry for taking over this thread, but I think its relavent to us both. OC.
- 68 replies
-
- 2
-

-
- Arleigh Burke
- BlueJacket Shipcrafters
- (and 1 more)
-
Thanks carl, its a learning curve and ups and downs but I will get there (perhaps not the best with this one) but it will be a case of a new set of skills If I build another? OC.
-
I tried again drilling the port holes with a smaller bit, but havn't made much of an improvement - I think the damage is done and I will have to live with it, it all started when I was sanding the hull Hard months and months ago, then when I placed the decks down you could see them through the port holes, so when i was trying to drill deeper it ovalized the port holes and made quite a few of them way over sized. My problem is - the scale and size of the hull was a challenge as I have never sprayed models before - only every brush painted, then the opposite is the fine detail and the Brilliant PE (To look at but not to work with). I have trouble seeing need strong glasses for everyday PC, Tv Reading etc, and when on my model trying to place really small items like the port hole frames with the eye brows - I could hardly see them even under my powerful light and magnifier, and placing them was another matter, kind of reached my limit of what I can do. OC.
-
Interesting and worrying - I have it on my bottom hull its taken ok ontop of a well sanded acrylic, the question is though - I was going to spray Mr Topcoat Flat on it by Mr Hobby. OC.
- 68 replies
-
- 1
-
-
- Arleigh Burke
- BlueJacket Shipcrafters
- (and 1 more)
-
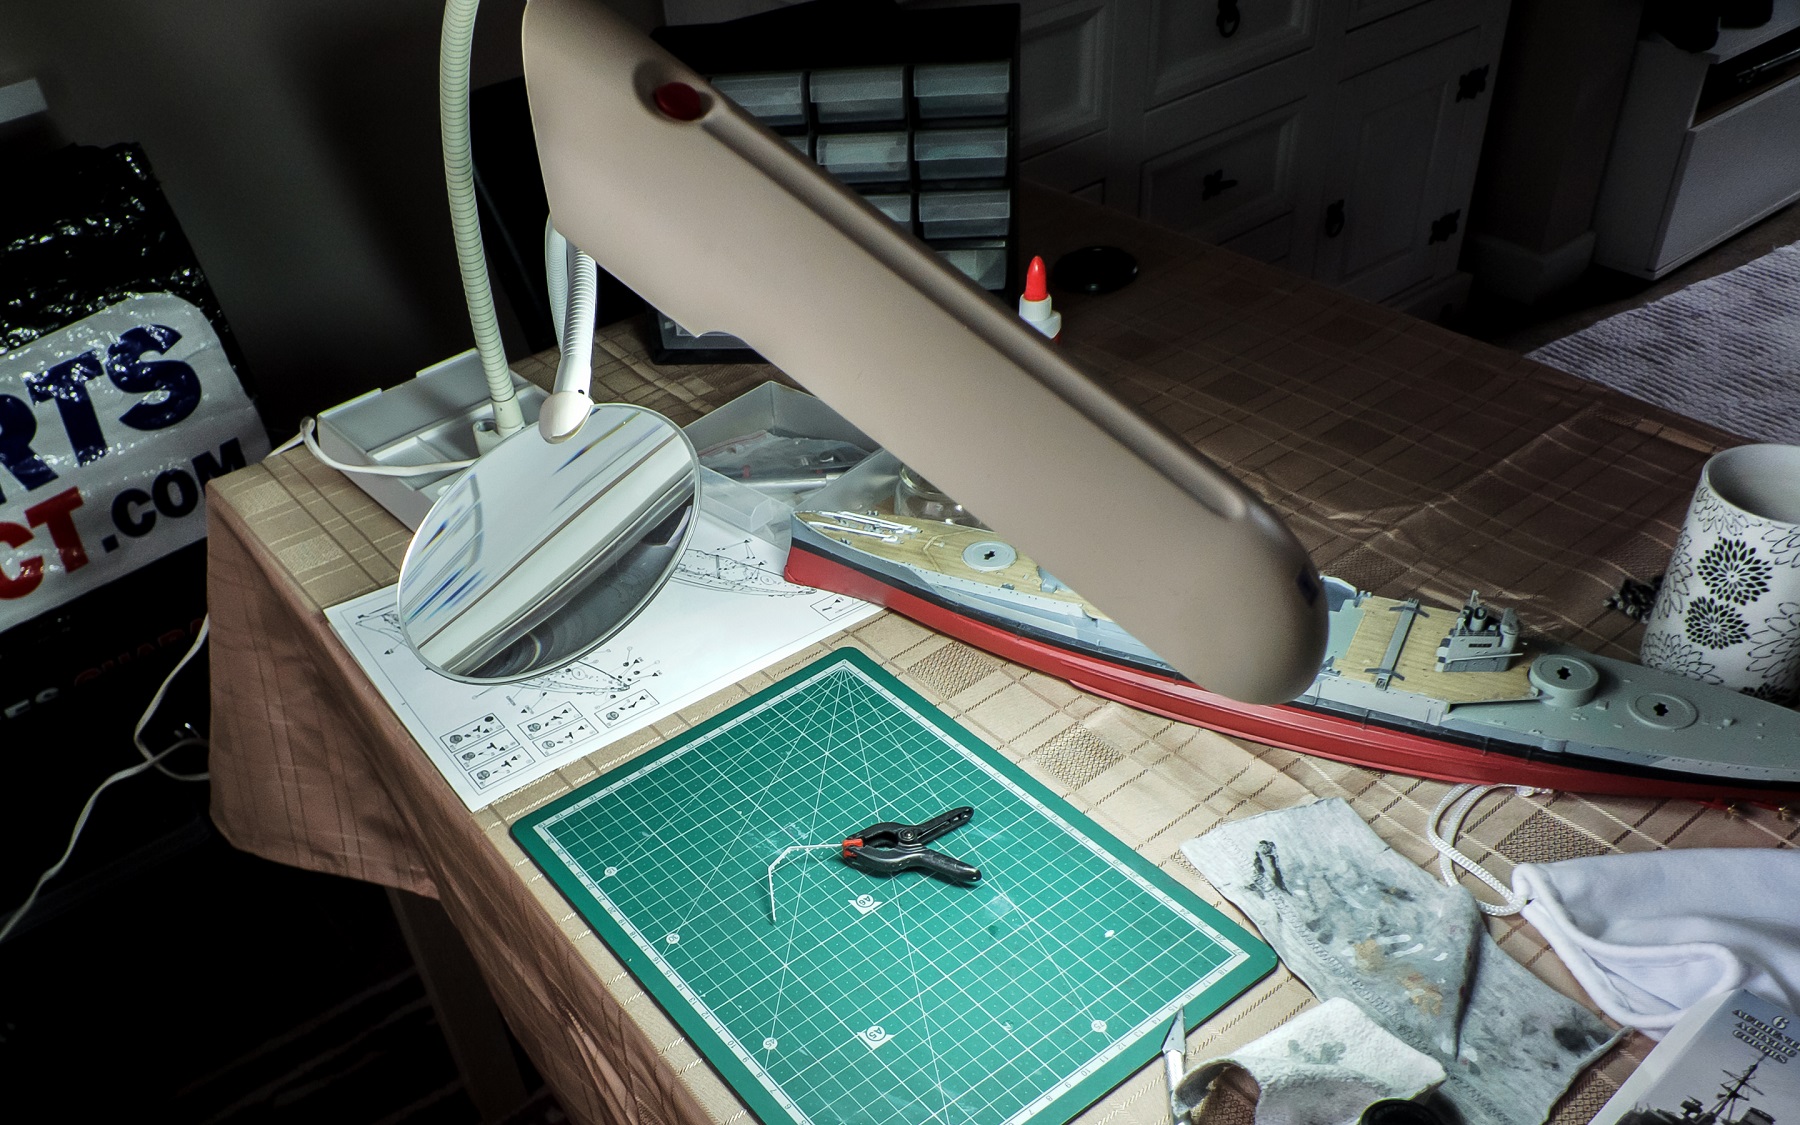
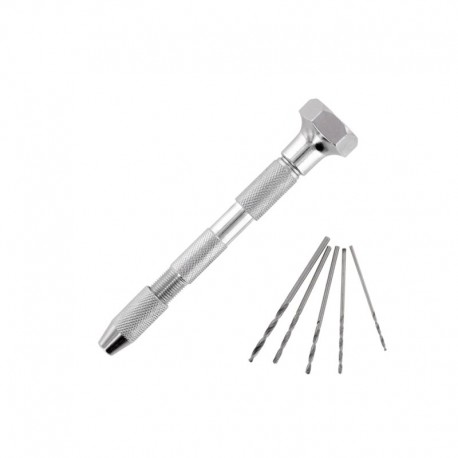
Once again many many thanks for all the comments and likes of my build. I use one of these mini hand drills - I have a model tool roll bag with tweezers and different bits in it including a twist drill handle and the below pic, taht I use for drilling out anything with my micro drill bits. OC.
-
Another thought - Try Acrylic for your boot line - it seems to sit ok as long as the enamel has goen off in the Red Bottom paint. OC.
- 68 replies
-
- 2
-
-
- Arleigh Burke
- BlueJacket Shipcrafters
- (and 1 more)
-
I used the same red - I think Red Rattle can? mine reacted with Acrylic paint that was underneath, I had to rub mine down and re spray, but it was second time lucky as it went on ok then. OC.
- 68 replies
-
- 1
-
-
- Arleigh Burke
- BlueJacket Shipcrafters
- (and 1 more)
-
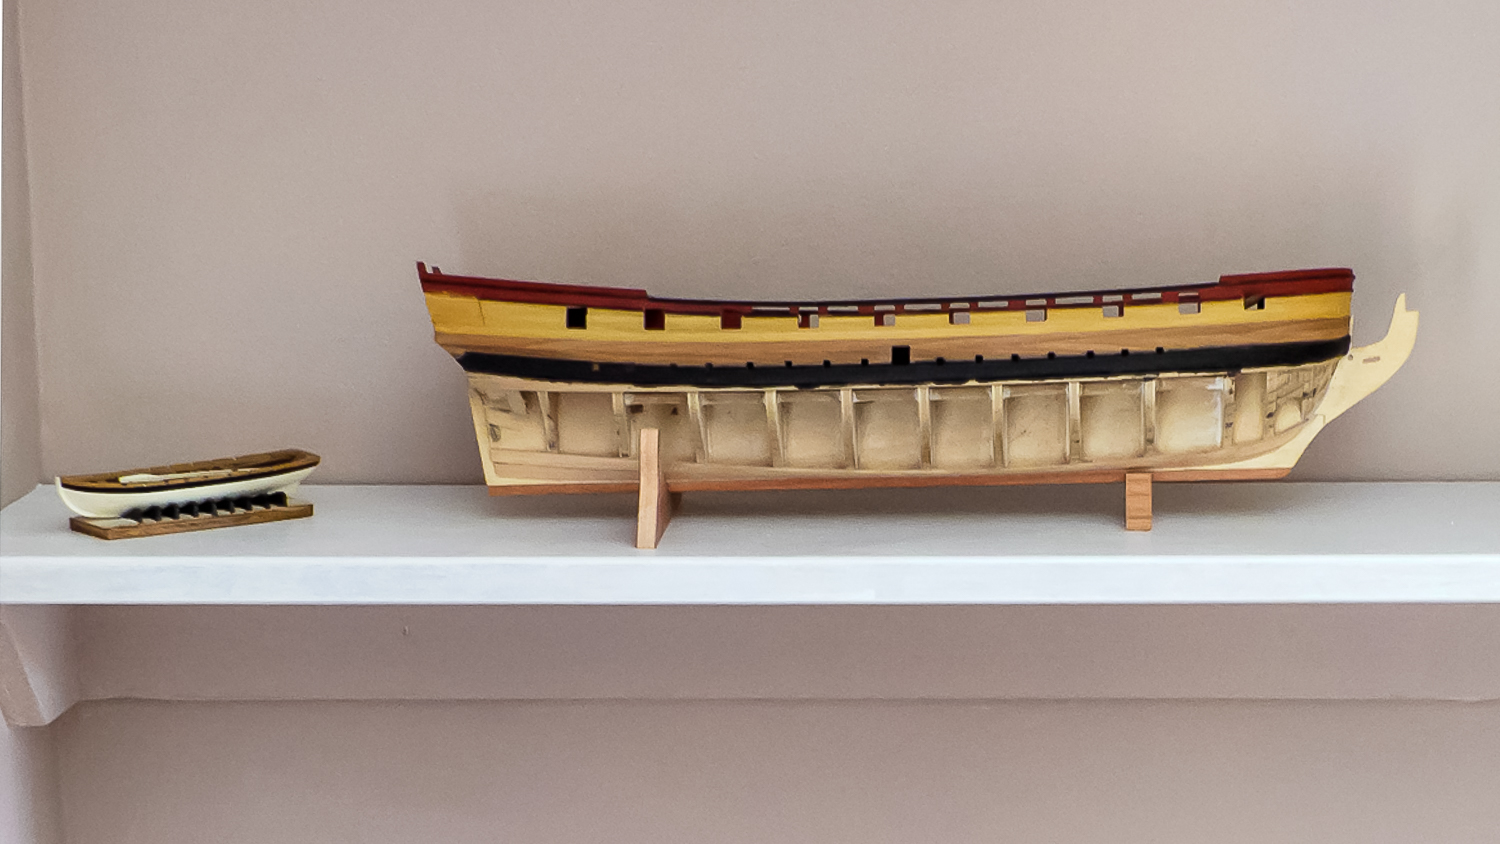
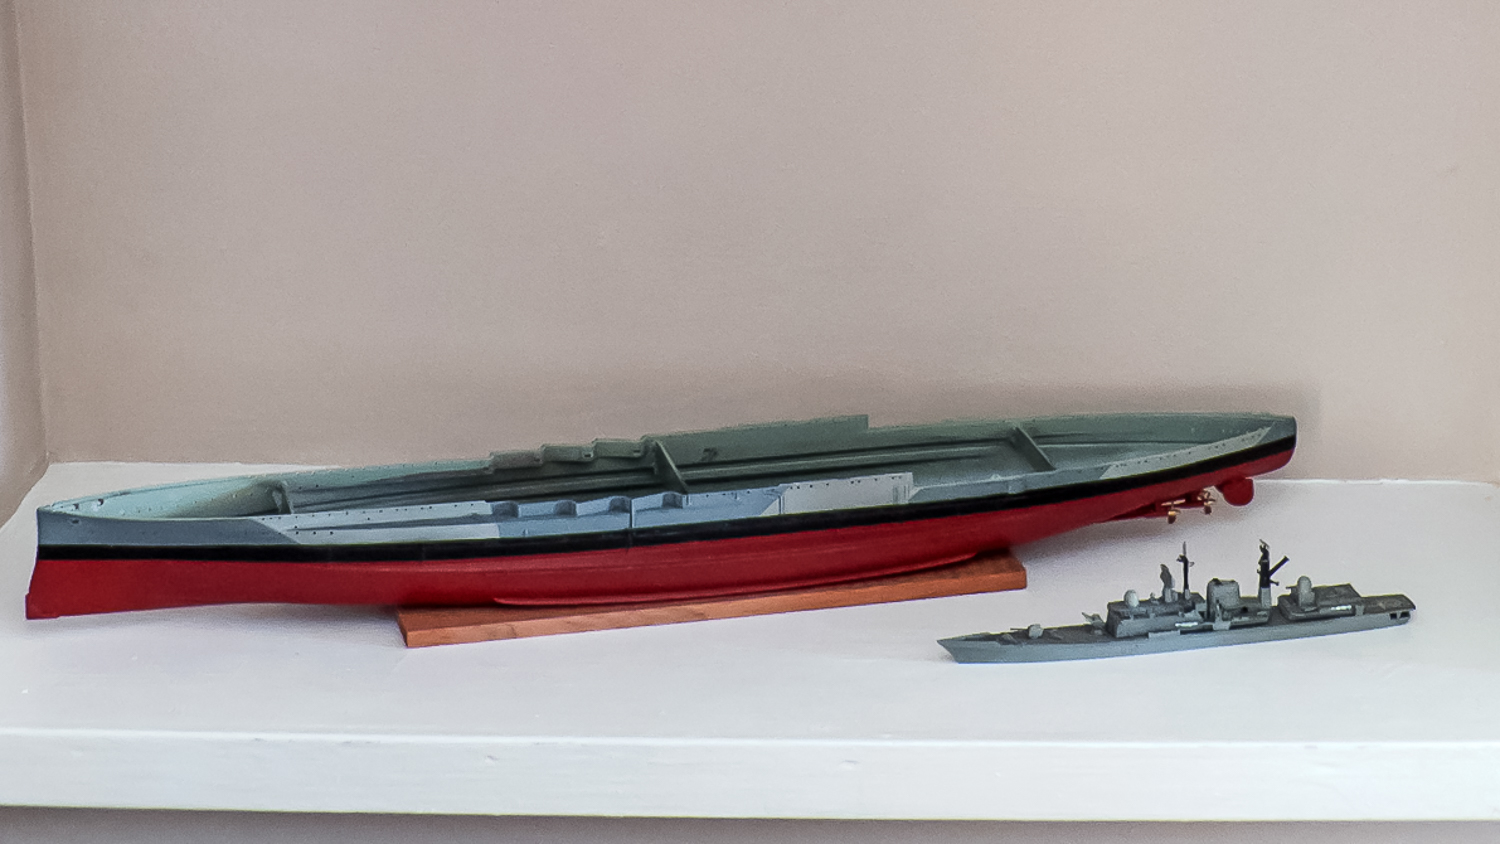
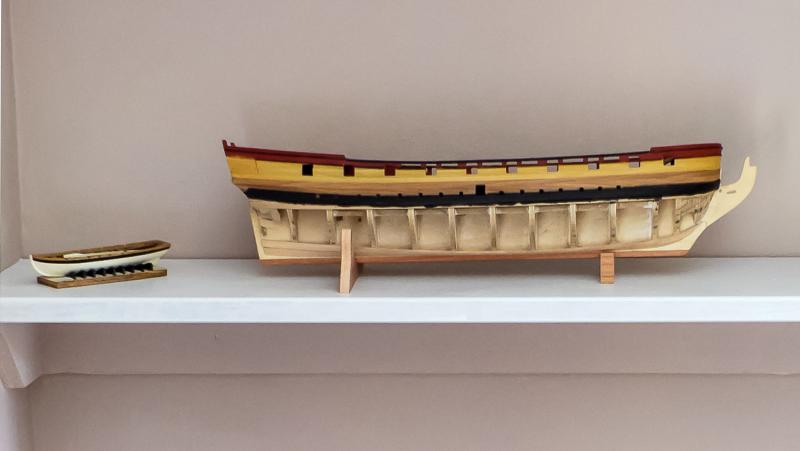
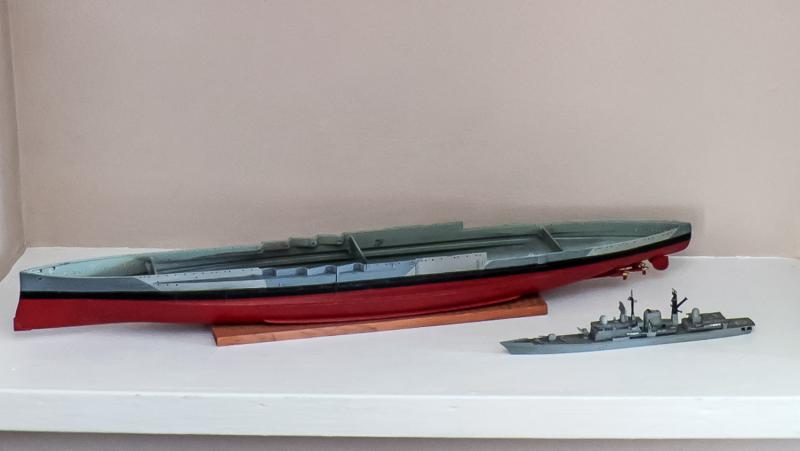
Thought I would post these two pictures also - they are my other projects and finished, OC.
-
Folks I couln't resist so i took the model in the kitchen under good light and my glass, and carried on filling the port holes with undiluted acrylic(same colour as hull) till the whole of the port hole minus a slight indentation is full. It seems to be working but I will be able to tell when I drill through with a finer bit tomorrow. OC.
-
Thanks for that, I am however attempting to rectify the situation without causing any damage to the paint work that I had finished minus the spray topcoat. OC.
-
Welcome aboard my Warspite Fantasy World - get yourself a comfy chair, some popcorn and a drink OC.
-
I was thinking similar but by filling with plastic filler then re drilling out after with a smaller drill bit. OC.
-
I had a go at fixing the tiny tiny PE port hole frames tonight - But No way, they are just too small and even after getting one fixed in place over the port hole, trying to rotate it to get the eye brow at the top, was just to much work - so off it came. Plan number two was to fill the holes with brush tips of paint to fill the edges in a bit, then tomorrow when dry I will go through it with a fine drill bit(much smaller than the original hole. OC.
-
Thanks for the help greg, would undiluted PVA work as an adhesive using the same method you described? it would be a lot cleaner and safer to the already painted sides. OC.
-
Another job that has sprung itself at me - I have found some (about 40) PE port hole surrounds (open type) on my pontos fret - "umm - those port holes a bit too large from my drilling" thats what I am thinking, just trying to work out the easiest and cleanest way of attaching them without damaging the paintwork. These are them folks - the round disks with holes in the center. OC.
-
Greg can i pick your brains please, re - port hole pontos surrounds, I have discoverd quite a few of my port holes have drilled slightly over scale, but tonight I have found about 40 or so in my pontos fret, what would be the best and tidyest way to attach some of these, would a pin work by sliding the surround onto the pin and dabbing a tiny bit of glue on the port hole, then by sliding the pin inside the port hole and sliding the surround into place, would that work do you think? OC.
-
Hi Carl, I did both but started from the front then just a bit of front-back-front-back type of action just to clear up any bur on the back. OC.
-
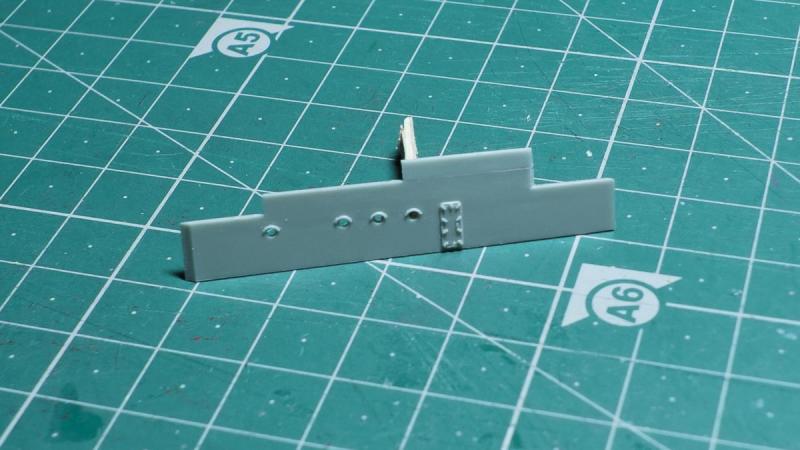
I got an hour or two on the bench this evening and started work on the rear side wall, I cut it from the kit fret, and sanded the edges abit, I then fashioned a piece of plastic strip that was lerking in the kit - but not needed, this was glued on the top edge with Revell Glue - then when set i sanded the face to get a smooth join, next I needed to reduce the hight with a sanding stick and micro flat file. Next will be a strip of PE to fill the gap between the wall and the turret. Oh - and i drilled out the port holes. Just the one pic of it folks. OC.