HOLIDAY DONATION DRIVE - SUPPORT MSW - DO YOUR PART TO KEEP THIS GREAT FORUM GOING! (Only 36 donations so far out of 49,000 members - C'mon guys!)
×


Old Collingwood
-
Posts
12,098 -
Joined
-
Last visited
Content Type
Profiles
Forums
Gallery
Events
Everything posted by Old Collingwood
-
 You could try some heat (haiirdryer) while gently twisting it in the right direction, I would try to do this before you start first planking as I am not sure if planking will pull it in to shape - and might lock the twist in. OC.
 -
Excellent work Alan, sea scapes terrify me - but you look to be having a hold on it - keep up the great work mate. OC.
-
Happy Birthday Craig 🎂 OC.
-
Me too, with cars. OC.
-
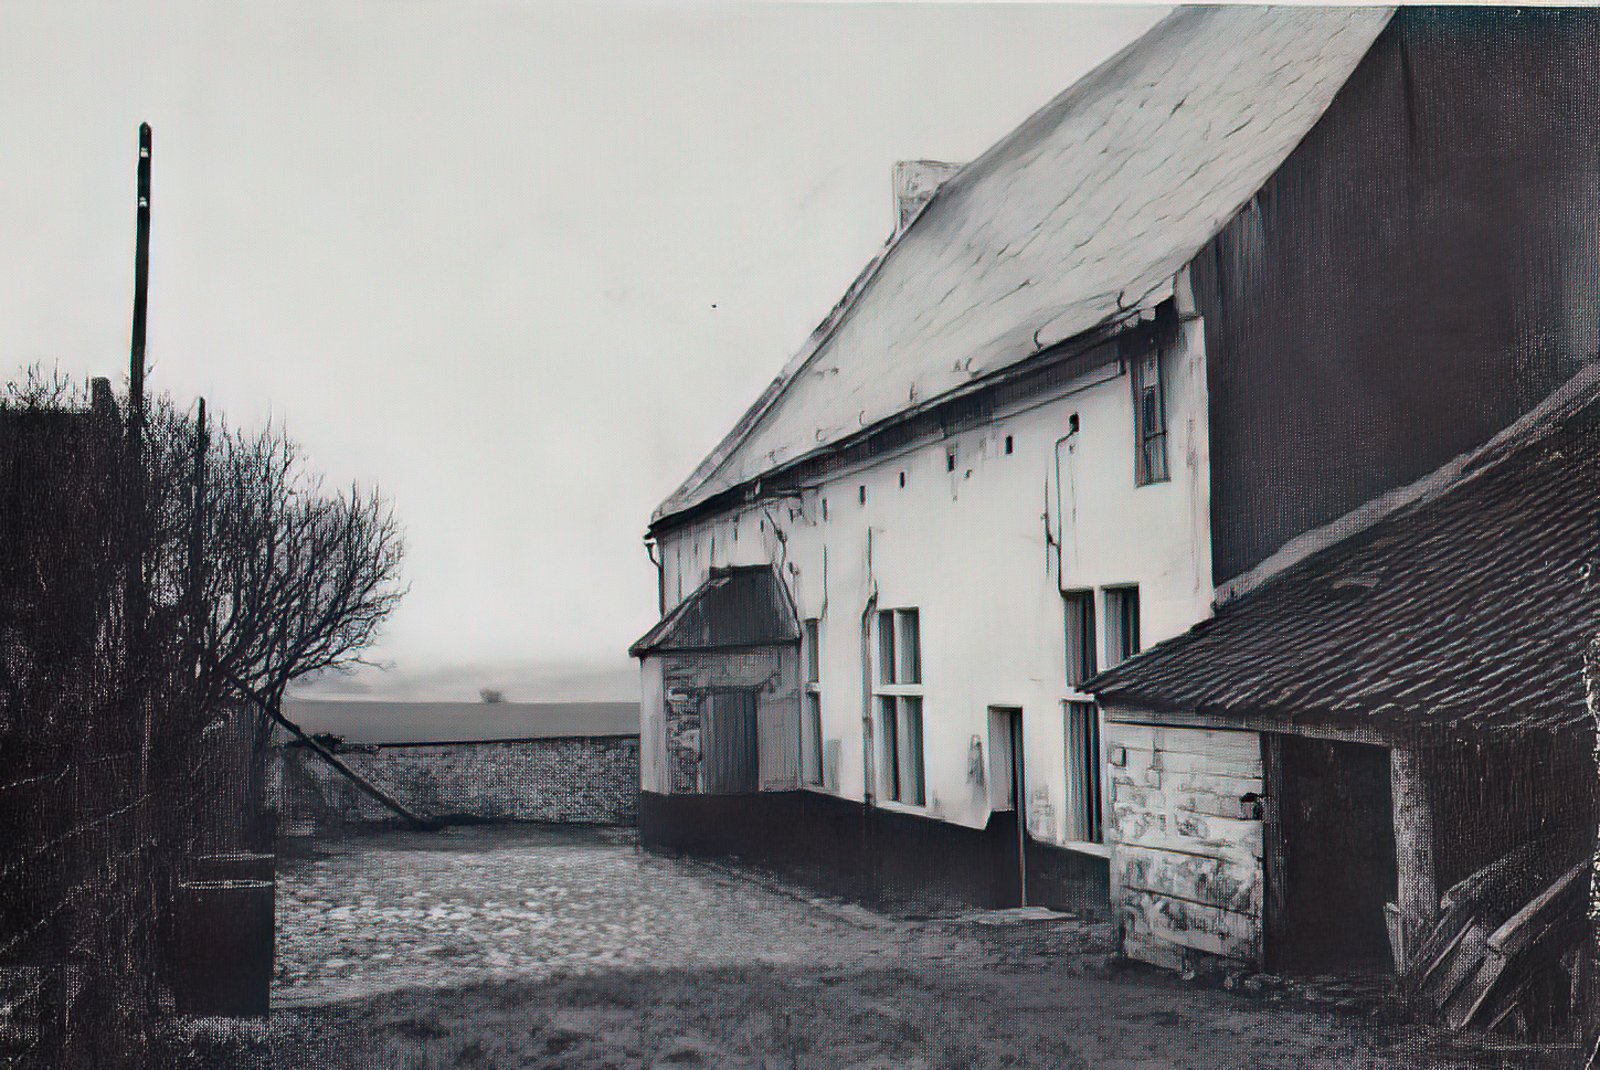
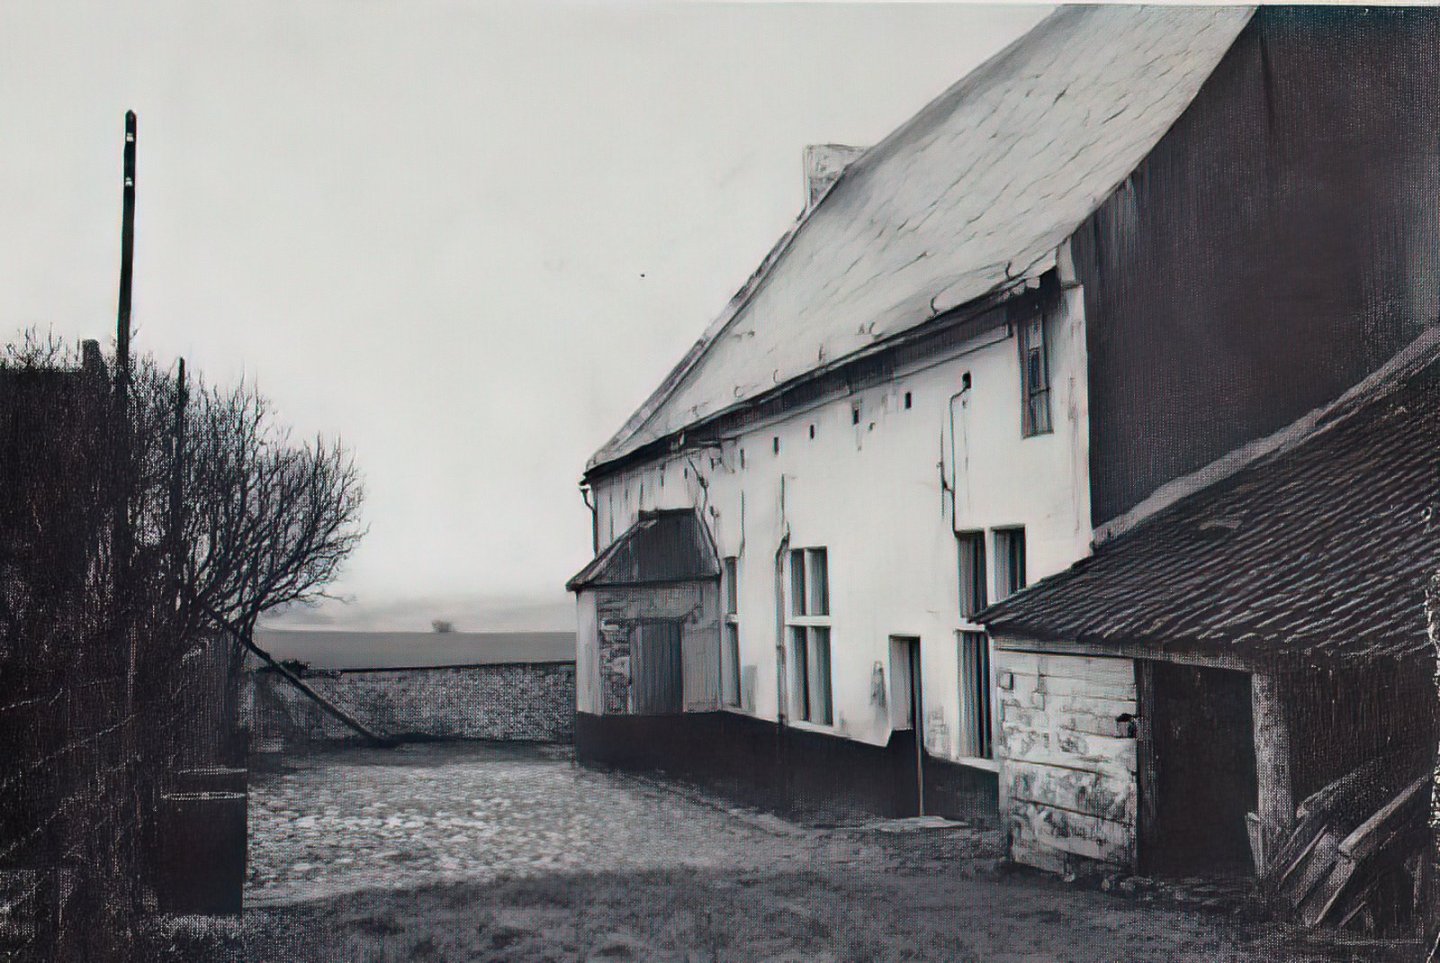
After doing some research it looks like I need to do a bit of scratchbuilding, from some of the photos it looks like there should have been a porch building on the outside of the farm house around the door leading to the garden, I will try to male one using the photos like this one, with the bits of board I have to hand. Photo off the net. OC.
-
Craigs fault - he builds things to good - that are to real looking. OC.
-
Put it down to tired ness and a senior moment also not looking properly, your work is so good that to be honest its not that far different from the real thing, just thought I was being clever in a nice way my friend - don't you just hate it when a sense of humour bites you in the ..... OC.
-
Thank you so much Craig, it will be several little adventures in one - around the different parts of my dio. OC.
-
Thank you kindly Alan. OC.
-
Thank you so much, Lessons about figure painting is a hard one, think it just comes down to practice - practice than more practice, and good light a steady hand and good magnification so you can see tiny details well. OC.
-
Thank you so much. OC.
-
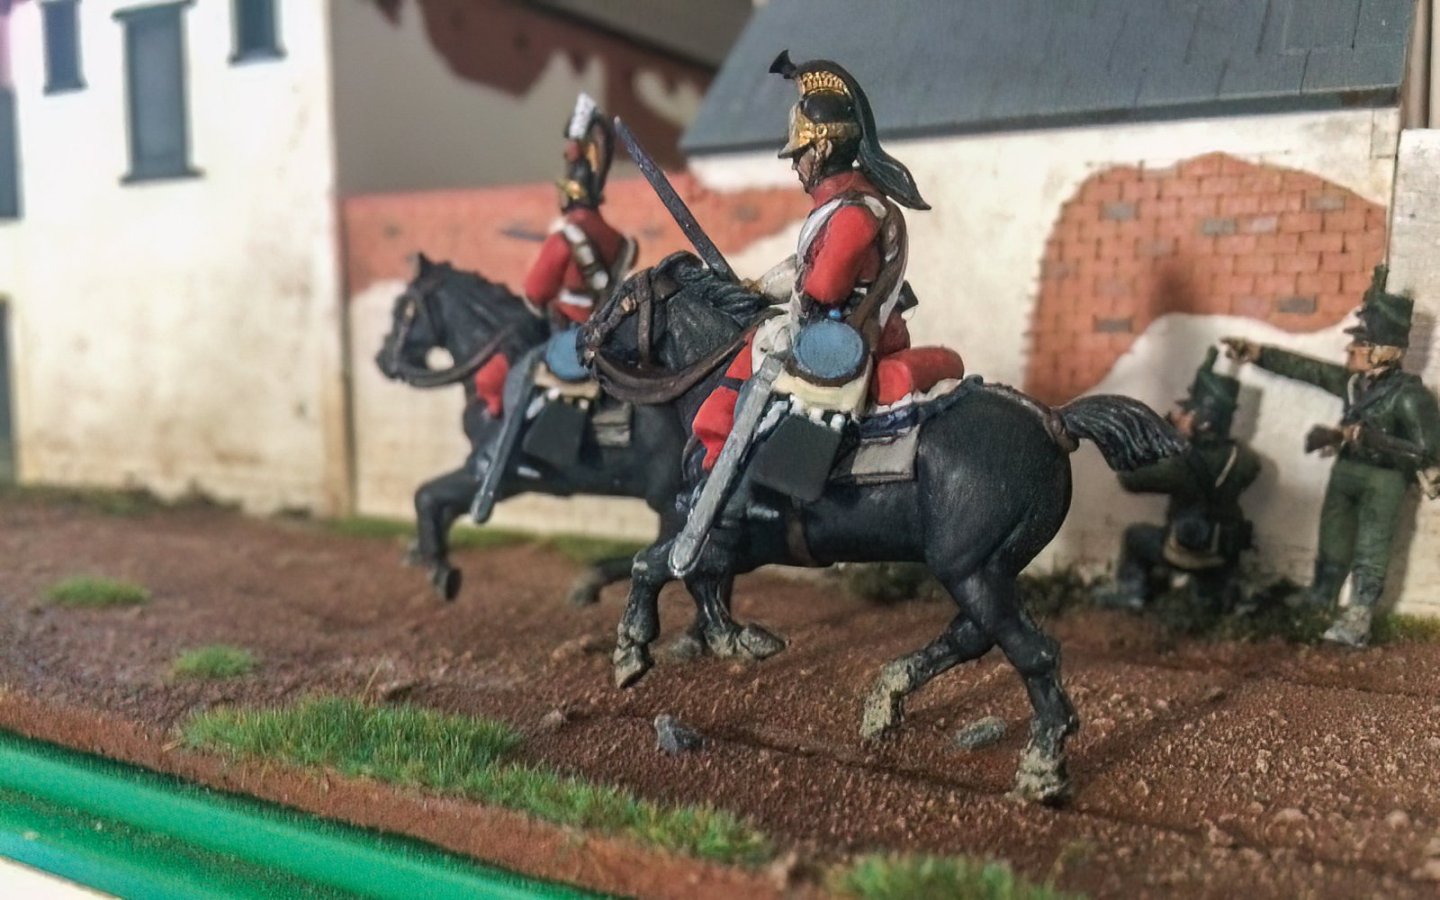
Cavalry "Charge........" OC.
-
Amazing work Craig - still don't believe that photo I replied to is your model - looks just like the real thing - Amazing. OC.
-
Stupid question I know - did you peel the decking off the plastic backing before placing it? OC.
-
That is some engine bay - but wheres your build photos? OC.
-
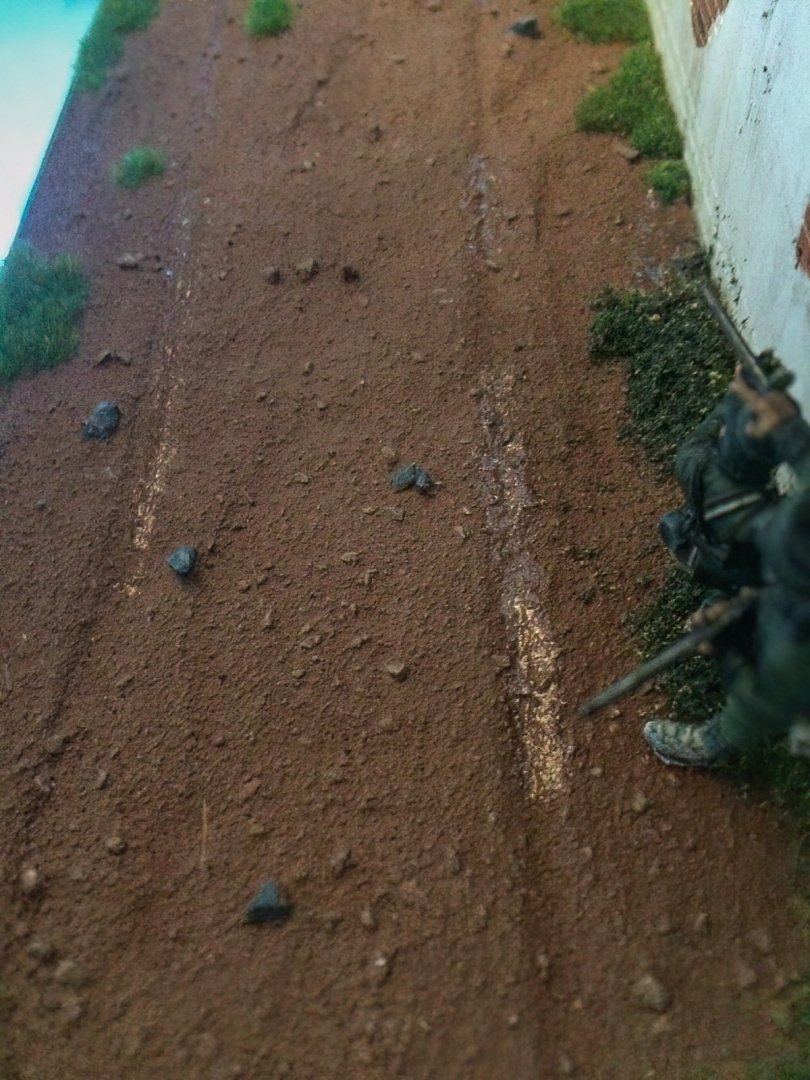
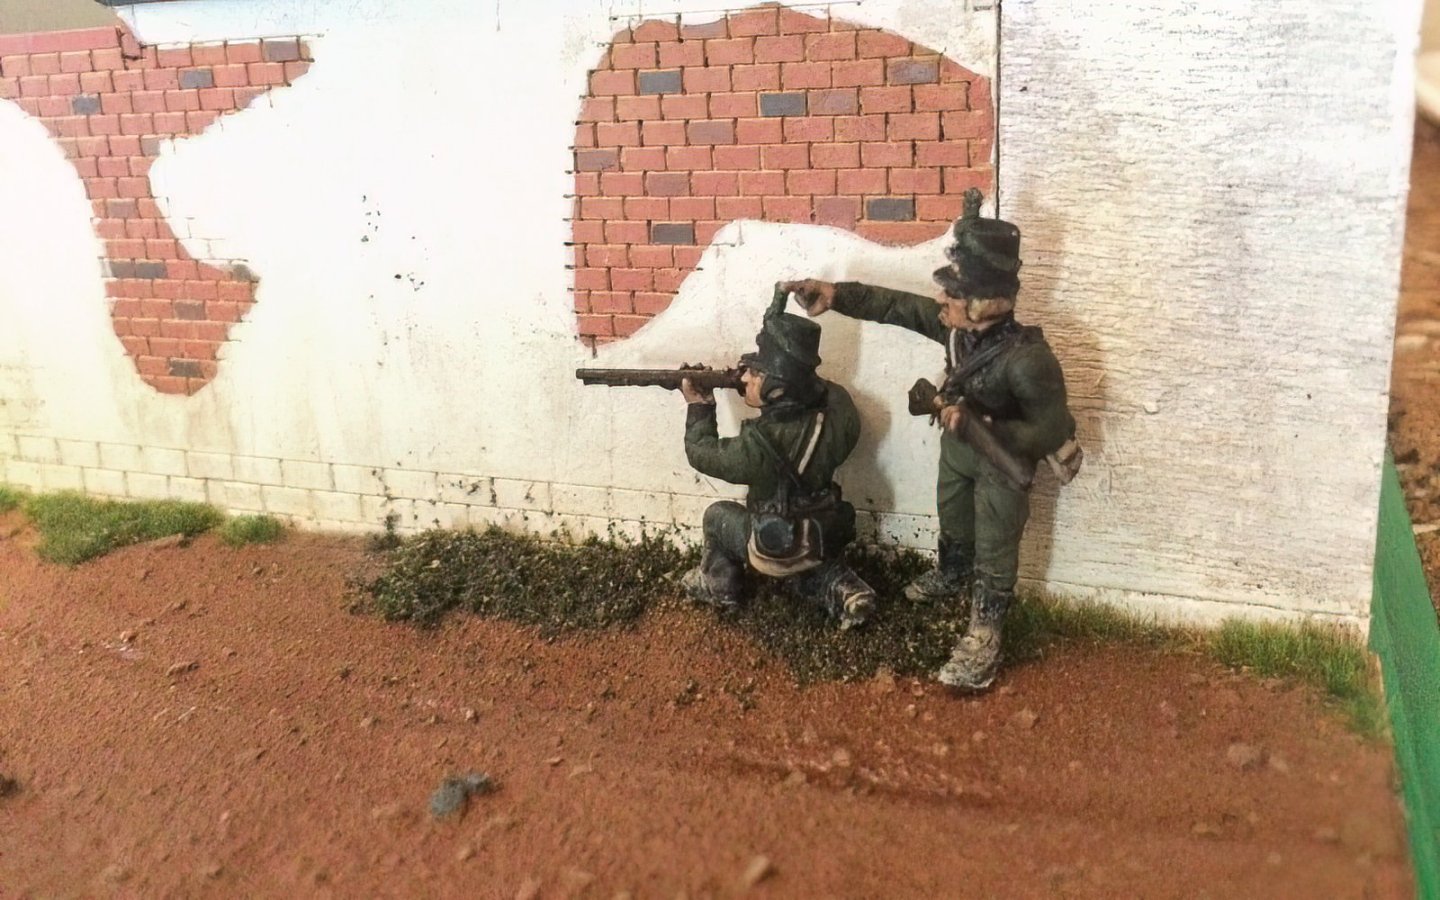
Just as a little teaser - I have placed my Two British Cavalry figures on the roadway just in front of the Two 95th rifles, I will take pics of them later....... So this side of my dio is getting close to being finished - I will also add some loose left items like - muskets - backpacks - hats perhaps even a shoe or Two, then I will be turning the dio around and starting to work on the scenery on the other side. OC.
-
Thank you kindly Alan. OC.
-
Thank you kindly Ken. OC.
-
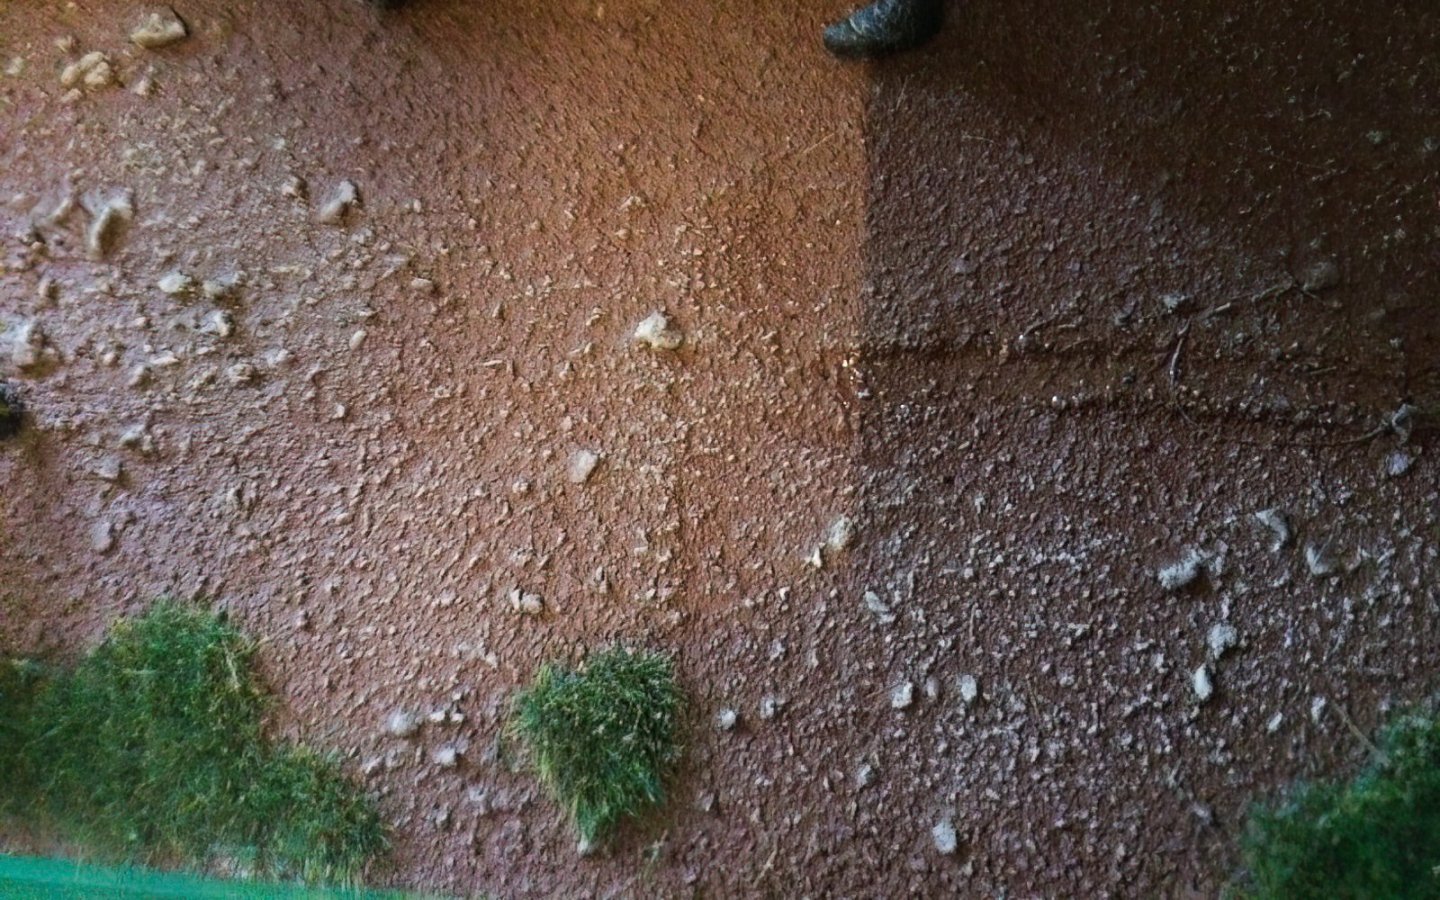
And a bit of dry brushing catching some of the rocks. OC.
-
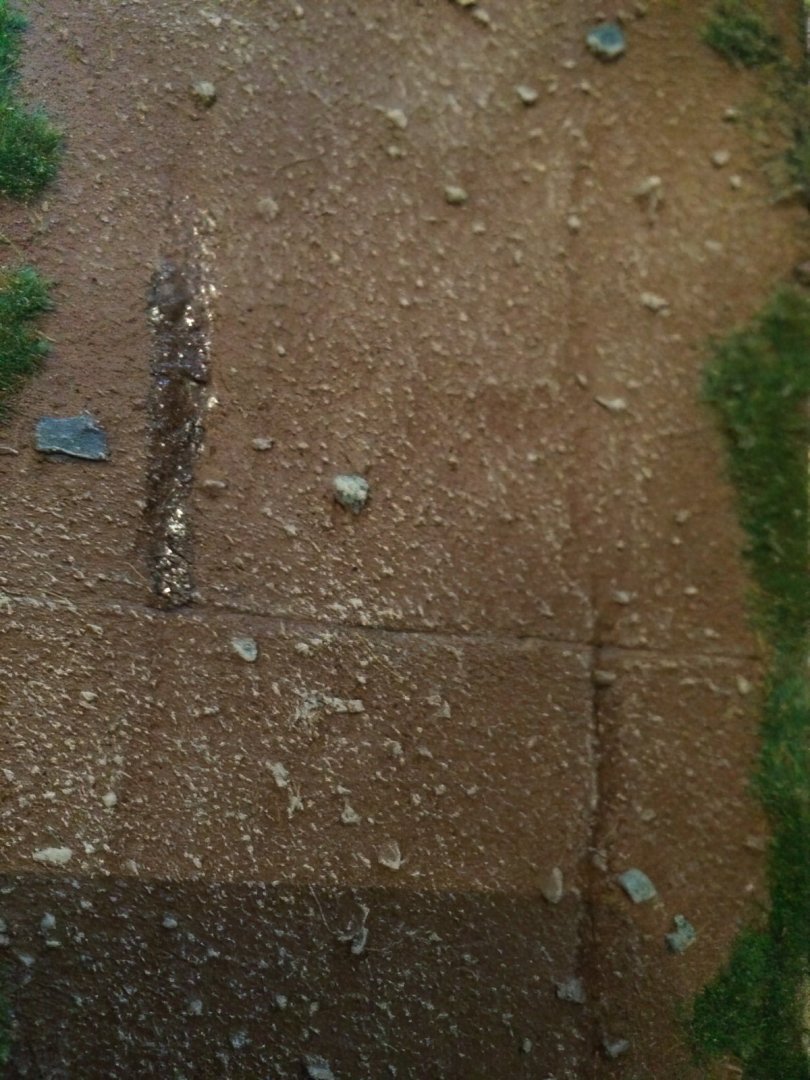
Evening all, so here is my water wheel ruts and wall extension. OC.
-
Or........perhaps I could ease out the set gel water, and re do it but using coloured water gel - with me adding a few drops of wash to the mix before brushing it back in. I could still do the dry brushing using the dust - sand in areas I can reach. OC.
-
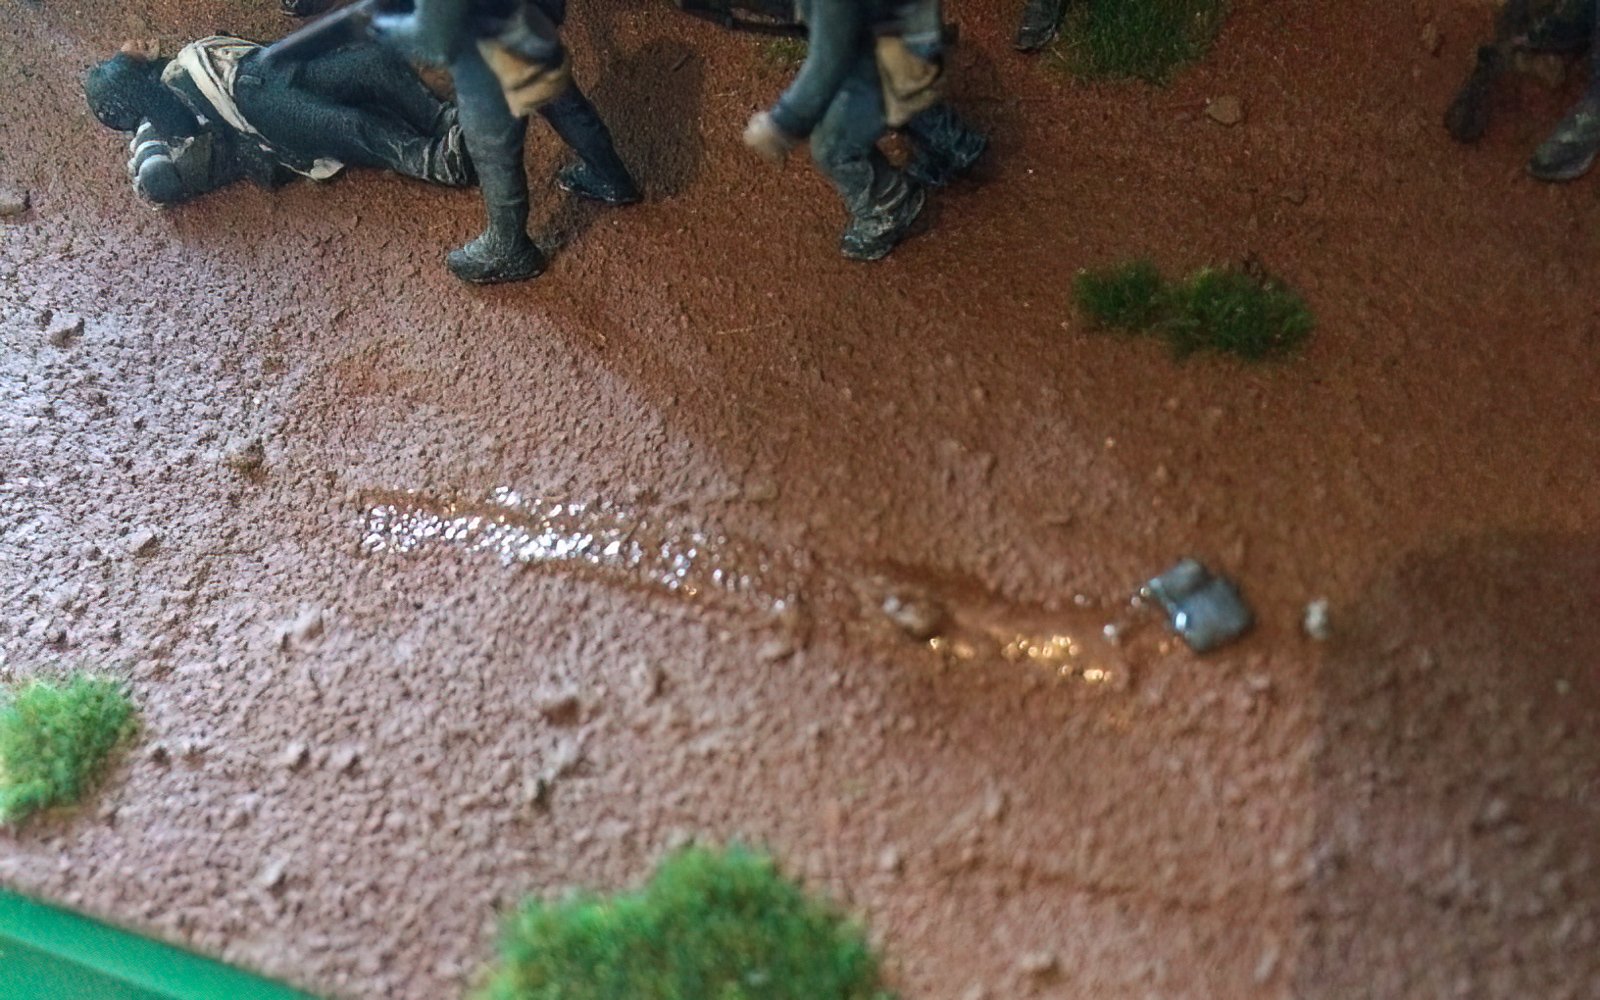
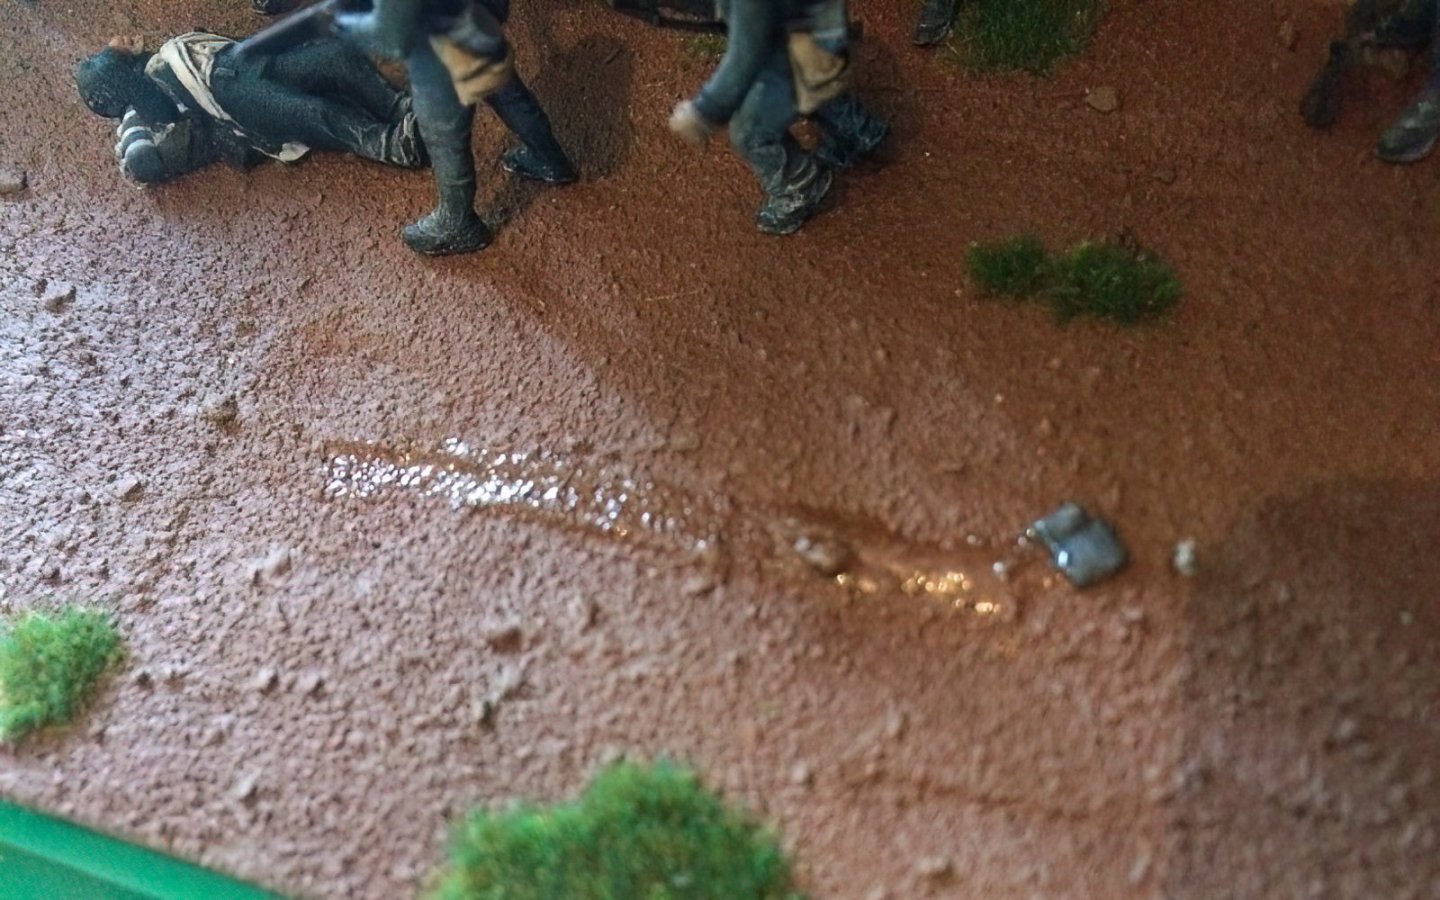
Morning all, more pondering s - I decided to play around with my water gel product that I made my pond with, the idea was that the wheel ruts in the road way would probably still had small pools of water sitting in them, - so (not thinking about colour) I brushed in a bit into a few of the wheel ruts, its thick and White at first but after about Ten hours it hardens clear. The problem is it just looks like a clear line not a slightly coloured water like it should have been. Its got me thinking if I could do a very thinned dark wash all over the base - roadway etc (Yep includes trying to get in with a brush around all the figures) - then if I could go over the top later when the wash has dried thoroughly with my dry brushed sand dust colour as a high light. Yep would certainly be a job and a half - but it might work to blend it all in together. What do you think? OC.
-
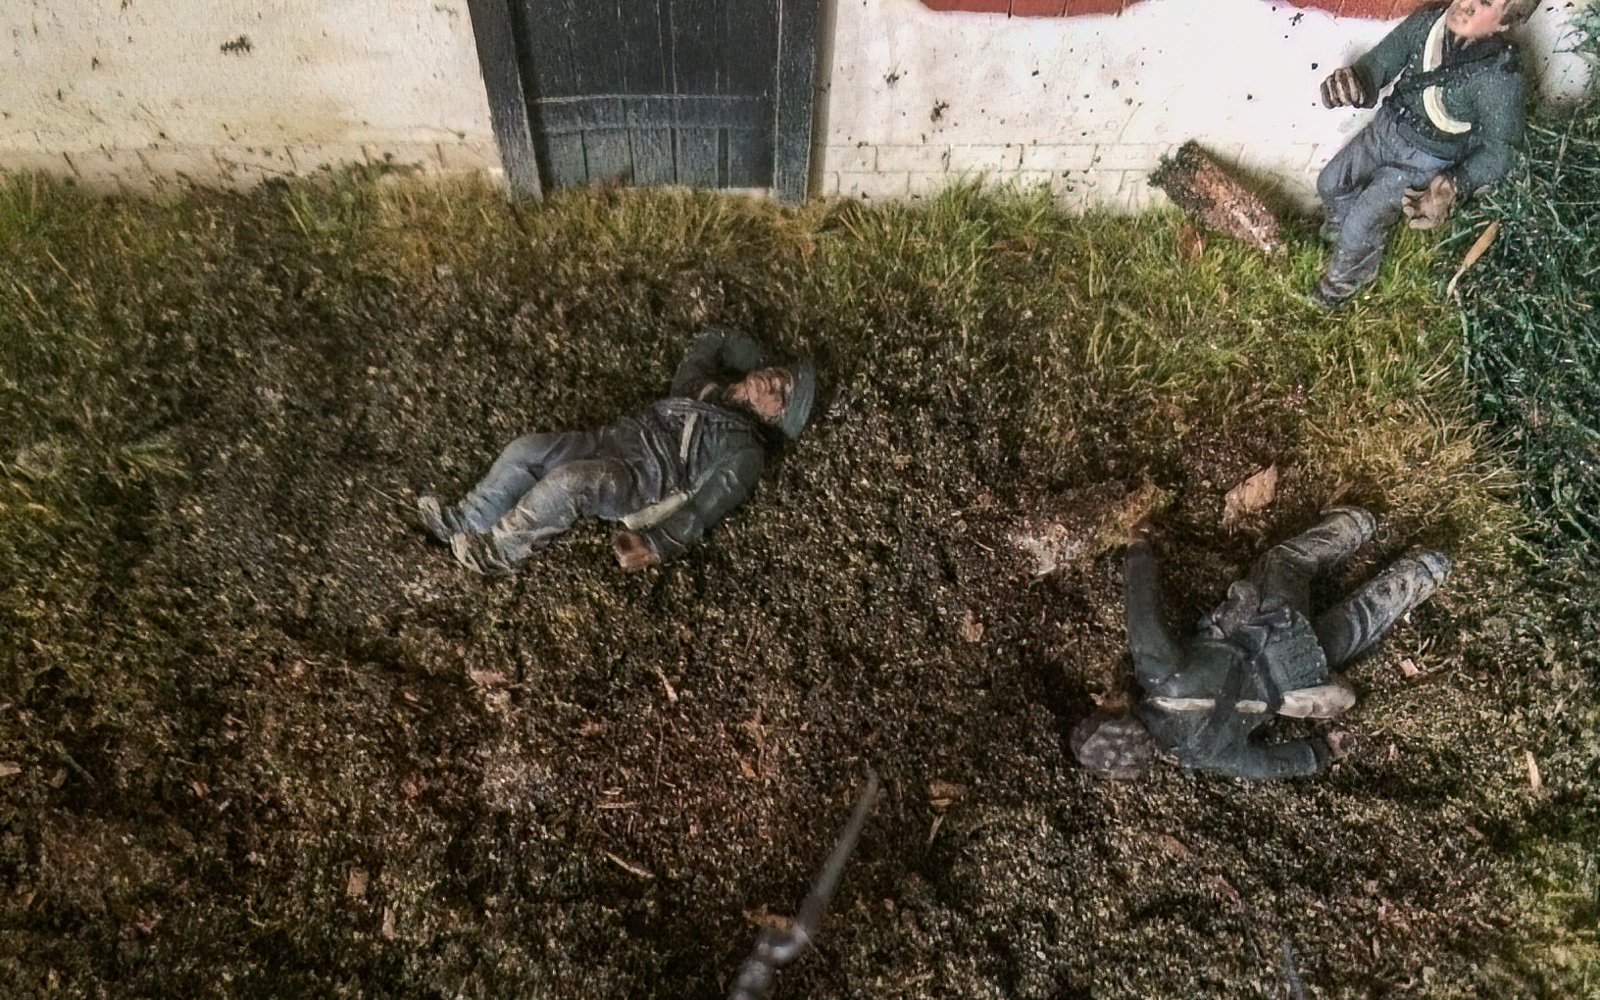
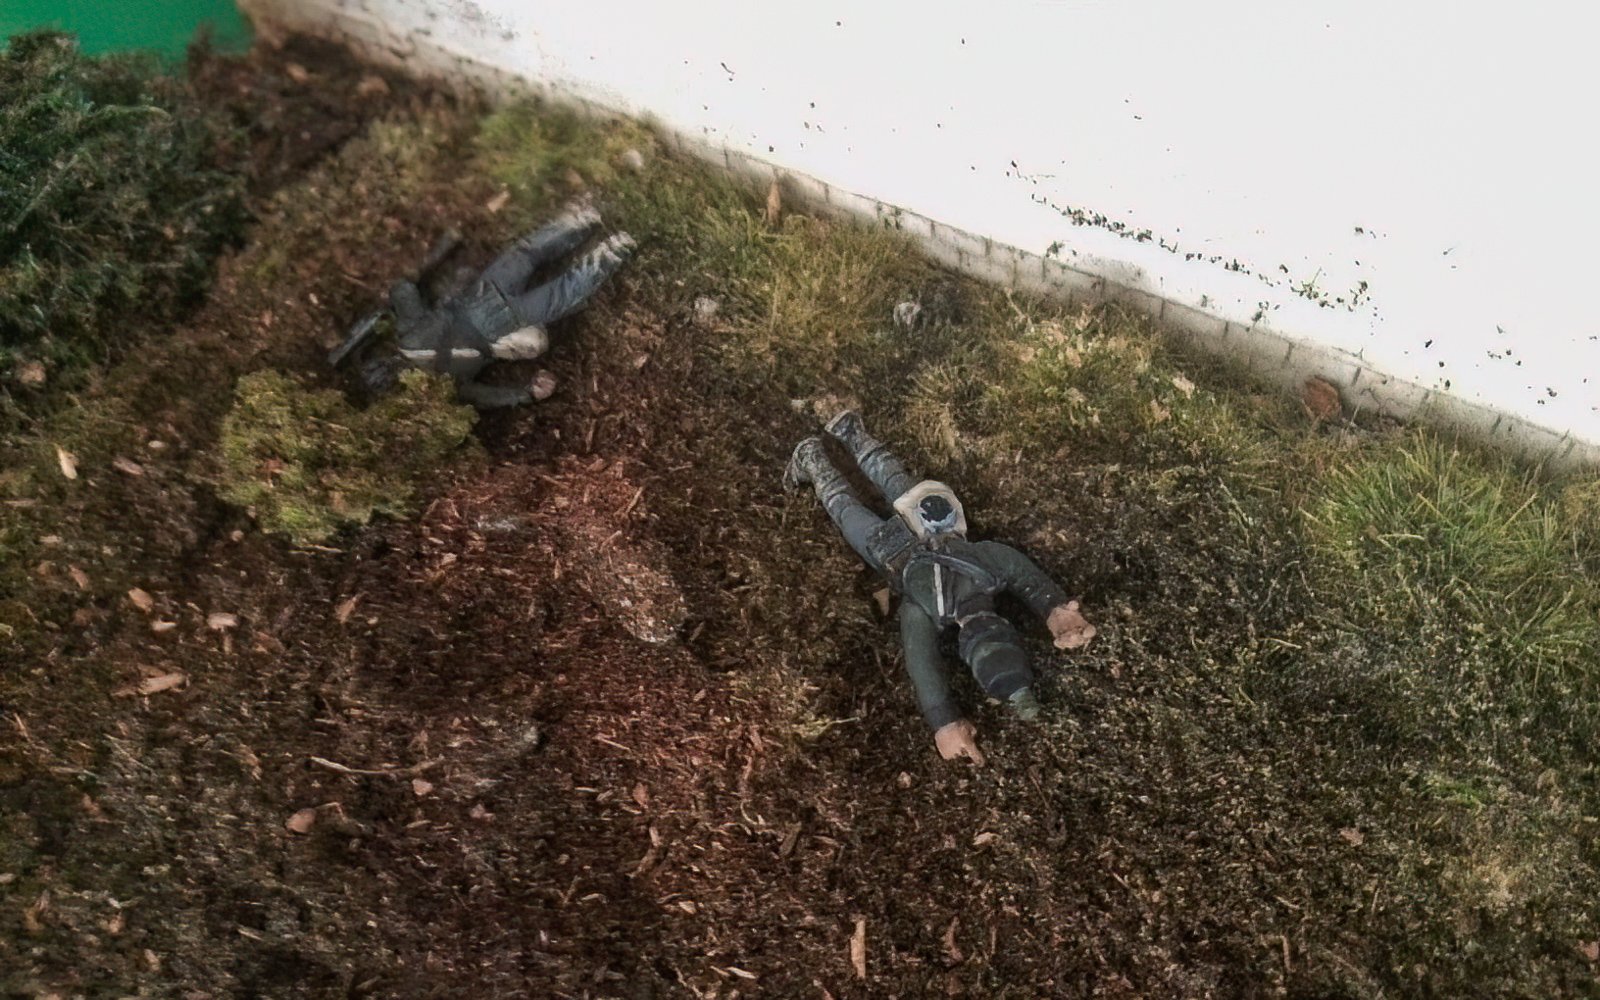
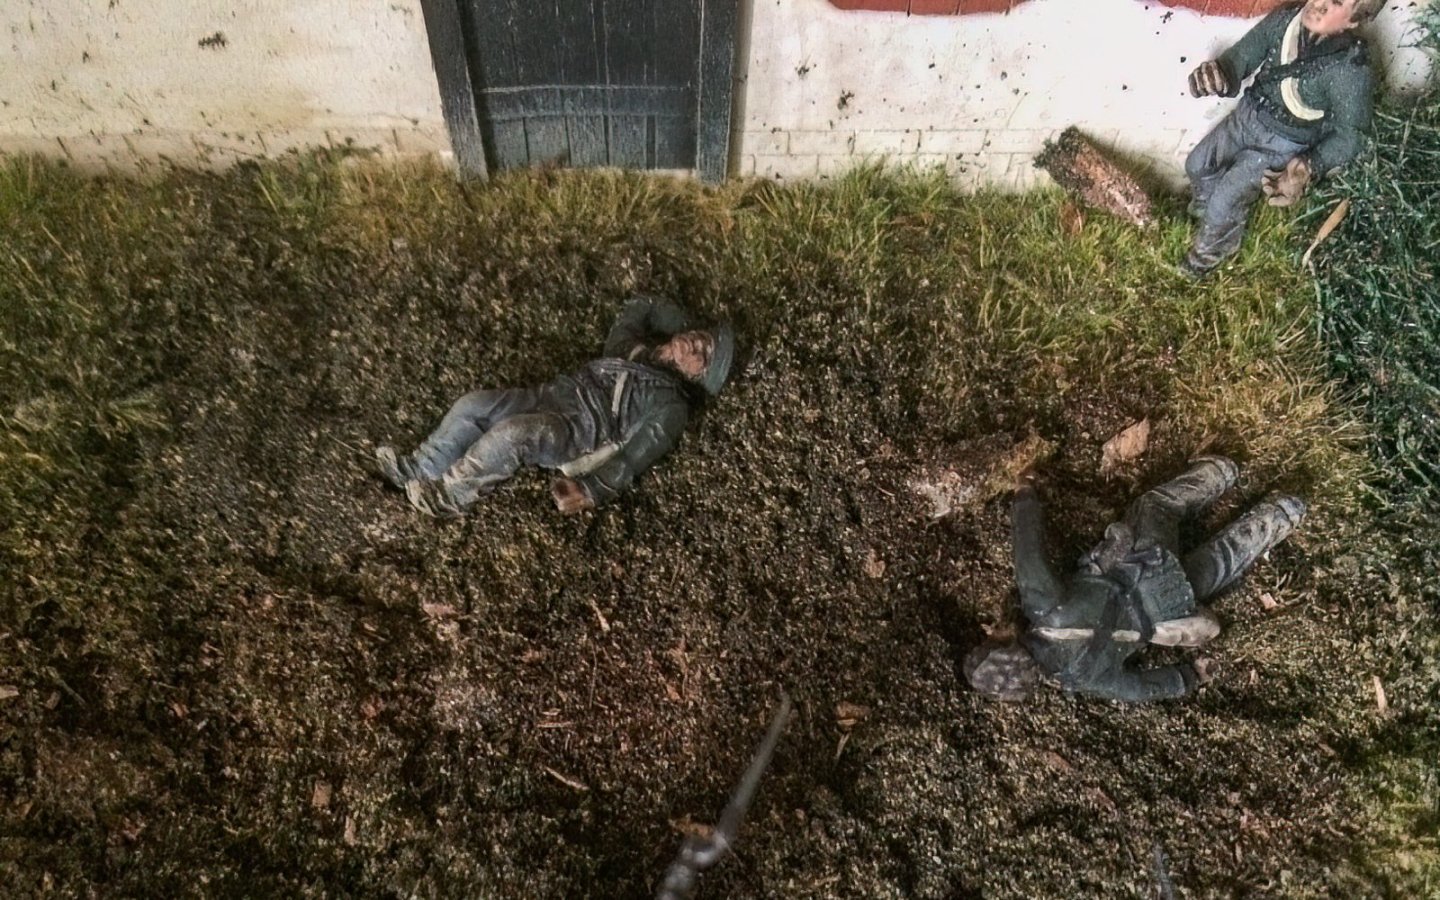
Hi there all, a bit more progress, I have re done the wall extension (well turned it over and added a small piece at the bottom) its been painted White and waiting to dry. I also added some of my resin water in puddles in the ruts on the road way and against the wall (waiting for these to harden and go transparent) I have also placed a few more figures in the shape of Four 2nd KGL casualties in the orchard. OC.

-
Excellent work Ron. OC.
-
Indeed Ken. OC.