HOLIDAY DONATION DRIVE - SUPPORT MSW - DO YOUR PART TO KEEP THIS GREAT FORUM GOING! (89 donations so far out of 49,000 members - C'mon guys!)
×


Old Collingwood
-
Posts
12,104 -
Joined
-
Last visited
Content Type
Profiles
Forums
Gallery
Events
Everything posted by Old Collingwood
-
 After I have finished working on these Two Cavalry figures, before I can place them on the road way - I will be doing a wee bit of scenery work, by extending the wall behind my Two 95th Rifles, as in real life it would have extended perhaps another Ten Yards or so from the place mine cut off, it will just be the smallest piece of MDF to go on then painted - weathered to match the wall. This is a mdern view of LHS it was slightly different in 1815 - the wall to the Left by the duck pond - other side of the main gates was taller (same hight as the rest of the wall) OC.
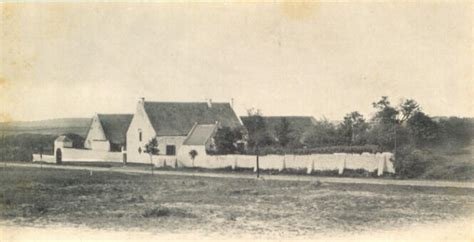
-
Thank you kindly, the camera on my phone did not show the true colours to well, and I could not be bothered to alter them in Lightroom, the trouble I had was my Acrylic top coats are either too shiny or with the ultra matt - not matt enough. OC.
-
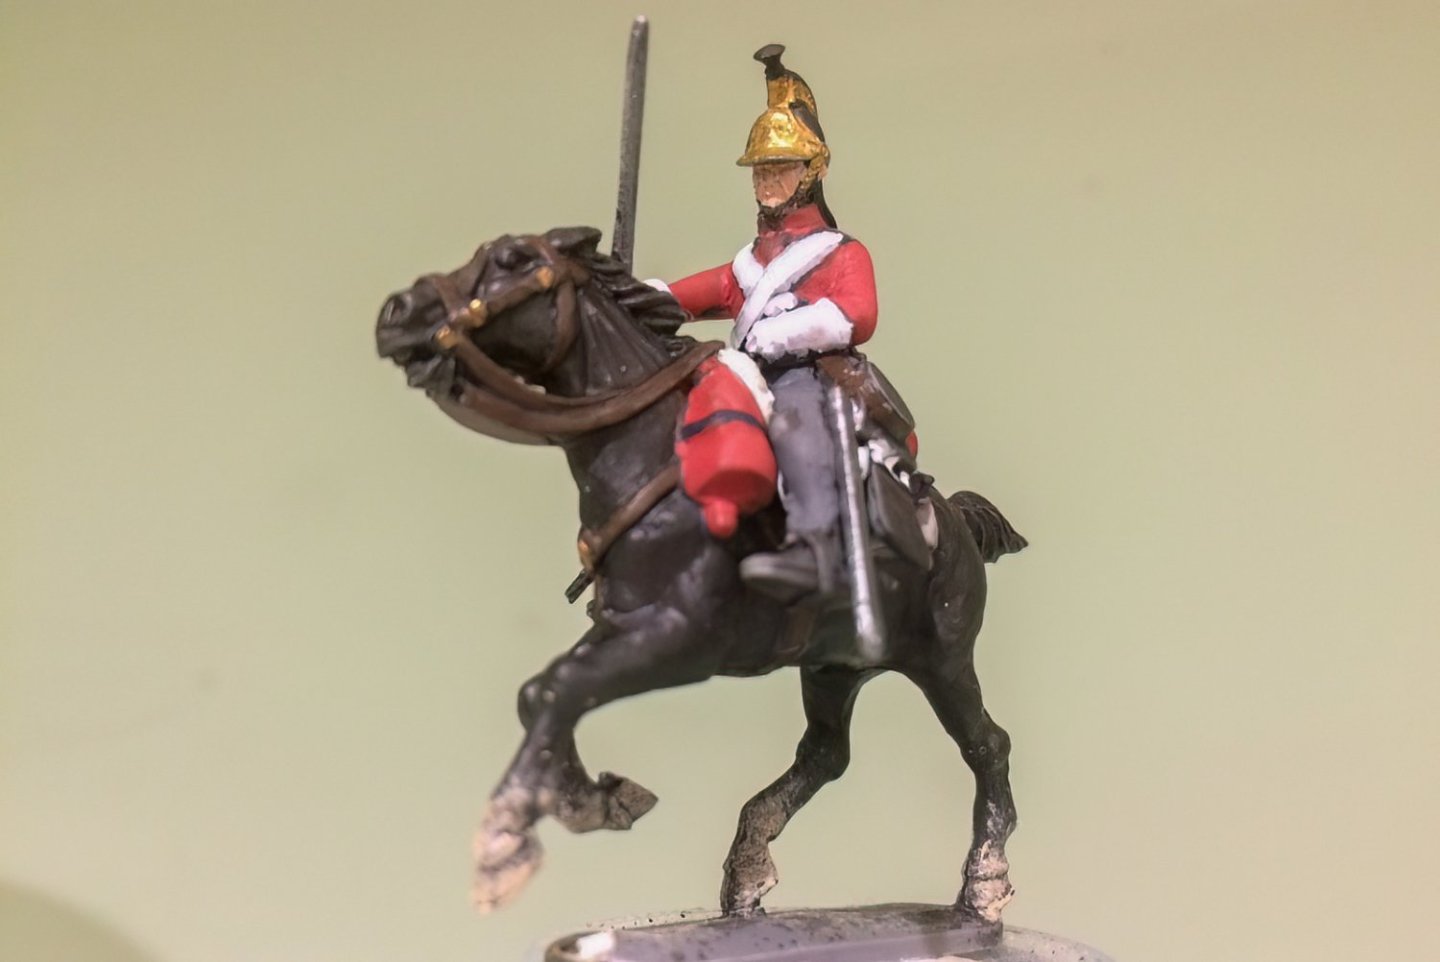
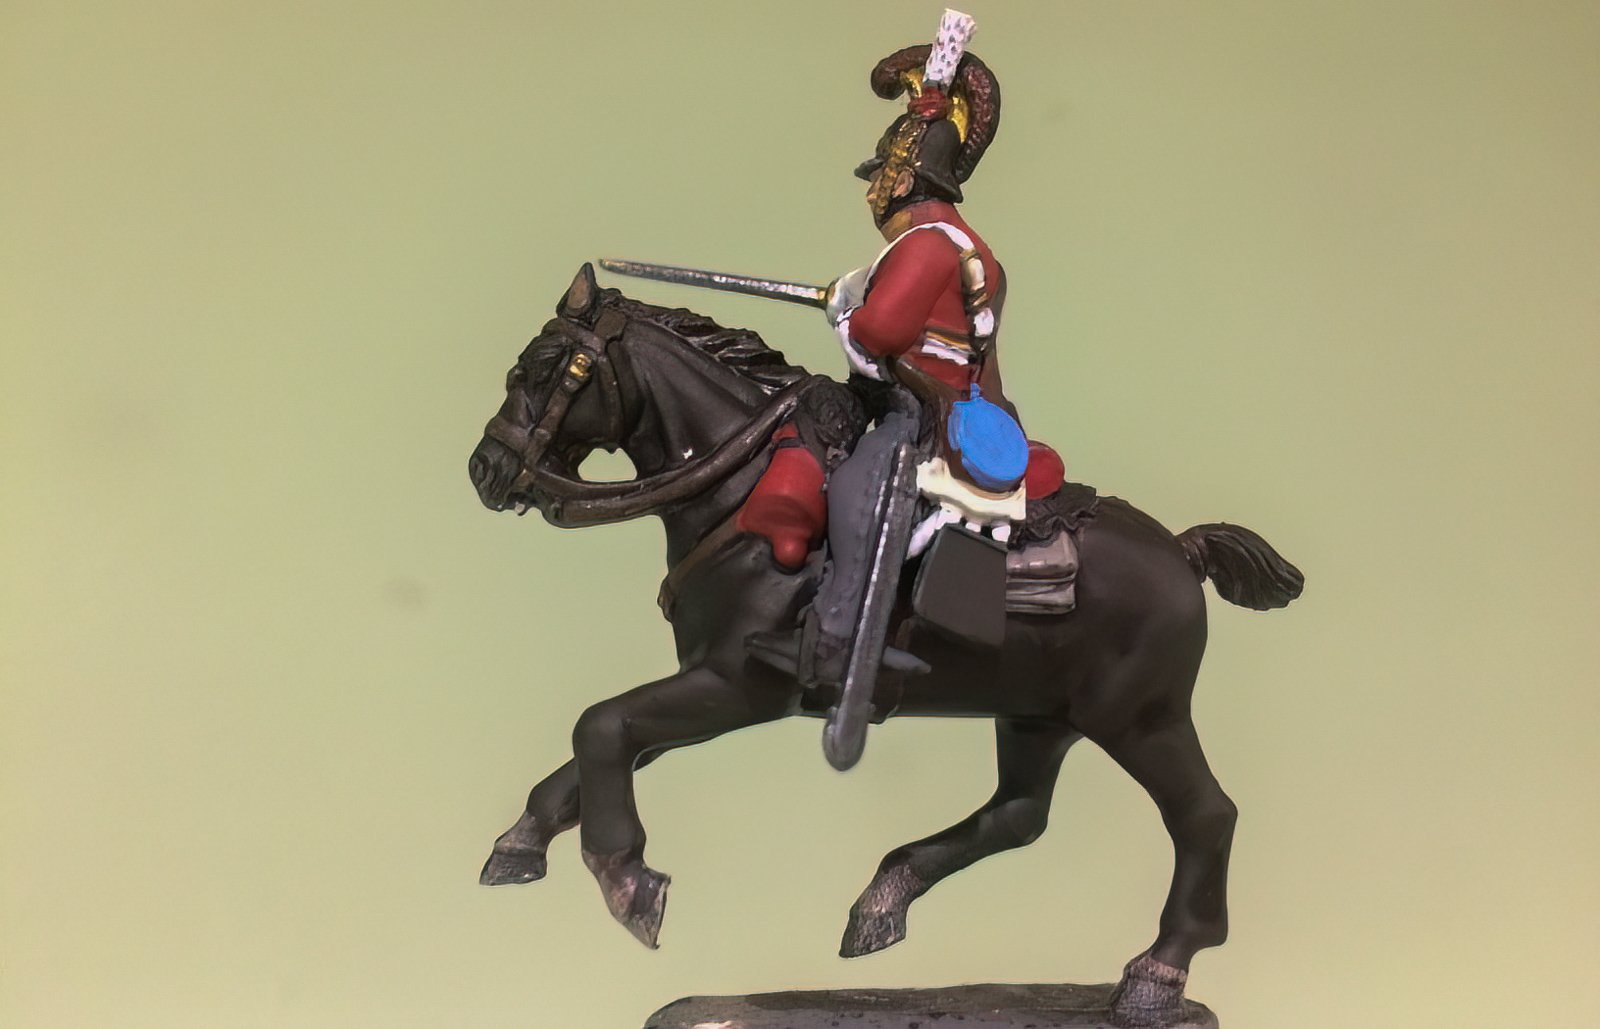
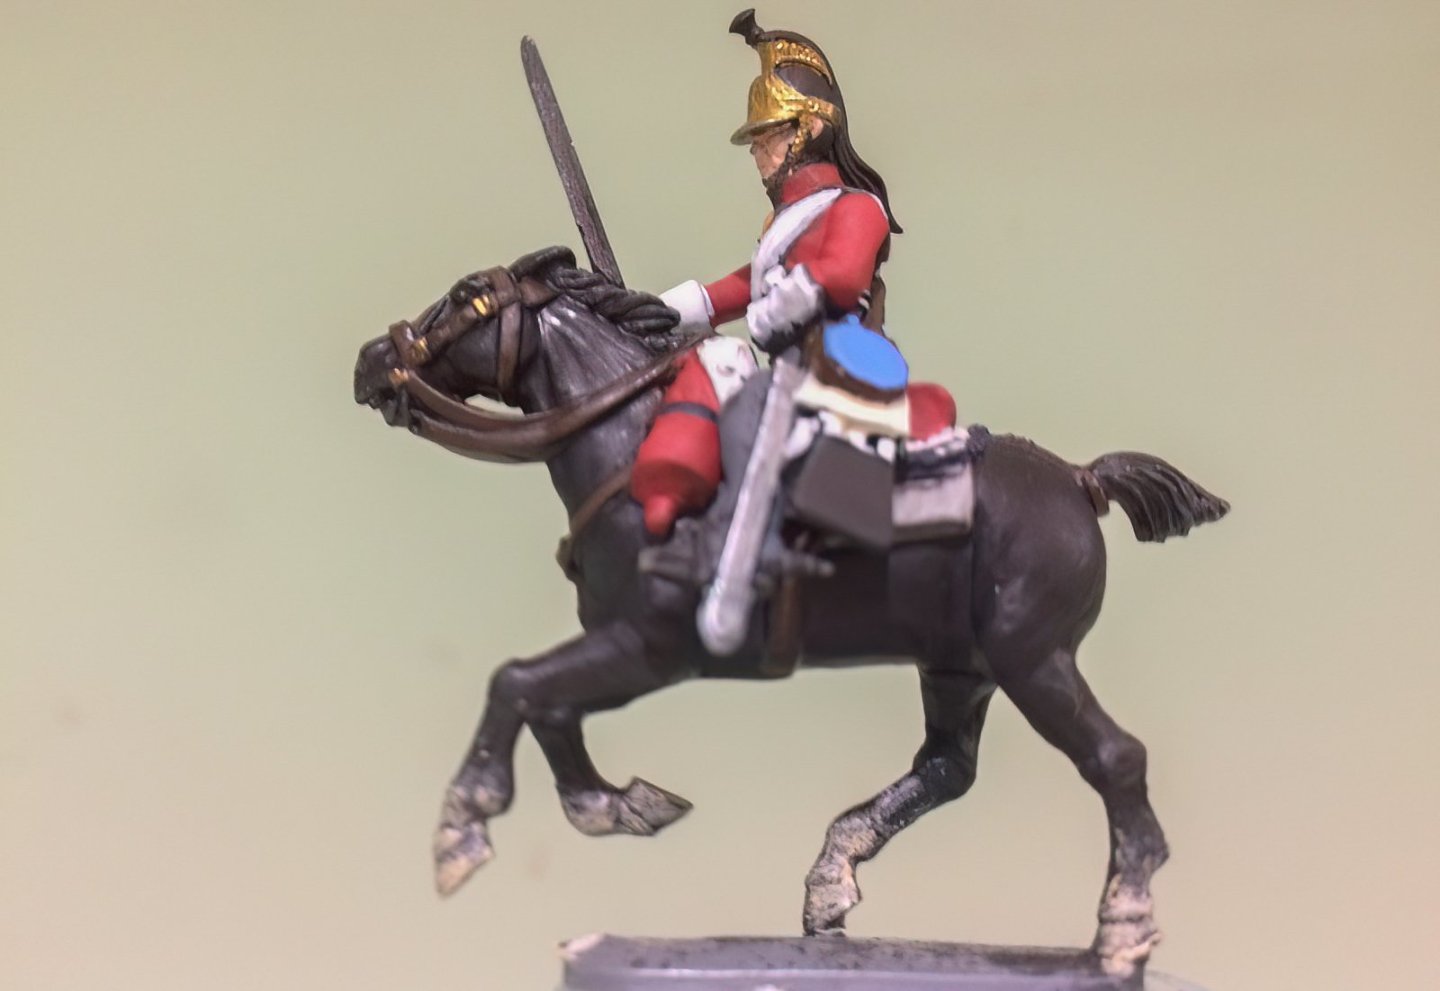
Nothing to grand to post - I decided to apply a coat of Satin top coat on my (Now Black) LGs steed, but its gone too far the other way now and is too shiny - so some Flat will be needed over the top, I have also been doing some careful shading with my wash with a wee bit of matt added - so here are the pics - not much to see compared to the others. OC.


-
That has really surprised me with the rear outer upper planks being fitted in a Featheredge way by over lapping. OC.
-
That camo scheme looks excellent - really authentic, love the ideas you mentioned about figures etc. OC.
-
Not many period sailor figures around at the moment in 72nd scale - you would think there would be more. OC.
- 32 replies
-
- 1
-

-
- Victory
- Artesania Latina
- (and 1 more)
-
I have come across this company - OC. https://www.newcapmaquettes.com/Crew-Figures.html
- 32 replies
-
- 1
-
-
- Victory
- Artesania Latina
- (and 1 more)
-
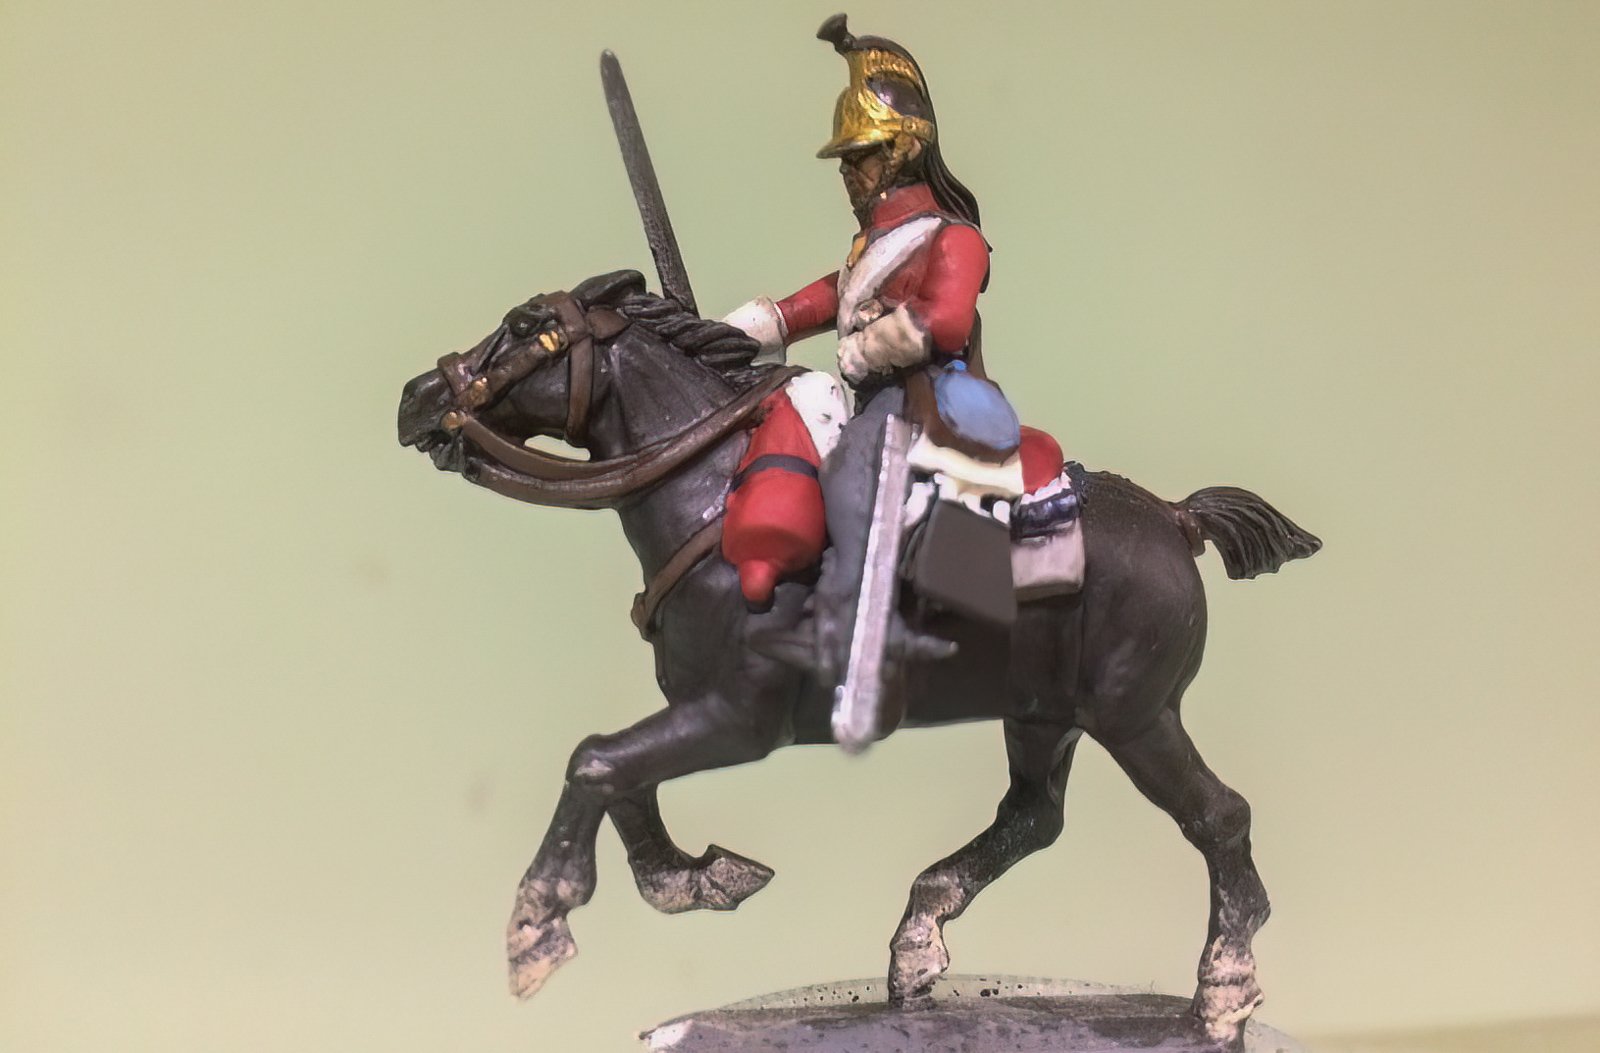
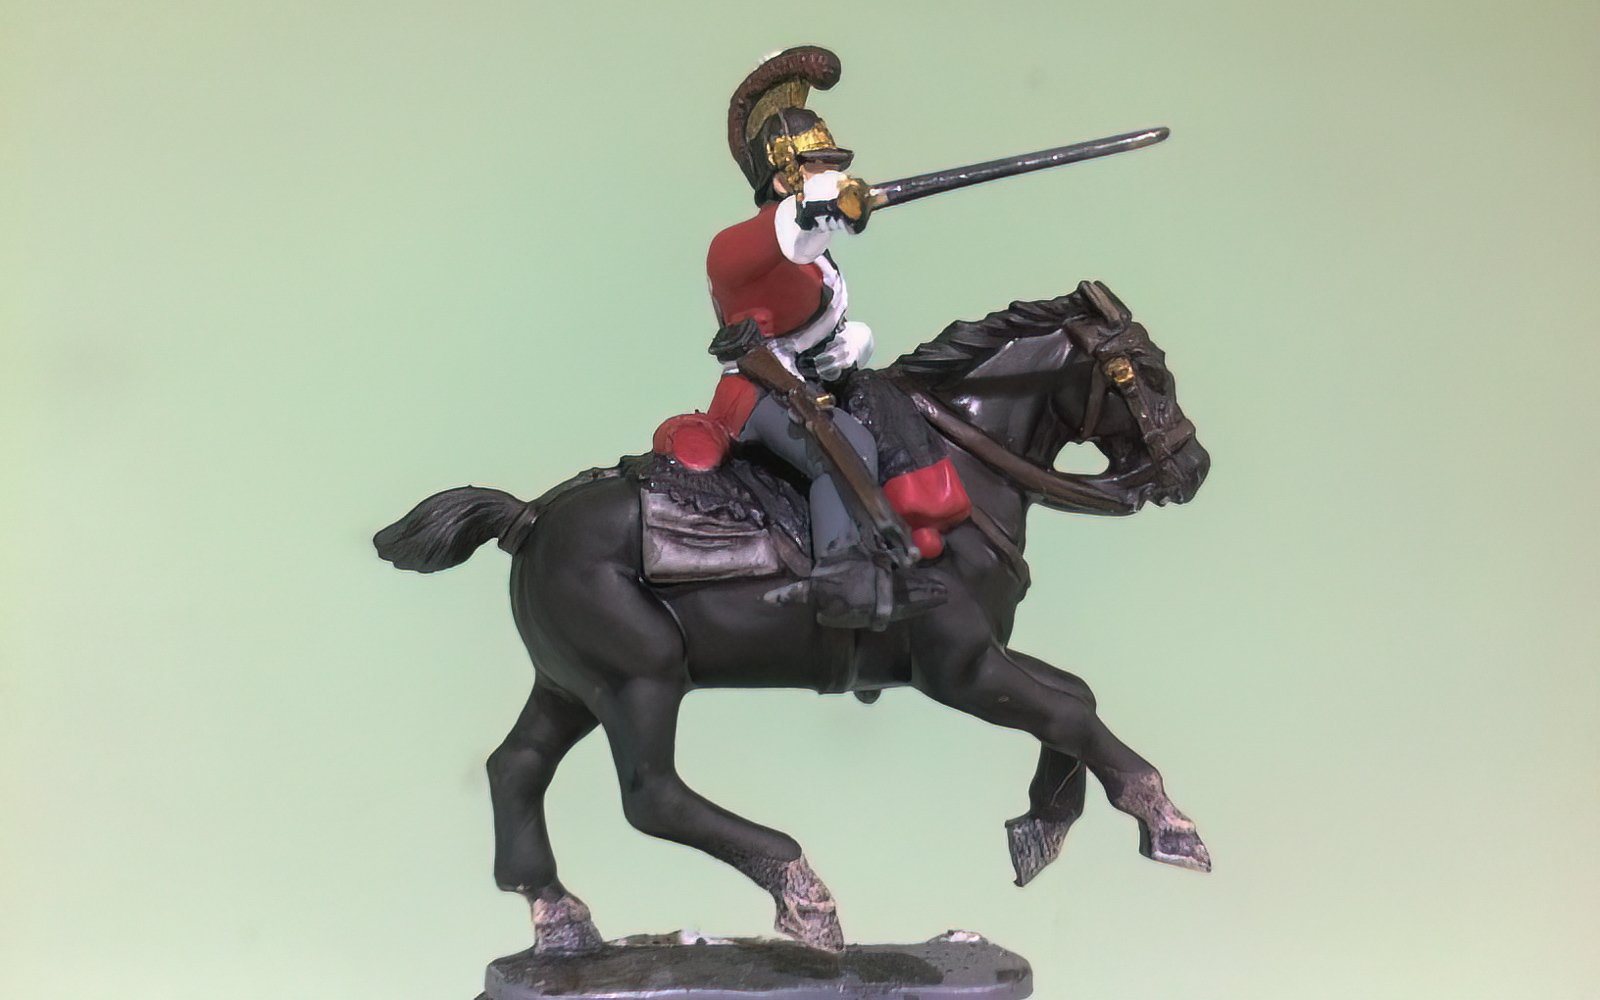
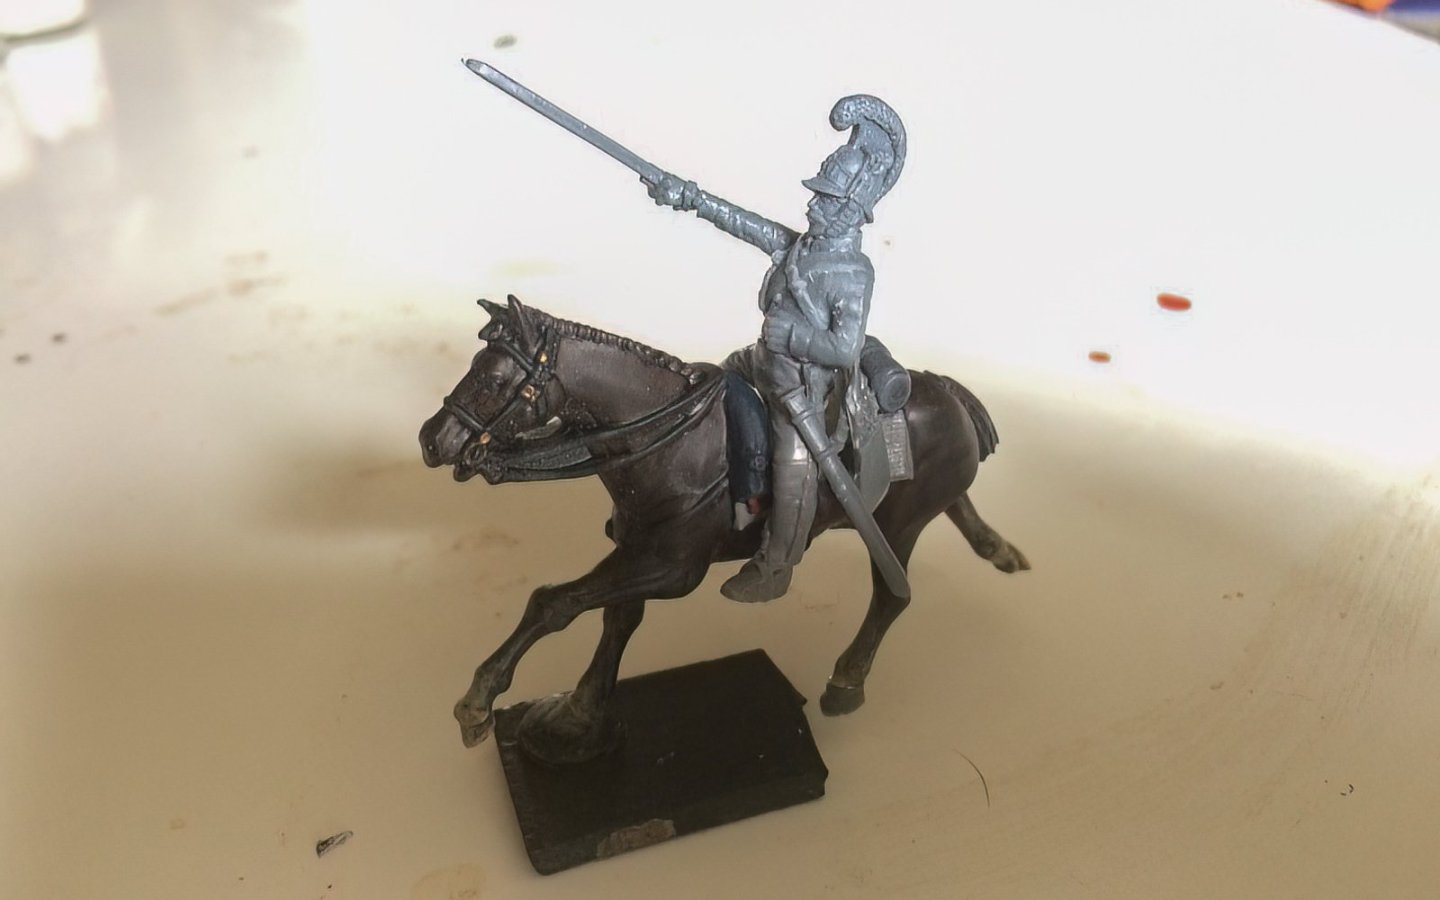
Evening all, I have been working on my LG today - I converted his steeds colour from Brown to Black, the paint is still slightly wet in places. OC.


-
So sorry for your loss of your loved one - no words can mean anything at this time - just lots of love. OC.
- 443 replies
-
- 3
-
-
- Indefatigable
- Vanguard Models
- (and 1 more)
-
Thank you kindly. OC.
-
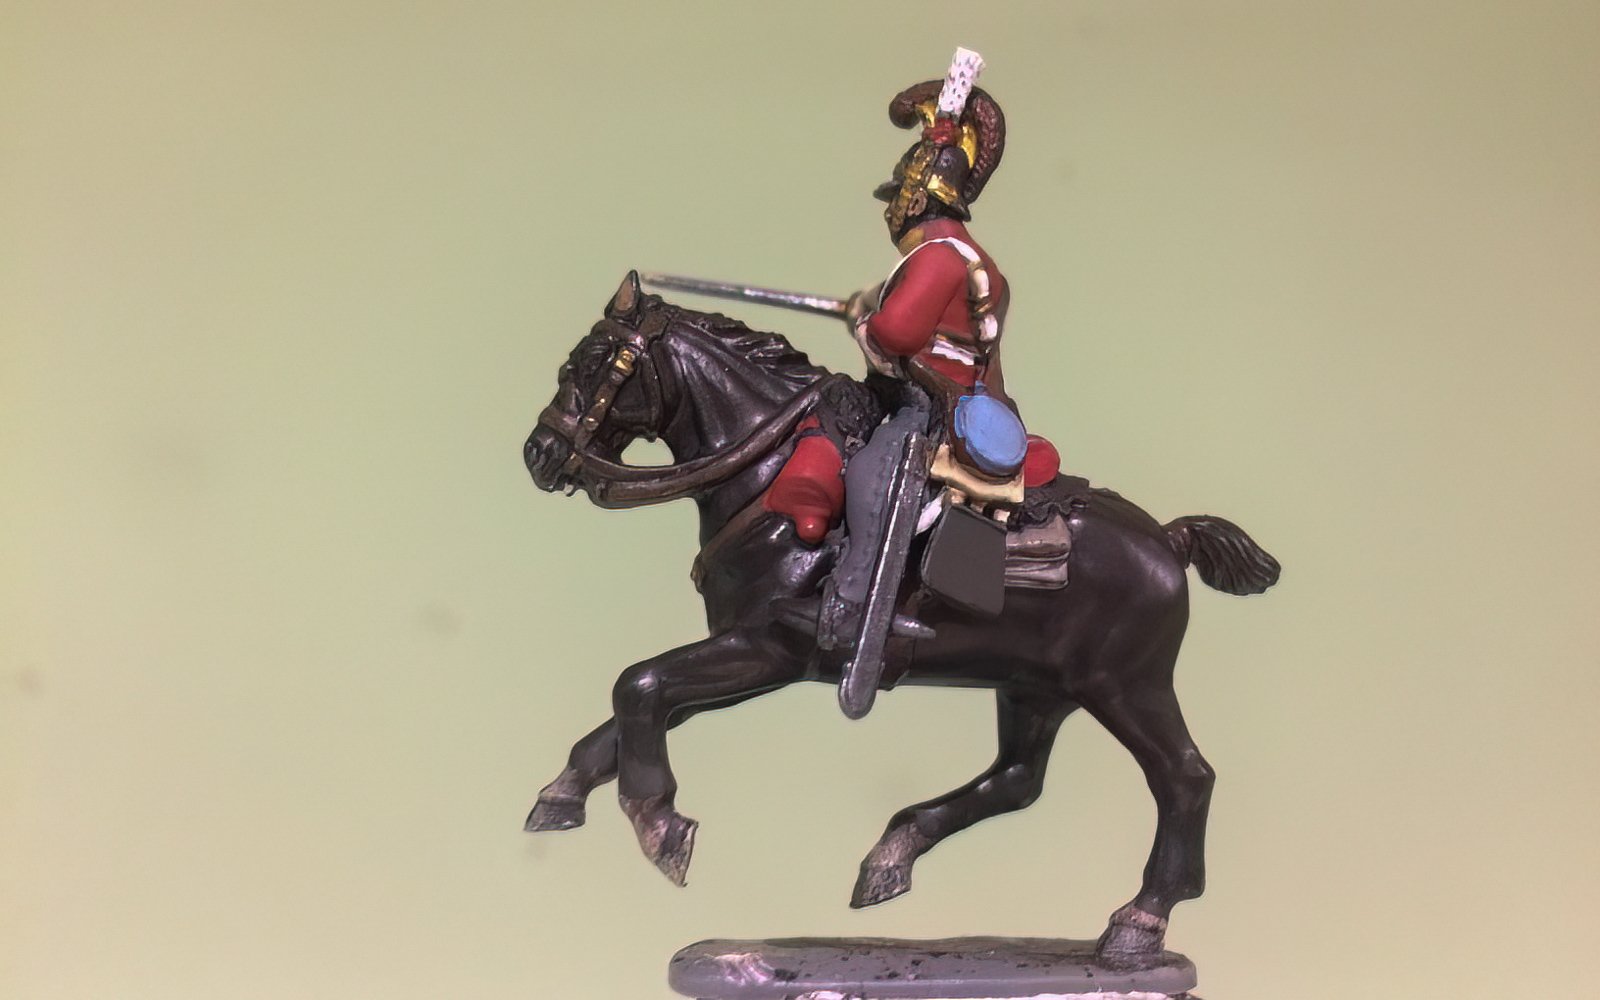
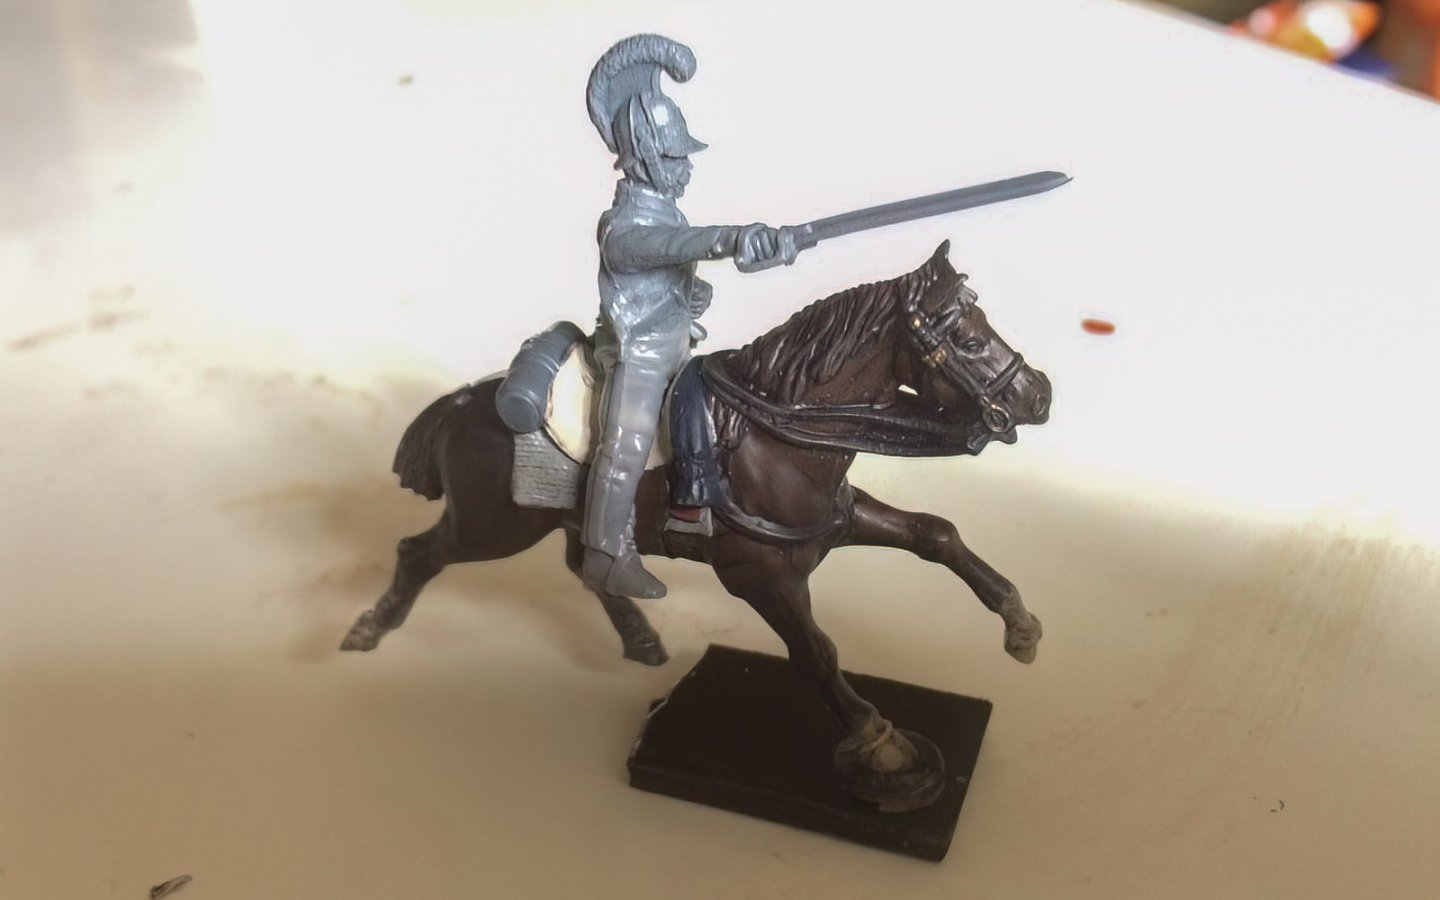
So I have made up my Royal Horse Guard from a miss match of parts - he is just dry fitted on his steed that will probably need some re painting as wel as the figure. OC.
-
After telling you all about our sad news and hearinh Kevins Devasting news about his Boi, I thought it would be ok to post a pic of our sad loss - Still miss her. OC

-
Superb work. OC.
-
If memory serves me I think the 1.5 x 3 is for your First layer of planking and the 1 x 4 is for your Second planking to go over the top of the first, as long as you have coverd the area from the keel to the top of the frames on both sides that will be your platform to start you second planking including the whale and profille planks that stick out a bit proud of the planking. Oh and then to make up the upper wall width (in my case - 3.5) after planking both layers on the hull, you can cut back the frames level with the false deck and add the inner wall planks of 1 x 3 or 1 x 4 what ever ones you choose. OC.
-
I am trying to work a wash quiry out - the washes I use on my figures (all acrylics) tend to make the Matt paint surfaces on my figures slightly shinny like a satin finish, I wonder if the washes are like a satin texture to help them flow well, I was wondering if I could mix a 50-50 mix of my acrylic ultra matt varnish in with my wash in my wet palette - wonder if it would work to stop making the figures go shinny. OC.
-
Loving these - really nice work. OC.
-
I have been looking through my stash to try to make up a single Royal horse Guard, and I have a mash-up of parts - bottom section from my old Hussars - torso and arms and head from my Union brigade, I also have a single galloping horse with the correct saddle - pack etc - it should work (perkaps......) OC.
-
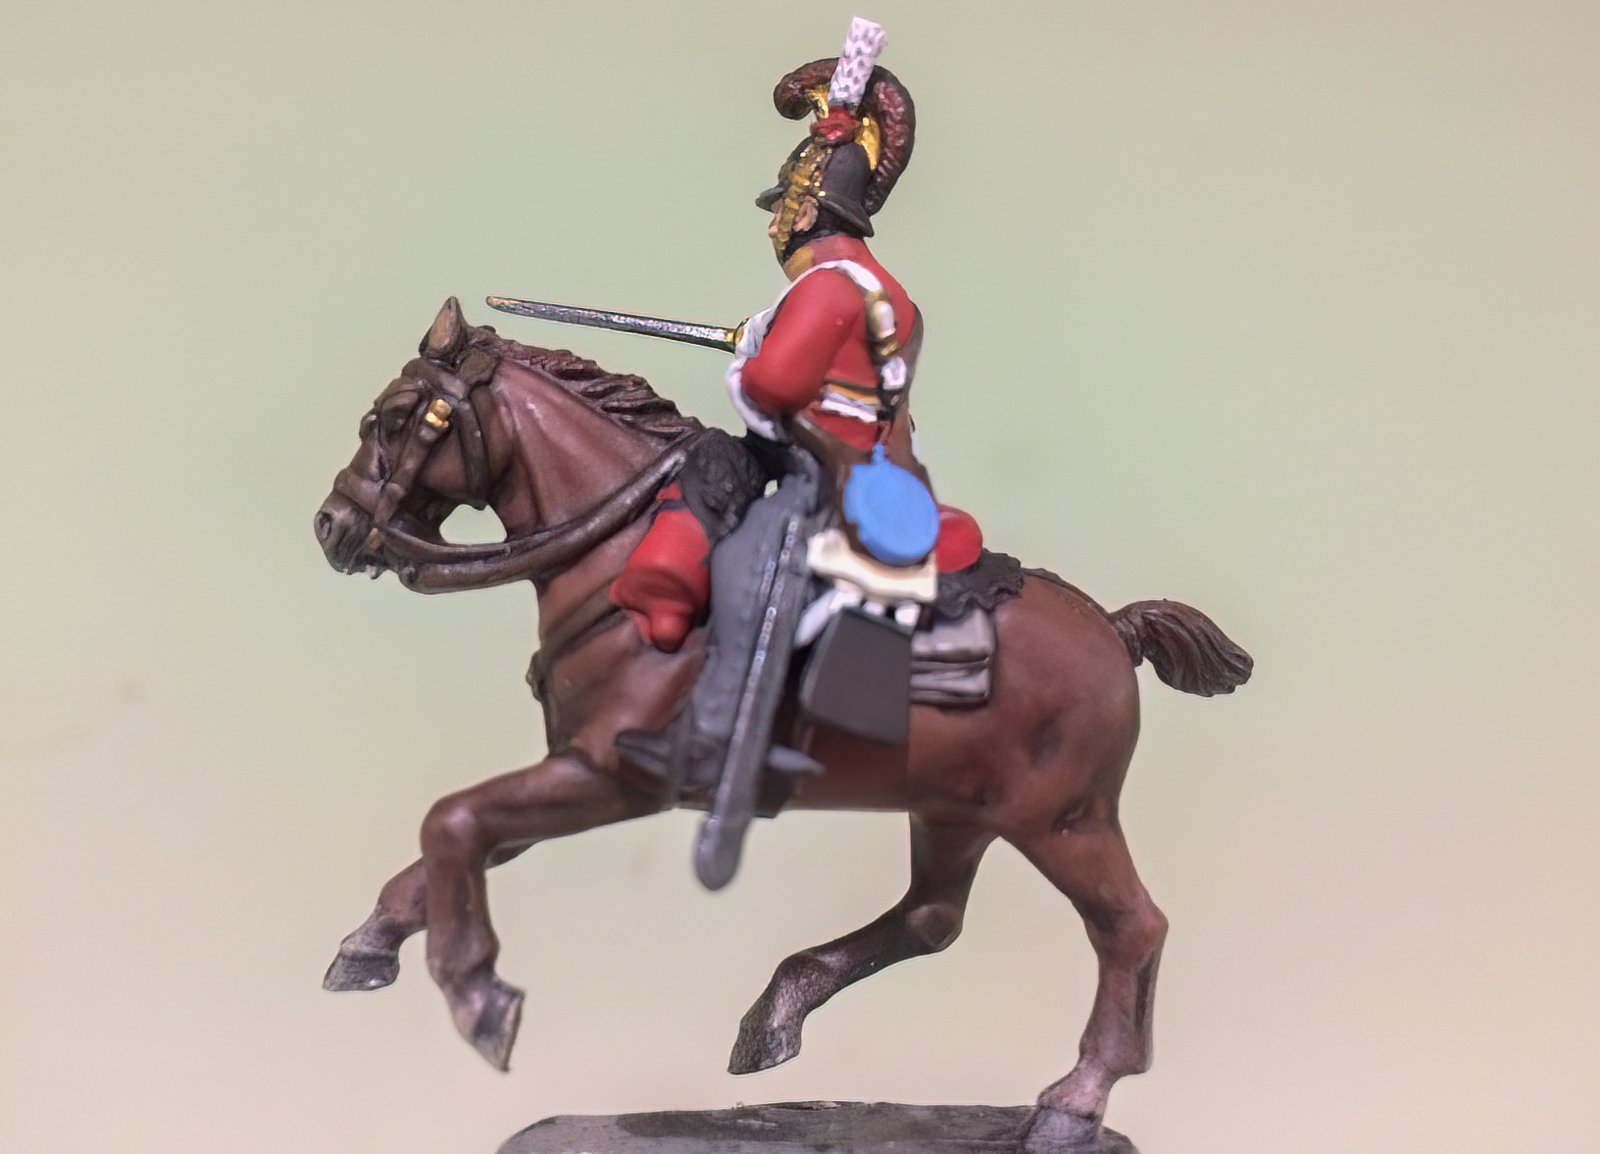
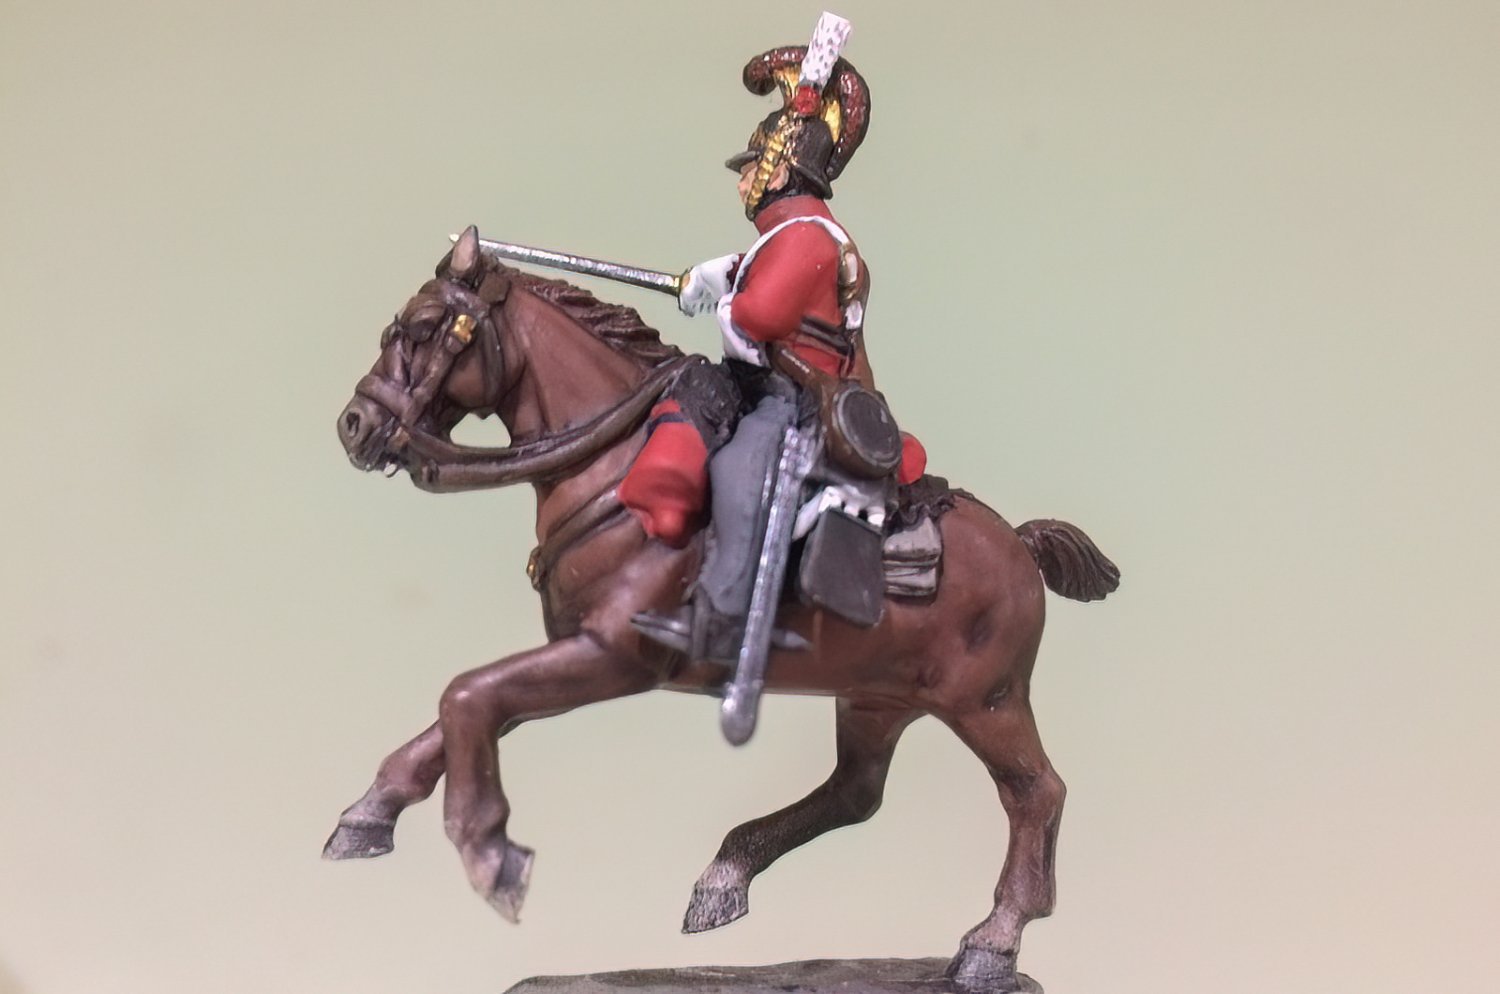
I have decided after doing some research - to change the colour of the Horse under my LG as it should really be a Black large horse and not a Bay, also I have decided to add a single Royal horse Guard, as they where also involved in the mass attack on the French lines, he will be placed near the kitchen gardens hedge. The Blue in the jacket below will be darker as it will be just a Dark Blue. OC
-
Excellent work. OC.
-
Sorry about the quality of the pictures (hand (((shake))) still more progress some Yellow in places White on one of the belts, Haversacks and water bottles done. OC.

-
Thank you kindly Alan. OC.
-
Looks like a nice sharp kit. OC.
-
This sure is showing to be The Best kit of the Sea King - looking so nice. OC.
-
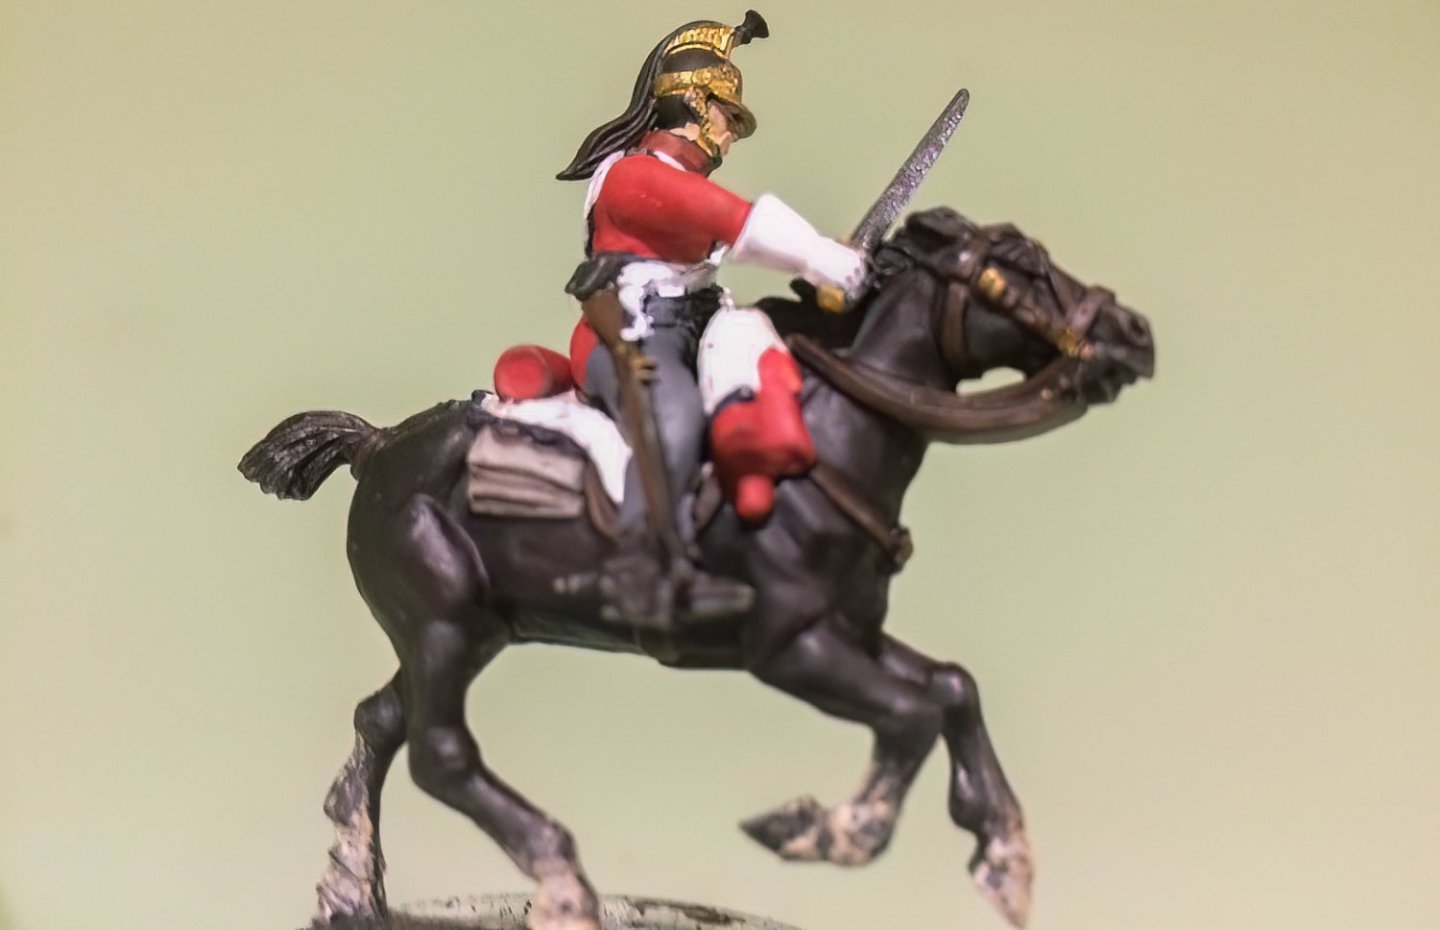
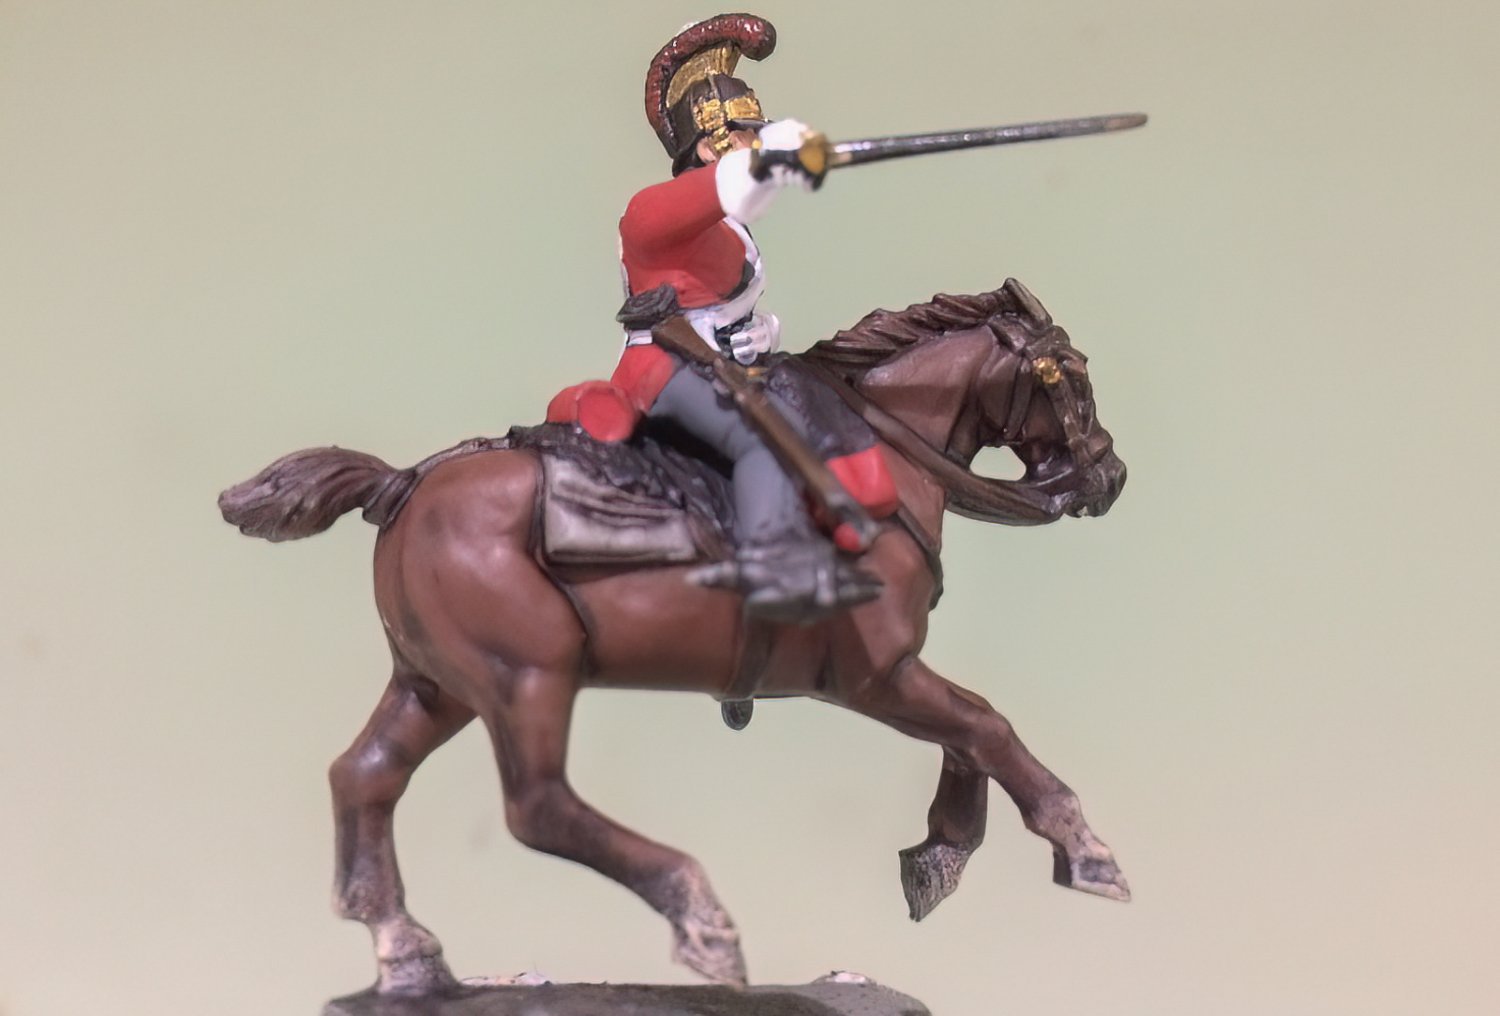
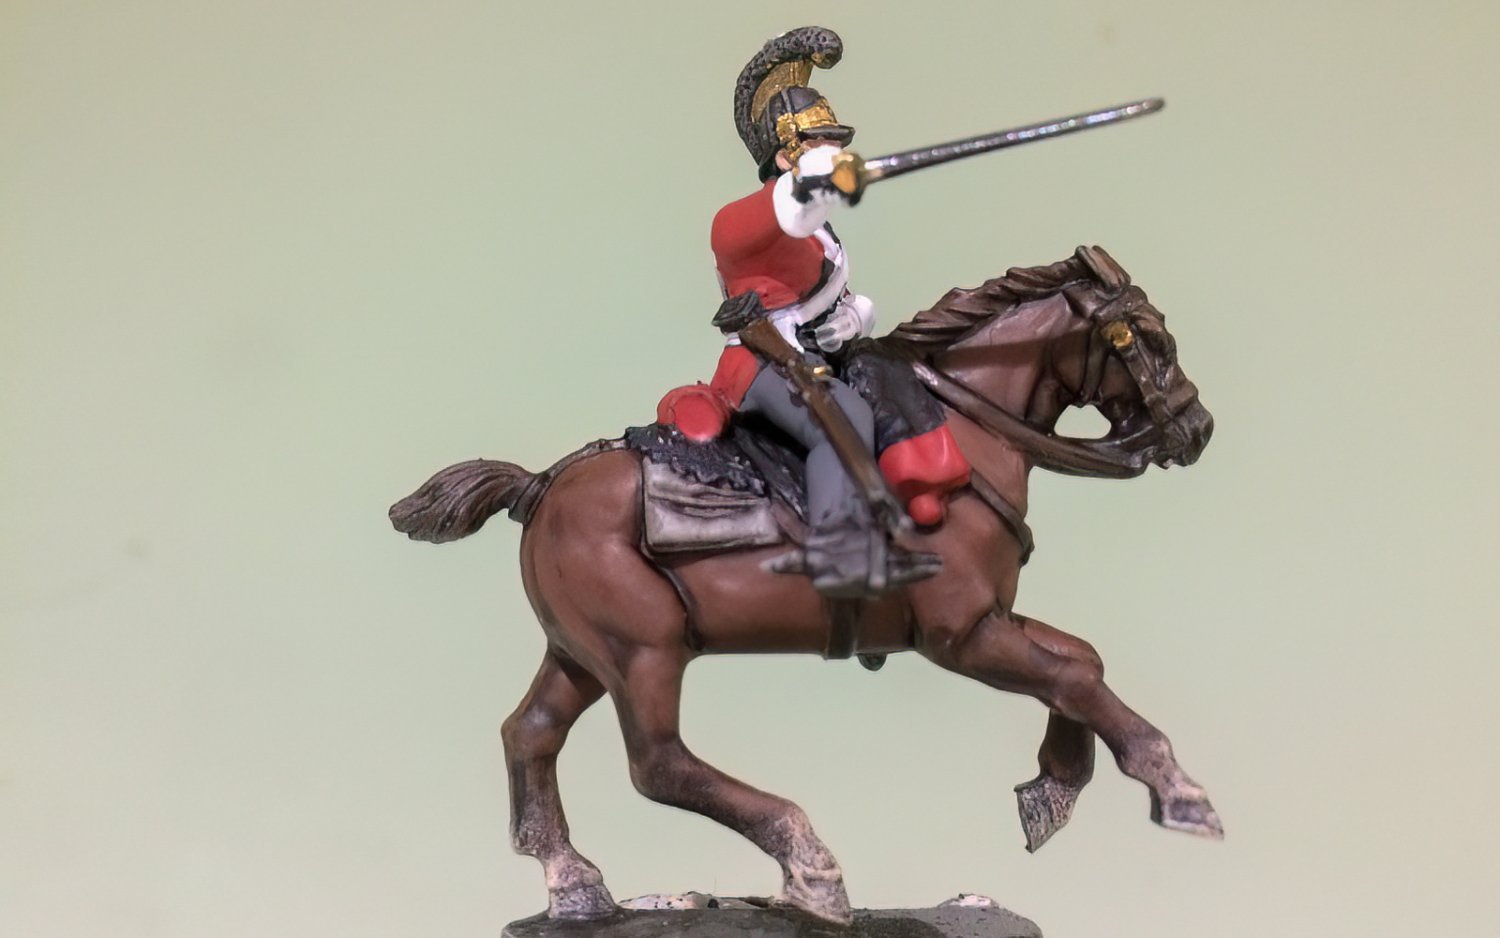
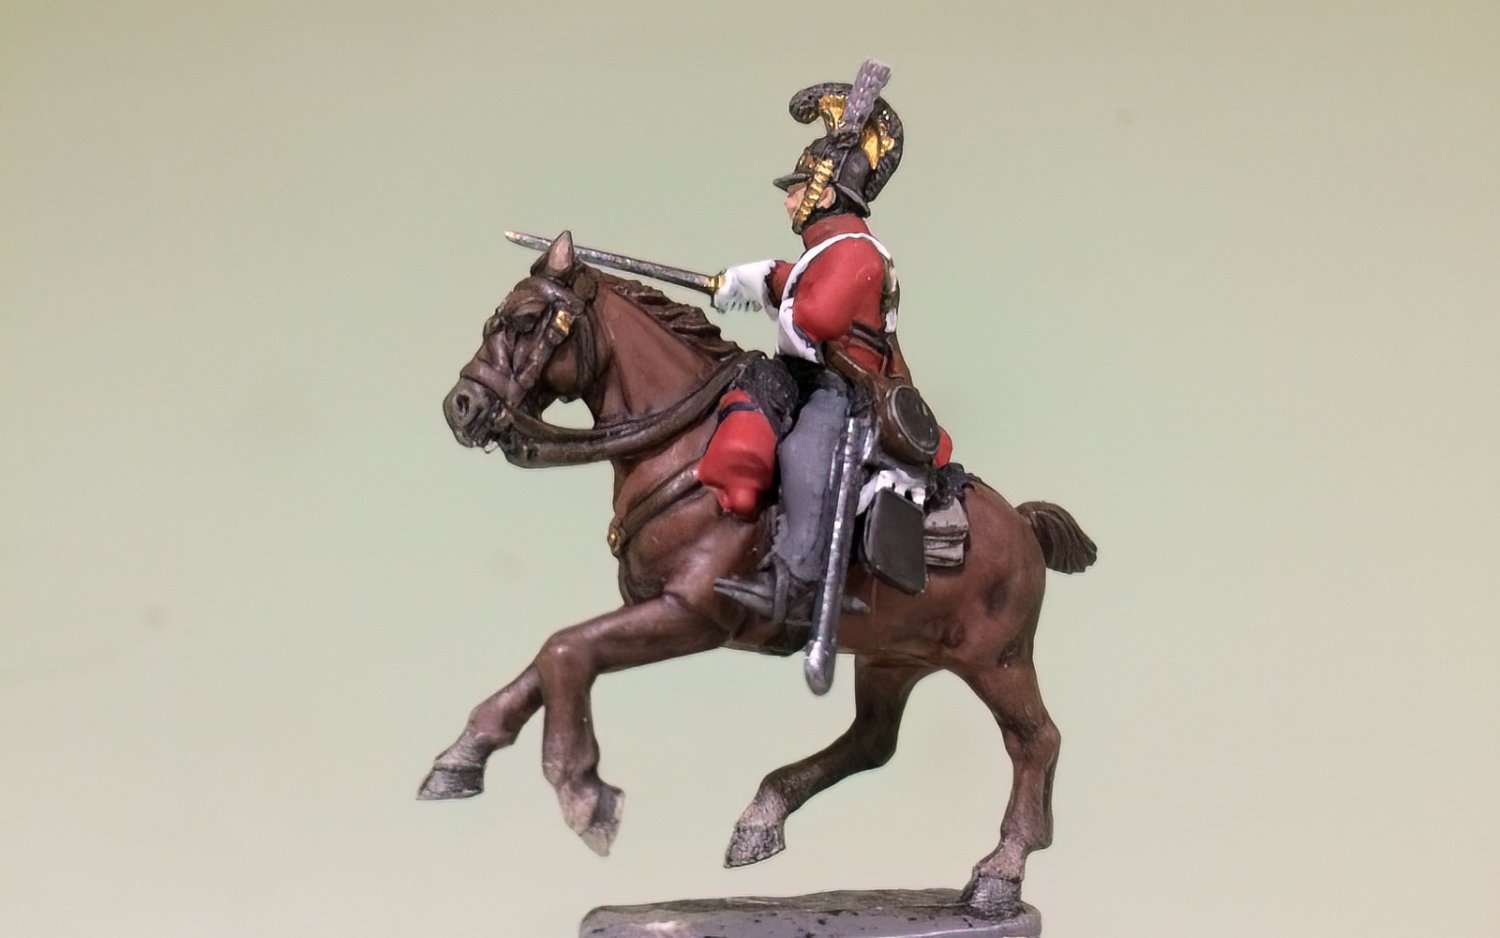
Evening all, a wee bit more progress - I have been working on the Life Guards helmet main centre crest Black with a Red strip running along the centre (will need flat coating later) also I have painted his plume Red and White. OC.


-
Still more work on my Cavalry duo - I made a plume for the Life Guards helmit as it was missing one, the gloves have been painted as have the swords - coming on. OC.