Old Collingwood
-
Posts
11,493 -
Joined
-
Last visited
Content Type
Profiles
Forums
Gallery
Events
Everything posted by Old Collingwood
-
Here's an idea that might help all of us who try to pick up flat tiny PE, with tweezers - Get a narrow section of dowel - perhaps 2mm thick, cut a small piece of low tack tape like tamiya tape or poss painters low tack tape, use strong super glue to attach the none sticky side to the end of the dowel (that needs to have a flat end) when fully set trim the tape to match the round end of the dowel. We should now have a useful PE pick up tool - small enough to see what we are doing. OC.
-
Or perhaps something that could work by static or even part sticky like low tack tape on the end of a tool. OC.
-
Tell you what would be useful - a magnetic fine tool with a small round flat end, with just enough strength to hold the piece of pe till it was placed on the small dot of ca, then able to release it. OC.
-
 Bet you dont know whats its for? OC.
 -
ICM 1/48 Spitfire MkIX Scrapped.
Old Collingwood replied to Old Collingwood's topic in Non-ship/categorised builds
Thank you denis, fiddly little parts but patience was my best friend. OC. -
ICM 1/48 Spitfire MkIX Scrapped.
Old Collingwood replied to Old Collingwood's topic in Non-ship/categorised builds
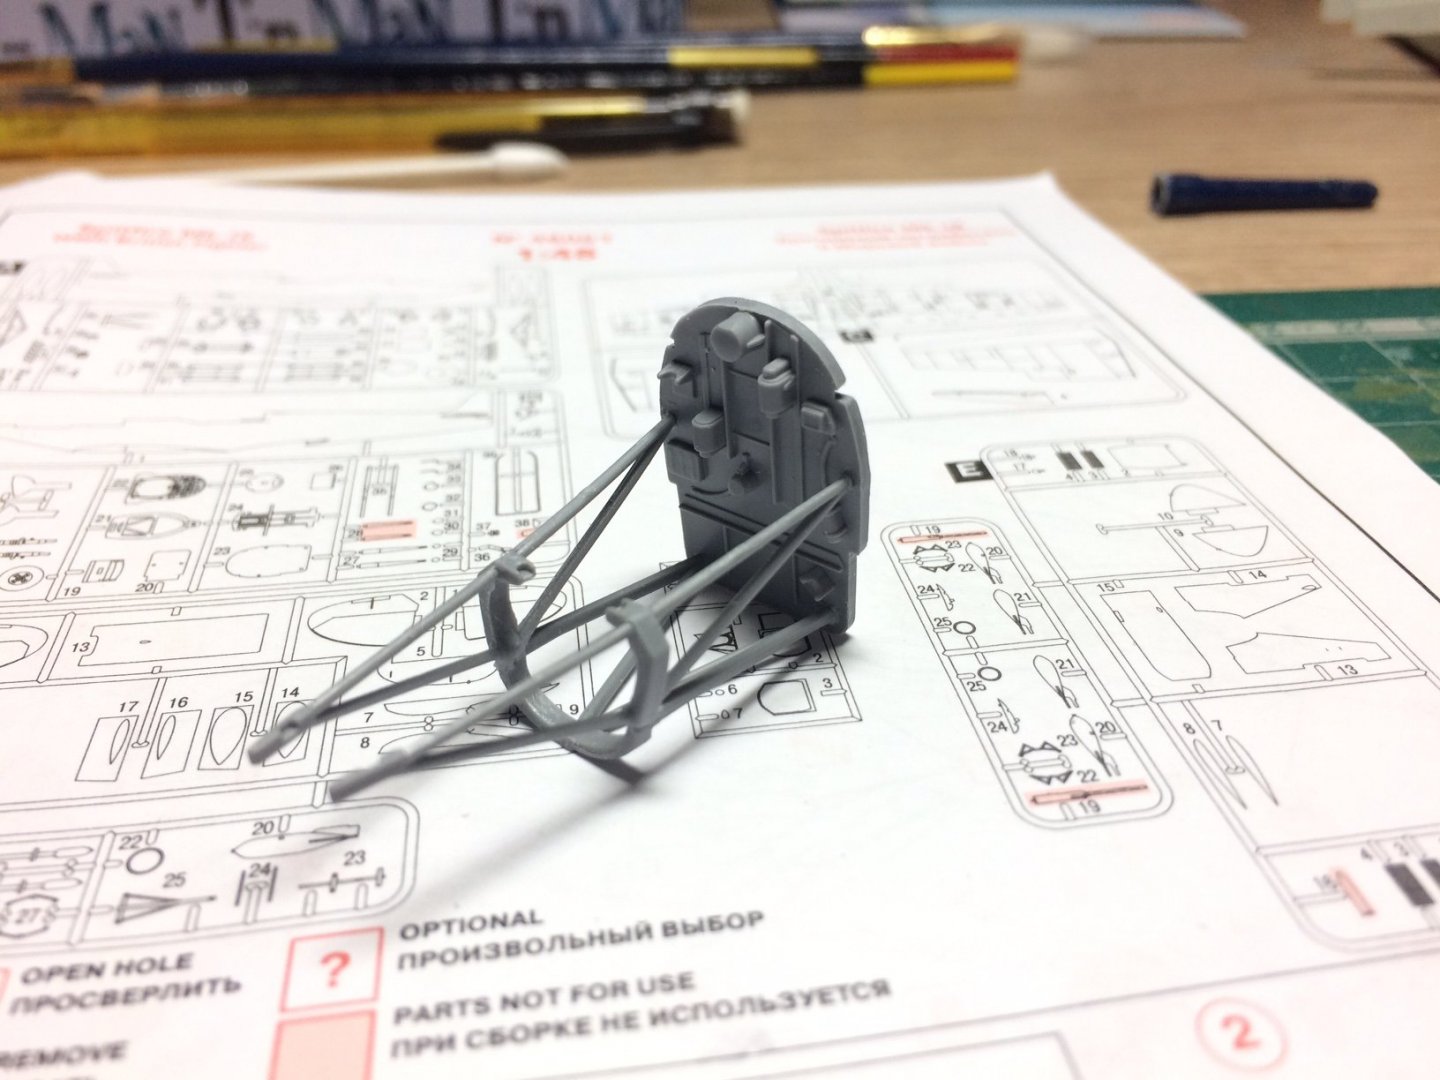
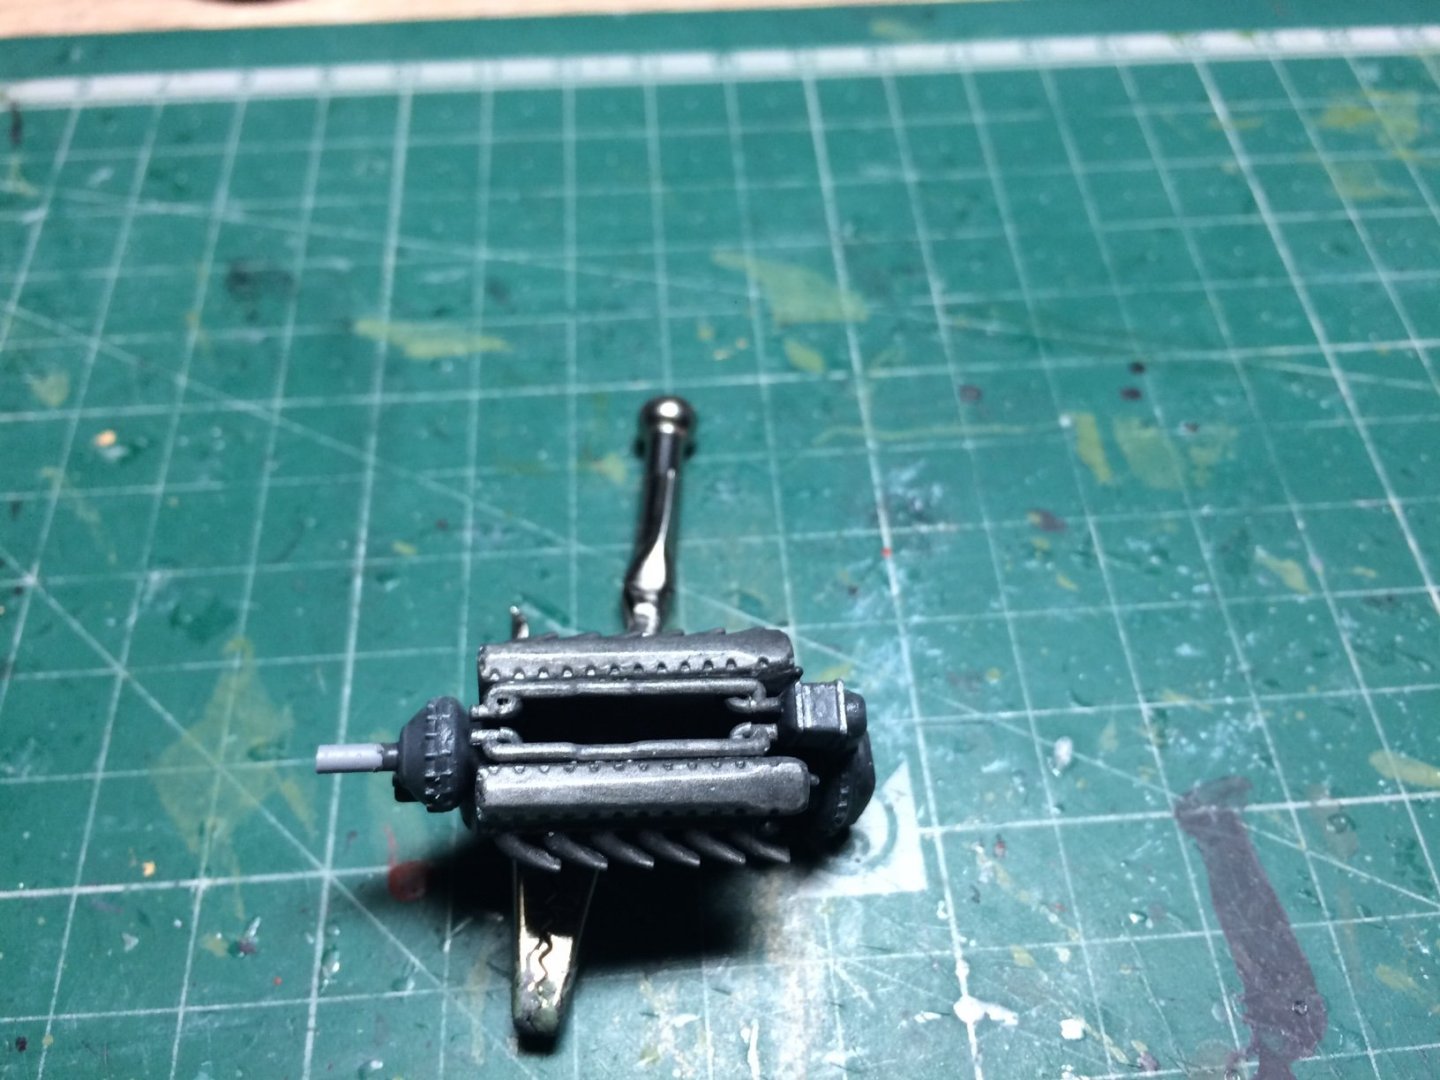
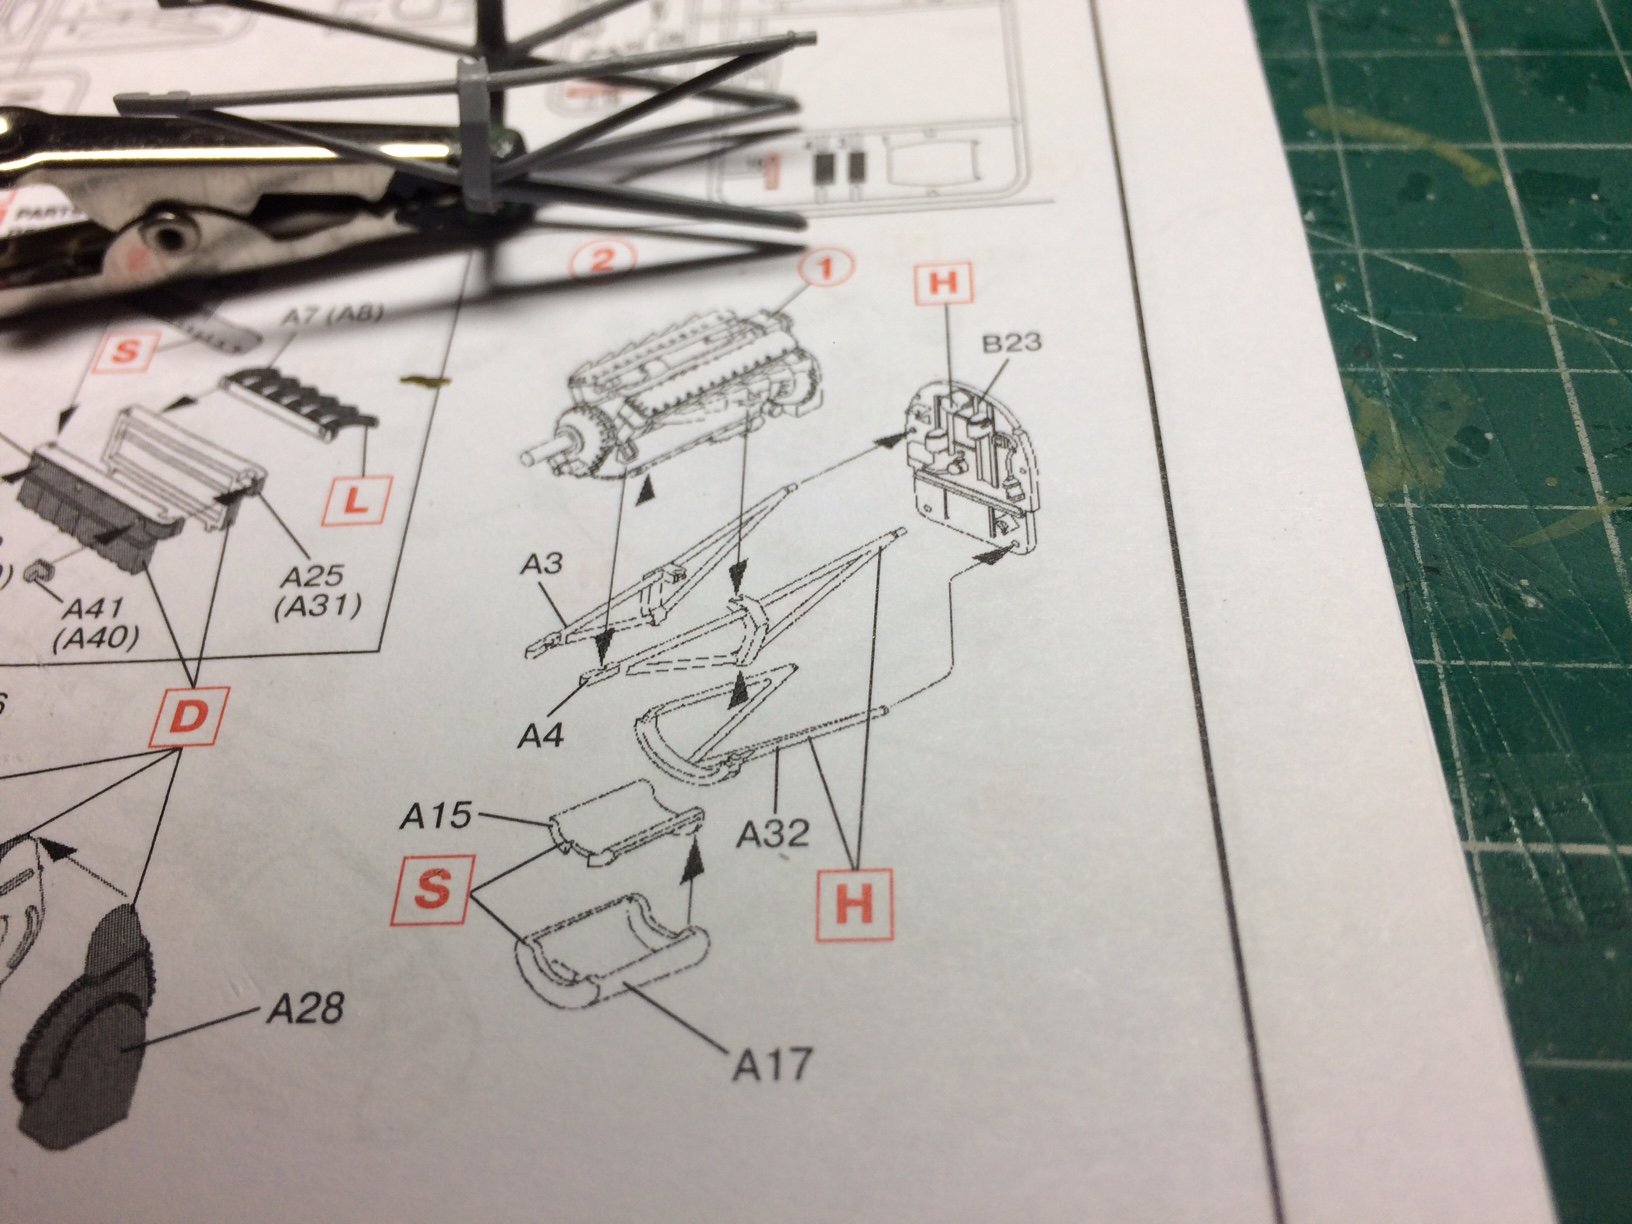
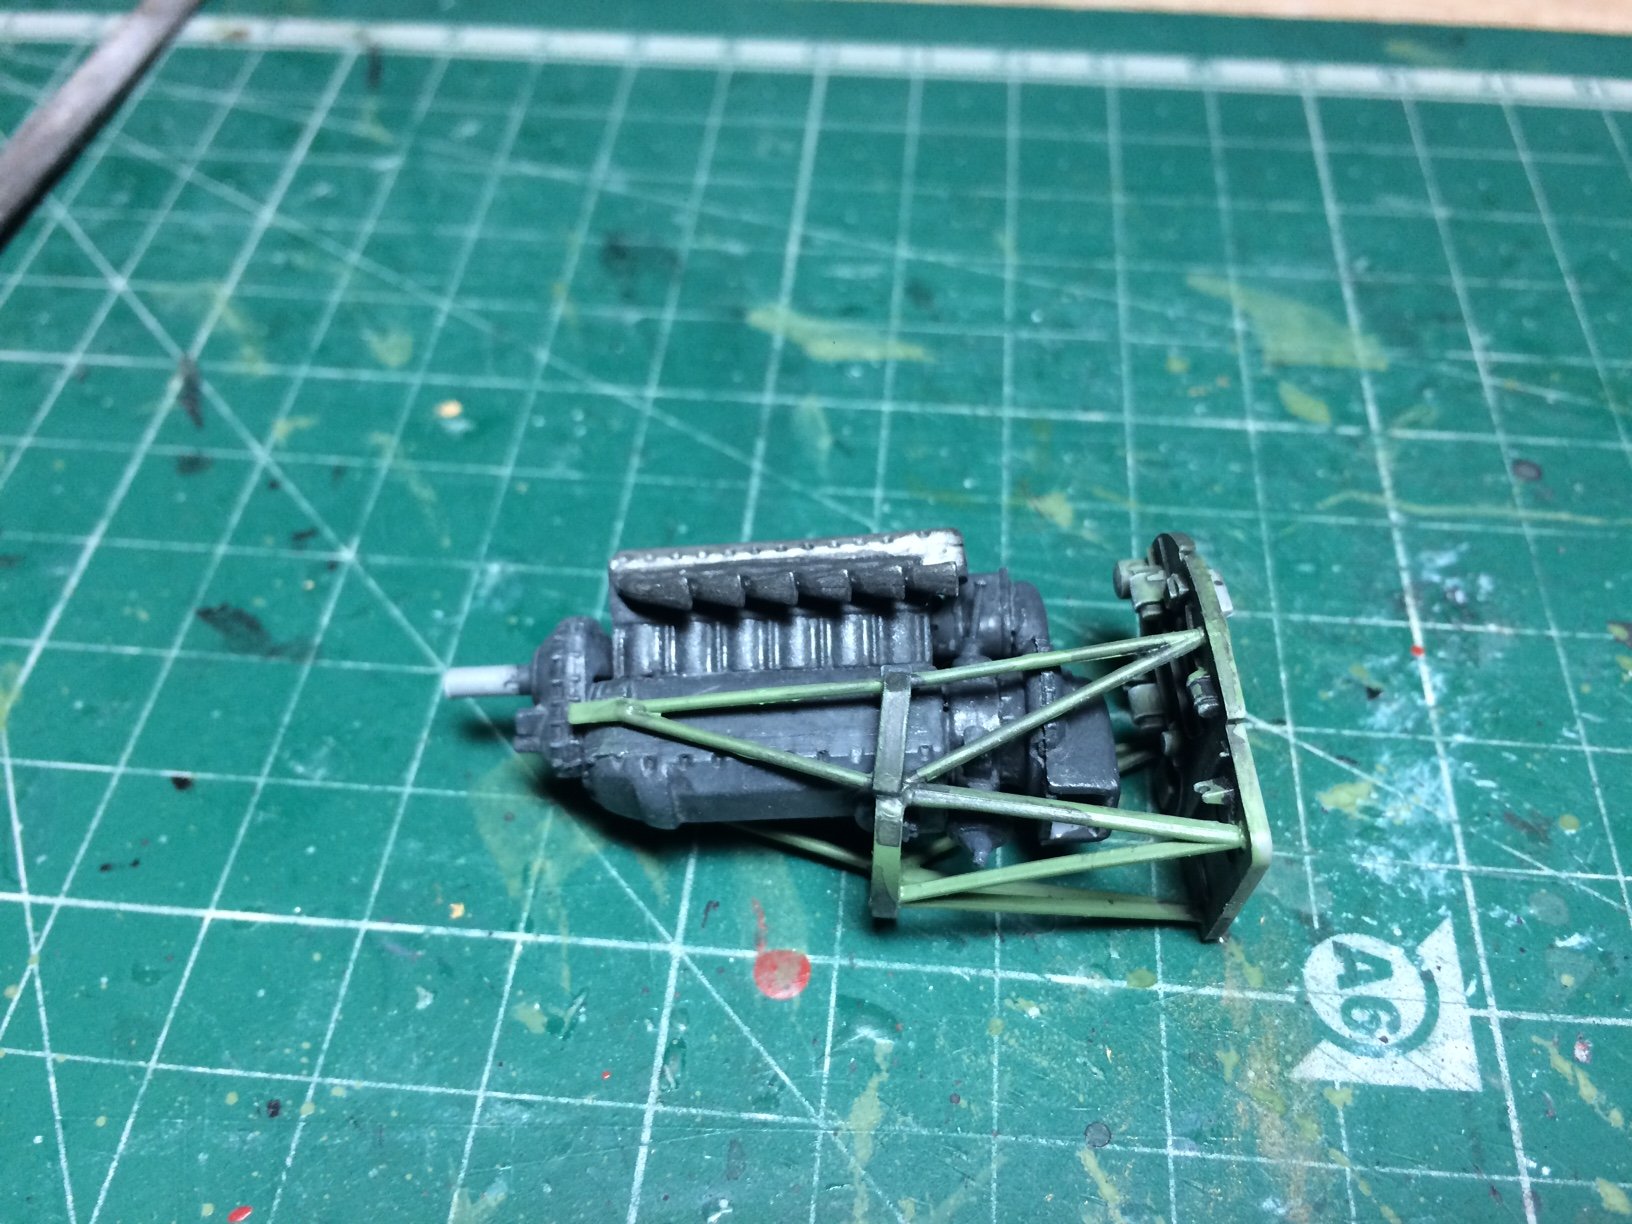
So after dinner I carried on - next up was the cradle, this comes in three sections and the firewall - I had to glue the one side to the main section (this had to left secured while it set) then after an hour or so I glued the other side, this was put a side while cleaned up the fire wall - then I positioned the cradle and glued it to the firewall (this strengthened the cradle up). Then it was a case of painting the cradle and firewall the same cockpit green as the inside of the Mossie (it is a generic RAF interior colour) then a bit of a dirty wash followed by some dry brushing. OC.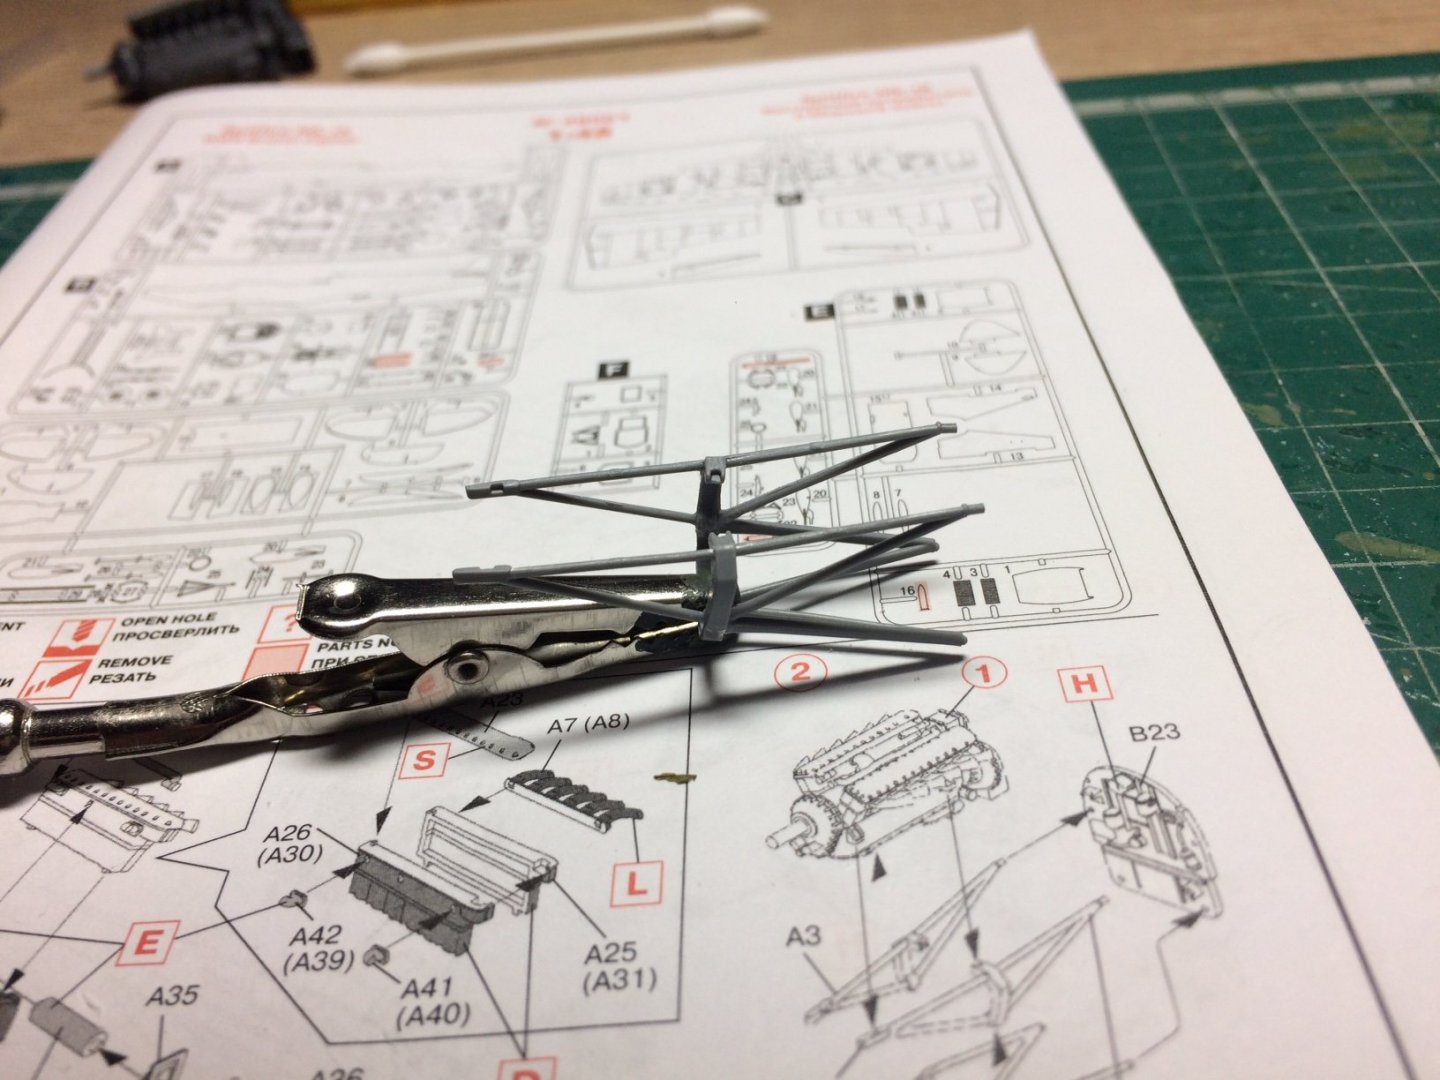


-
ICM 1/48 Spitfire MkIX Scrapped.
Old Collingwood replied to Old Collingwood's topic in Non-ship/categorised builds
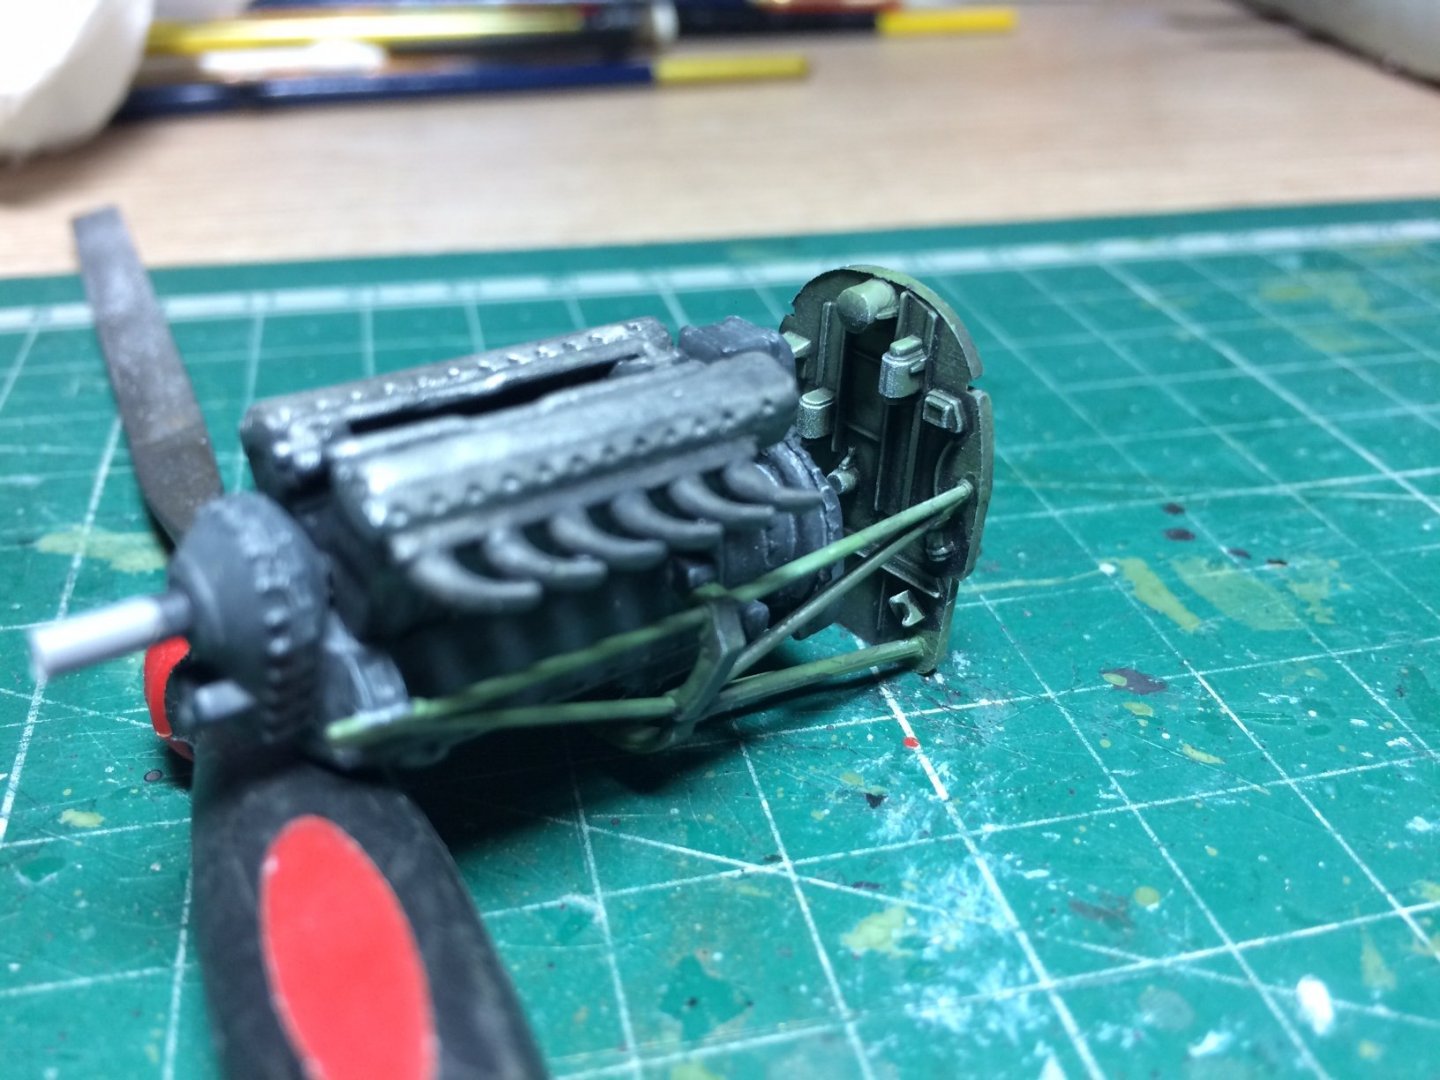
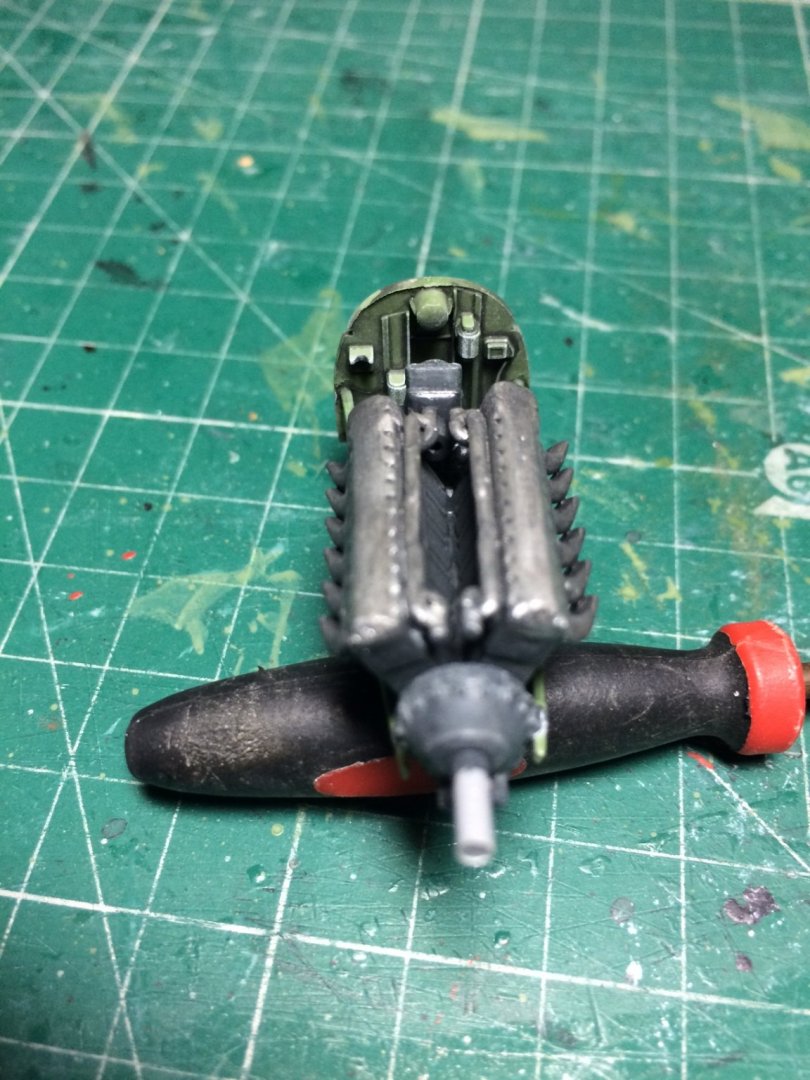
Hi all, another rainy day so the mossie remains un painted, so back on with this, I managed to finish assembling the Merlin then paint and weathering - so the power plant is complete but Im currently working on the engine bay cradle for the merlin. OC.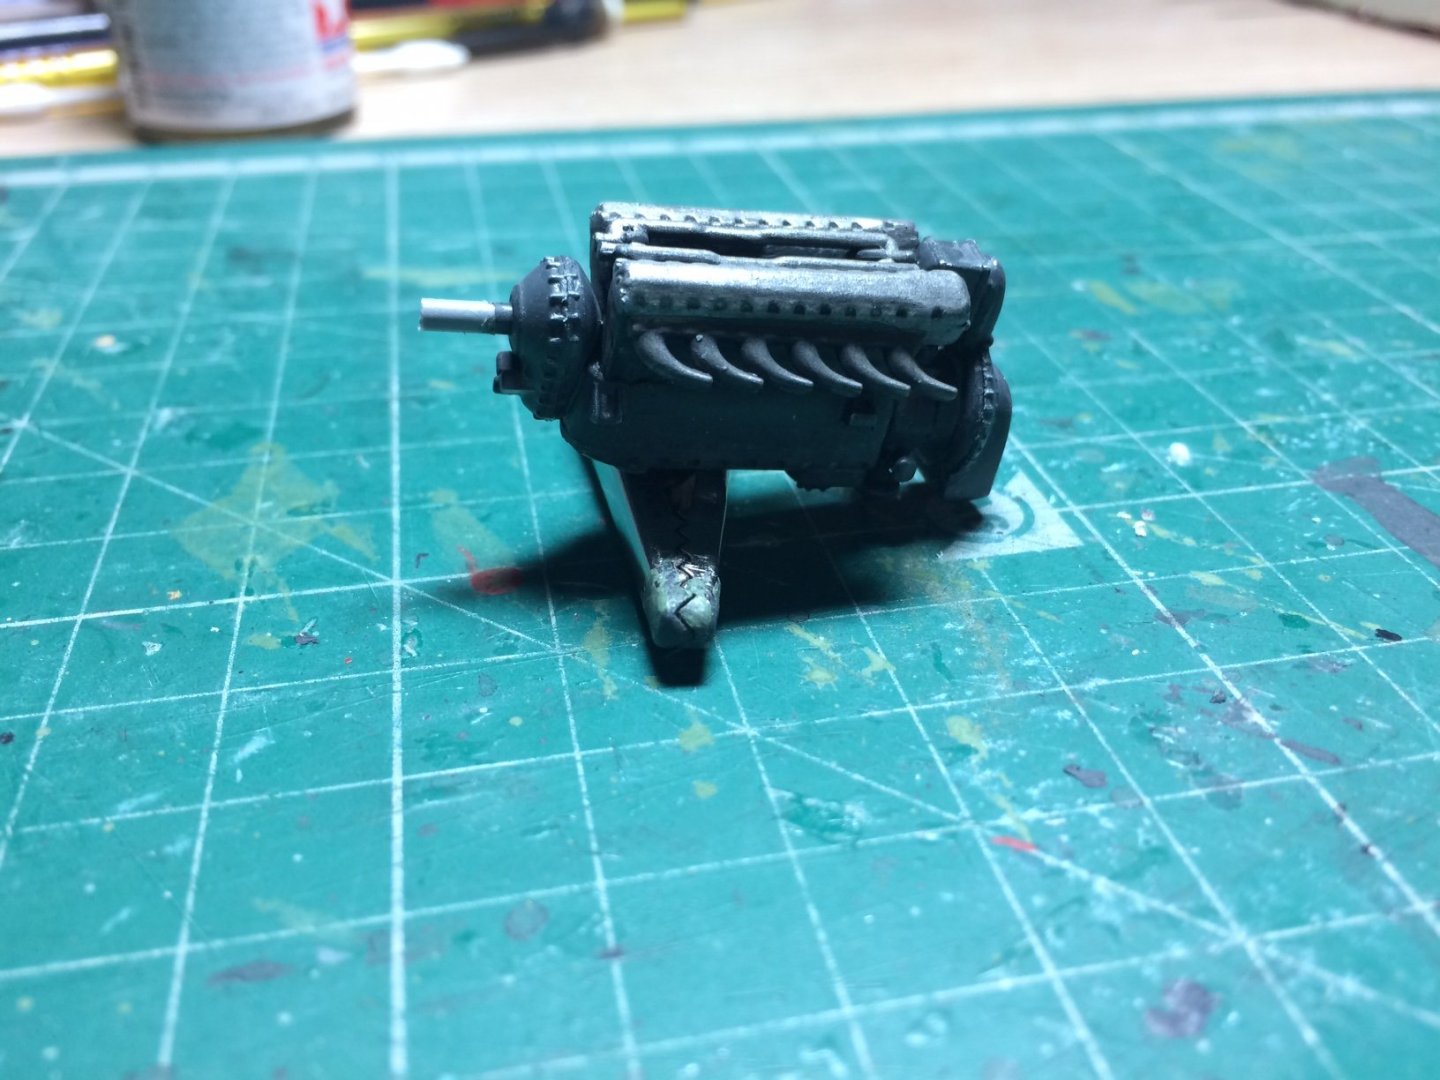
-
Thanks mark. OC.
-
As part of my tribute to my late farther I will soon add a Hurricane to my build logs as he also worked on them, I remember him telling me the Hurricanes were the work horses and the Spits were the fast boys toys, I think the Three would make him proud. OC.
-
Very nicely done jack - its so looks a treat outdoors in the good light. OC.
-
May have to think about that one, bet there are a few German ones that the MOD got there hand s on also. OC.
-
Great work denis - its becoming a lovely tribute to the Fortress, thank you for the link as well. OC.
-
ICM 1/48 Spitfire MkIX Scrapped.
Old Collingwood replied to Old Collingwood's topic in Non-ship/categorised builds
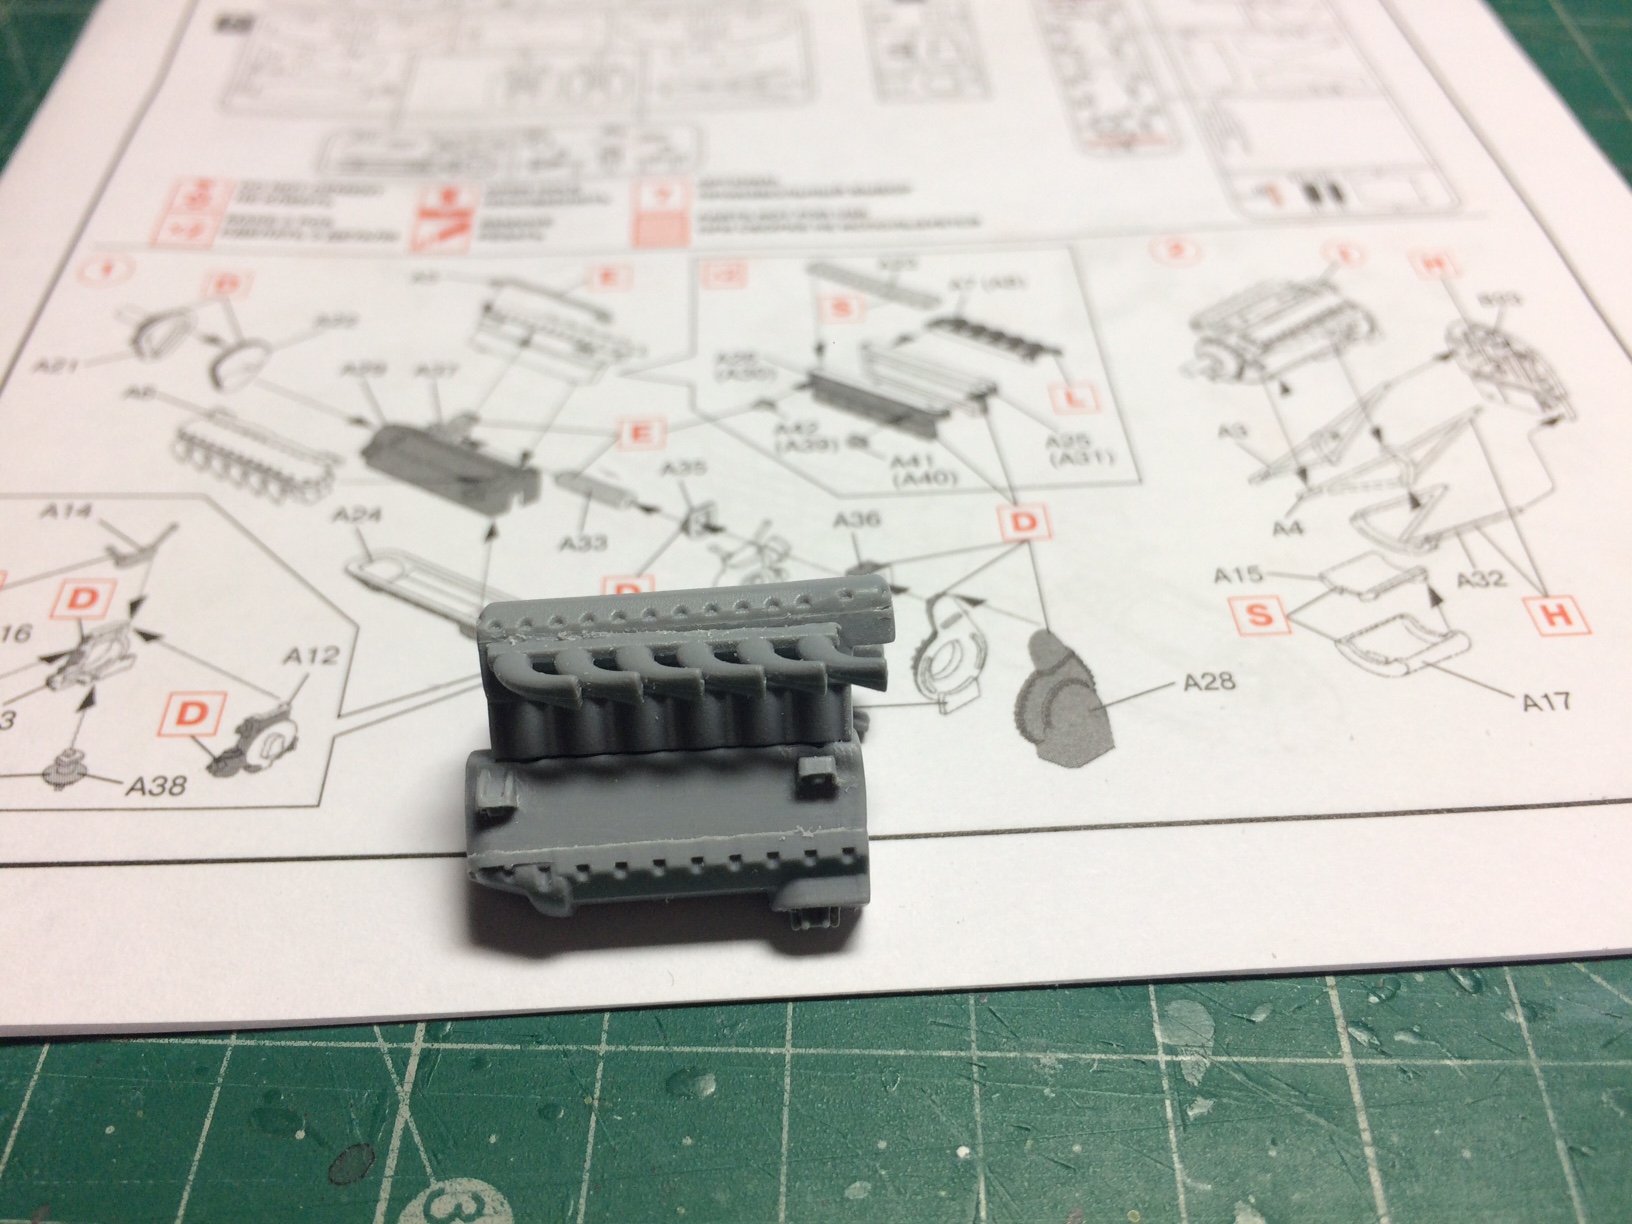
Evening all, So I decided to start this today - the kit calls for the power plant to be assembled first, its a lovely rendition of the superb Merlin, it starts with the lower end and sump, to this are attached the two lower cylinder heads and to each of these the exhaust manifolds and oil feeds, I still have more to add before I start painting and weathering. OC..thumb.JPG.7adf3b30fe5b6dd886e1384073be18c7.JPG)

- 40 replies
-
- 10
-

-
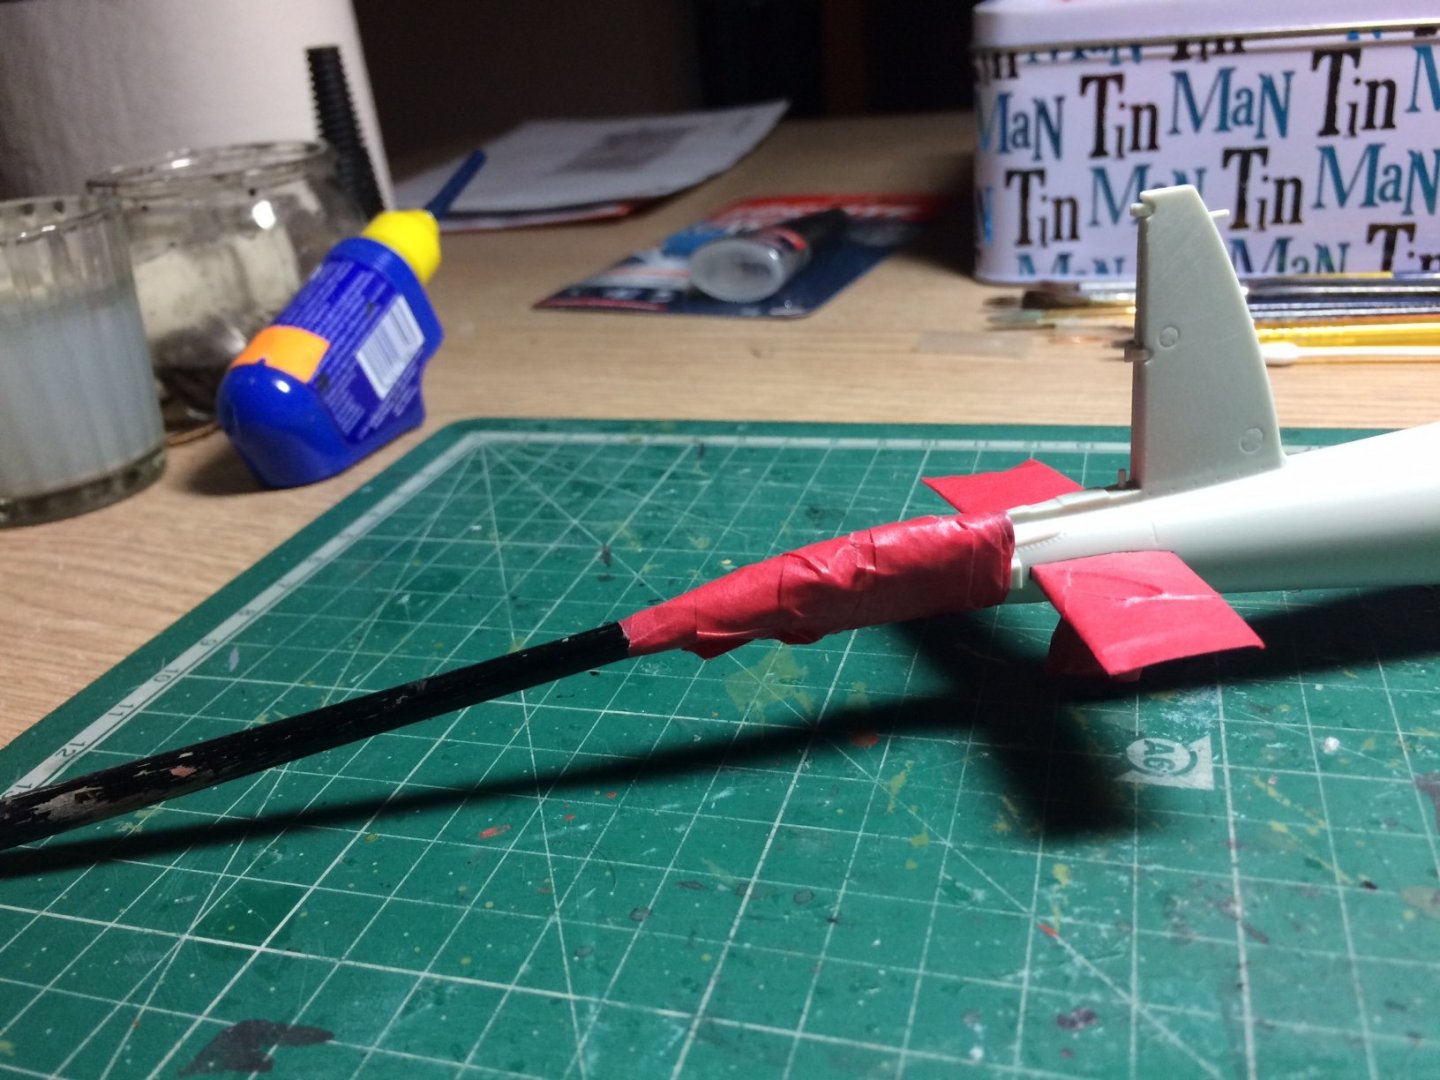
A tiny bit of progress today - I have decided to build her on a little modification - during the Bomber Mosquito's missions it had a secondary role where by it operated as as towing escort for damaged planes from spits to mosquito's, during the war there was a surplus of giant paint brushes that came in perfectly for use as towing handles................. OC.
-
Thanks Mark. OC.
-
B-25 Mitchell "Meet Miss Runyon" by Javlin-HK-1/32
Old Collingwood replied to Javlin's topic in Non-ship/categorised builds
As craig said she is looking super. OC. -
Thank you kindly for looking in. OC.
-
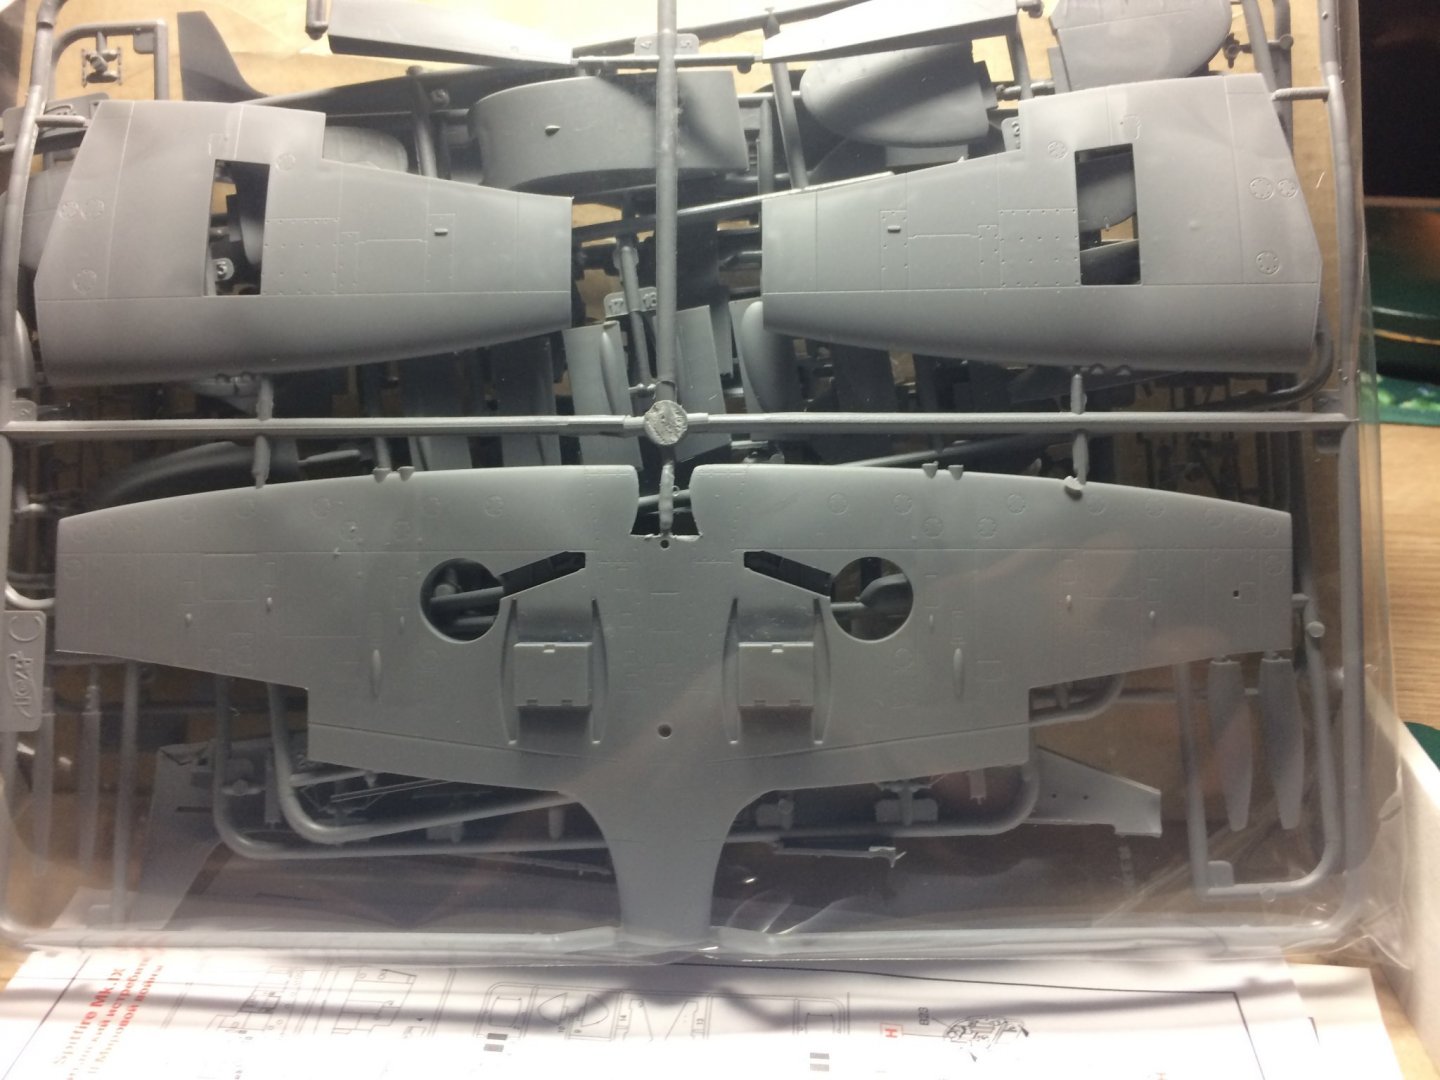
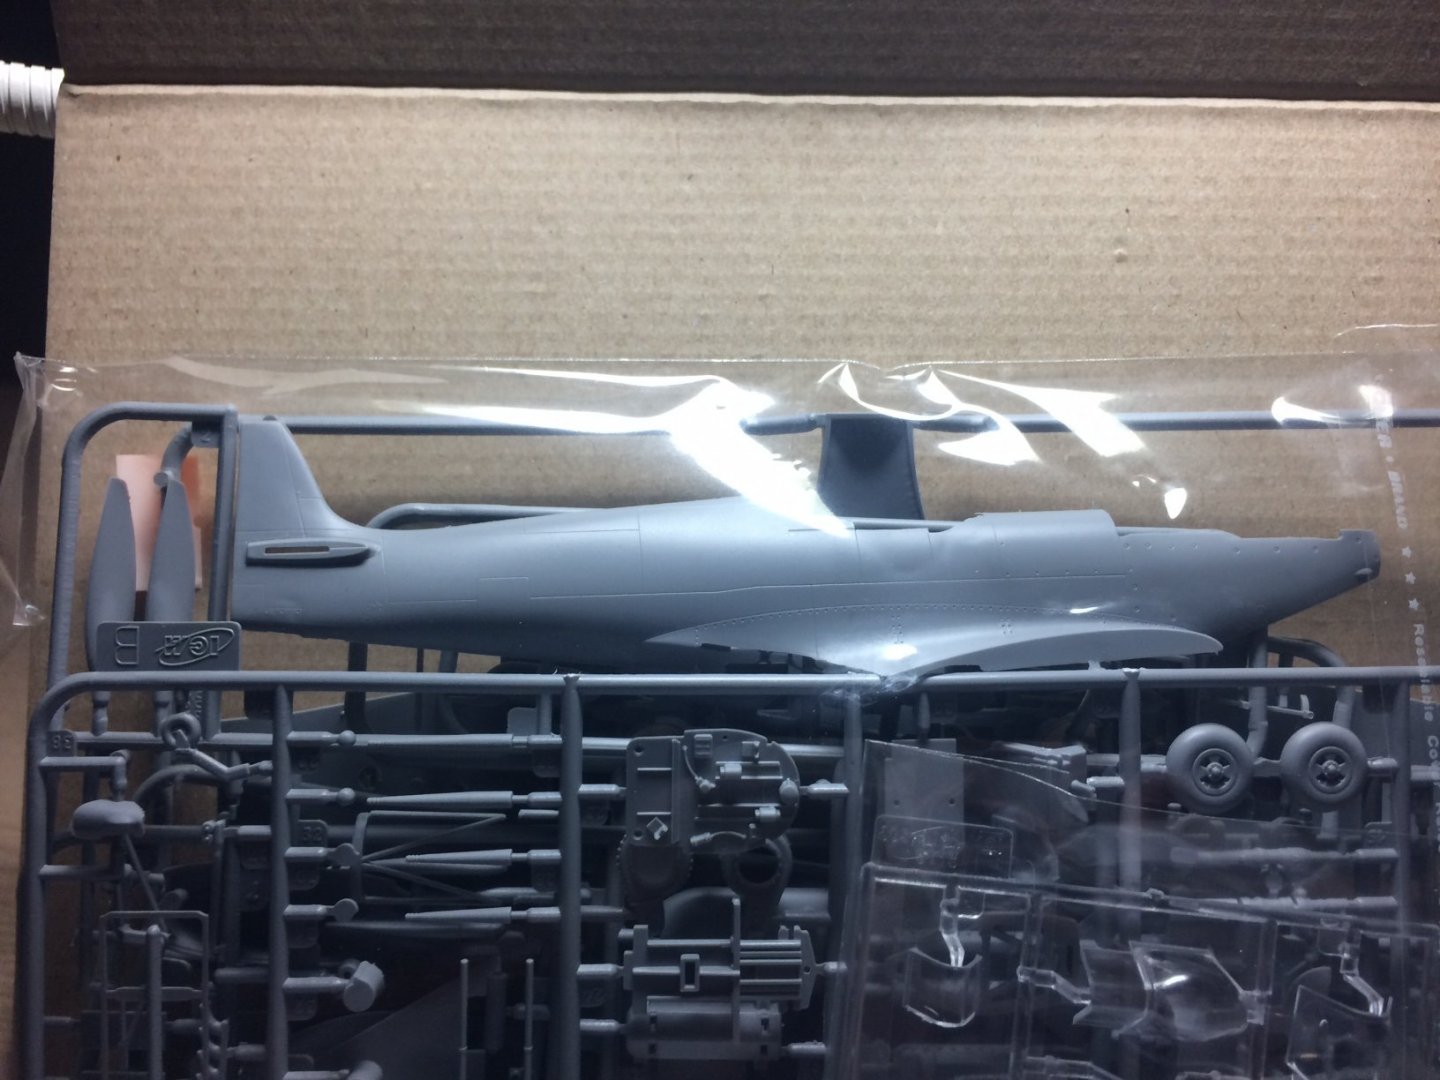
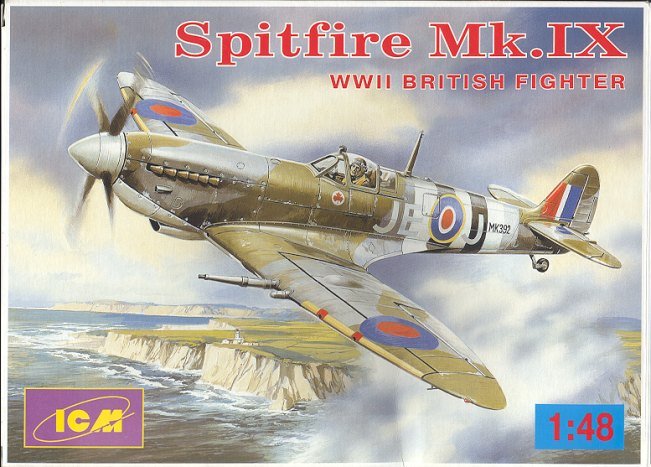
I have decided to start this along with my Mossie kit, as there will be times when I can not get the spraying done outside due to the weather, so it gives me things to get on with. I won this in ebay for a knock down price - it is an open box but all bags are sealed, the ICM version of the Spit IX is renowned for being the most accurate model of a Spit in this scale, I will build her more or less straight out the box as I understand the cockpit and parts are very very good. So to start with - here's the top box art and quick look at the bag contents. I do apologize I put the complete wrong box pic up - how I dont know - This is the Right One. OC.
- 40 replies
-
- 12
-
-
All of it, just liked what you put mate. OC.
-
Yep I will re check before I pray/spray or both, I might put some more tape over it - knowing me it will have so many layers on it it will end up several inches thick.😲 OC.
-
So just to explain myself a bit better - the canopy is done its just covered in extra tape to stop any spray from going on it, it will stay covered like that until all the spraying (including the top coat) has been done. OC.
-
Some of the masks were in separate sections and too fiddly to put on the remaining glazed windows in the canopy - so I left them off and painted the frame by hand with a fine brush, the frame of the canopy has been painted and had a couple of top coats (Just on the frame not the glass). So the canopy is a completed assembly I glued it on as its easier than covering the cockpit area with tissue paper in case the delicate parts in the cockpit got damaged. I then added additional tape to cover the canopy (any small bits of frame where it meats the fuselage are ok as the spray colour is the same as what I hand painted. Well thats the idea anyway. OC.
-
Well said denis.👍 OC.
-
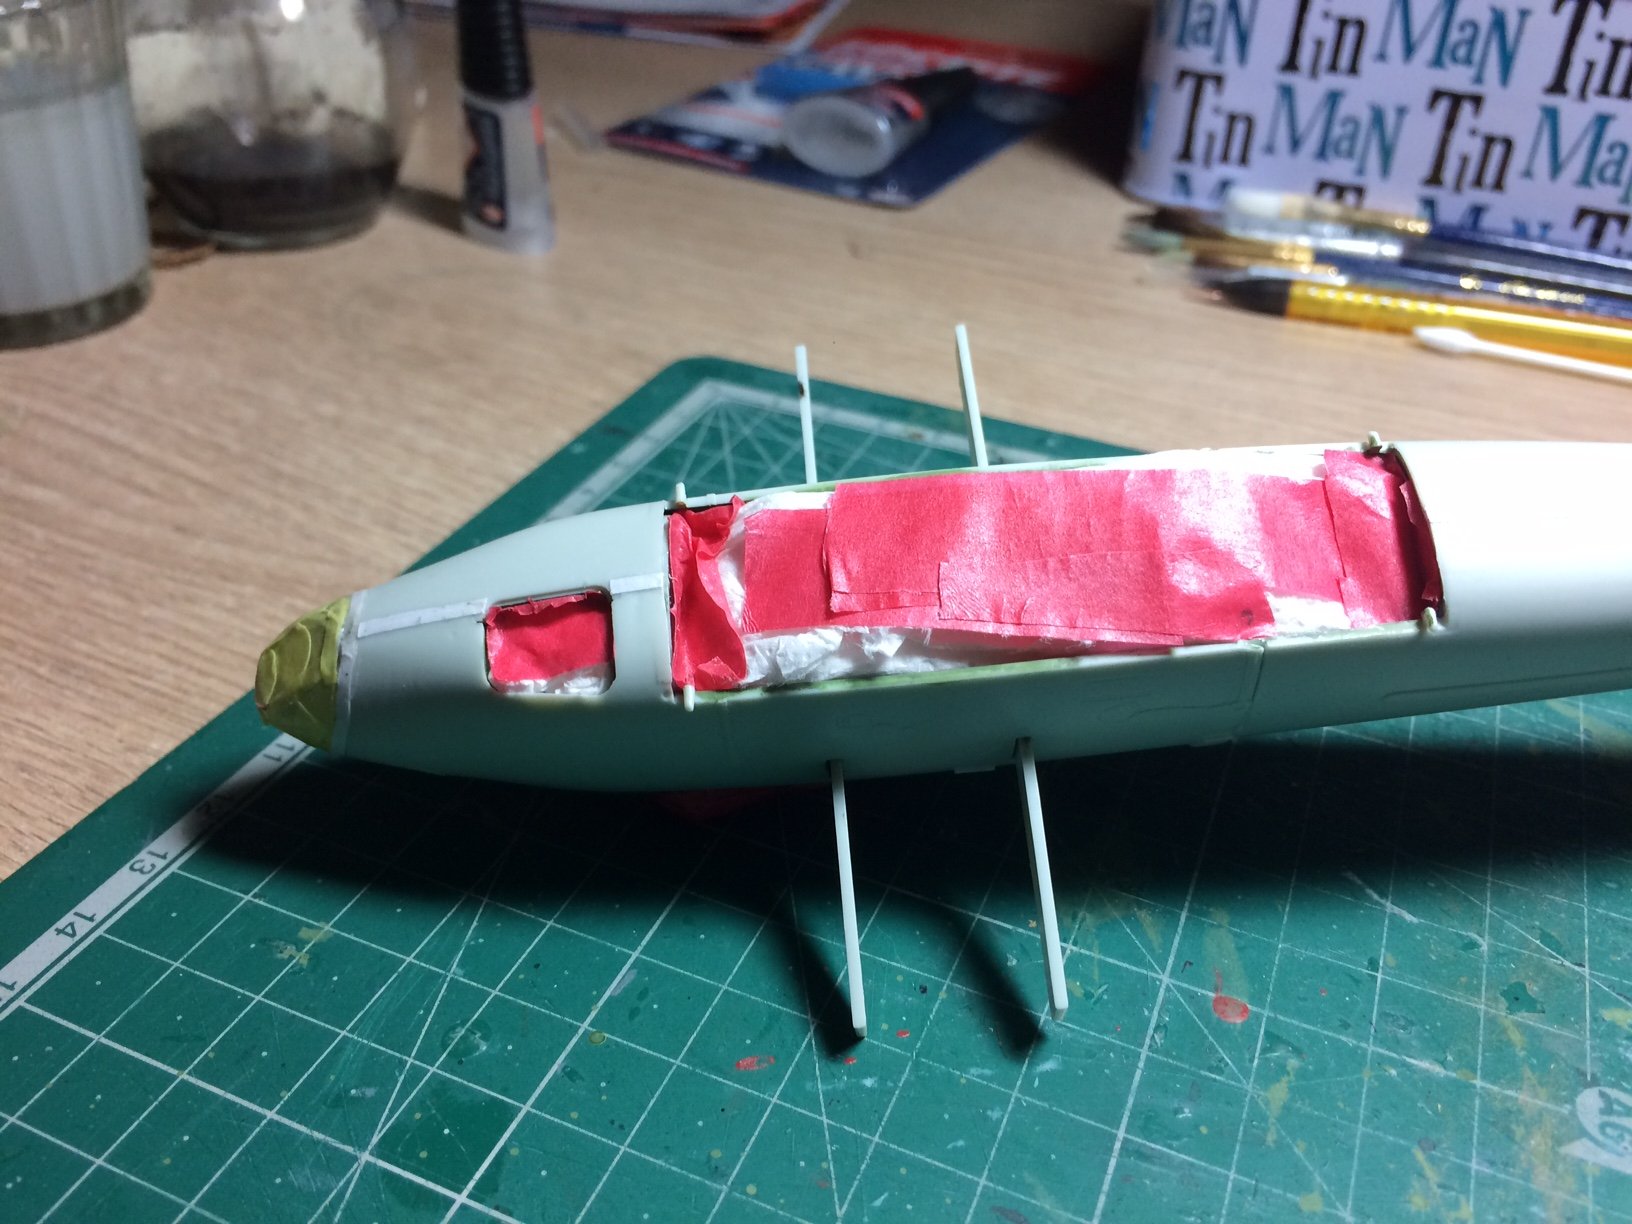
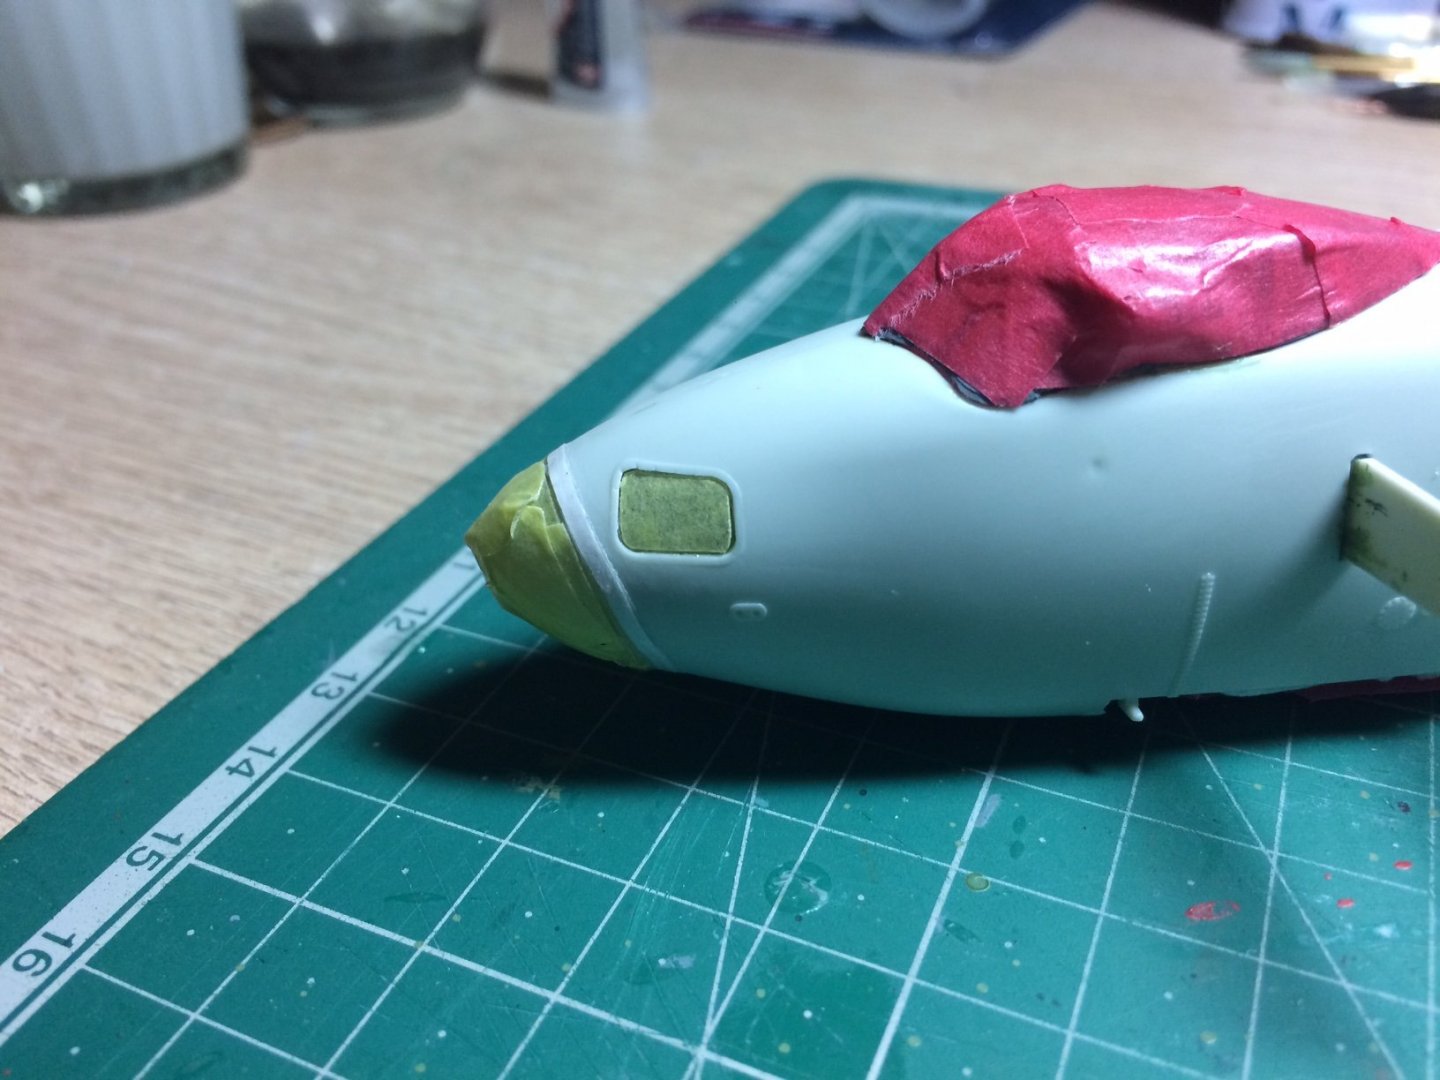
There is a few layers of tape on there denis so fingers crossed (I will press it down again though before spraying) hopefully the paper ring around the nose will not be too noticable when its painted as it is quite thin I think it just stands out with the lighting kind of causing a shadow (oh and its white). Any one asks though - its battle damage repair to strengthen the nose. OC.
-
Good day all, Firstly a Big thank you for all the likes and comments, Right, another good day - I had a go at hiding the difference between the nose glazing unit and the fuselage, I cut a narrow strip of paper about 2mm wide then using watery pva I stuck it down following the nose glazing, then I joined it underneath and trimmed it. I sealed it using a bit of top coat, next I painted the cockpit canopy frame with a couple of coats of top coat, then put it aside to dry. I then packed inside the bomb bay and entrance hatch with tissue paper - and covered the rear wheel with tape. When the main canopy was dry I glued it in place. So the fuselage is now ready for its first spray of Tamiya surface primer - just need to wait for a dry day as all spraying has to be done out doors. OC.


.JPG.7f7146d509fd7e939b493b6a8514f1cf.JPG)